The Conversation (0)
Sign Up
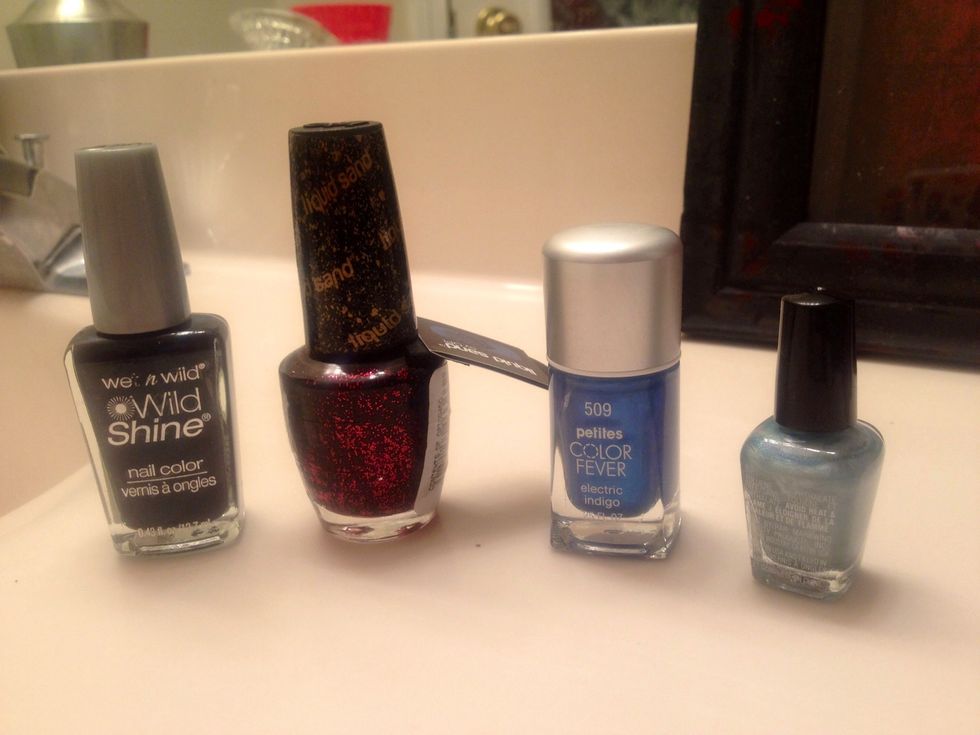
Pick out your polish. For this particular style I used a dark base: dark green, a red glitter, and a couple lighter color blues for the tips.
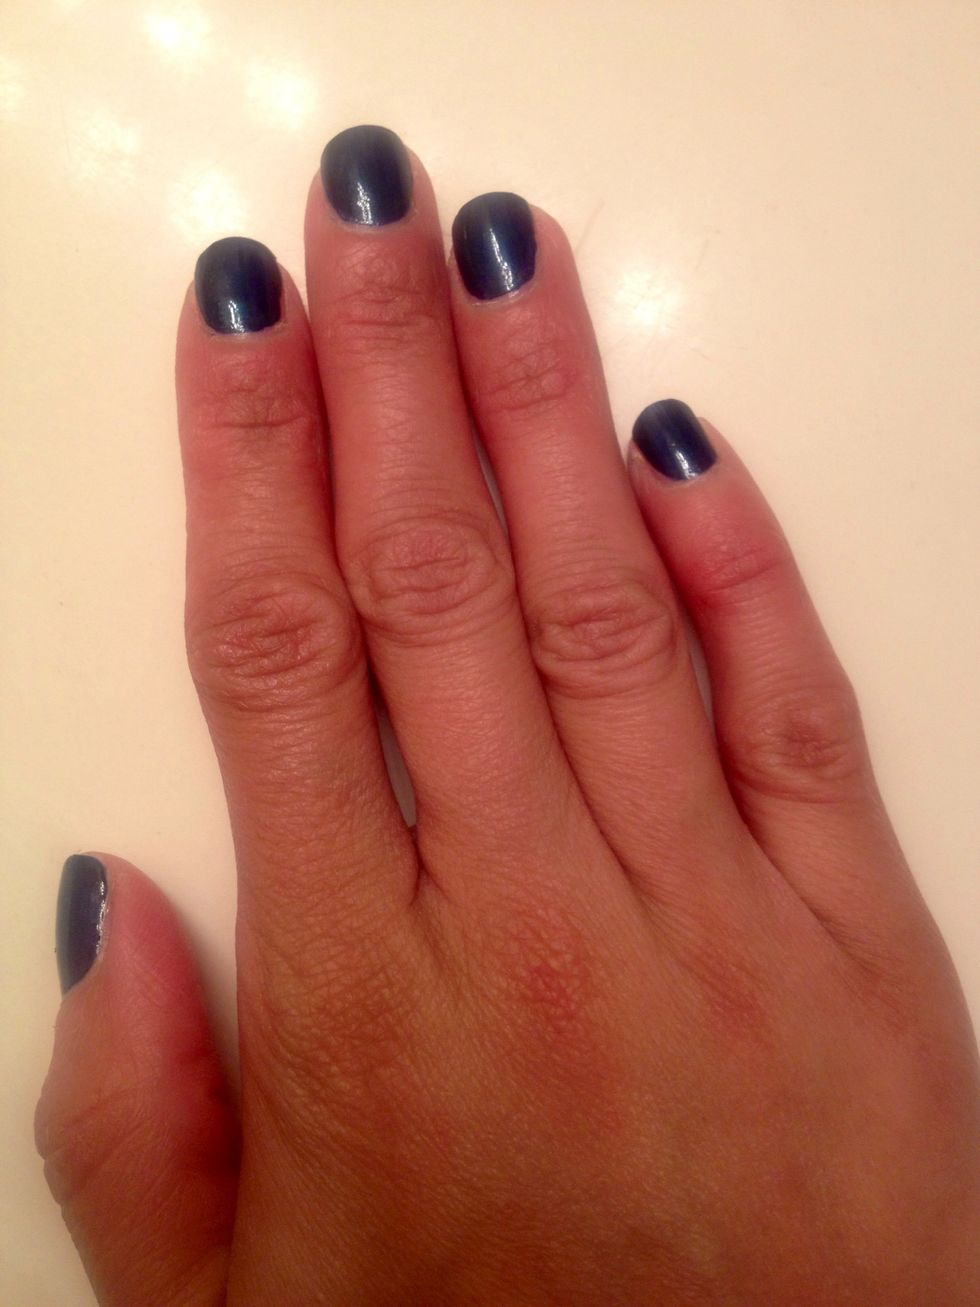
Apply base color.
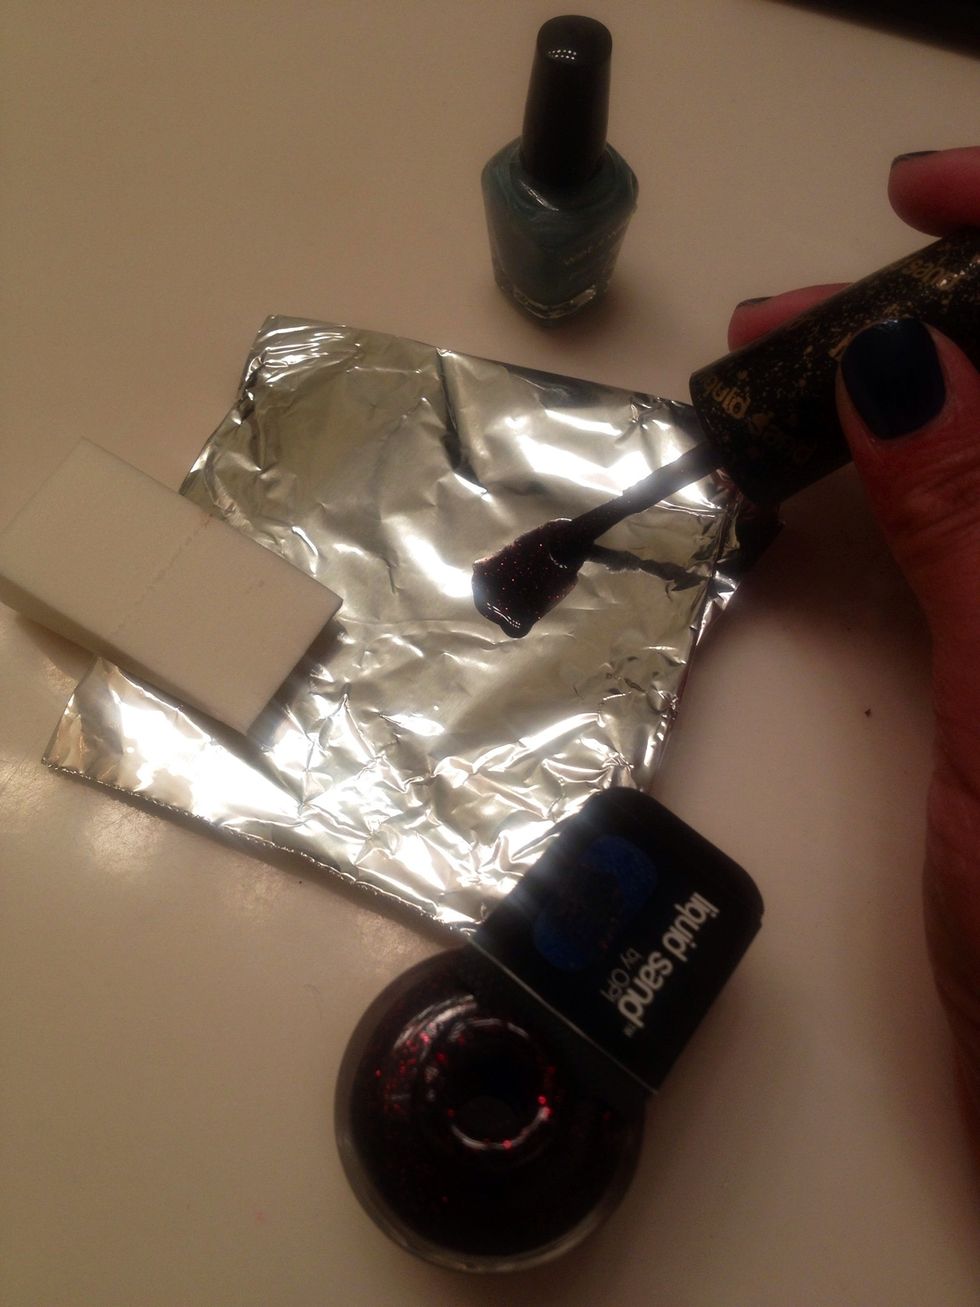
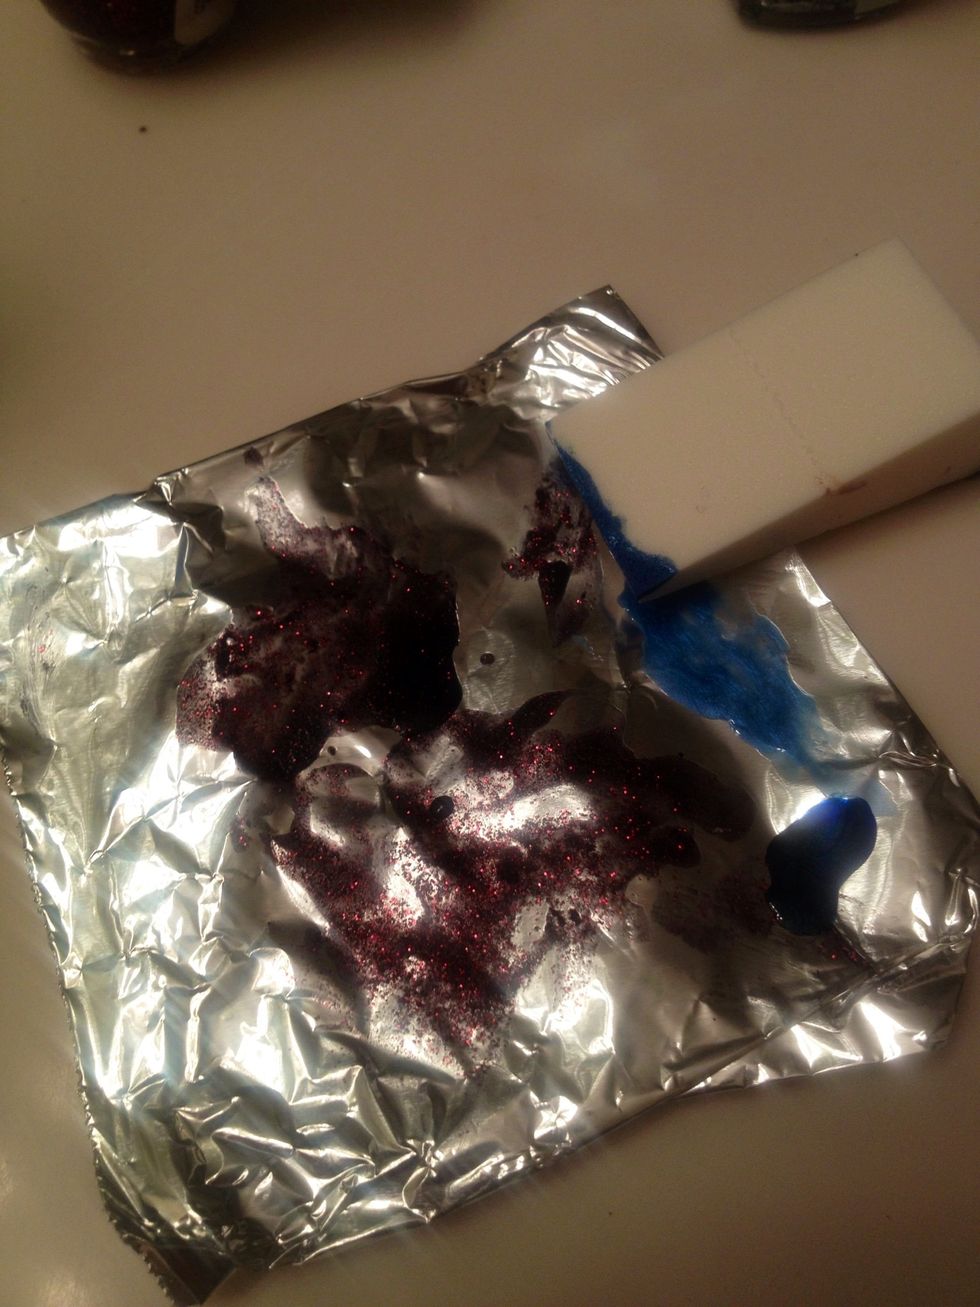
Dab a little of second color on aluminum foil.
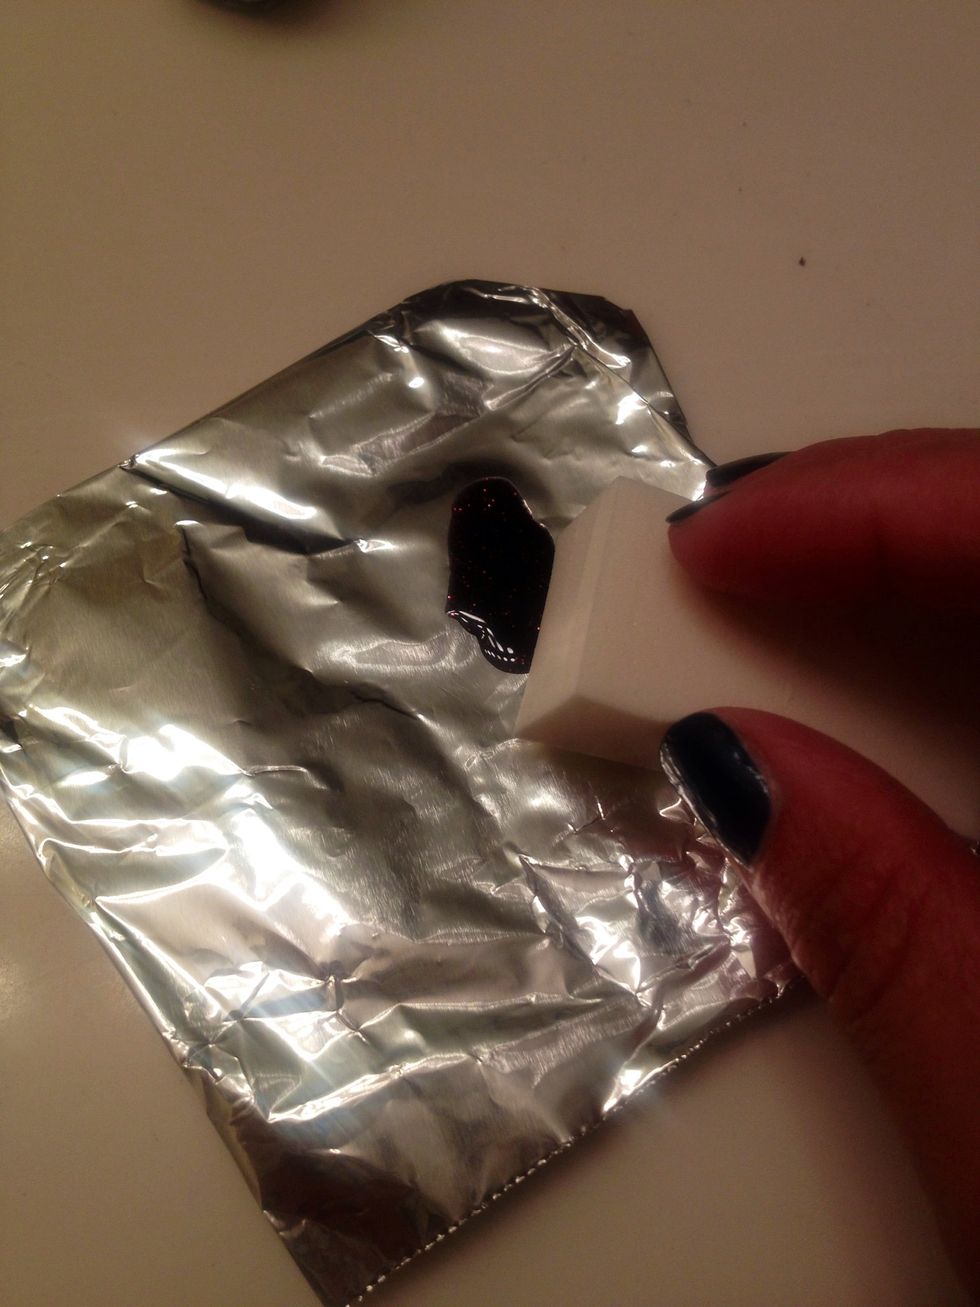
Use make up sponge to apply next color to base of nails and about halfway up the nail. Don't use too much. It takes very little polish, actually.
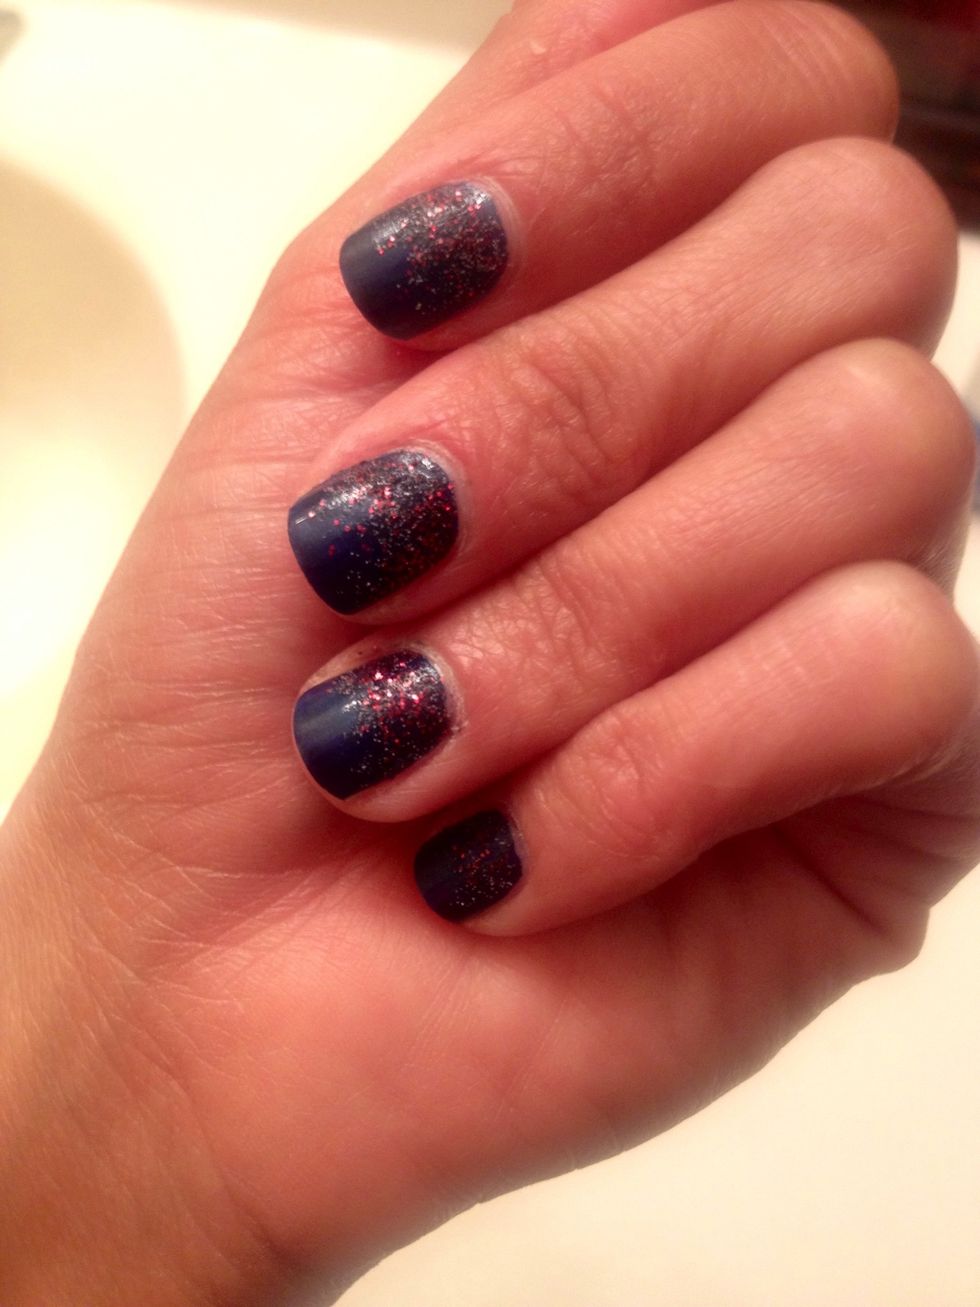
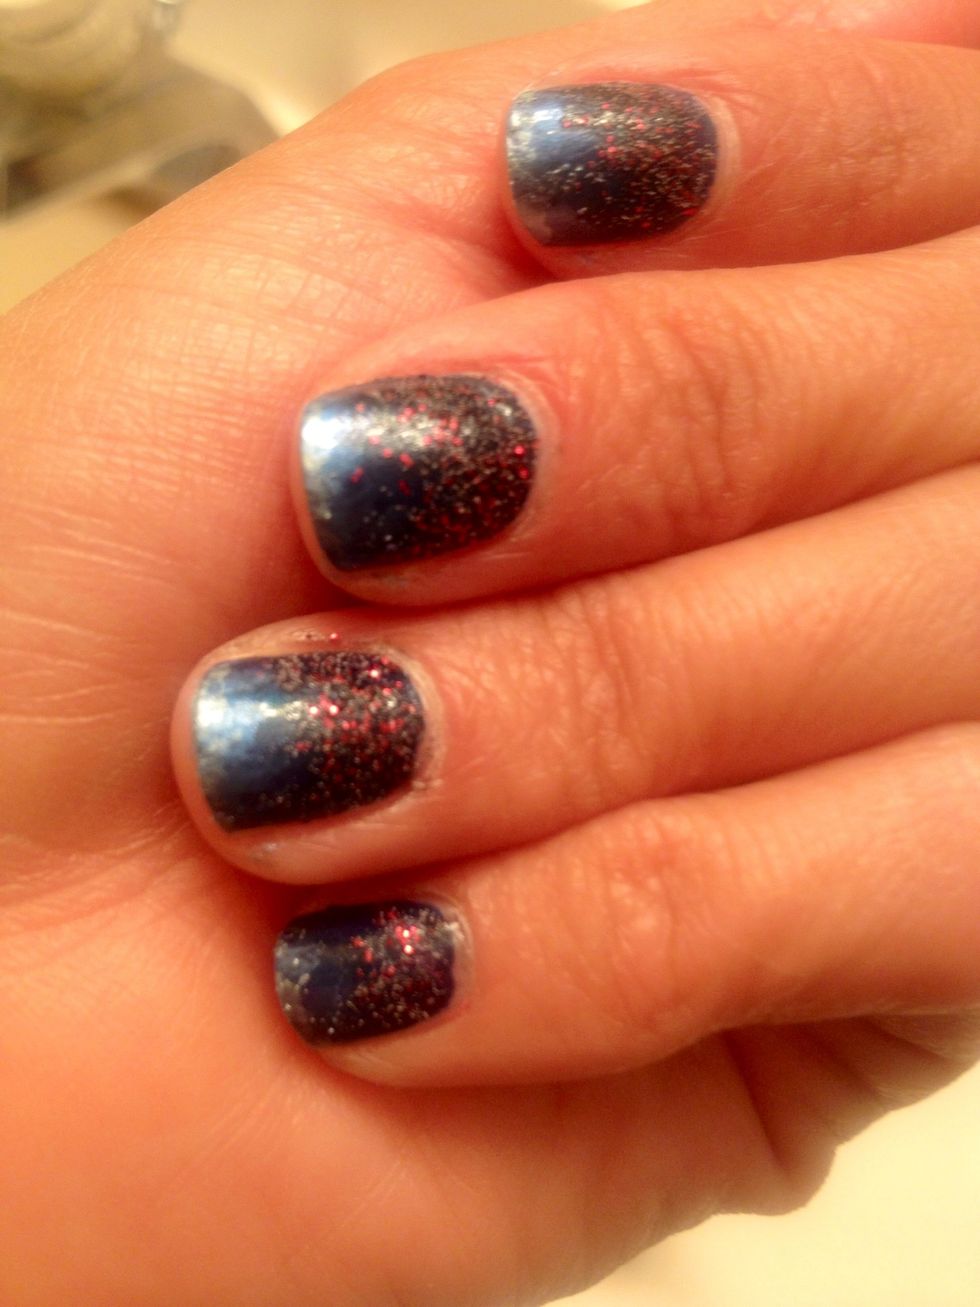
They should look like this.
Apply lighter color for the tips. Again, use sparingly.
After you apply the lighter color to the tips of nails, you will want to clean up around the edges of the nails with a cotton ball and file.

Apply topcoat at the end of the process to seal the nails and add shine.
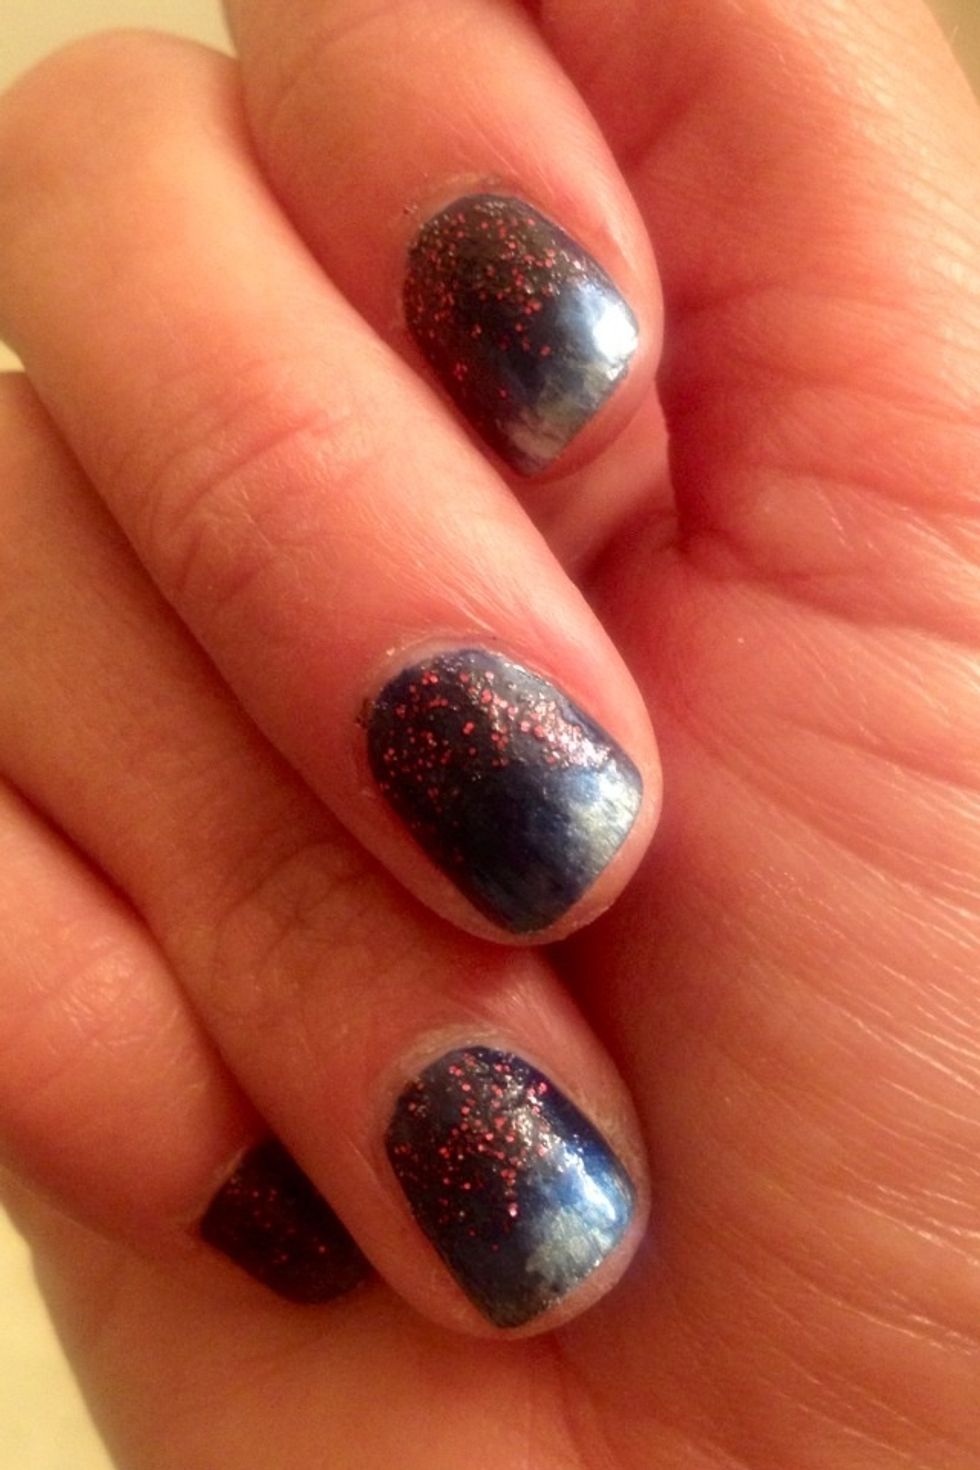
Enjoy your ombré nails. :)