The Conversation (0)
Sign Up
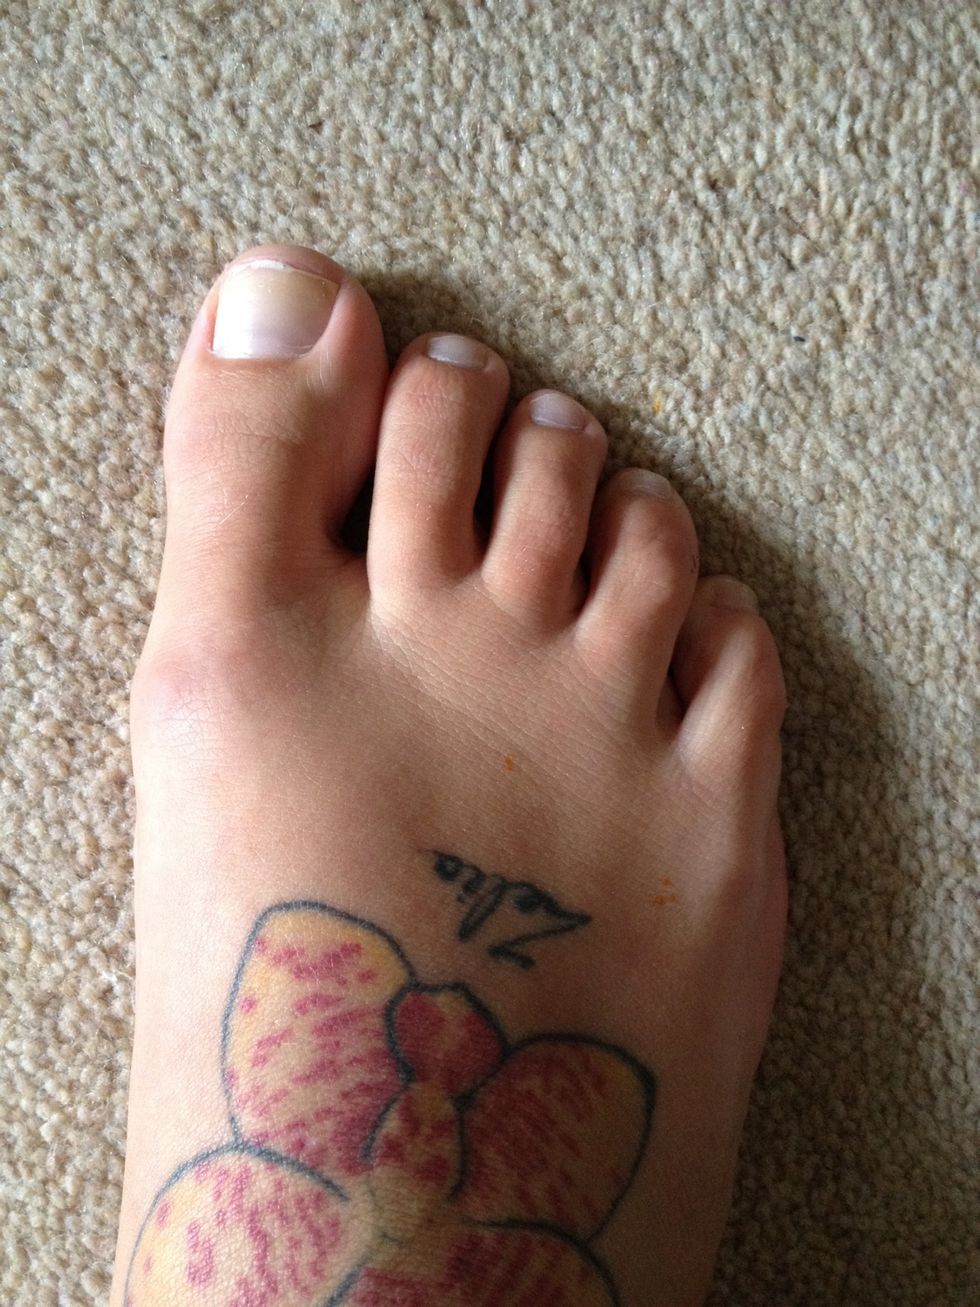
Start with nice, clean toenails free of old polish.
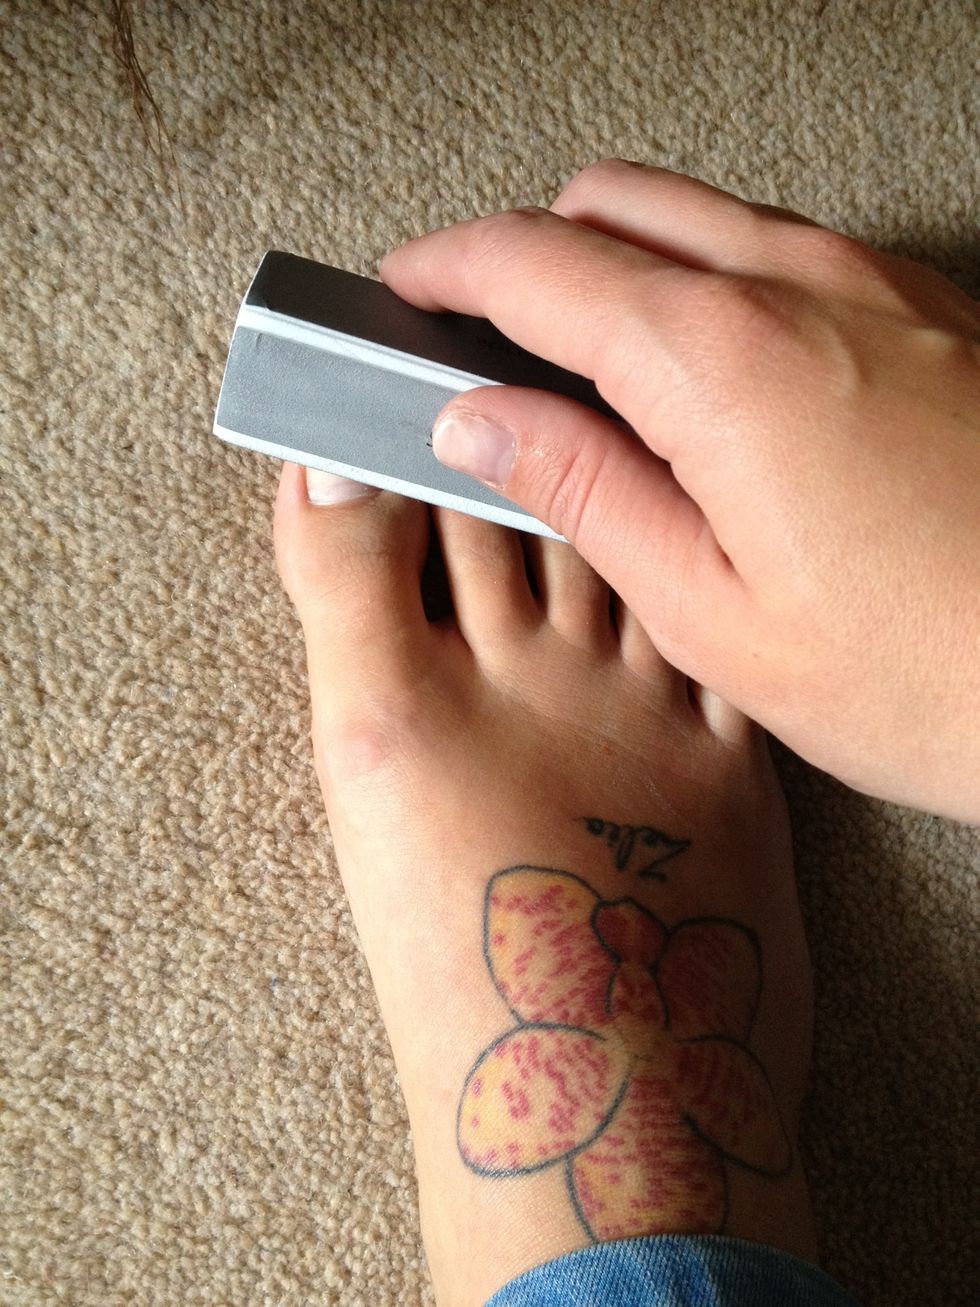
This part is optional but i like to use a buffer thingy to remove any ridges so my polish goes on smooth. It also removes any naughty polish that has made a home on your nails. So win win :)
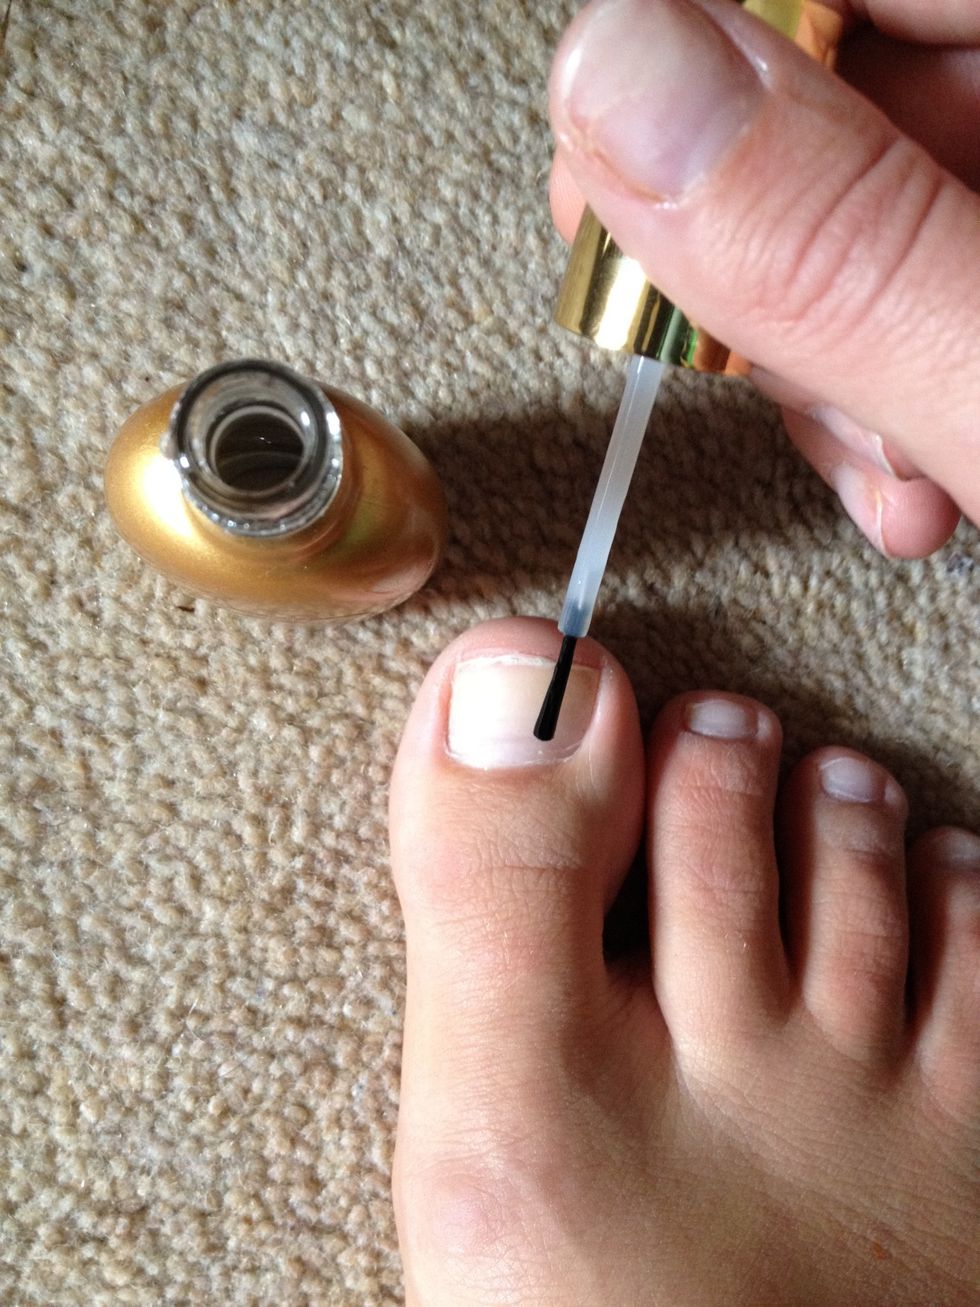
Paint on a base coat. Here I've used Sally Hansen Nailgrowth Miracle. It's a salon strengthener, nothing worse then flakey, manky toenails- blarff!

Do two coats of white to make you colours stand out.

TA-DA! don't worry about untidiness. We'll clean up later :). Oh forgot to say, you might find it helpful to put tissue between your toes to keep your toes apart
Let then dry completely. Dum- de-Dum.
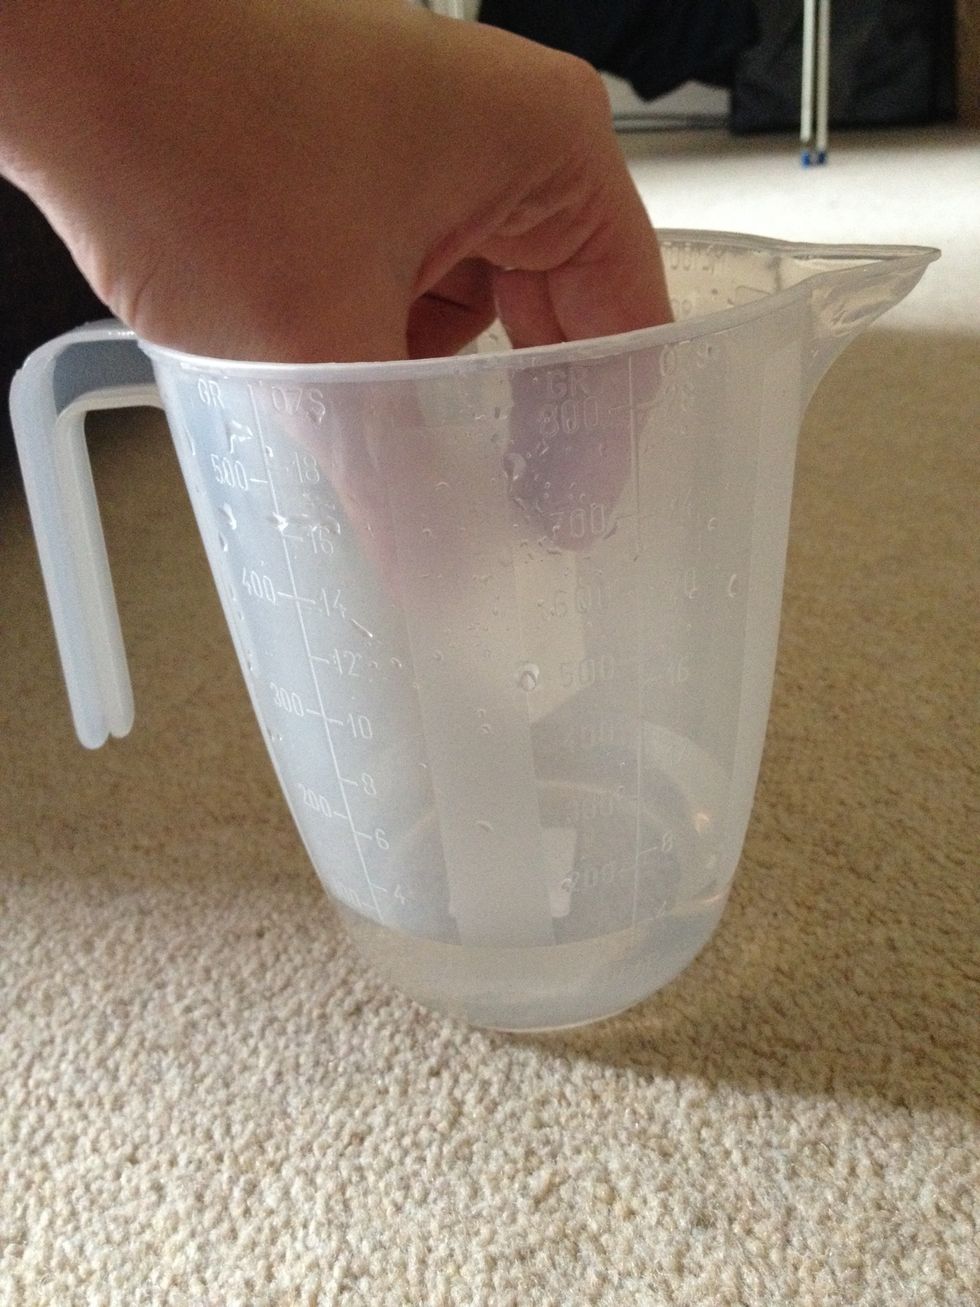
Oo! I know ! While your waiting pop a make up sponge into some water.
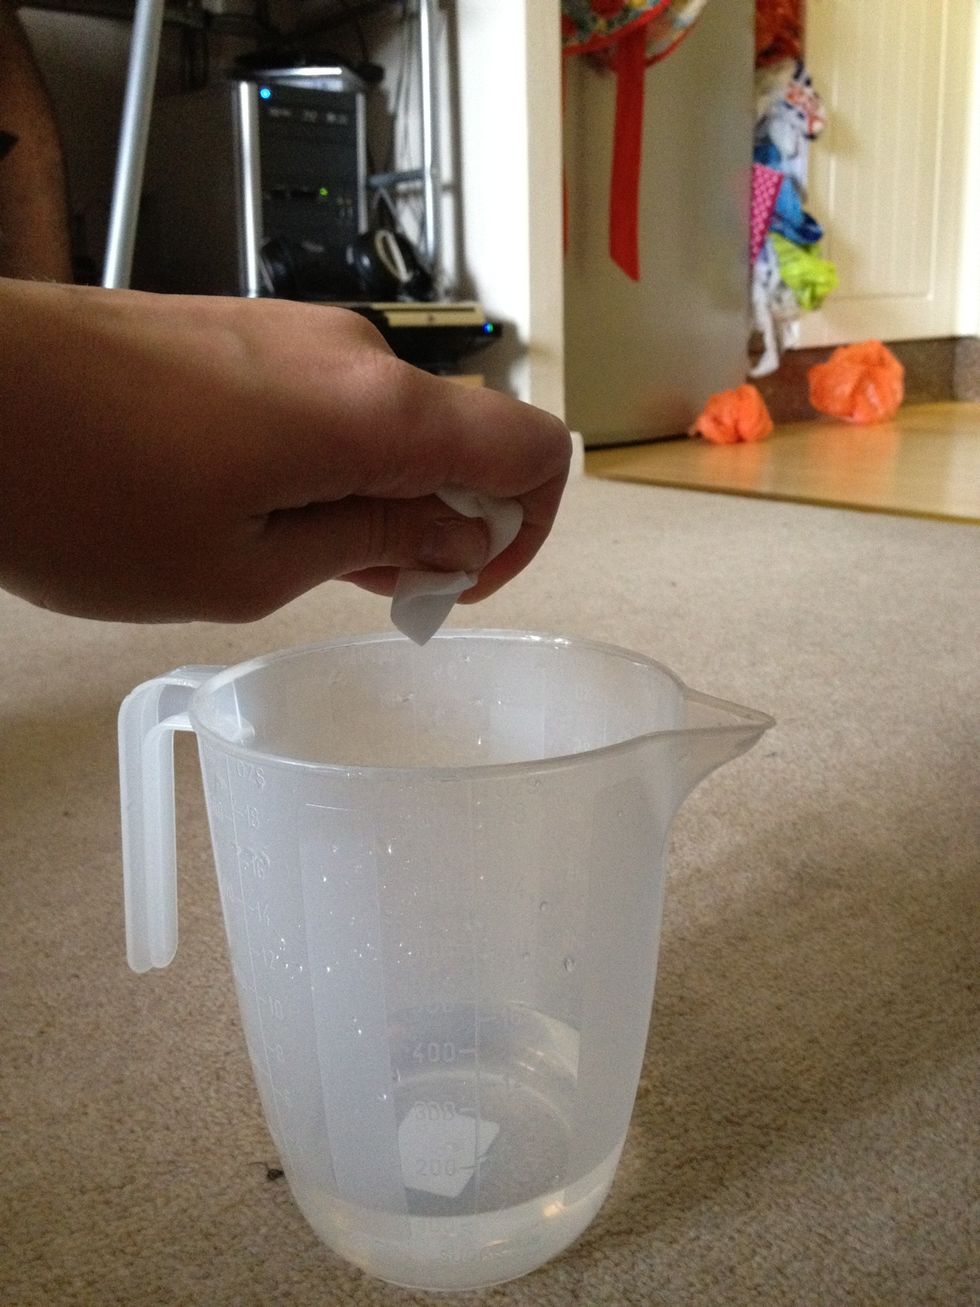
SQUEEEEEZE! Until it's just moist. If you're wondering why you need to wet the sponge, go ask someone who knows because... well I don't. Soz :)
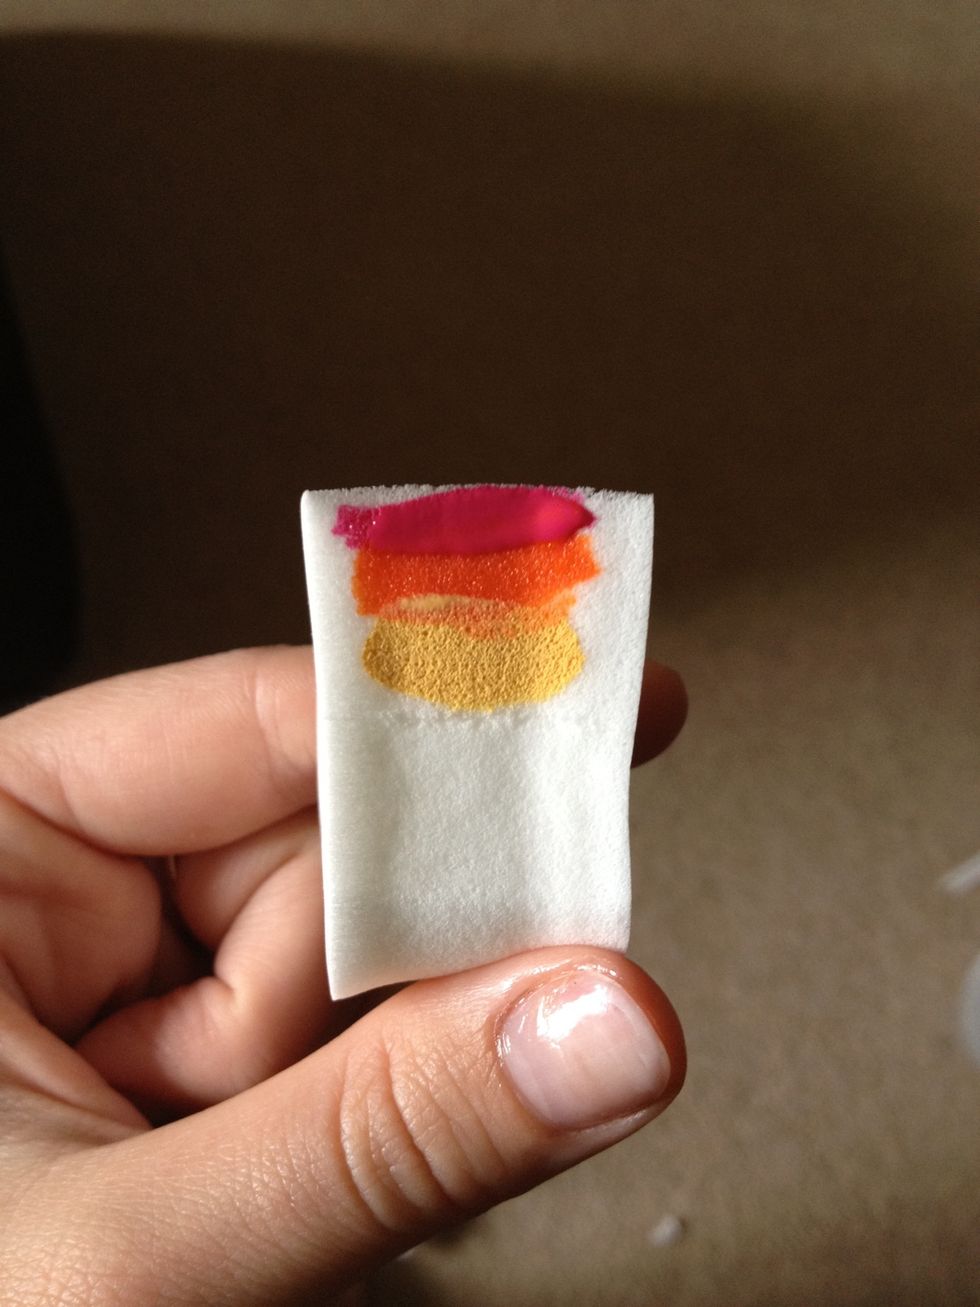
Add you colours to you sponge, darkest at the top. It may need a few thick coats as it seeps in quickly.

Start dabbing. Again it will take few coats to go on nicely but perceiver it will work!
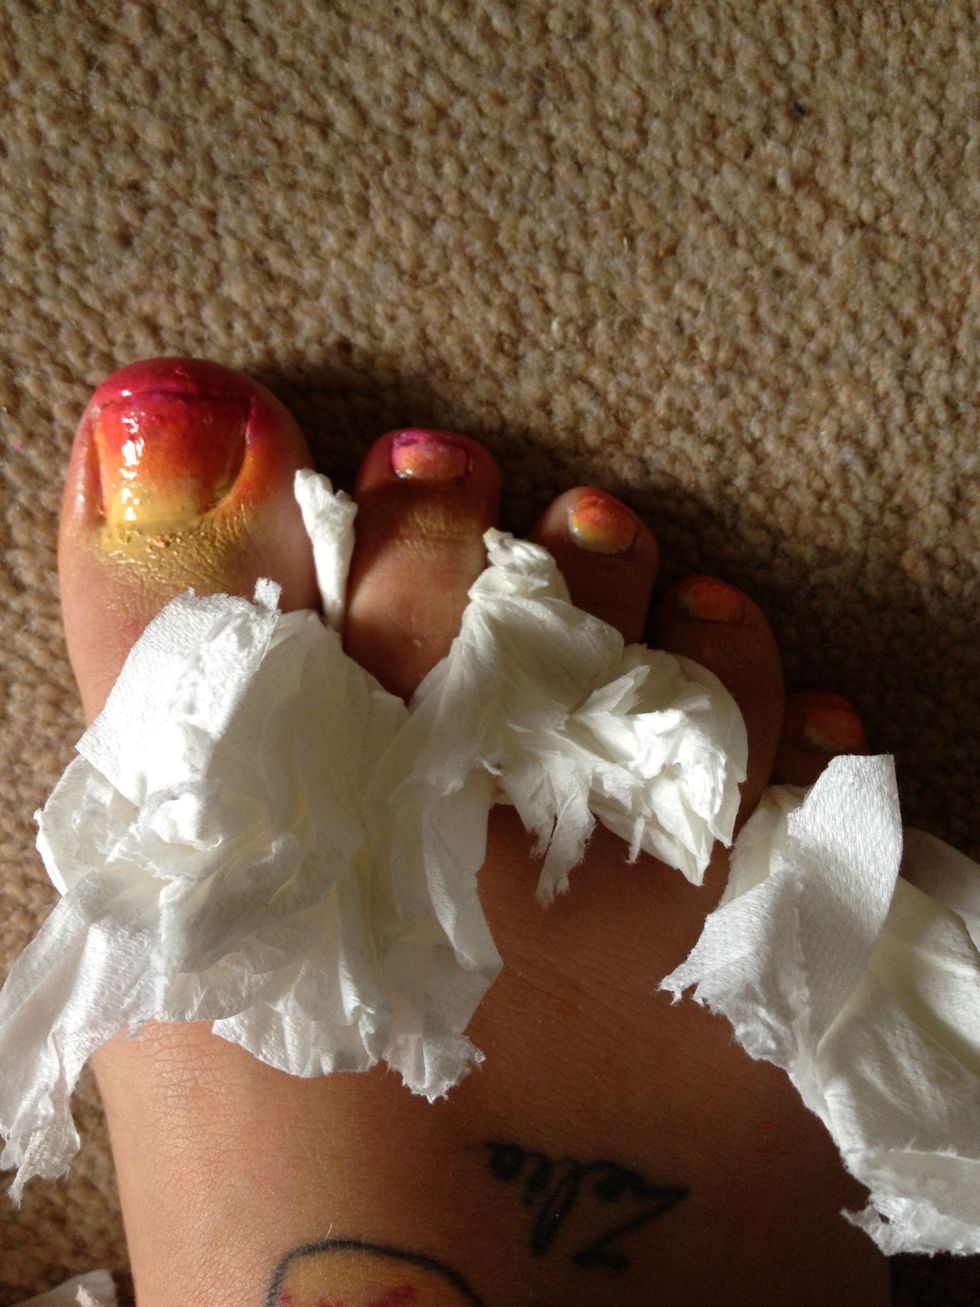
See? I didn't want it to be too neat to I moved the position of sponge slightly.
REMEMBER!! Your toenails are different sizes so you won't get all 3 colours on all toes. BUT!! You will get a slightly gradient on there, you could always try just getting 2 colours on there?
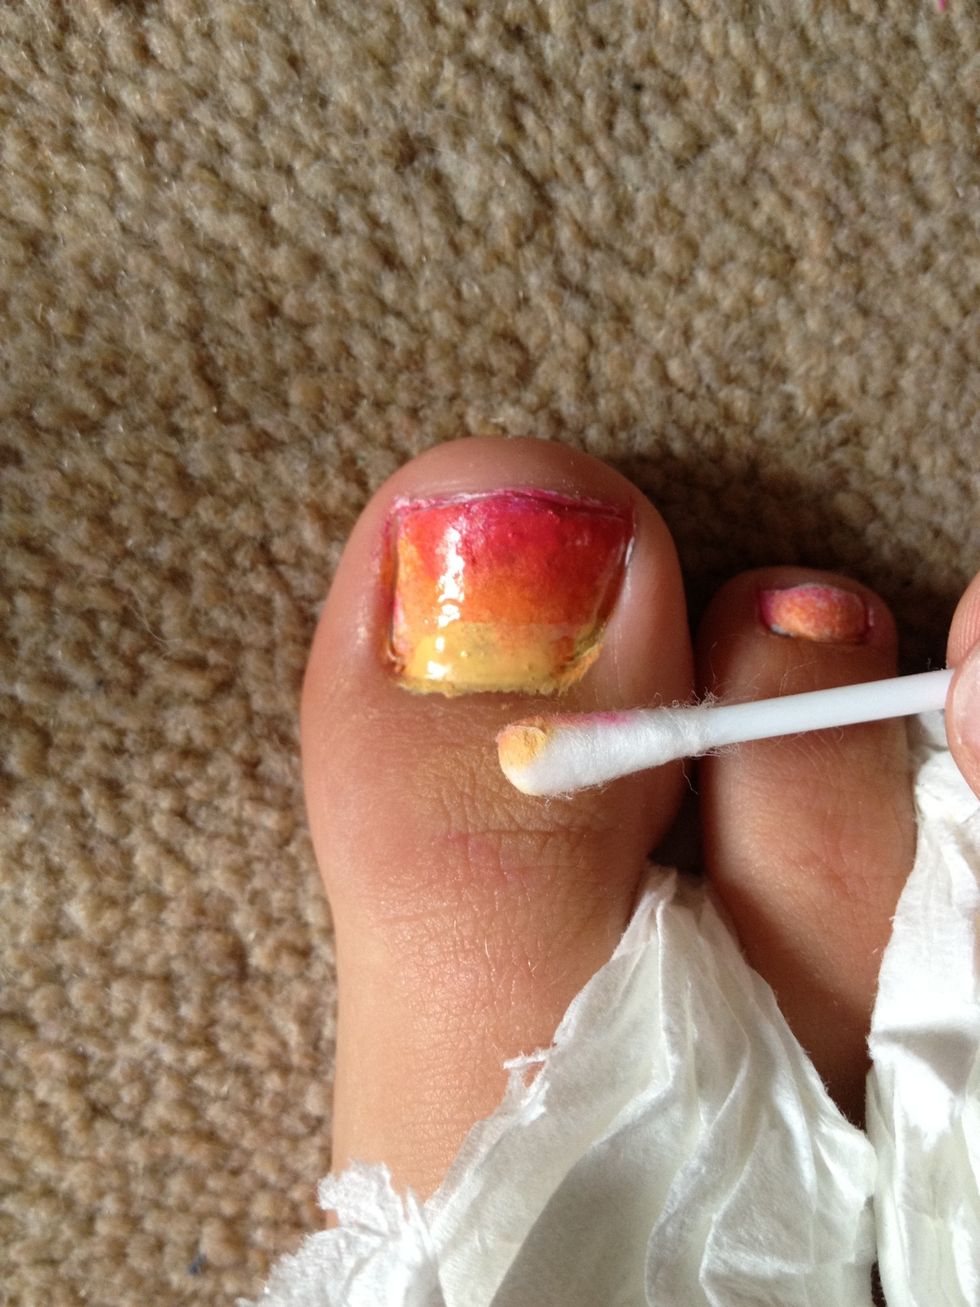
Clean up time!!
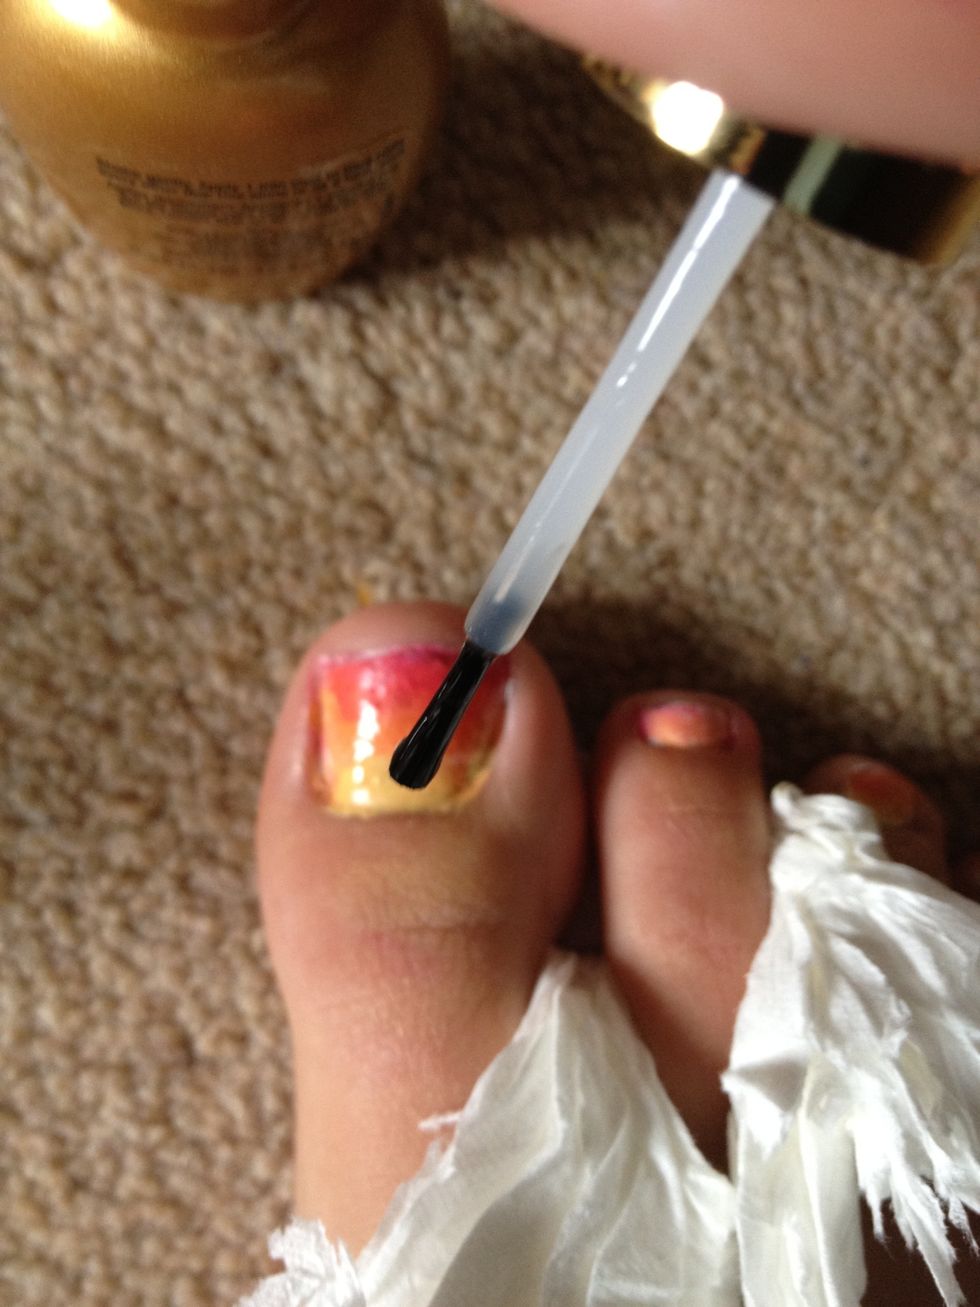
Add a top coat when the polish is tacky so it runs into each other......
ANNNNNDDDD... :D
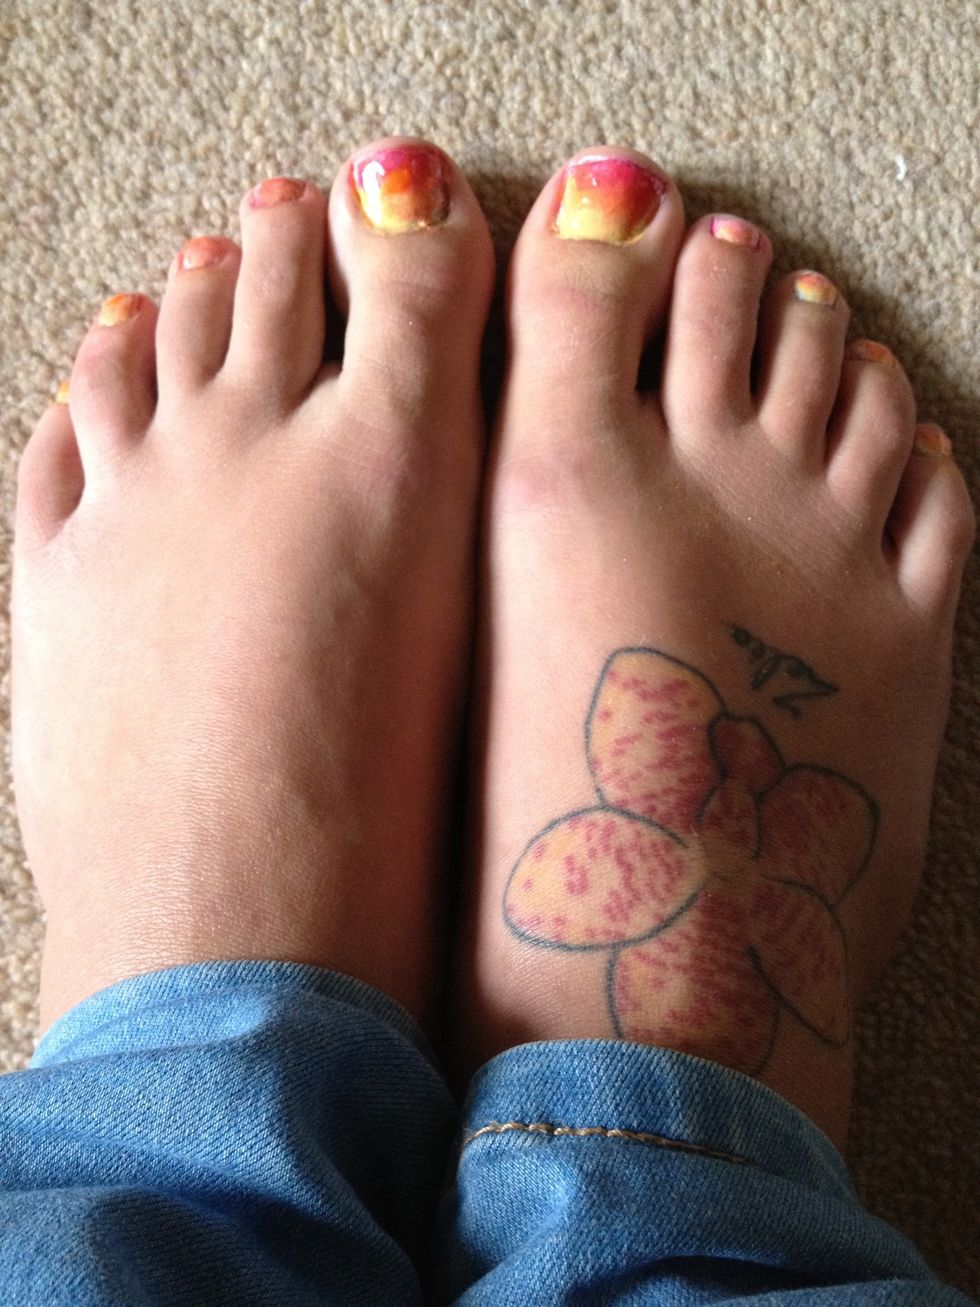
....... DONE!! :D!!
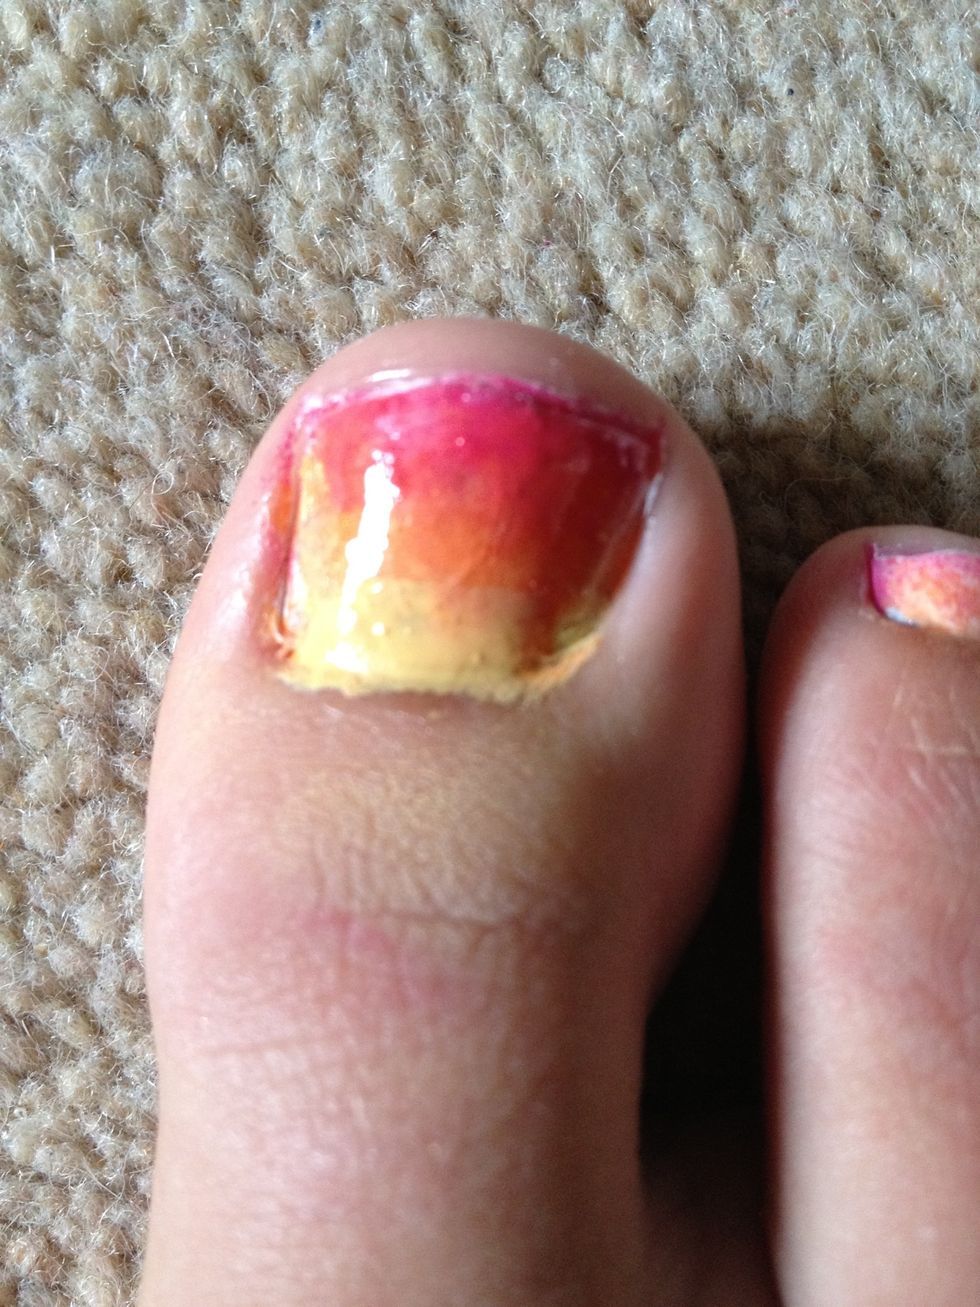
Close up! not as great as it could be but good enough for work ;)
Hope you enjoyed reading my guide as much as I enjoyed making it! :)! Much Love -The Girl Xx