The Conversation (0)
Sign Up
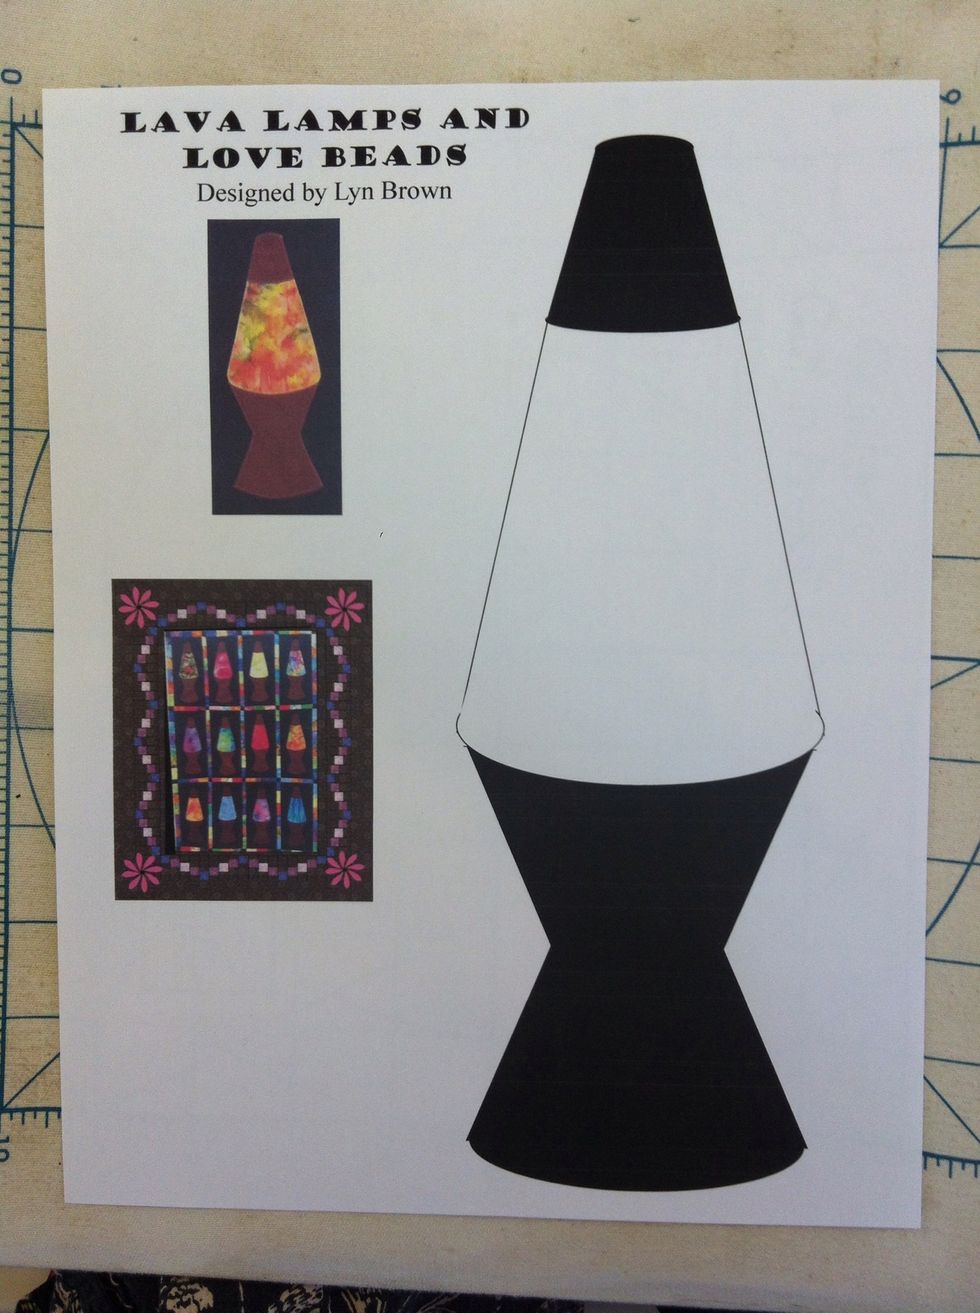
The first step to Fusible Applique is to choose your pattern. This is my Lava Lamp And Love Beads Pattern available free at http://www.lynbrown.com/category/lava-lamps-and-love-beads/
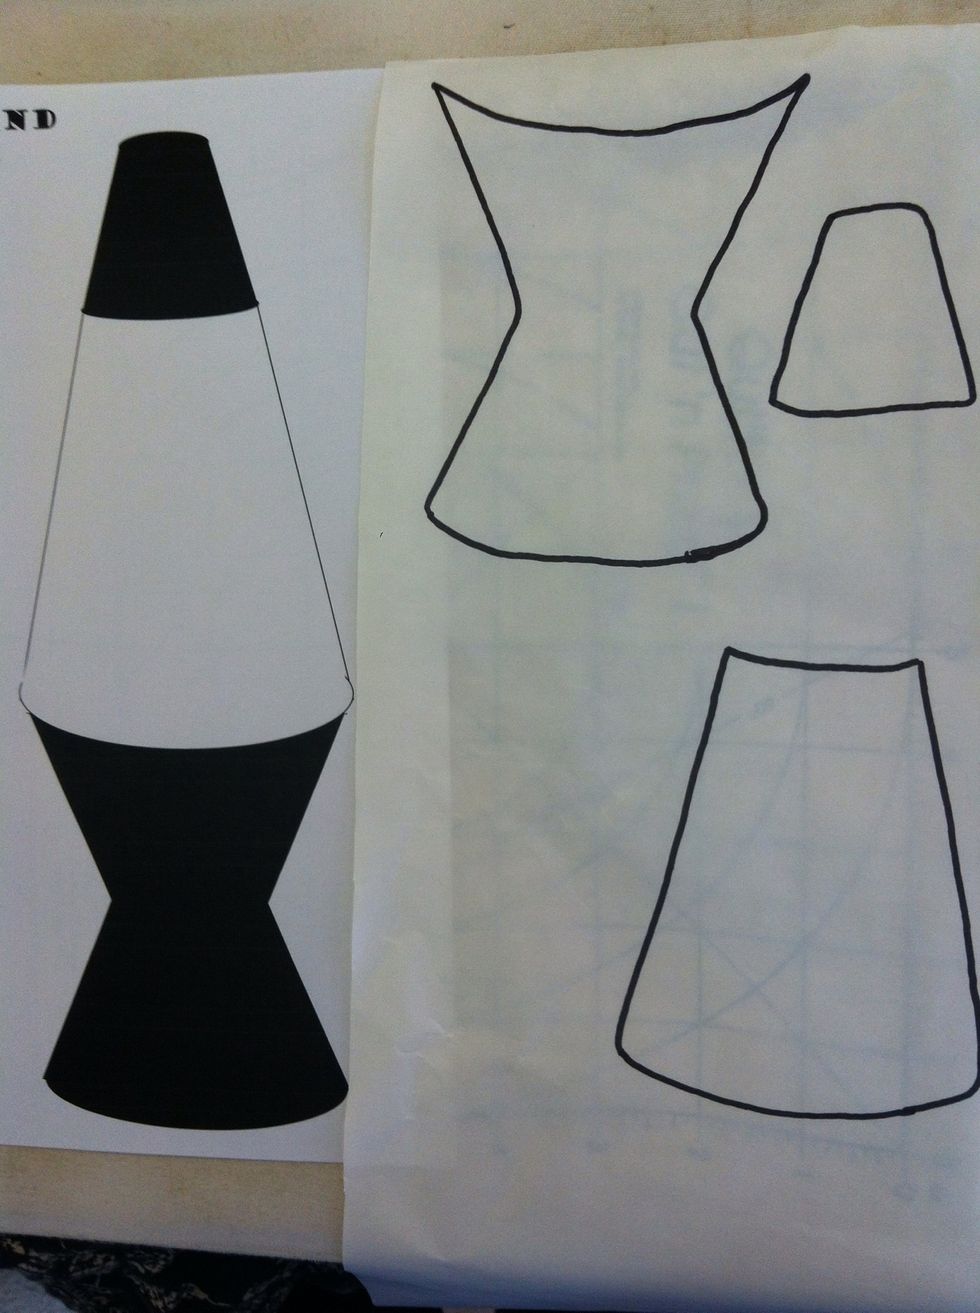
Trace your pattern onto the paper (smoother) side of the Fusible Web. The paper backed web is translucent and should be easy to see through. Try to group pieces destined for the same fabric together.
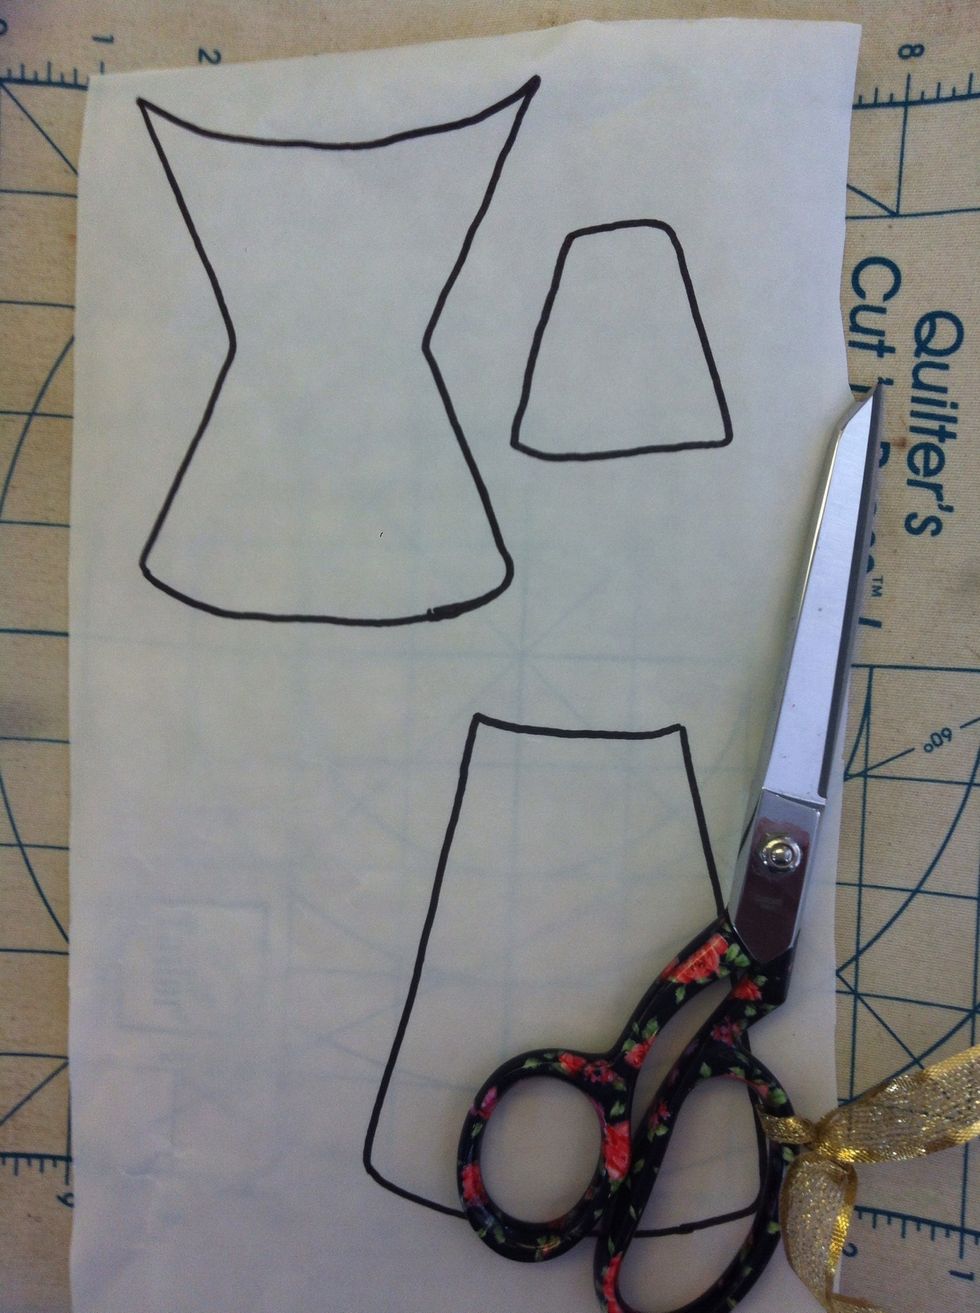
I use a Sharpie marker but any marker will do. Now you are ready to cut your pieces... But NOT on the line yet!
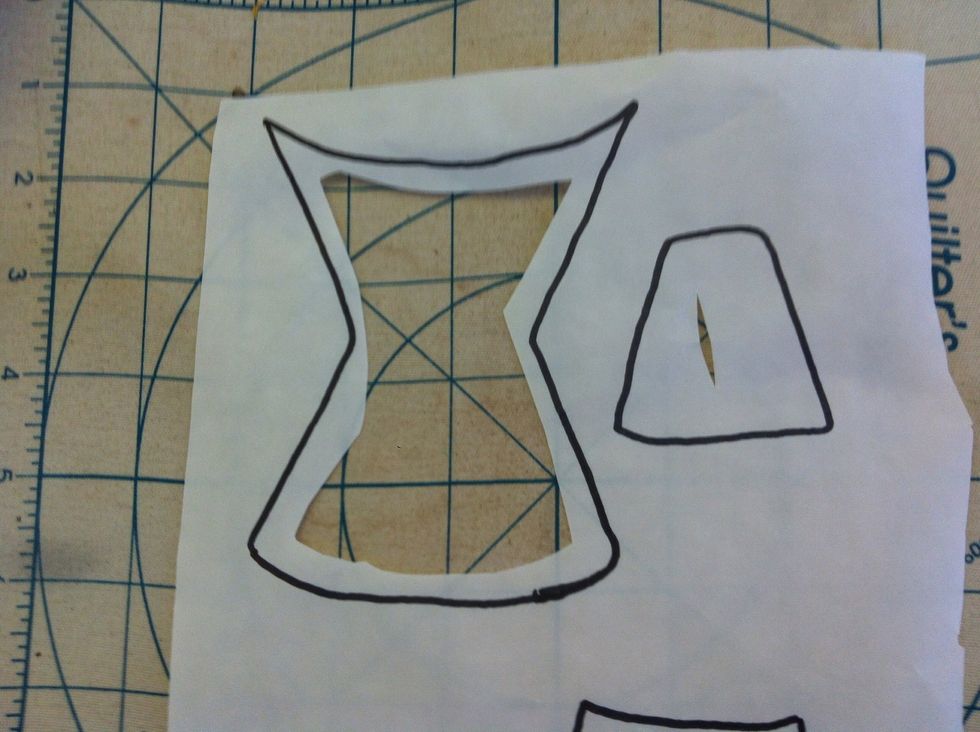
Cutting away the inside of the shape reduces the amount of glue and makes for a softer appliqué piece. Cut to about a quarter inch from the line. See how I made a slit to get started?
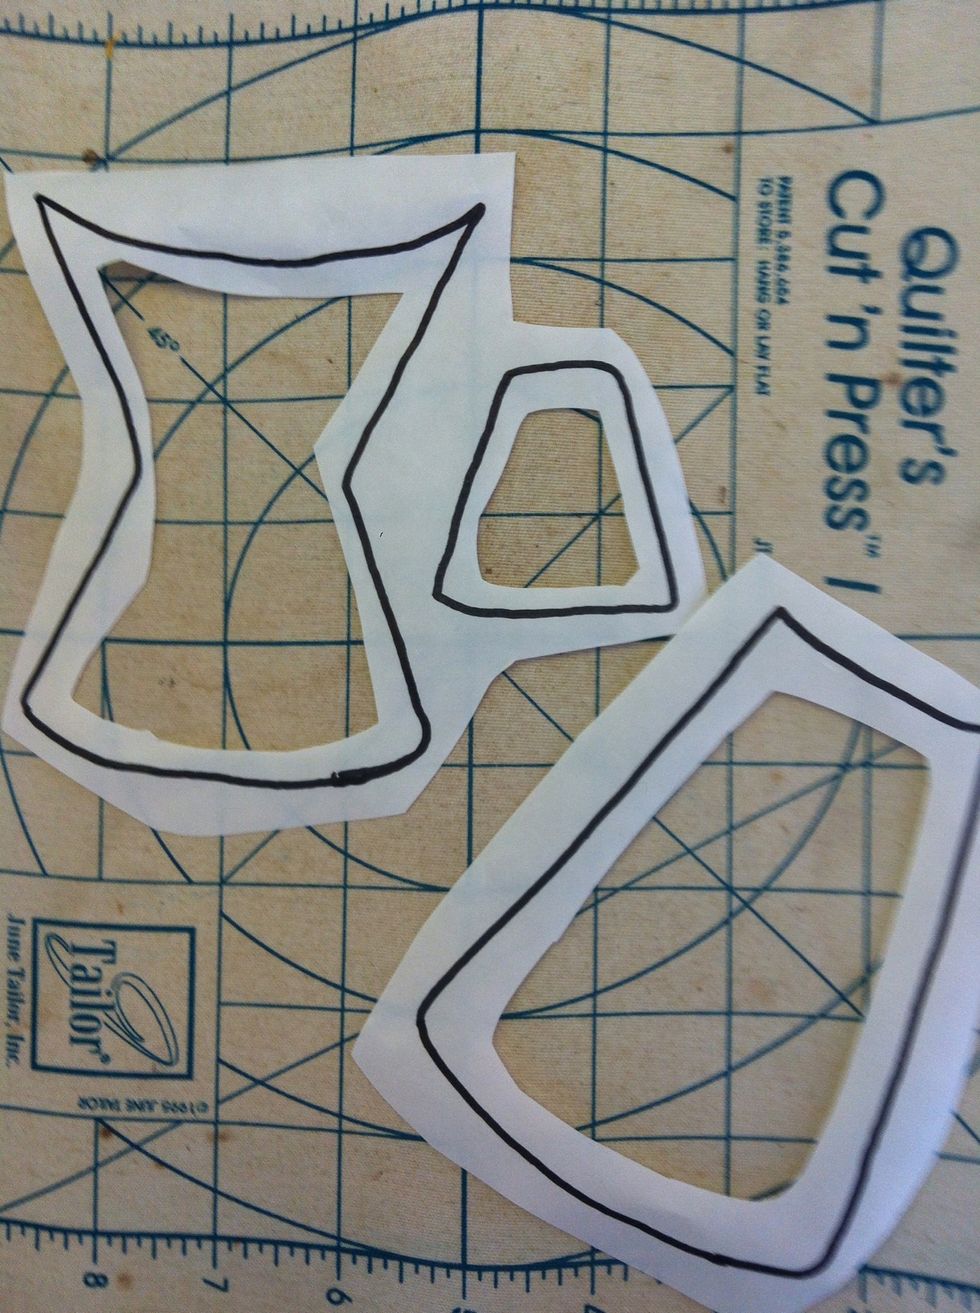
Next trim away along the outside of the line. This reduces waste of your fabric. Notice we still have not cut ON the drawn line.
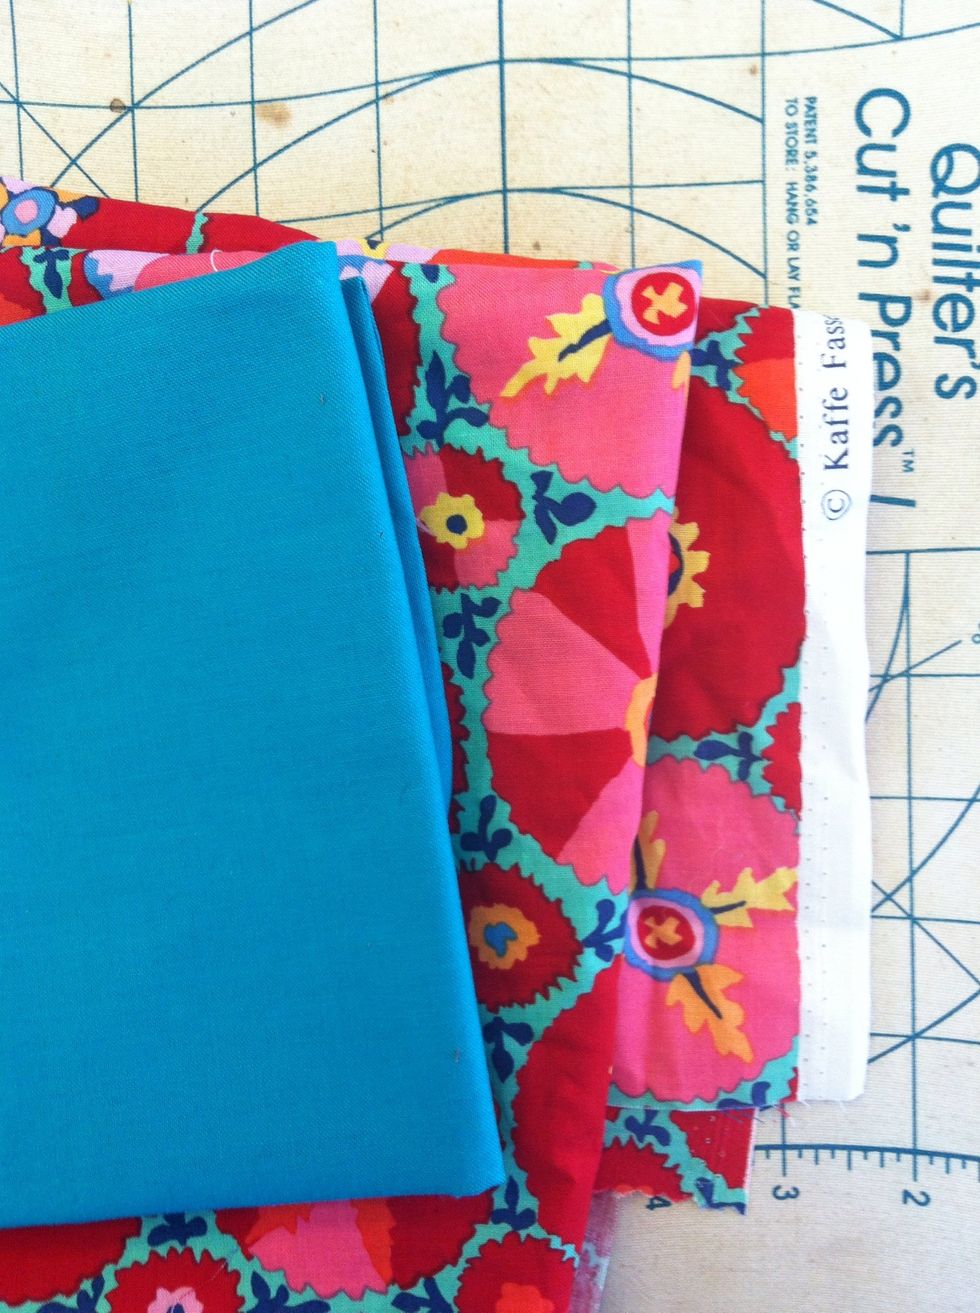
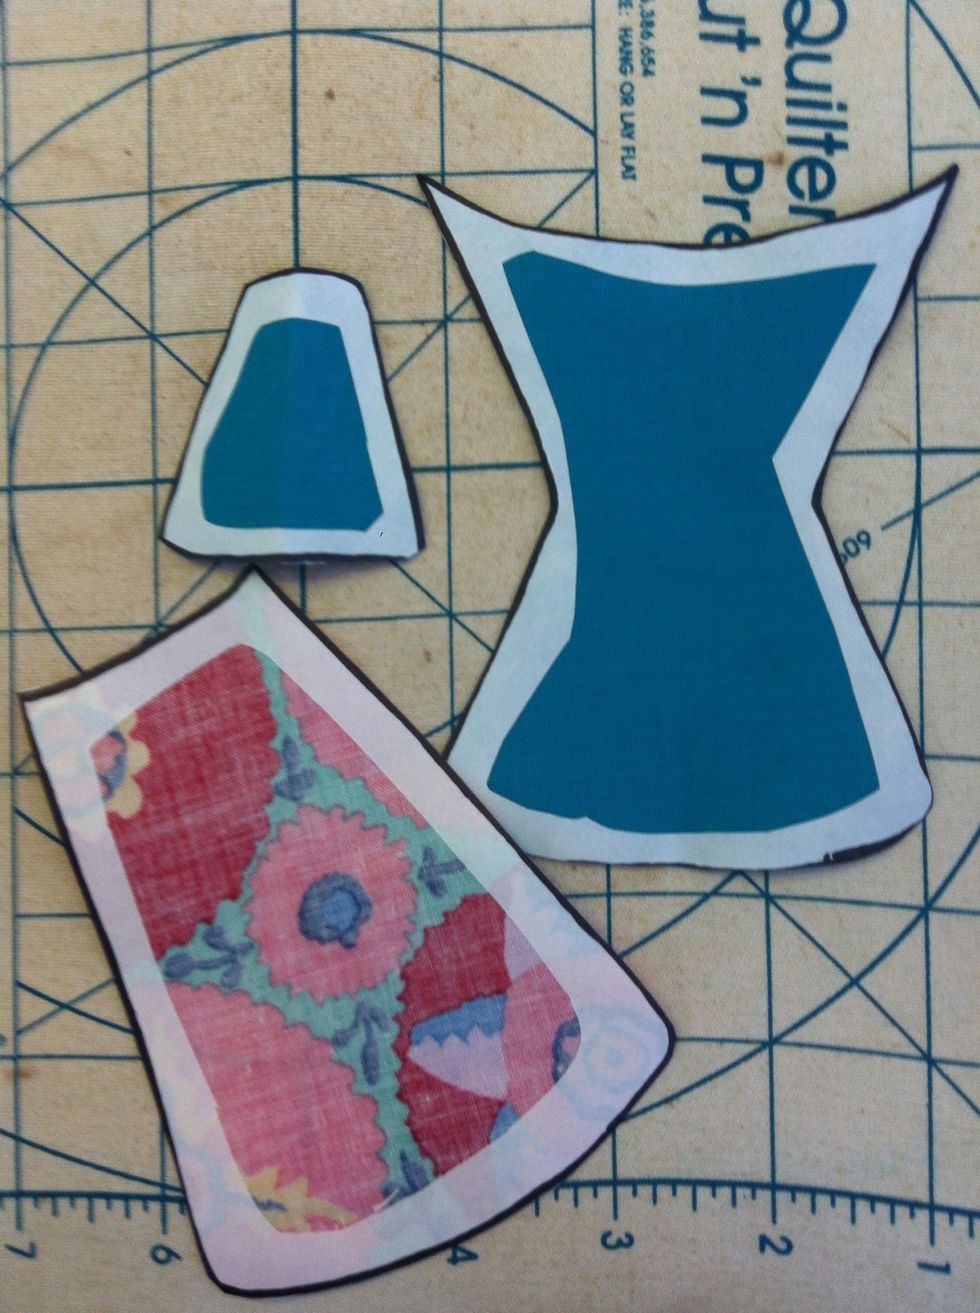
Choose your fabrics. These are 100 percent cotton quilting weight fabrics but this technique would work with a variety of fabrics.
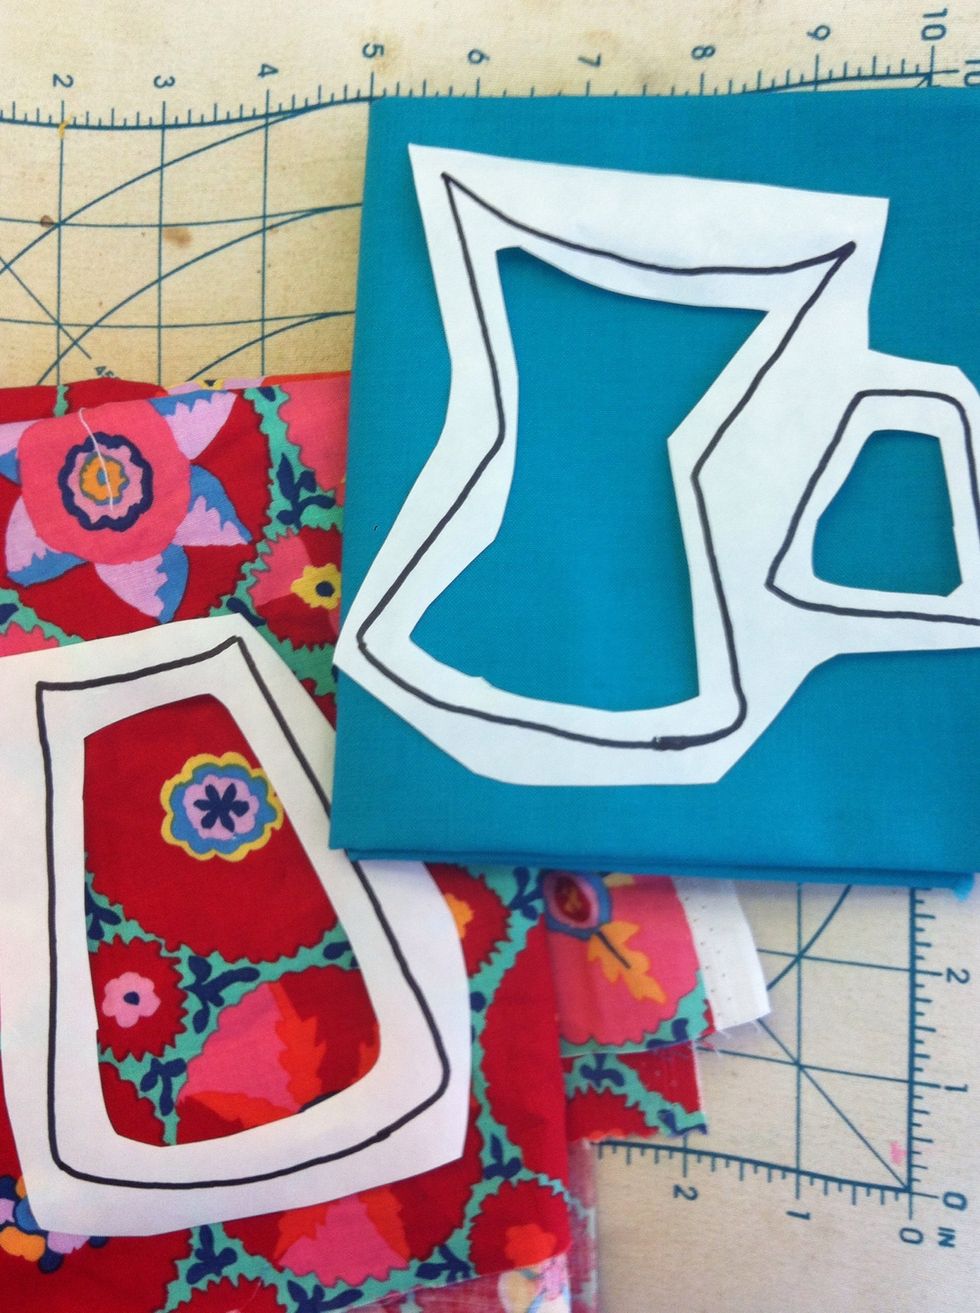
Decide which pieces go with which fabrics. Note: Tho the front of the fabrics are shown here... ALWAYS fuse to the wrong side of the Applique Fabrics.
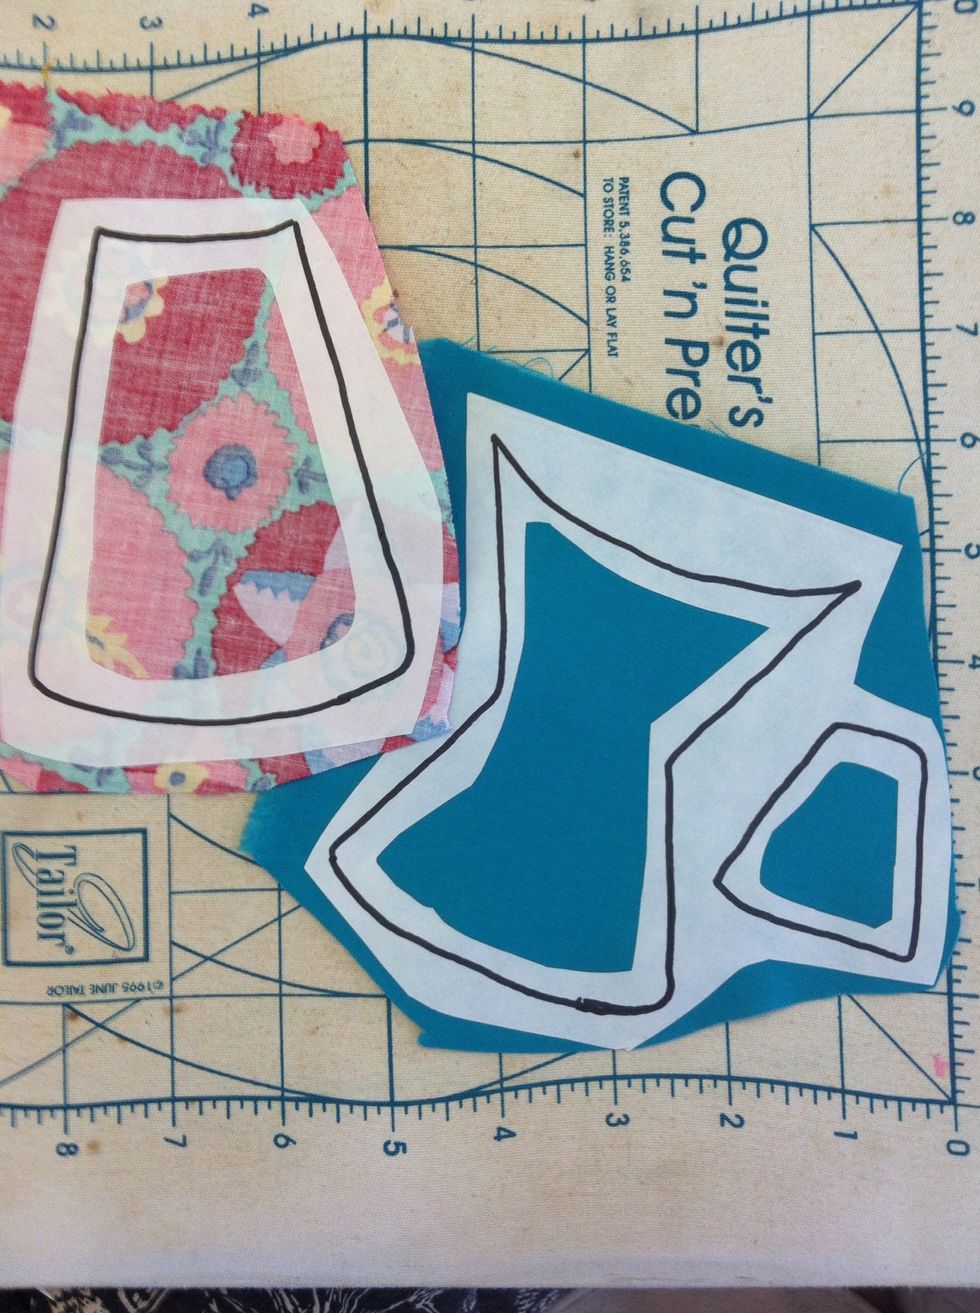
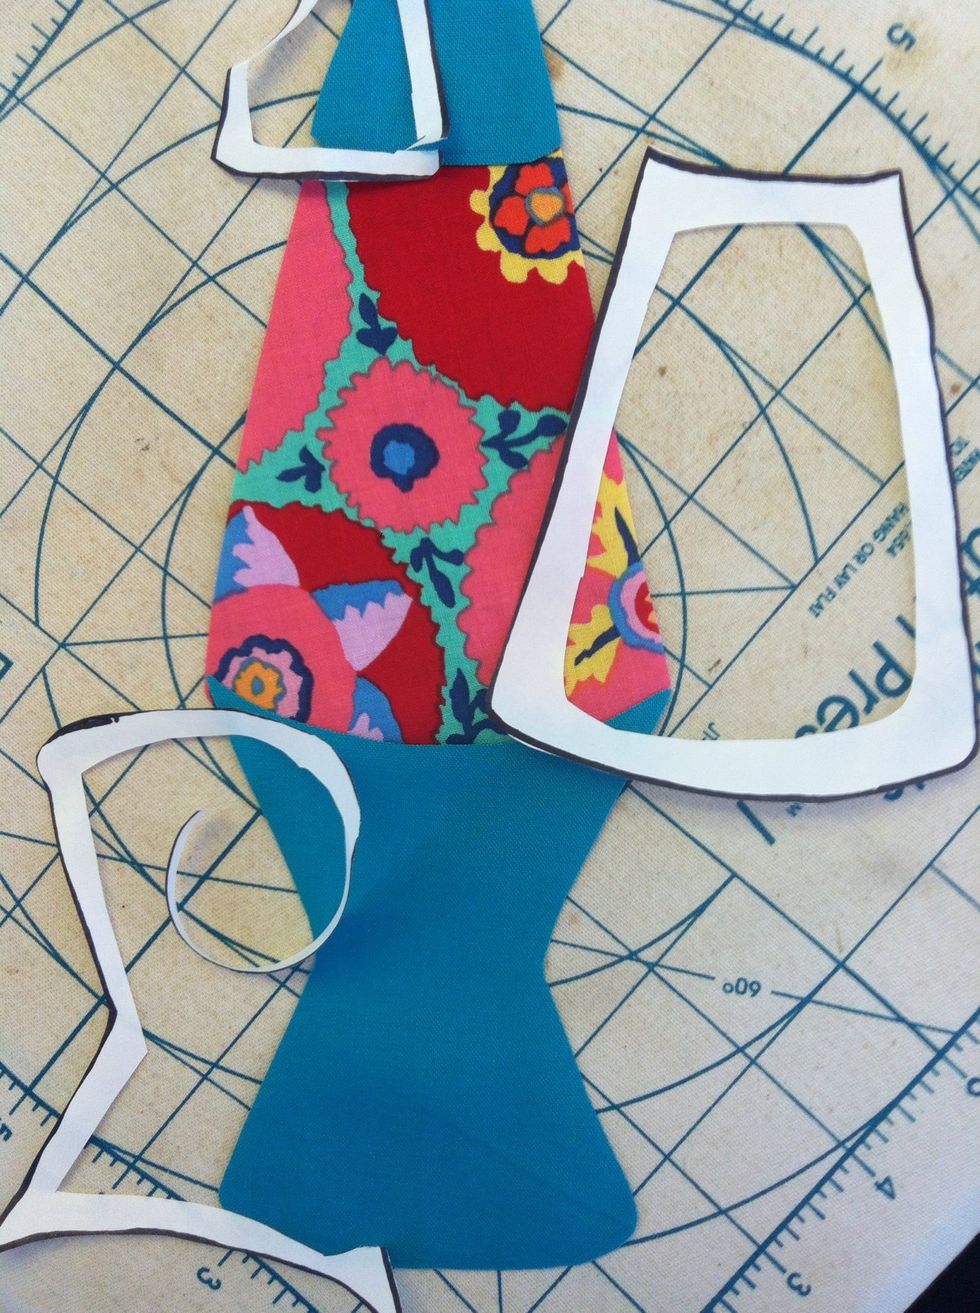
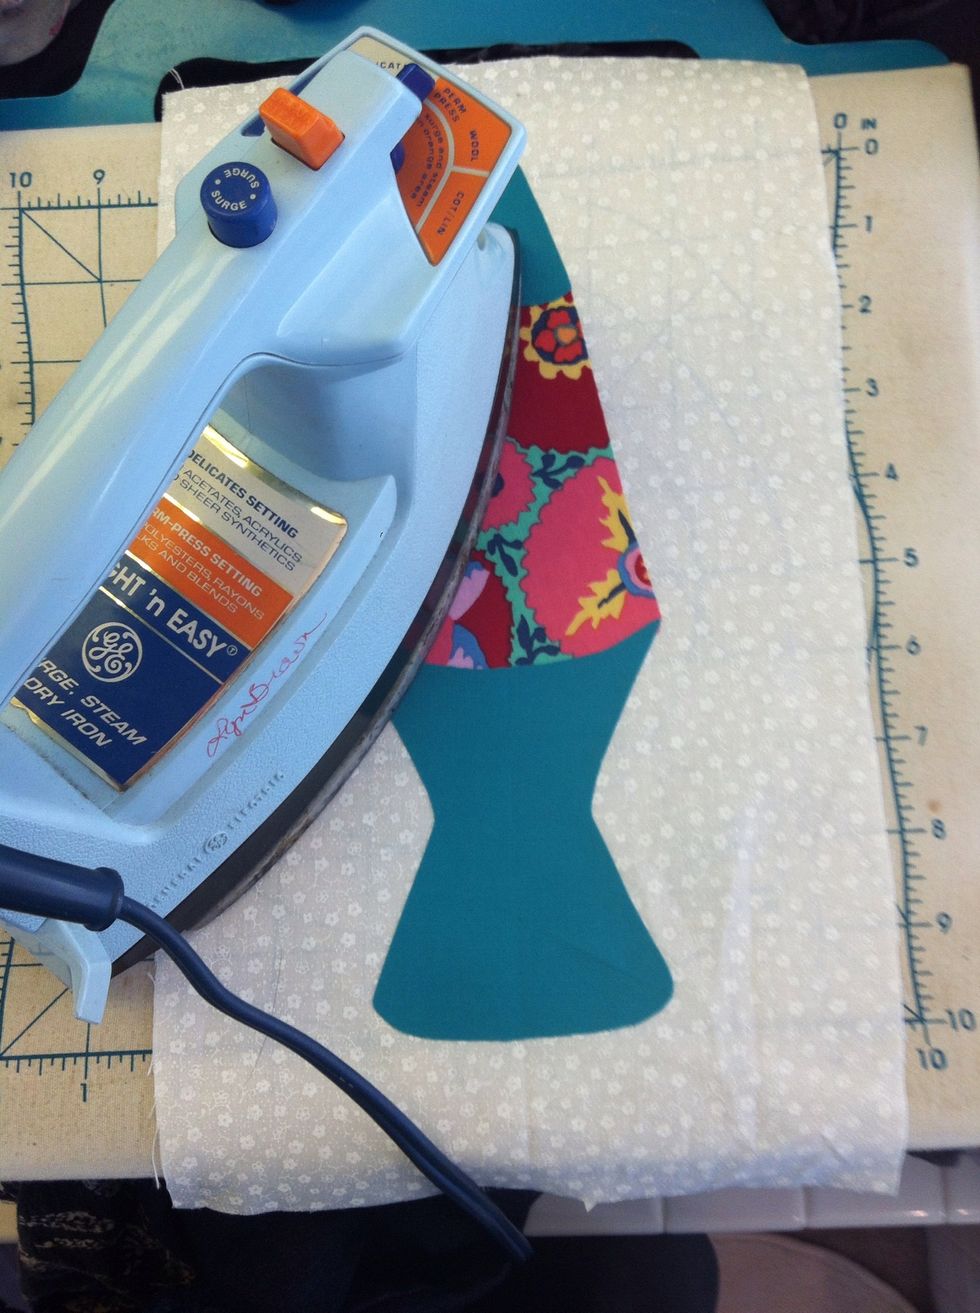
Fuse pattern pieces with iron to wrong side of fabric. Follow Fusible Manufacturers instructions. HeatNBond requires a med. iron temp. Too hot & the glue burns away, too cold & it doesn't melt at all.
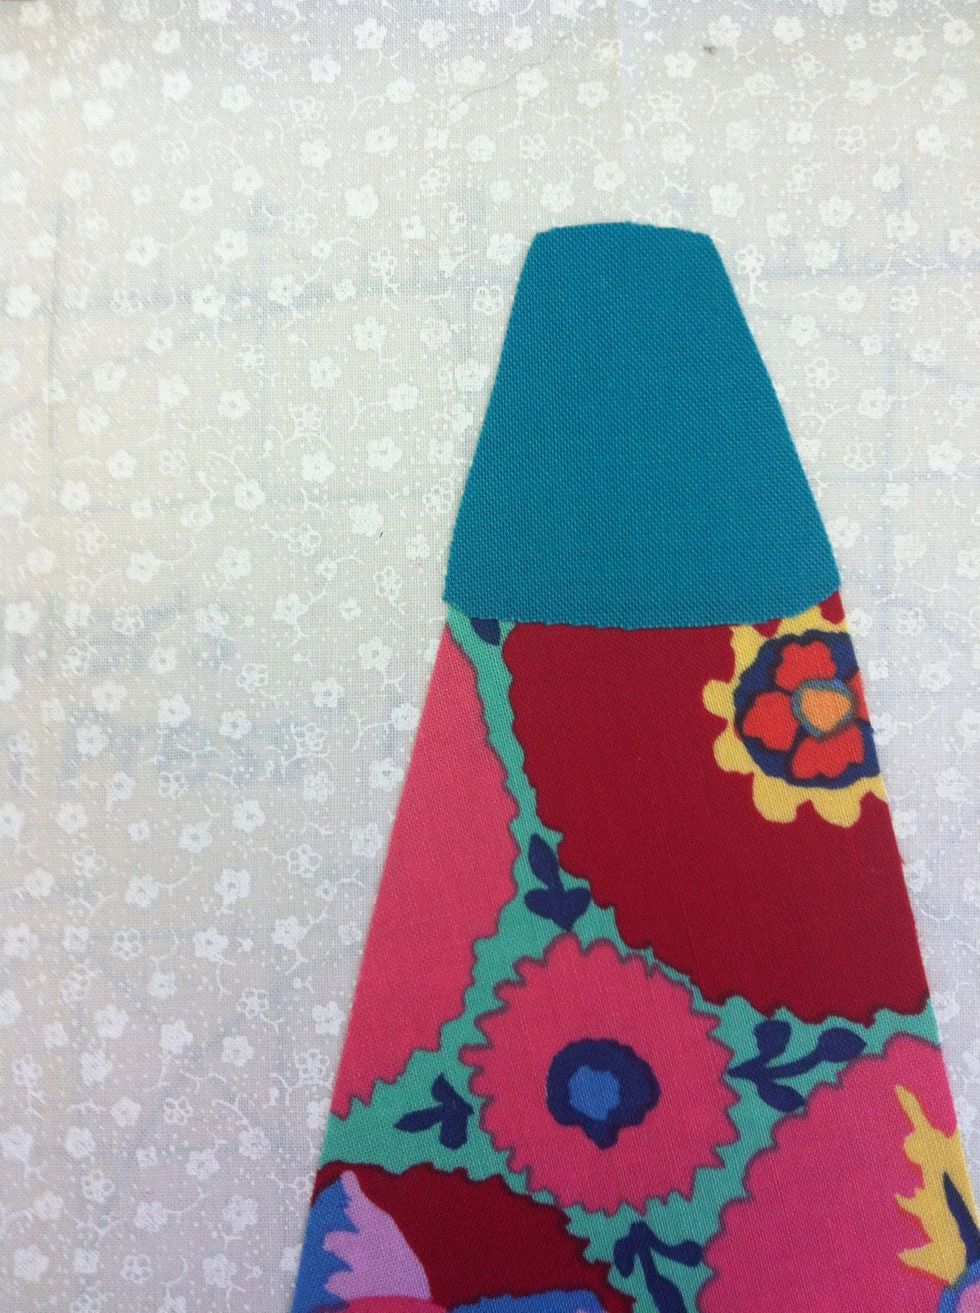
NOW you can cut on the line. The appliqué starts to take shape.

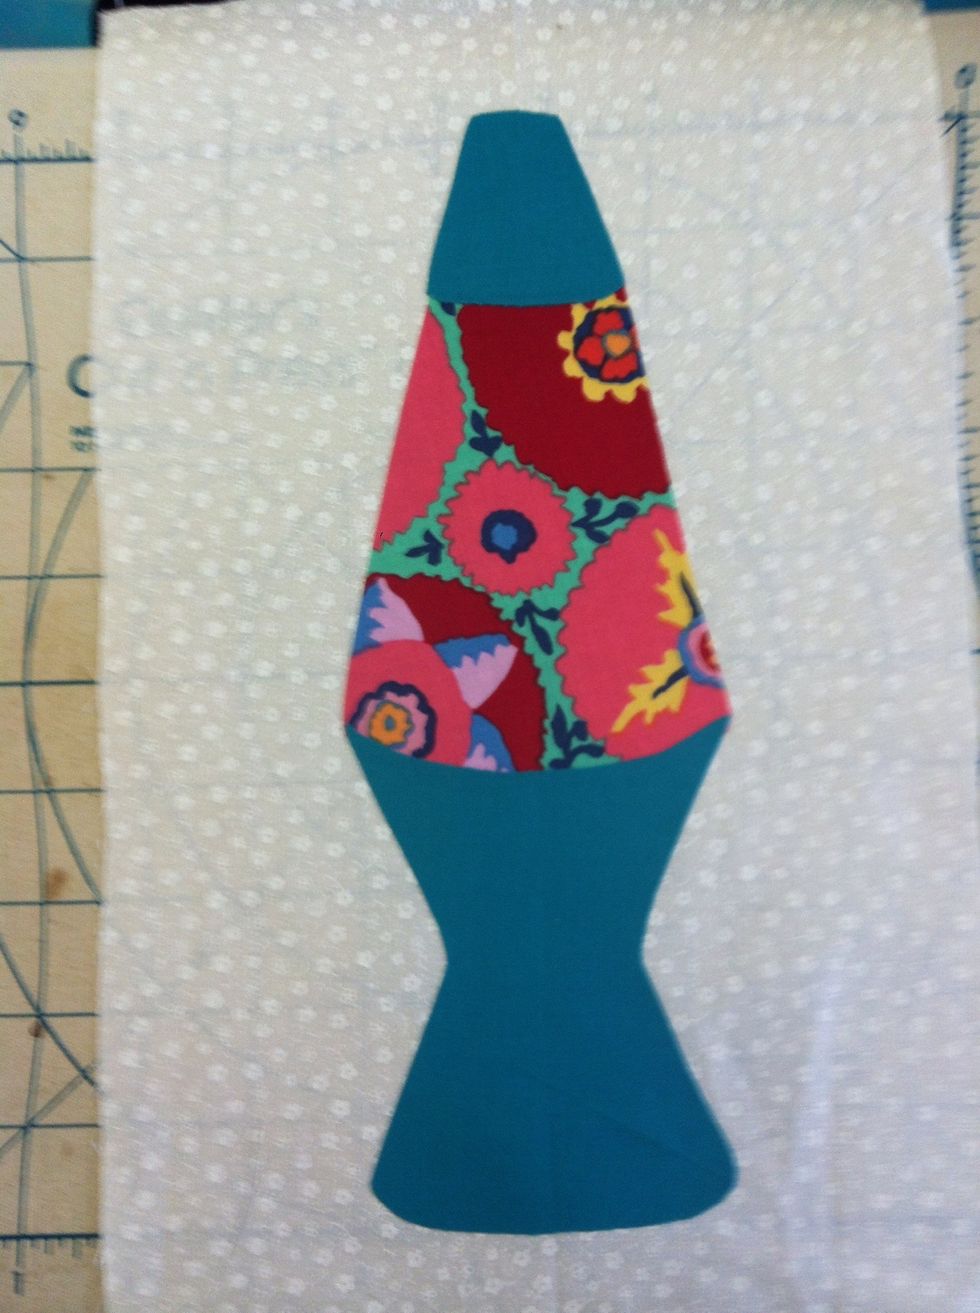
Hey, that looks like a Lava Lamp!
But wait! Peel the backing paper off to reveal the glue.

Don't forget to take that paper off!

Choose your background fabric. Cut to size or just a bit bigger.

I like to iron midline guides along the centers of the piece to help guide my appliqué placement.

Position your pieces. Be sure they are turned so the exposed glue is toward the background fabric. This takes a watchful eye with solids and batiks.
Press in place. Again follow manufacturer's directions.

Completed block, ready to be stitched down... But that's another Snap Guide!
Don't worry about small imperfections. Your stitching will cover those.

Here is the completed block. The pattern calls for 12 or 20 blocks so I better get busy. I'll post the stitching guide soon.
A Final Note: Fabric Softener and Starch of any kind can repel the glue of the Fusible Web so if you pre wash, don't use them. Also if the fusing isn't sticking, rinse fabric to remove any finish.