The Conversation (0)
Sign Up
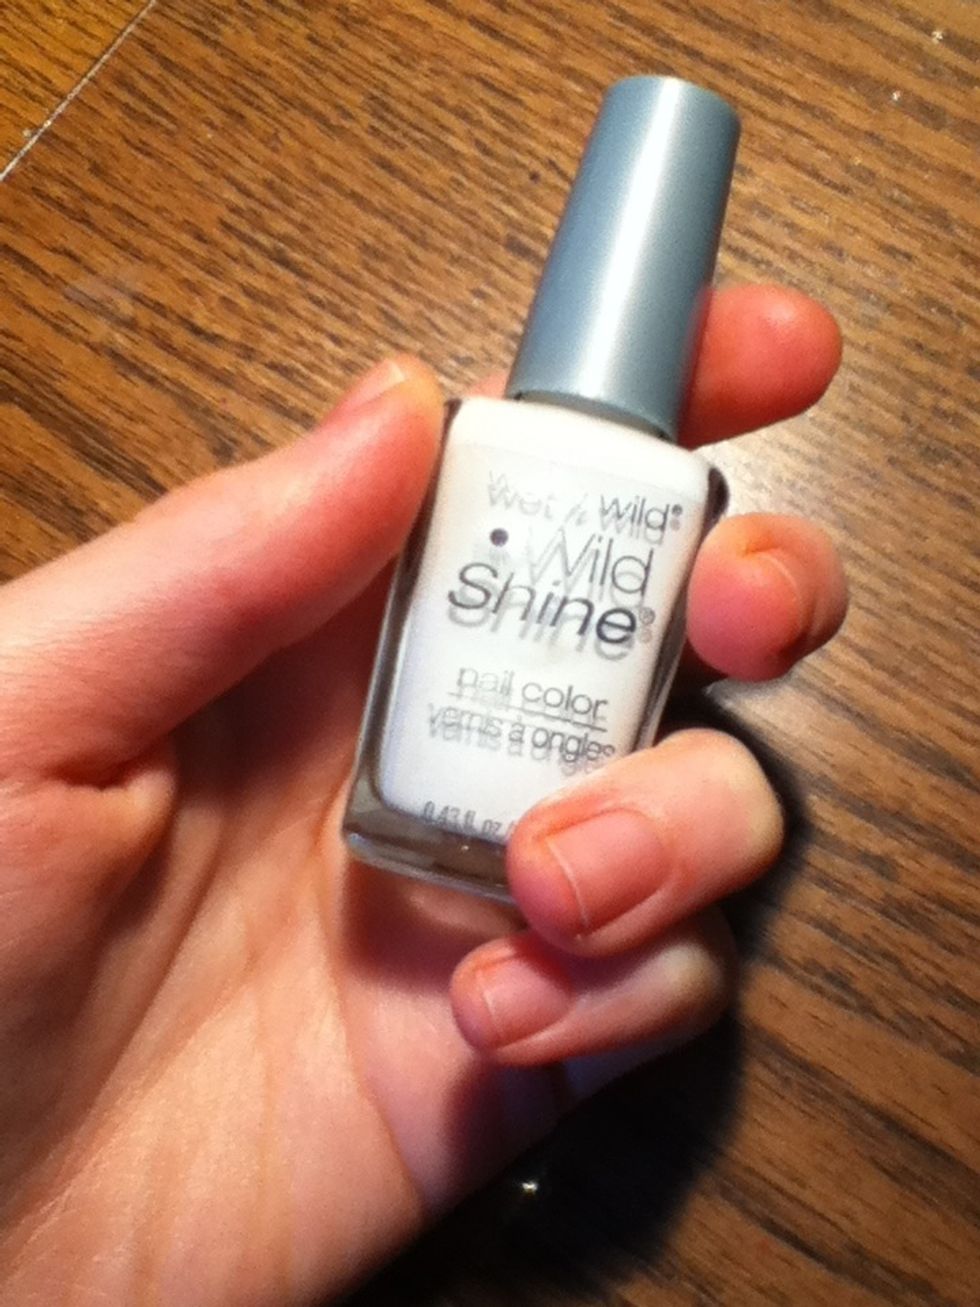
Start with clean, dry nails. Paint your nails with a coat of white. Let dry.
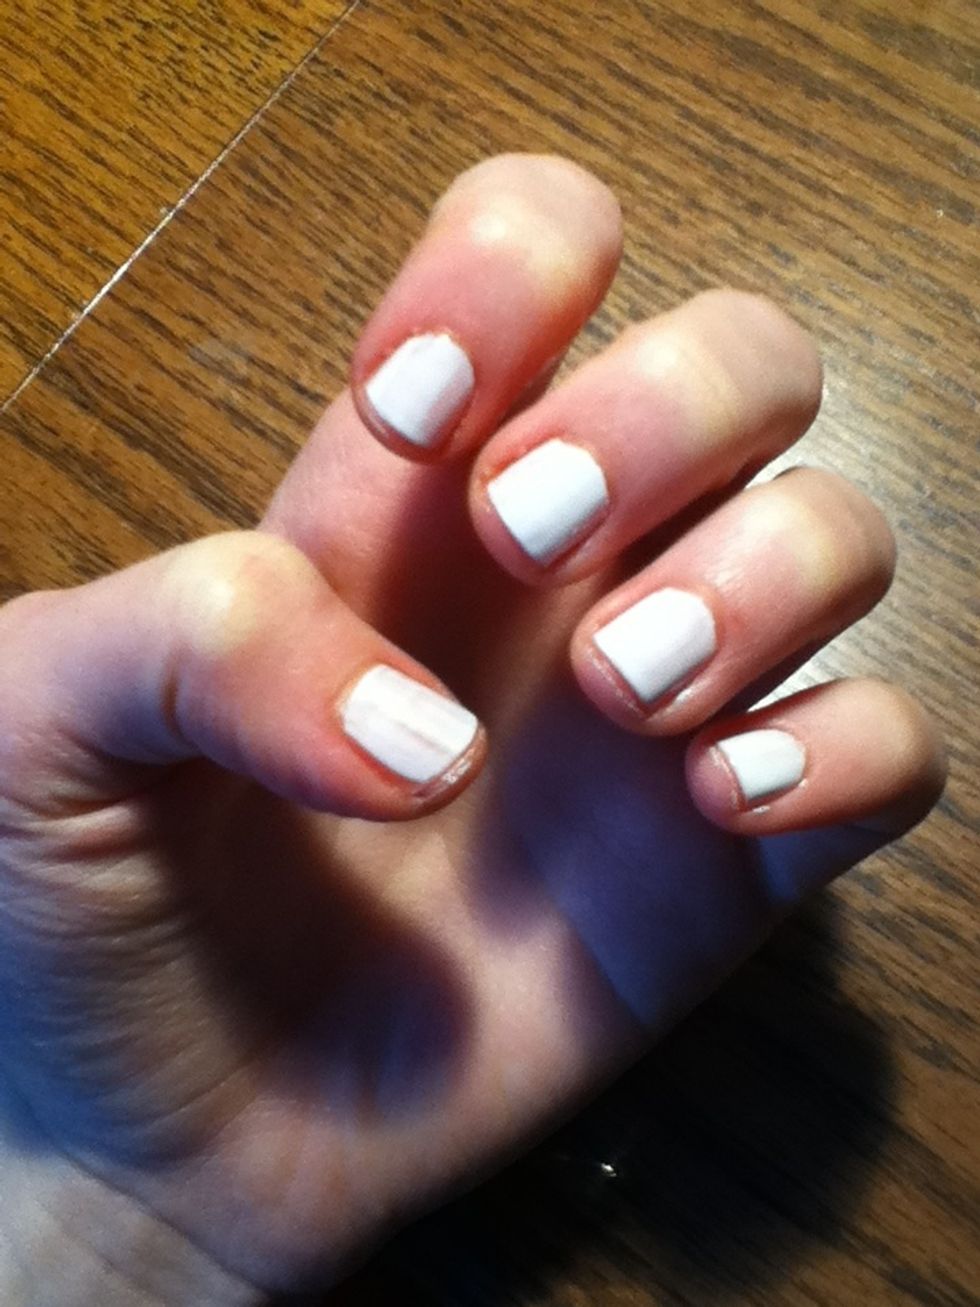
If you get nail polish on the skin surrounding the nail, don't worry! That can be fixed at the end with the Q-tips and nail polish remover.
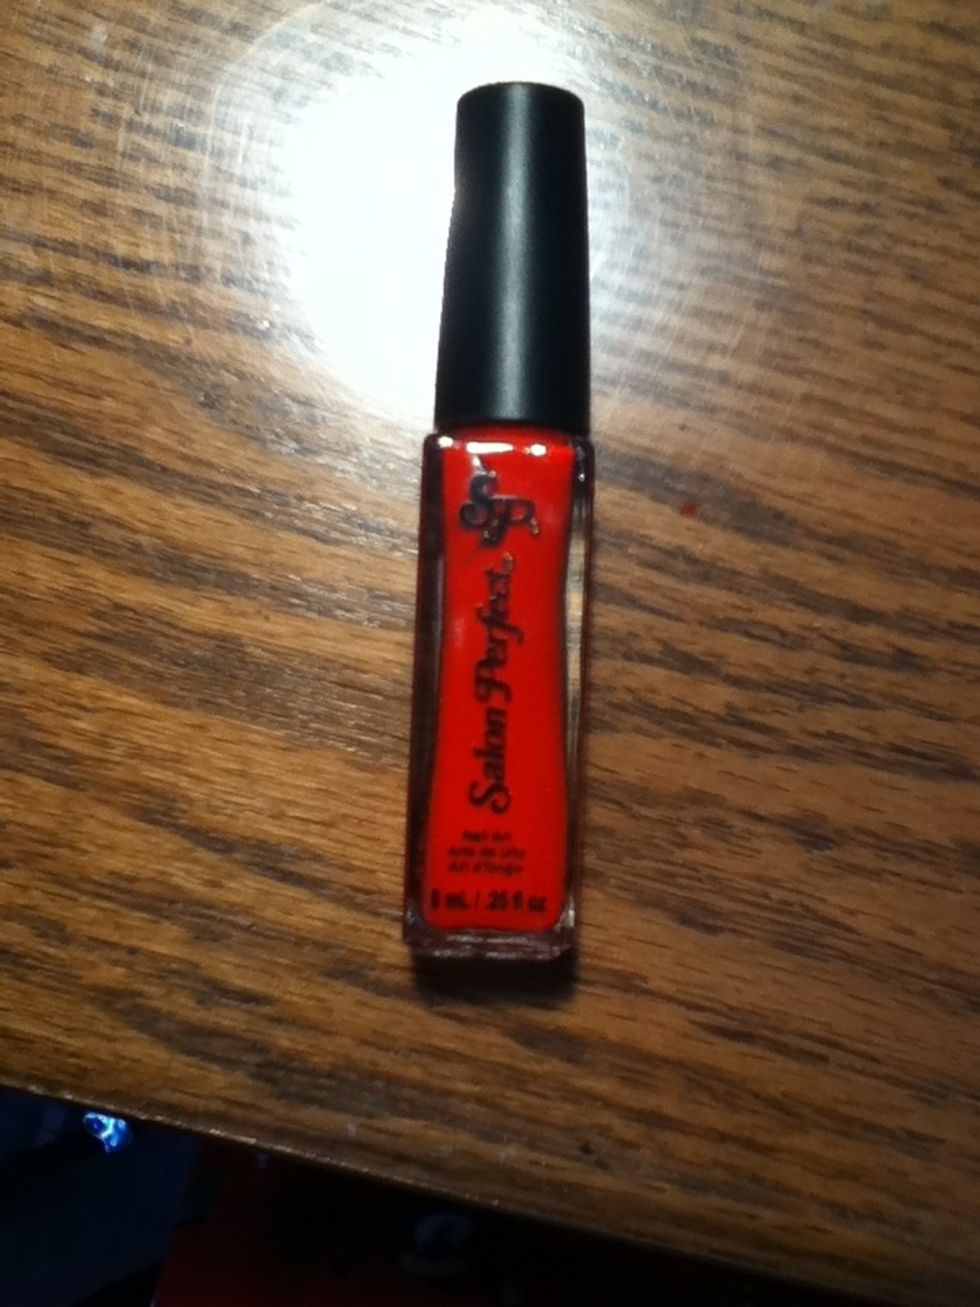
Now, get the red nail polish and your thin brush (my red happens to be a thin brush). Paint a thick, diagonal line on the top right corner of the nail.

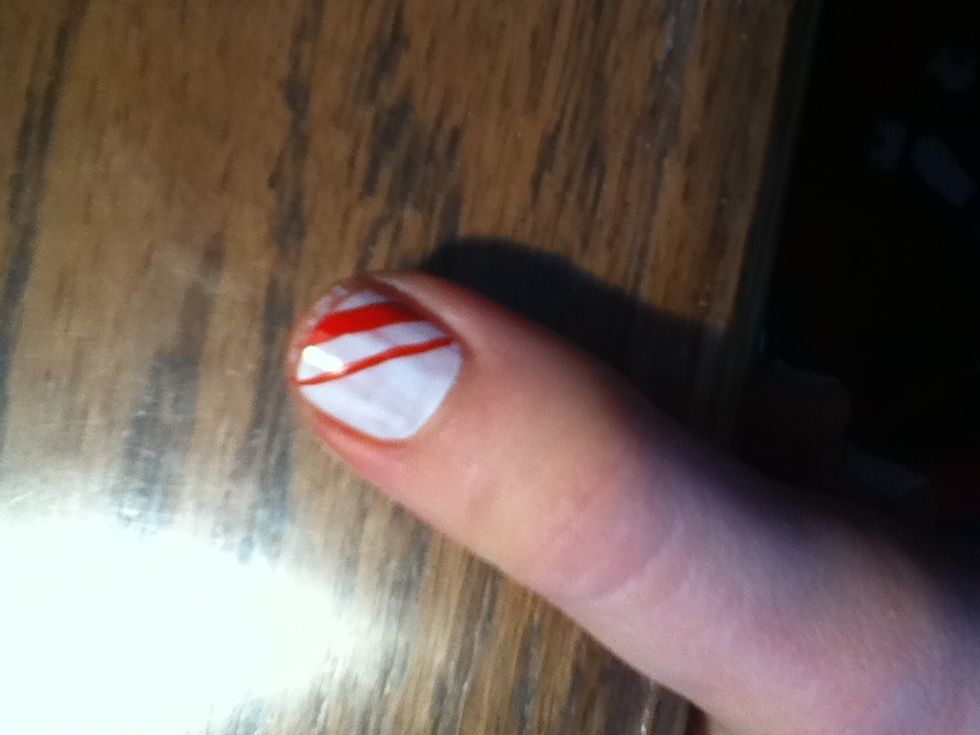
Paint a thinner line in the middle of the nail.

Paint another thick line in the bottom left corner of the nail.
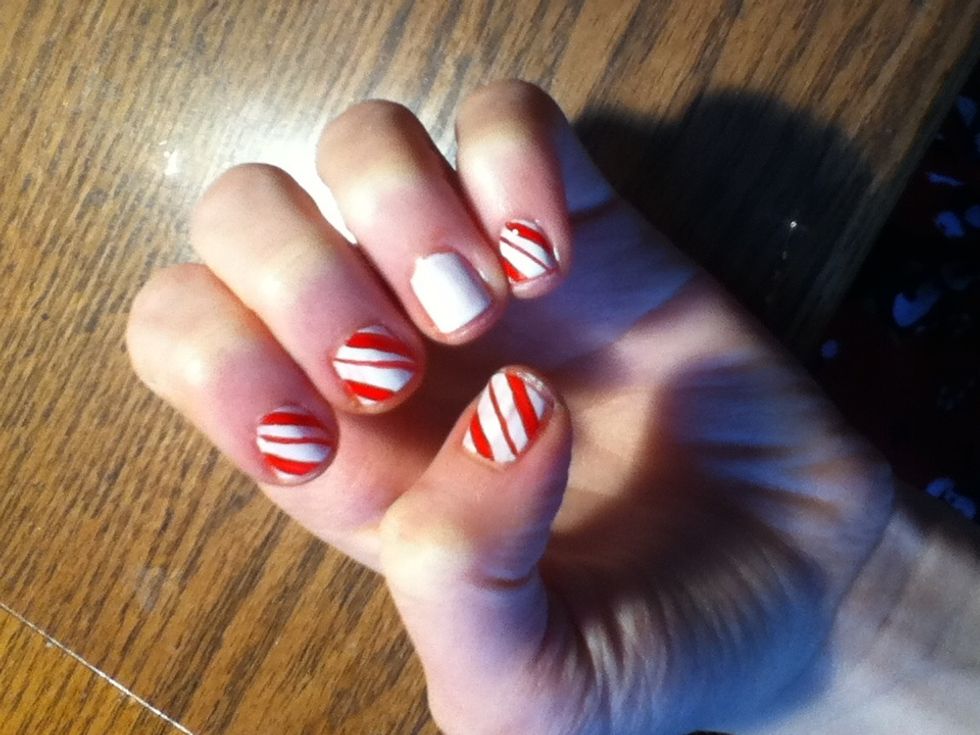
Repeat these steps on all of your nails, except the ring finger nail.
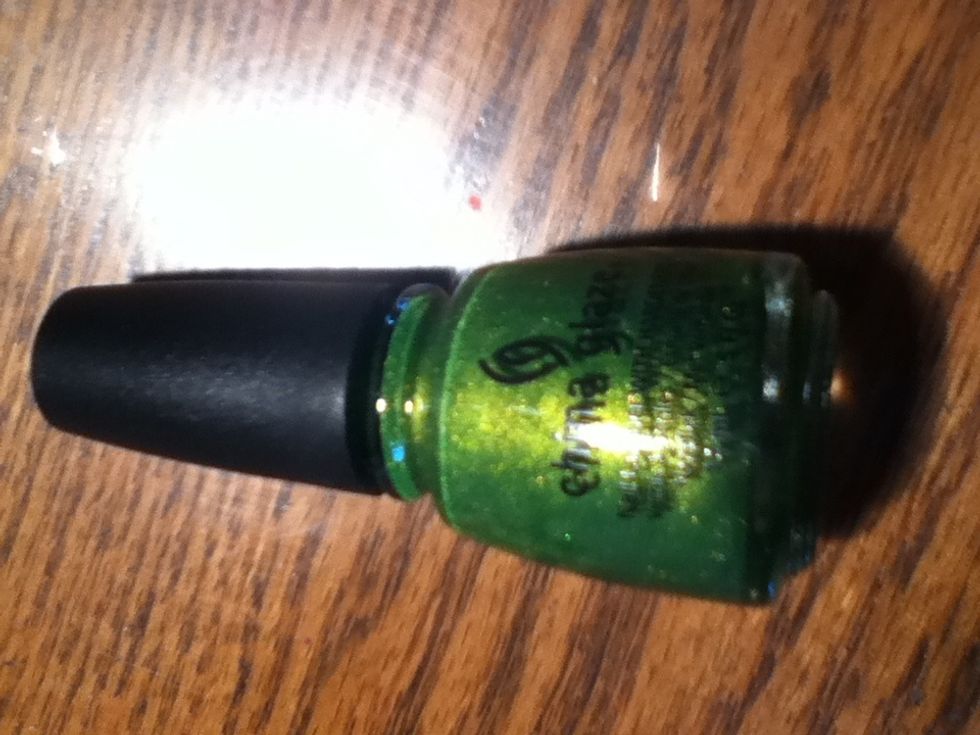
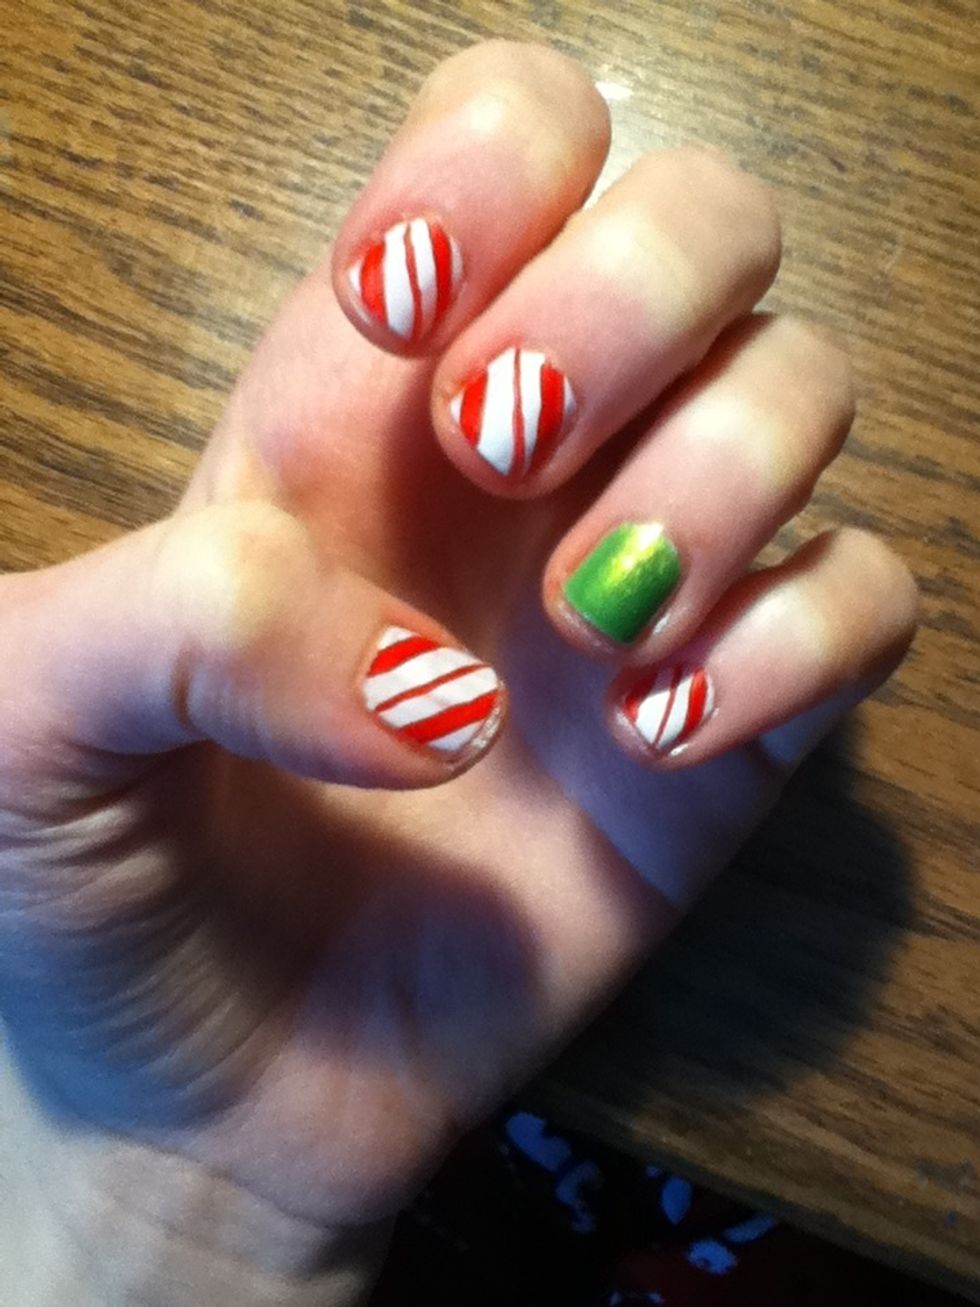
Now, paint the remaining nail with the green polish.

When everything is dry, apply the sparkly nail polish to all nails.
I actually didn't get a whole lot polish on my skin, so I decided to skip the last step. All you have to do is wet the Q-tip with the nail polish remover and rub the areas of skin with the polish.
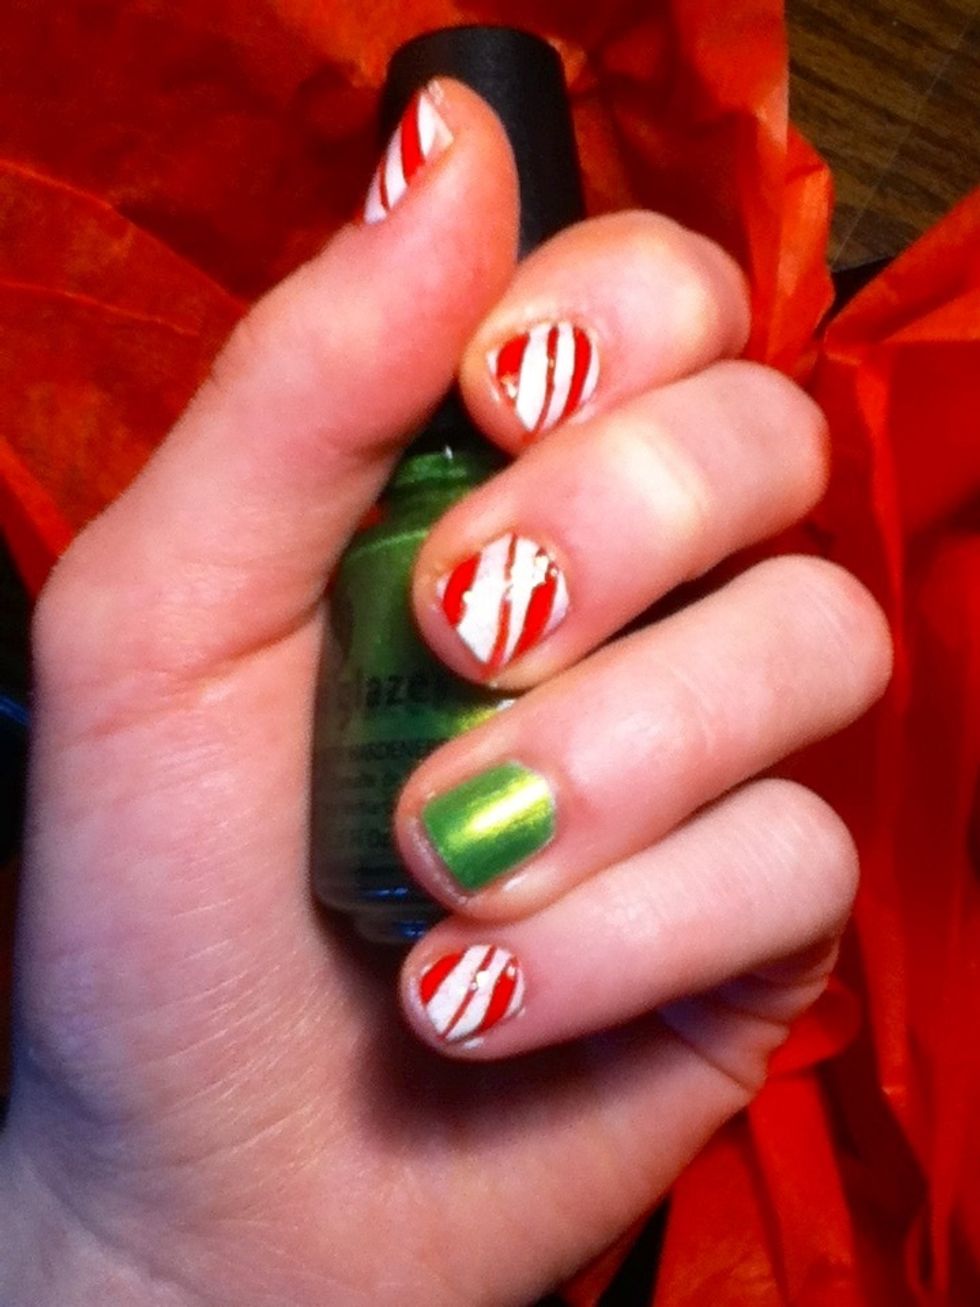
Happy Holidays! I hope you enjoyed my guide :)