The Conversation (0)
Sign Up

Start off with clean nails!
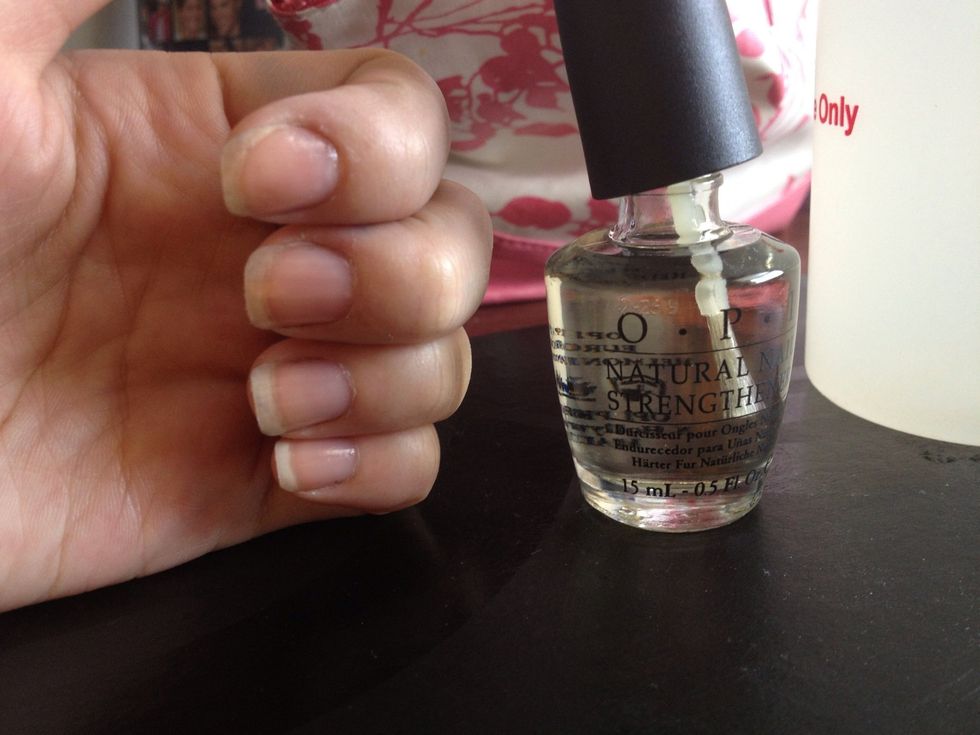
Apply base coat

Apply any base color if you like. This can be done without a base color. White is often a popular color. I also do recommend a lighter color as well.

Take the color you want to create the dripping affects with and place on a moderate sized dot on a clean sheet of paper.
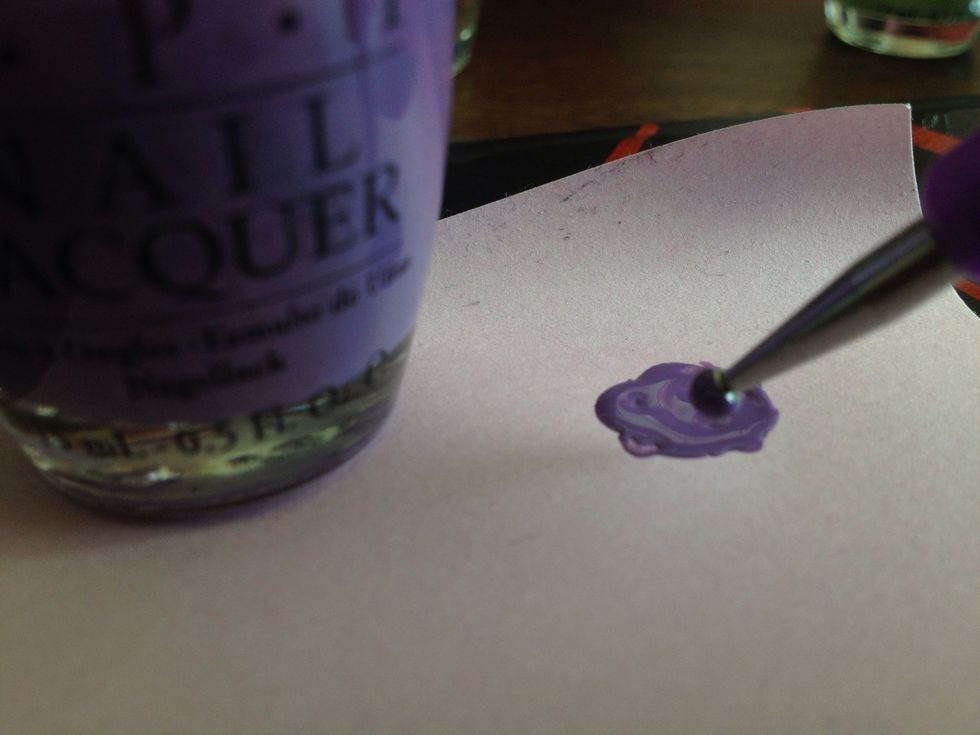
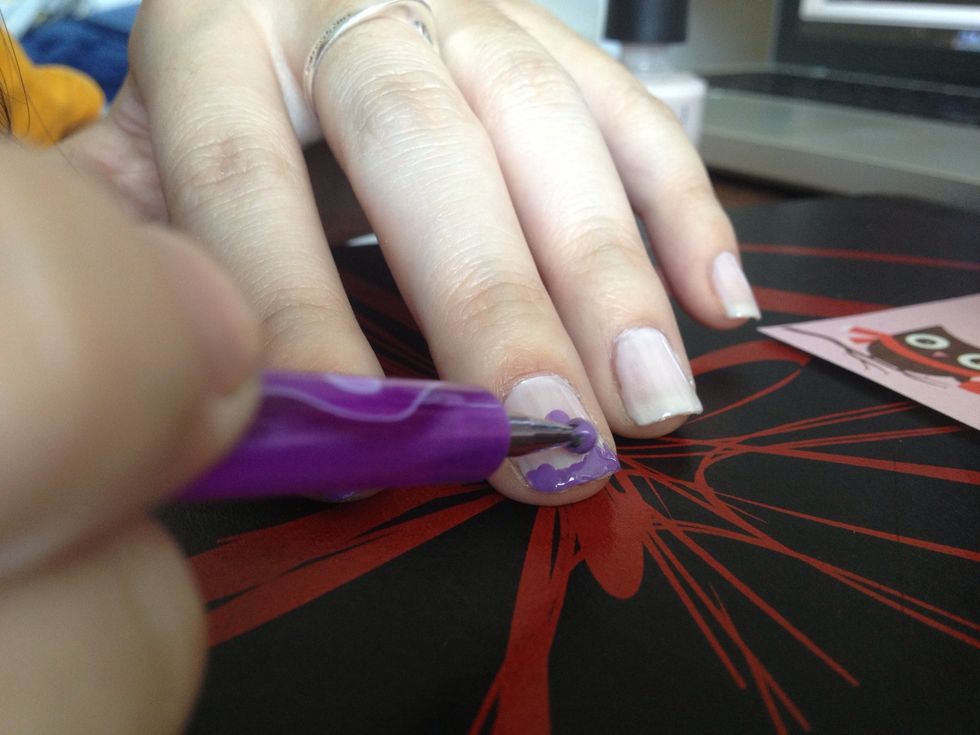
Take your bobby pin (or whatever you have chose to use) and dip into your polish. (My mother bought this dot tool at a nail supply store)
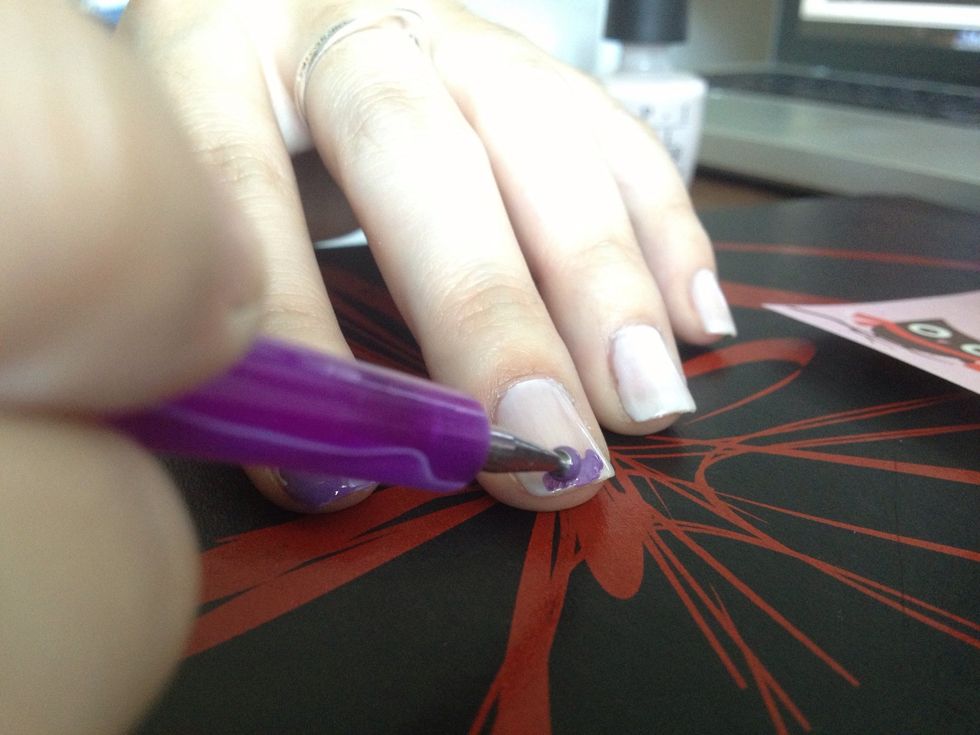
Apply the color along the crest of your nail.
Like so~
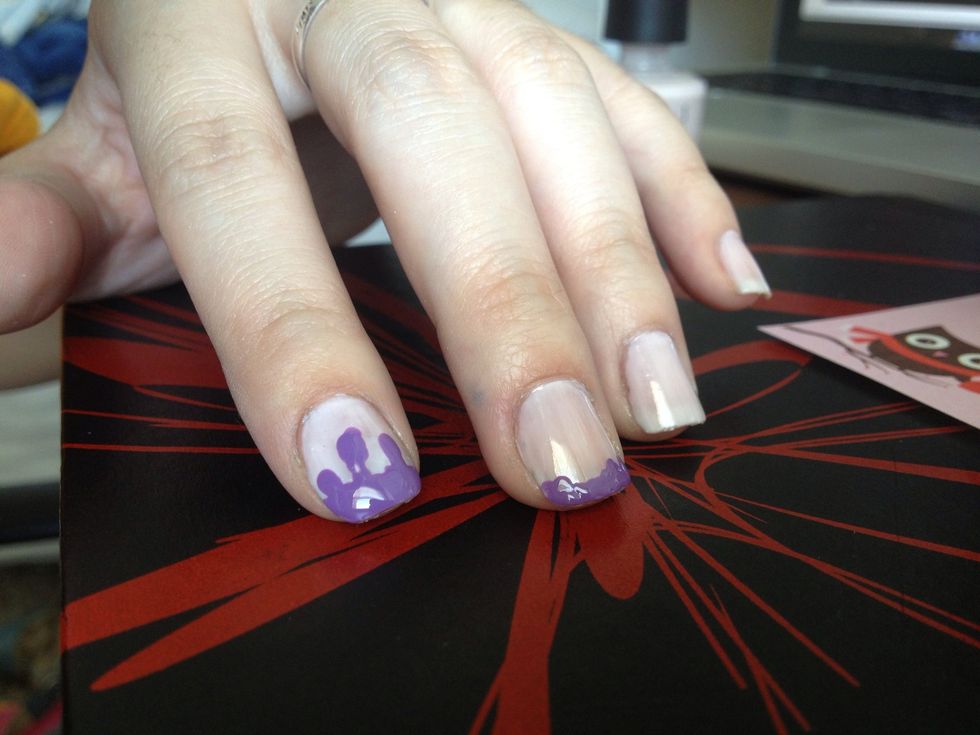
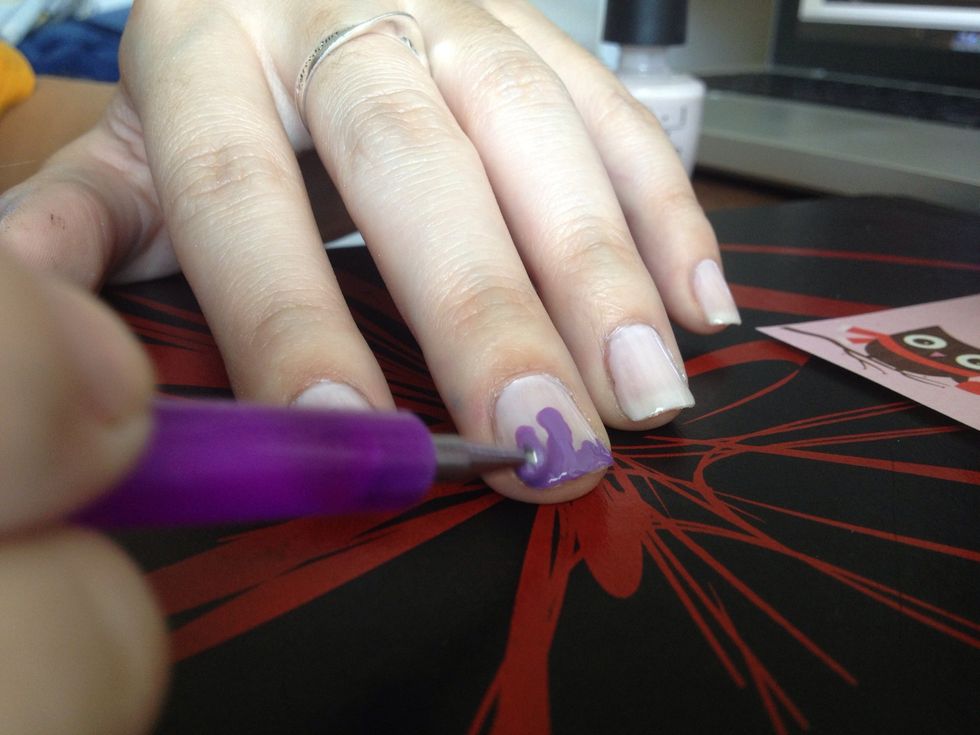
Slowly start creating the dripping affect. Be creative with this! They shouldn't all look the same
Like so~ I used only one color, but feel free to use multiple colors!

Apply top coat to protect your drip drops!
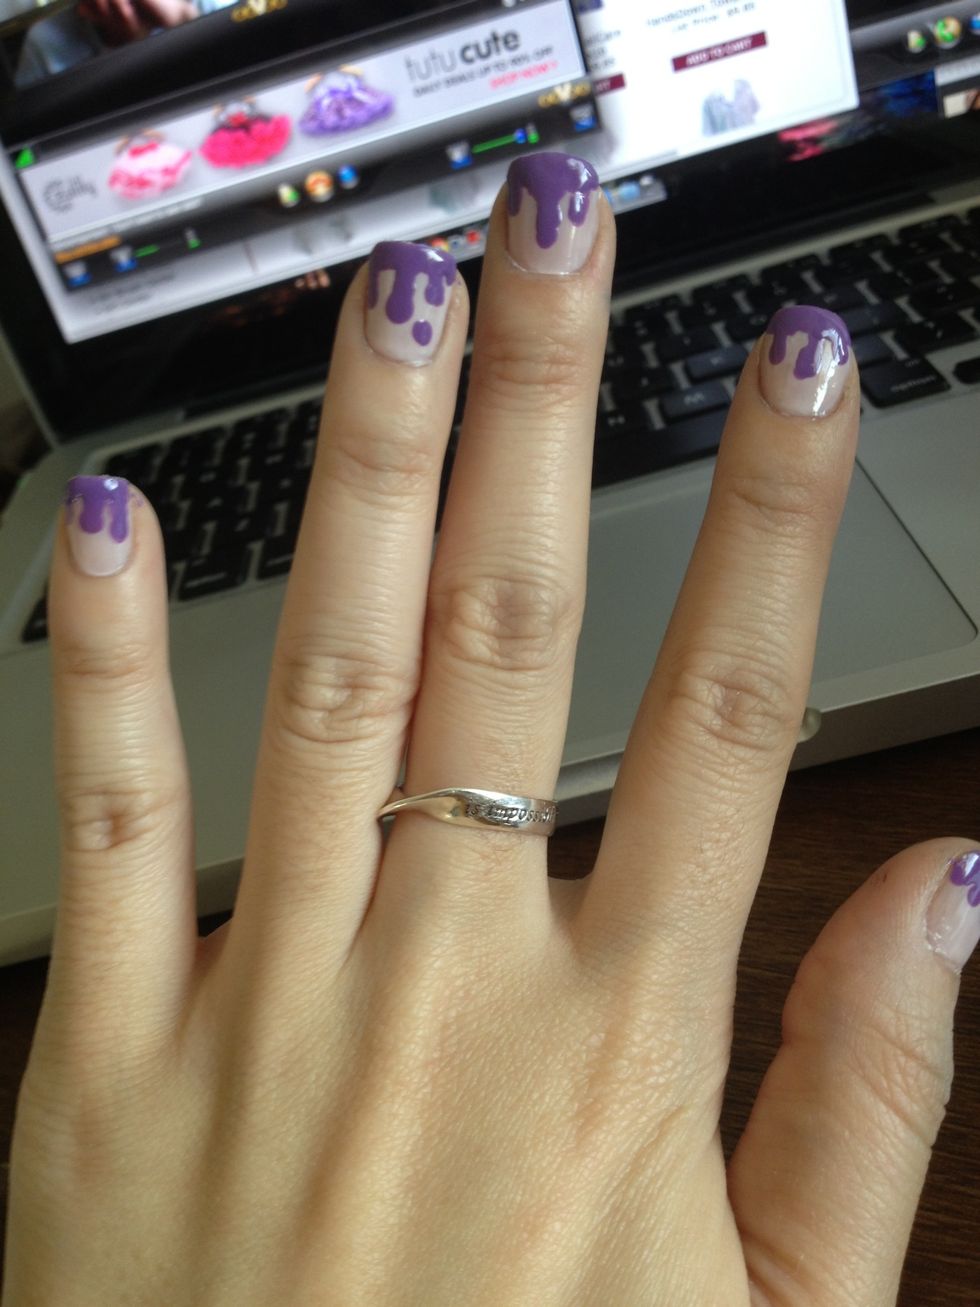
And you're done!