The Conversation (0)
Sign Up

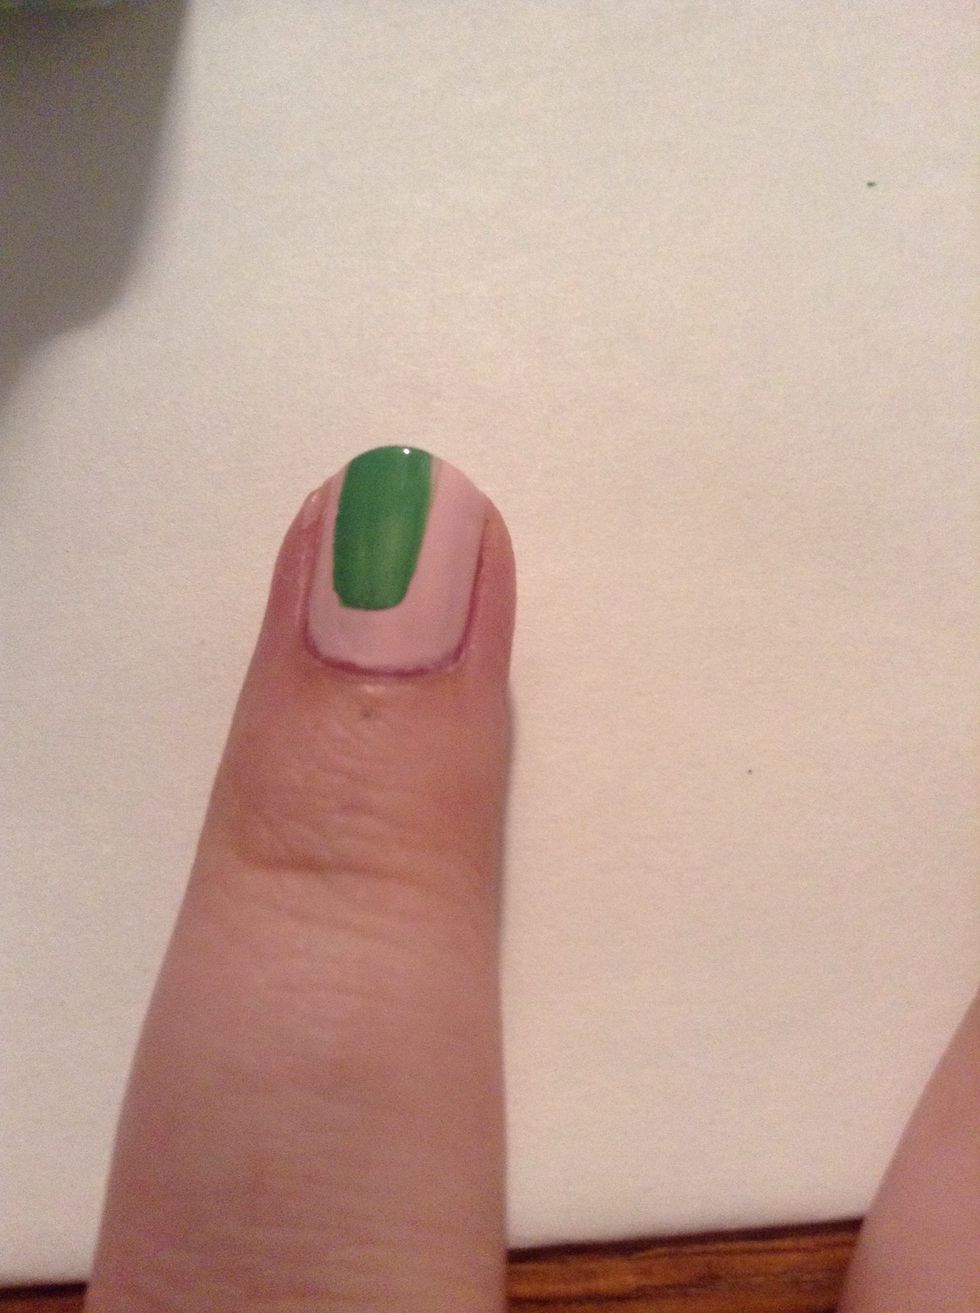
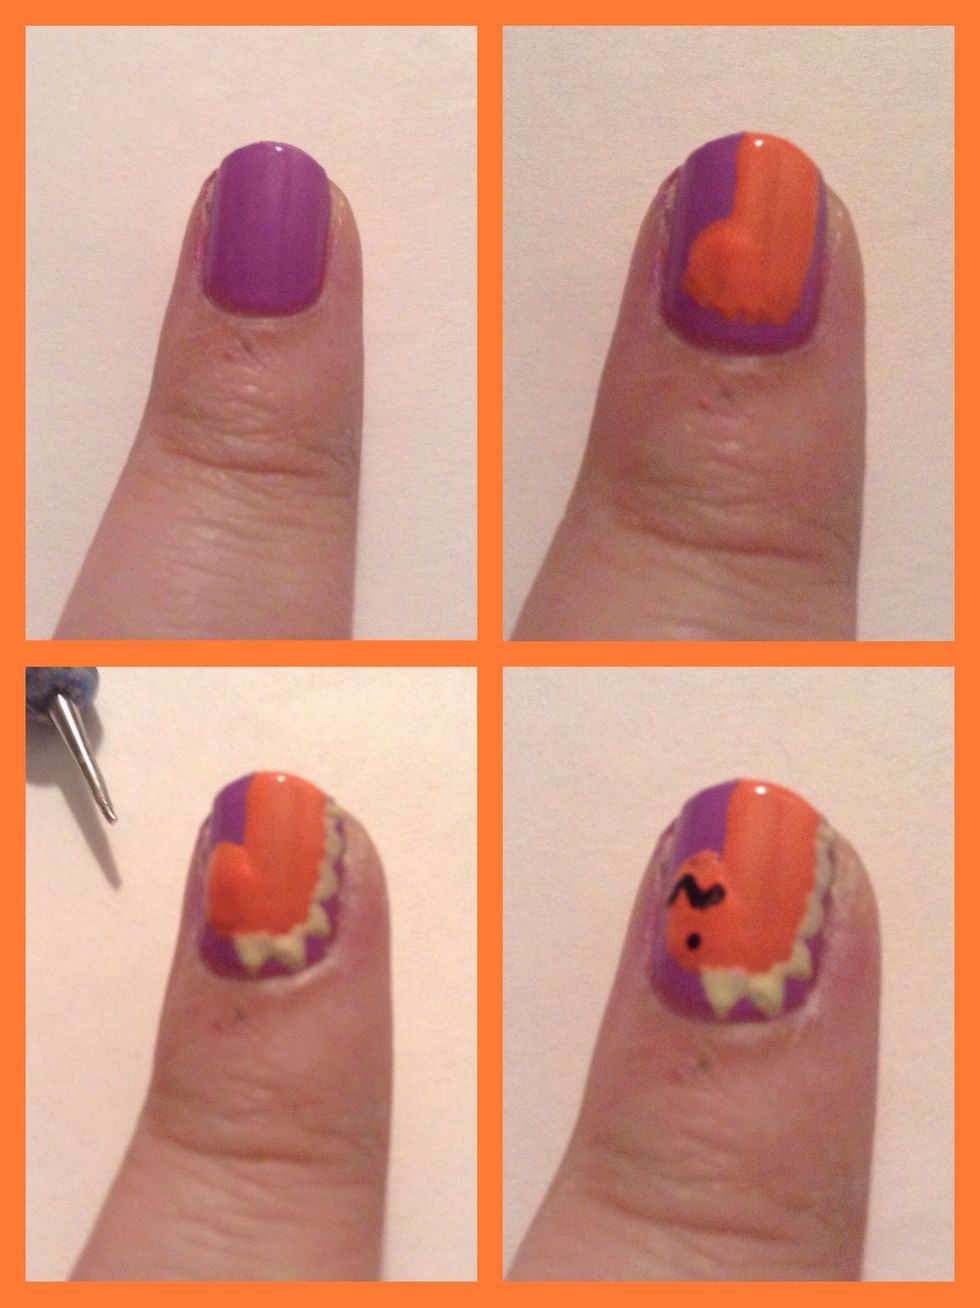
Paint your base coat, and then your base color.
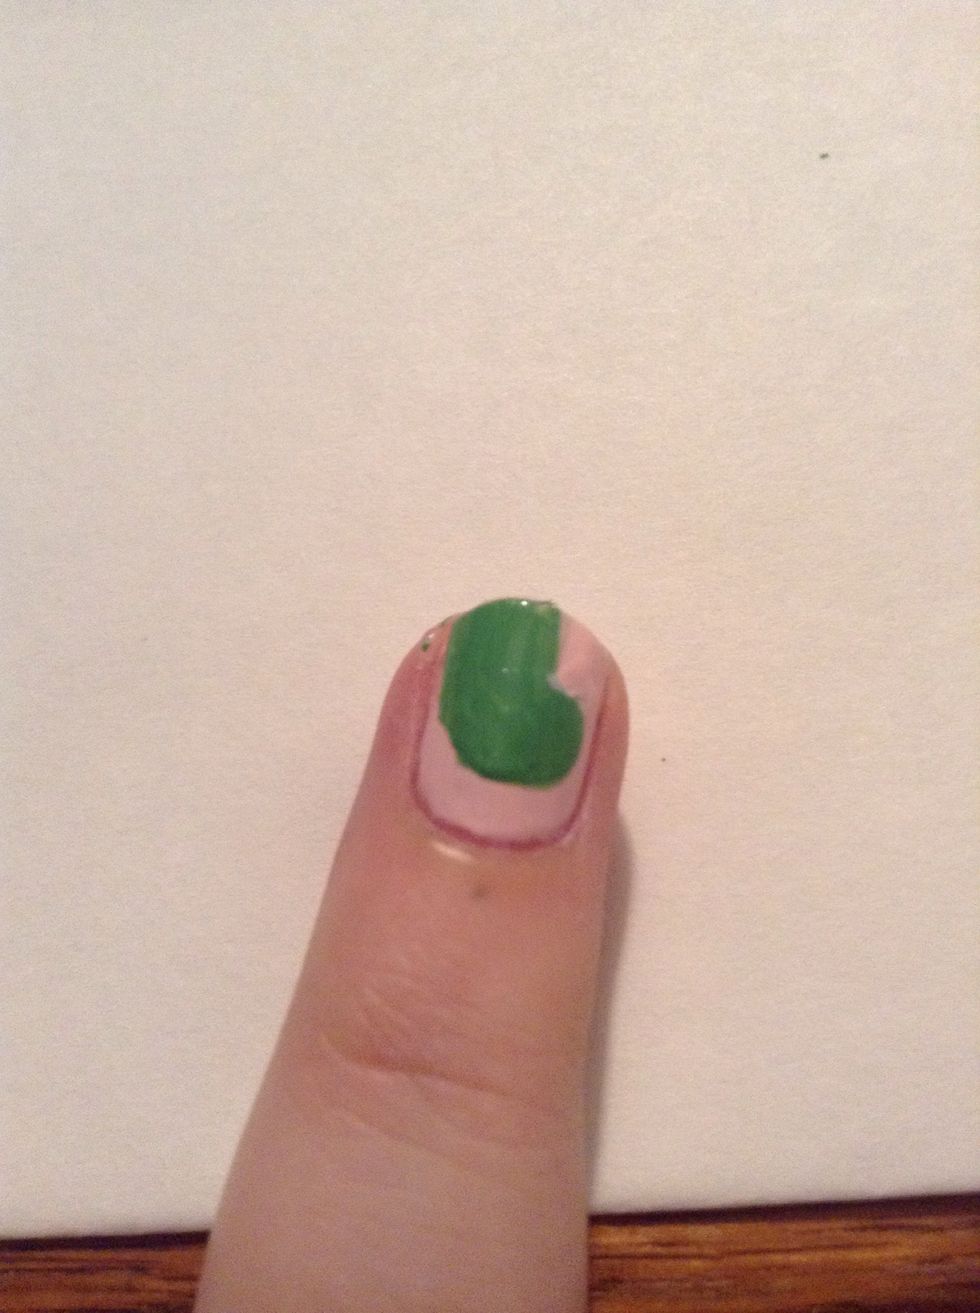
With the bottle brush, make sure you don't have too much polish on the brush, make the body of your dinosaur. Just a swipe of polish, however big you want your dinosaur.
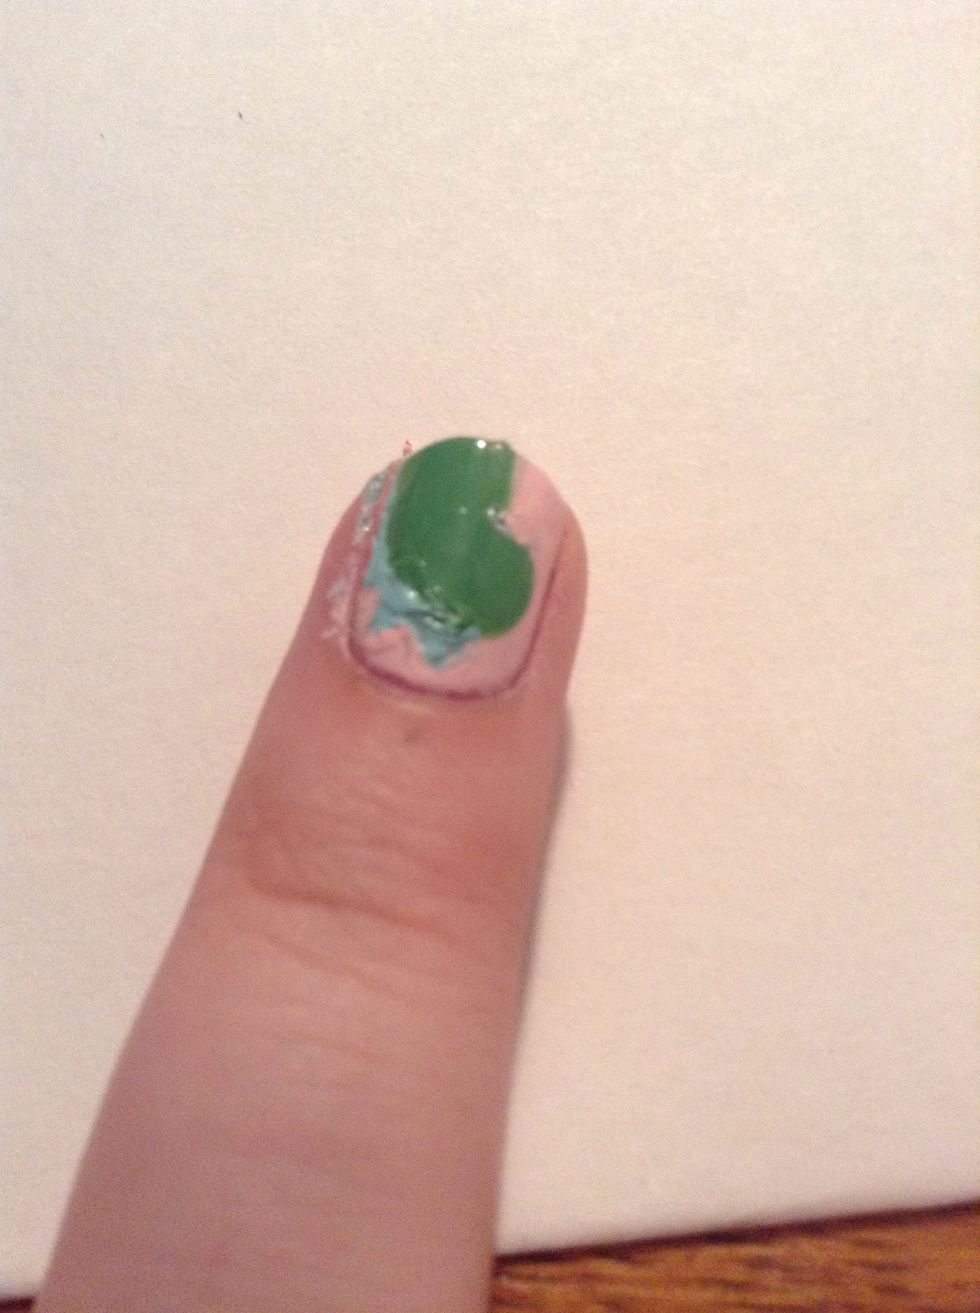
Then with the bottle brush again, make your dinosaur's head.
Use a a small dotting tool (or toothpick, pencil, bobby pin) make the little triangle spikes up it's back.
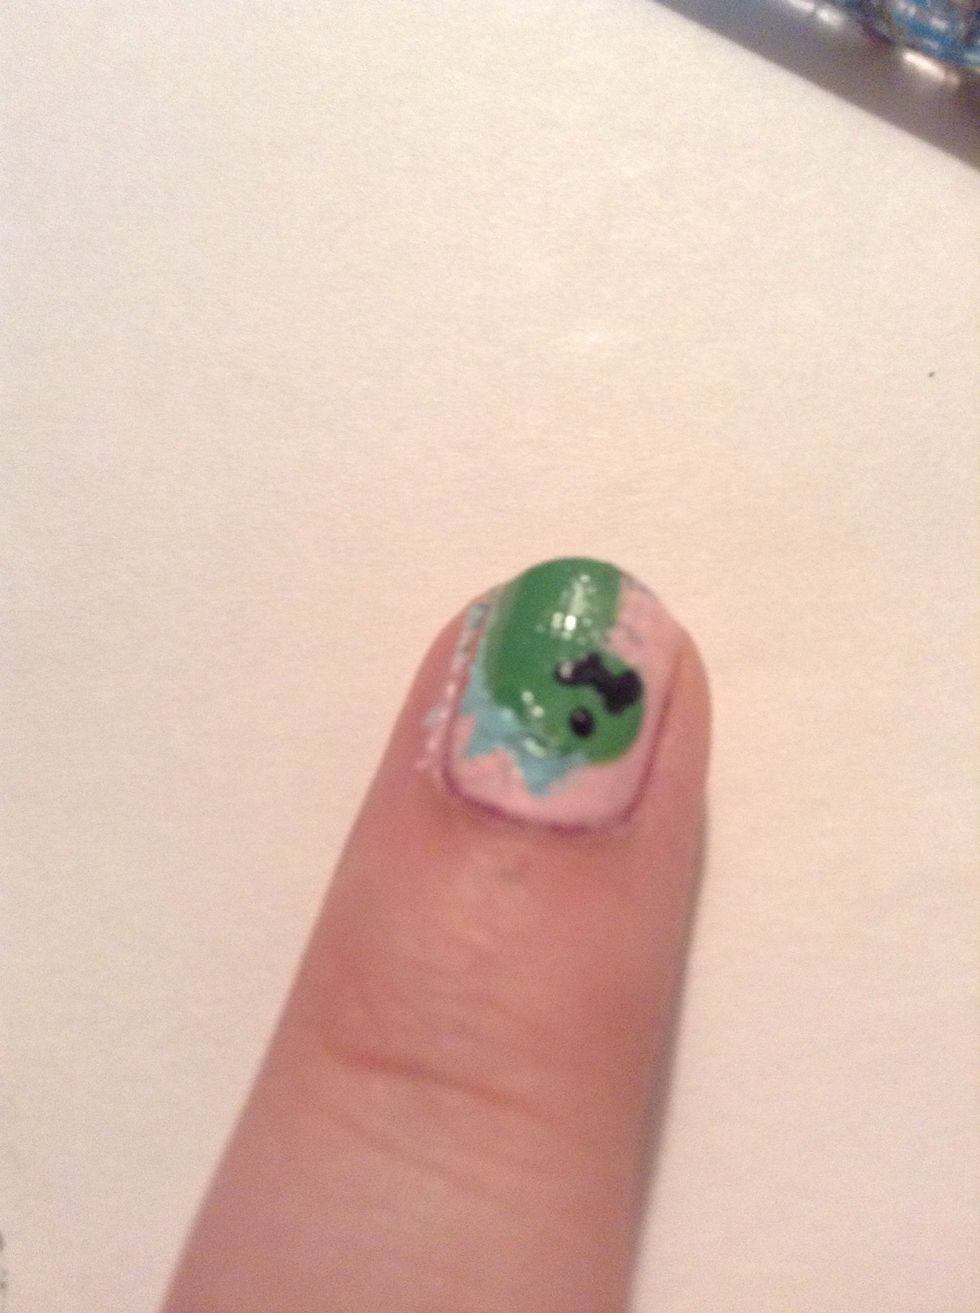
I used a black striper but you can use whatever you used for the spikes, to make an eye and a mouth. Clean up with polish remover and a small brush or q-tip. Then top coat, and you're done!
My other dinosaur. It's actually a little bit better than my other one. And the bottom left pic, that is the dotting tool I used.
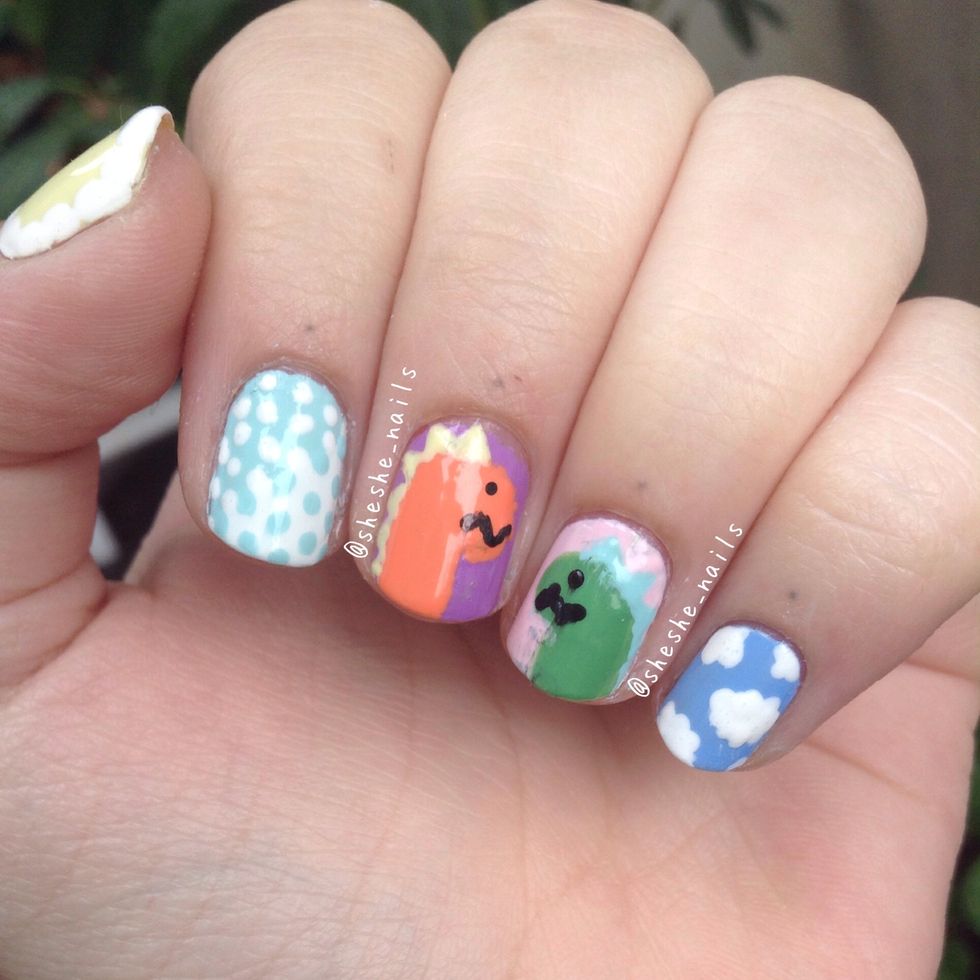
Enjoy your dinosaurs!! •The dot design on my pointer is called interlocking dots, and I've done a guide on it if you are interested.