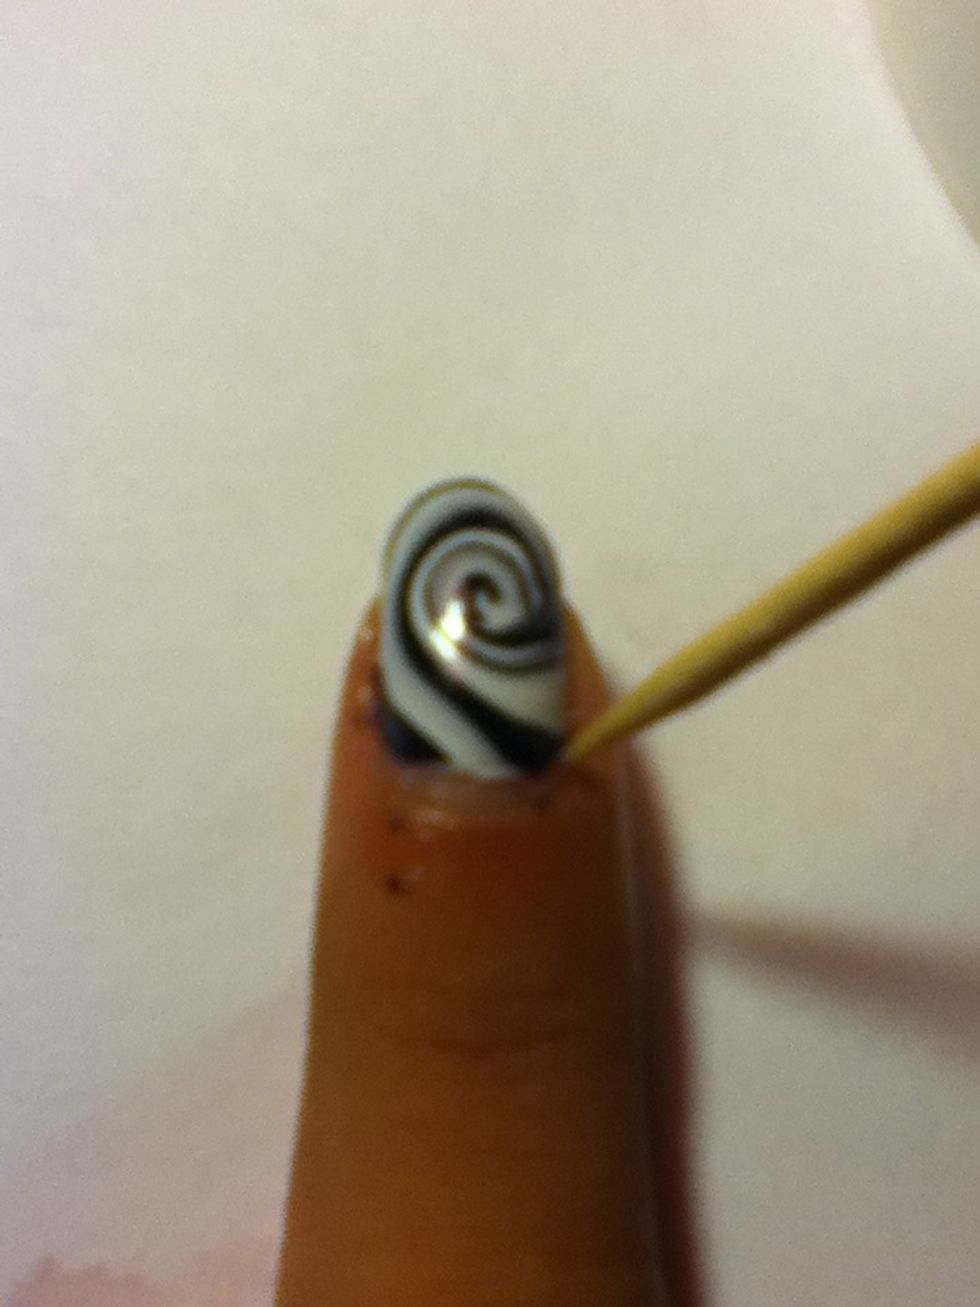
How to do cute b&w swirly nails

Do Cute B&W Swirly Nails

21
STEPS
TOOLS

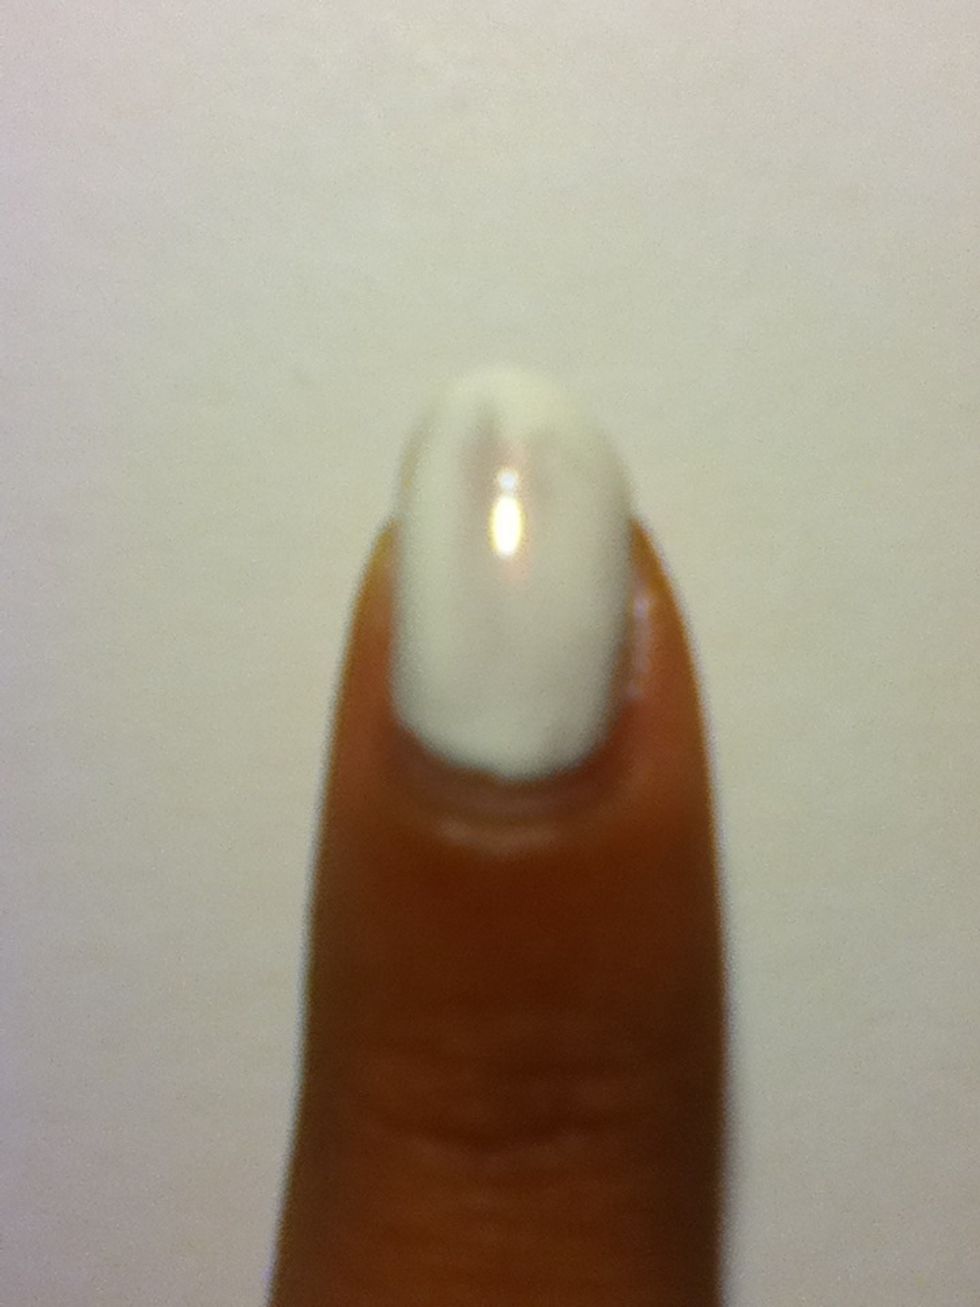
Paint your nails a thin coat of white nail polish to make the design show better\ud83d\udc85 let dry

Paint your nails a thin coat of white nail polish to make the design show betteršŸ’… let dry

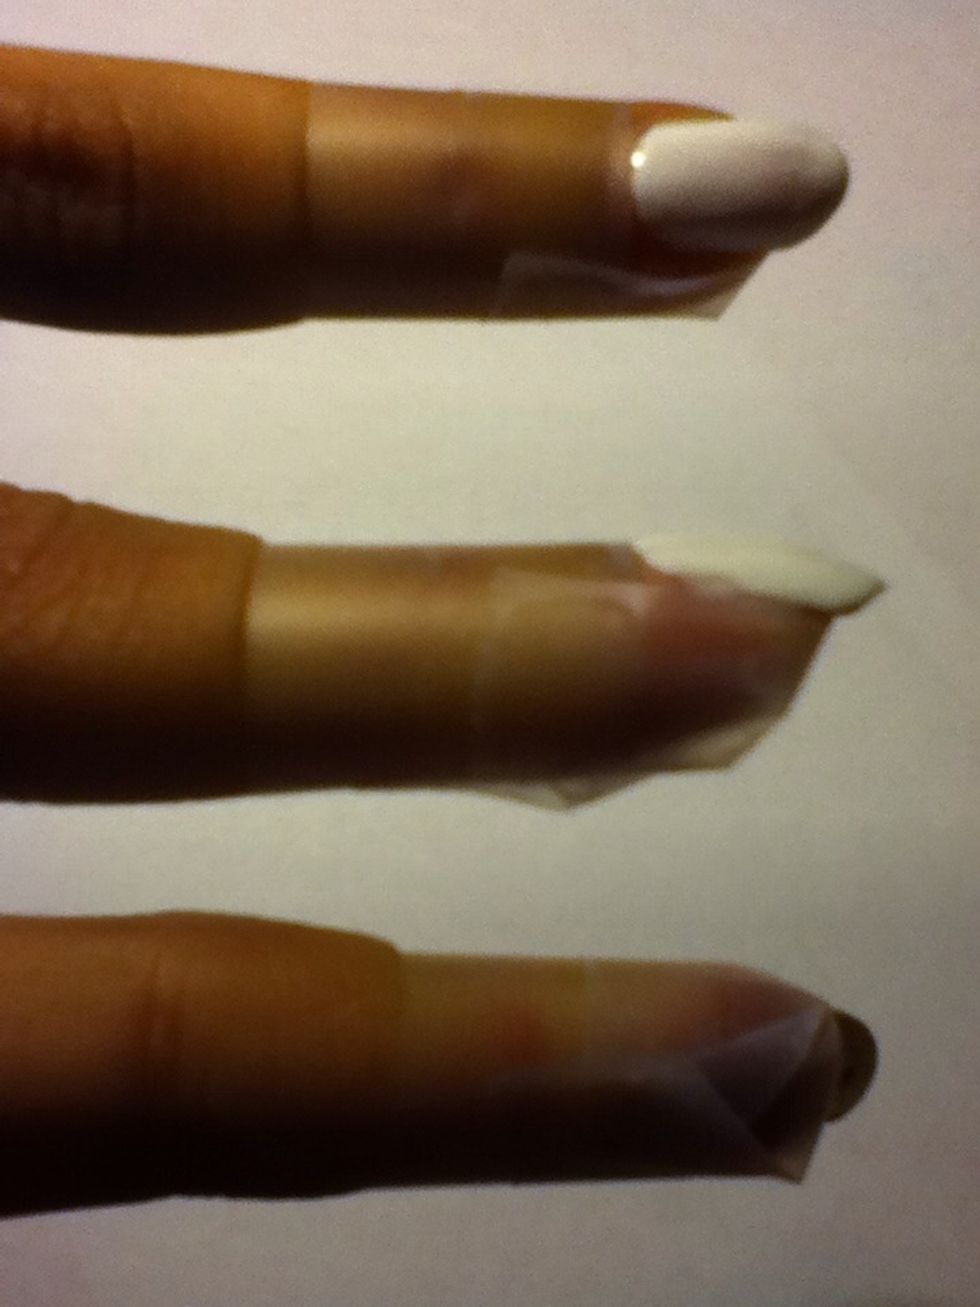
Wrap your nail with tape like this\u2b06

Wrap your nail with tape like thisā¬†

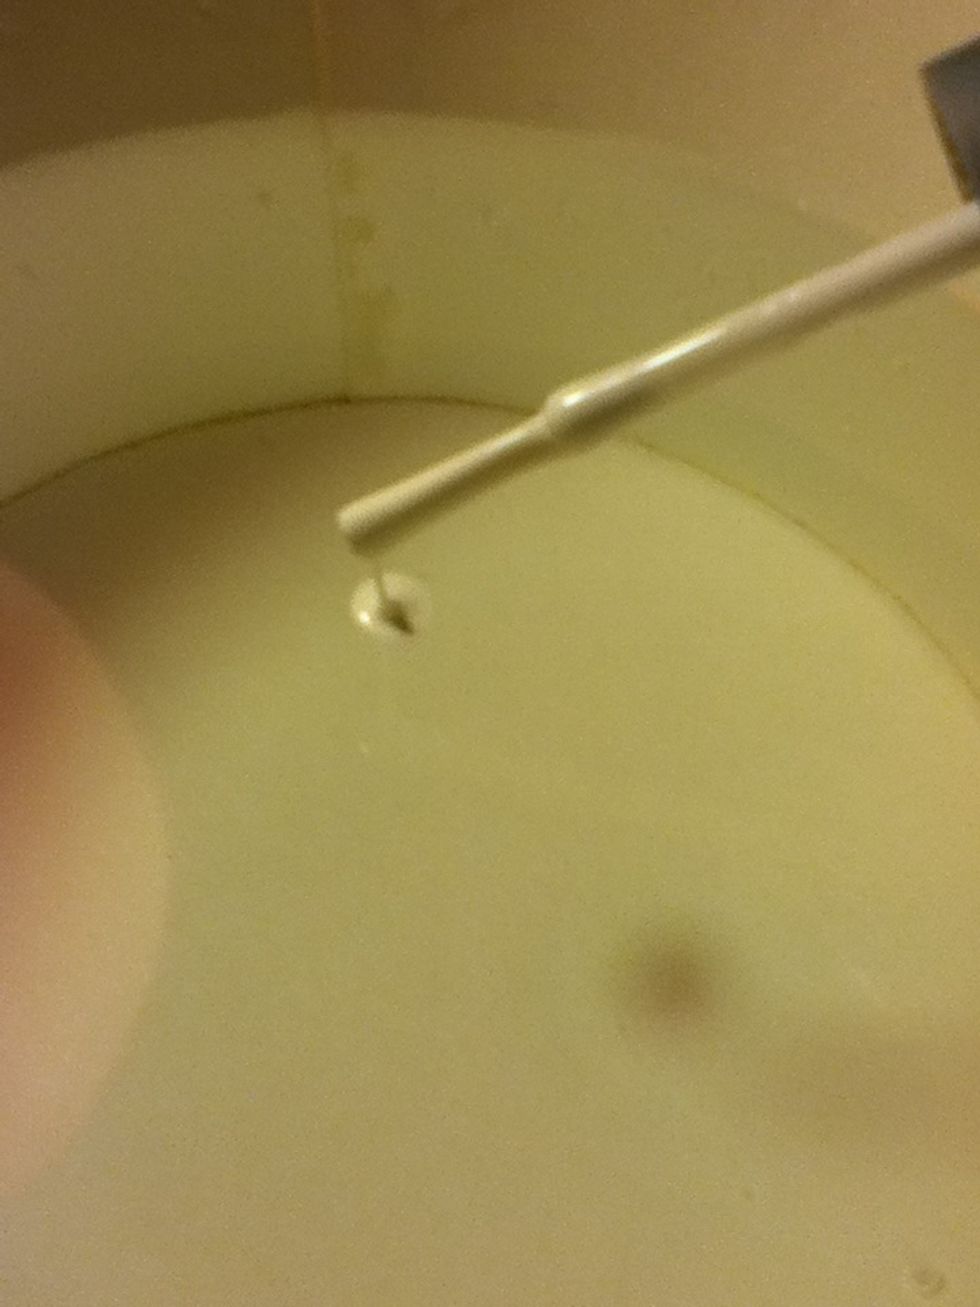
Drop drops of nail polish in room temperature water
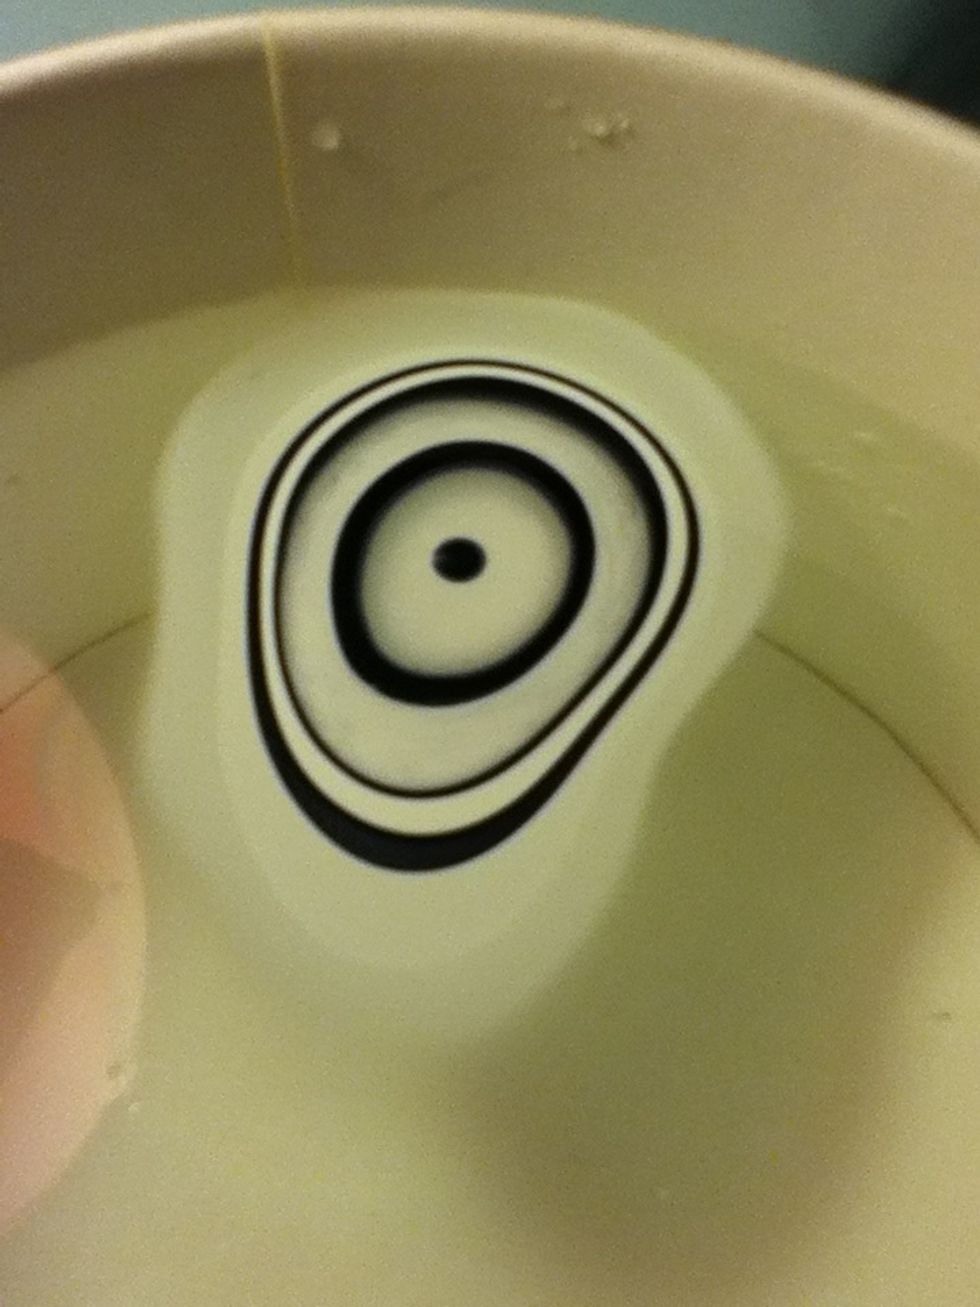
Drop drops of nail polish in room temperature water

Drop black, white, black, white ect. Until you get a lot of rings (Do this as fast as possible to do it right)
Drop black, white, black, white ect. Until you get a lot of rings (Do this as fast as possible to do it right)

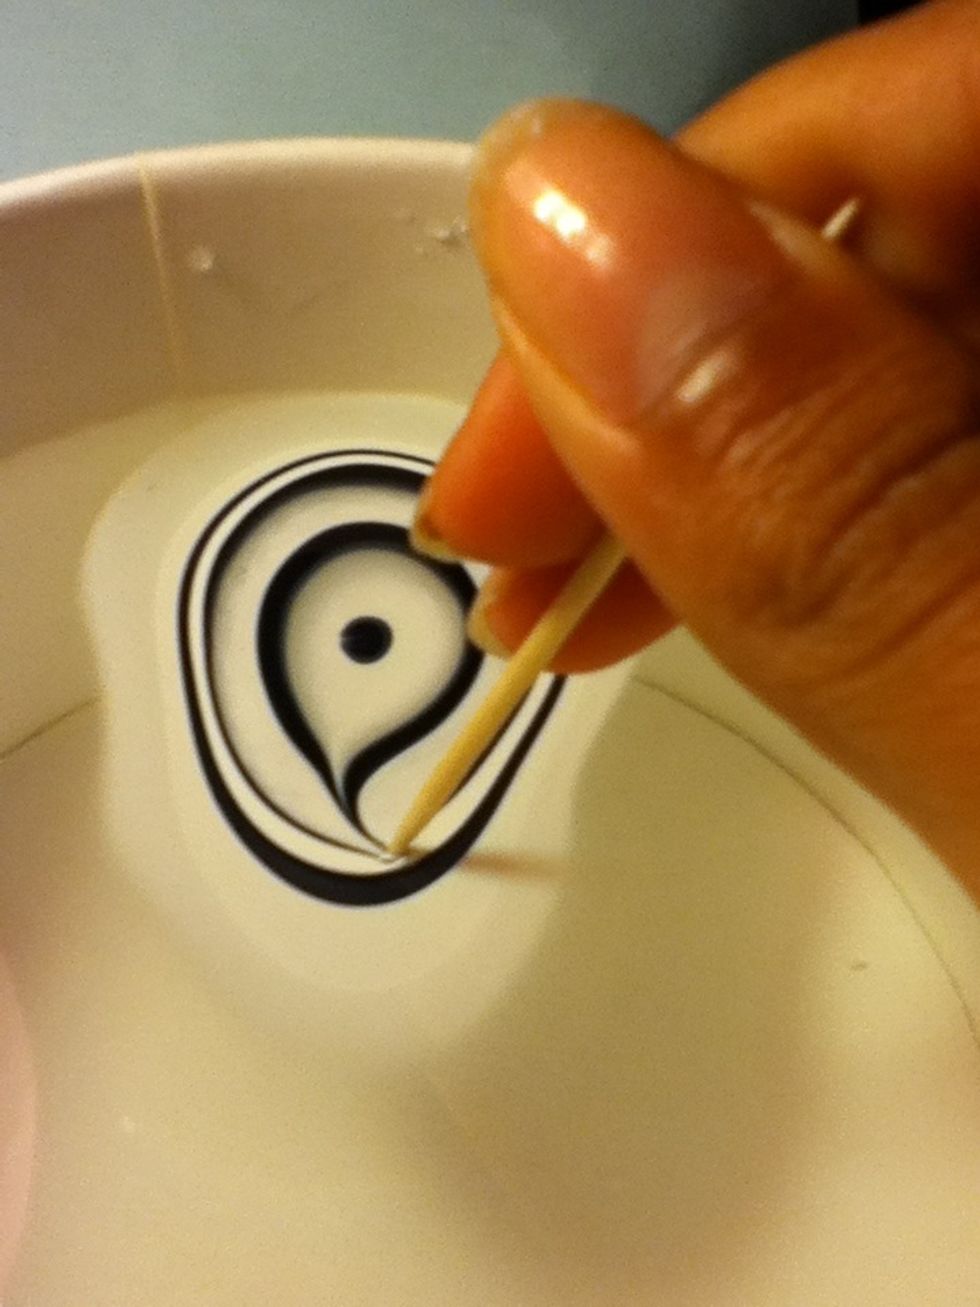
Before the nail polish drys, draw swirls in the nail polish
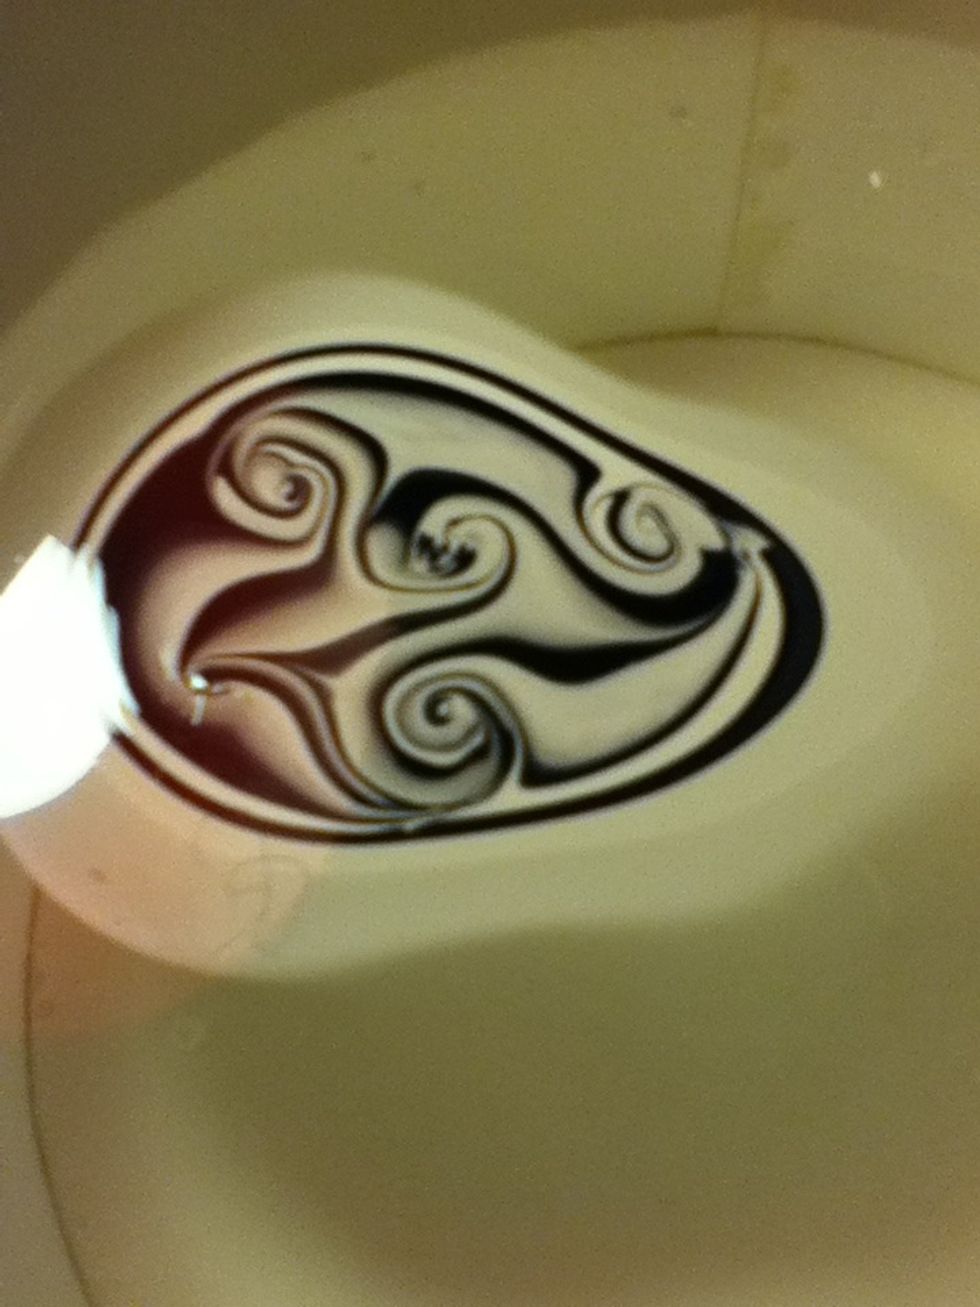
Before the nail polish drys, draw swirls in the nail polish

Like this \u263a

Like this ā˜ŗ

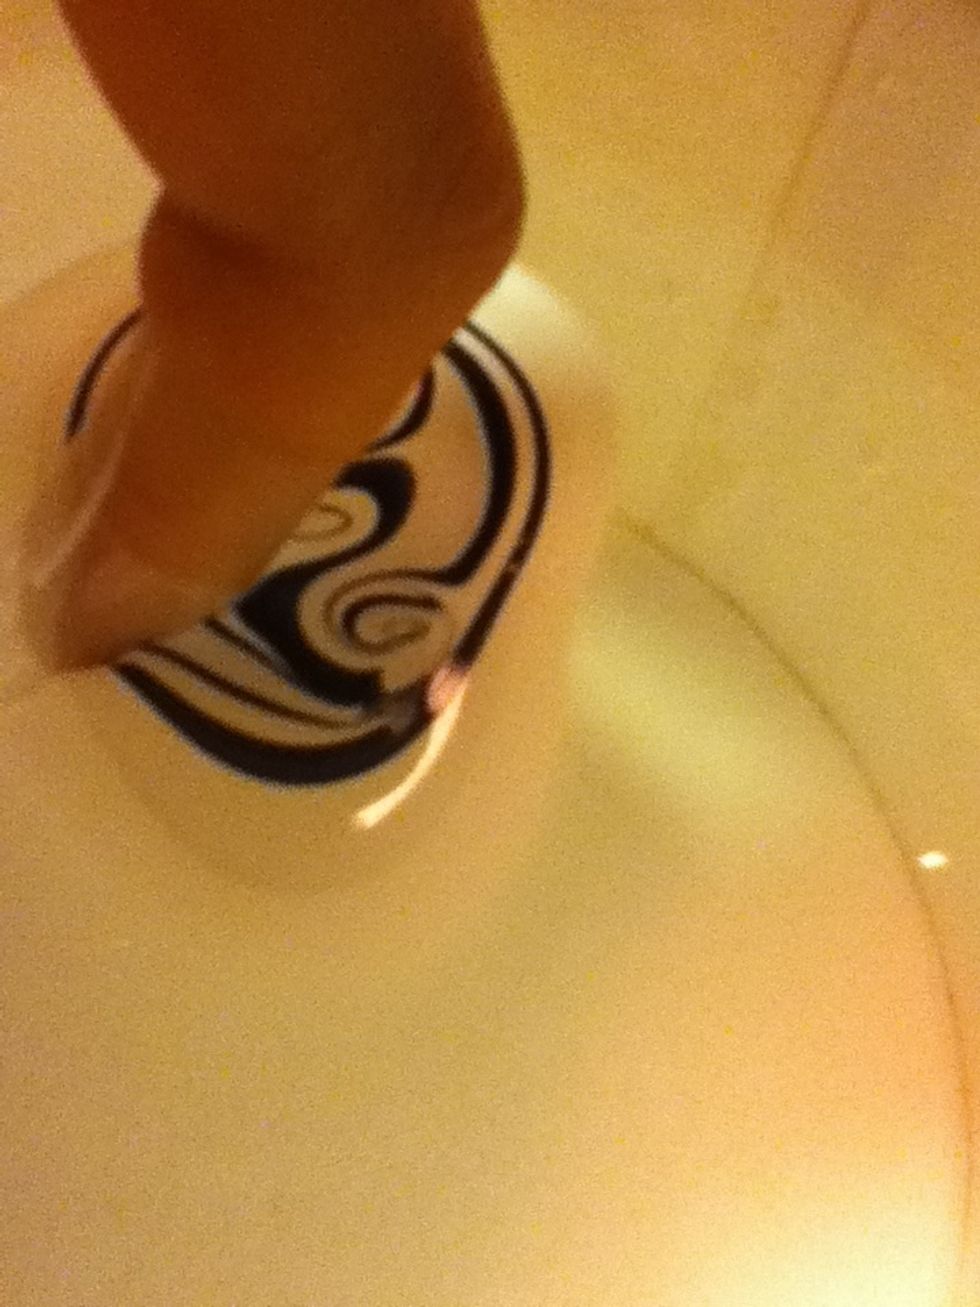
Dip your nail on the swirl you liked the best
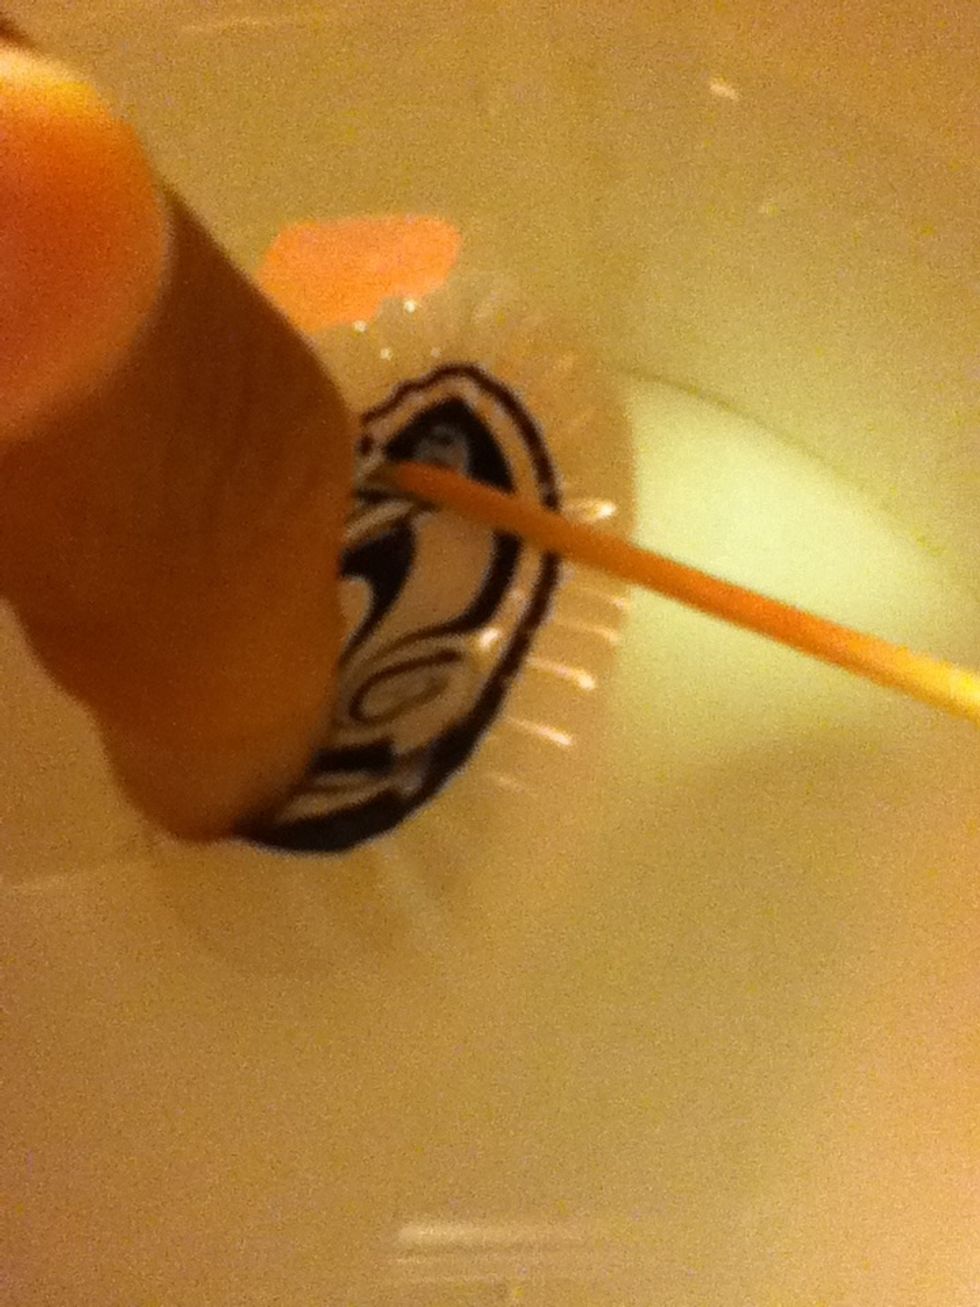
Dip your nail on the swirl you liked the best

Dip your nail all the way in. Once the polish drys, take it off the water with a toothpick
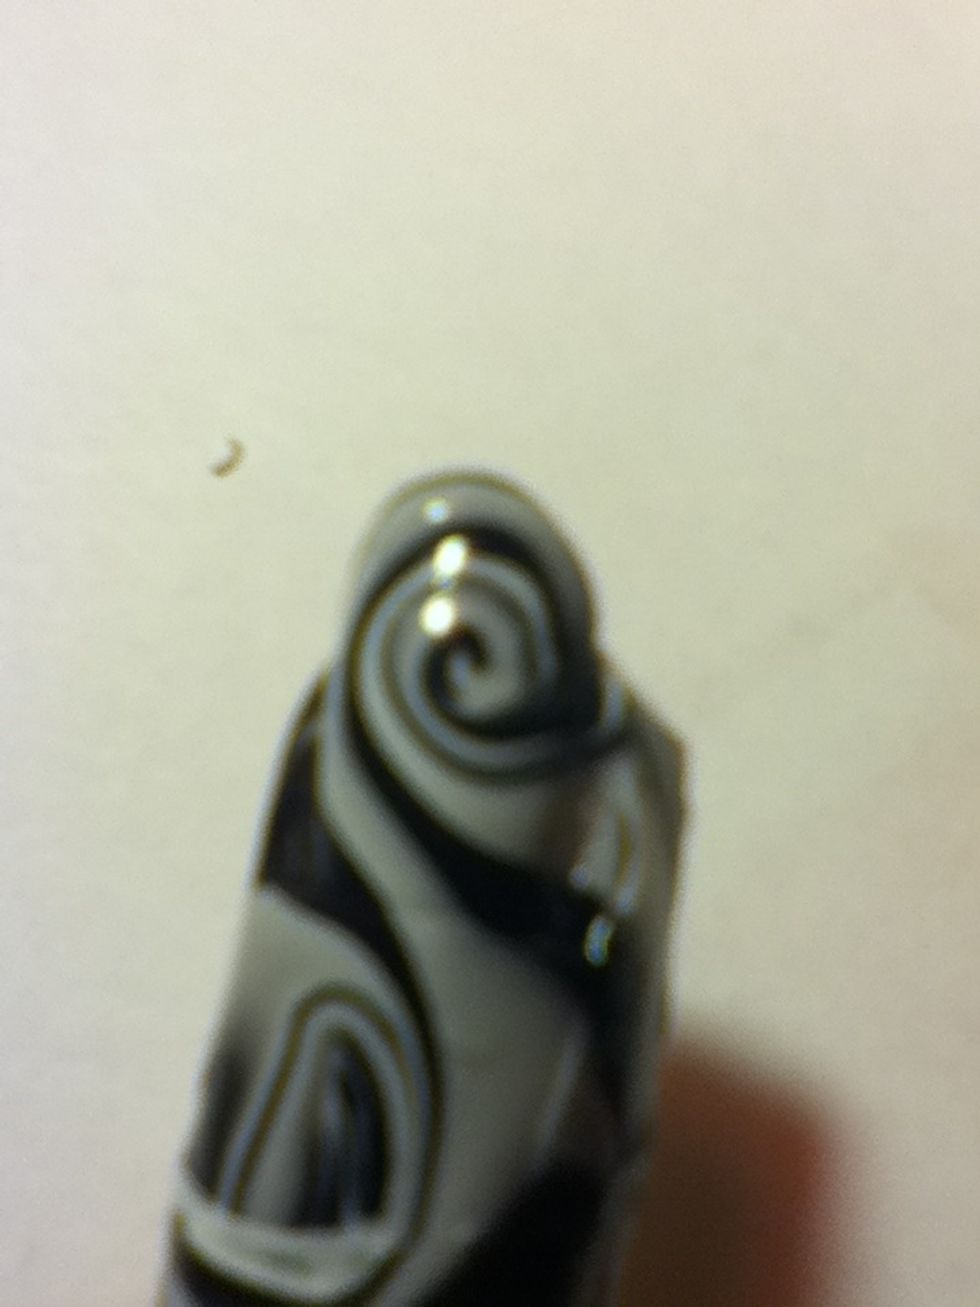
Dip your nail all the way in. Once the polish drys, take it off the water with a toothpick

TA-DA!! Your swirly nail\ud83d\udc4d take off the tape carefully

TA-DA!! Your swirly nailšŸ‘ take off the tape carefully

Clean the corners of the nail with a toothpick before it drys
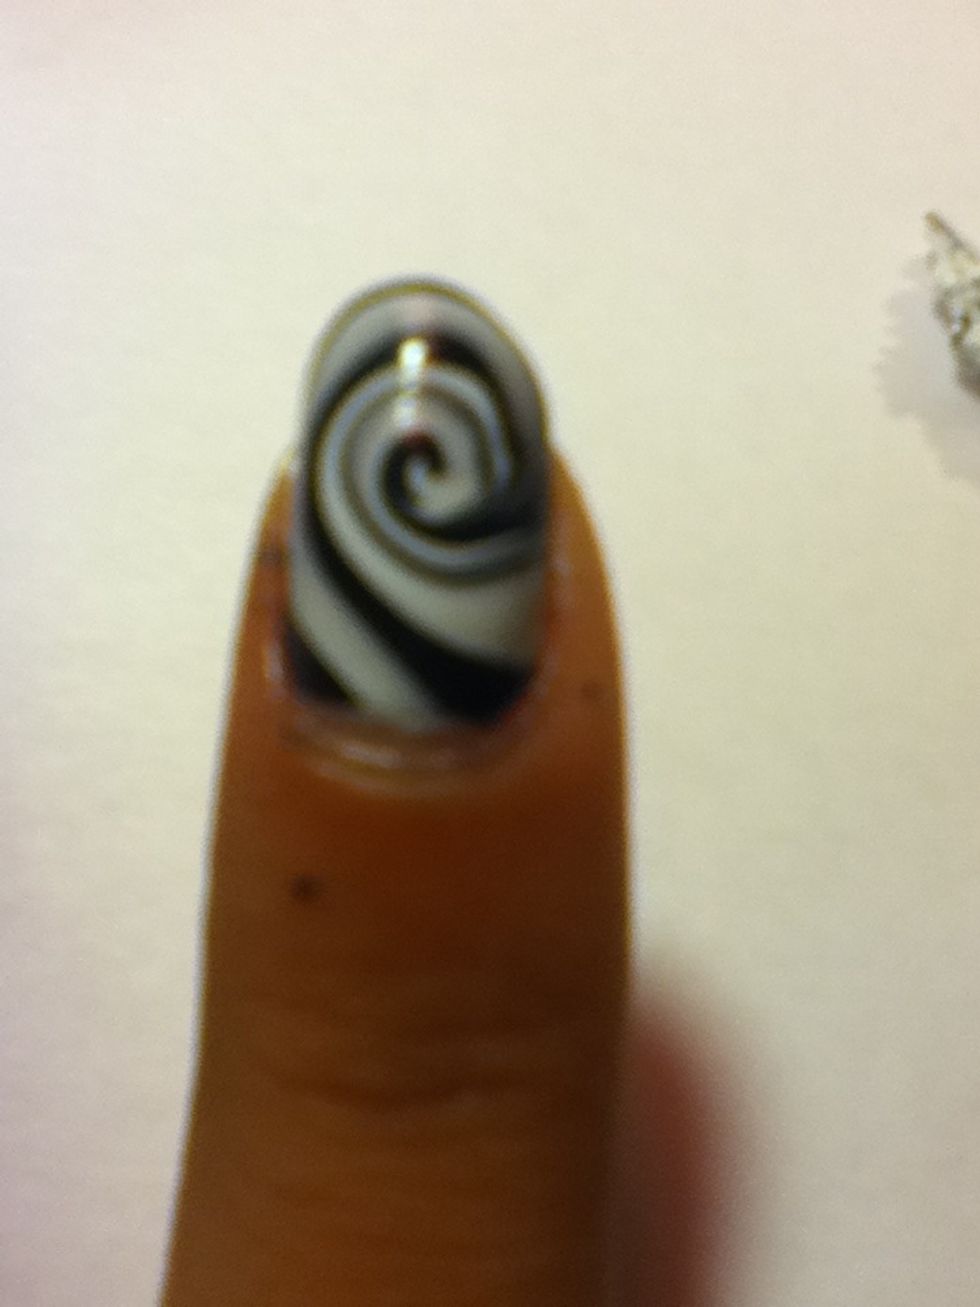
Clean the corners of the nail with a toothpick before it drys

Clean any remaining polish with a Q-tip and nail polish remover :)
Clean any remaining polish with a Q-tip and nail polish remover :)

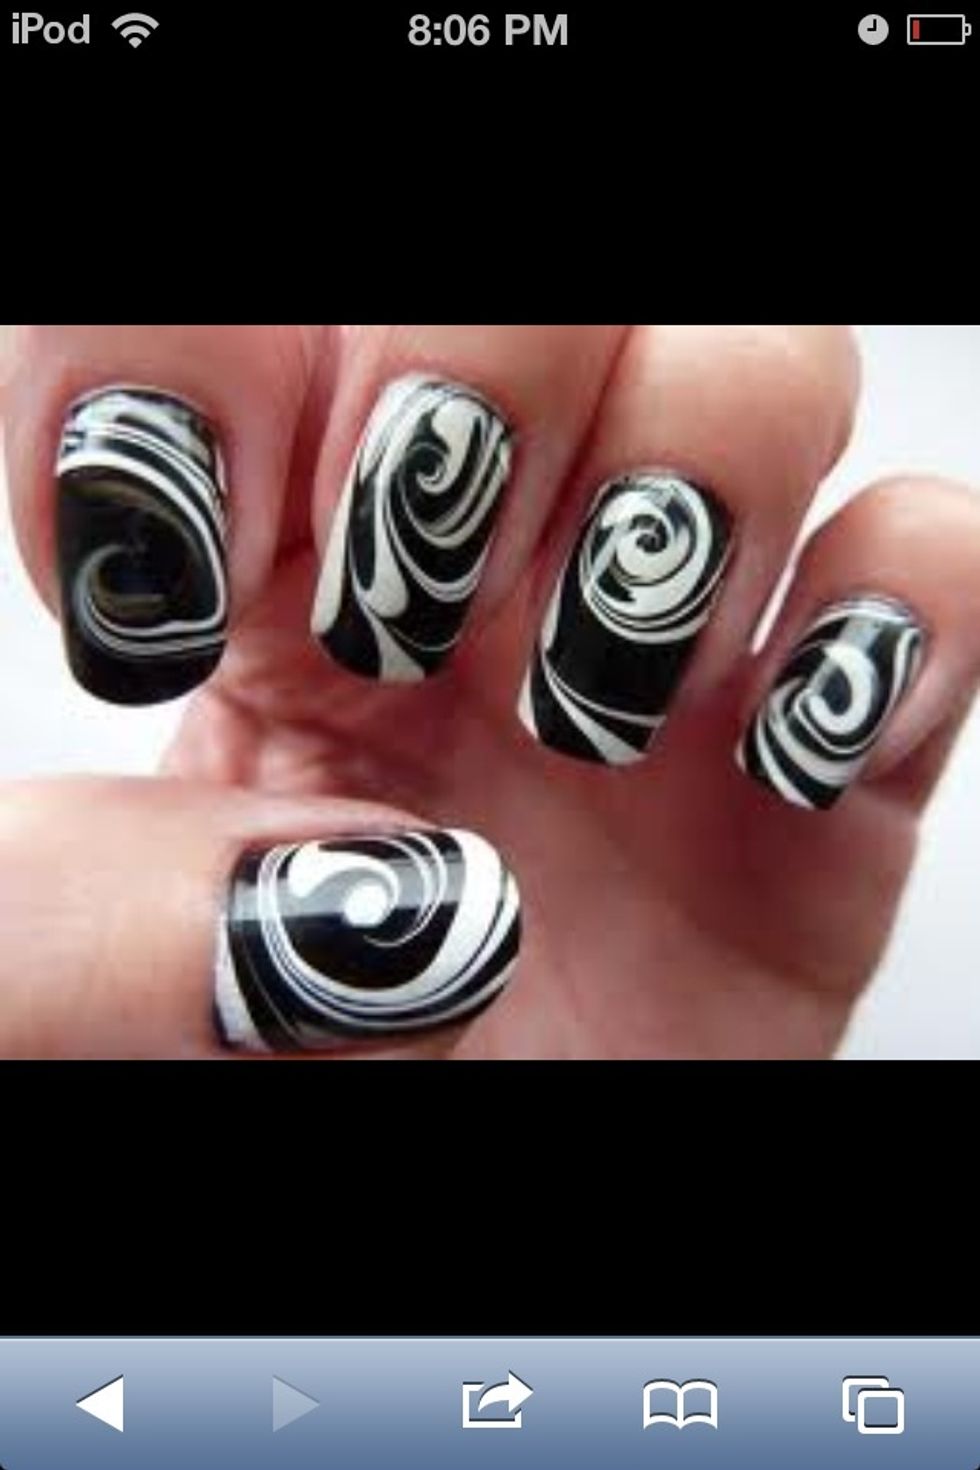
This is how it looks on all the nails šŸ˜Š

  • Cup
  • Water
  • White nail polish
  • Black nail polish
  • Toothpick
  • Tape
  • Q-tip