The Conversation (0)
Sign Up
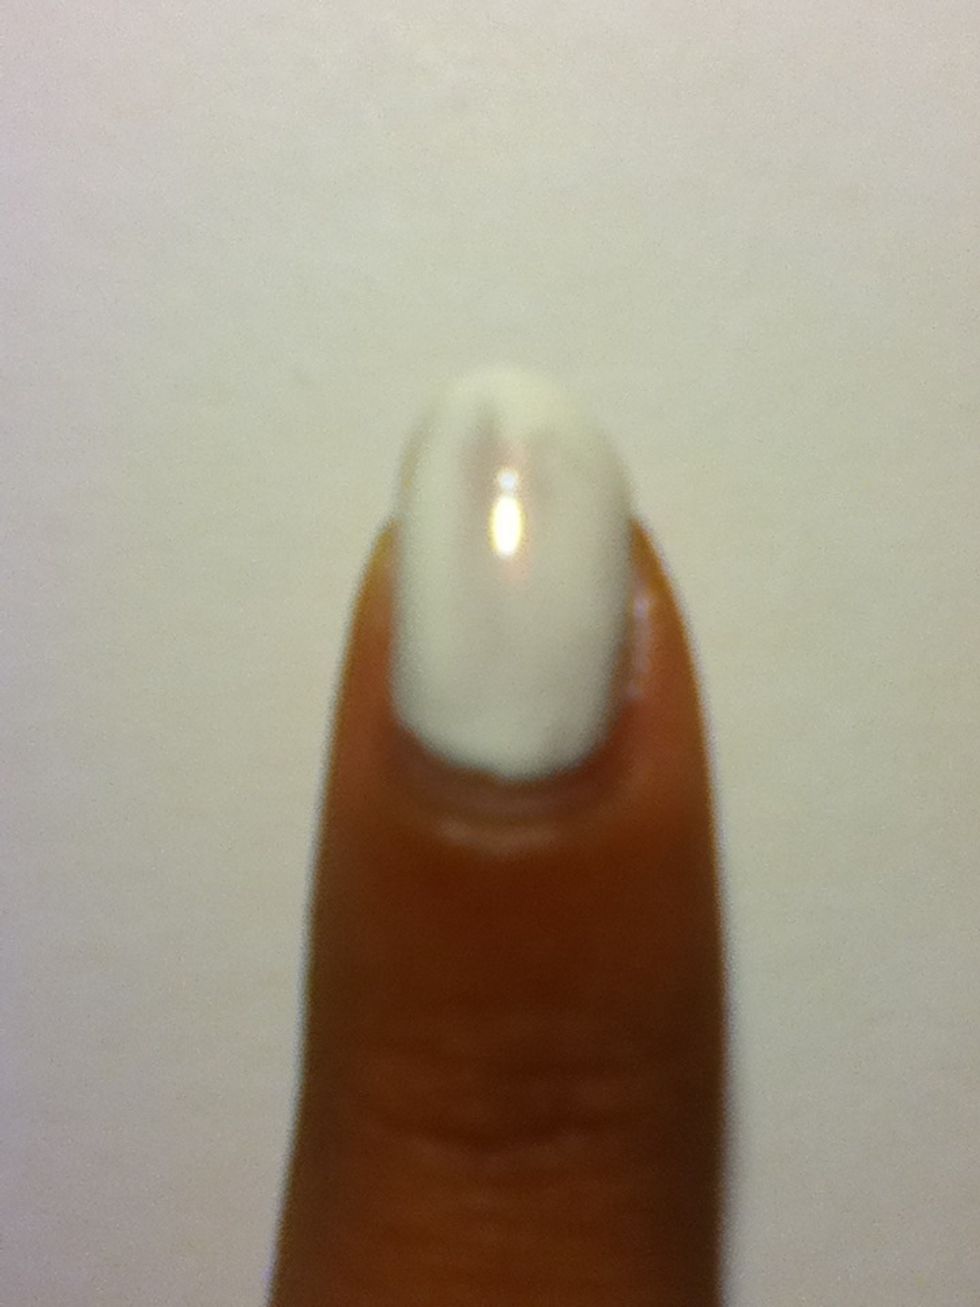
Paint your nails a thin coat of white nail polish to make the design show better💅 let dry
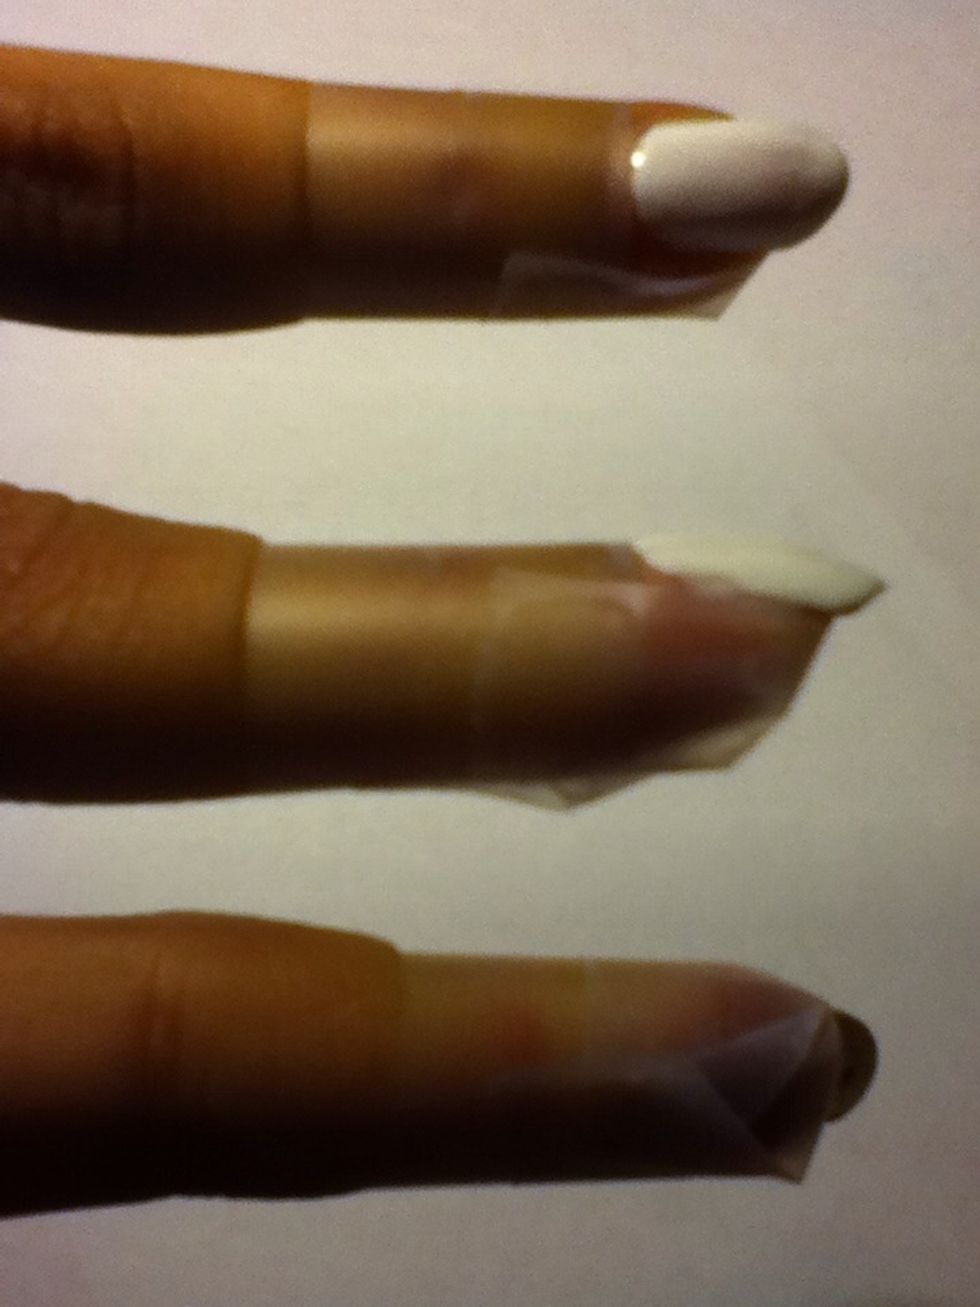
Wrap your nail with tape like this⬆
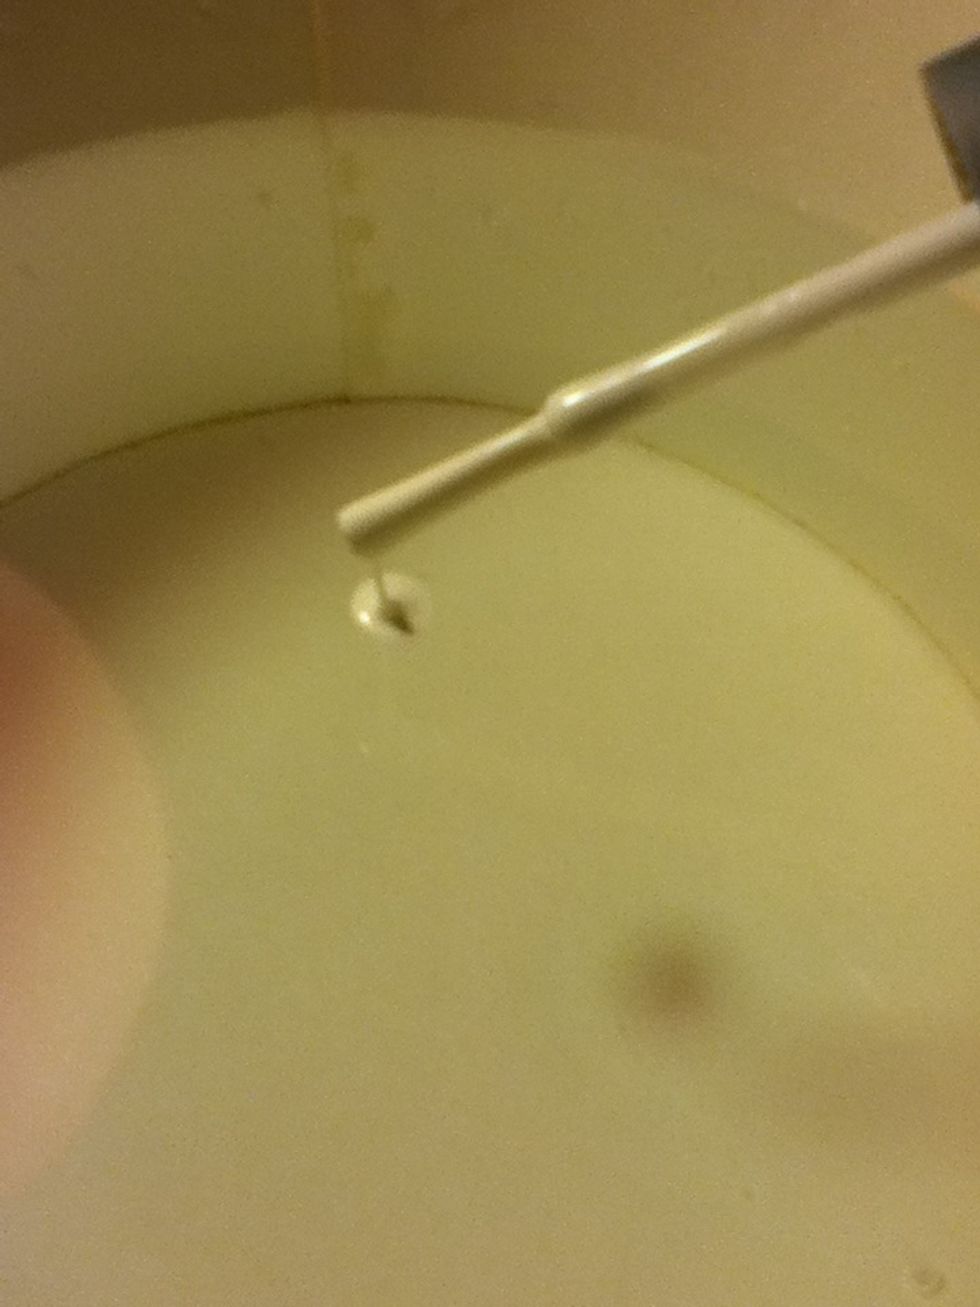
Drop drops of nail polish in room temperature water
Drop black, white, black, white ect. Until you get a lot of rings (Do this as fast as possible to do it right)
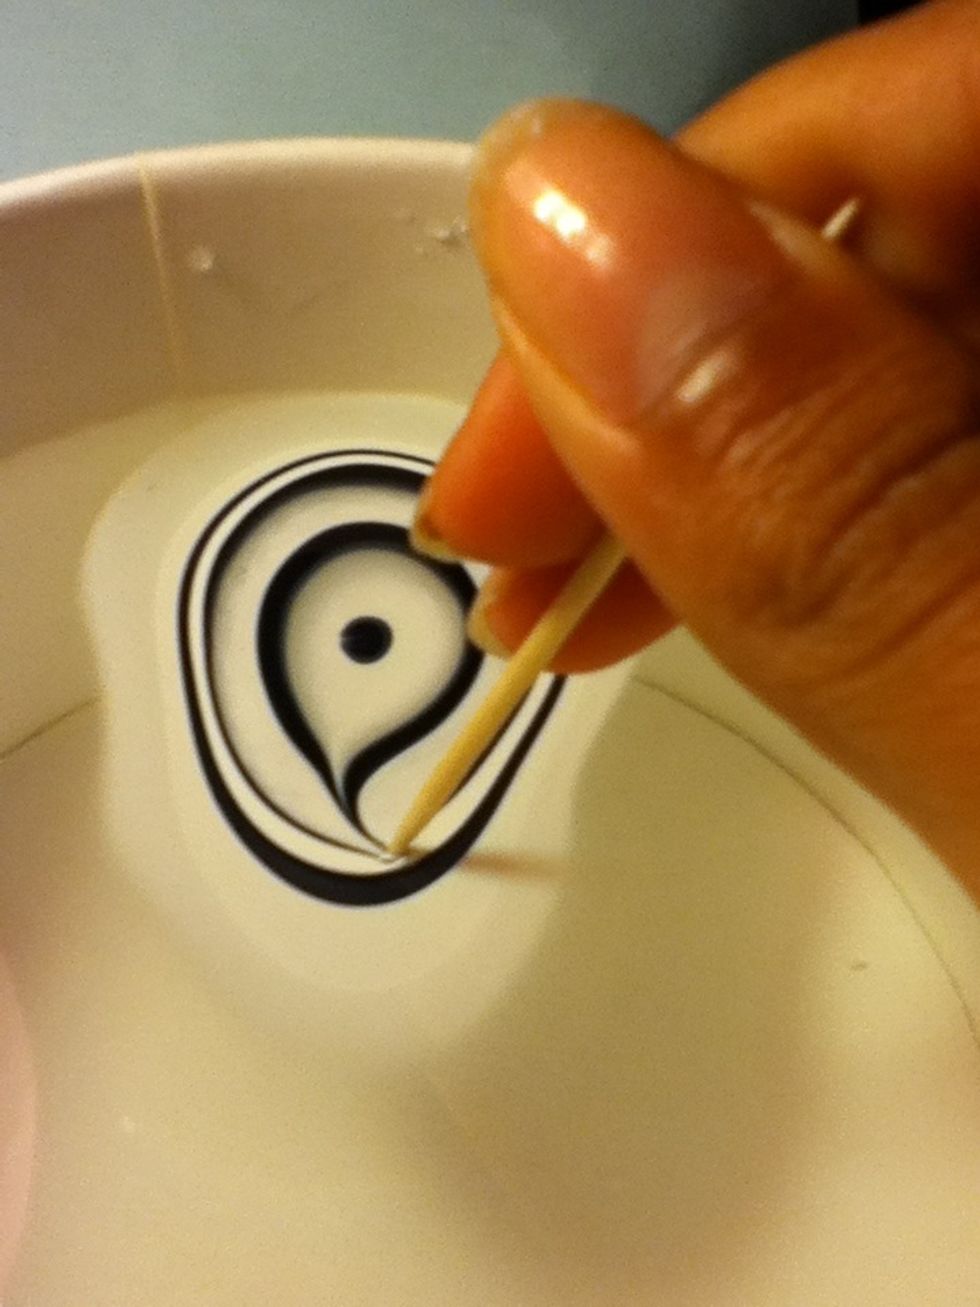
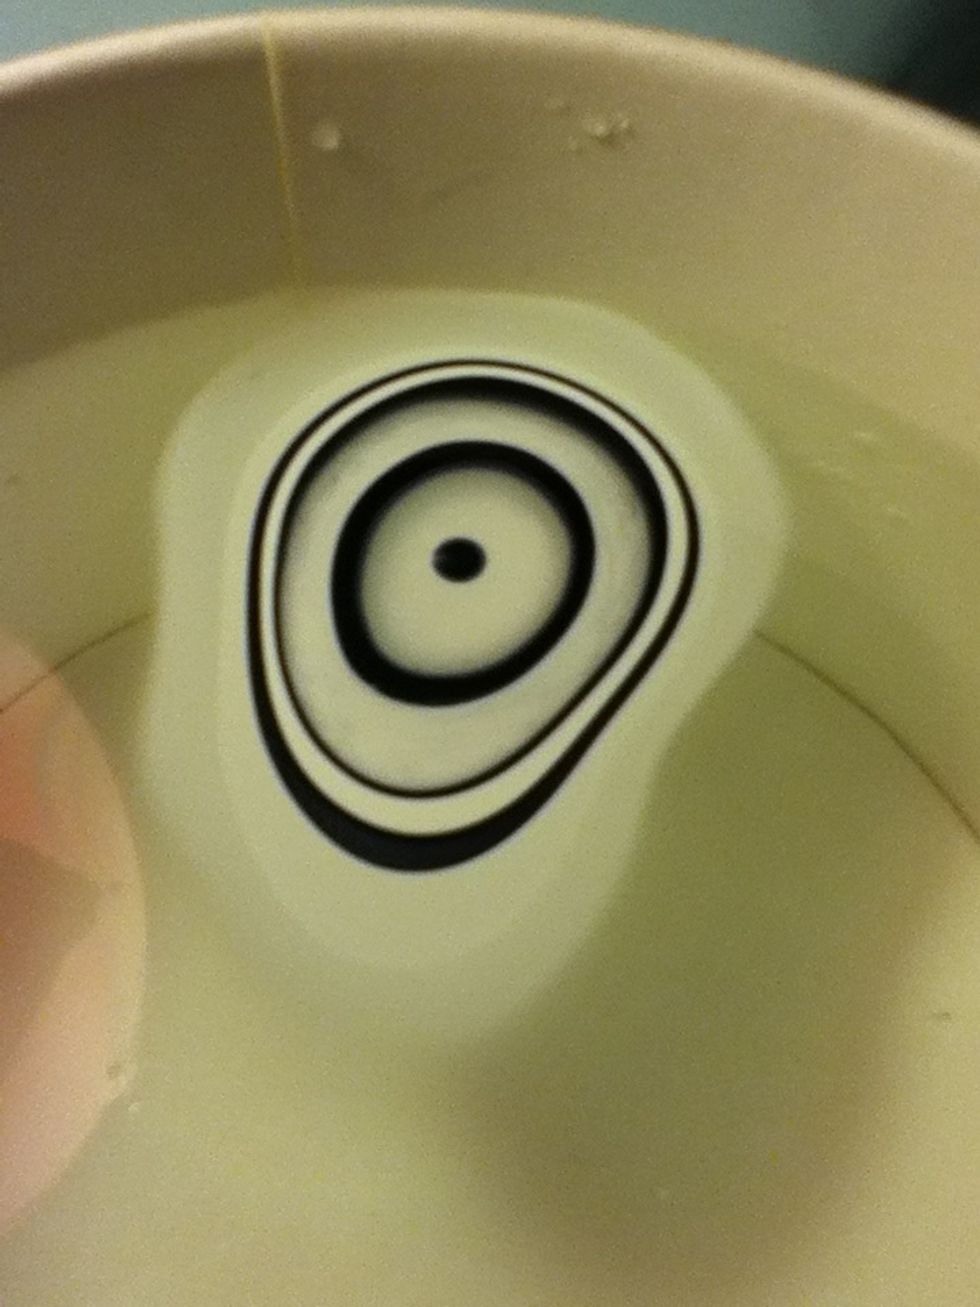
Before the nail polish drys, draw swirls in the nail polish
Like this ☺
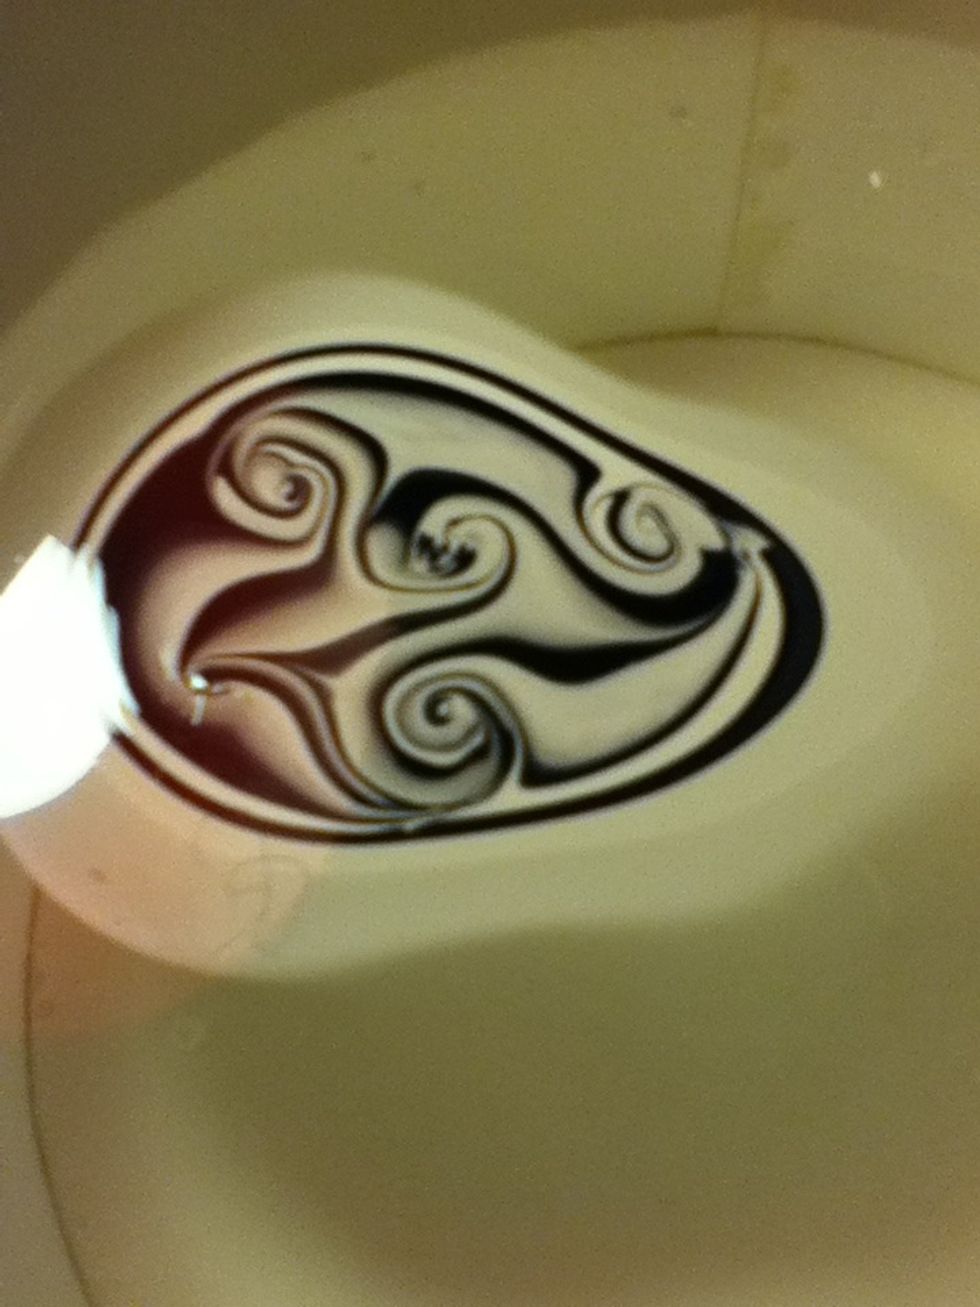
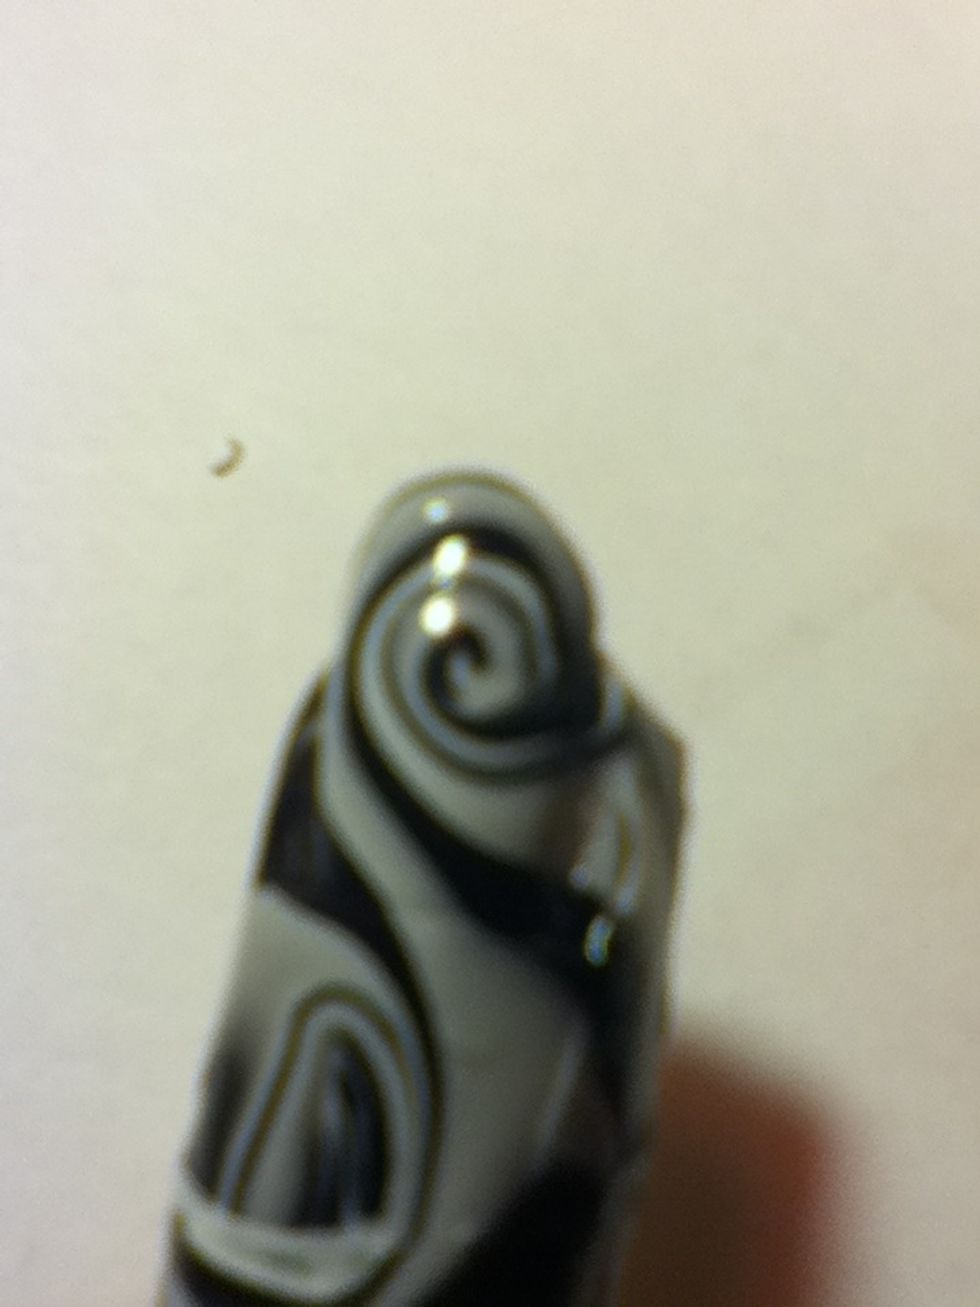
Dip your nail on the swirl you liked the best
Dip your nail all the way in. Once the polish drys, take it off the water with a toothpick
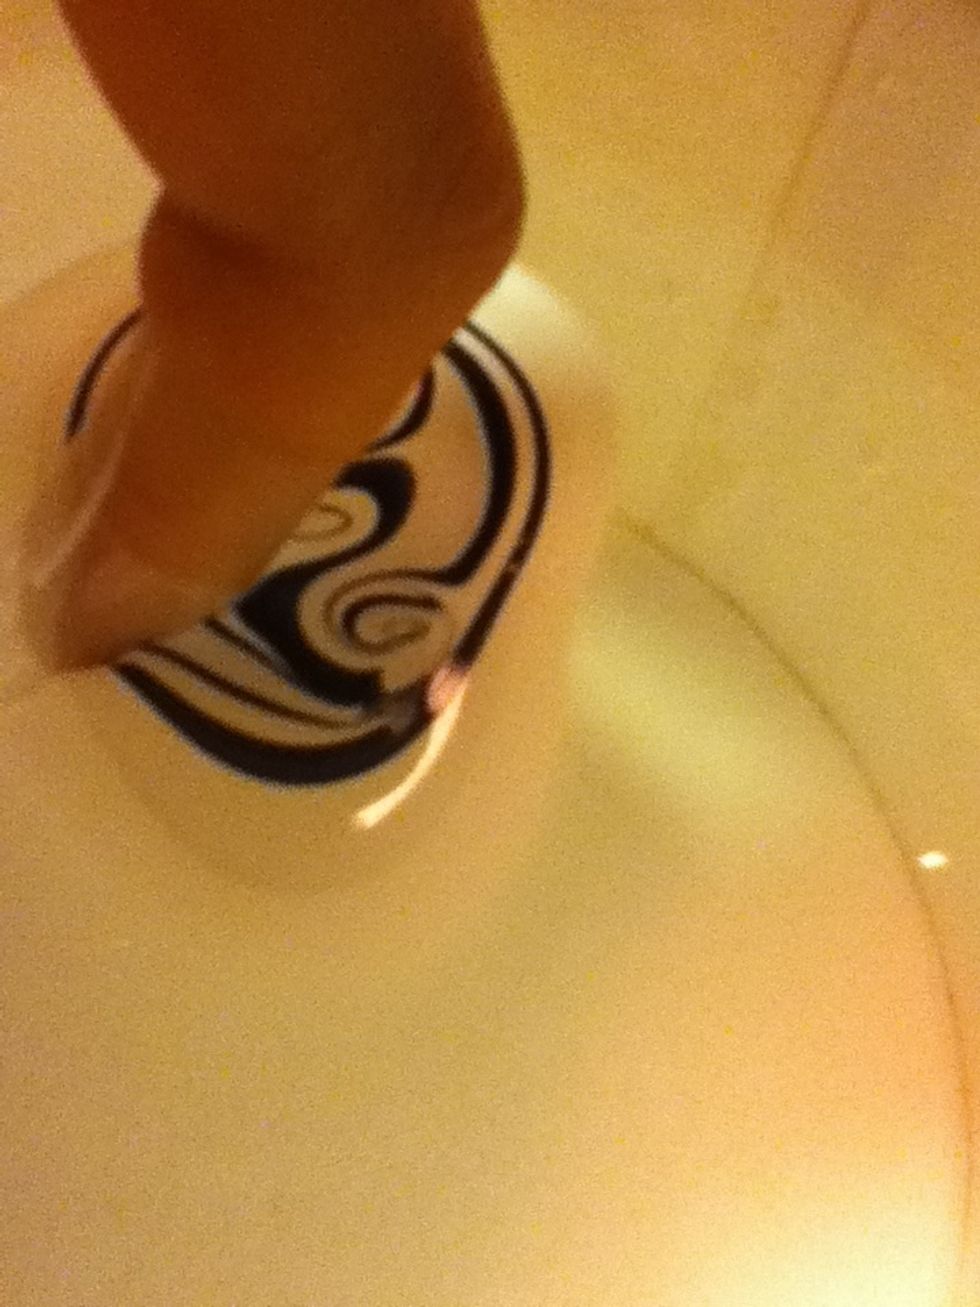
TA-DA!! Your swirly nail👍 take off the tape carefully
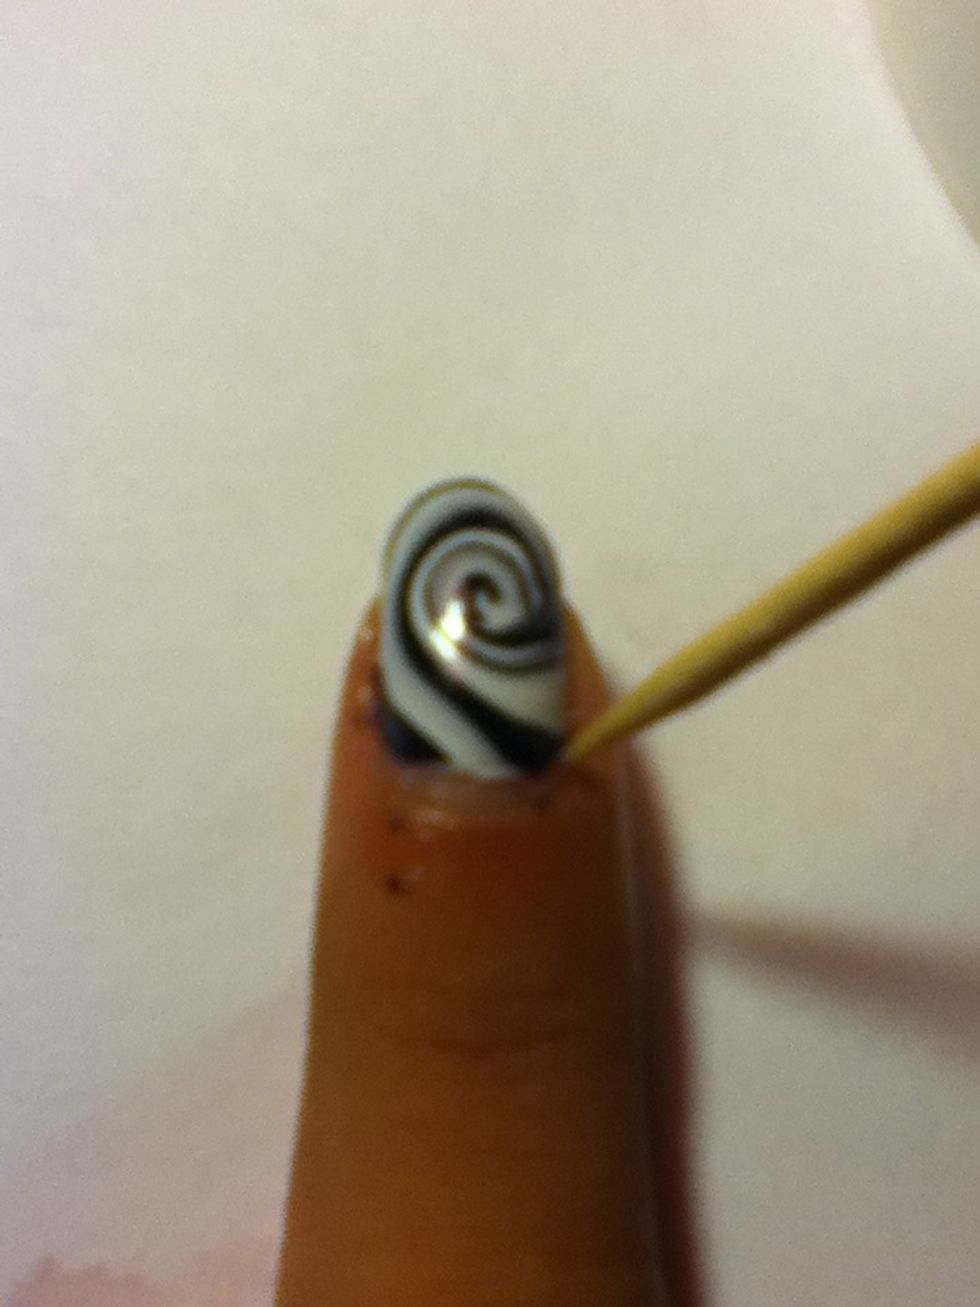
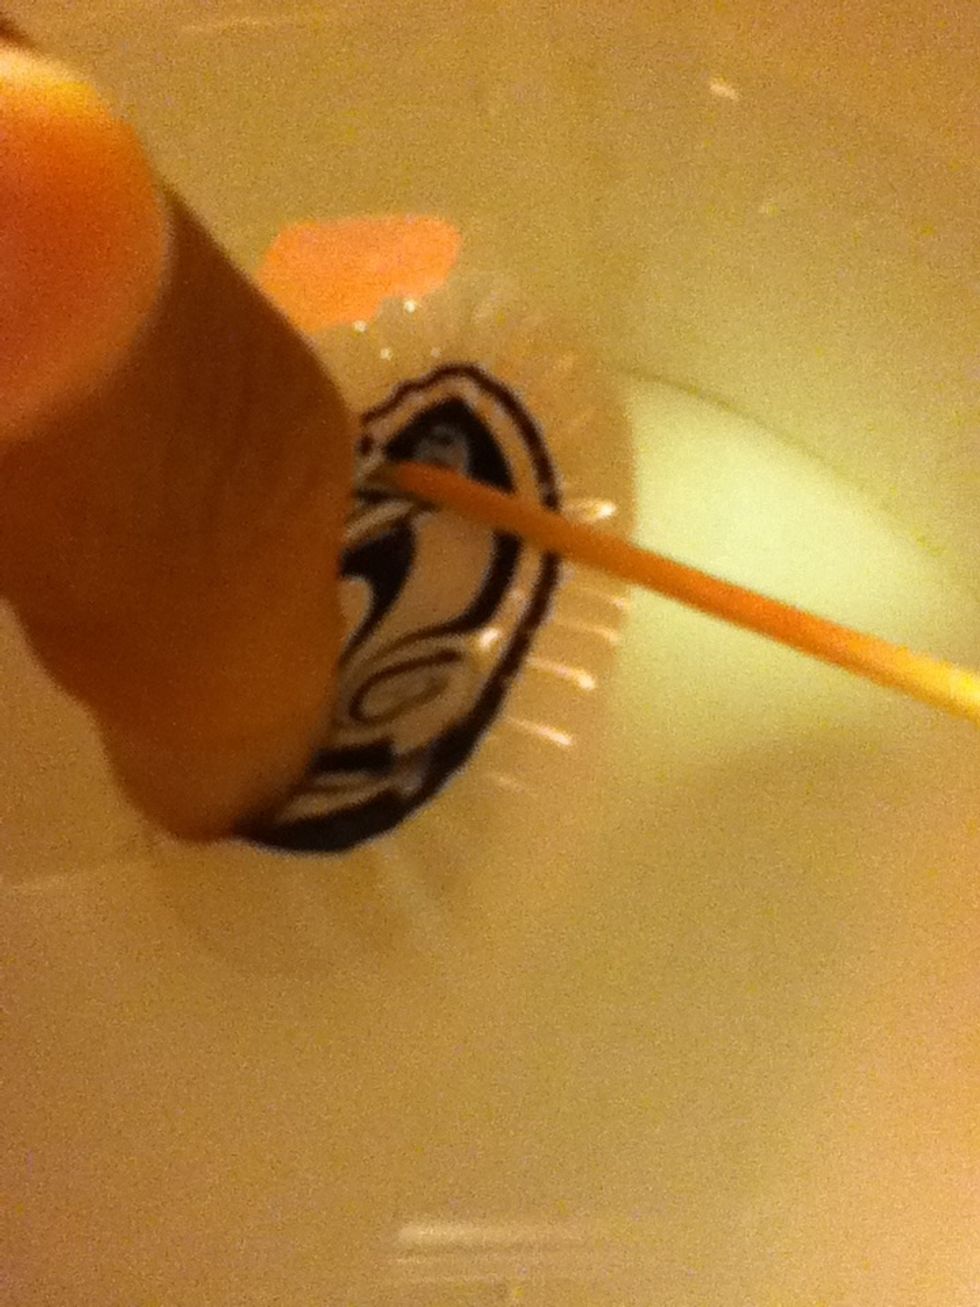
Clean the corners of the nail with a toothpick before it drys
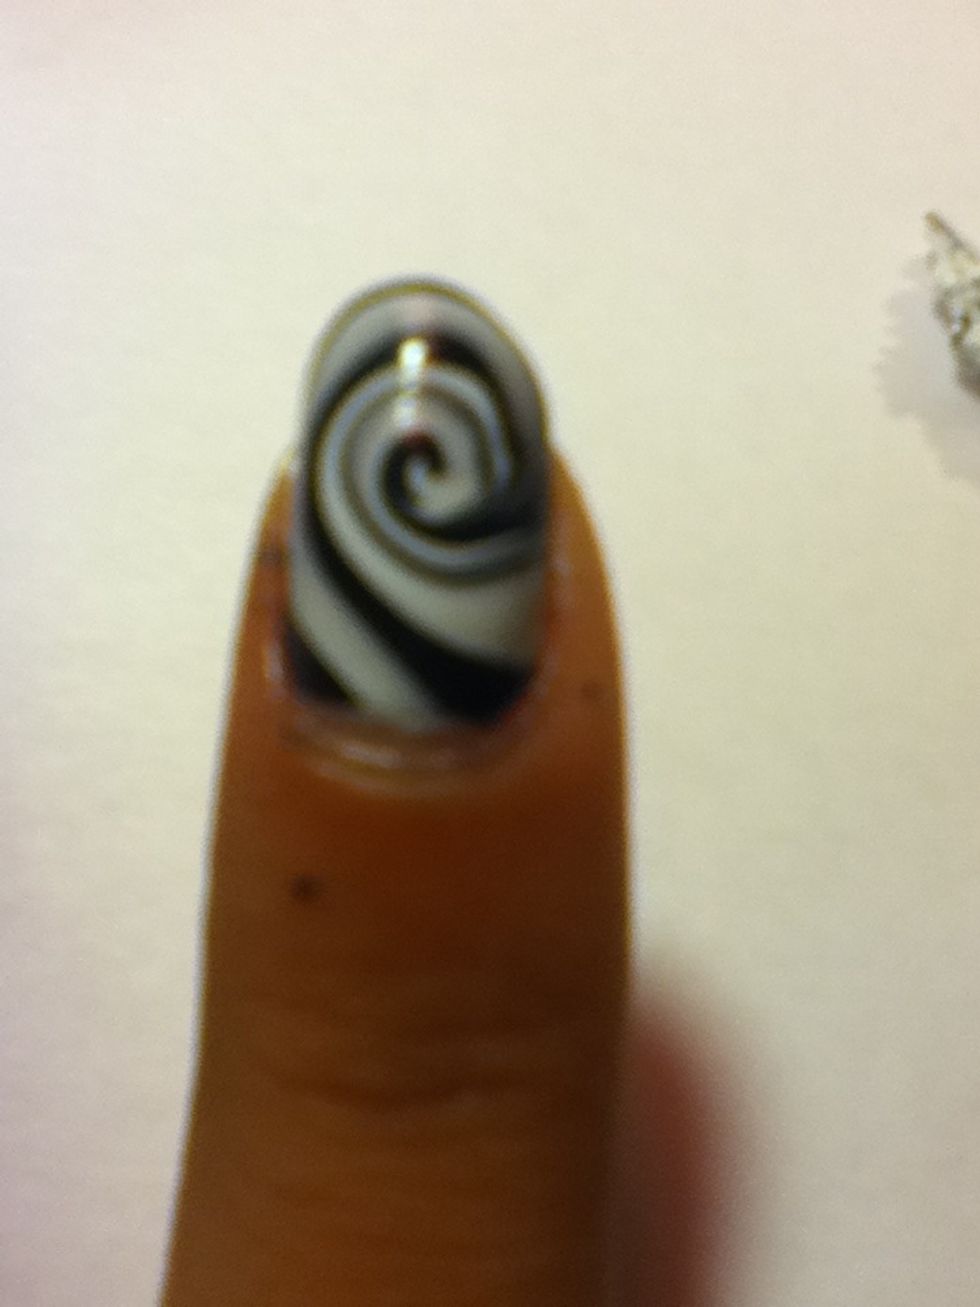
Clean any remaining polish with a Q-tip and nail polish remover :)

This is how it looks on all the nails 😊