The Conversation (0)
Sign Up
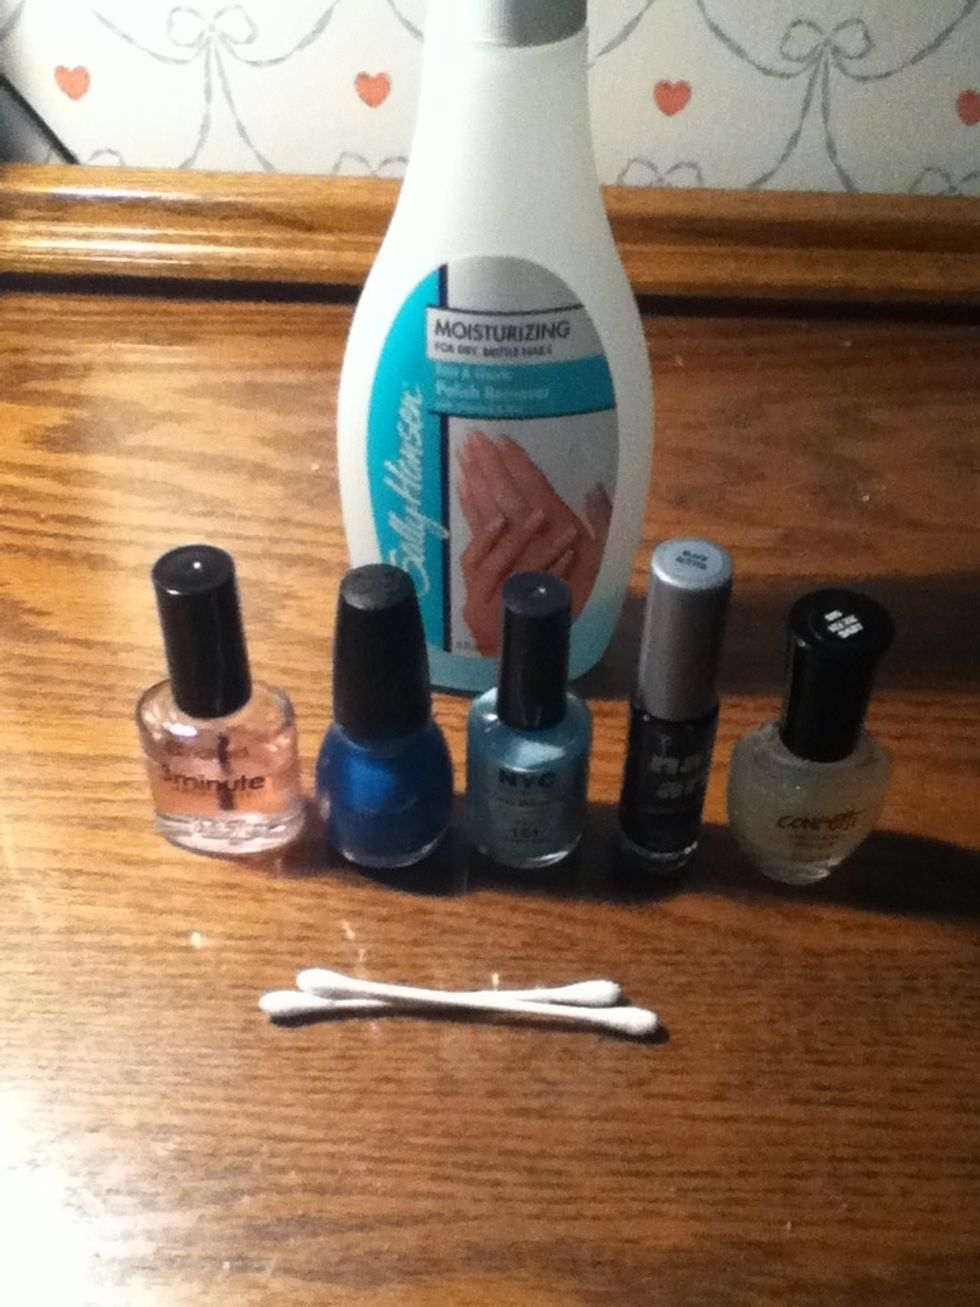
Organize your supplies.
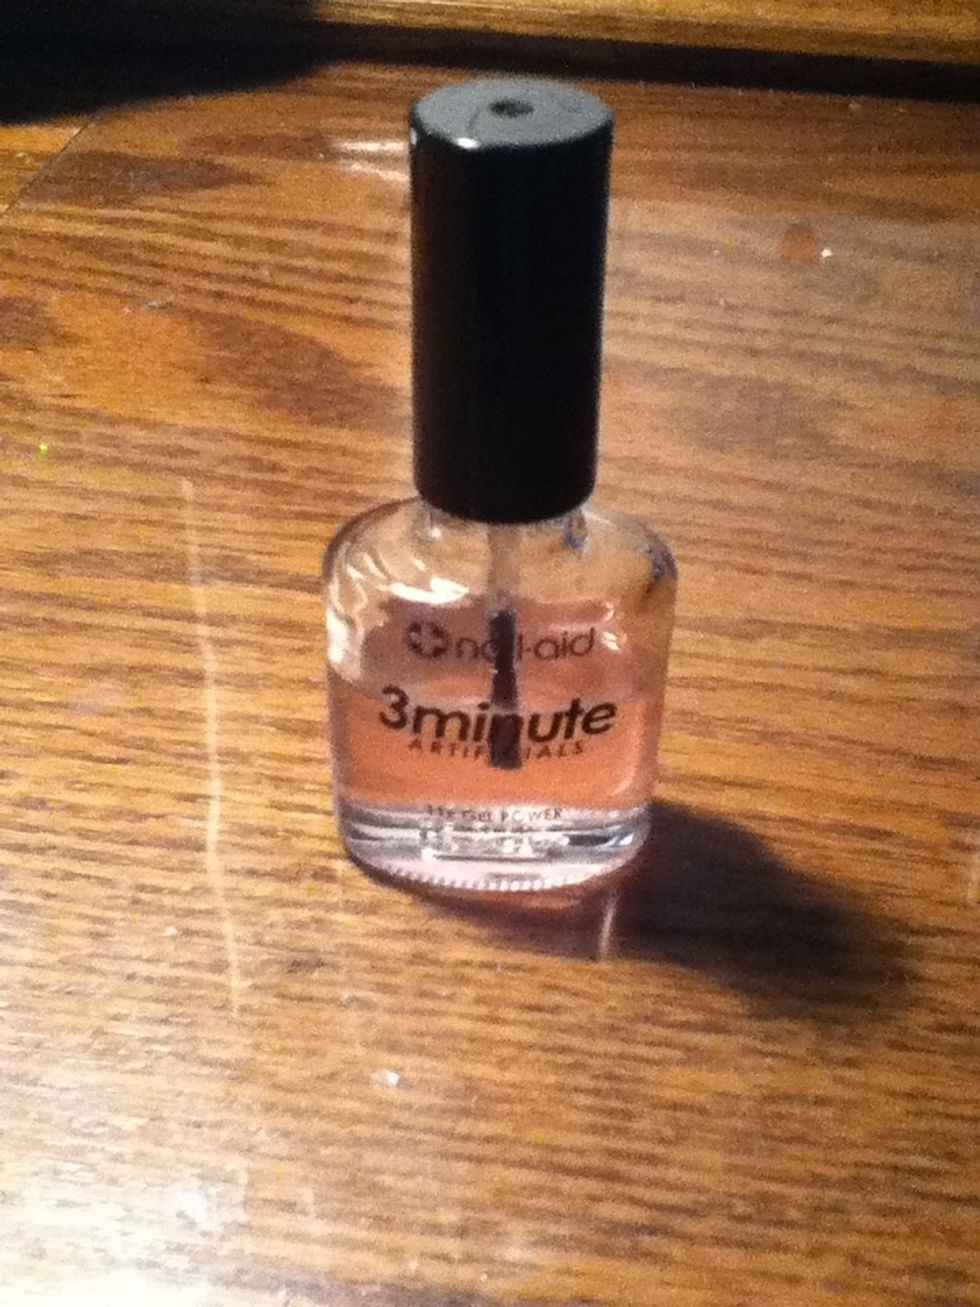
Begin by using a thin coat of clear nail polish on clean, bare nails. Let it dry completely.
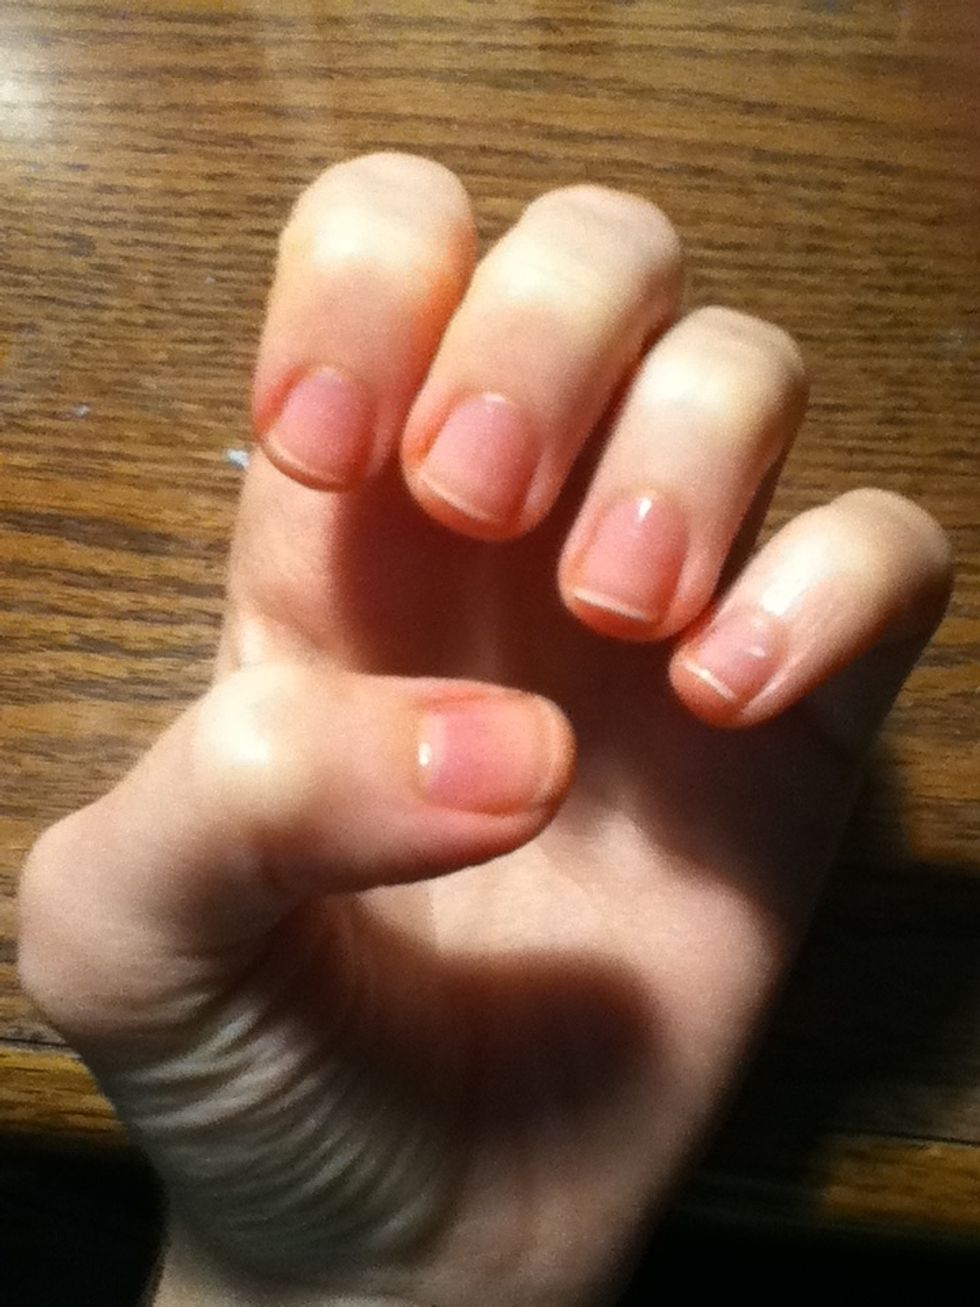
Shiny :)

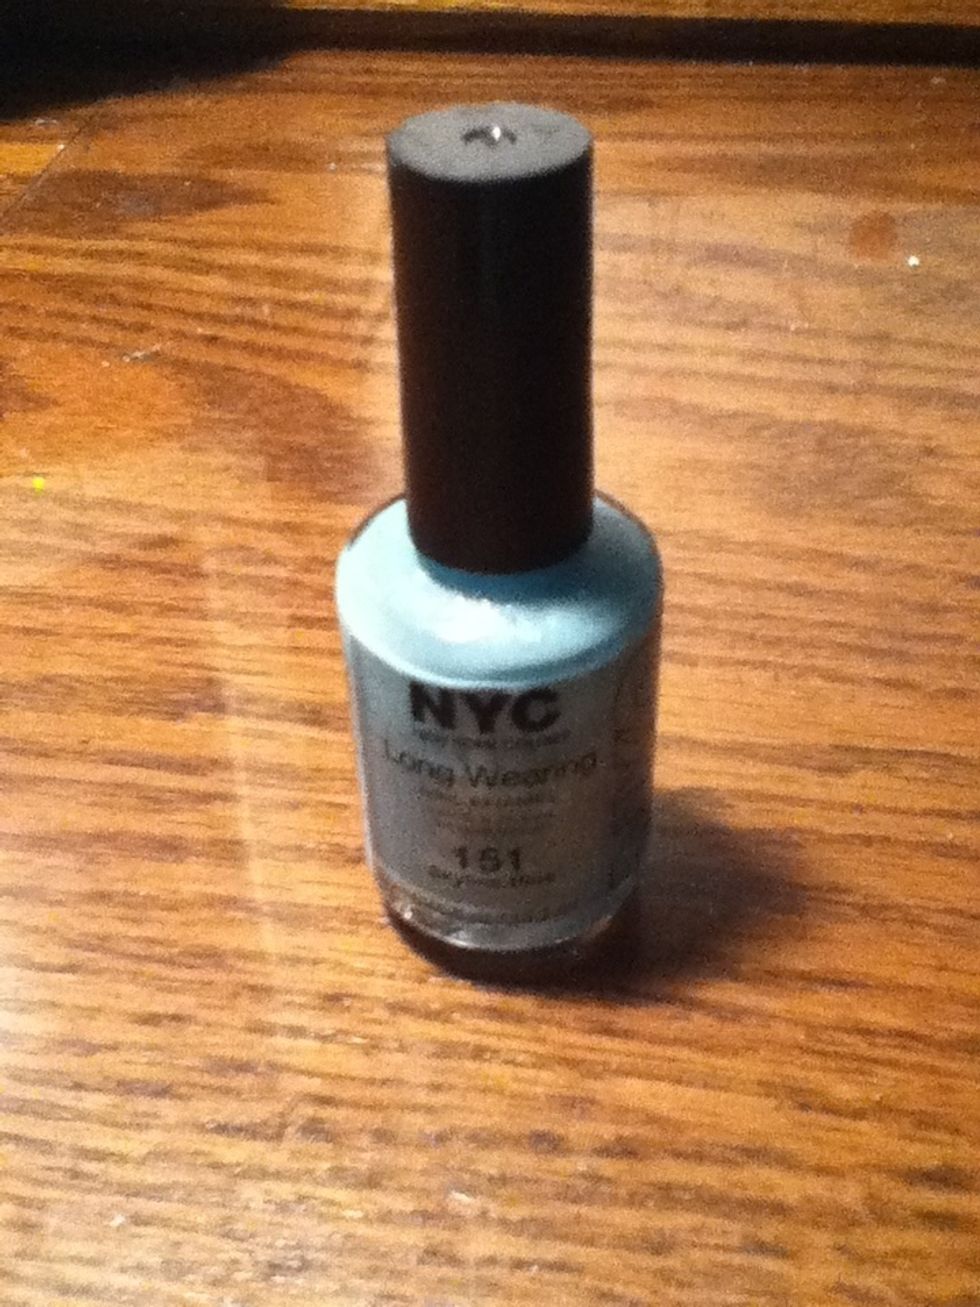
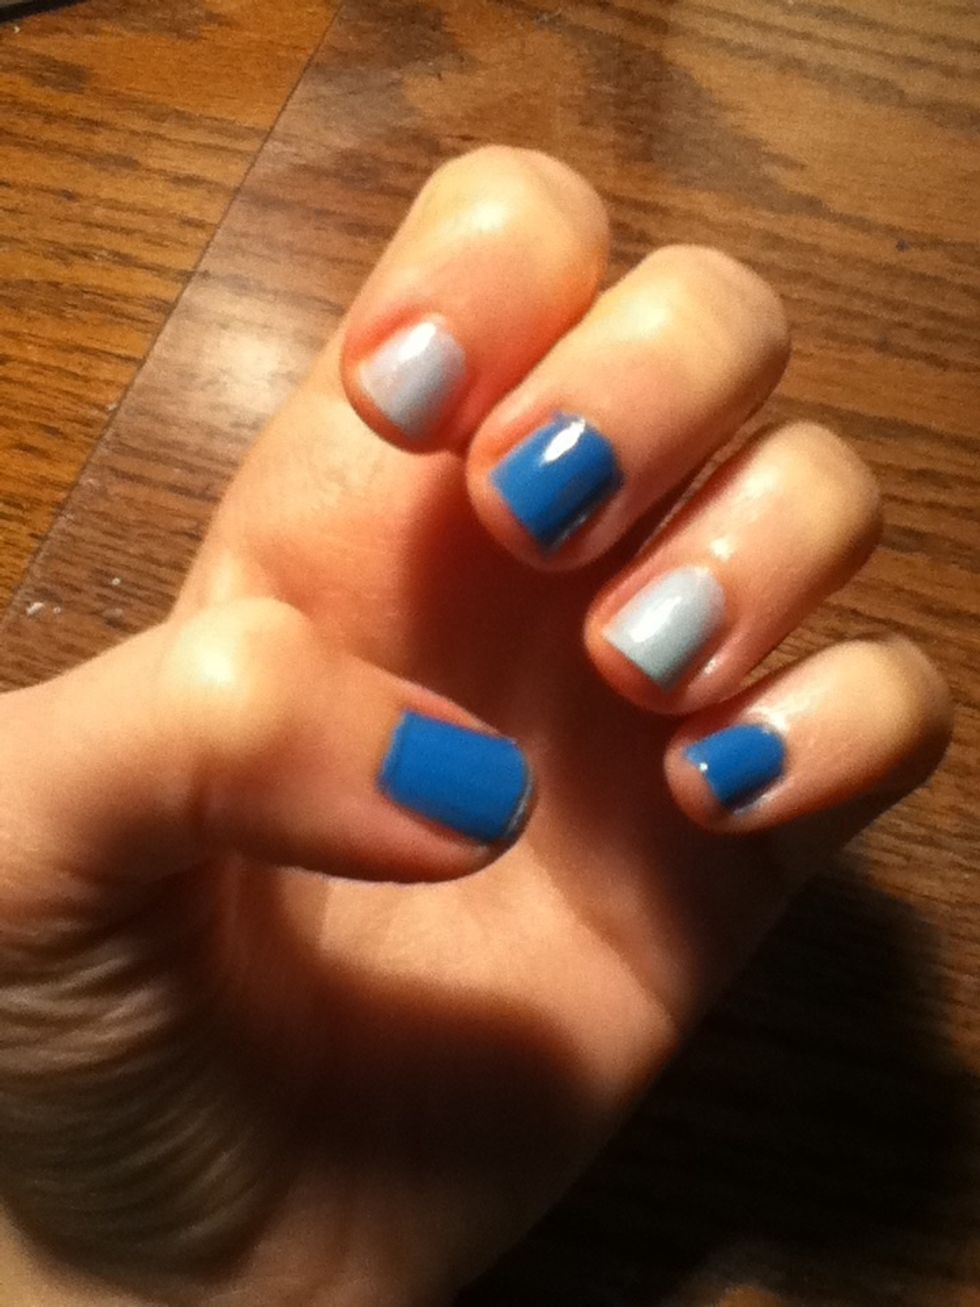
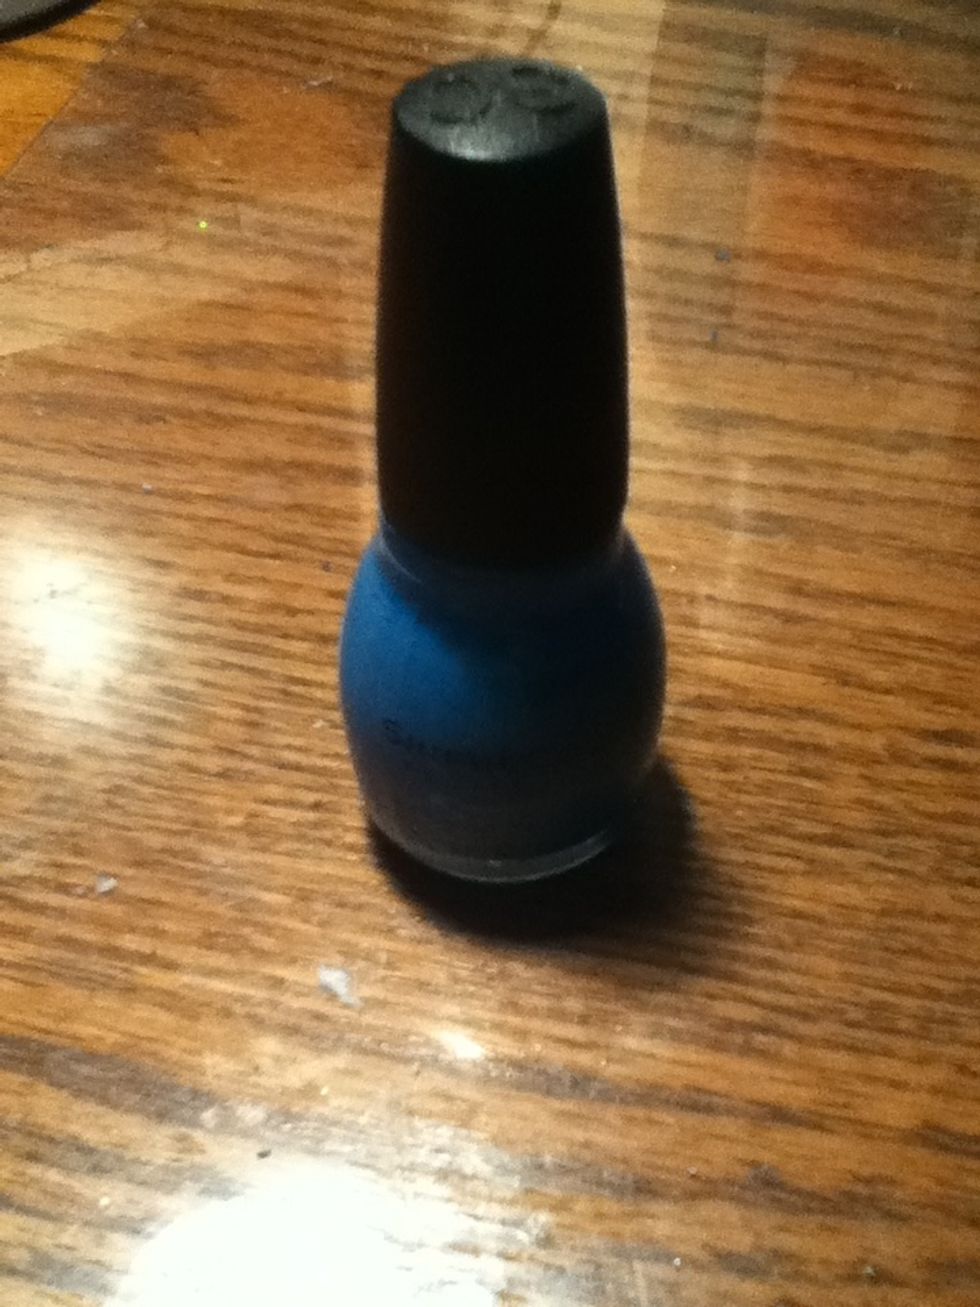
Use the darker shade of blue polish next. I am going to alternate shades on each nail, so I will paint my thumb, middle, and pinky finger with this shade. Let it dry completely.
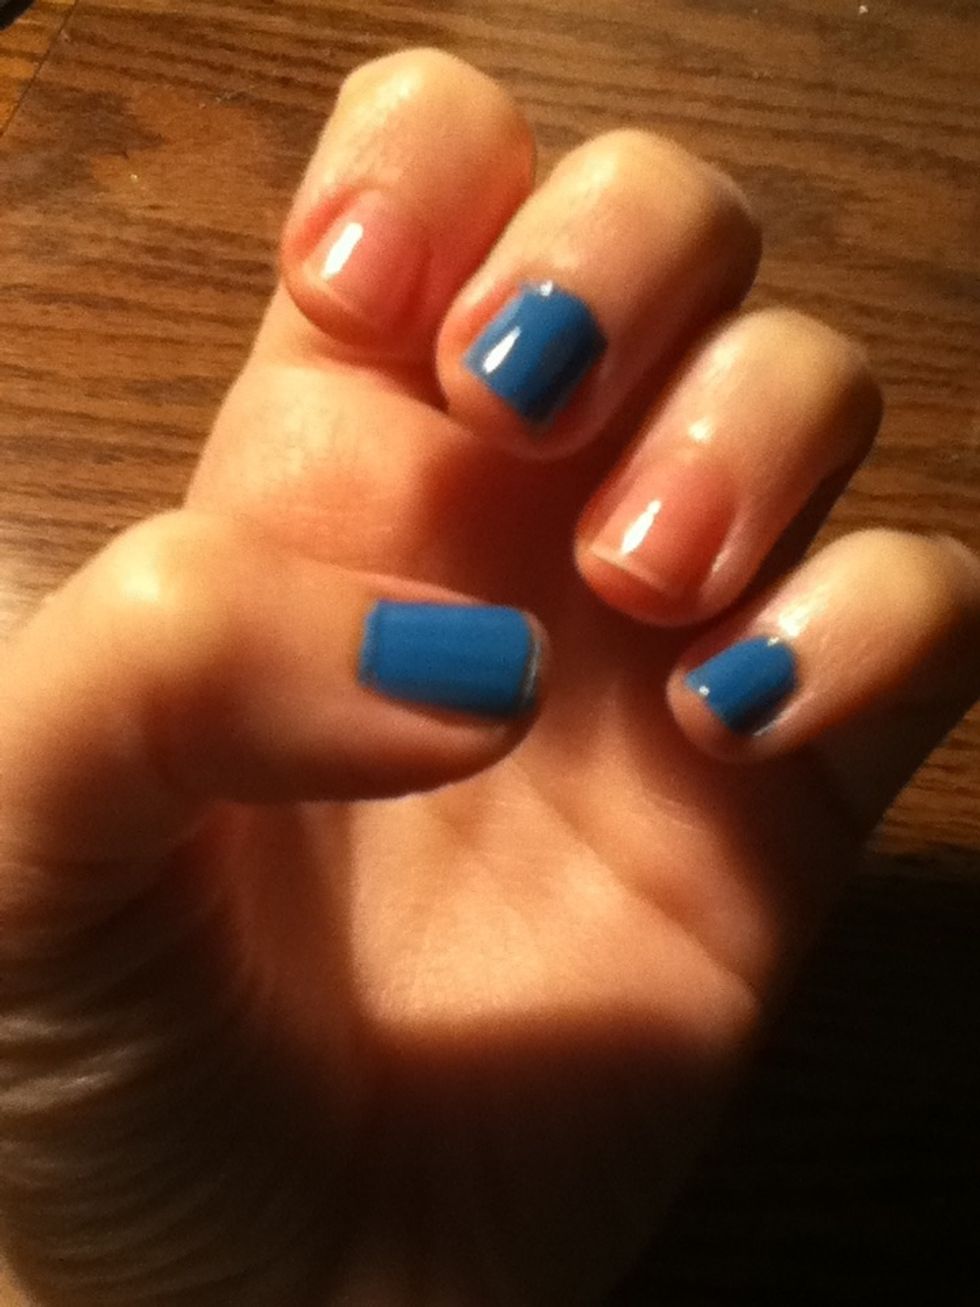
If you accidentally get nail polish on the skin surrounding your nails, don't worry! I will explain how to fix it in the end.
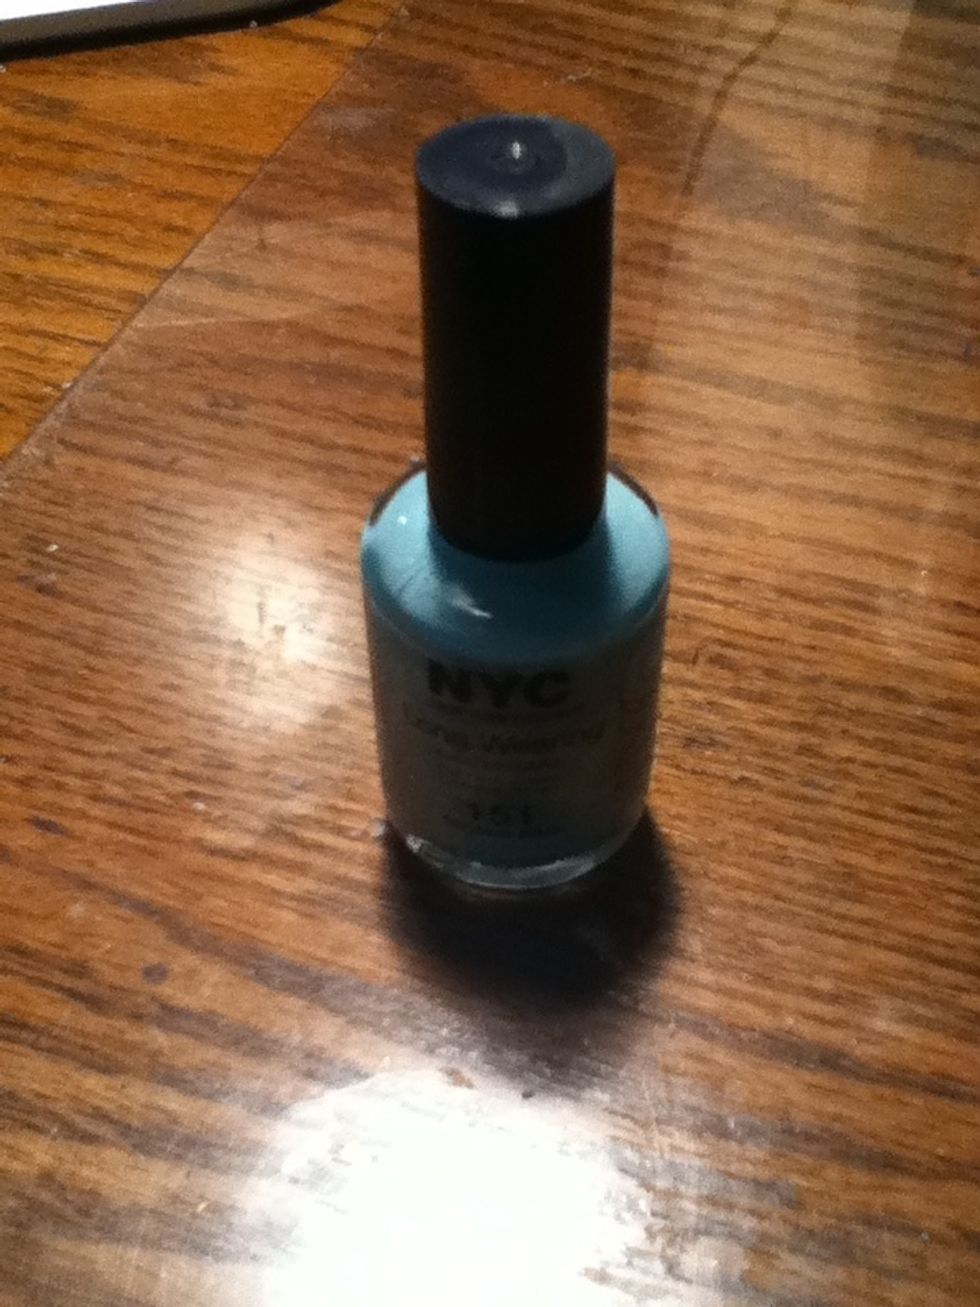
Now, paint your index and ring fingers with the lighter shade of blue. Be sure it is completely dry before moving on.
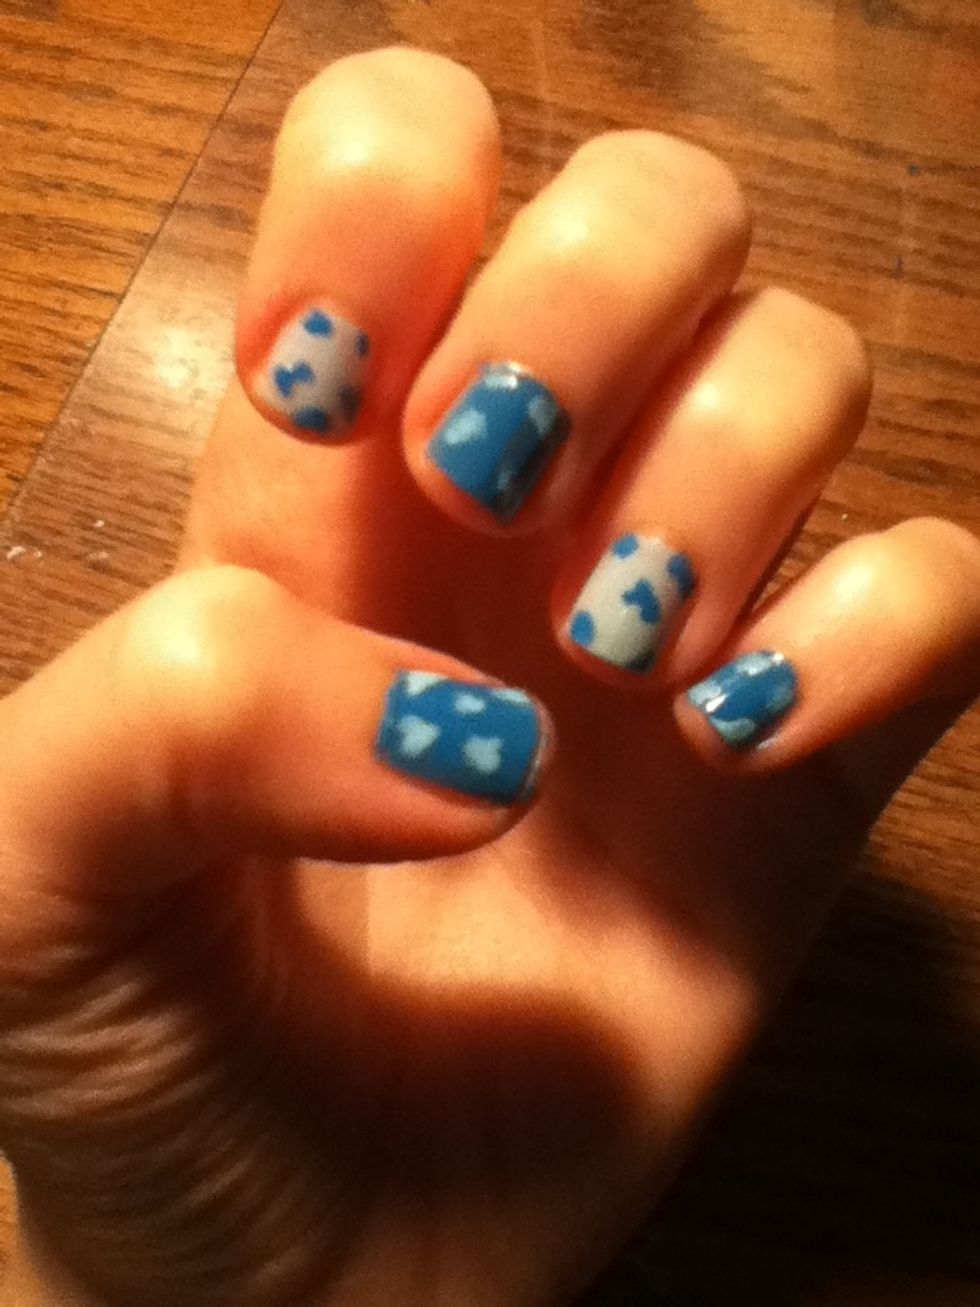
Next, take the light blue and paint small splotches on the nails coated with dark blue. It doesn't have to be perfect! Let it dry completely.
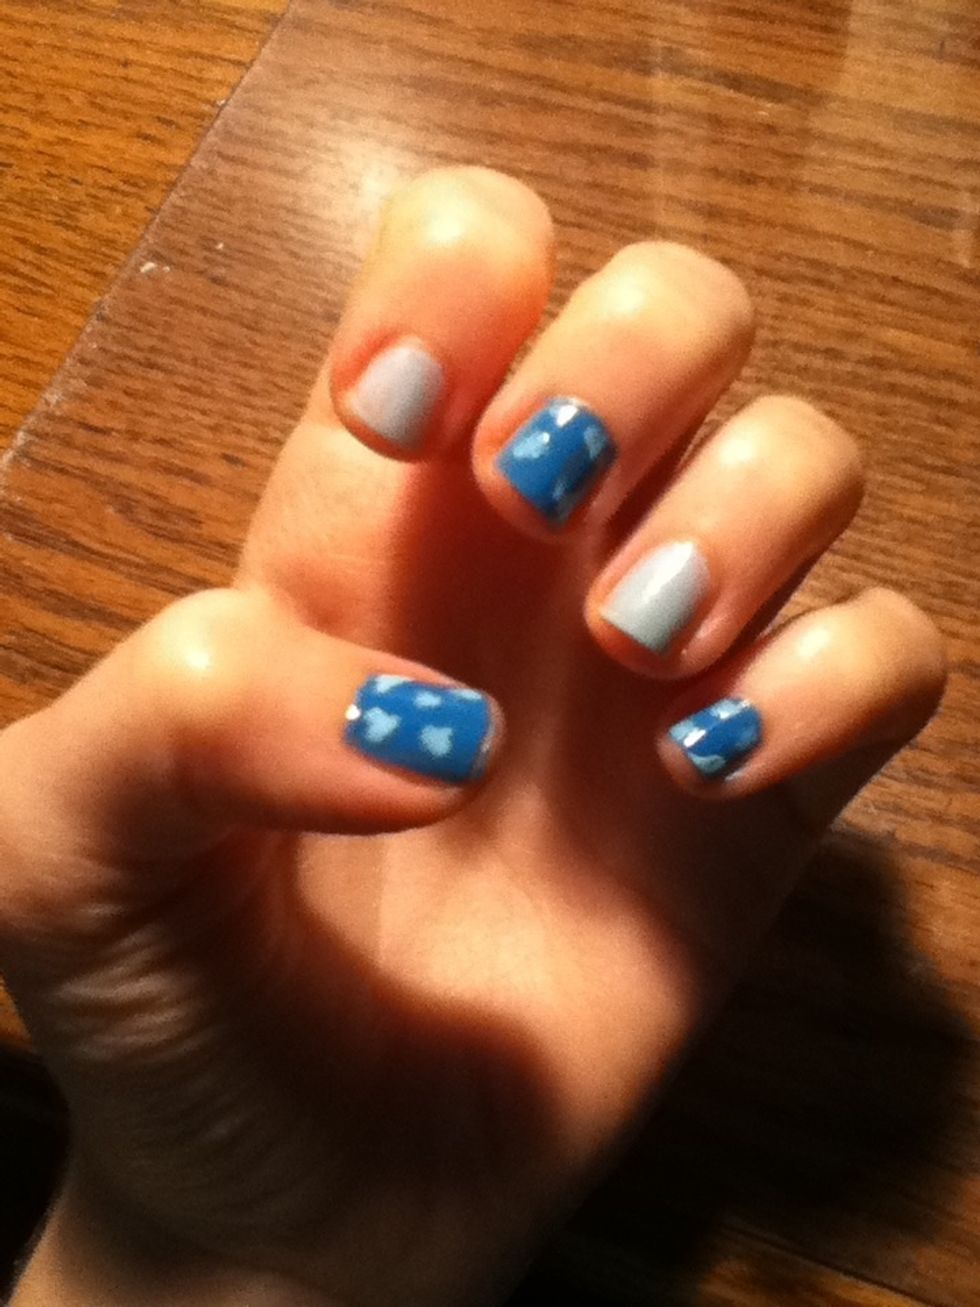
Do the same with the dark blue. Paint small splotches on the nails coated with light blue. Make sure it is completely dry.
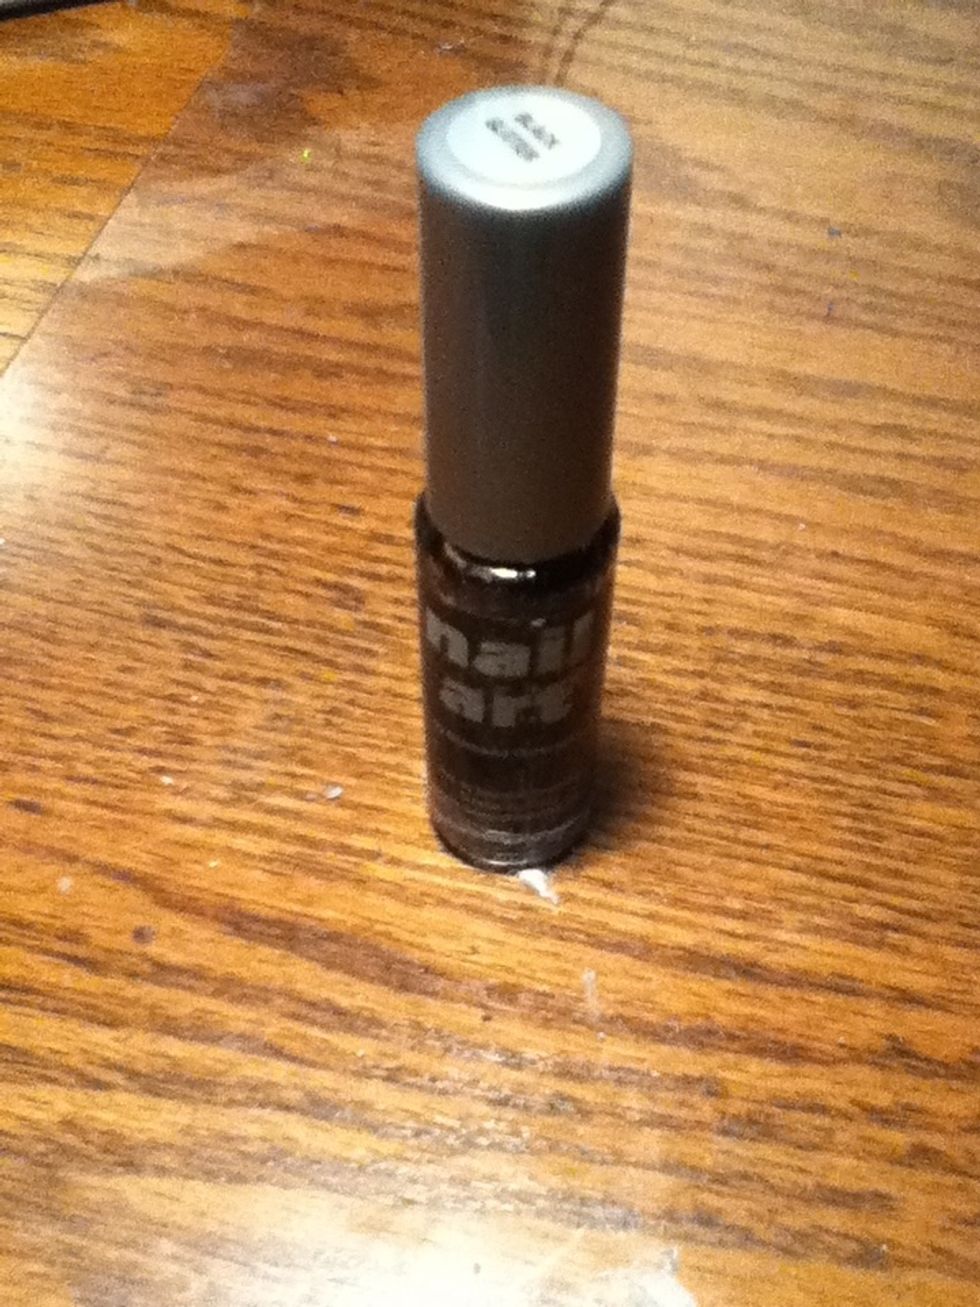
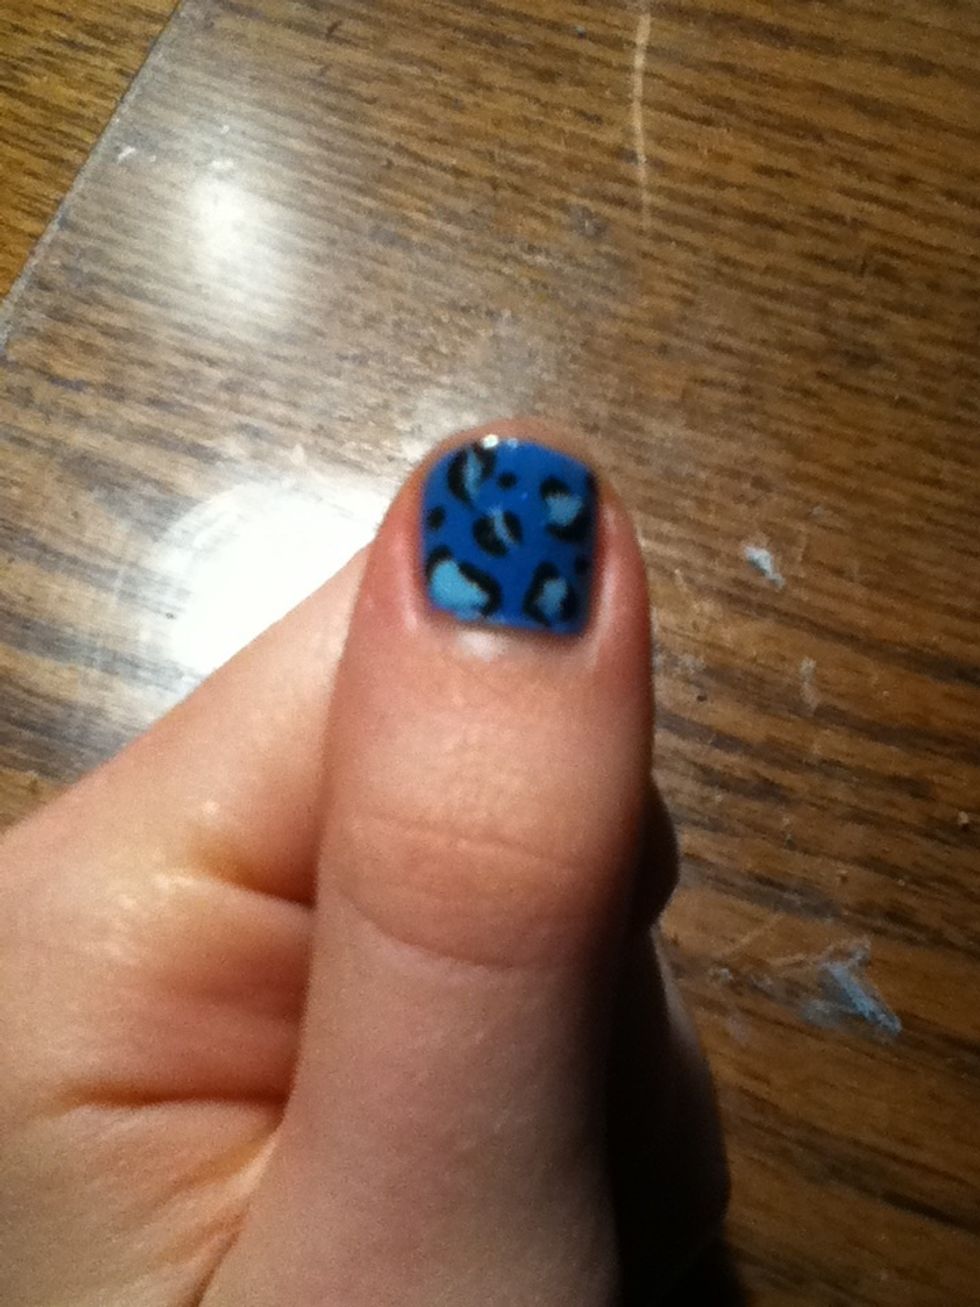
Next, use the black polish with the nail art brush to partially outline the splotches. Again, it doesn't have to be perfect. Let it dry completely.
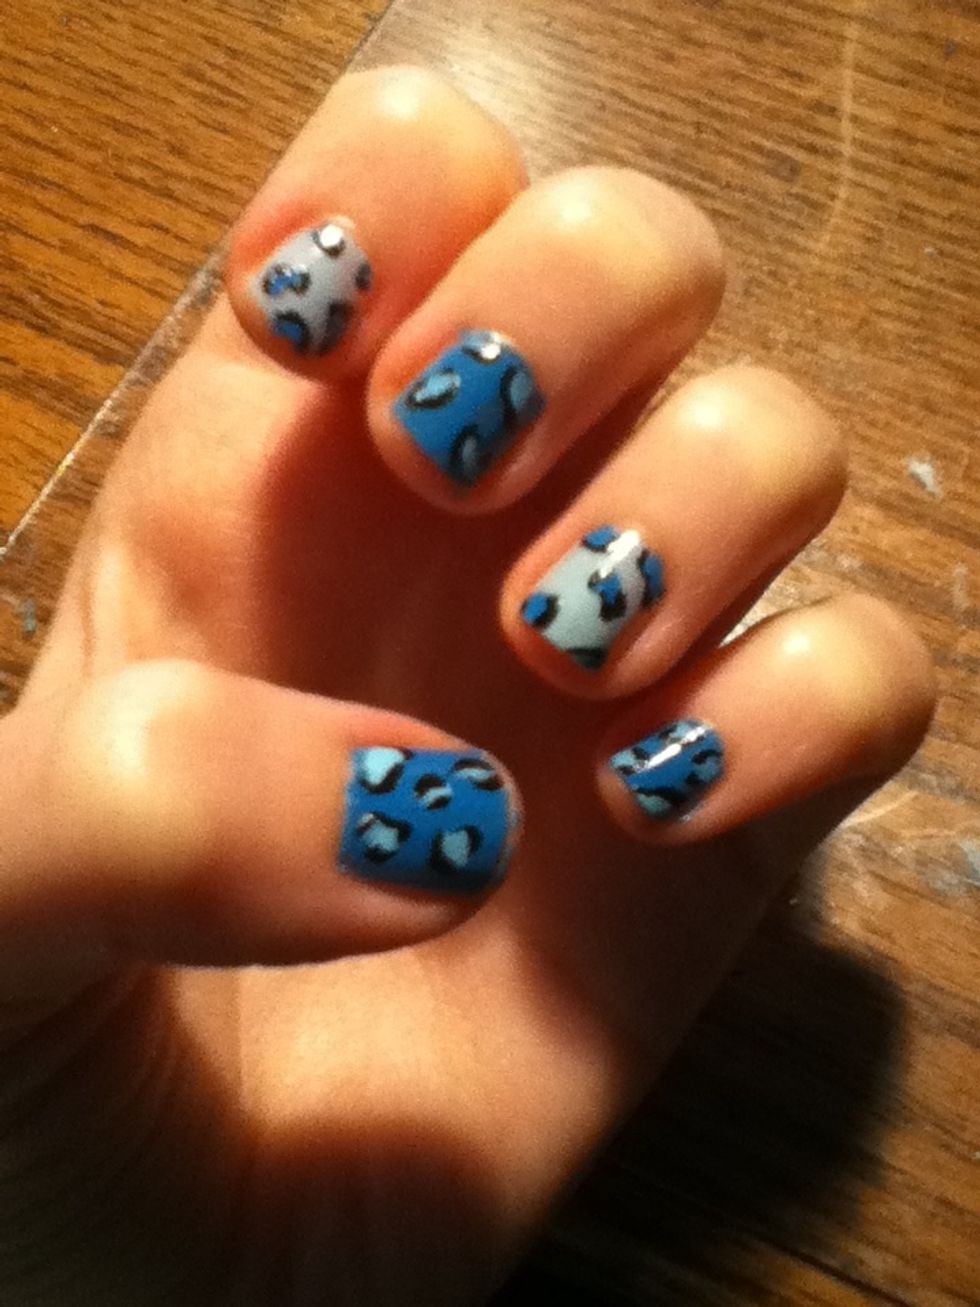

If there are some bare areas between the spots, make little dots with the black nail art polish to fill in the spaces.
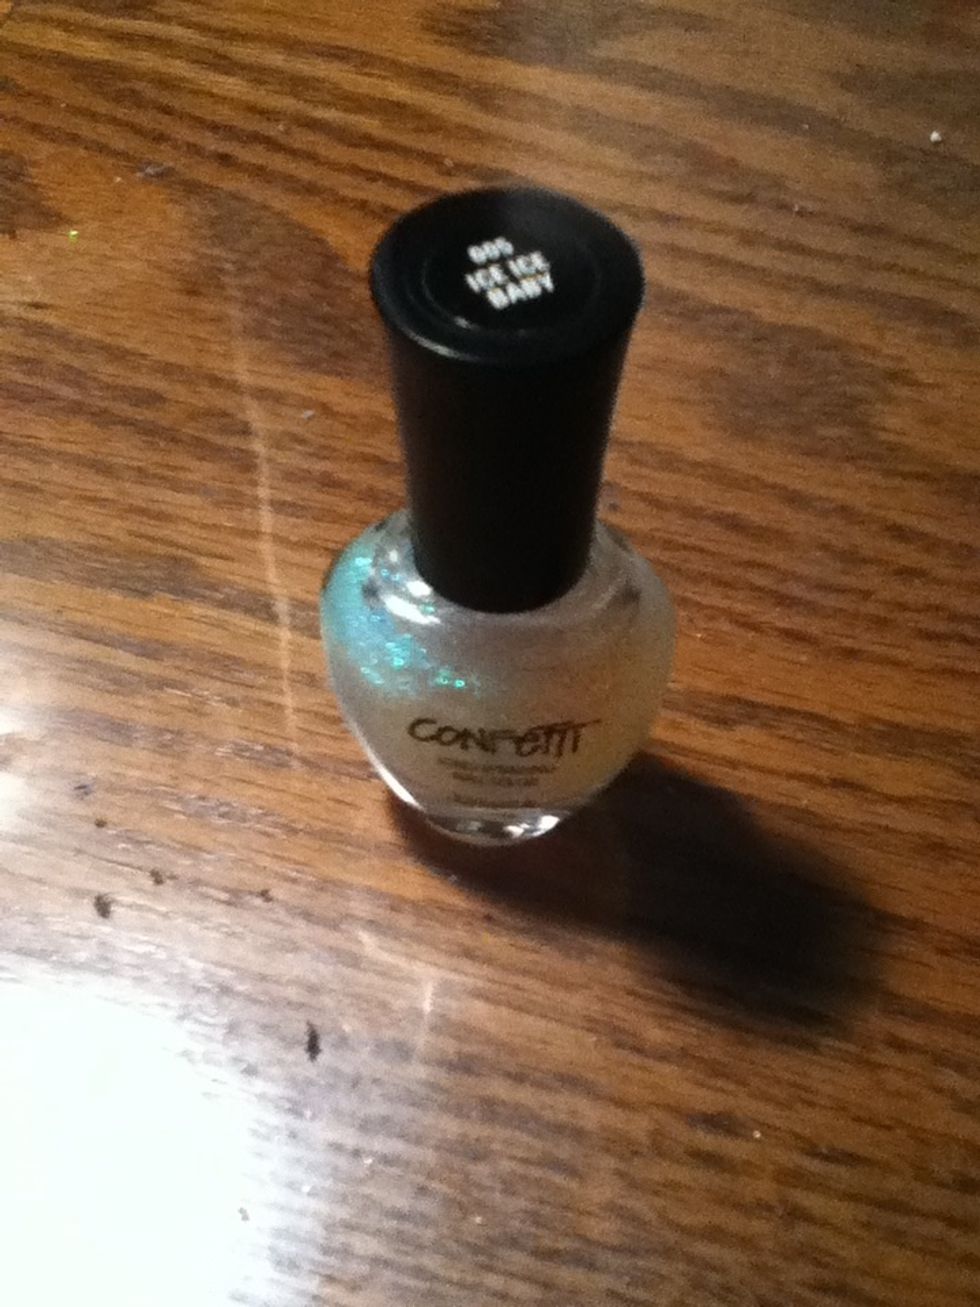
To add some shine, seal each nail with some sparkle nail polish. Make sure it dries completely.
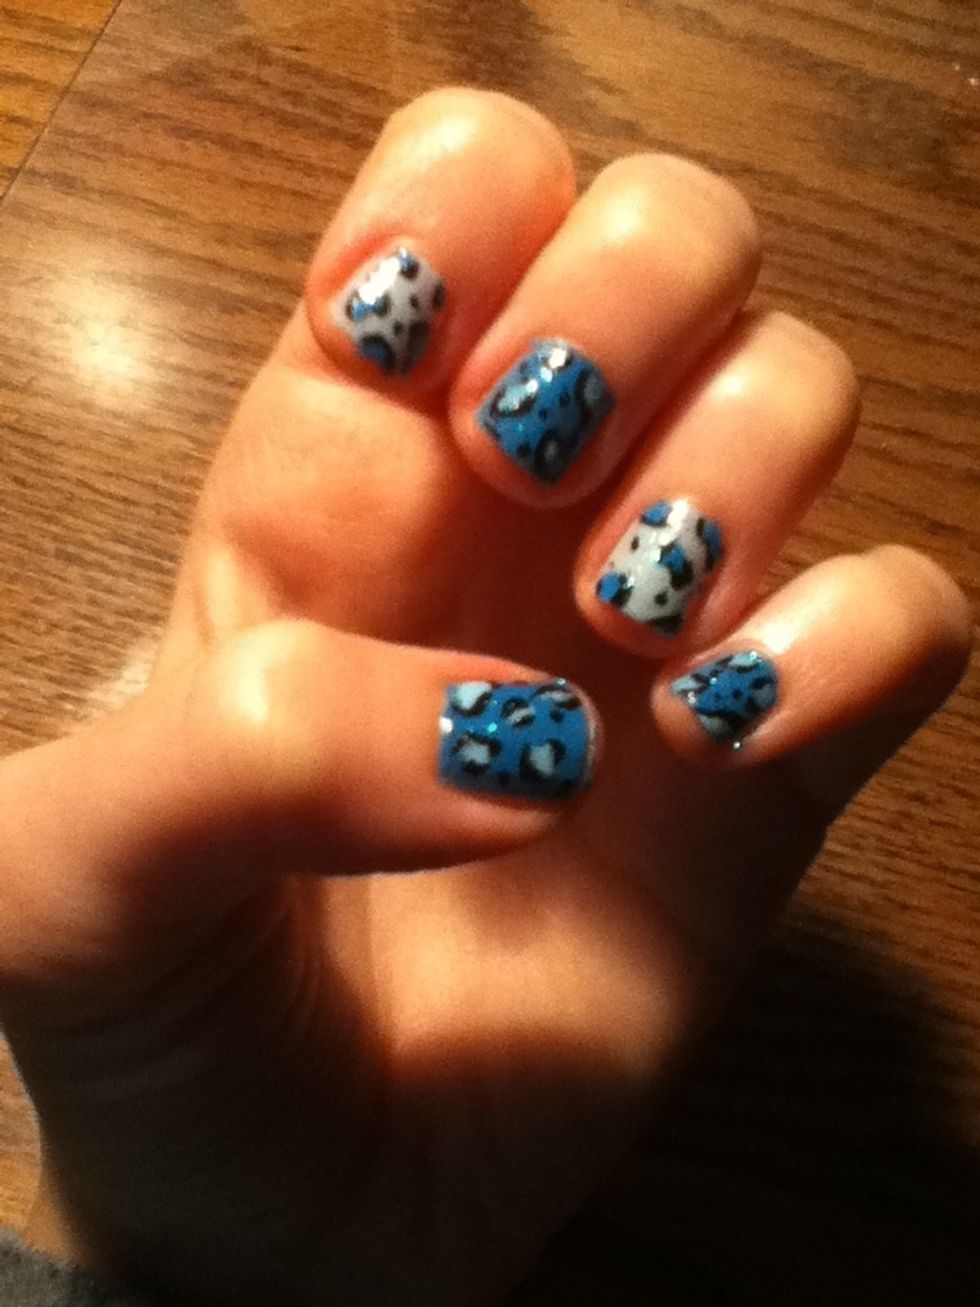
Ooh la la ;)
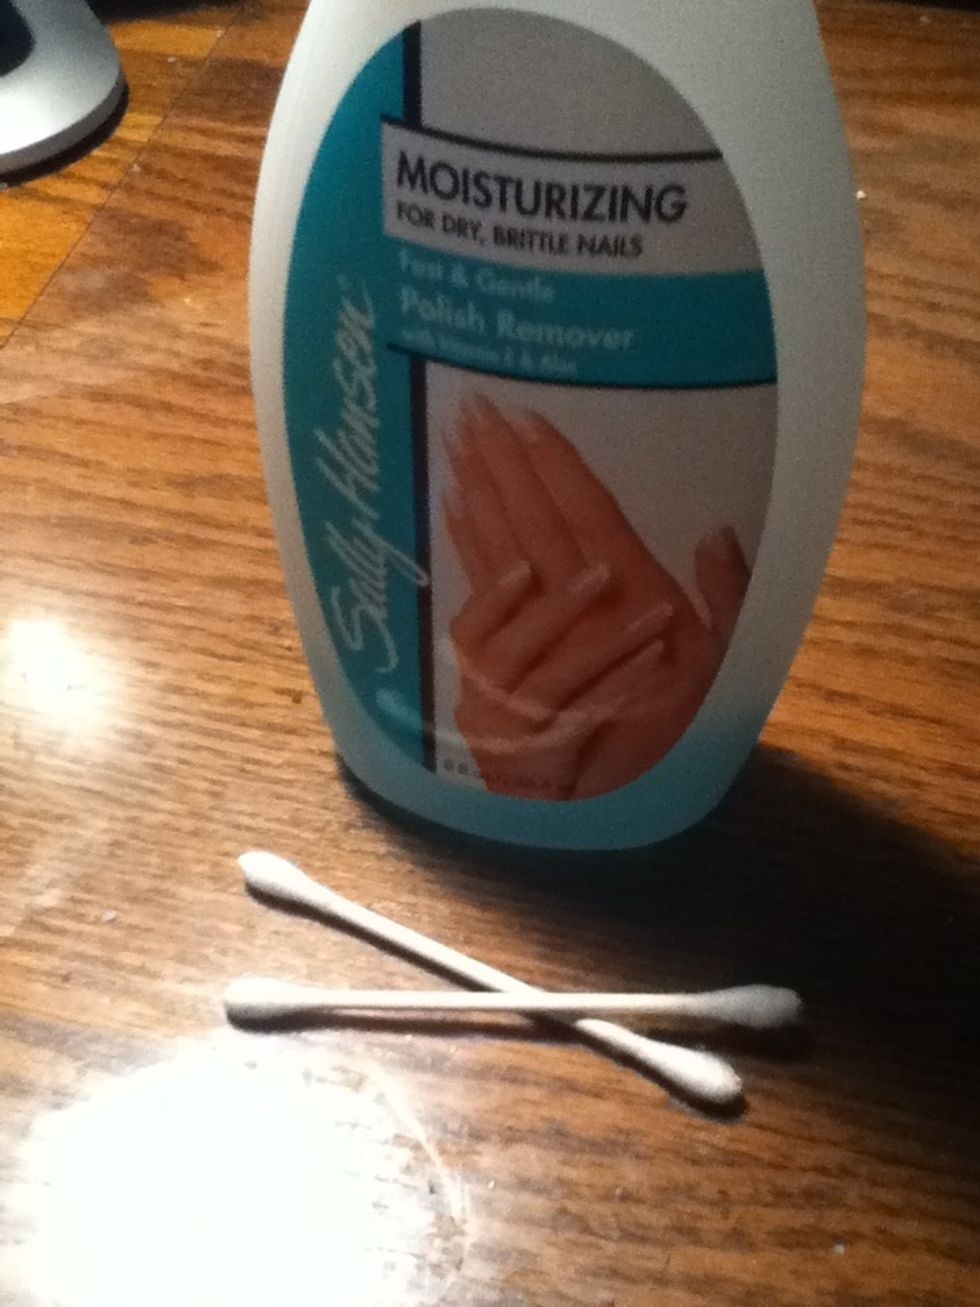
To clean up the skin surrounding the nails, dip the end of a Q-tip into nail polish remover. Then gently rub the Q-tip over the areas of skin with polish to remove it.
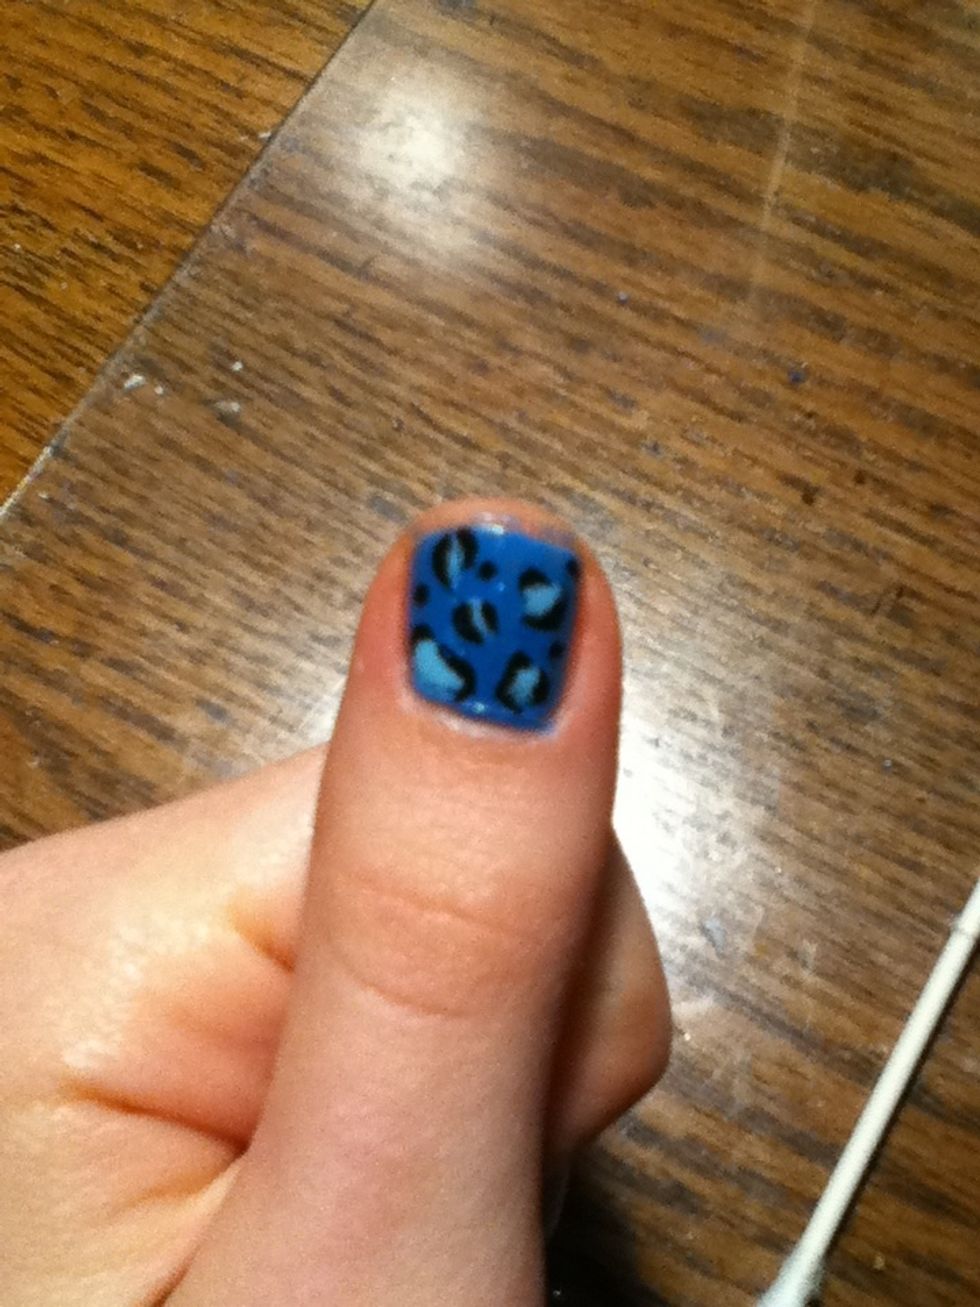
Before touch-up...
...after touch-up :)
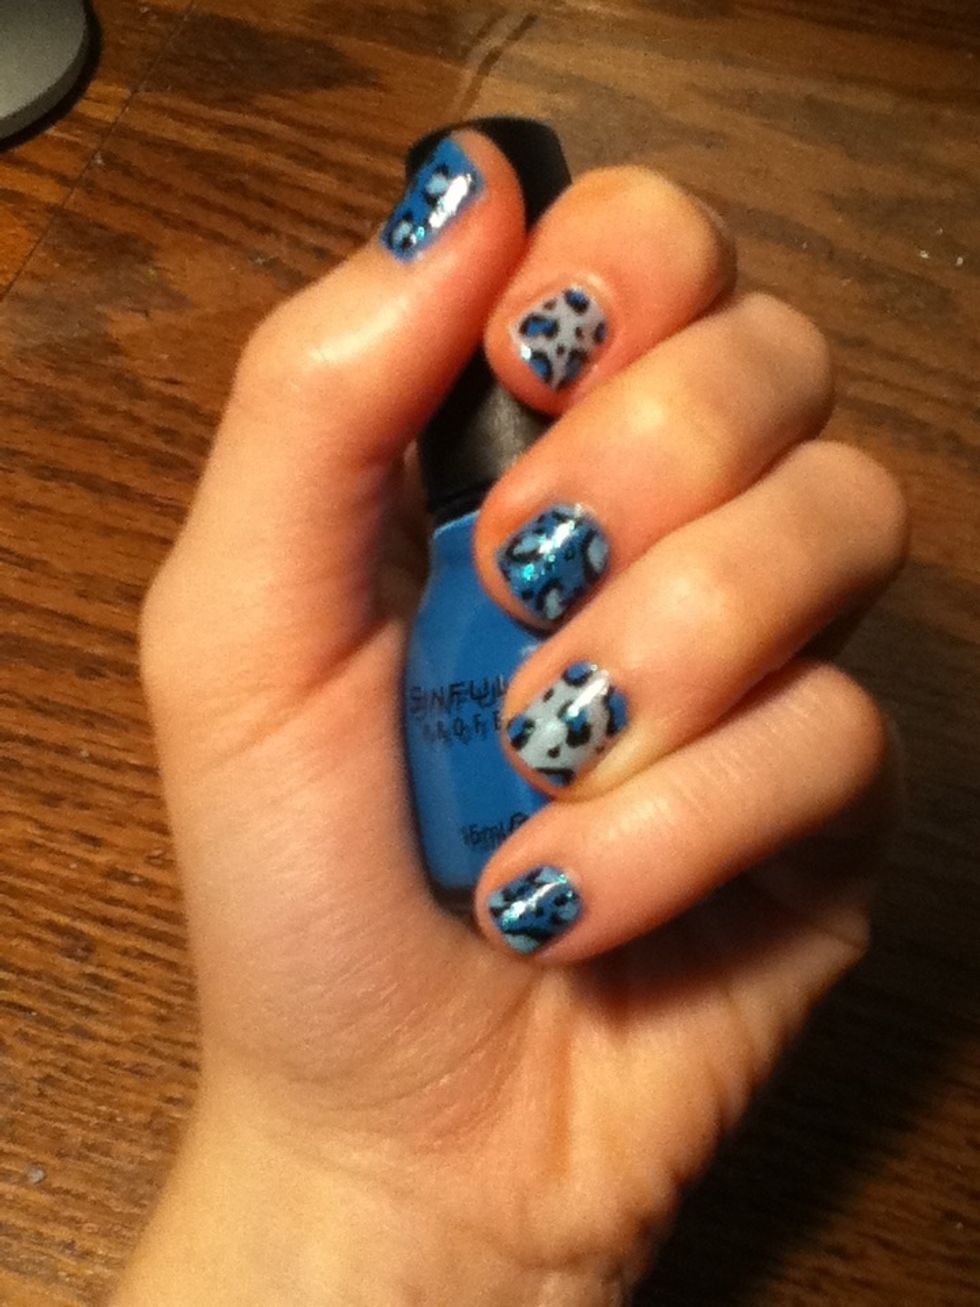
Meow! Those are some seriously cute nails!
Thank you for checking out my guide! :)