The Conversation (0)
Sign Up
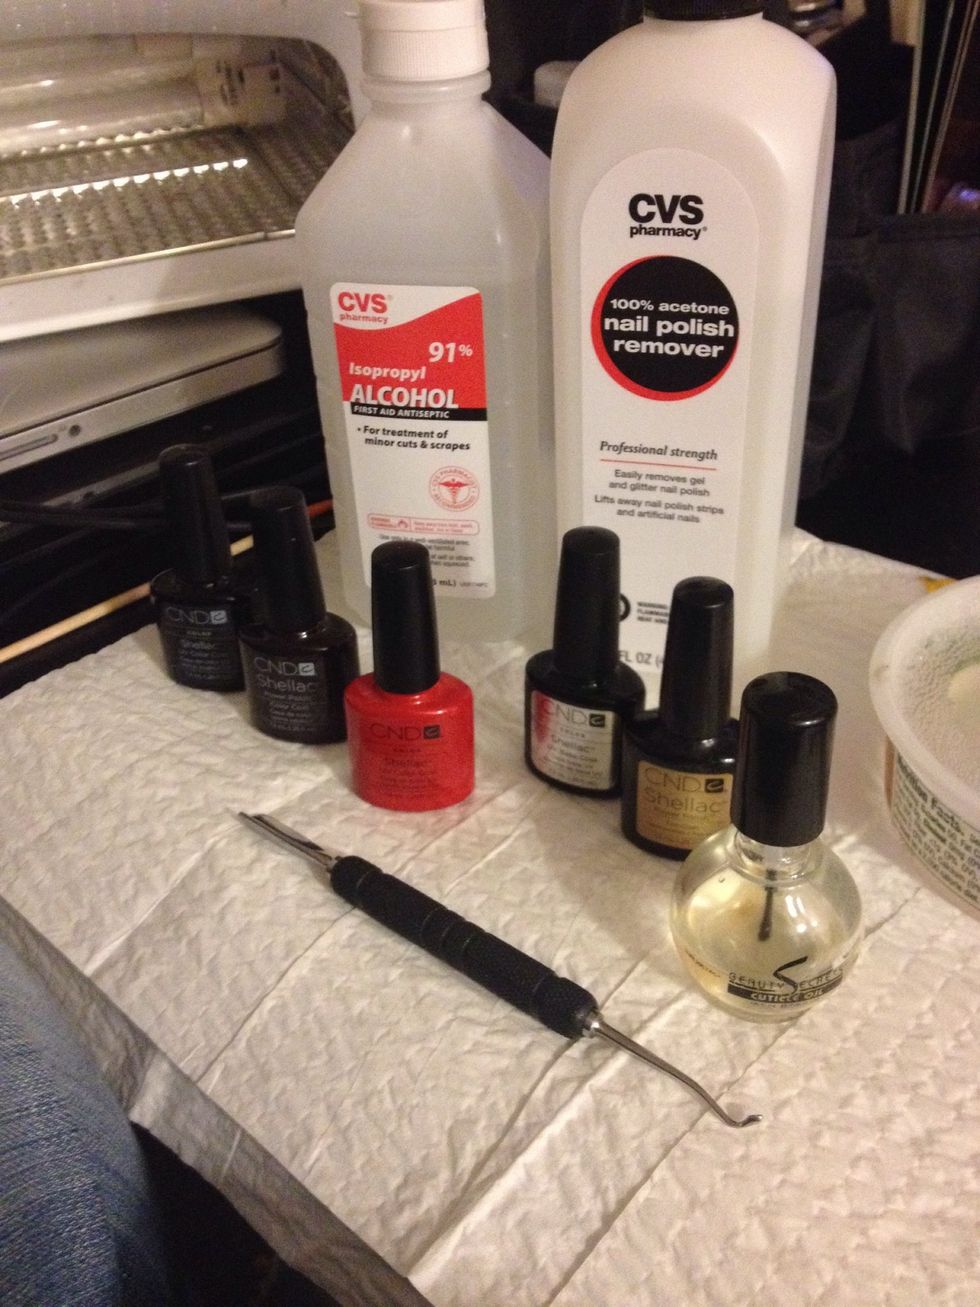
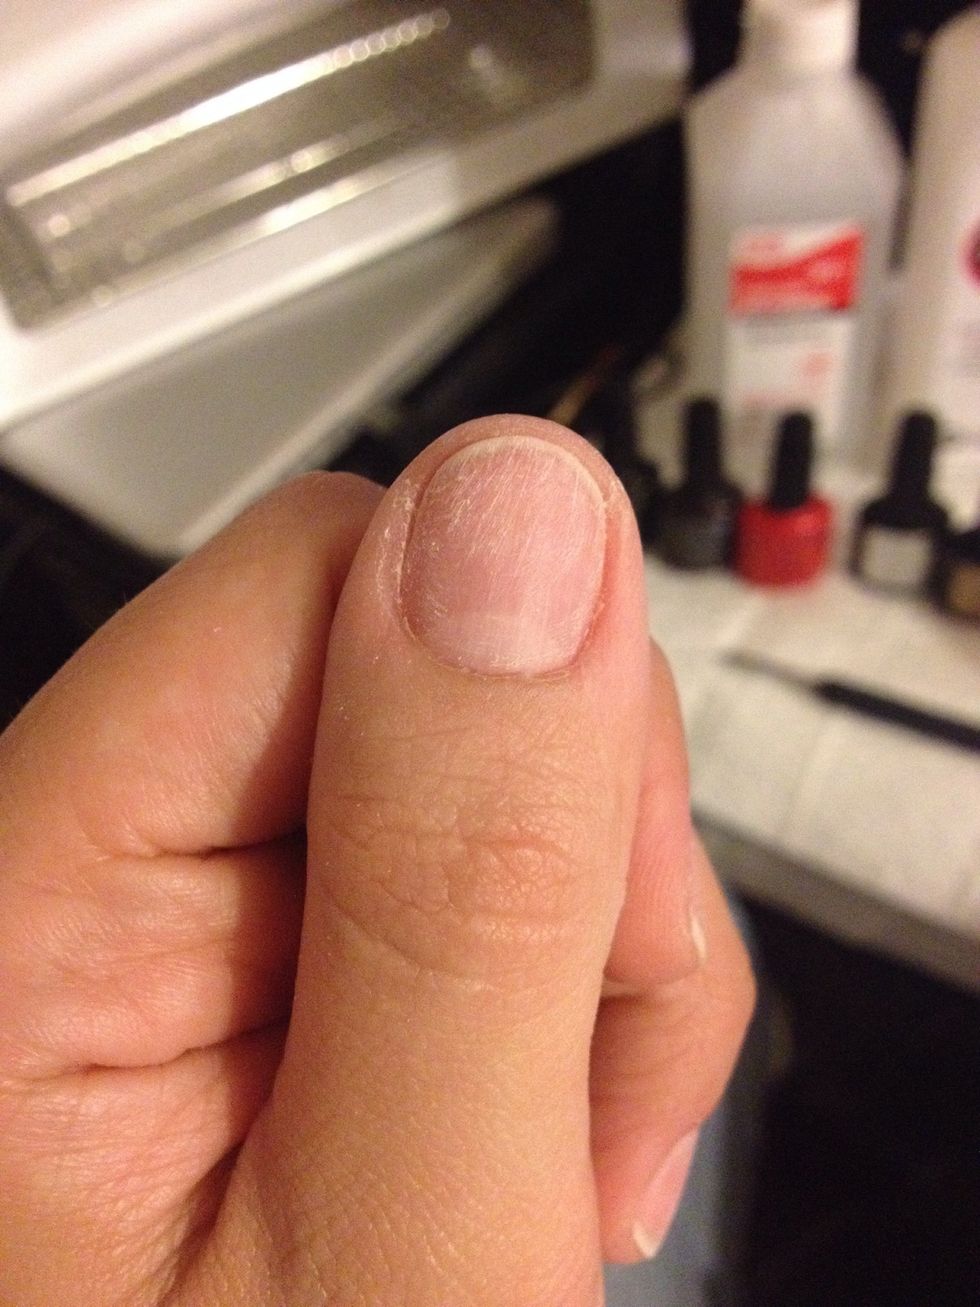
The gel nail system I use the Shellac system. I do a manicure before I use gel nailpolish. MAke sure your cuticles are pushed back and trimmed. Ps- you can get all the supplies on amazon.

Four steps: base coat, base color (red) ombré color (black) and top coat...

File the top of your nail to create a rough surface. Helps the nail polish stick better to the nail bed.
As such...
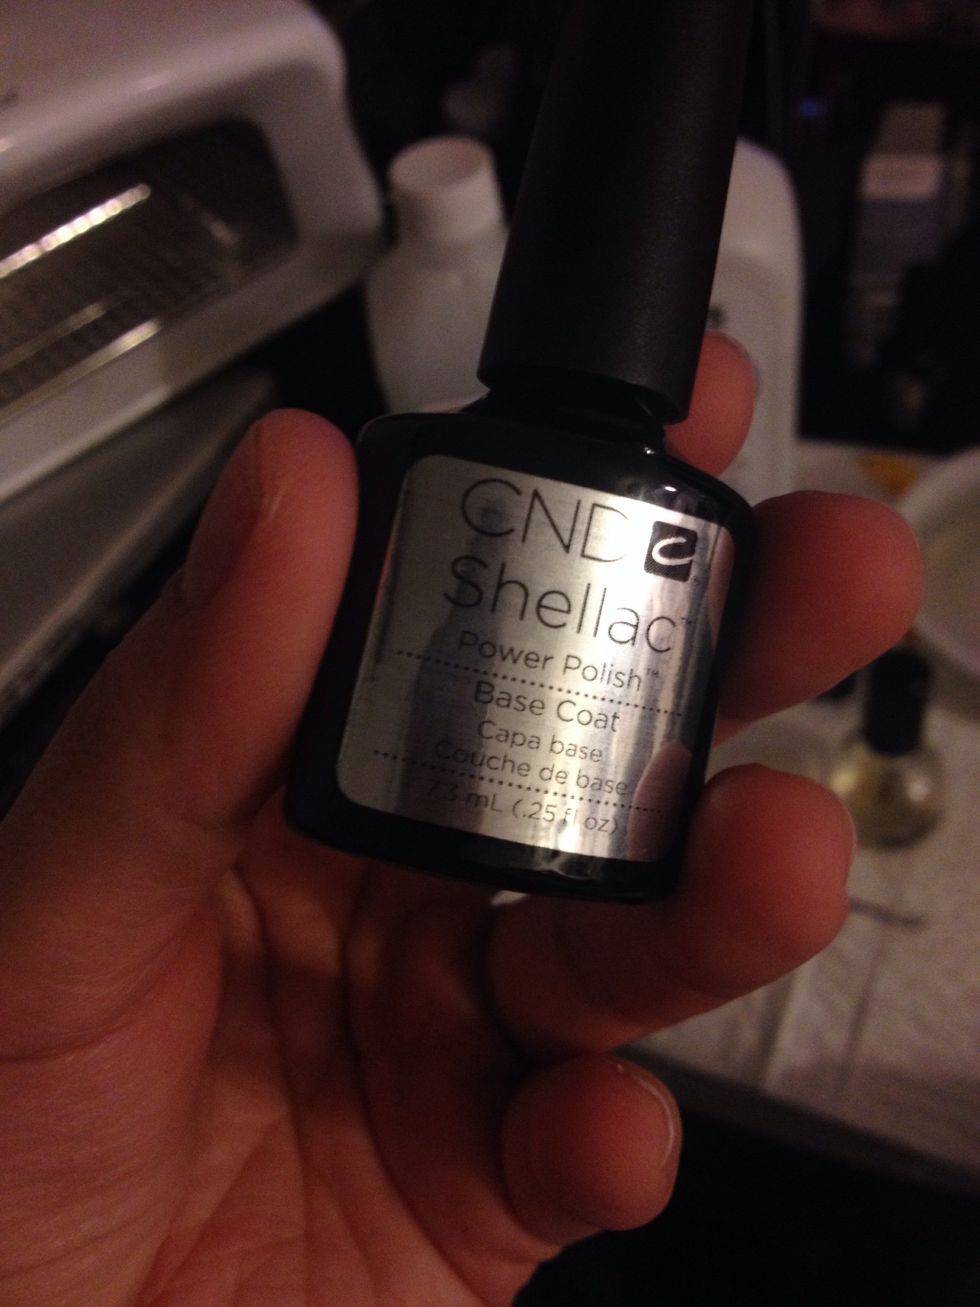
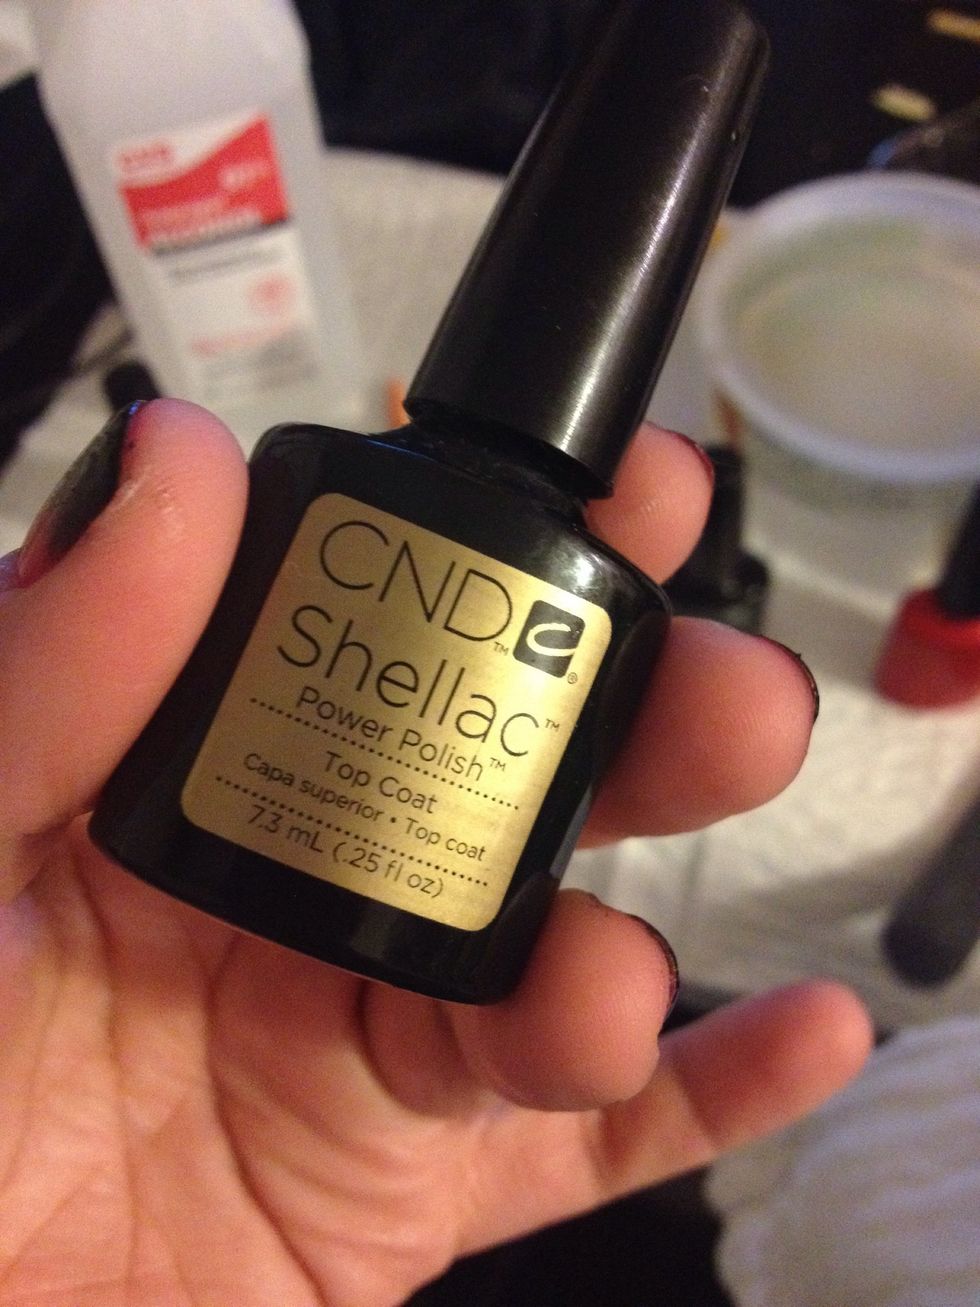
First step: base coat = The key to gel nail polish is thin layers!! Think thin to win! Apply one thin layer of topcoat to nail.

Comes on clear... Put under UV LIGHT lamp for TEN seconds only.

Next: BASE COLOR: Same idea. Thin layer. We are going to do two coats for the red.
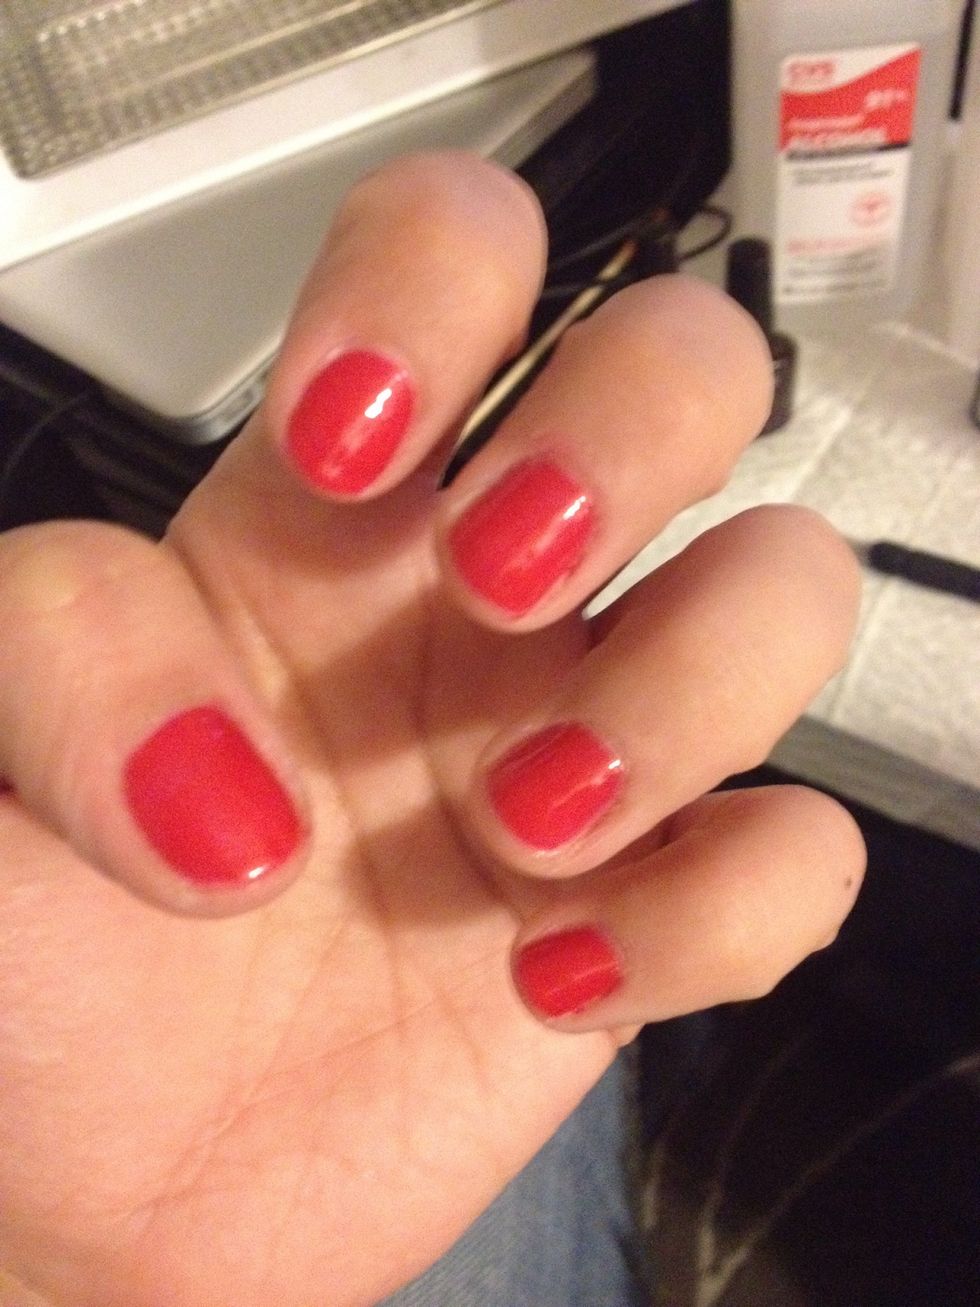
As such...
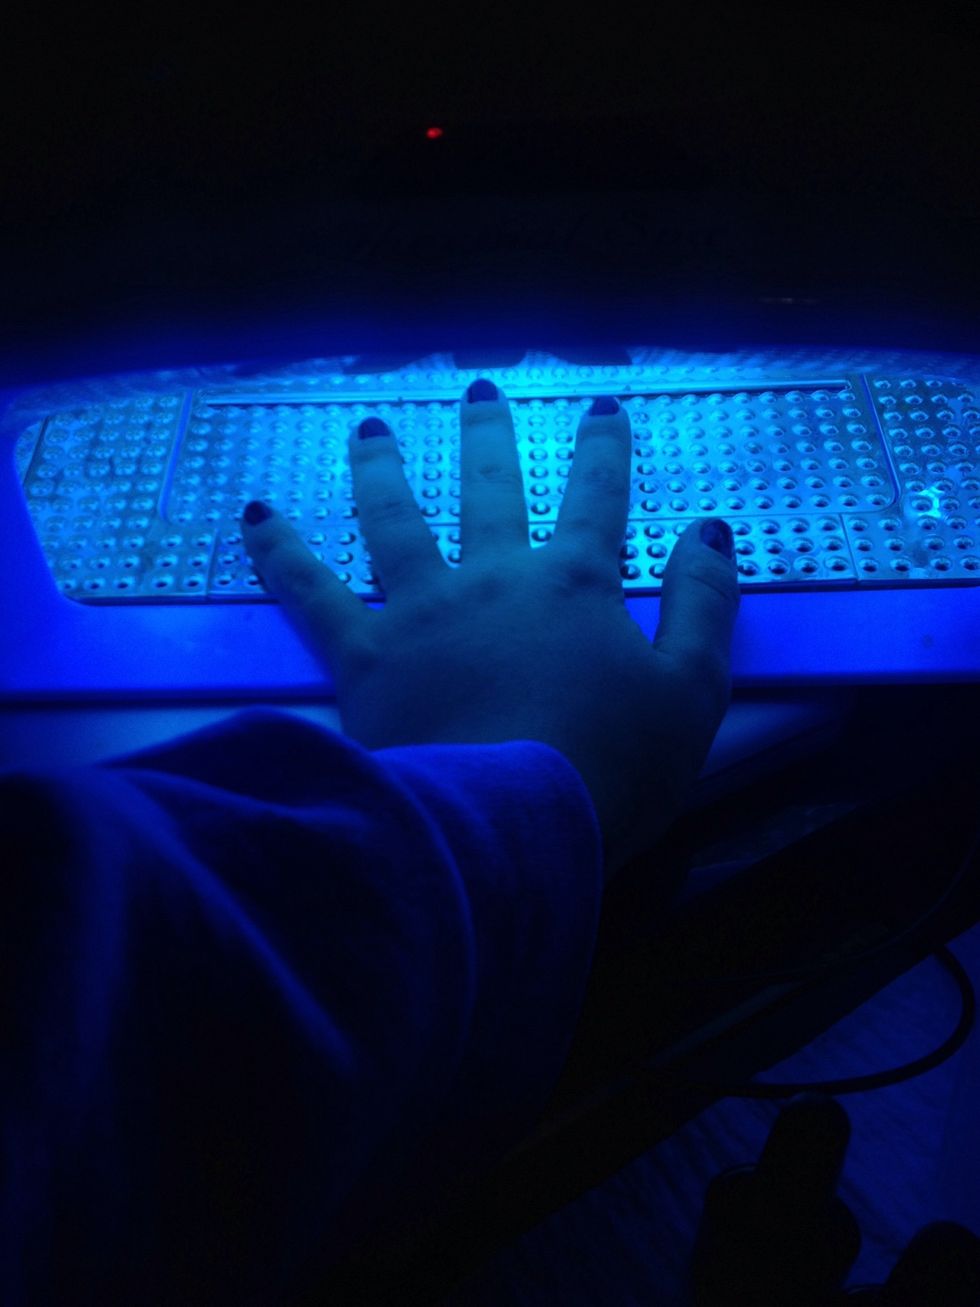
Under the UV LIGHT lamp for TWO minutes for each coat.
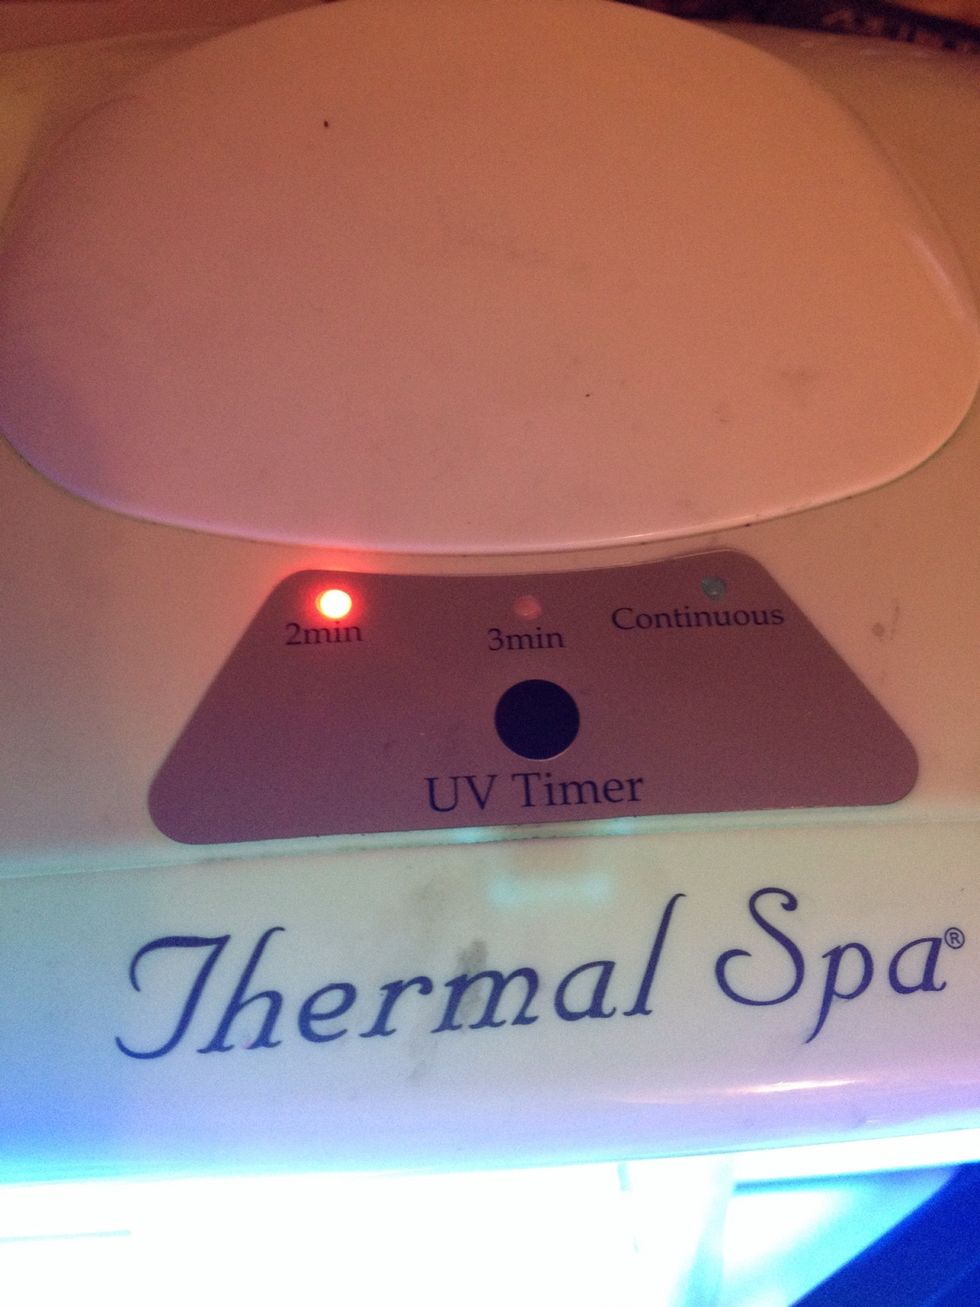
Some lamps come with time settings. If not just keep track with a timer.
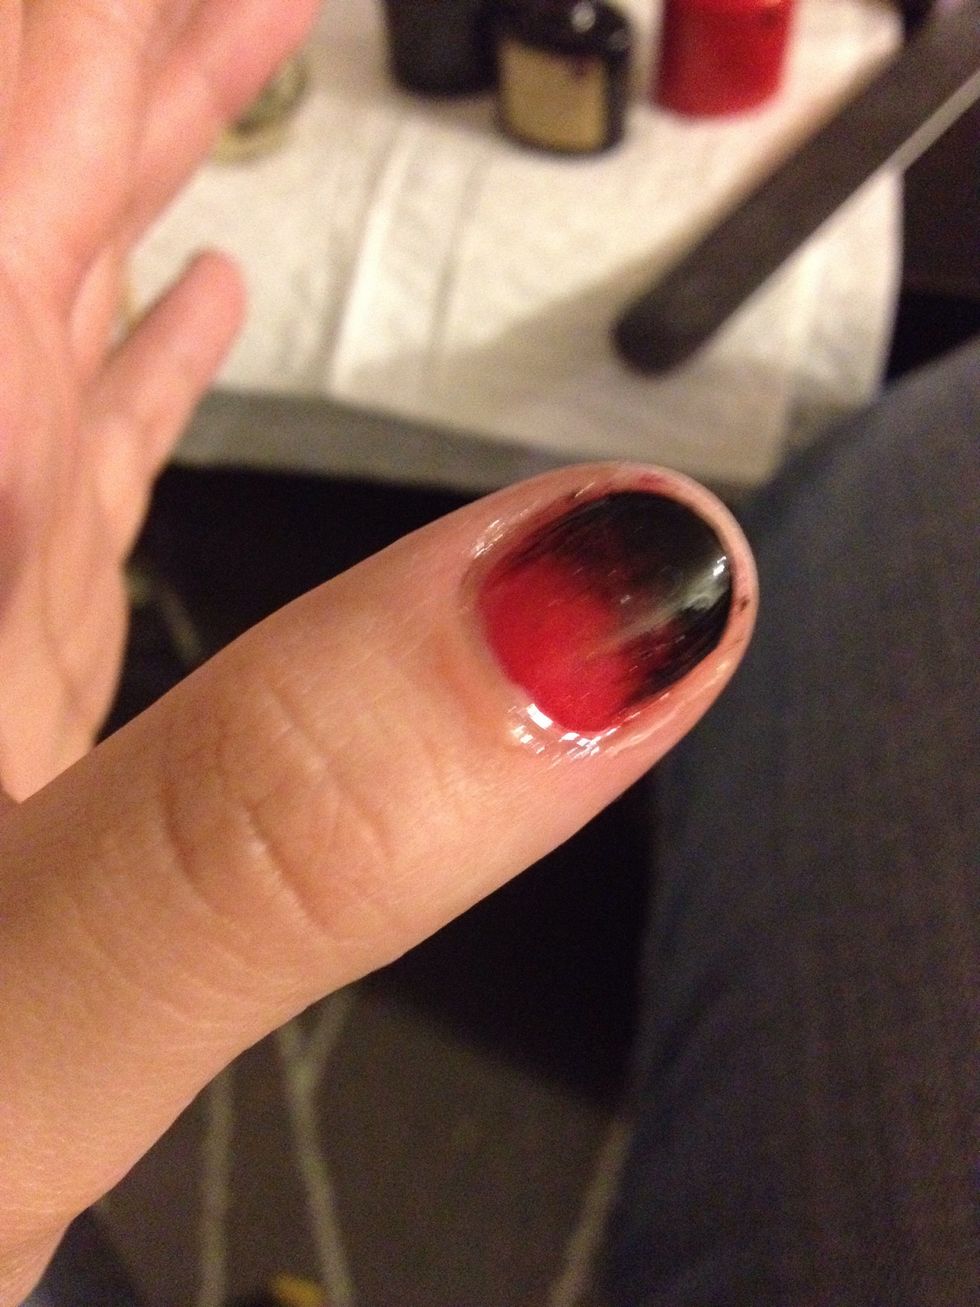
Next step : OMBRÉ COAT
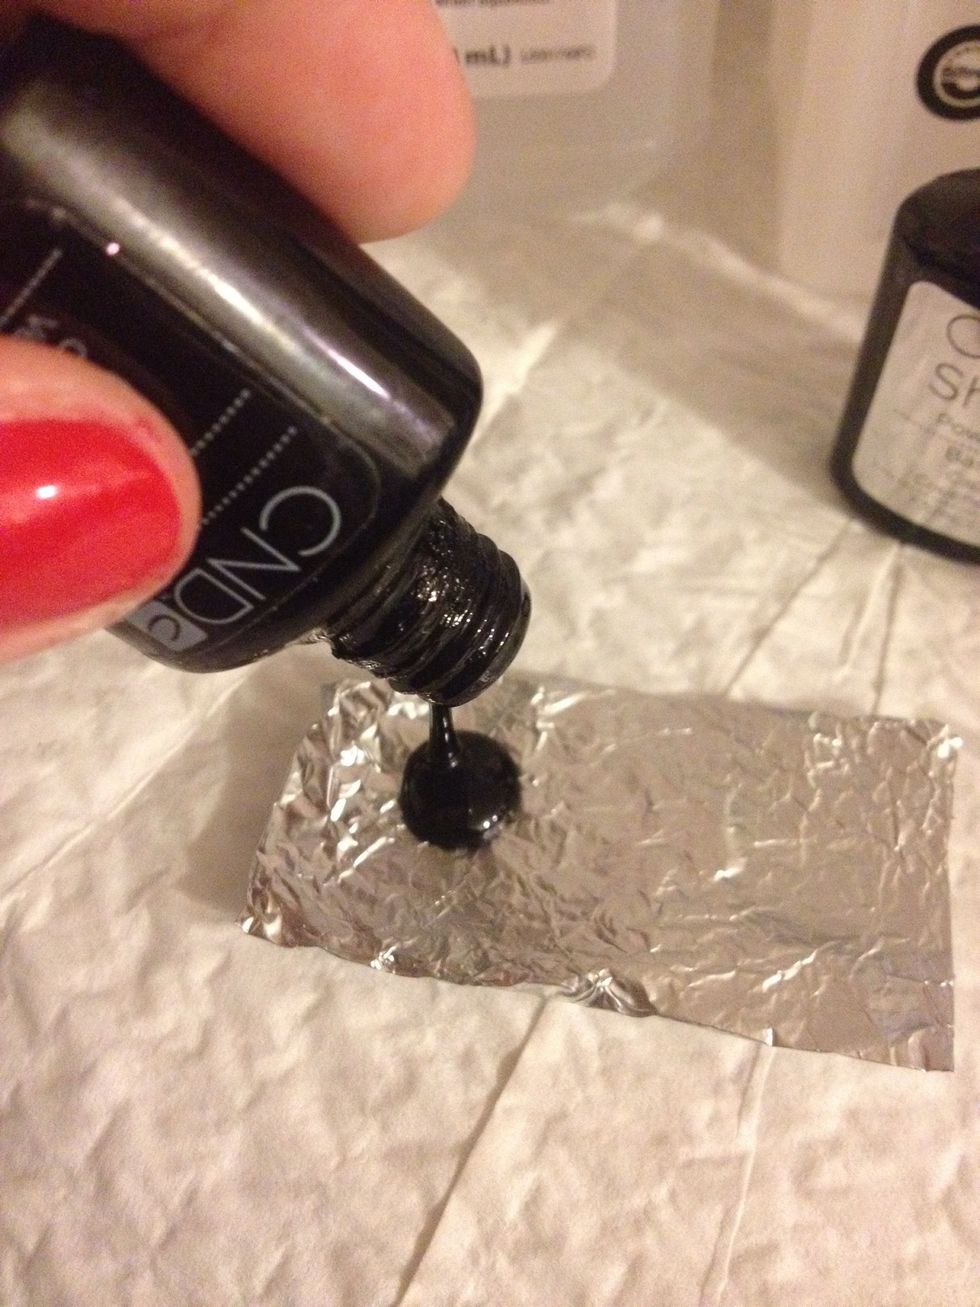
Pout a bit on to some foil to dip your sponge in.
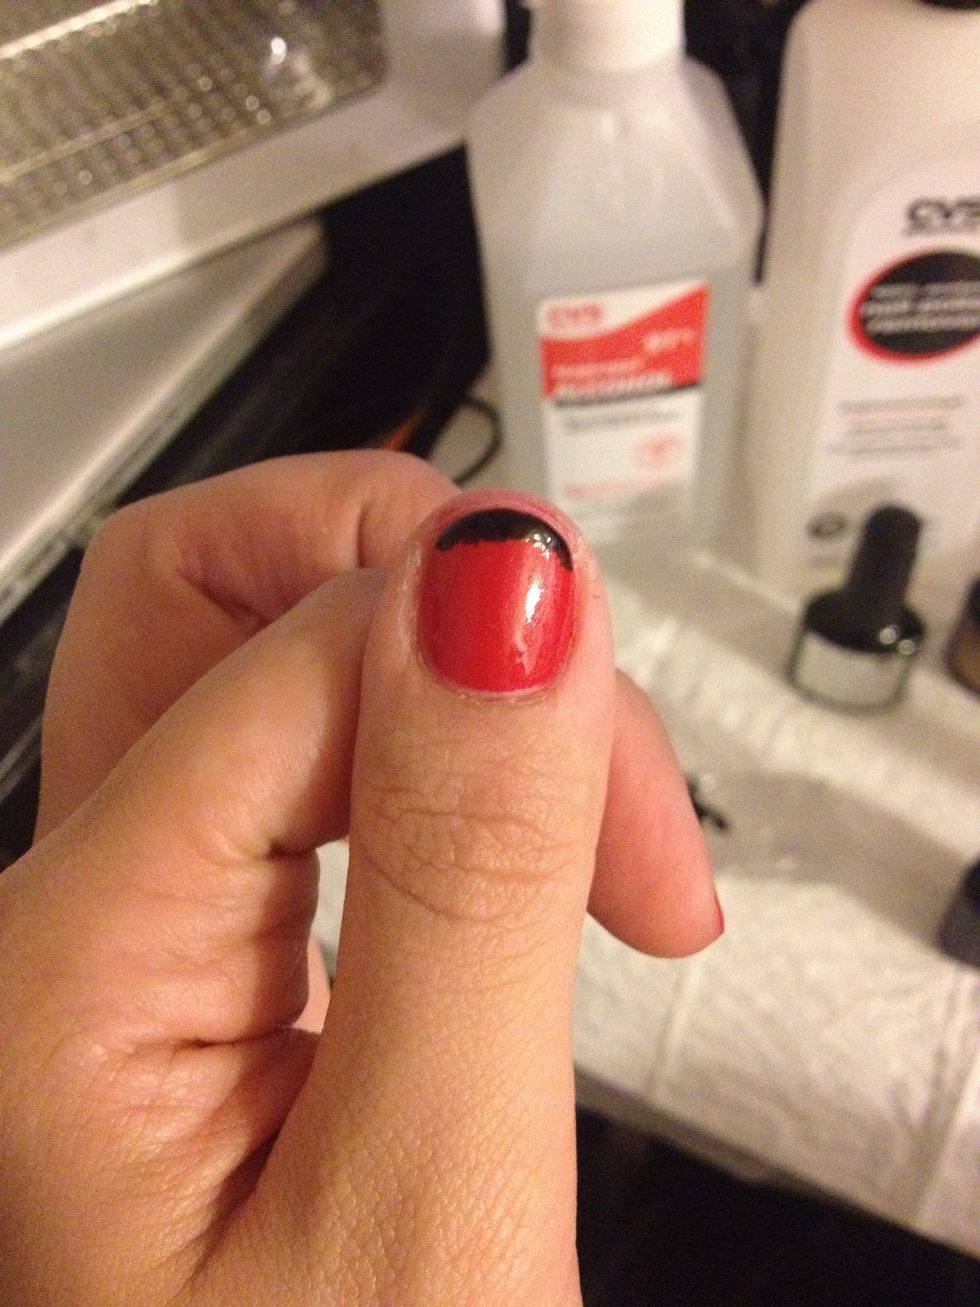
First do a thin solid black tip on the nail.

As such... Place under UV LIGHT lamp for one minute.
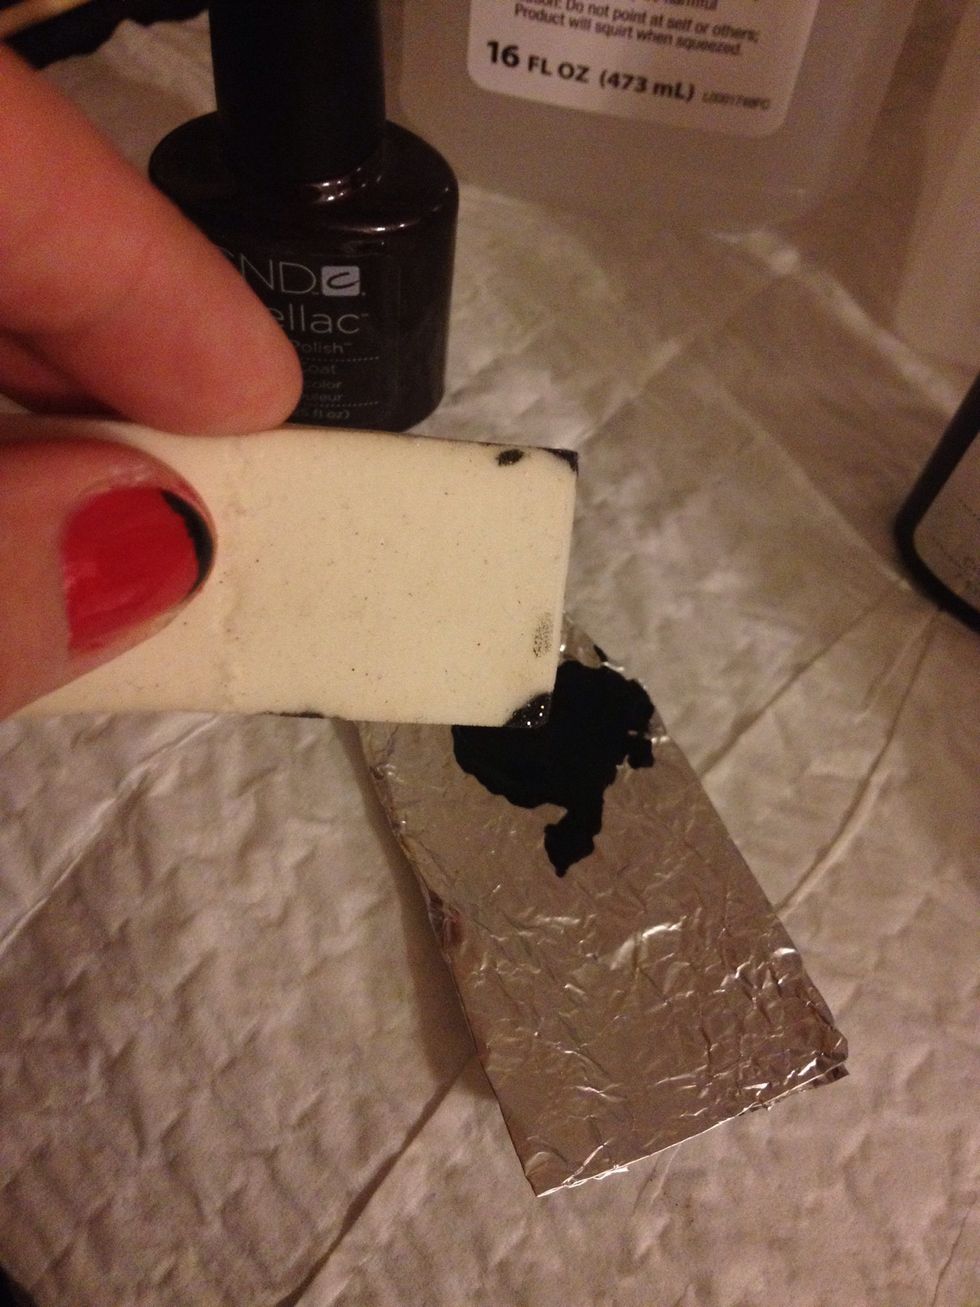
Take your makeup sponge and dip a corner into the black shellac.
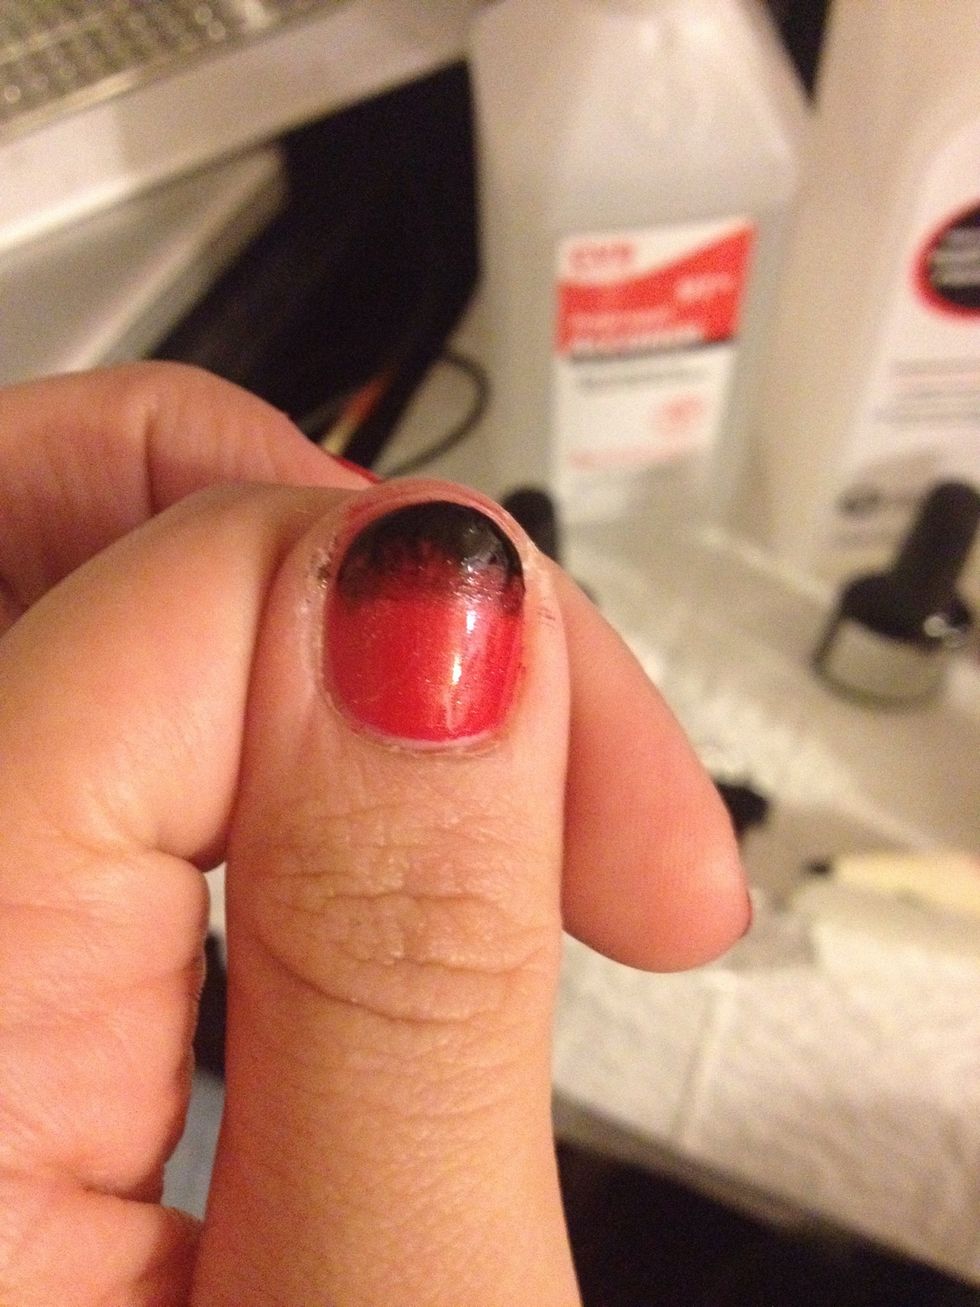
Start from the top of the nail and blend by dabbing down with the sponge.
As such..
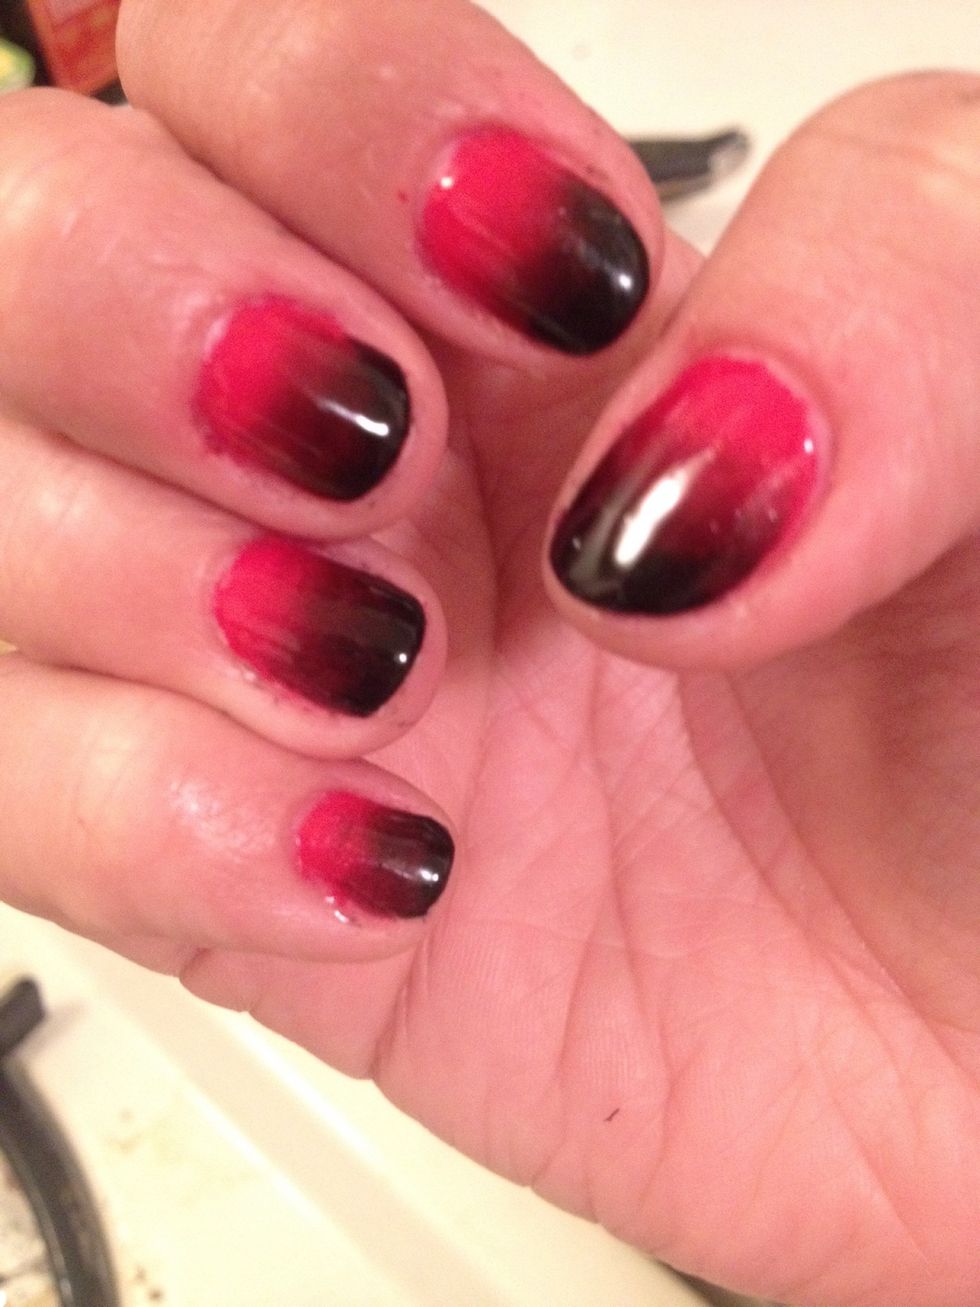
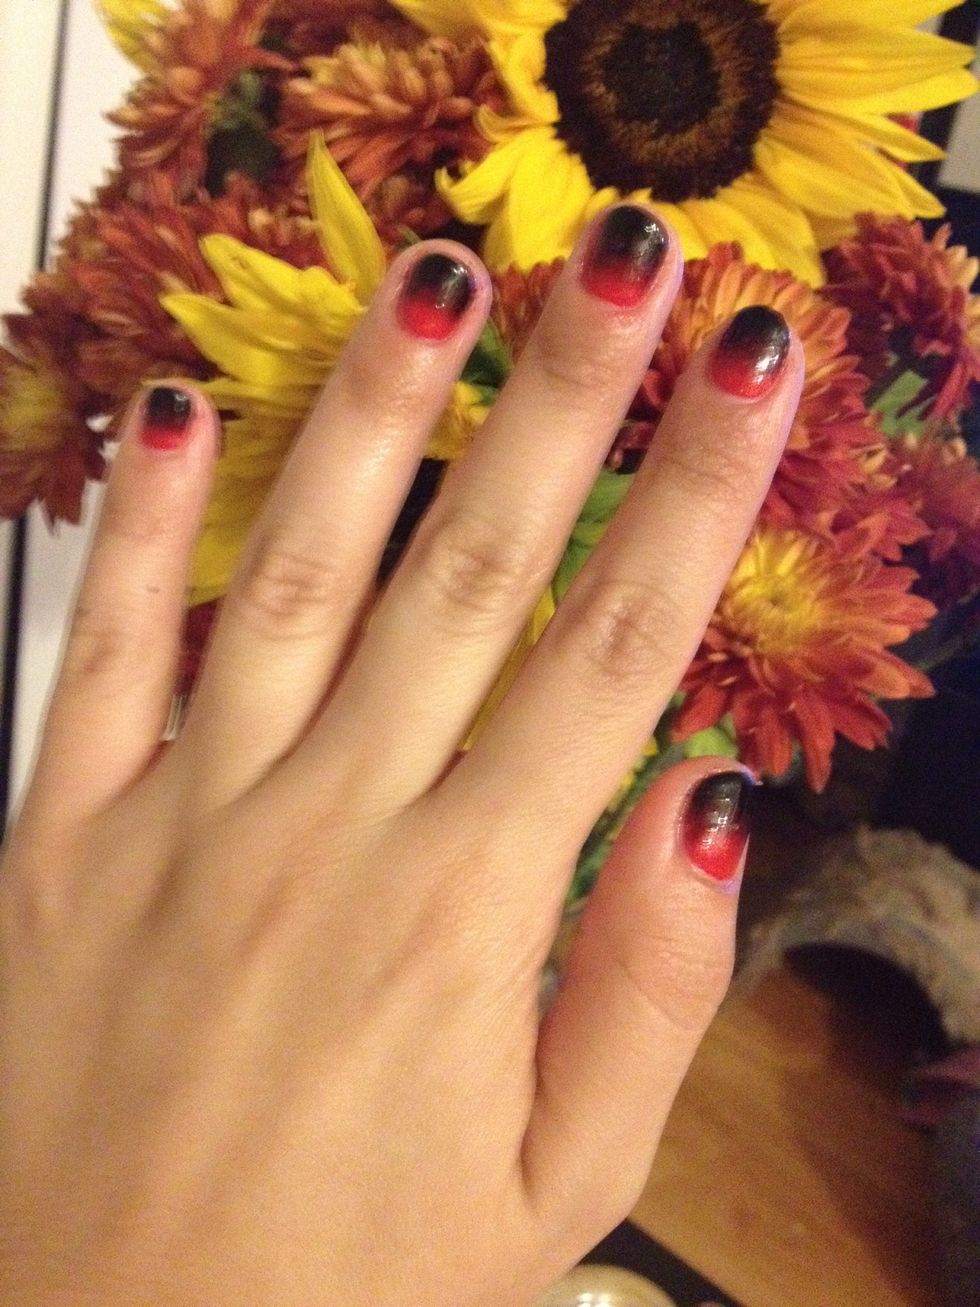
Repeat until desired ombré effect...
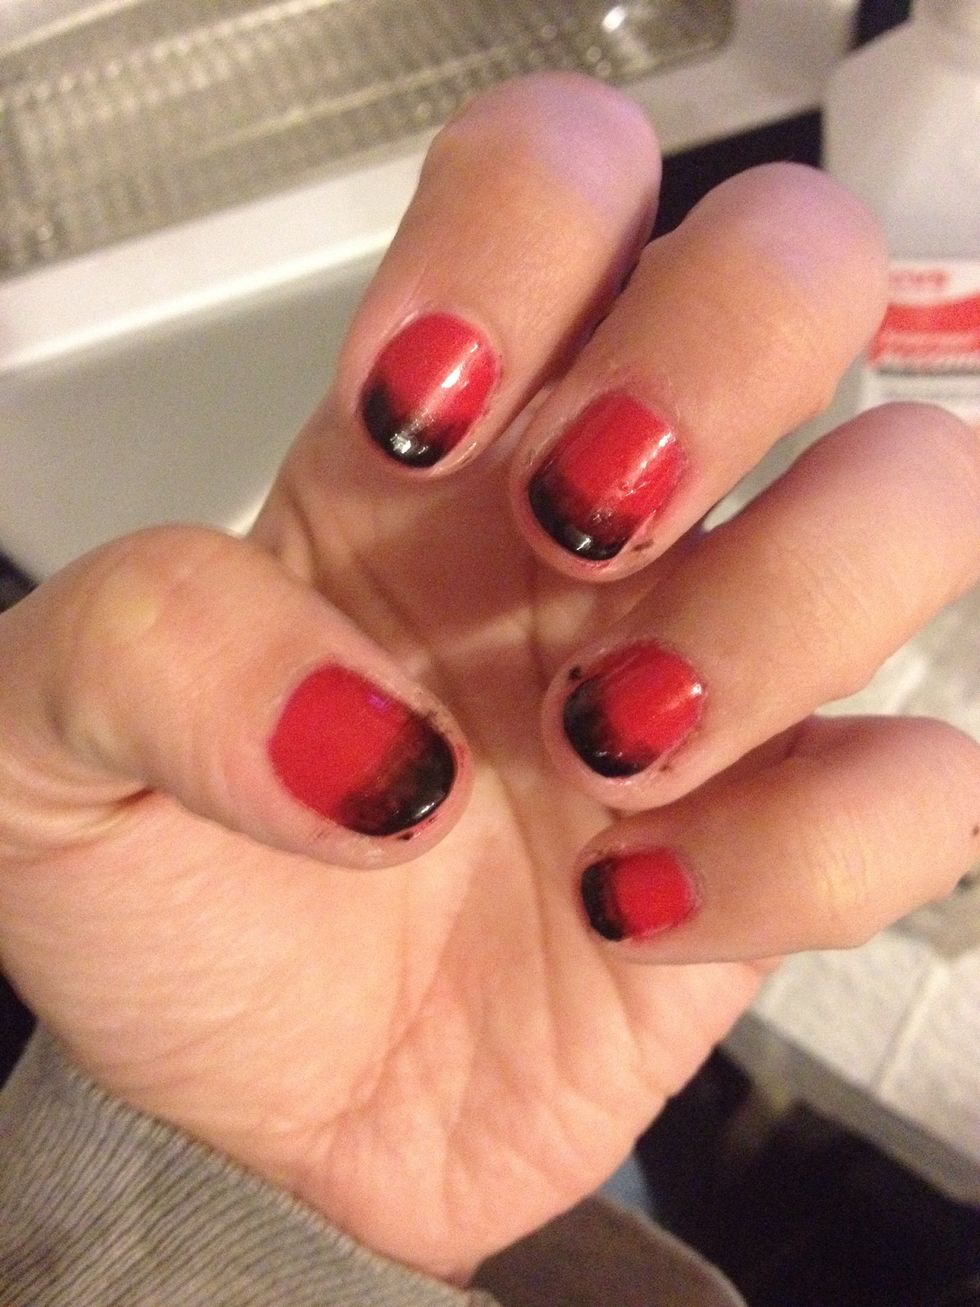
Last step : top coat. Think layer on nail and also paint the tip of your nail to seal in the shellac polish. Place under UV LIGHT lamp for 3 minutes.
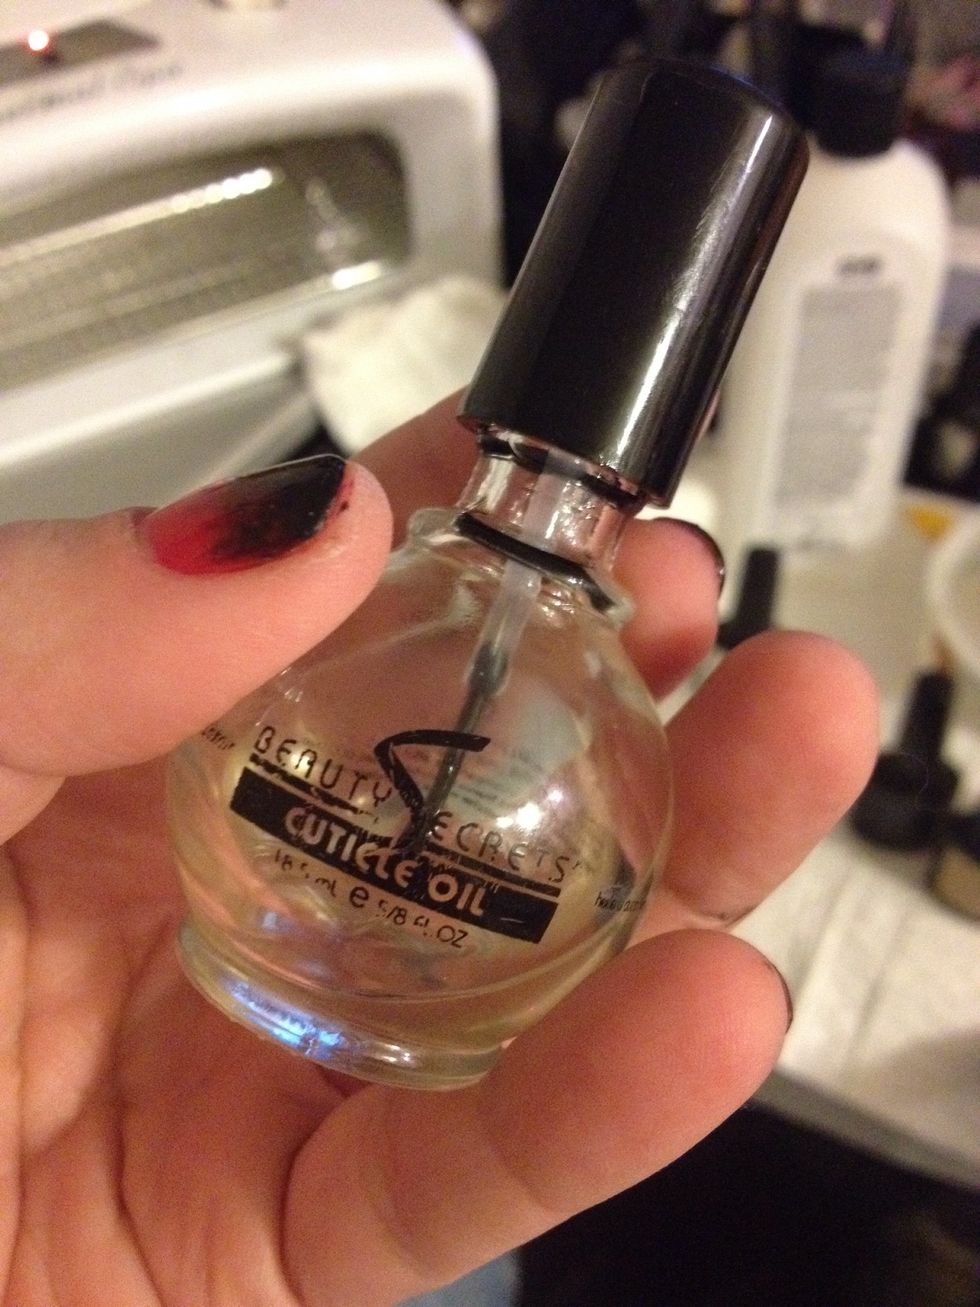
After light take a paper towel and tip some rubbing alcohol on to it an wipe the left per residue on your nail. Then put cuticle oil around your nail bed...
As such and massage it into your cuticle and finger.
And you have just did your own gel ombré nail design an save yourself $30-50!!! Try it with different colors. I bought all my nail supplies at Amazon. You can find different brands of gels at Sally's