The Conversation (0)
Sign Up
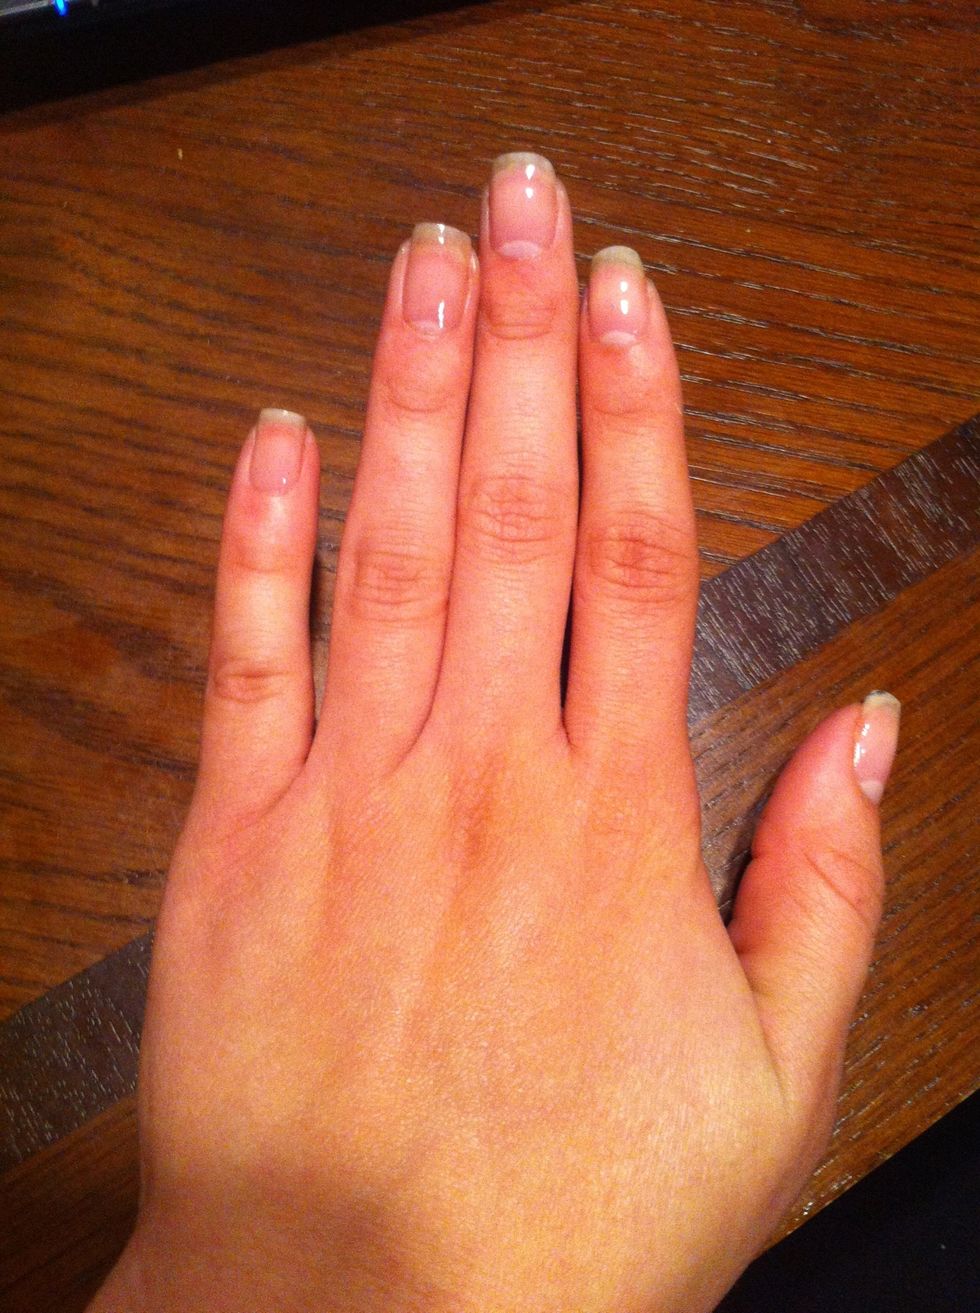
Prep your nails for the polish, including applying a base coat
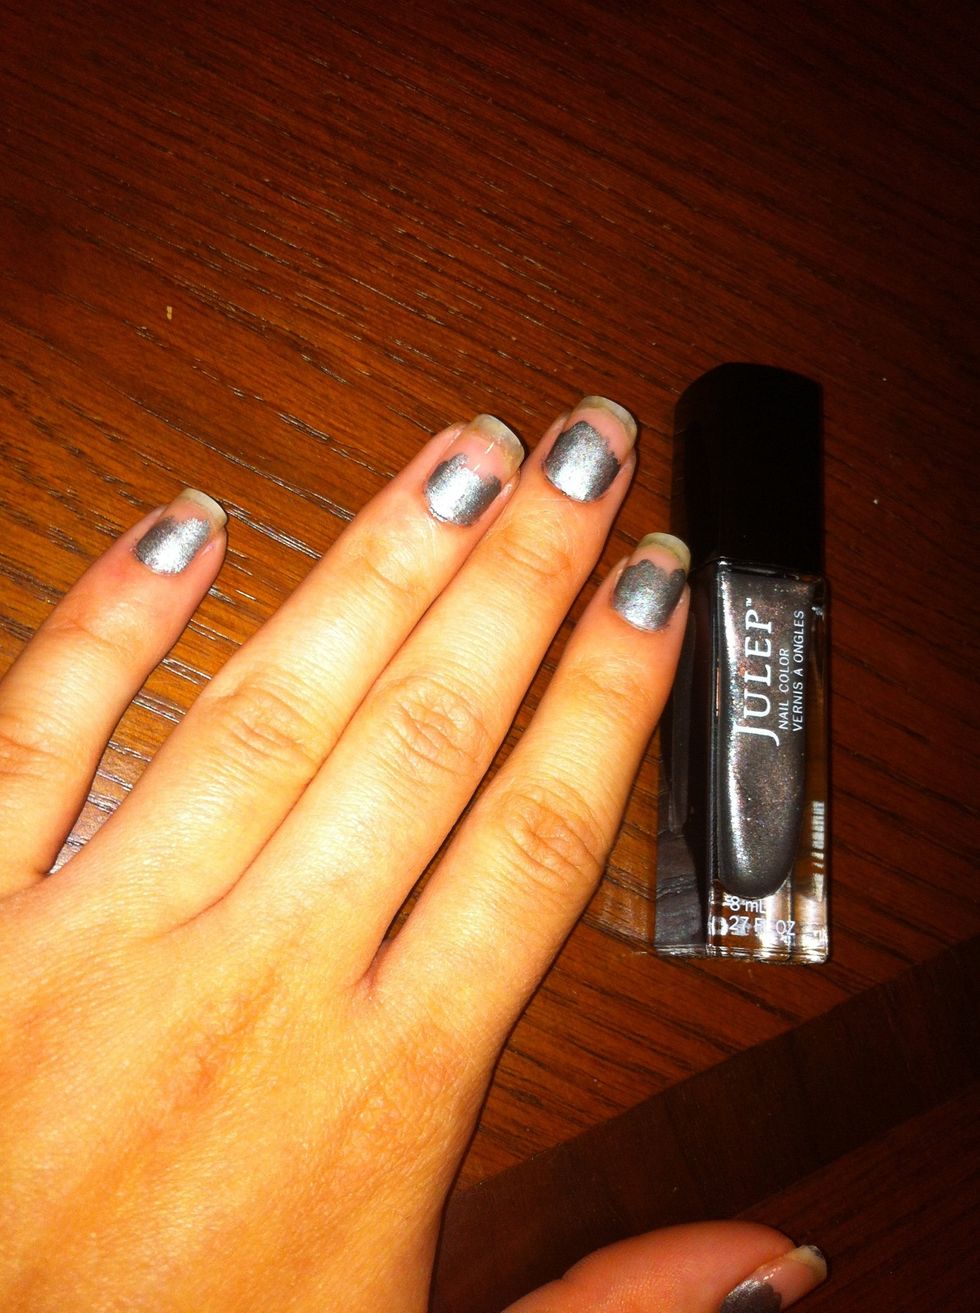
Apply the color you want to be the "moon". Don't worry about how it looks, the rest will be covered up soon! 😁
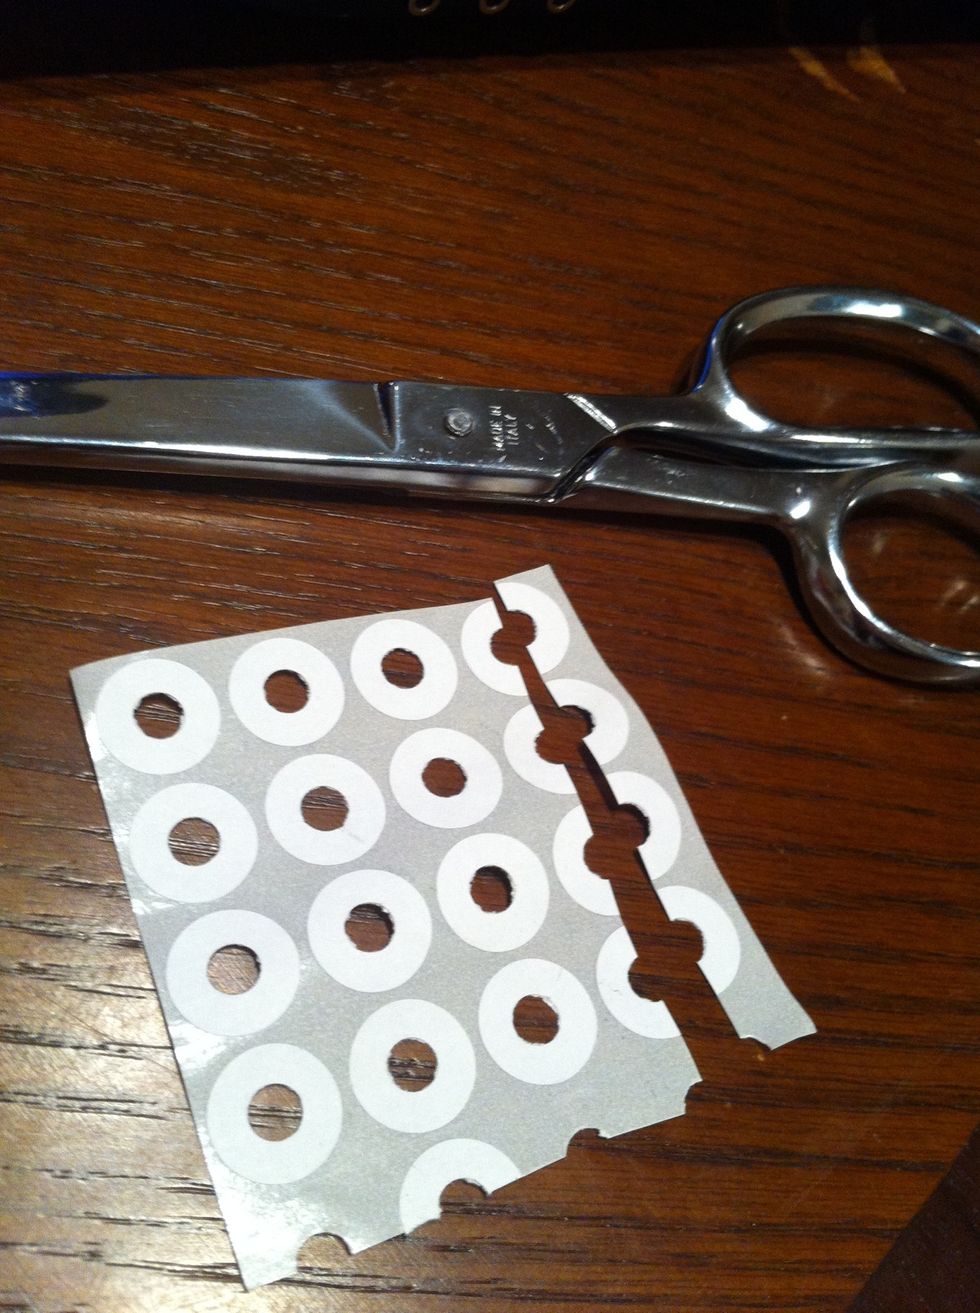
Totally optional...but I like to cut the hole reinforcers in half just because it makes no sense in wasting a whole one.
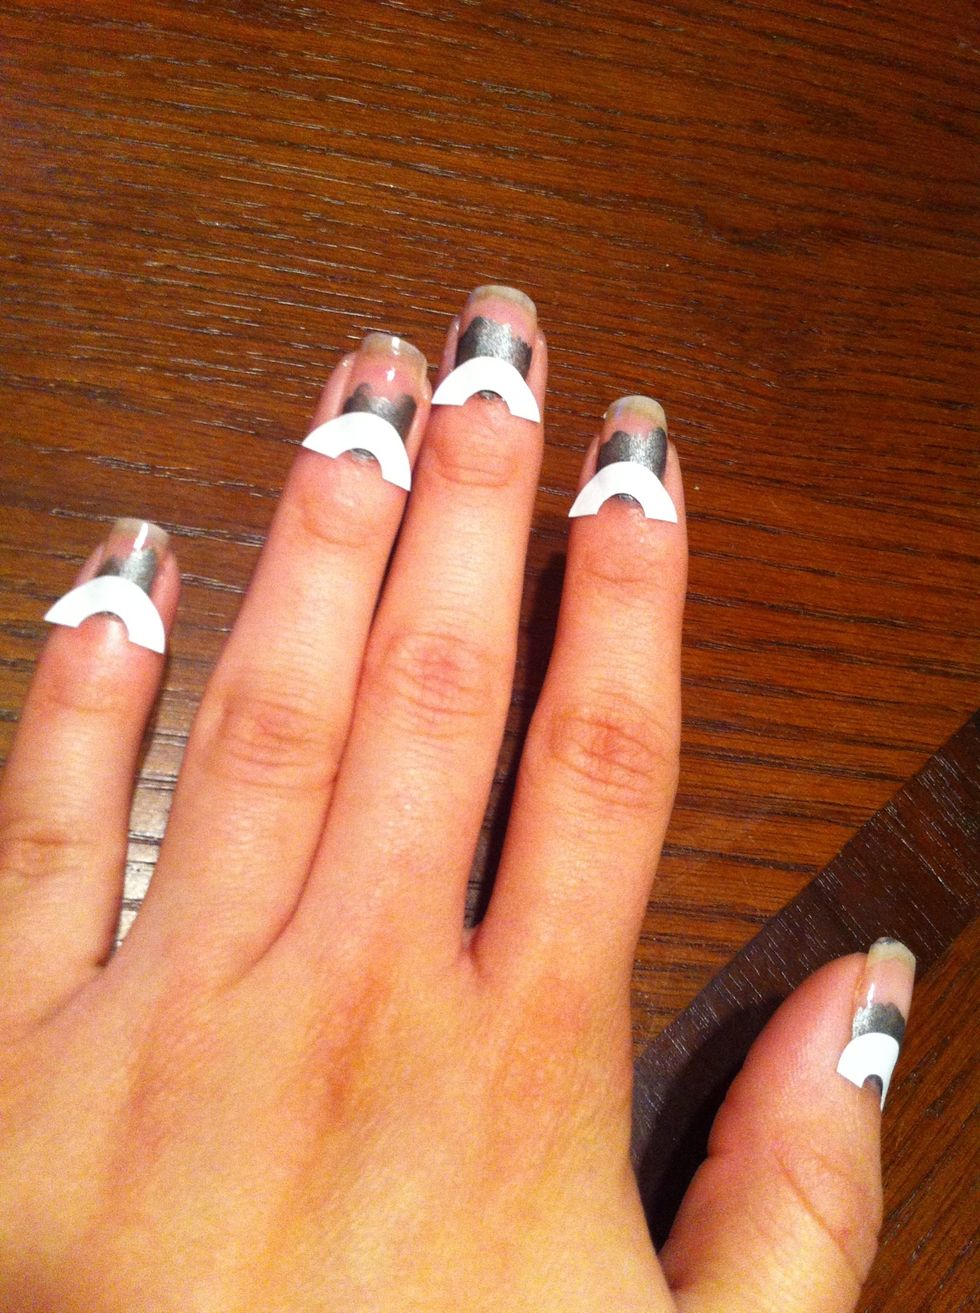
Then place the stickers over the DRY polish (I like to wait at least 15-20mins before I apply the reinforcers) and cover as much polish as you like. The more you cover, the bigger the half moon shape.
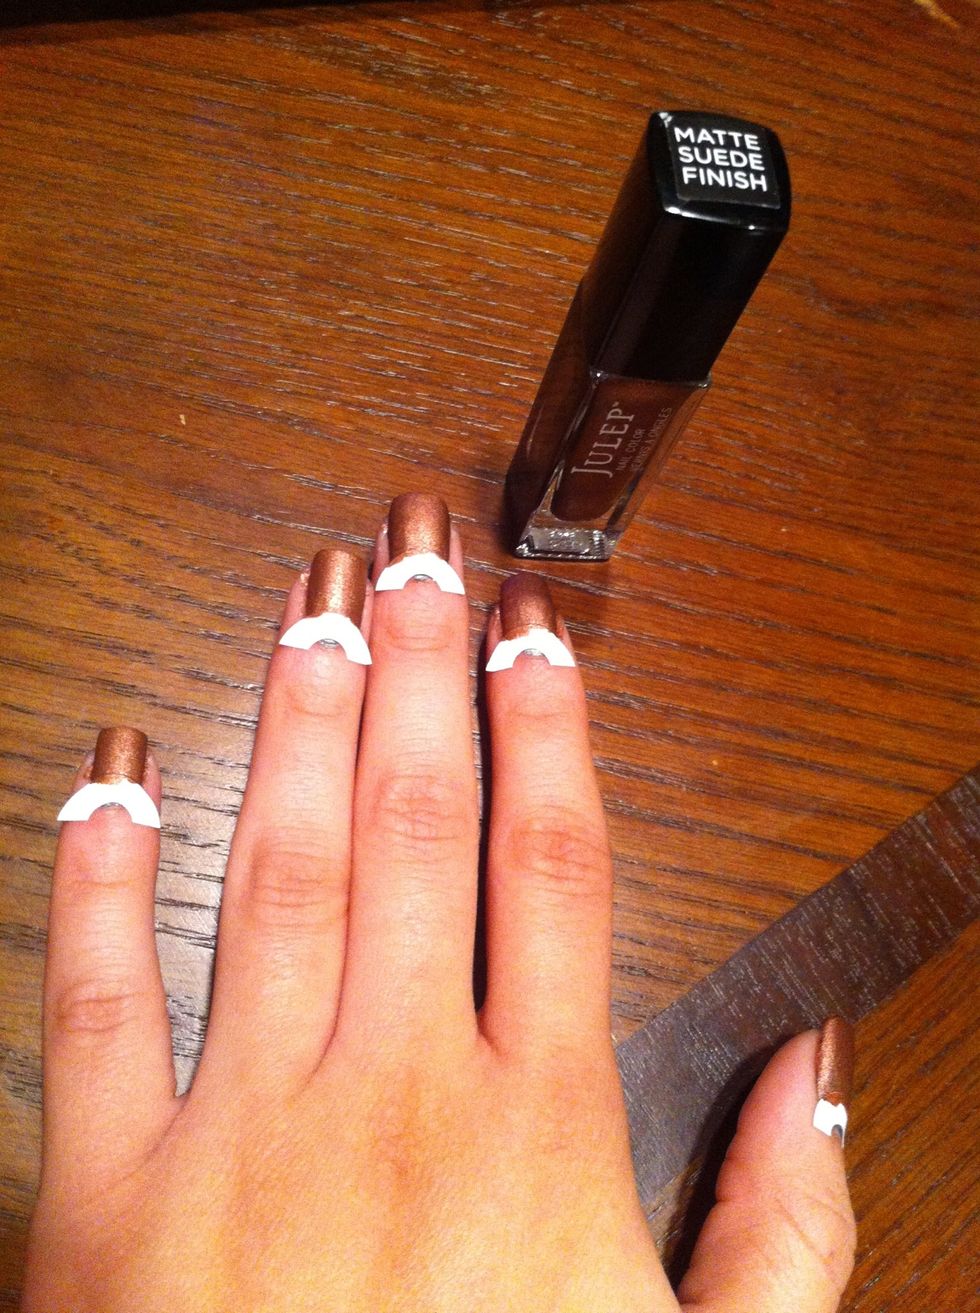
You then apply the second color to the bottom half of your nails starting at the bottom of the reinforcer.
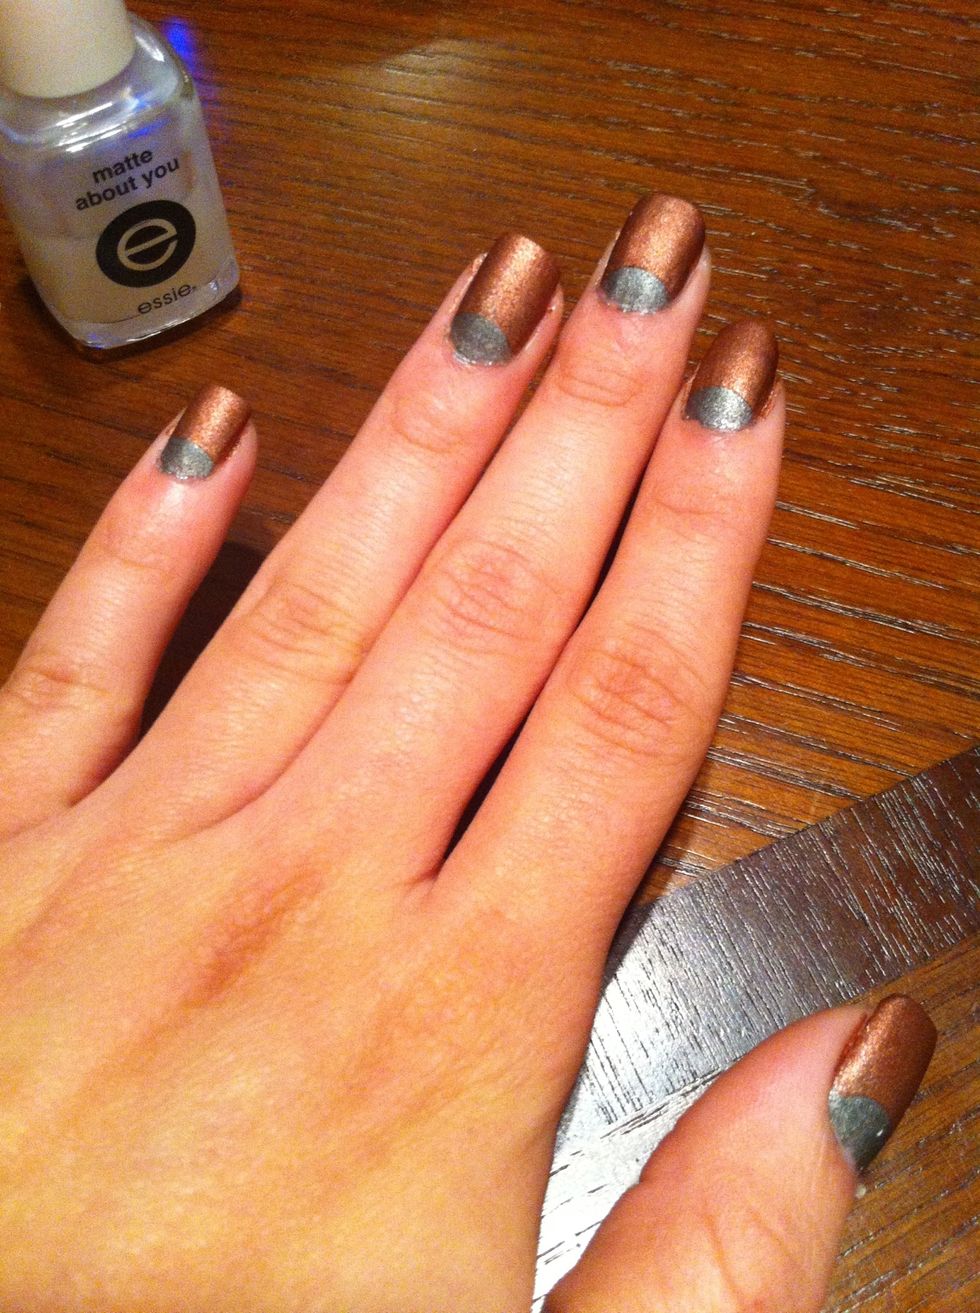
Carefully remove the reinforcers once the polish is fairly dry. Then apply the top coat of your choice.

You can now clean up any excess polish with a small brush and remover. THAT'S IT! Thank you and feel free to ask me questions 😊 HAPPY POLISHING