The Conversation (0)
Sign Up
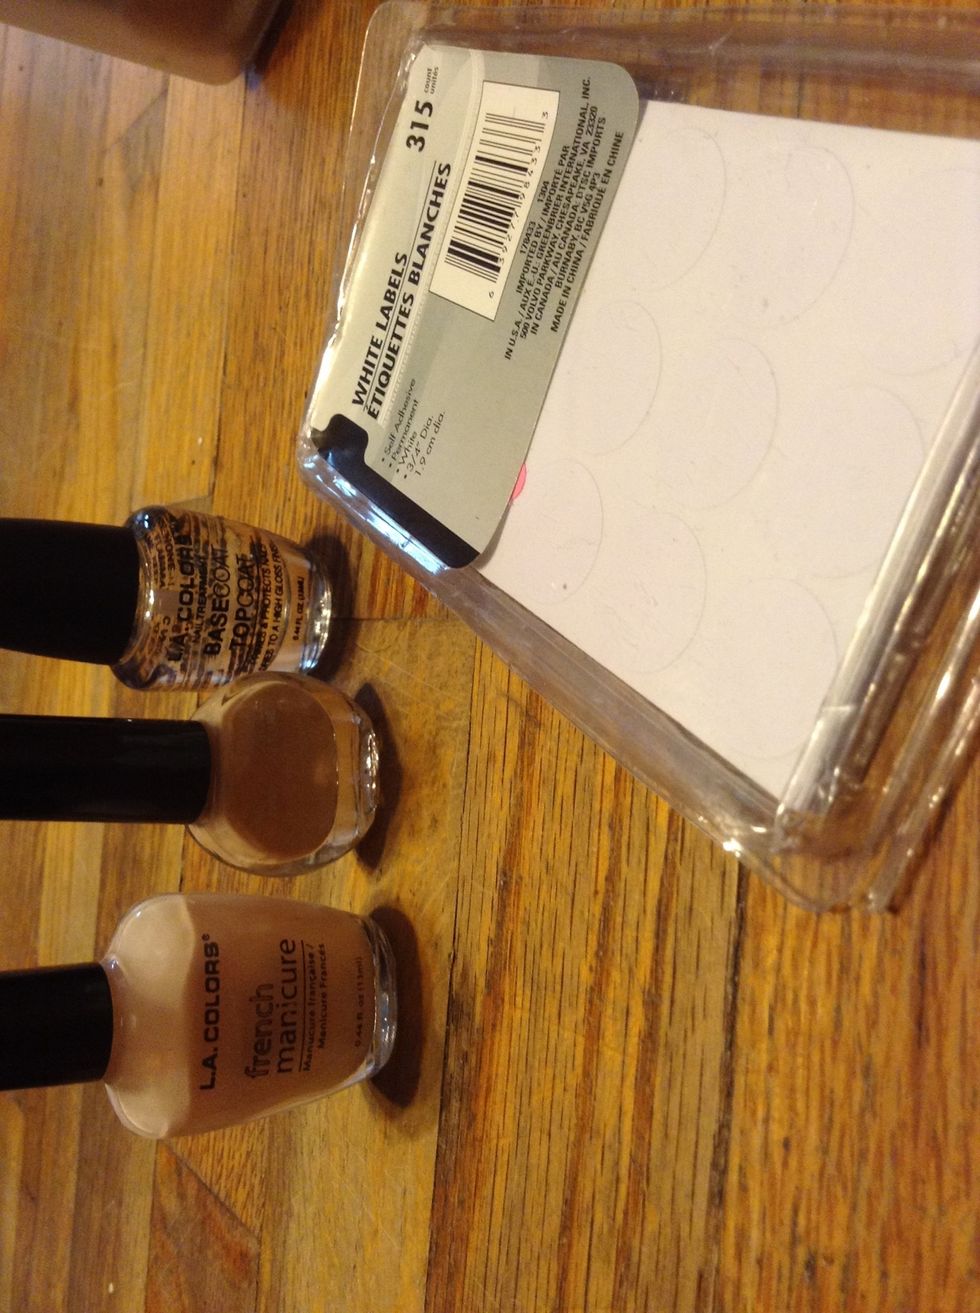
Here are the supplies you'll need. Sorry the pictures sideways. (Make sure to remove your nail polish if you have any on)
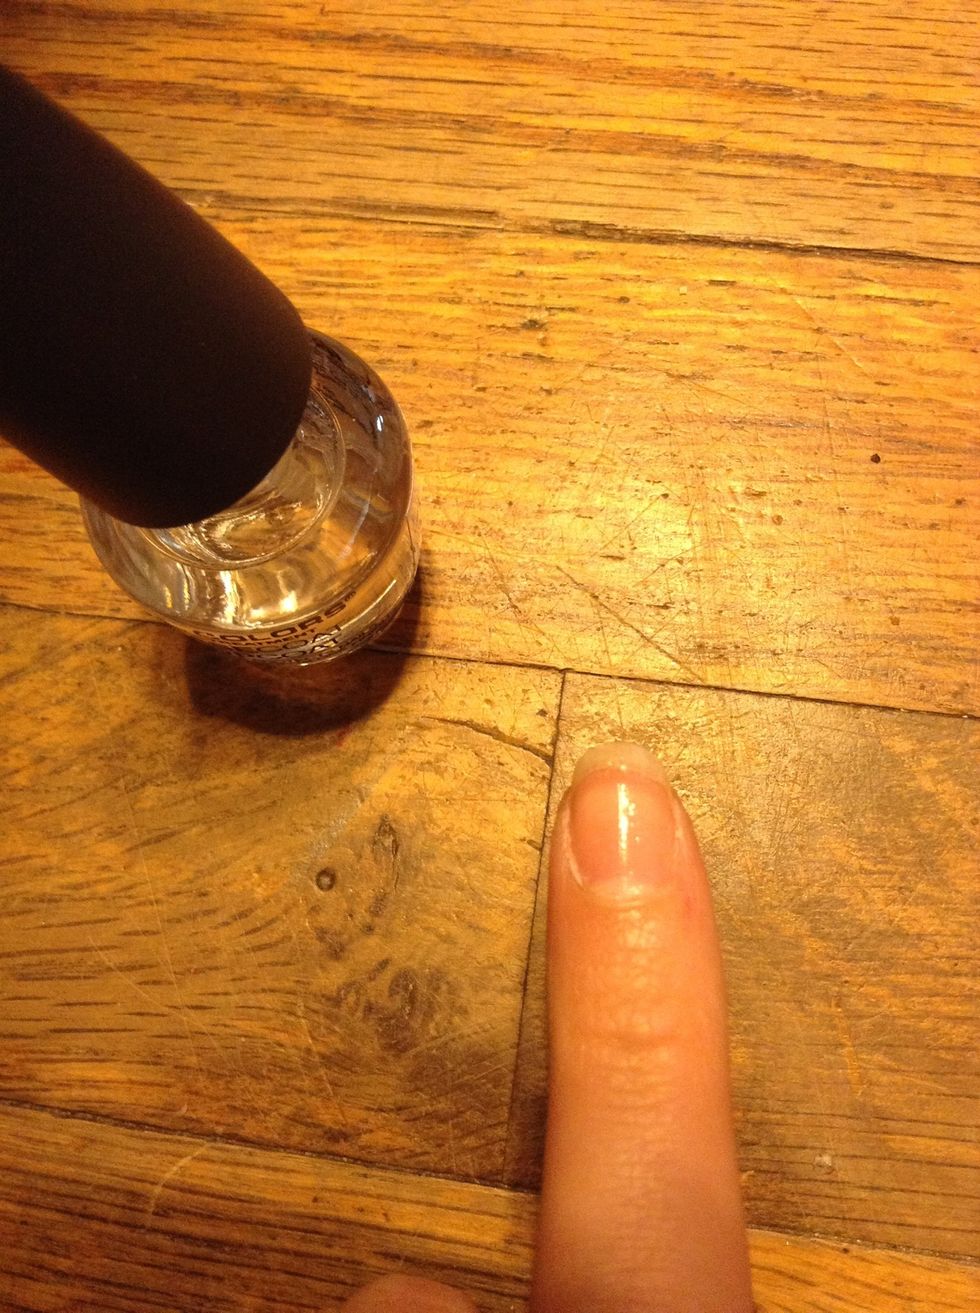
Put on base coat on all nails then let dry.

Use the darker shade (it shouldn't be too much darker than the tip) and you might need to put a couple layers on

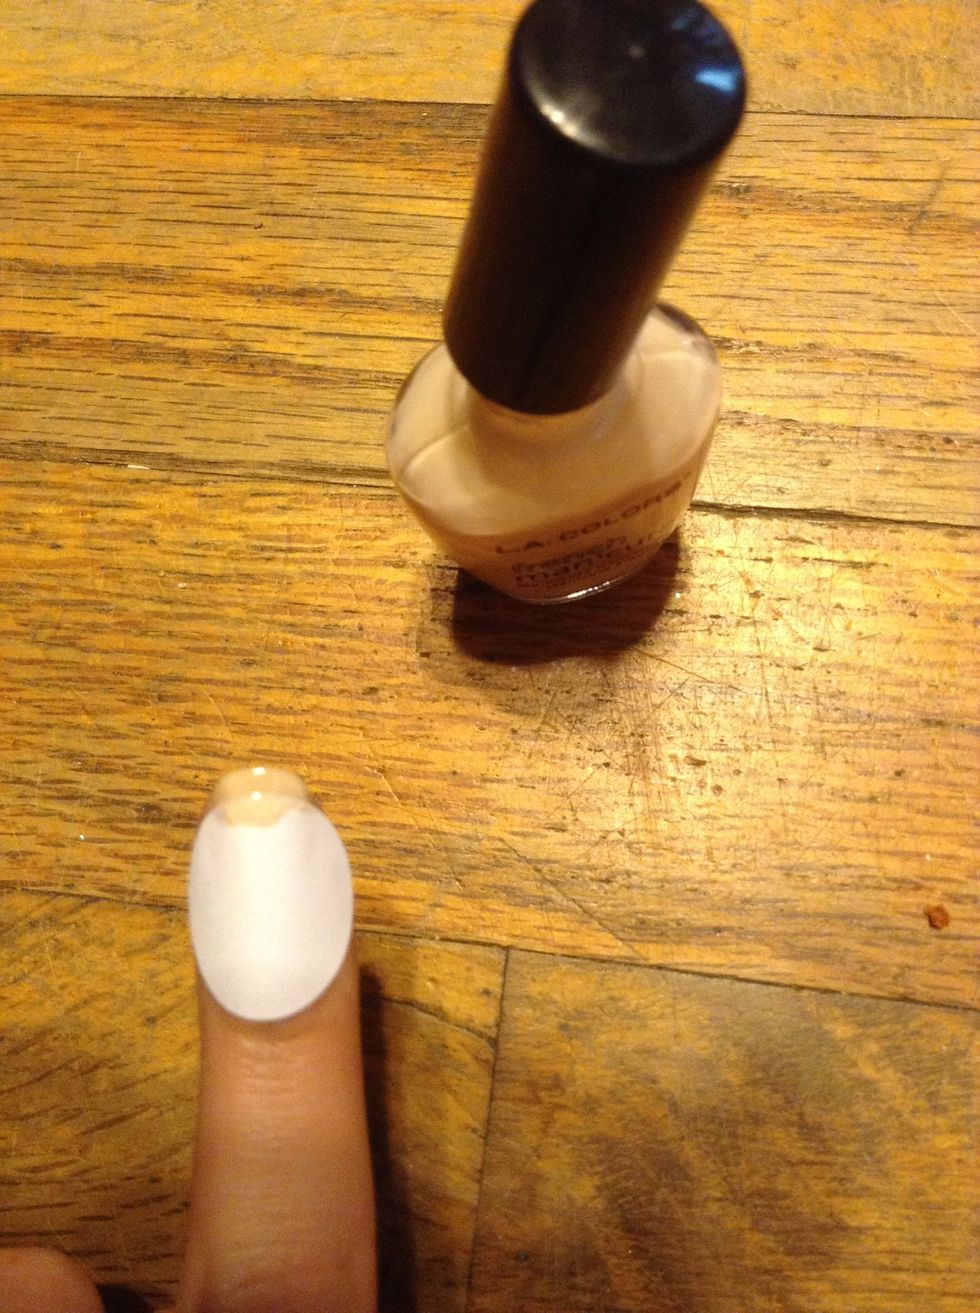
To make the tip add the label sticker to the nail leaving an area at the end. (Make sure the previous layer of nail polish is dry before this step)
Use the lighter color to paint the remaining section on the nail that is not covered by the sticker.
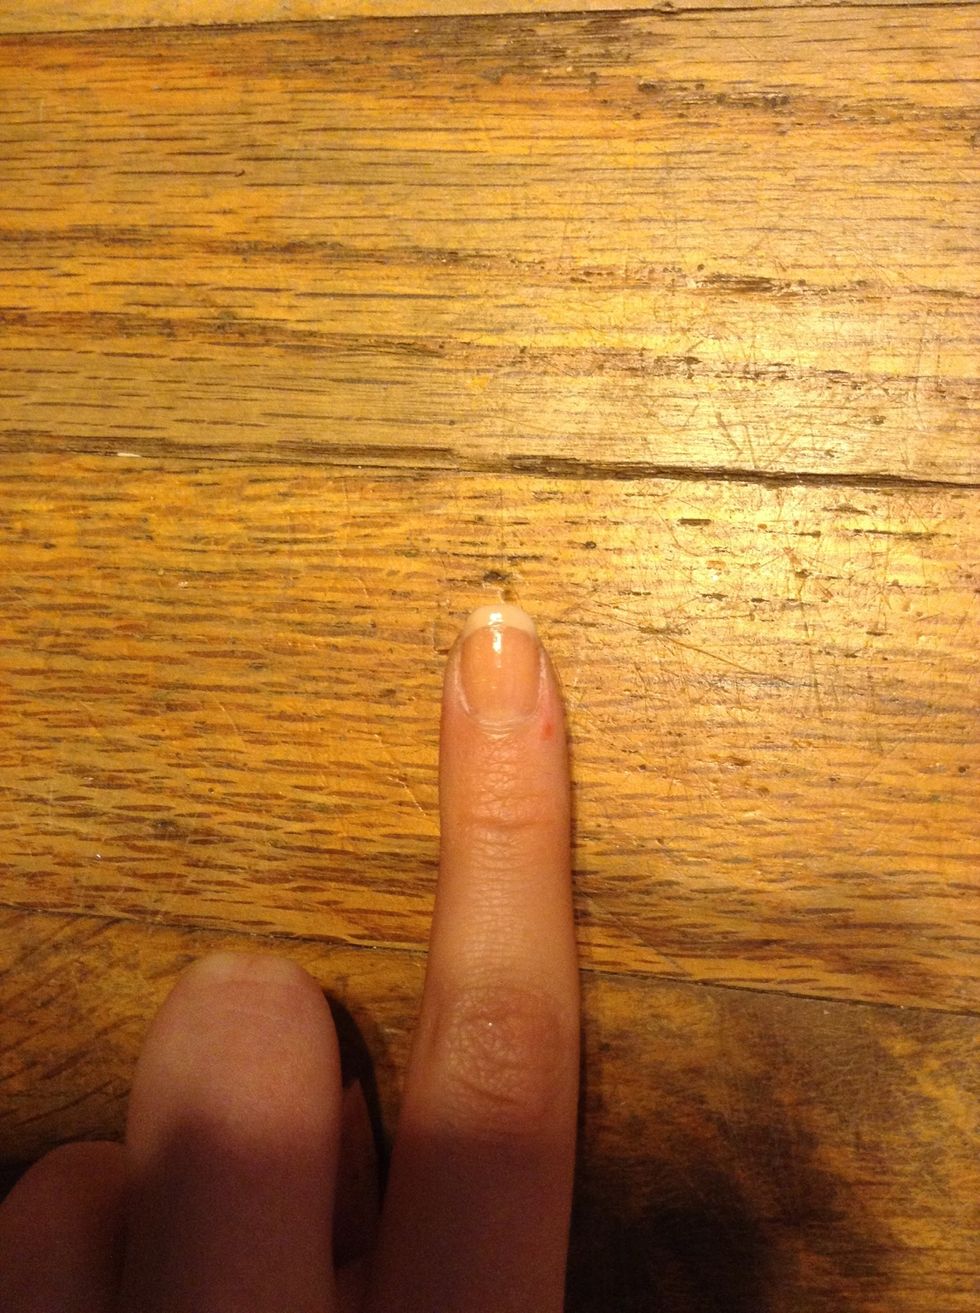
Remove the sticker after all nail polish is dried and you'll have a splendid French manicure!
I'm sorry the lighting makes the colors look odd, but hopefully you'll get the point. Remember to also put on a top coat. I hoped this helped!