The Conversation (0)
Sign Up
With this super easy hairstyle that looks like a crown, you'll look and feel like a princess. You can wear it to any fancy event. Wedding? Why not wear this? School dance? You could also wear this!
You can also opt for straight hair instead. If you do, I would say that it's more suitable for a less fancy event.

Okay, let's get started! You will need everything shown in the picture above. As stated before, using the curling wand is completely up to you.

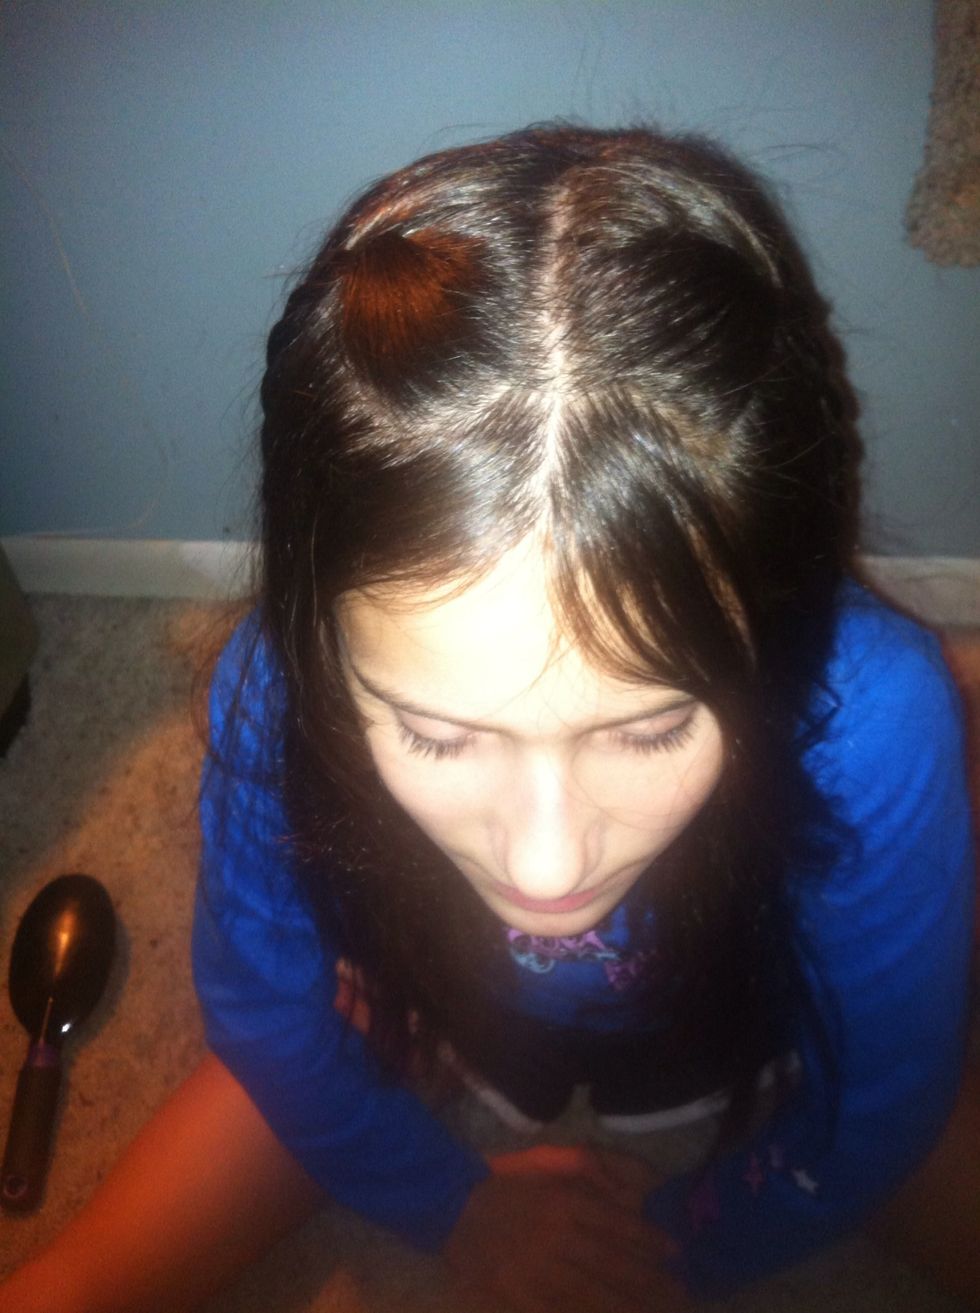
Part your hair down the middle. (even if you usually part it to the side) Note: you need long hair for this hairstyle to turn out. Otherwise, your hair won't wrap around completely.
Taking the top layer of the hair directly to the right of your part, split it into three equal sections. Leave your bangs out, or add them in, just do whatever you think will look better.
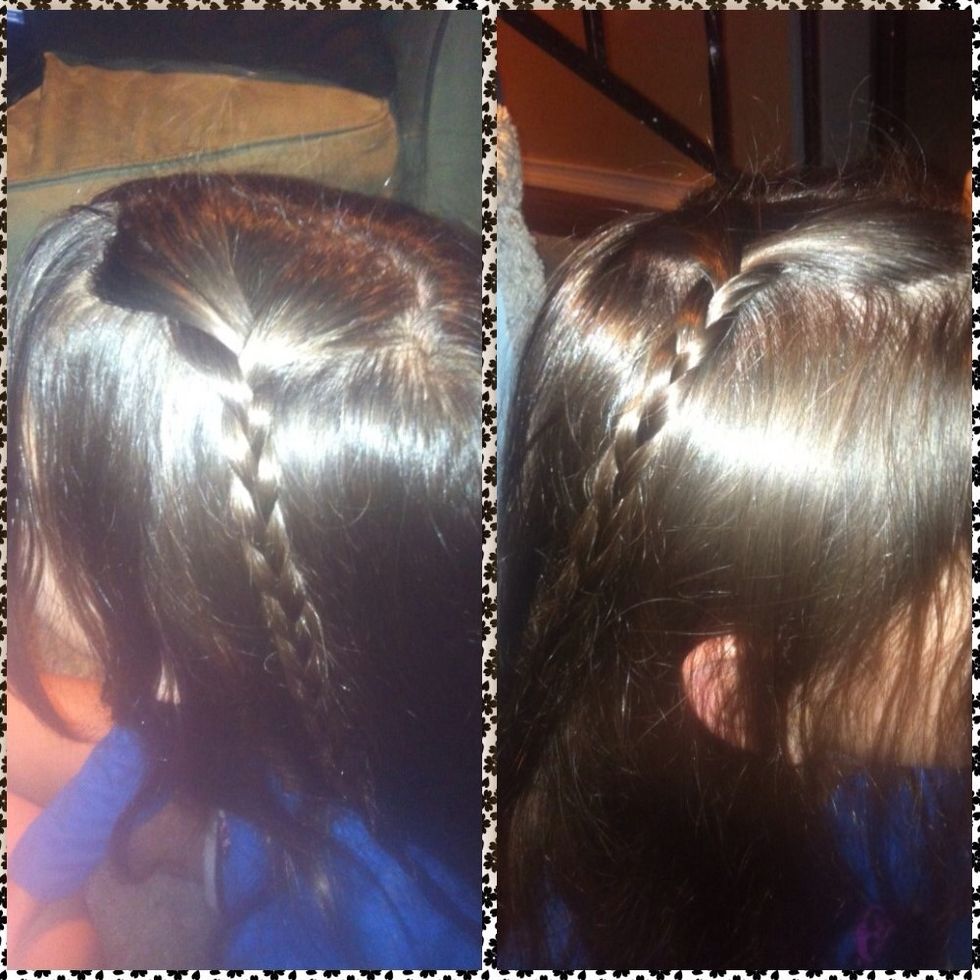
Loosely braid it towards the back of your head. Braid all the way down, securing it with a rubber band. Repeat steps 5 and 6 on the left side of your part, making it look the same as the other side.
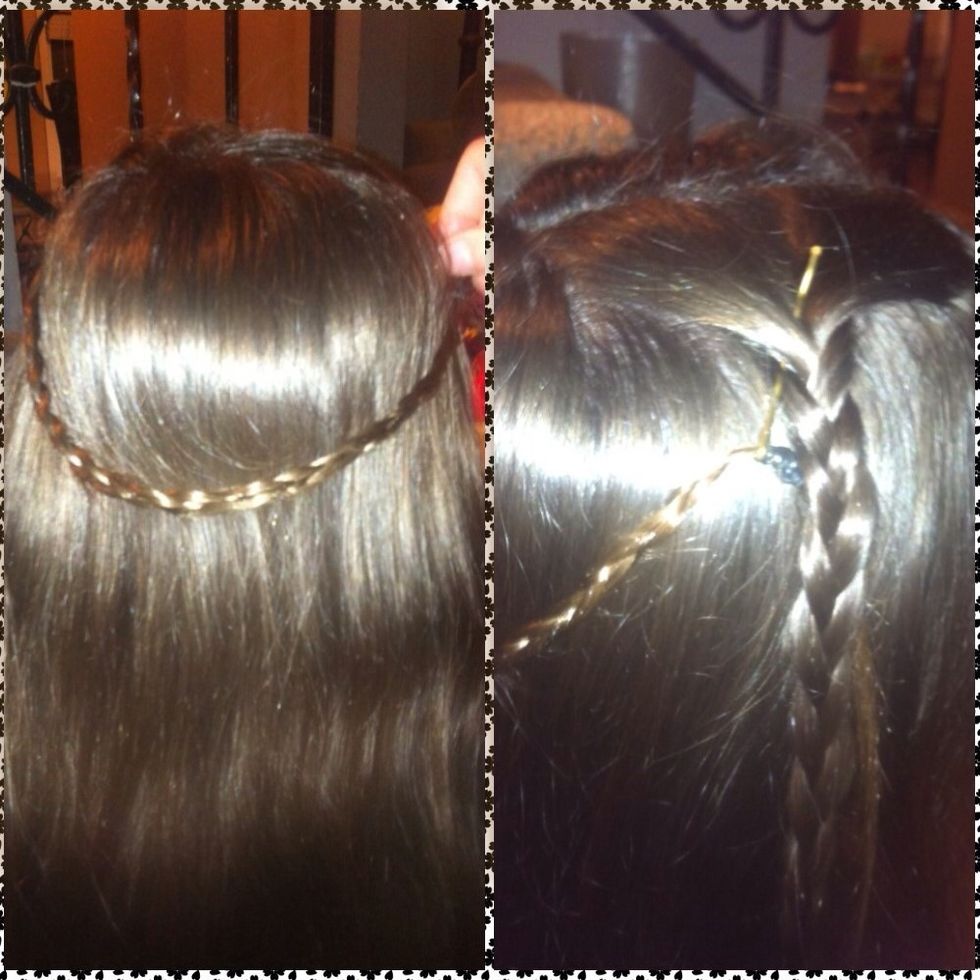
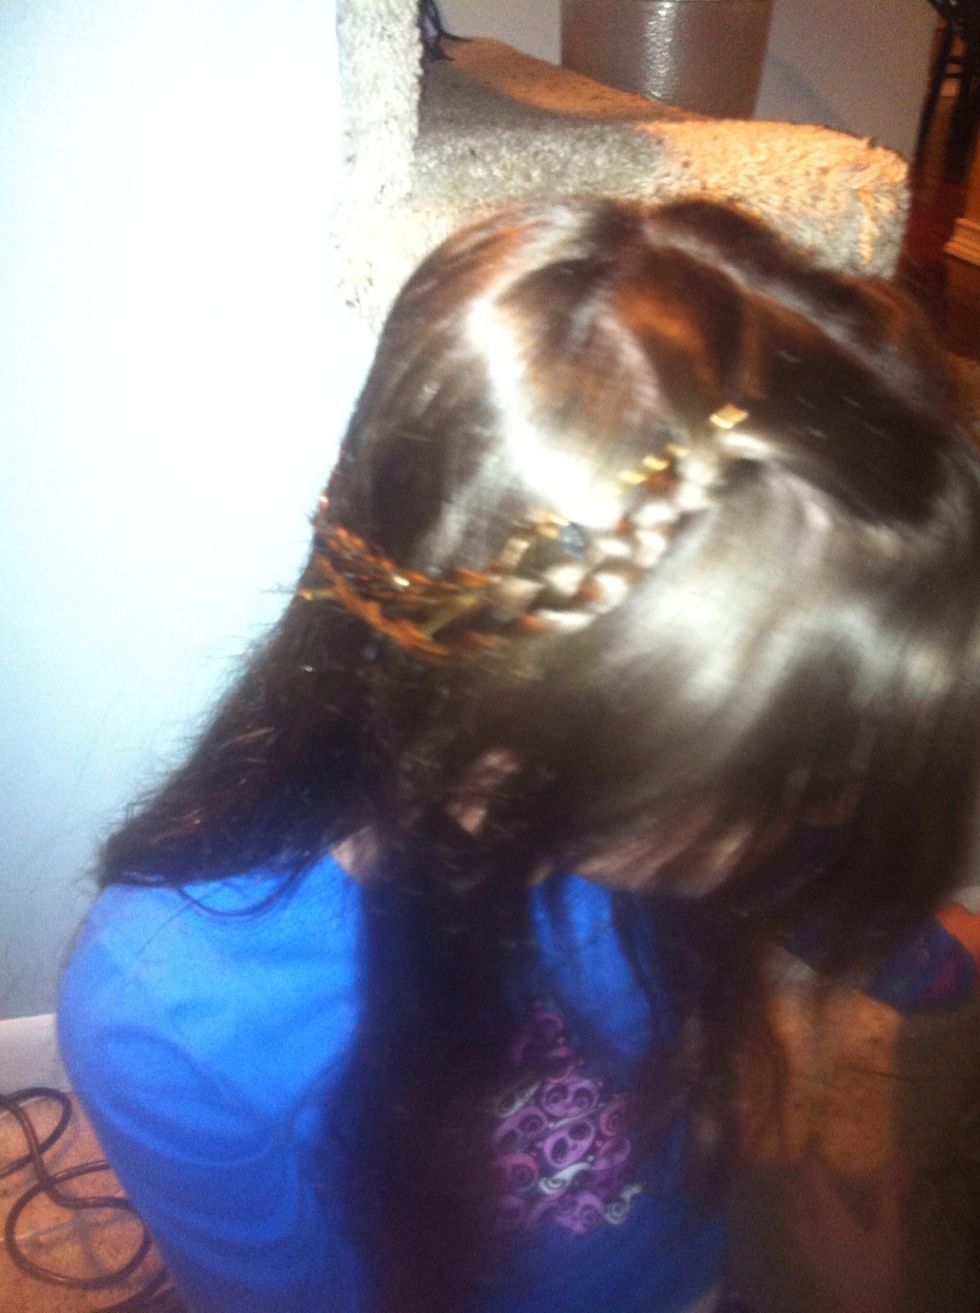
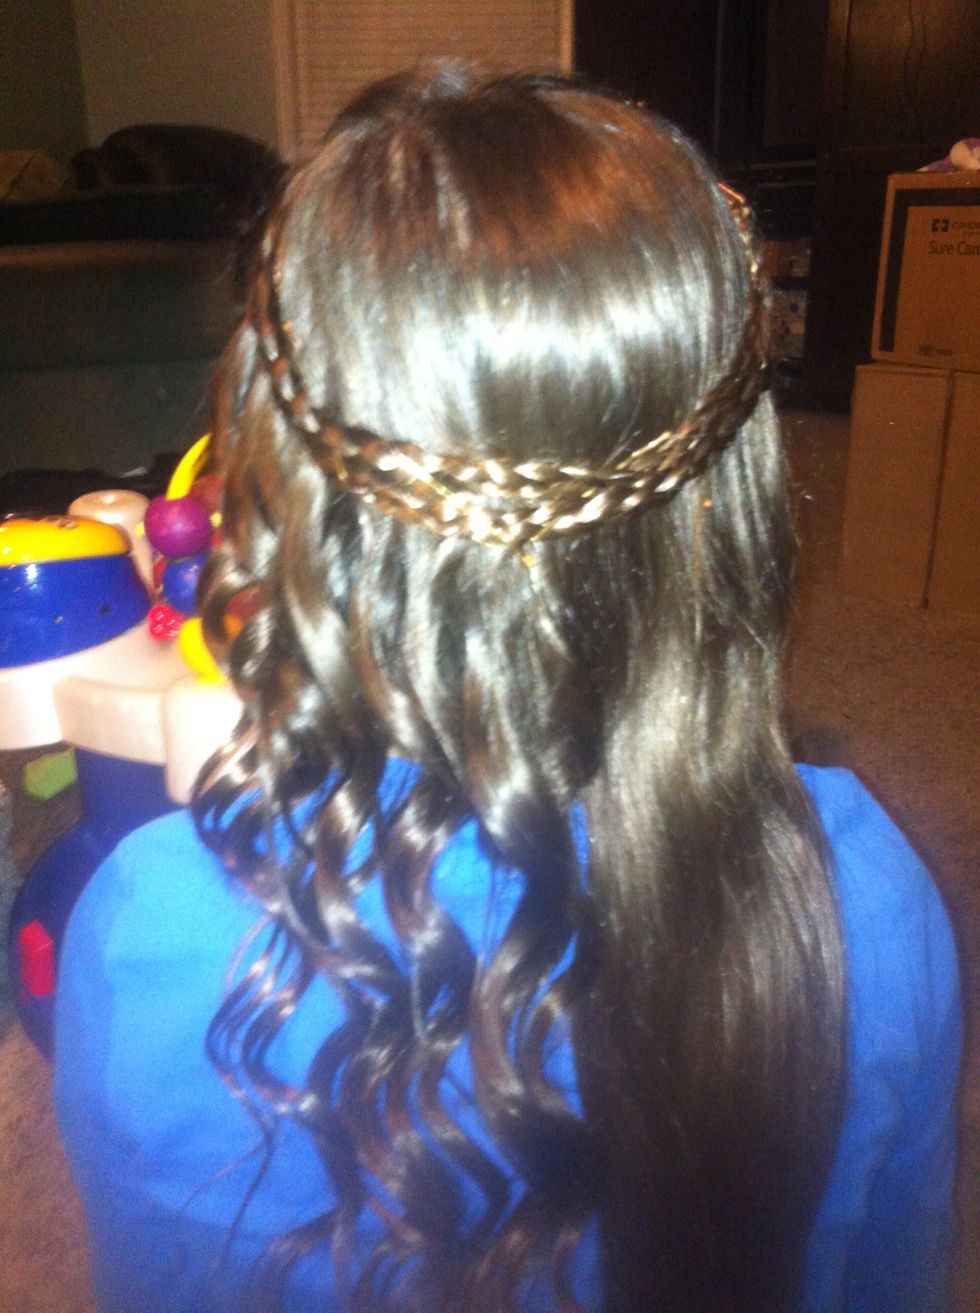
Take the left braid, wrap it around the nape of your neck, and bobby pin it under the right braid.

Repeat step 8, except with the right braid this time. Position it as close to the other braid as you can.
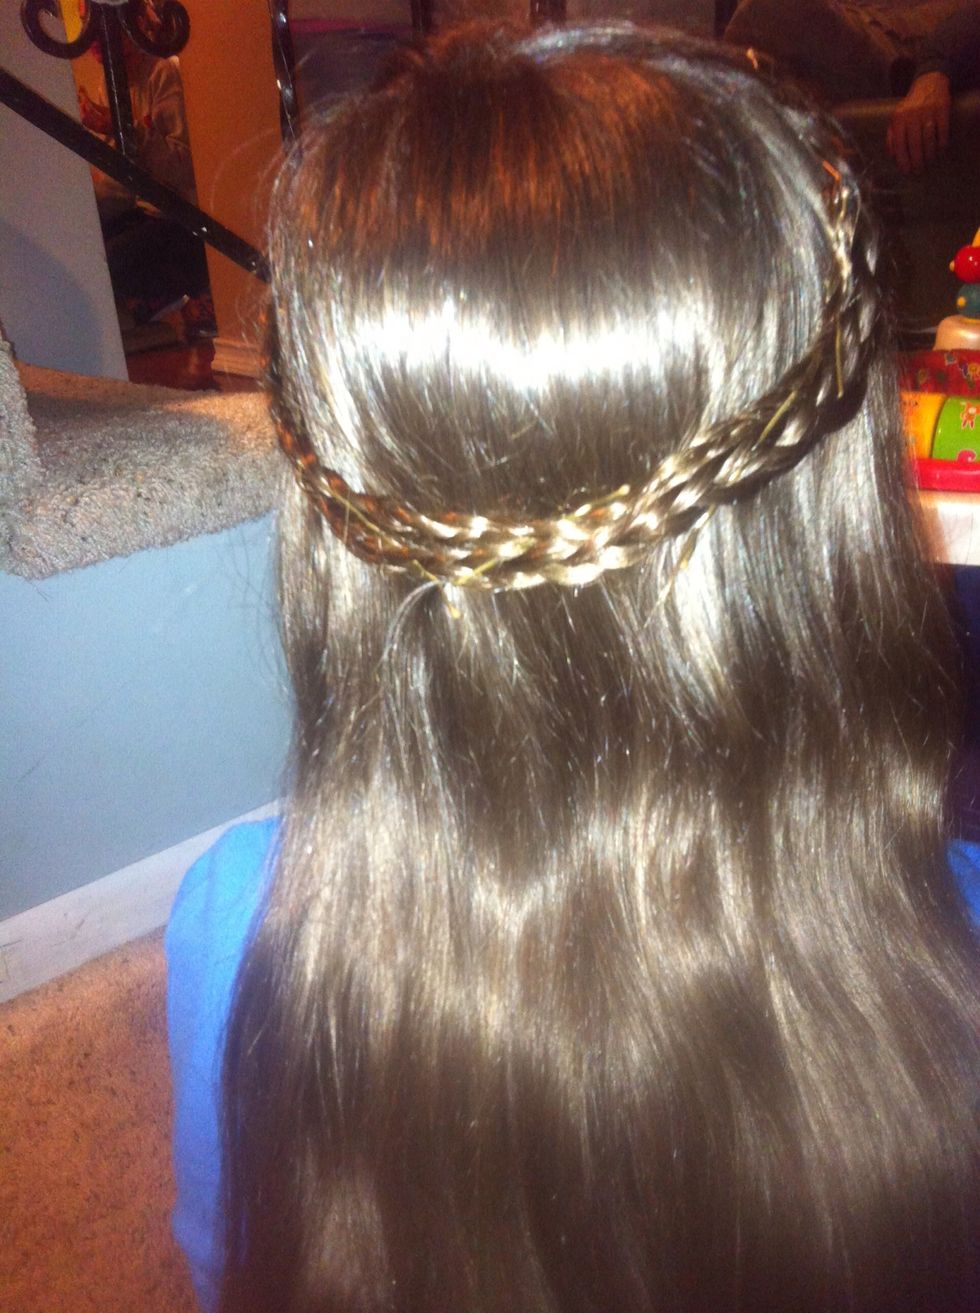
Add more bobby pins all over the braids to prevent them from coming out. You should also hairspray them to ensure that your hair will stay like this all day.
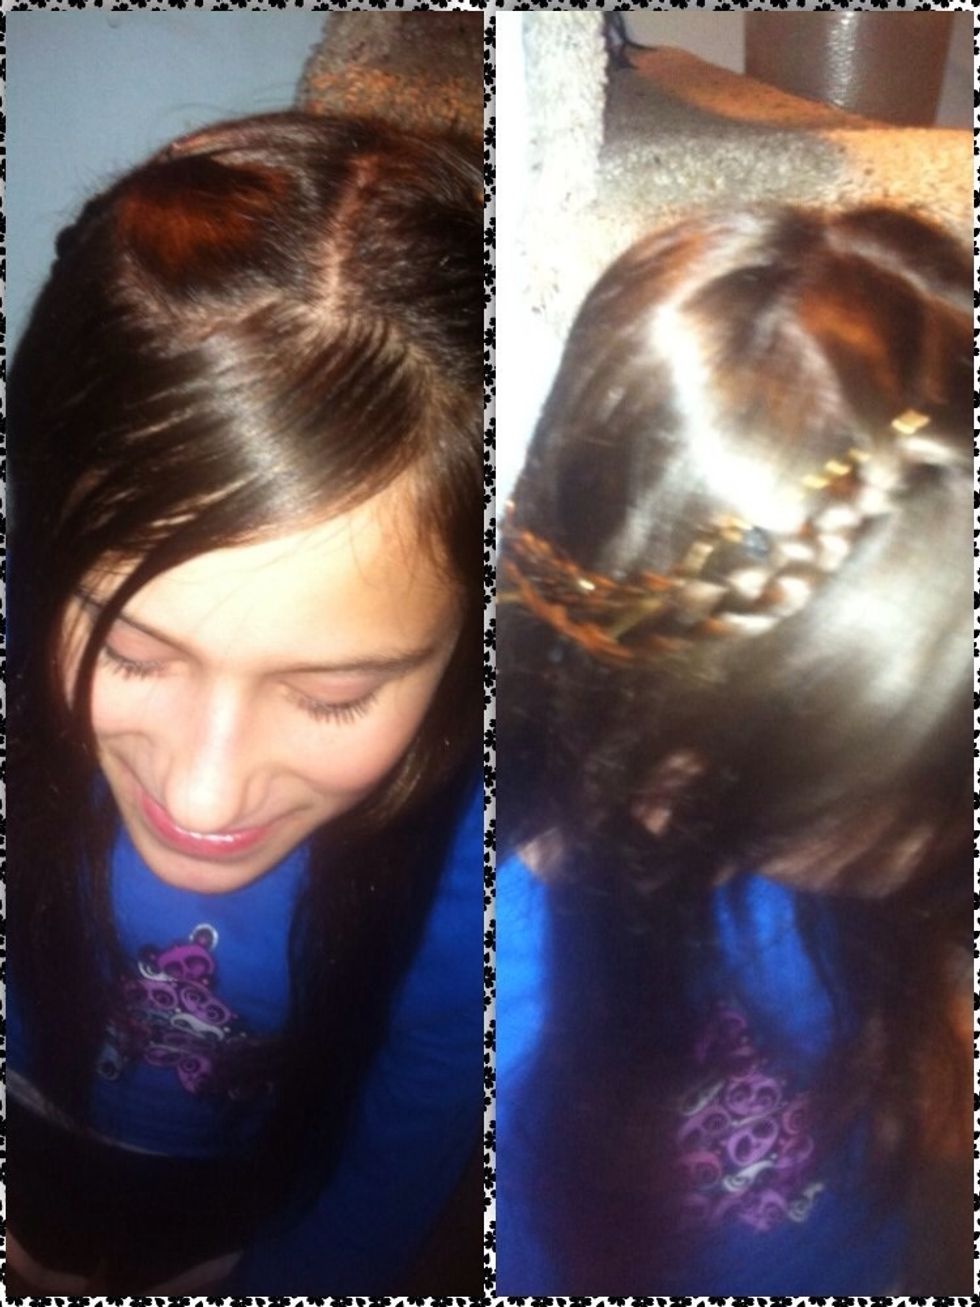
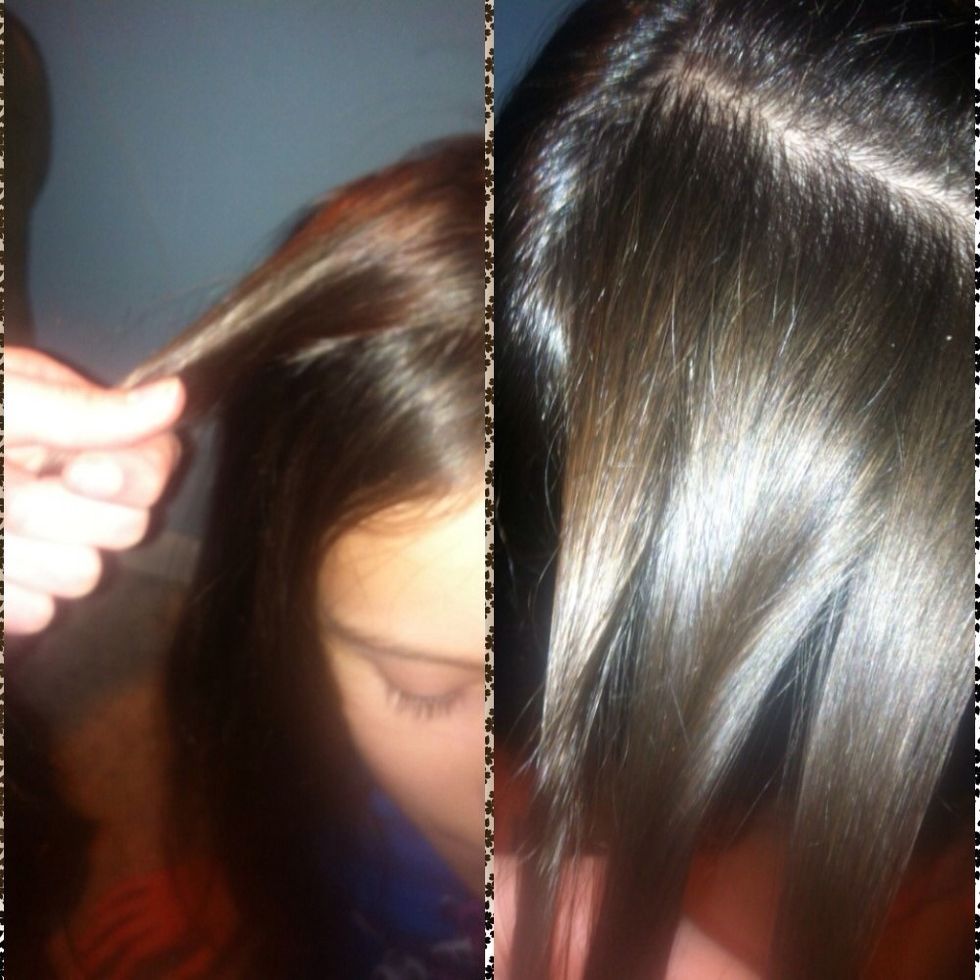
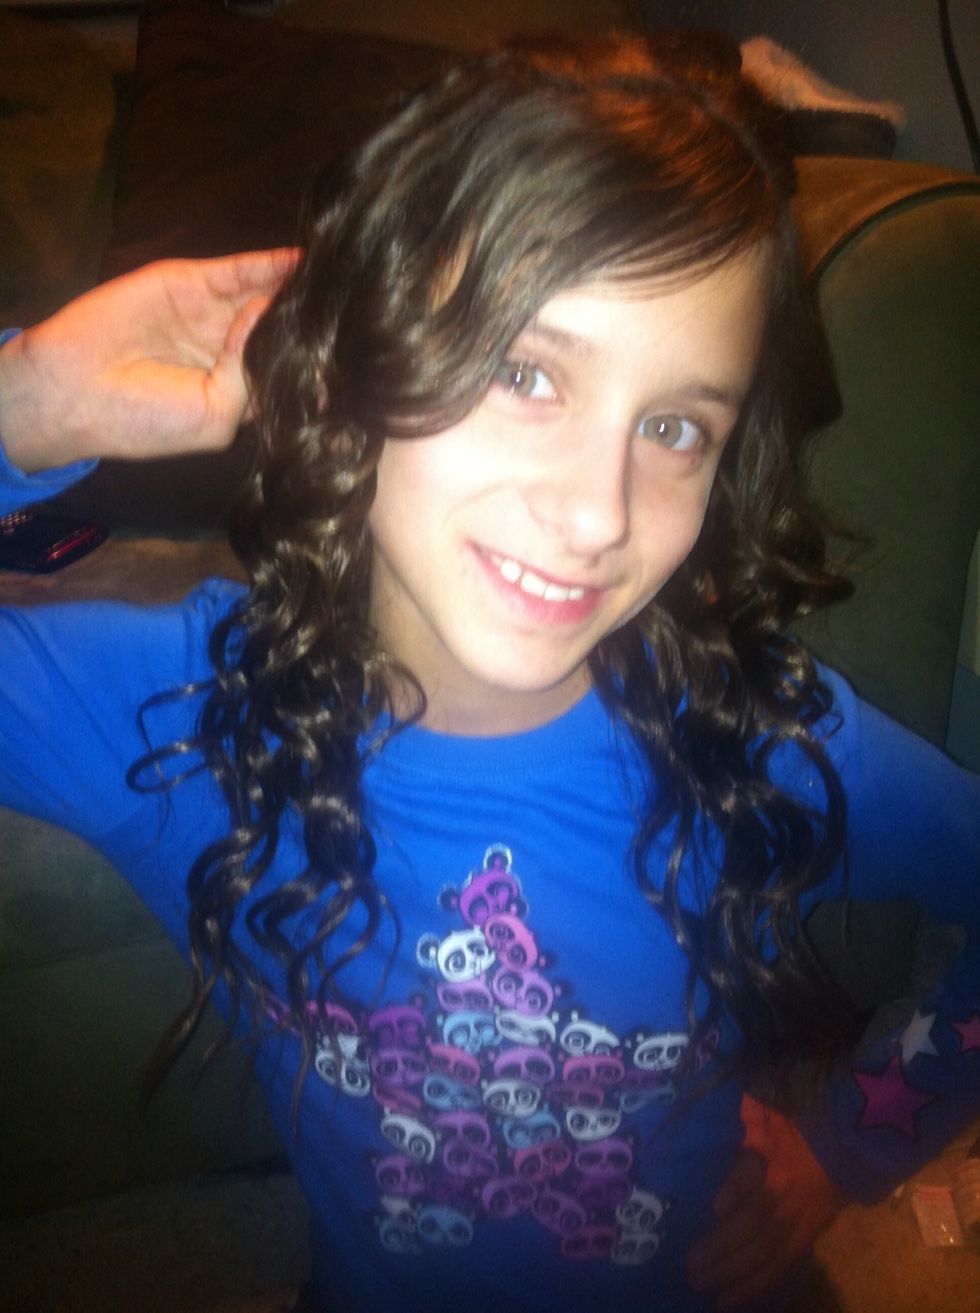
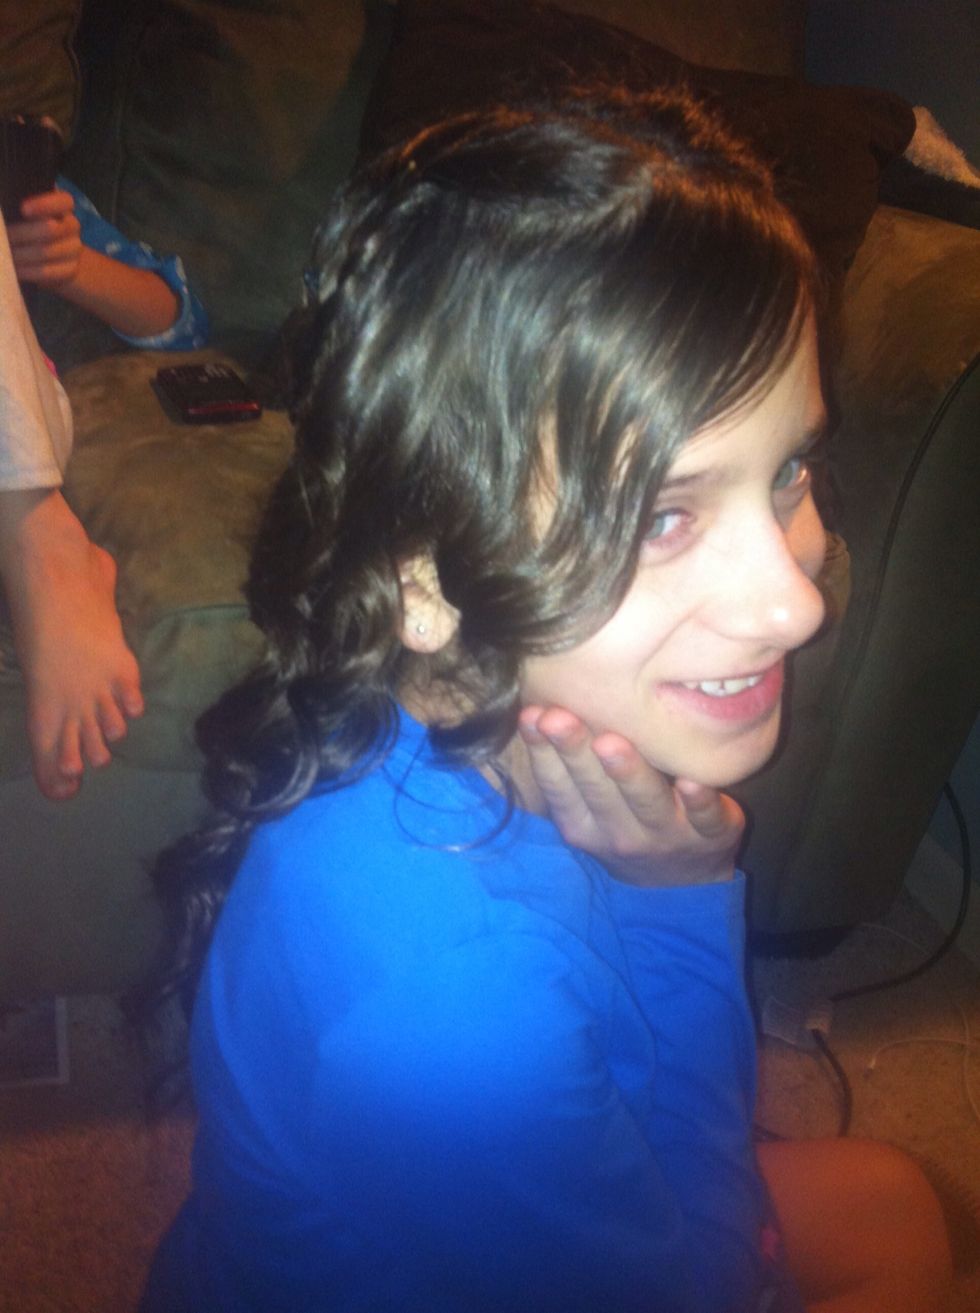
Now would be the time to whip out that curling wand if you wanted curly hair with your half-up braided crown. The difference between straight and curly hair is shown in the picture.

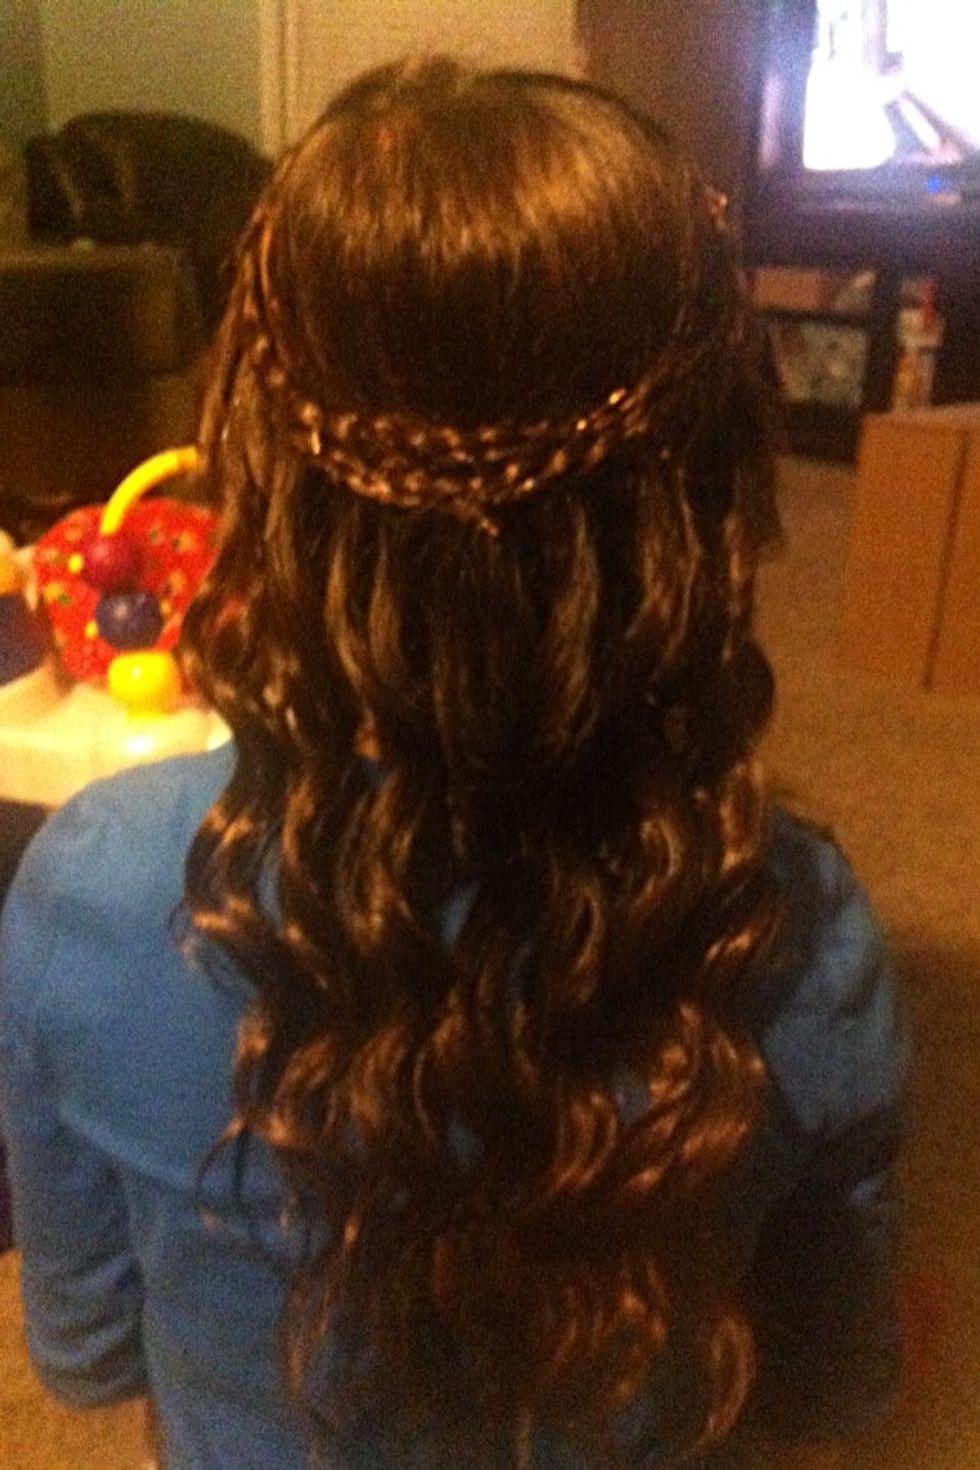
*sigh* Isn't it just gorgeous? Thanks to my sister Jenna, for being my beautiful model!! ;D

Press the ❤ if you love this hairstyle. Also, follow me for more unique hairstyles. If you tried this braid out, leave a comment letting me know how it went! Thanks for viewing my guide :D