The Conversation (0)
Sign Up
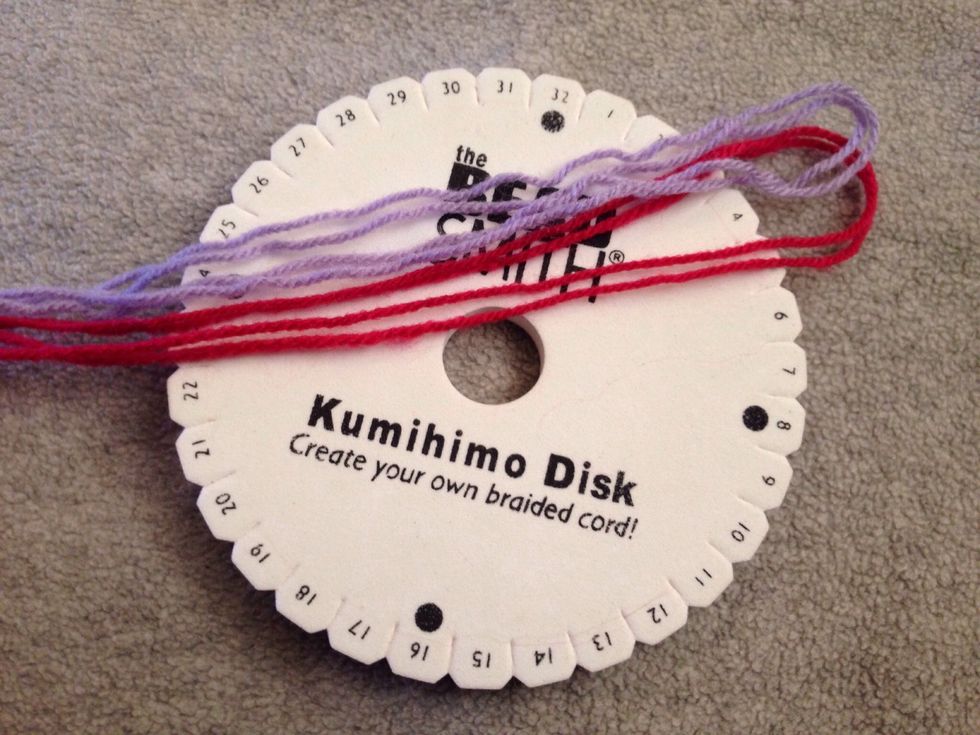
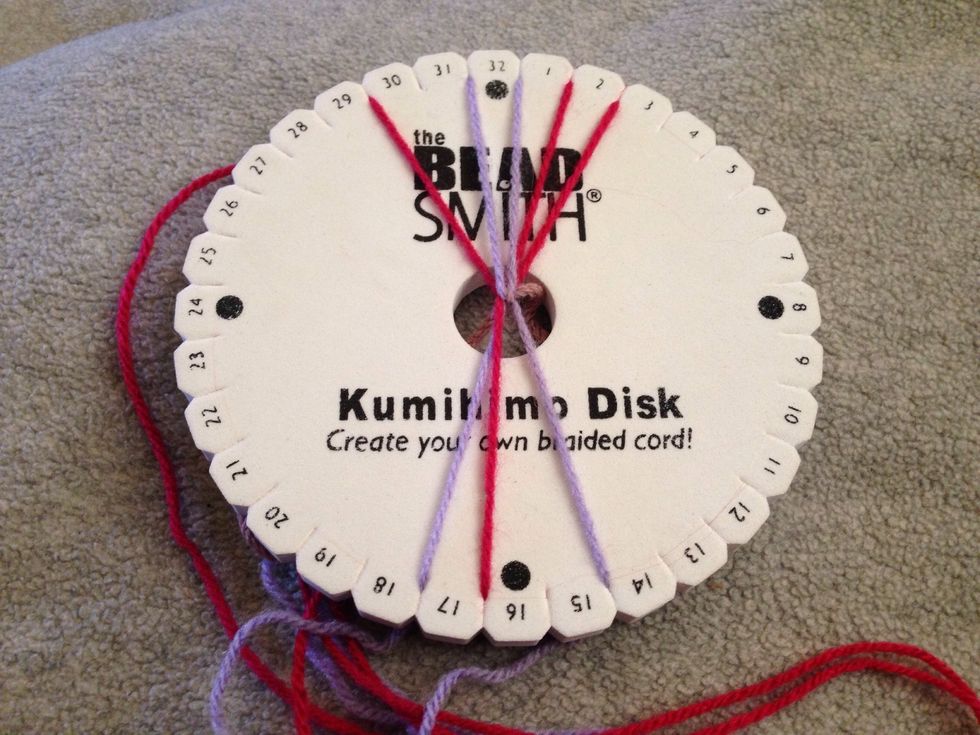
First off you need to choose two colours, make sure they're long (I use about 3 quarters of a metre and fold them in half)
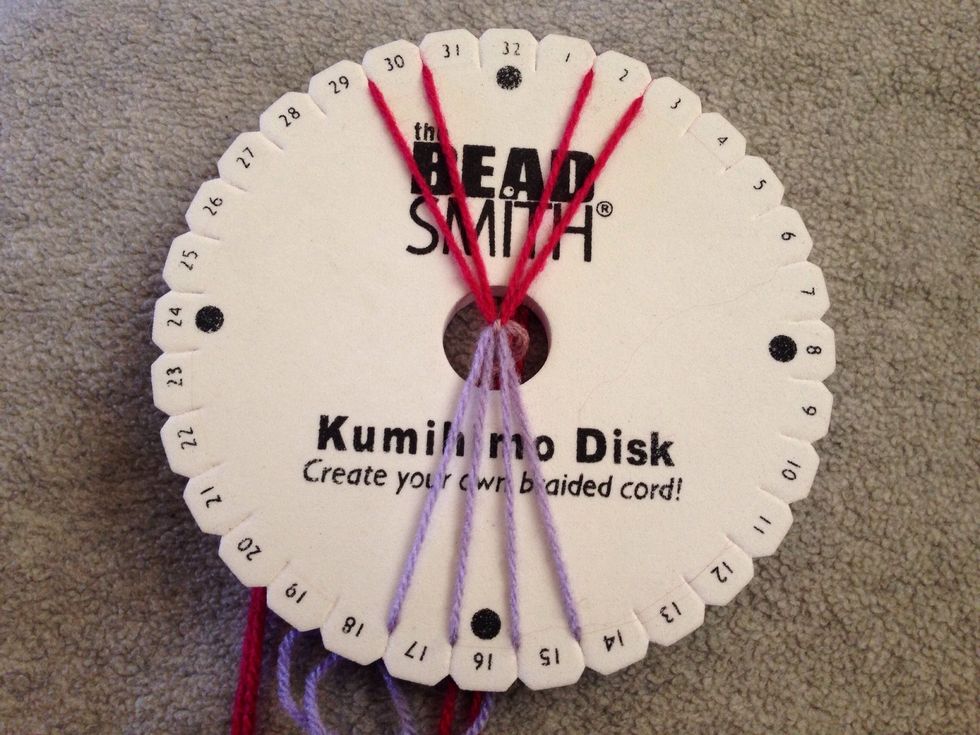
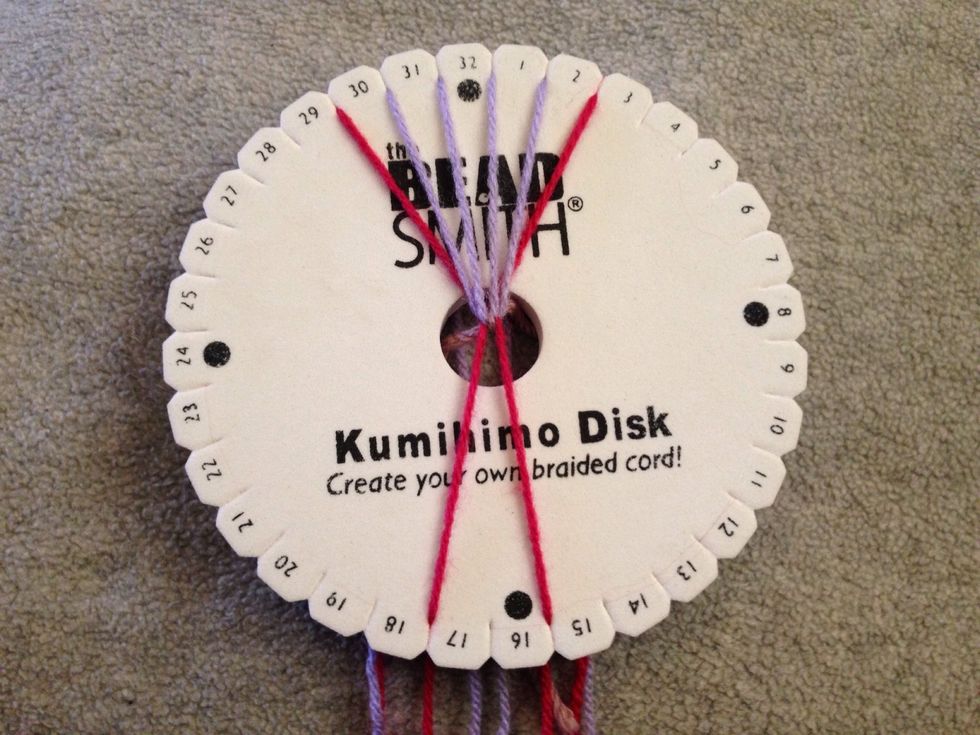
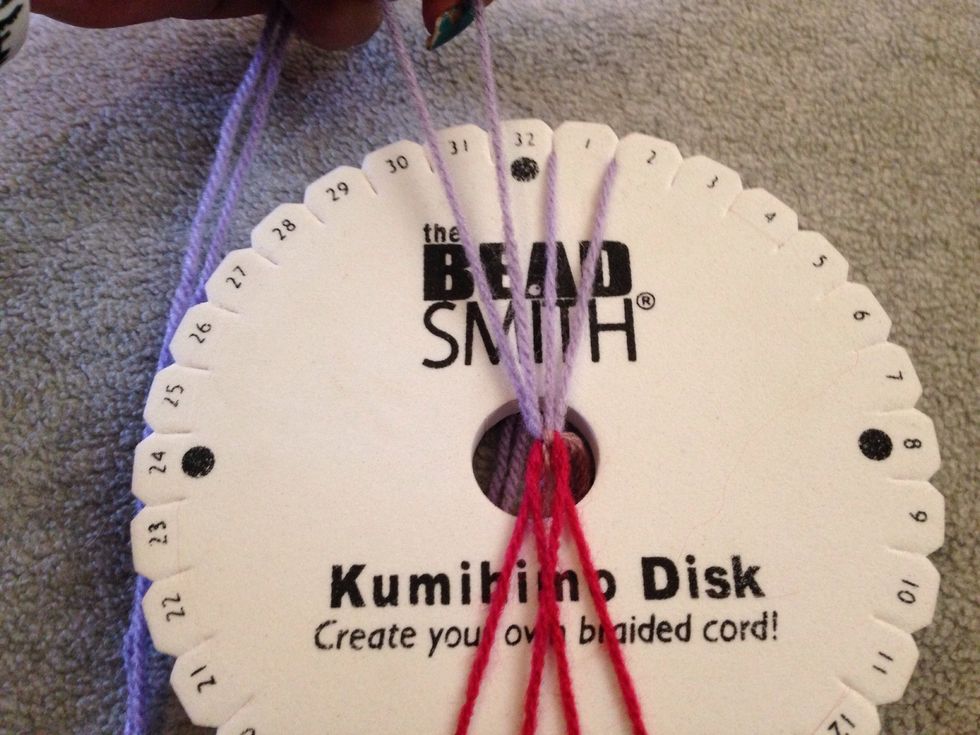
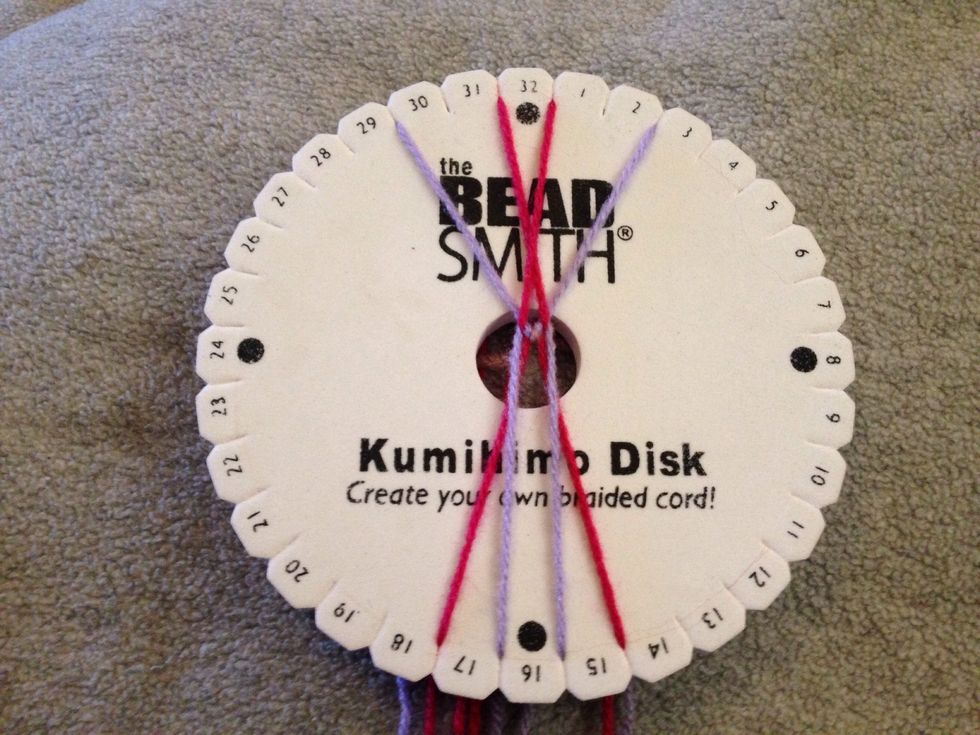
This is the starting position of your threads. Just for clarification the slit is to the right of the number, so where 1 is, the slit for number 1 is on the right of the number.
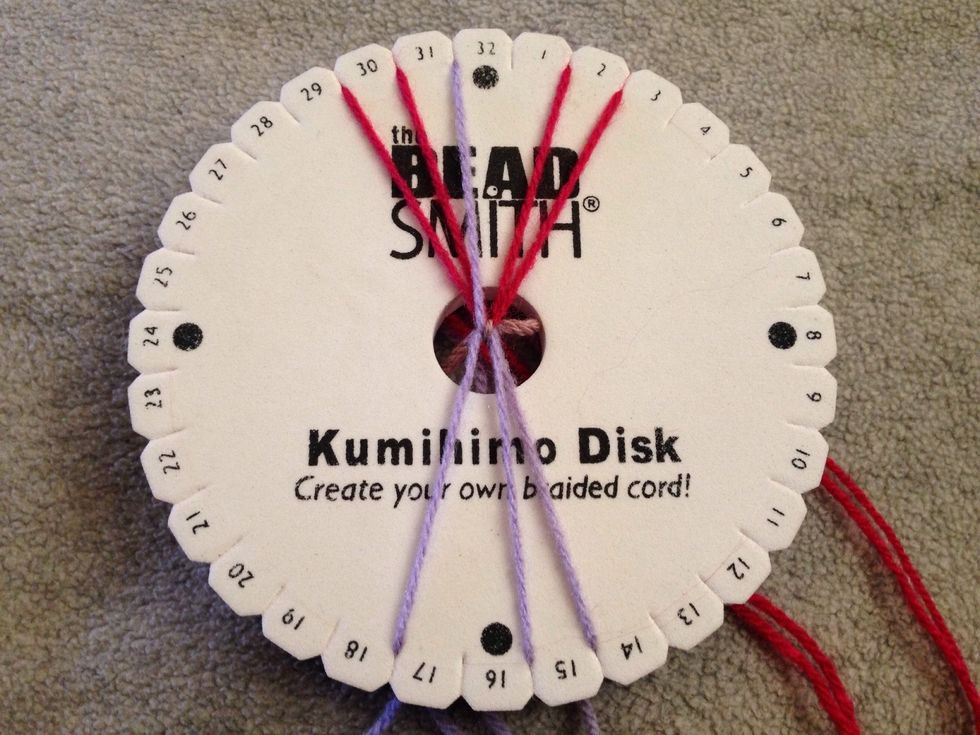
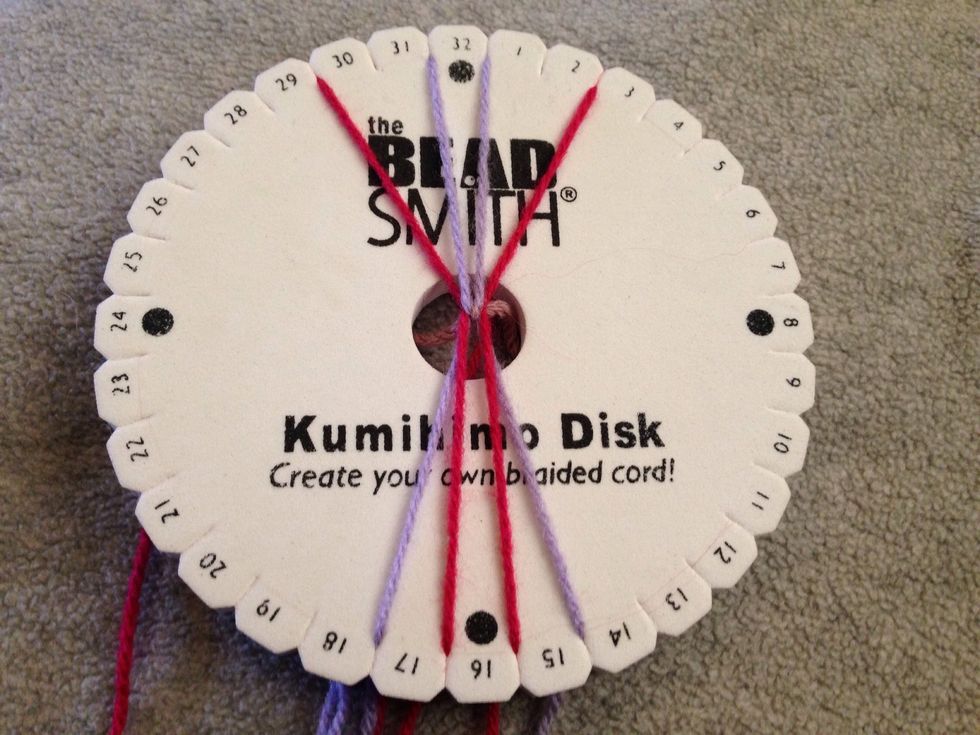
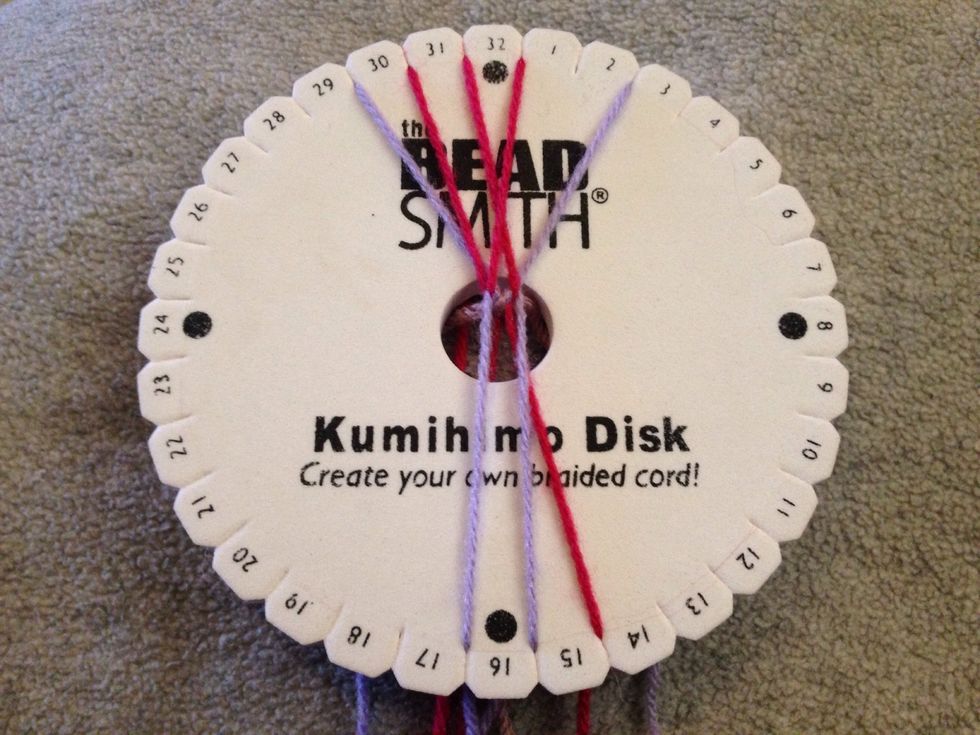
STEP 1 - First off take thread 16 up to slit 31. The basic rule of Kumihimo is the thread on the left goes up to the left and right threads go to bottom right.
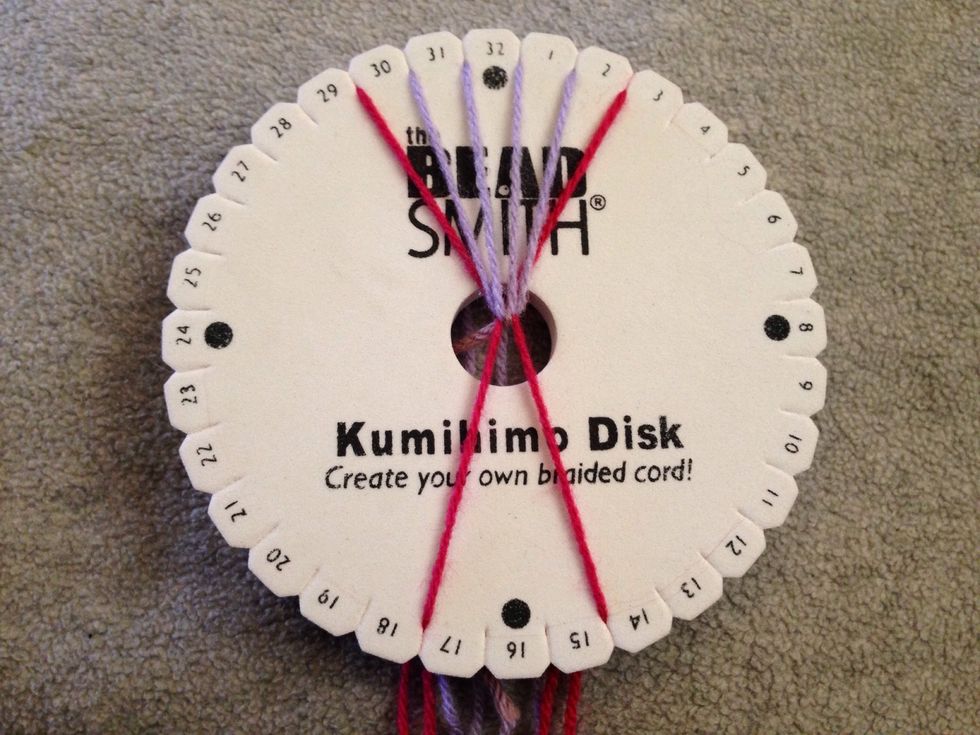
STEP 2 - Then take thread 15 up to slit 32.
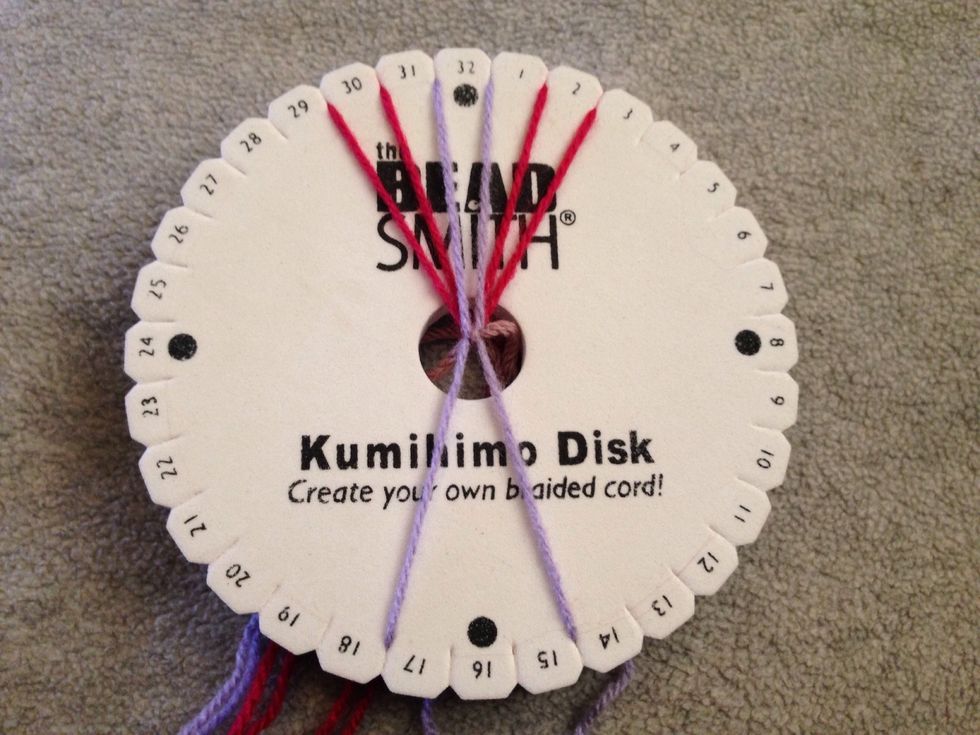
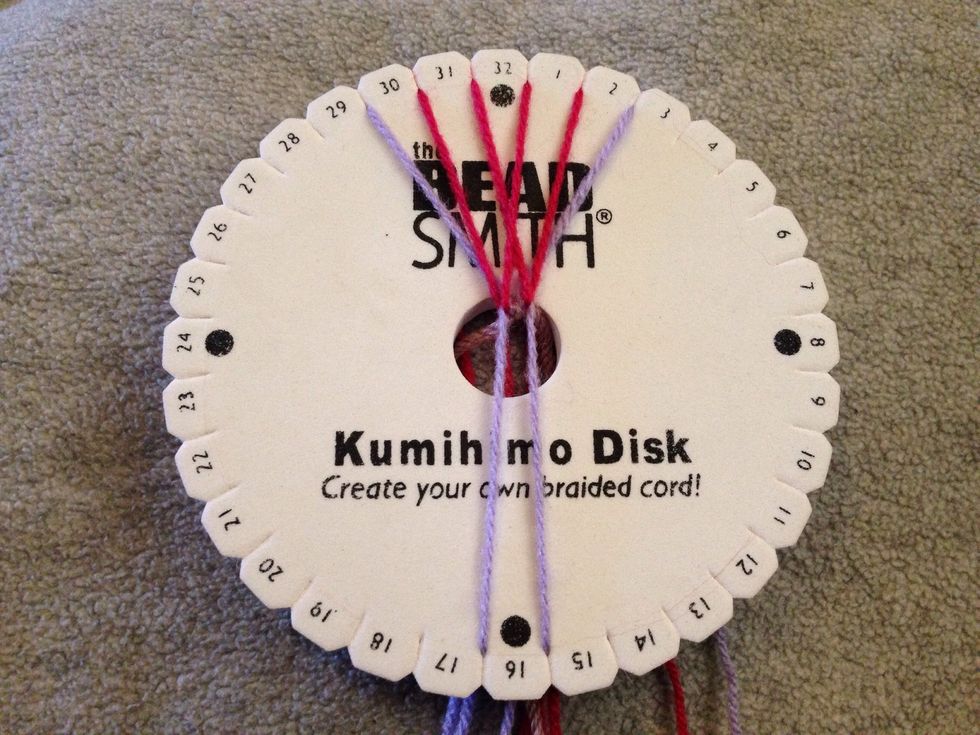
STEP 3 - Then bring thread 30 down to 16.
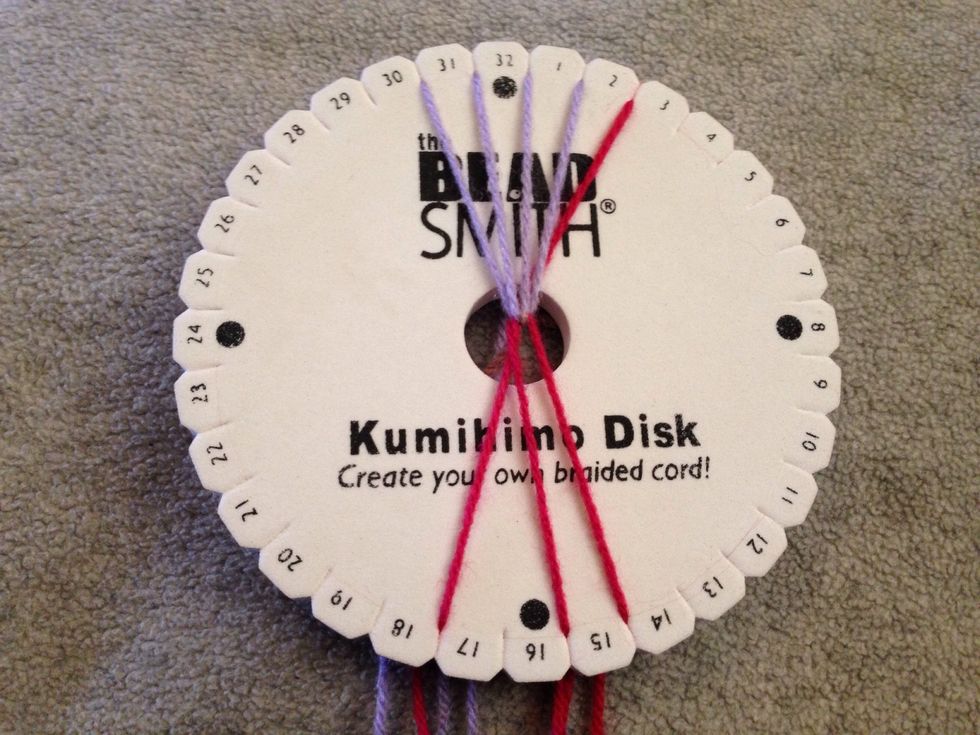
STEP 4 - Then thread 1 down to 15.
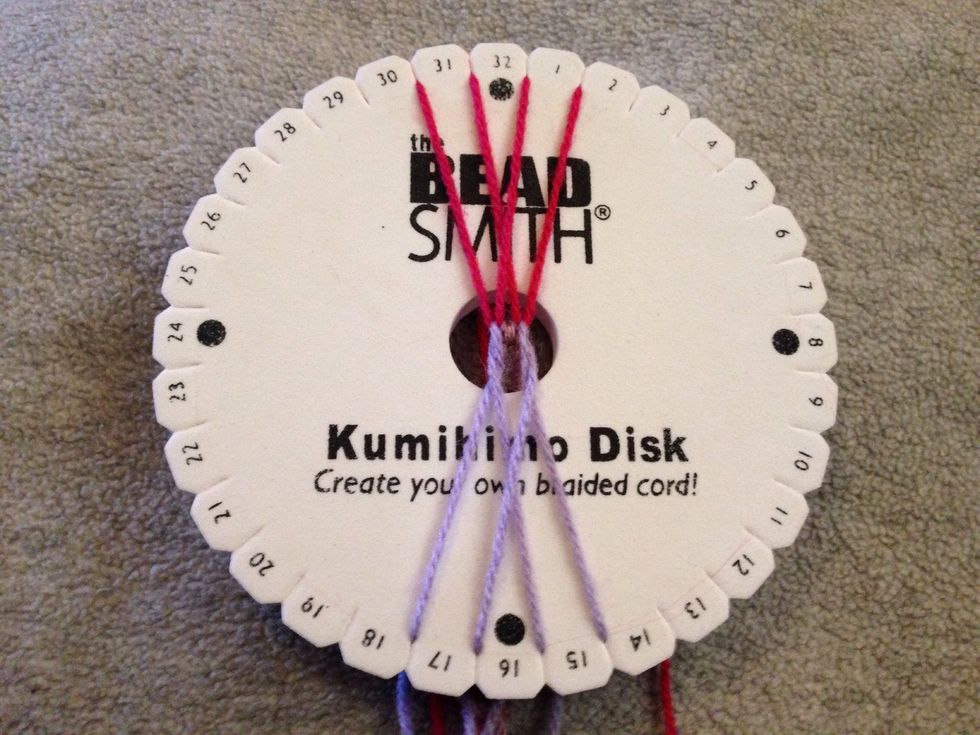
STEP 5 - Thread 17 goes up to 30.
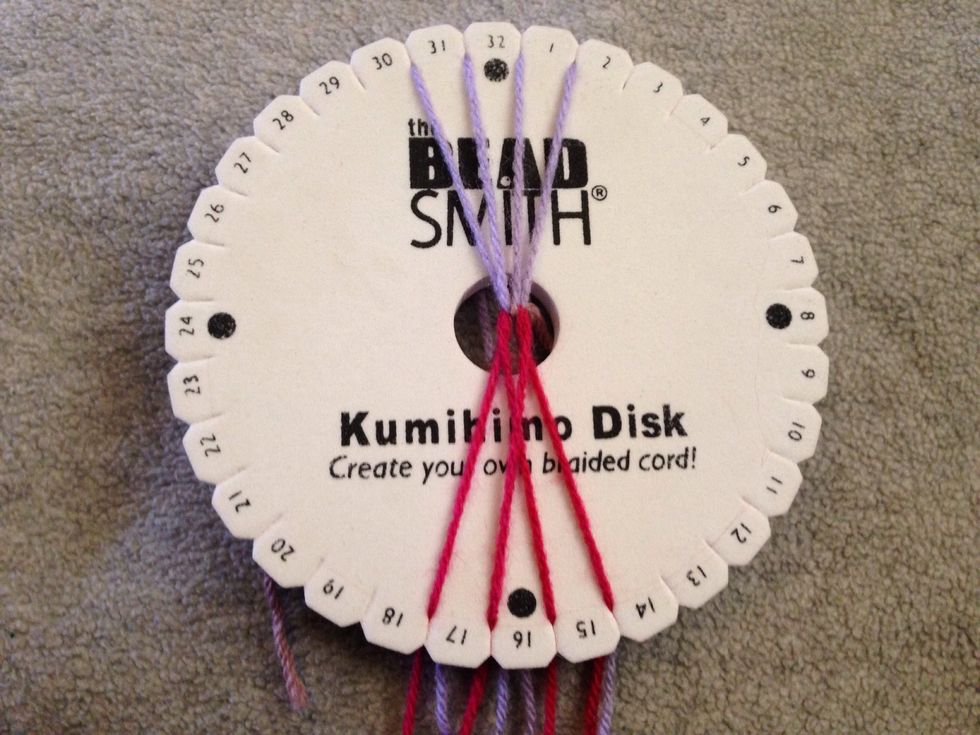
STEP 6 - Then thread 14 goes up to 1.
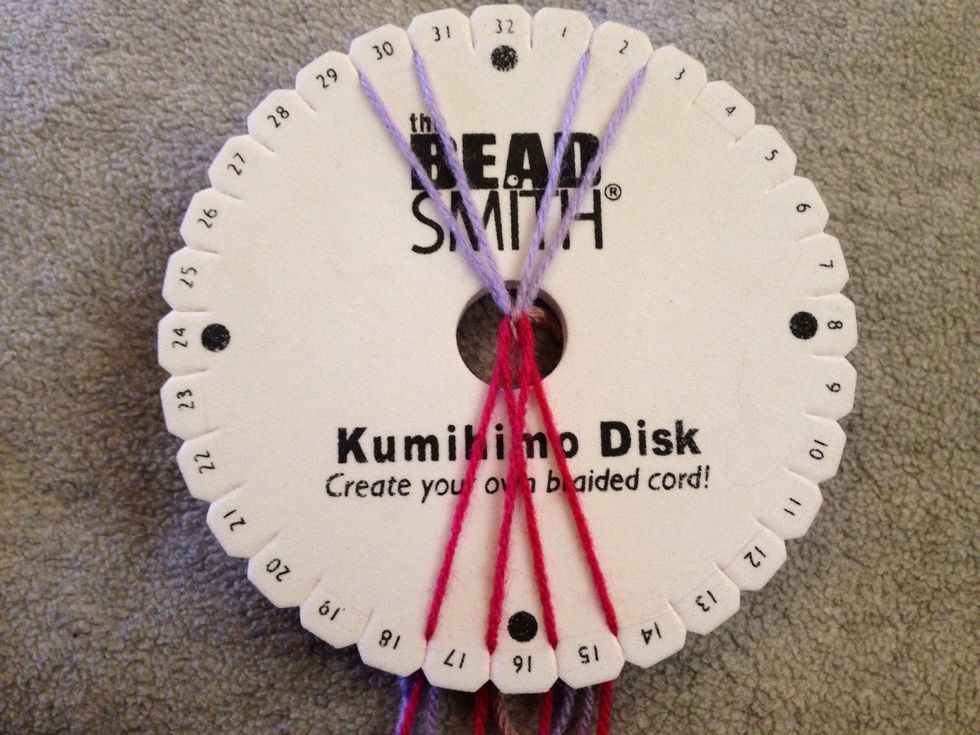
STEP 7 - Then as there's 2 threads left at the bottom they each need to be moved one slit to the side, so thread 16 goes to slit 17.
STEP 8 - And thread 15 goes into slit 14.
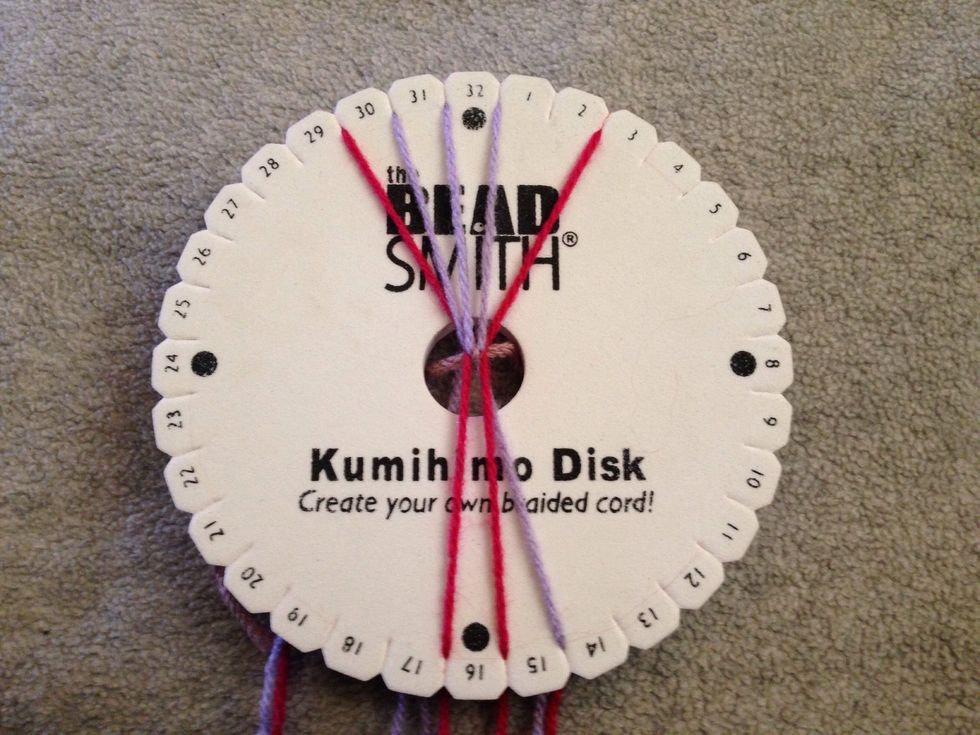
STEP 9 - This is the most important part of the braid to keep it together, move thread 29 down and across to slit 15.
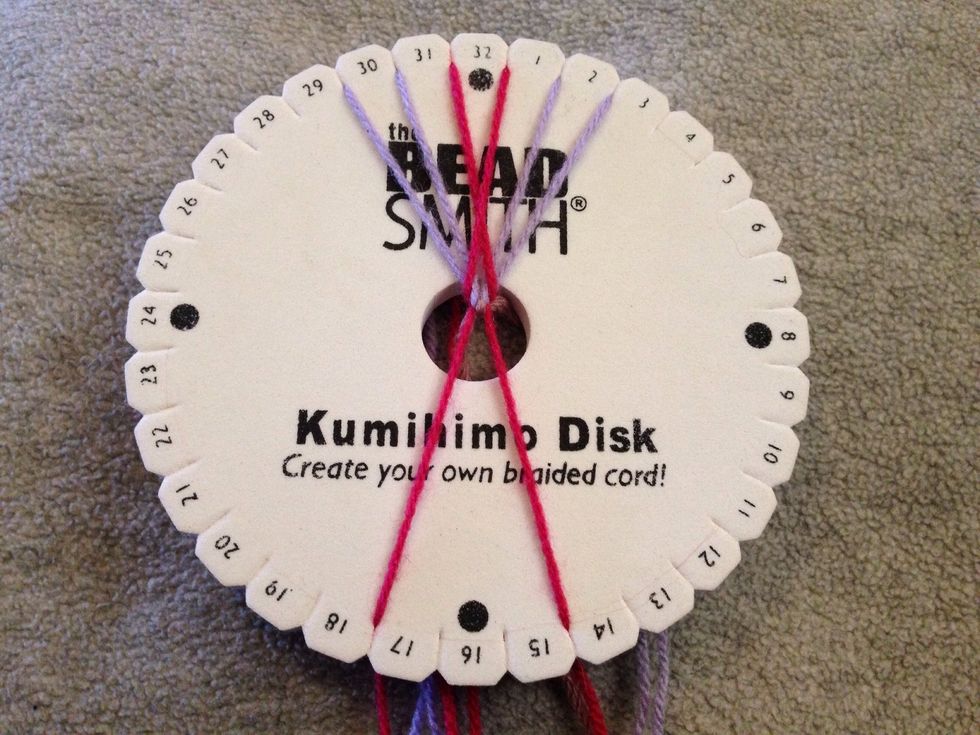
STEP 10 - Then thread 2 comes down and across to 16 to form a cross in the middle.
STEP 11 - Then threads 30 and 31 need to be moved left 1 slit each, so thread 30 moves into slit 29 and thread 31 moves into slit 30.
STEP 12 - And it needs to be repeated on the other side, thread 1 moves right into slit 2 and thread 32 moves into slit 1.

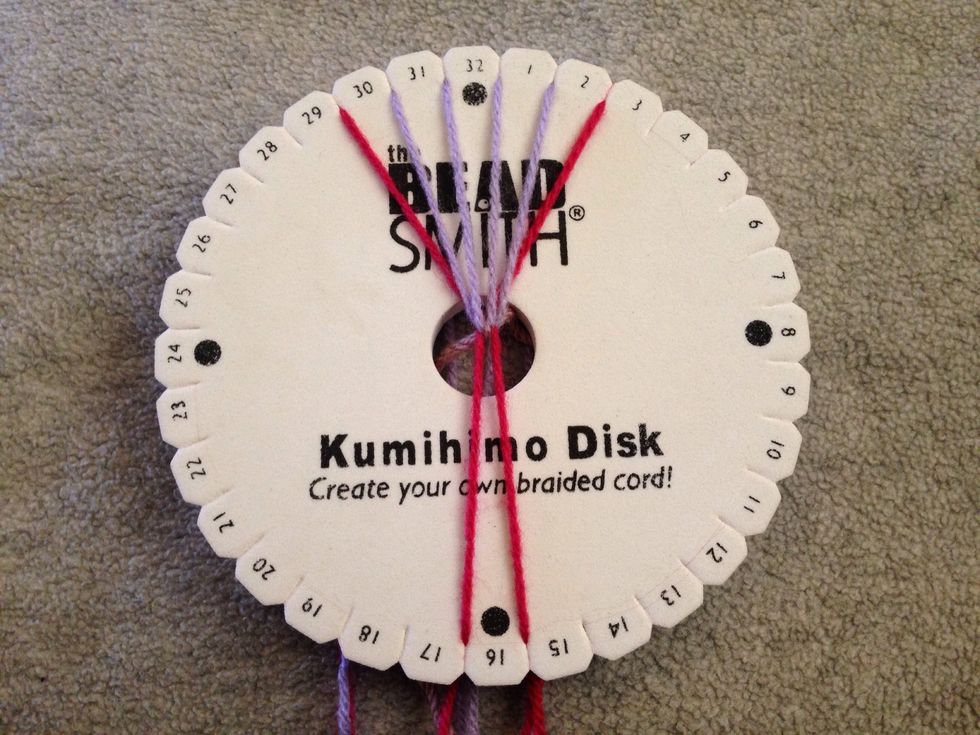
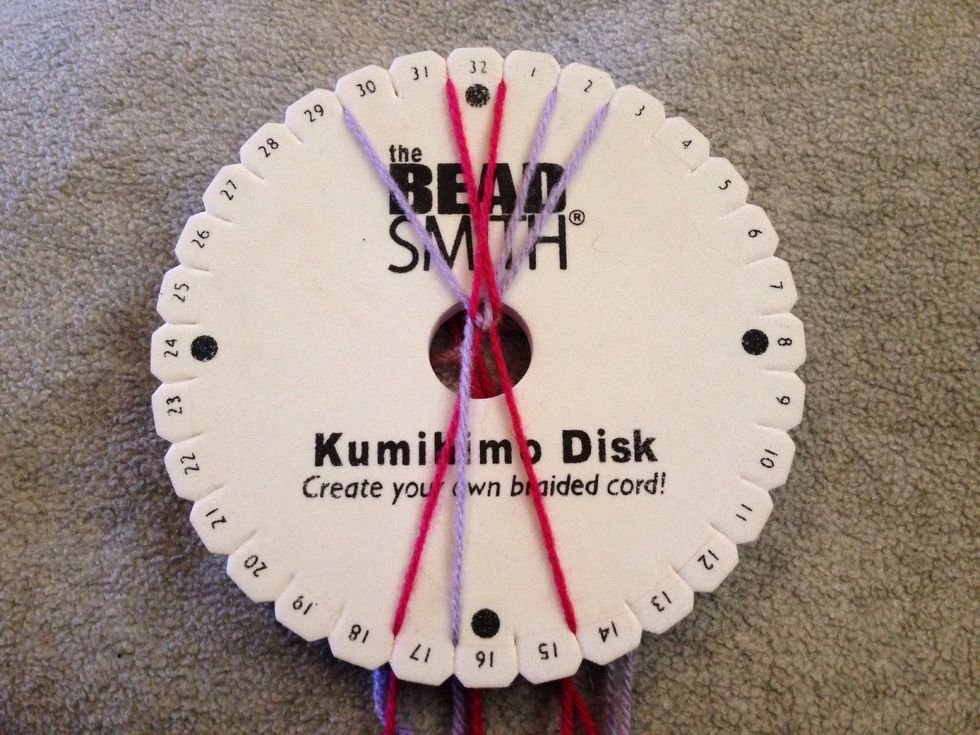
STEP 13 - Bring thread 16 upto slit 31.
STEP 14 - Then bring thread 15 up to slit 32. Notice that the cross is still there? If it's not retrace your steps to see if you have gone wrong.
STEP 14 - Then bring thread 30 down to slit 16.
STEP 15 - Then bring thread 1 down to slit 15.
STEP 16 - Then take thread 17 up to slit 30
STEP 17 - Bring thread 14 up to slit 1.

STEP 18 - You should have just 2 threads at the bottom again, and move these one slot to the side again. Thread 16 moves in to slit 17 and thread 15 moves in to slit 14.

STEP 19 - This is where the cross starts to form again. Bring thread 29 down and over to slit 15.
STEP 20 - Then bring thread 2 down and over to slit 16, this should form the cross over again. REPEAT STEPS 11 to 20 until your desired length is reached.
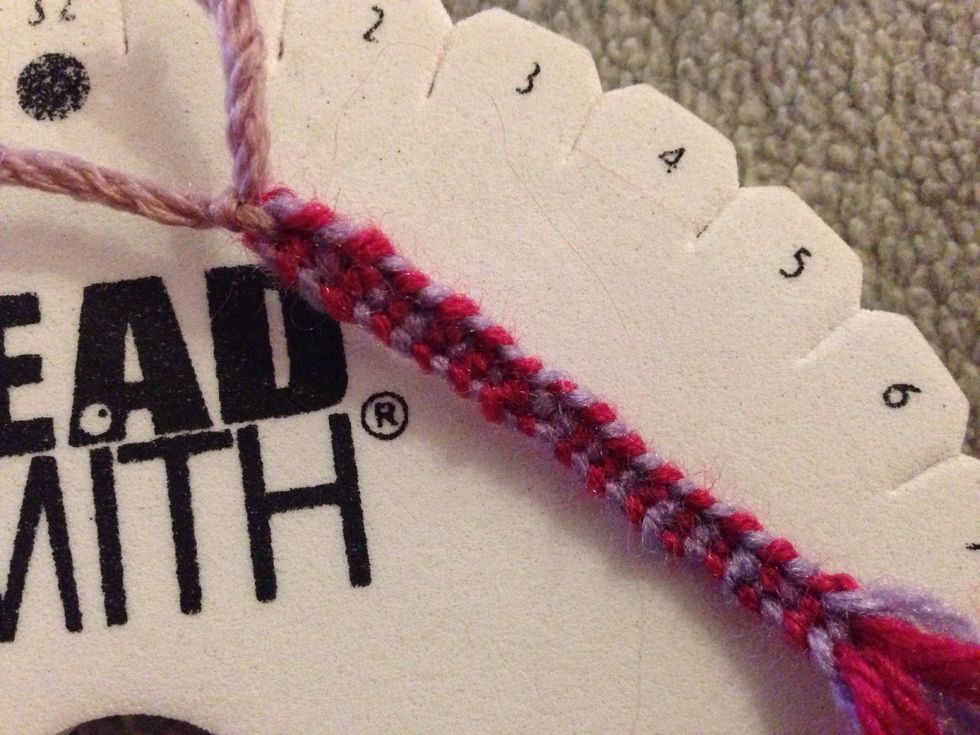
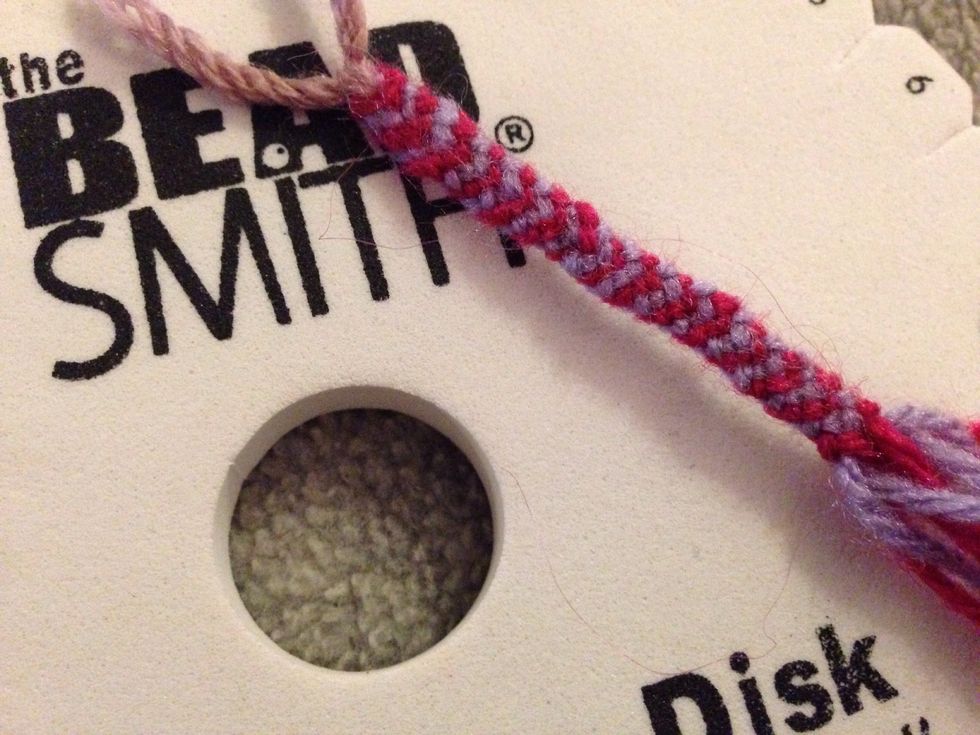
Once length is reached take it ofF the Kumihimo Disk and tie off. This was just a quick one to show you roughly what it should look like on both side.
HAPPY BRAIDING FRIENDS ☺️