The Conversation (0)
Sign Up

Start off with a base coat to keep your nails healthy and strong.

Paint your nails white. This helps your colors pop.

Tape around your nail to help minimize the mess on your fingers. Sorry... It's a little hard to see.
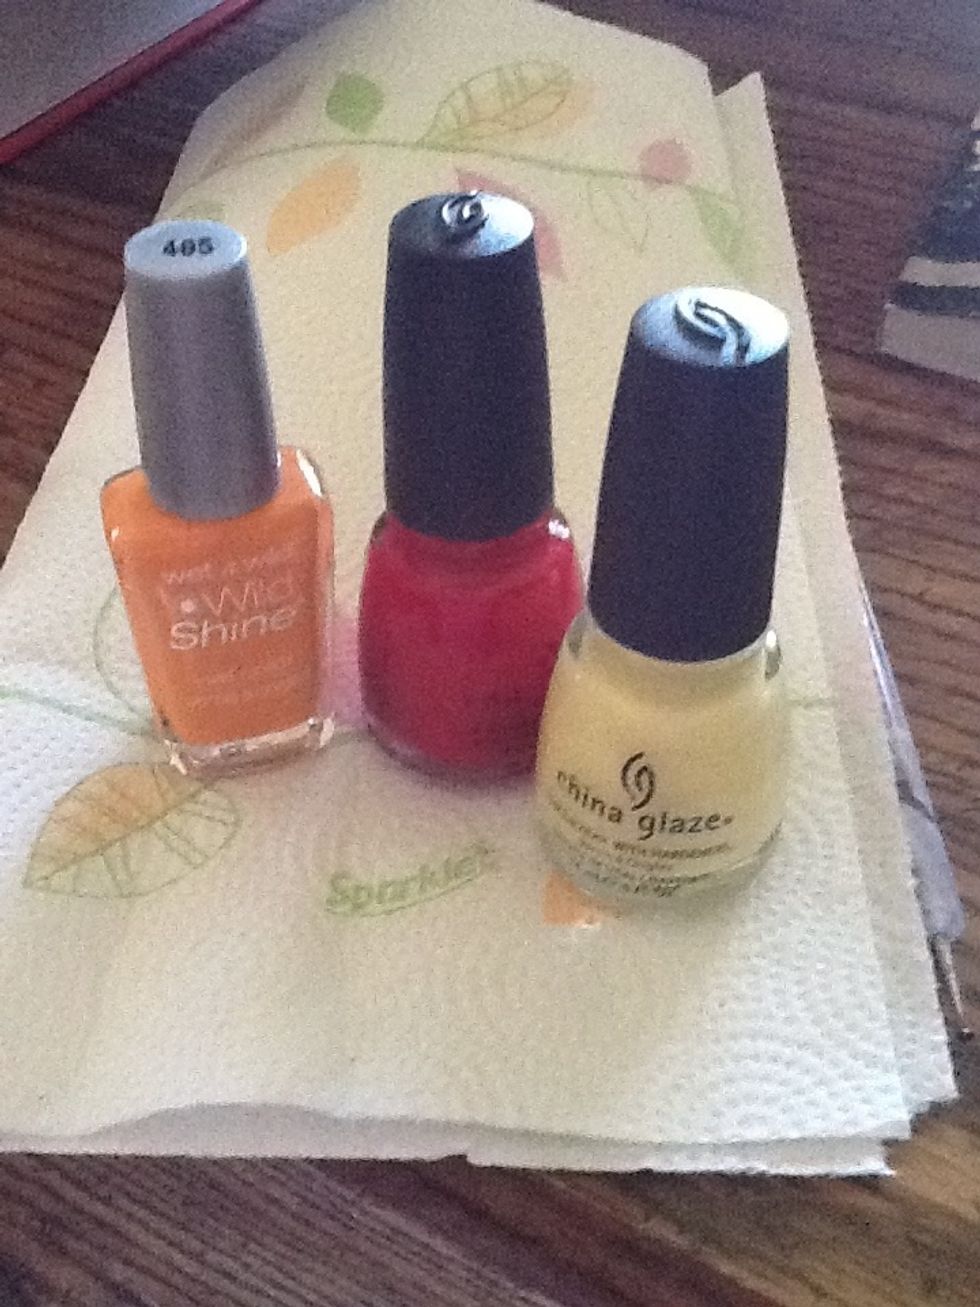
I'm using Sunny side up (orange) by Wet n Wild, Salsa (red) by china glaze and lemon fizz (yellow) by china glaze.

Start dropping in your polishes, one drop at a time into room temperature distiller water. Tap water will work as well, but your polish may not spread as well.
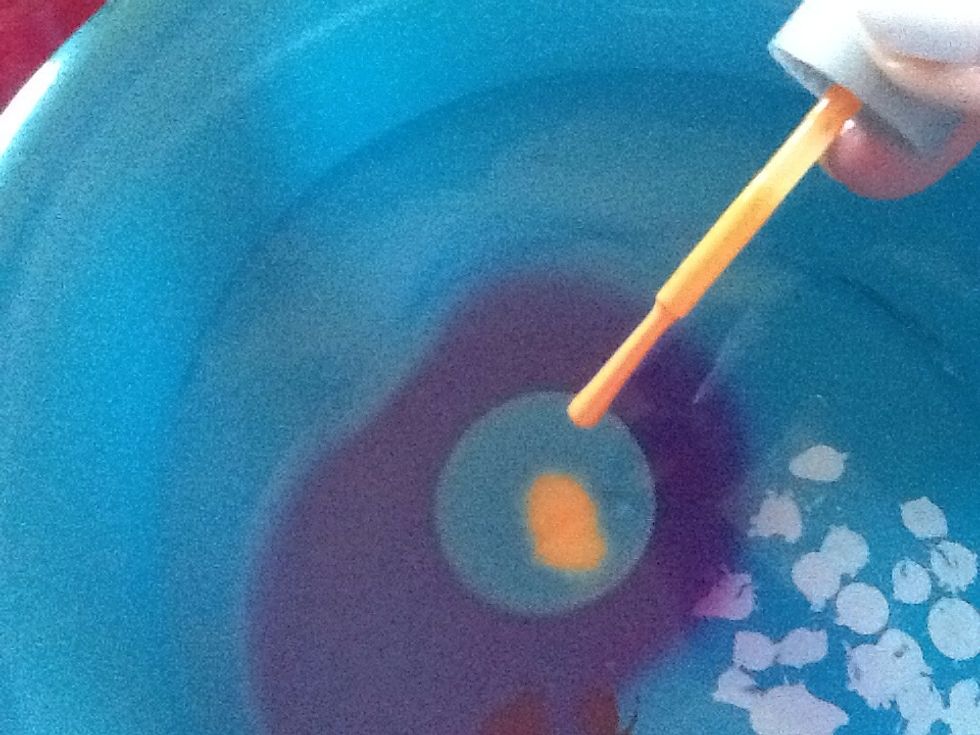
Orange....
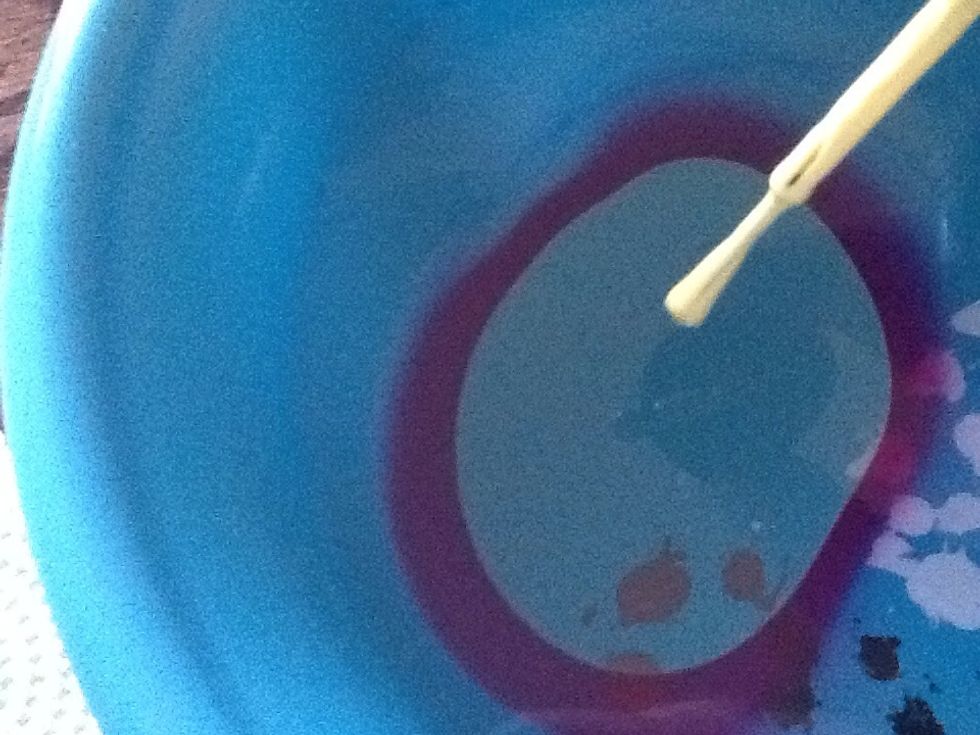
Yellow...
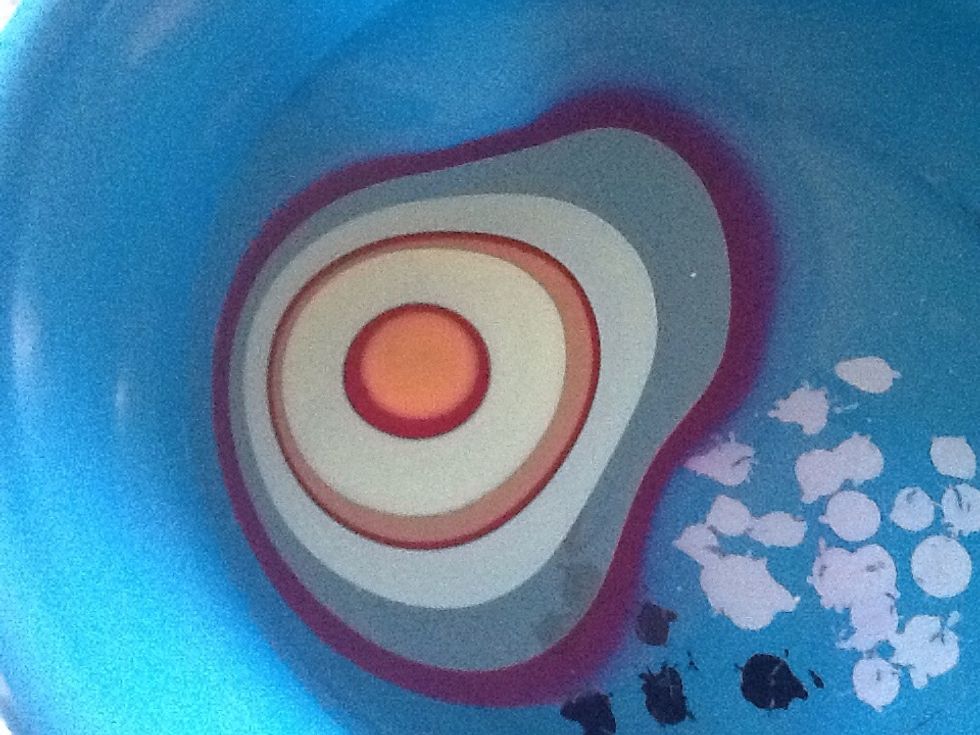
Do this a few times to make the ring looking something like this. The more drops of polish you put in, the thinner your stripes will be.
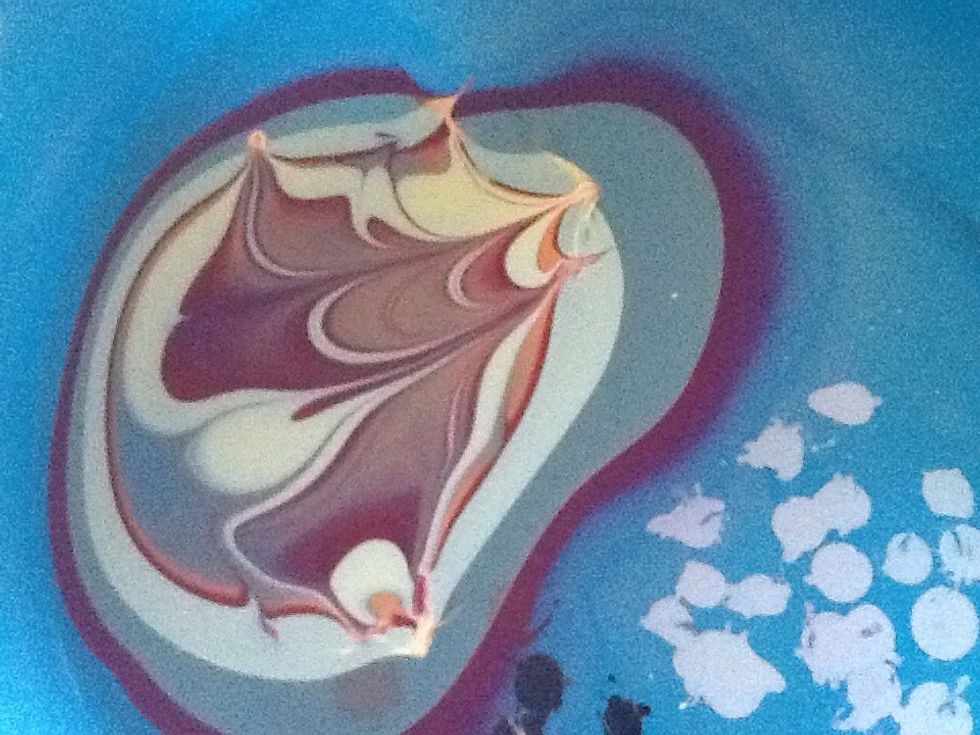
Use a toothpick to create a design. I started in the center and drug is out.
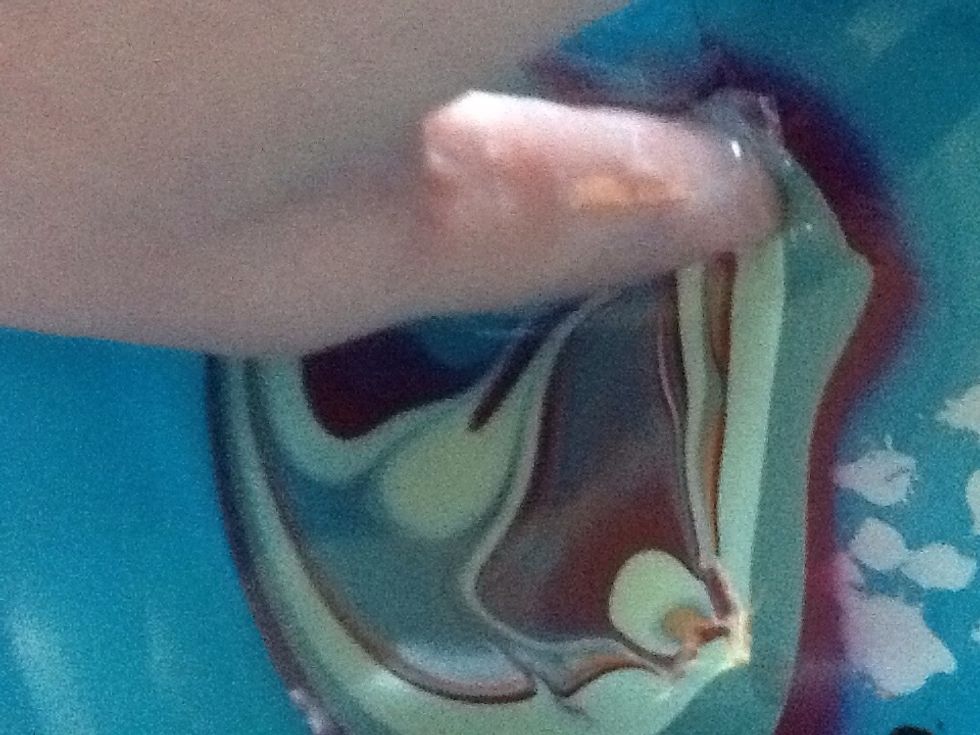
Dip your nail into the design.

Clean up the access polish still on top of the water using your toothpick. Keep your nail under the water. A lot of people just pull out their nail without cleaning up the polish. Don't do that!
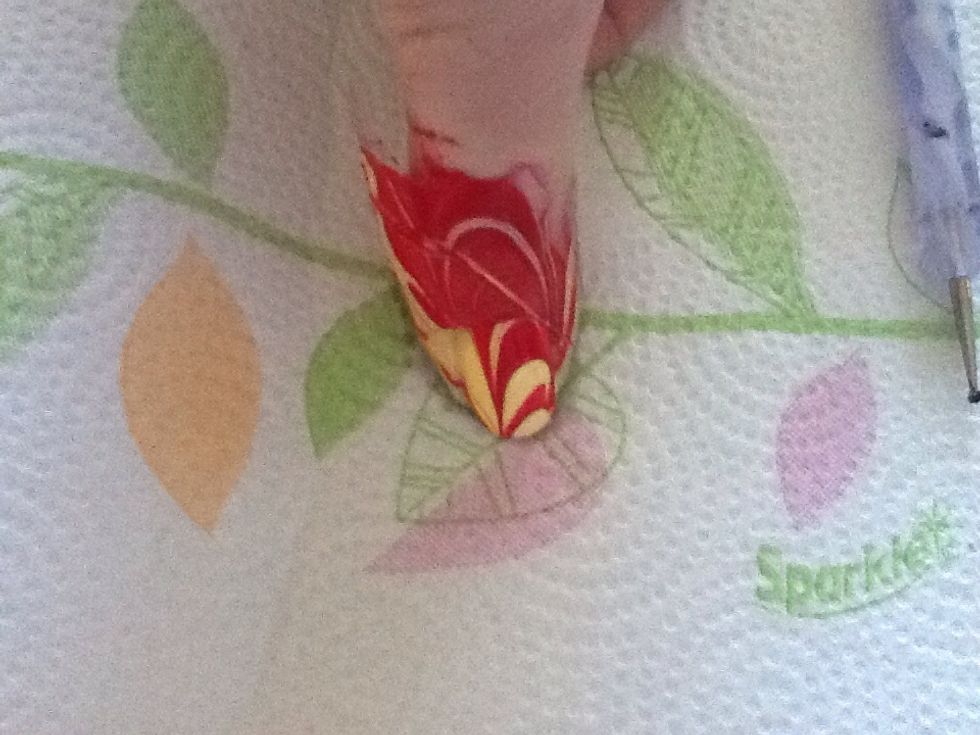
Now you are left with this cool looking mess.
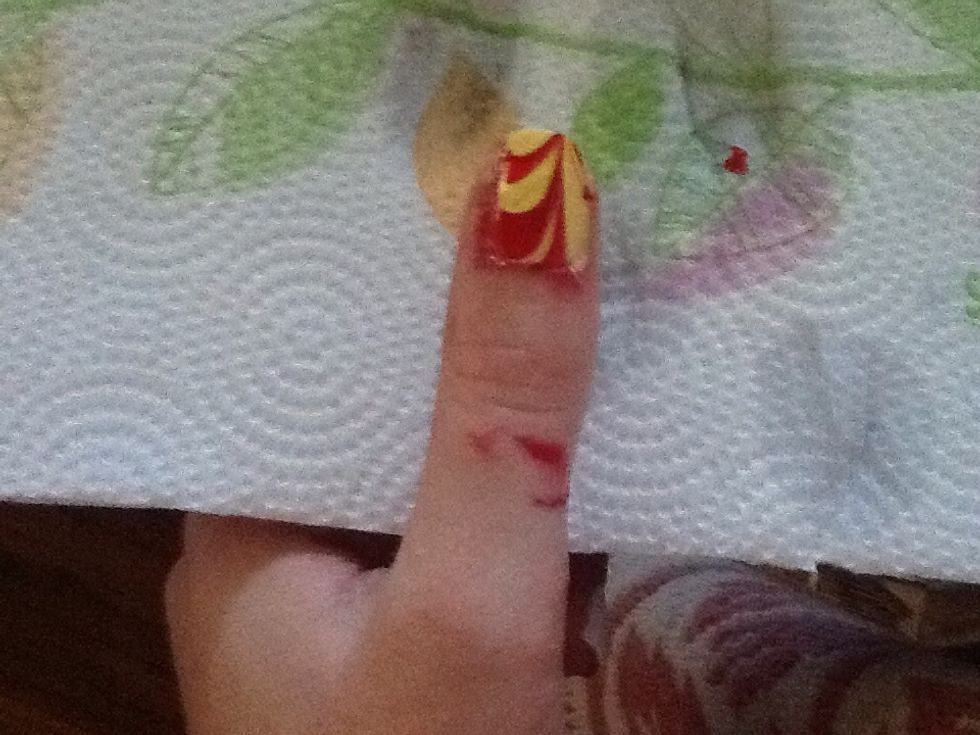
Take off the tape. Now you can see why tape helps a lot with the cleanup!

Clean up around the nail using a cotton swab.
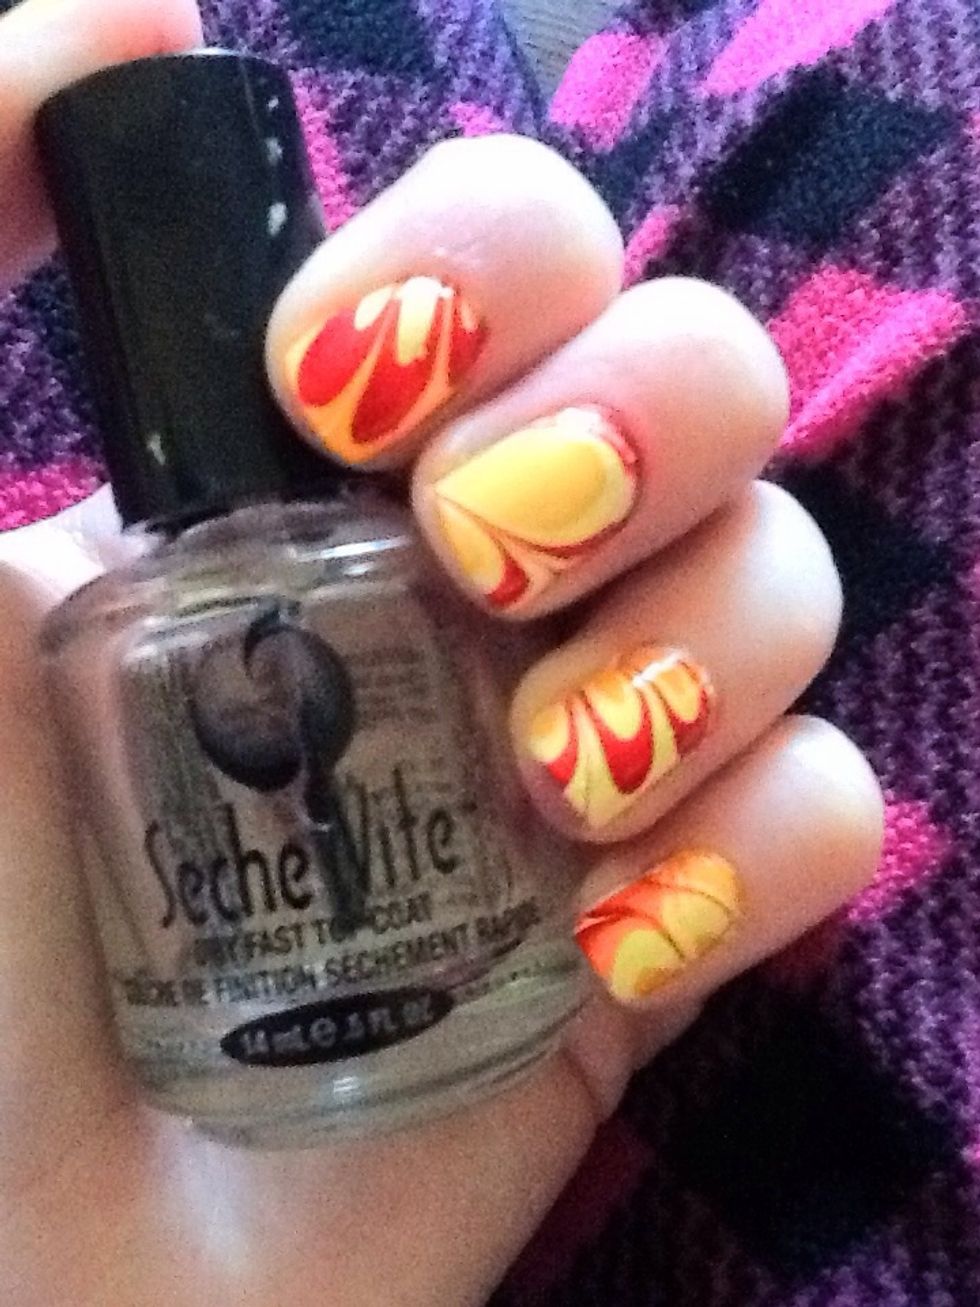
When all your nails are finished, add a topcoat to keep your design longer and shiny!

If you have problems getting your polish to spread, thin it out with nail polish thinner or nail polish remover. Add a few drops to your polish and shake it up.
Hope this guide will help you create an awesome fall design! Follow me for more guides and check out my other nail tutorials!