The Conversation (0)
Sign Up
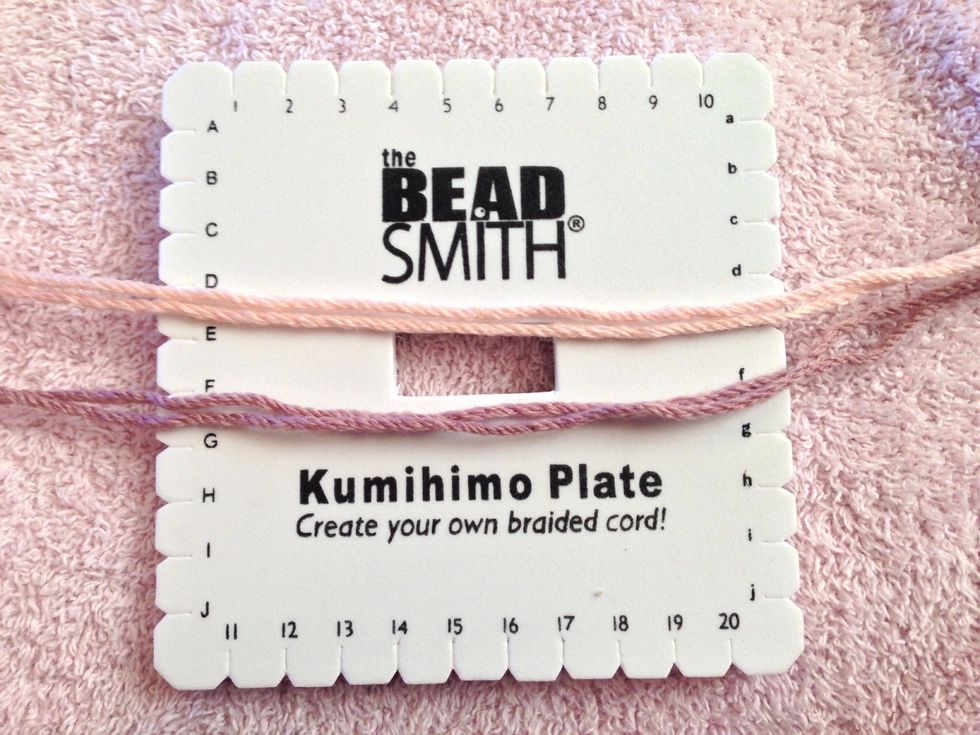
To start choose 2 colours to use and cut 2 of each colour about half a meter long.

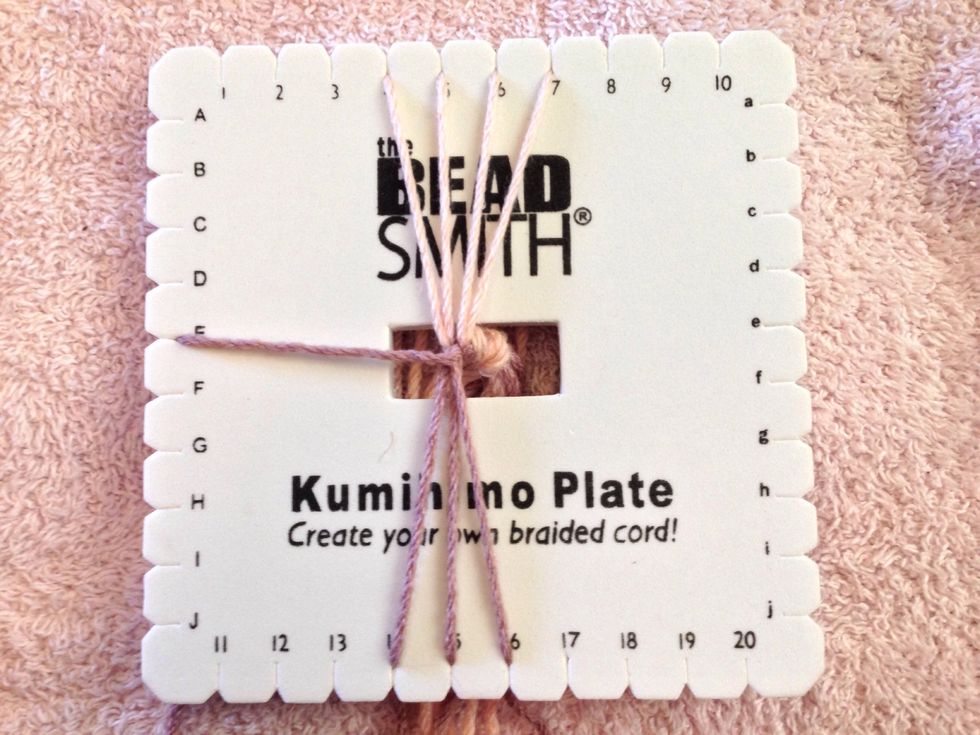
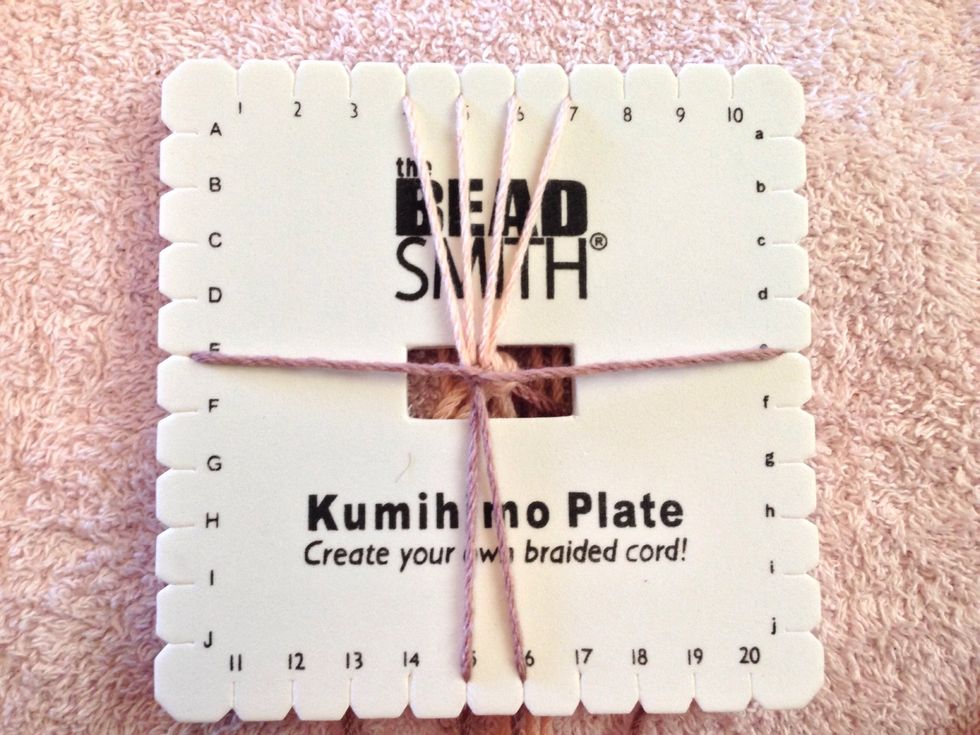
Then fold in half and tie a knot about an inch from the fold.

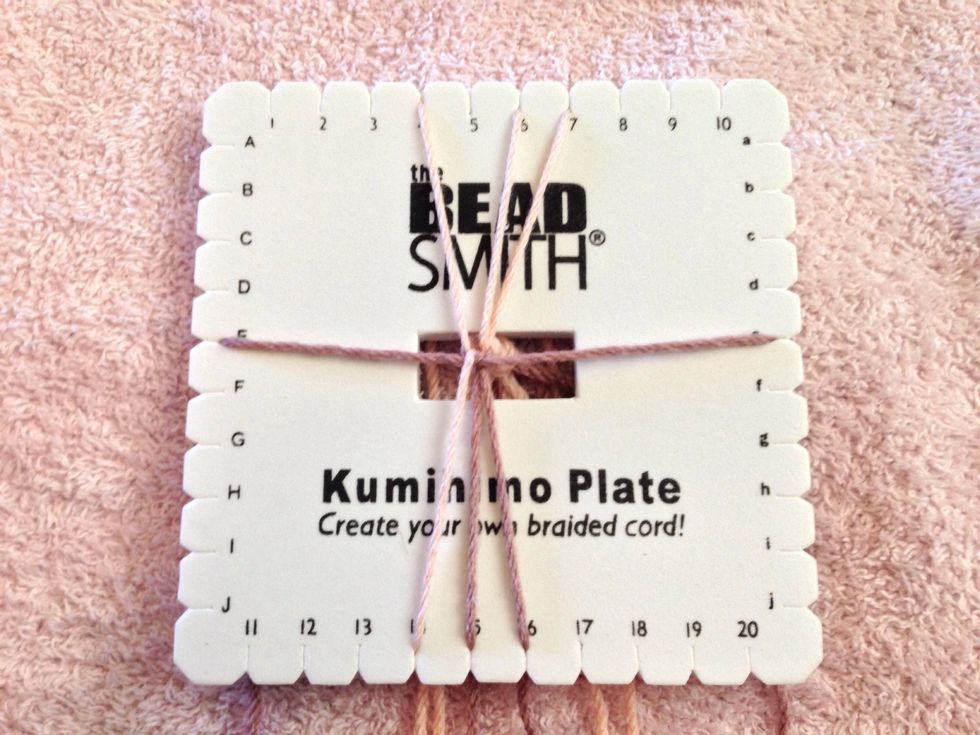
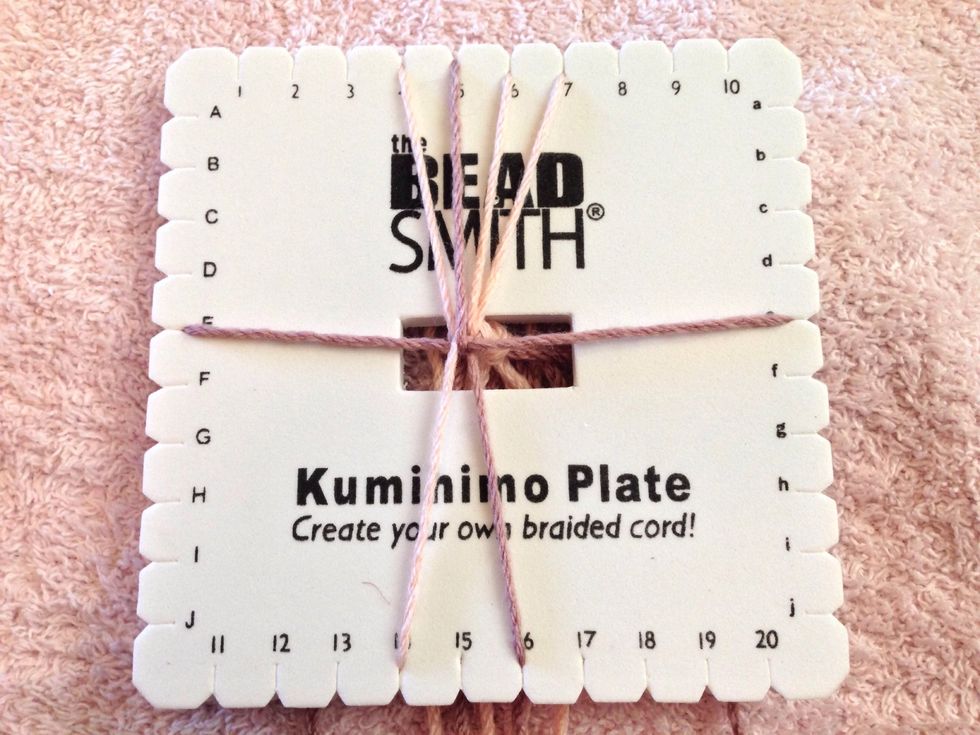
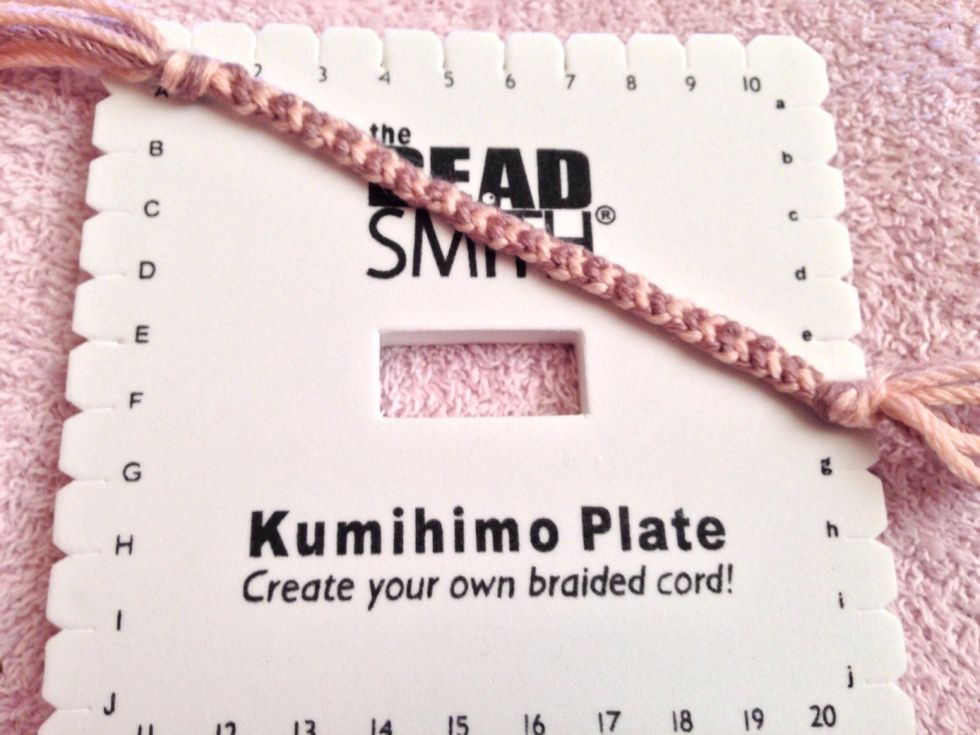
STEP 1 - This is your starting position, the threads start and finish in these positions. Put the four strands in slit 4, 5, 6, 7 on the top and four strands in slits 14, 15, 16, 17 on the bottom.
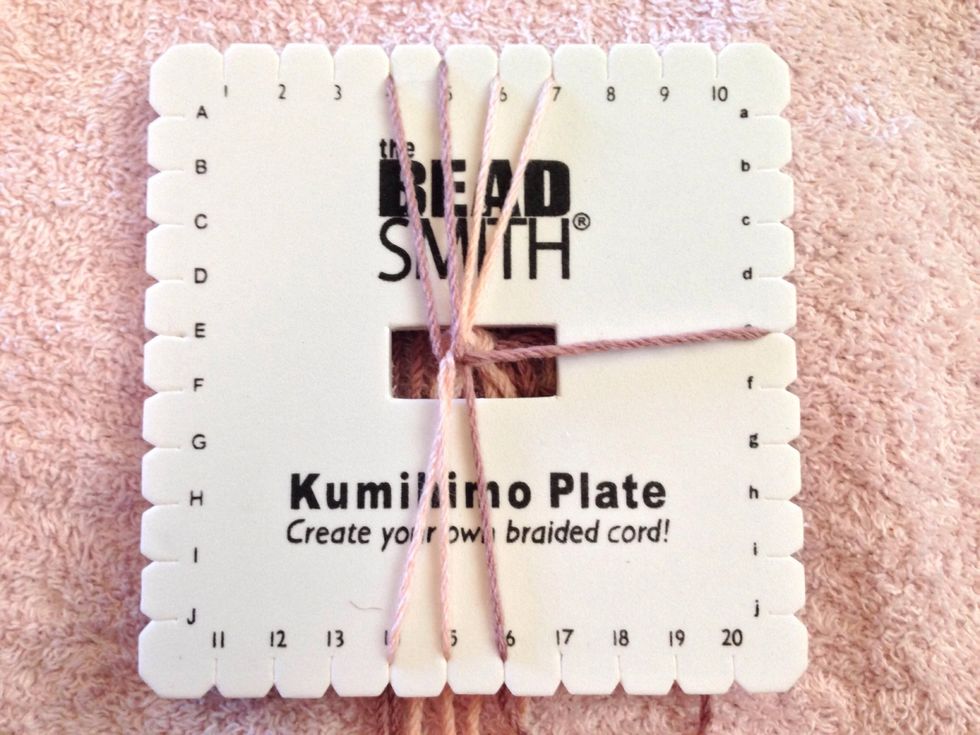
STEP 2 - Take thread 17 and put it into slit E on the LEFT side of the board.
STEP 3 - Then take thread 14 and put it in to slit e on the RIGHT side.
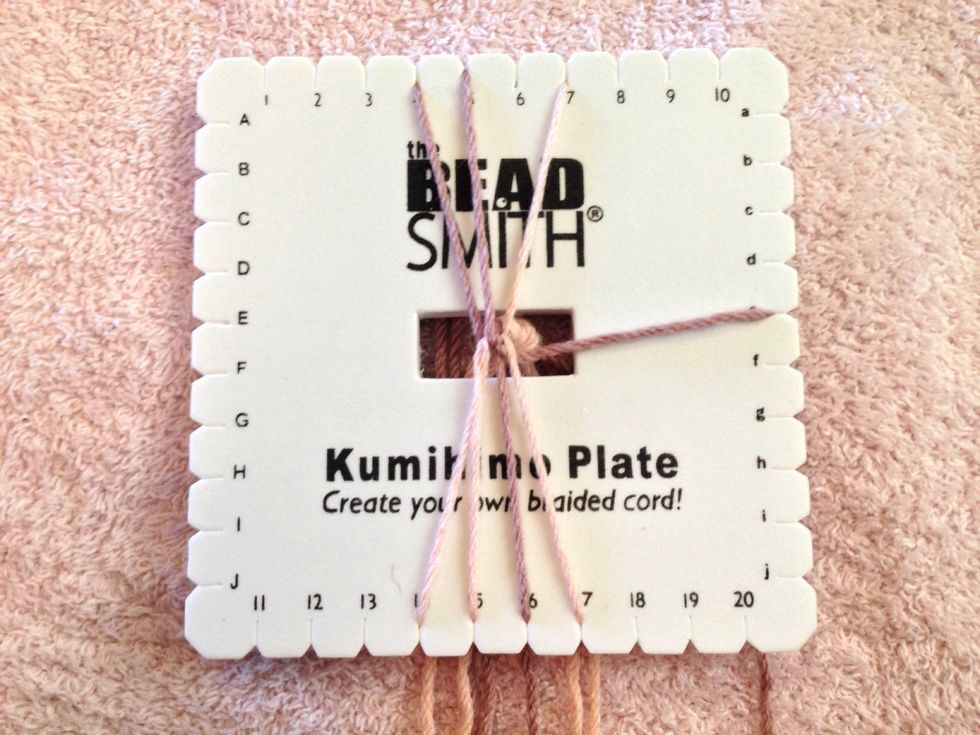
STEP 4 - Take thread 5 and bring it down to slit 14.
STEP 5 - Then take thread 15 up to slit 5.

STEP 6 - And thread 4 down to slit 15.
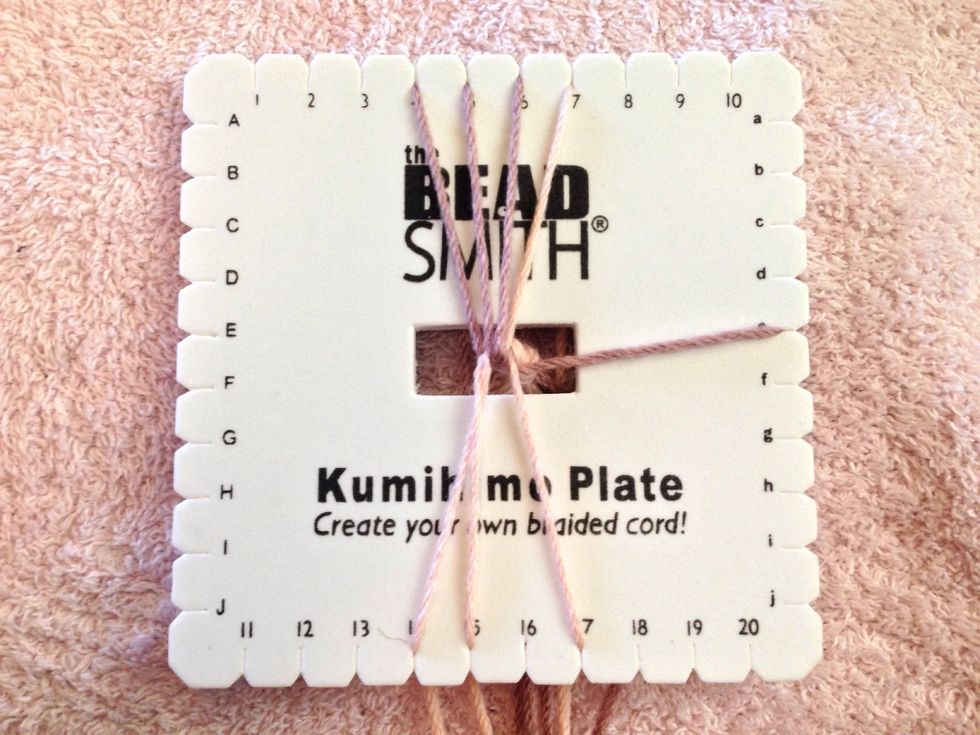
STEP 7 - Thread E on the left now goes up to slit 4.
STEP 8 - Next you bring thread 6 down to slit 17.
STEP 9 - And thread 16 up into slit 6.

STEP 10 - Then thread 7 comes down to slit 16.

STEP 11 - Lastly you need to bring thread e on the Right side back up to slit 7. Now repeat all the steps until you reach desired length.
You should notice as you go along that the top colours and bottom colours alternate. If you have any questions just drop me a message/comment.
HAPPY BRAIDING FRIENDS!