The Conversation (0)
Sign Up
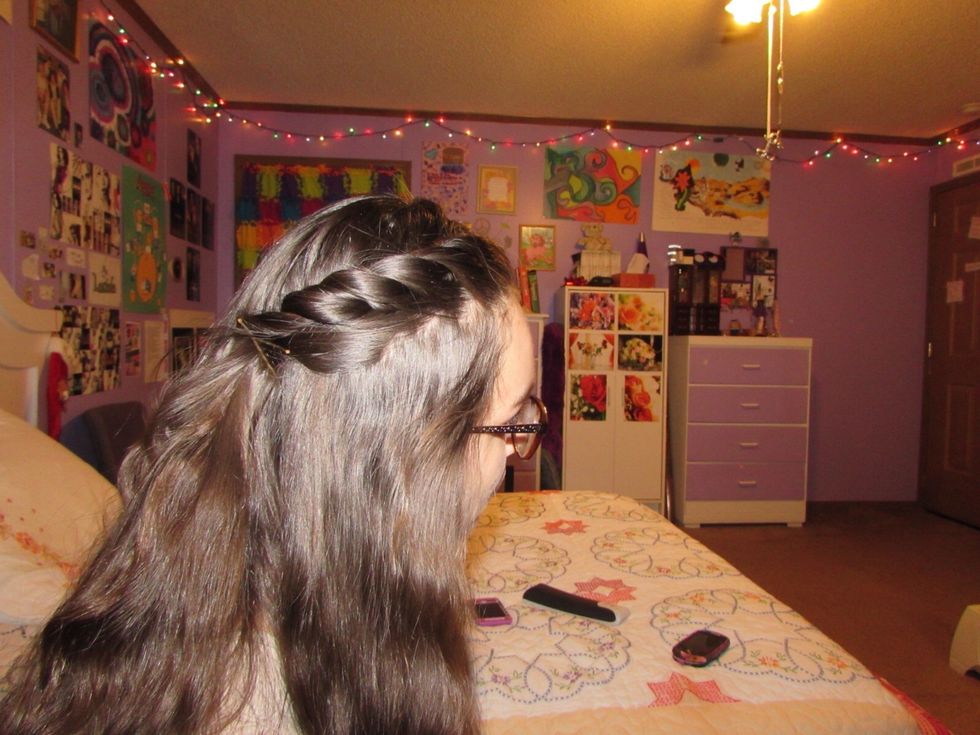
The braids will be easy at first but they will become more complex as we go along... This guide is long so prepare yourself! Haha.
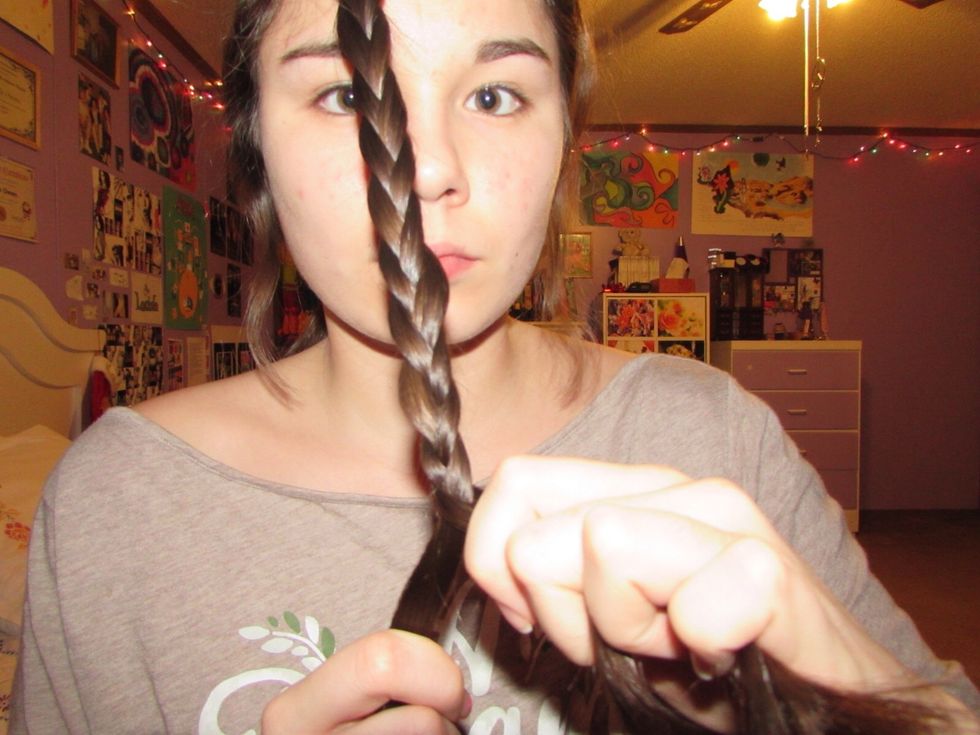
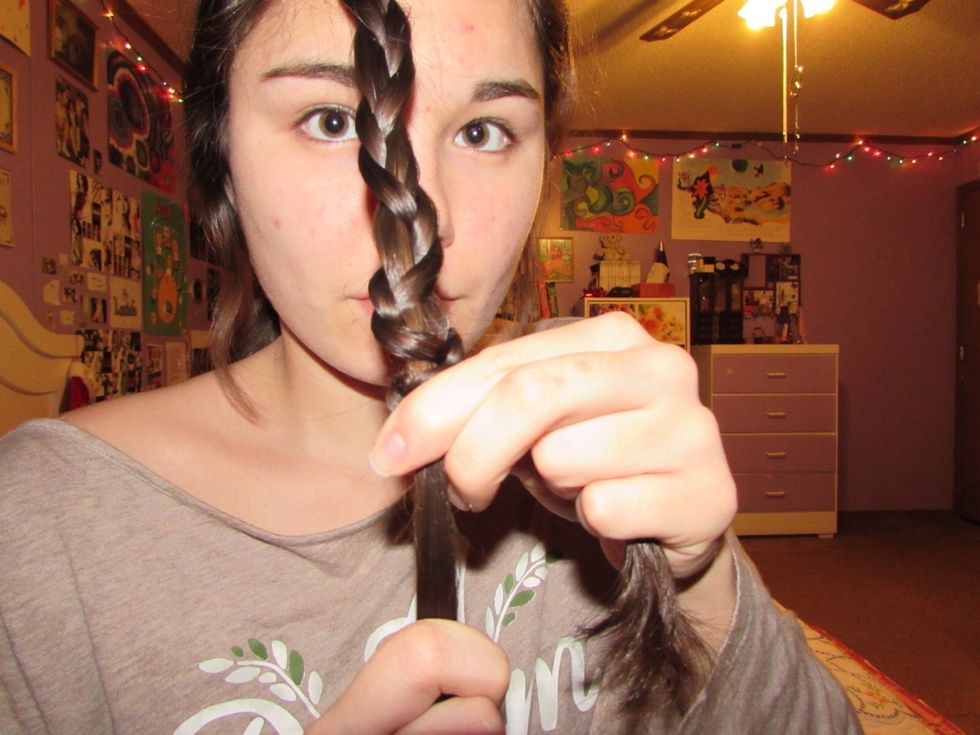
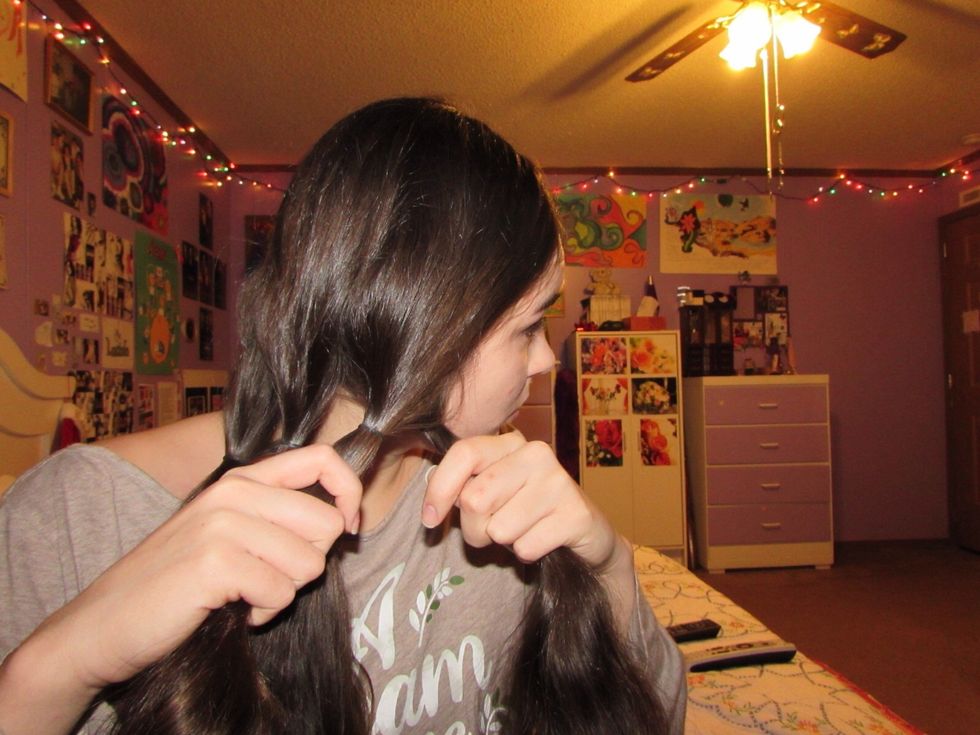
The 3 Strand Braid
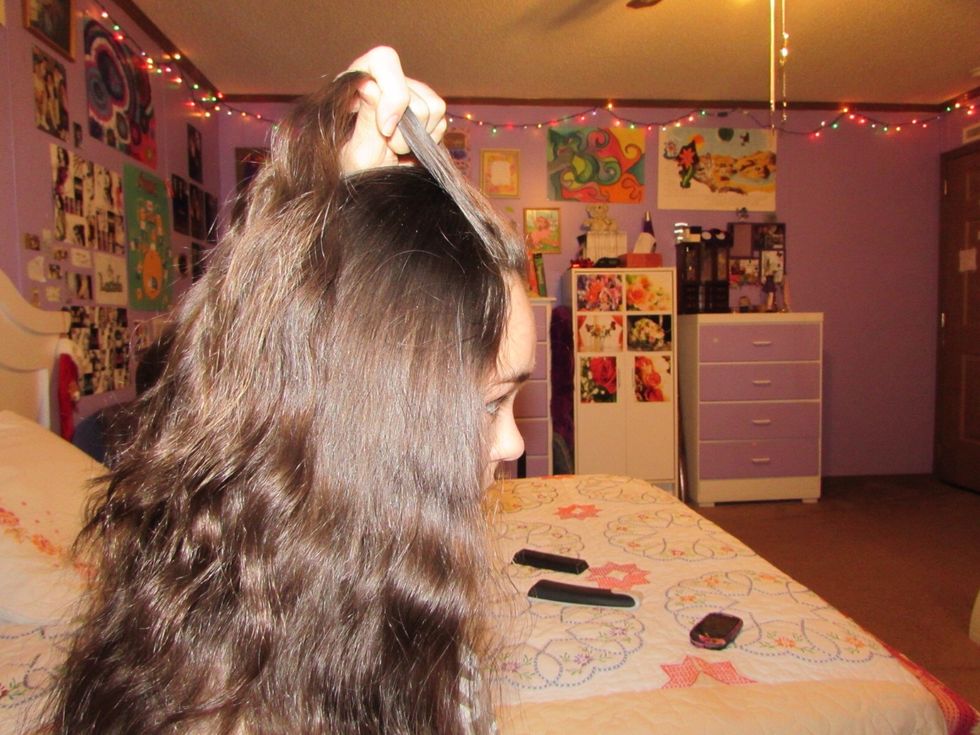
Start by sectioning your hair into 3 equal parts...
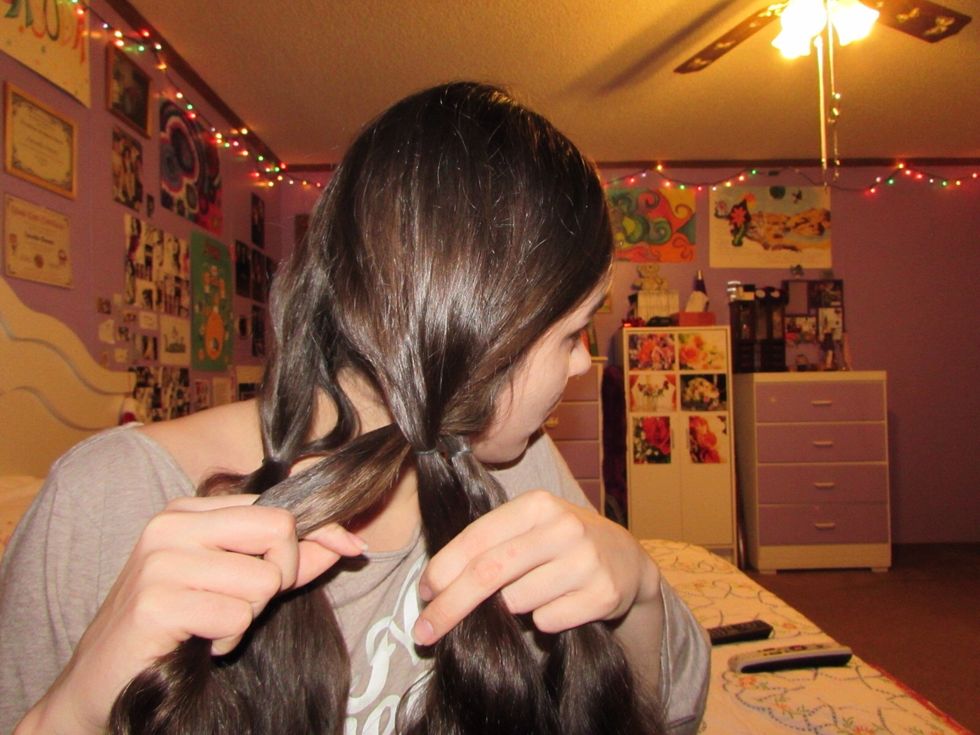
Take the right-most section and cross it over the middle.
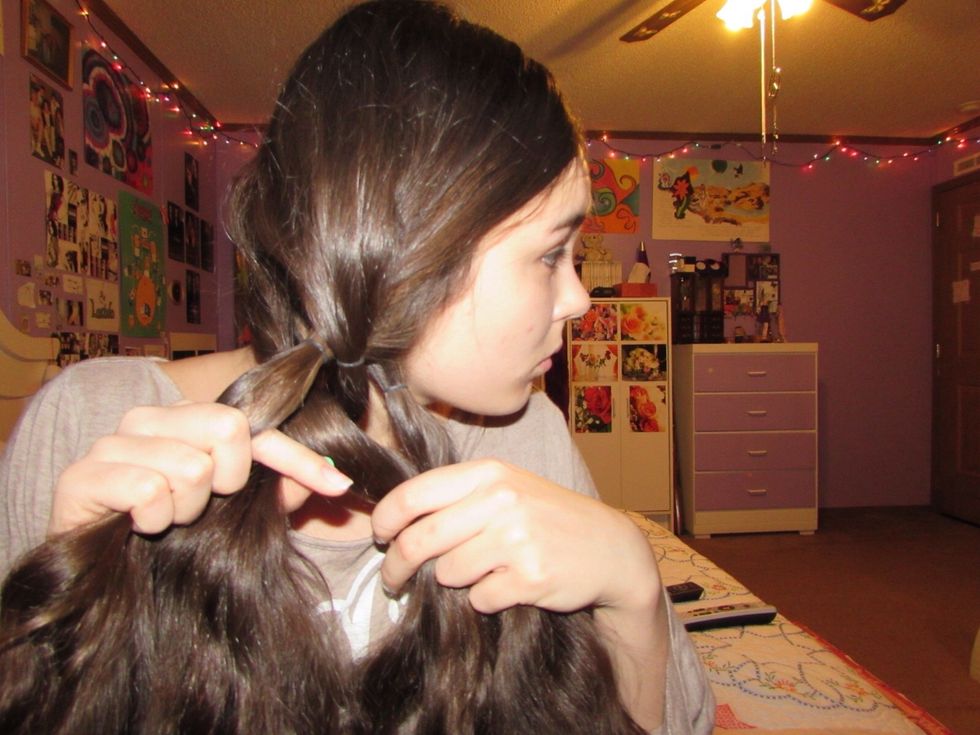
Then take the left-most section and cross it over the middle. Keep doing this until you reach the end of your hair or until you can not braid any longer and tie it off with an elastic or hair tie.
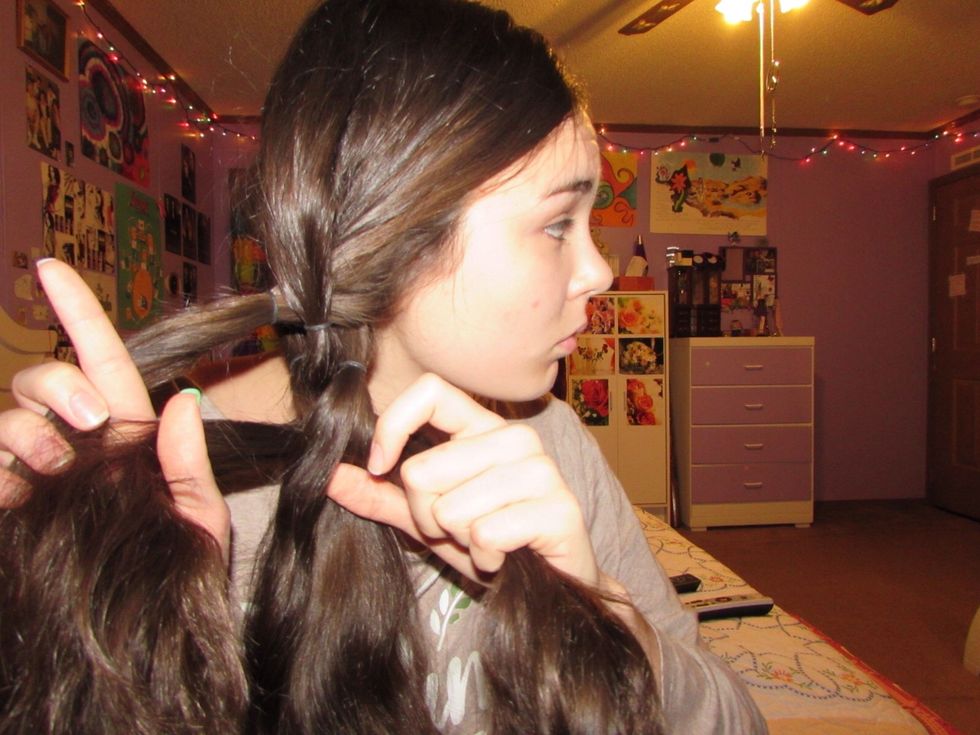
Finished braid numero uno!
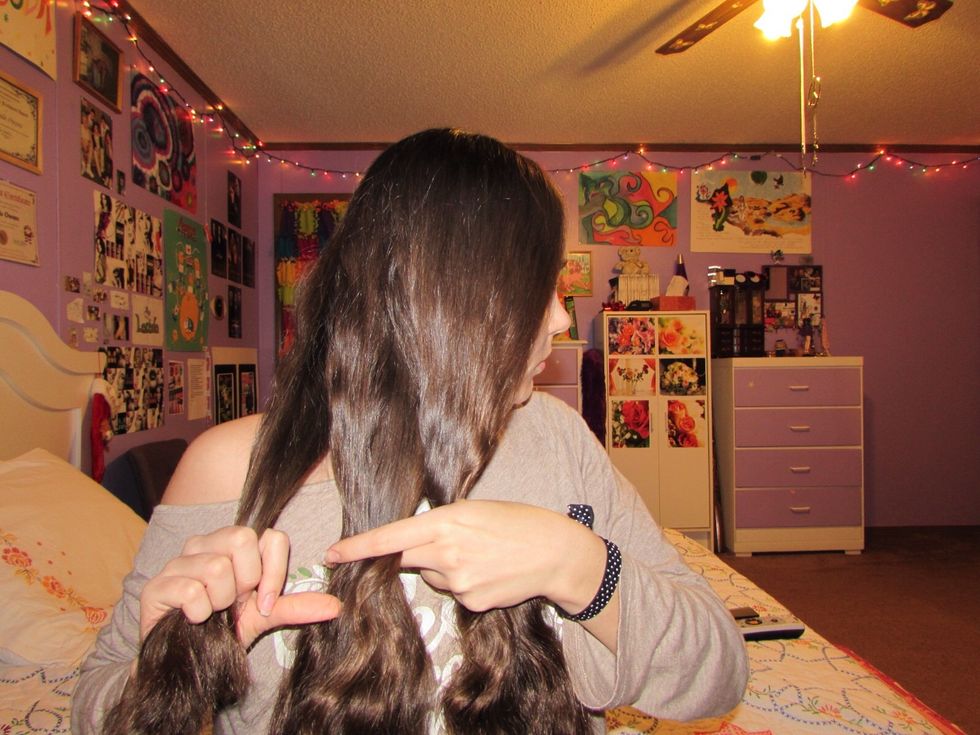
The Rope Braid

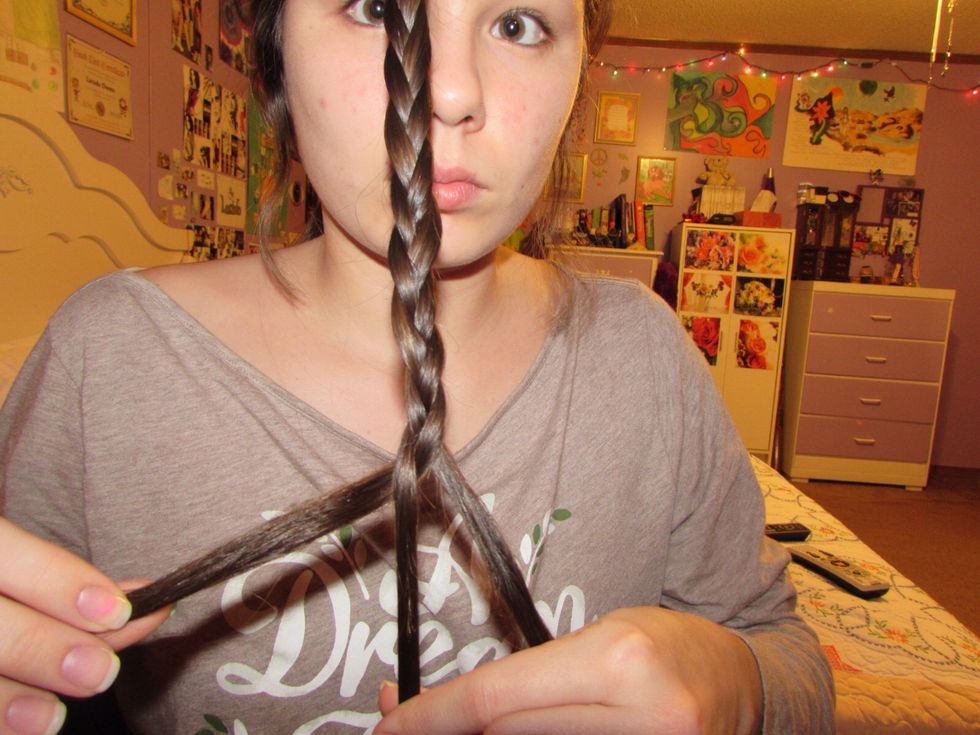
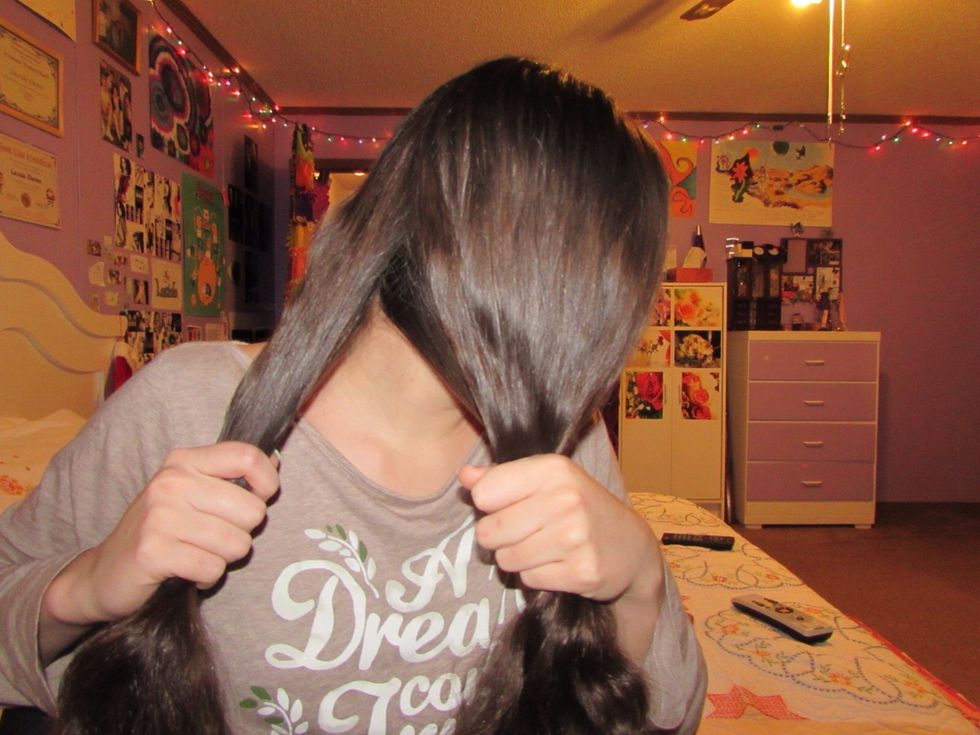
Start by splitting your hair into two equal parts.
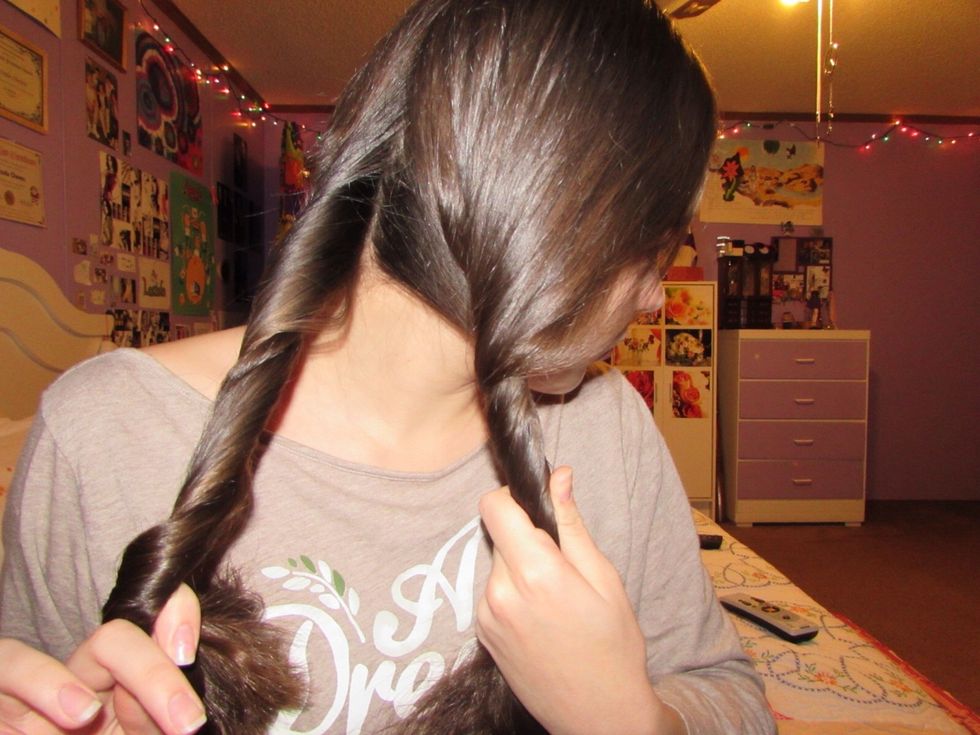
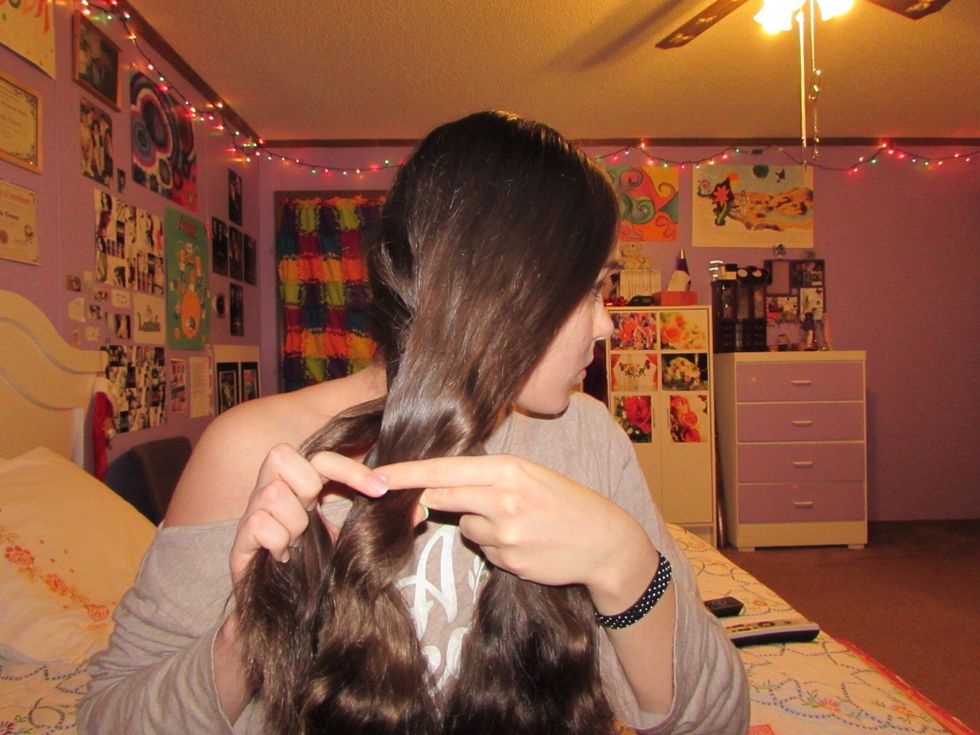
Twist both sections away from your face.
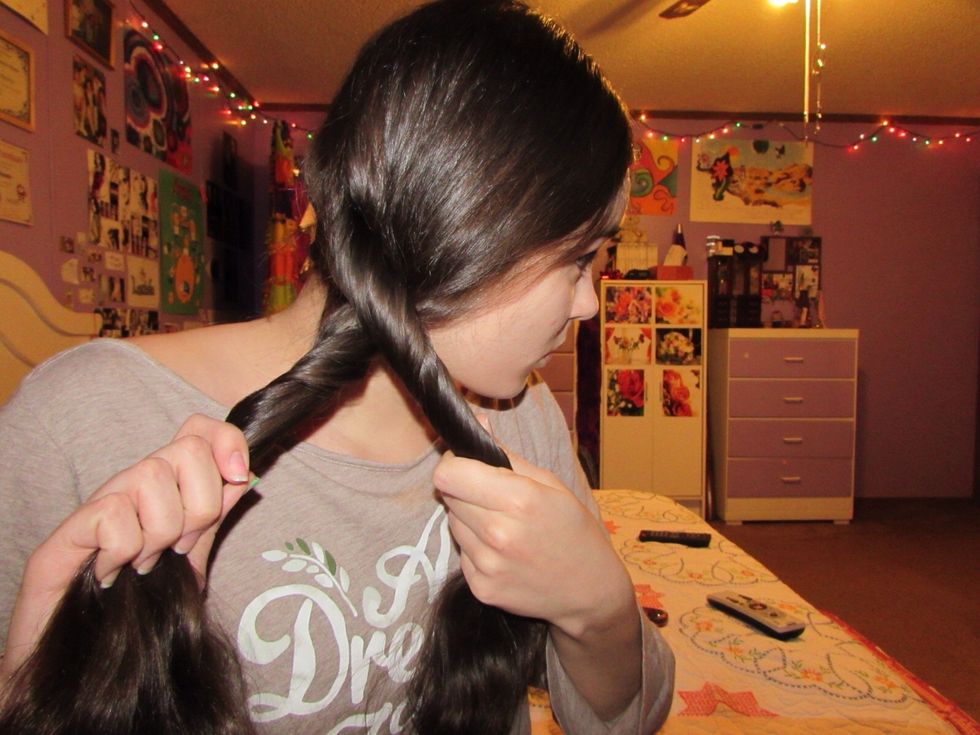
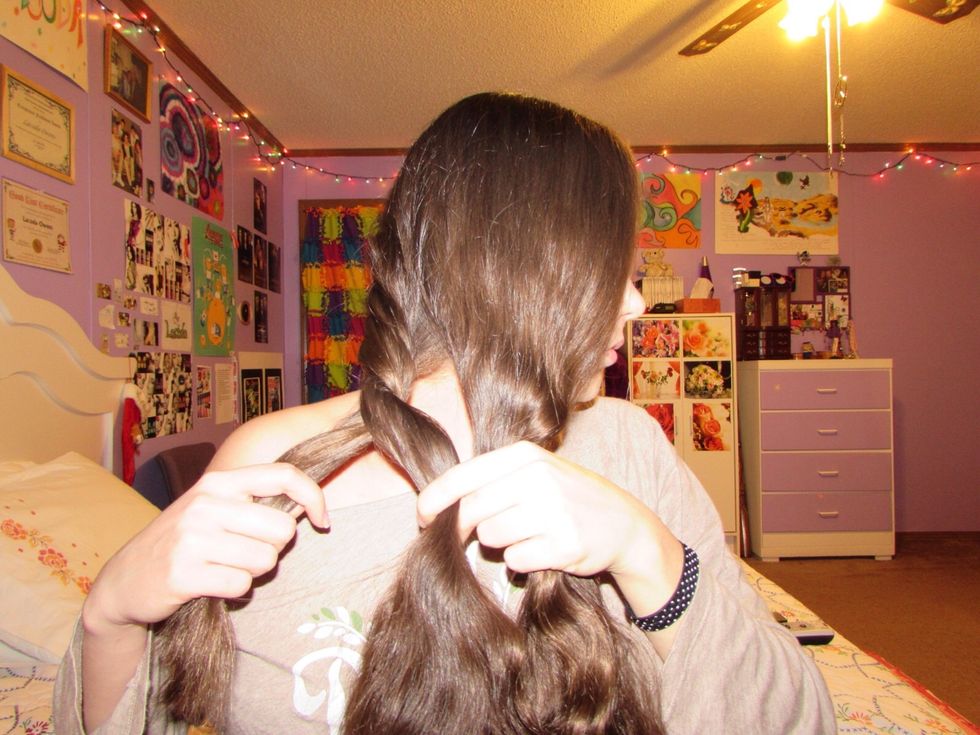
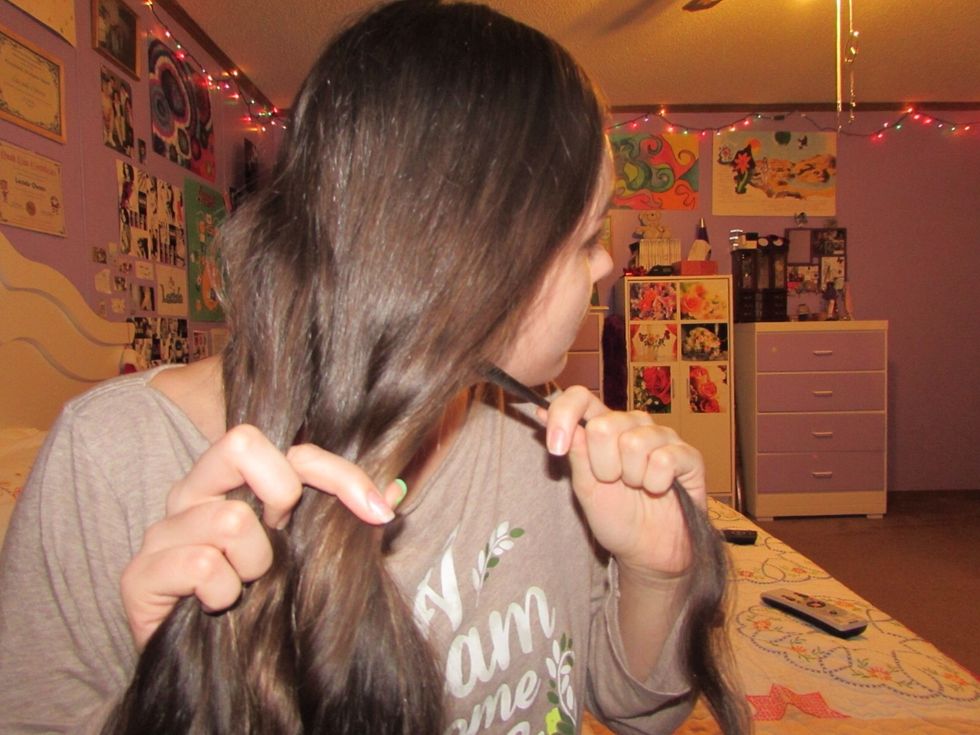
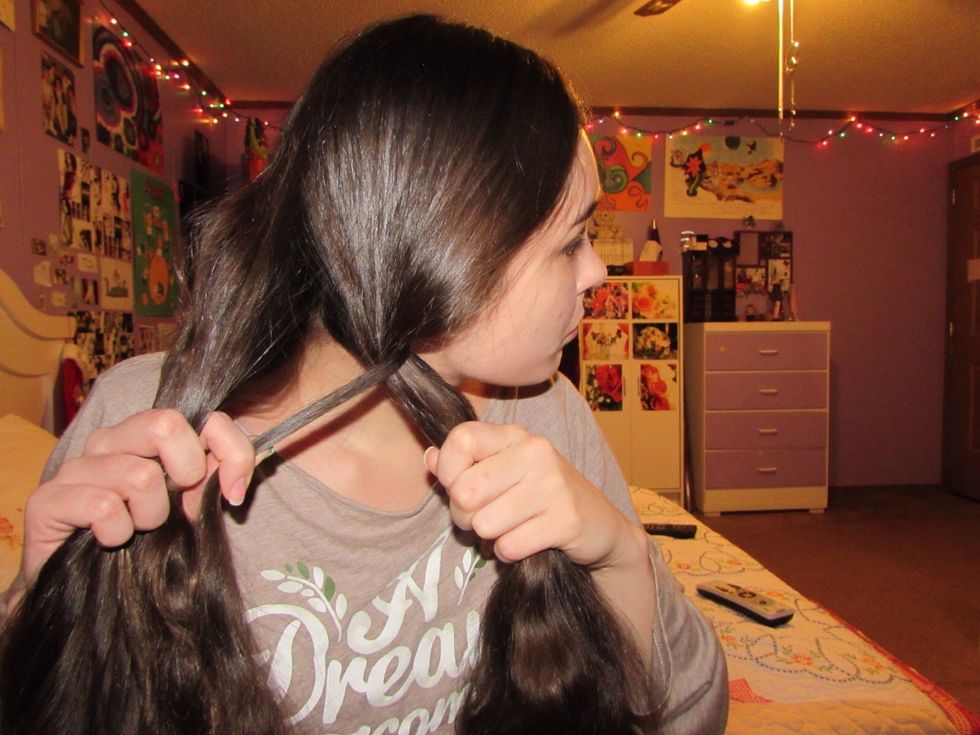
As you have your two sections twisted away from your face, twist them together towards your face. Twist away and together!
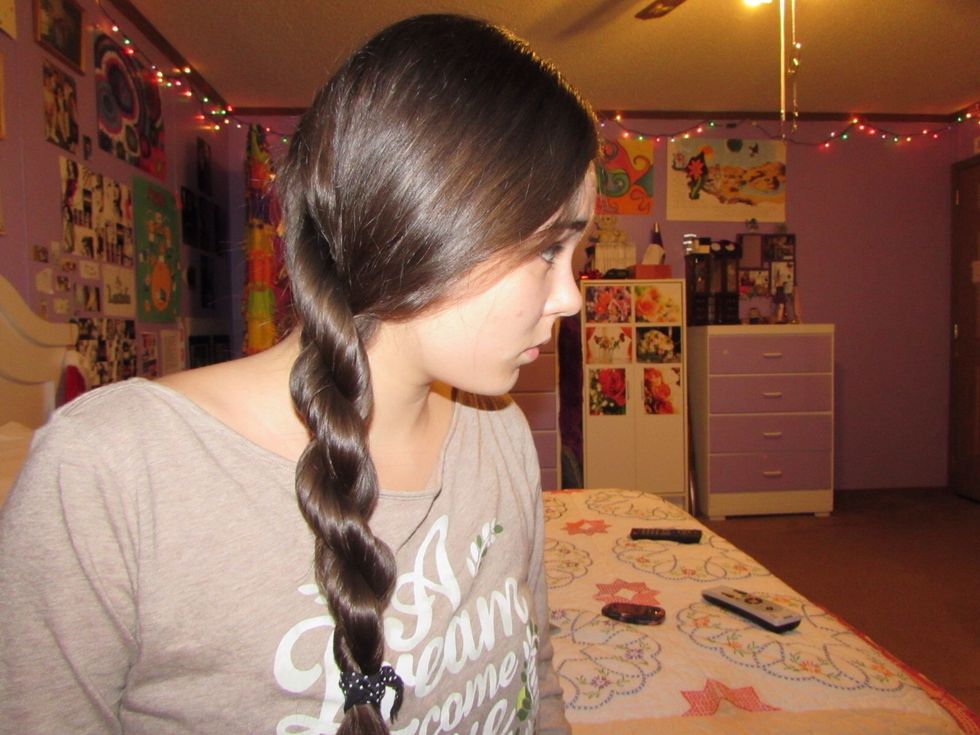
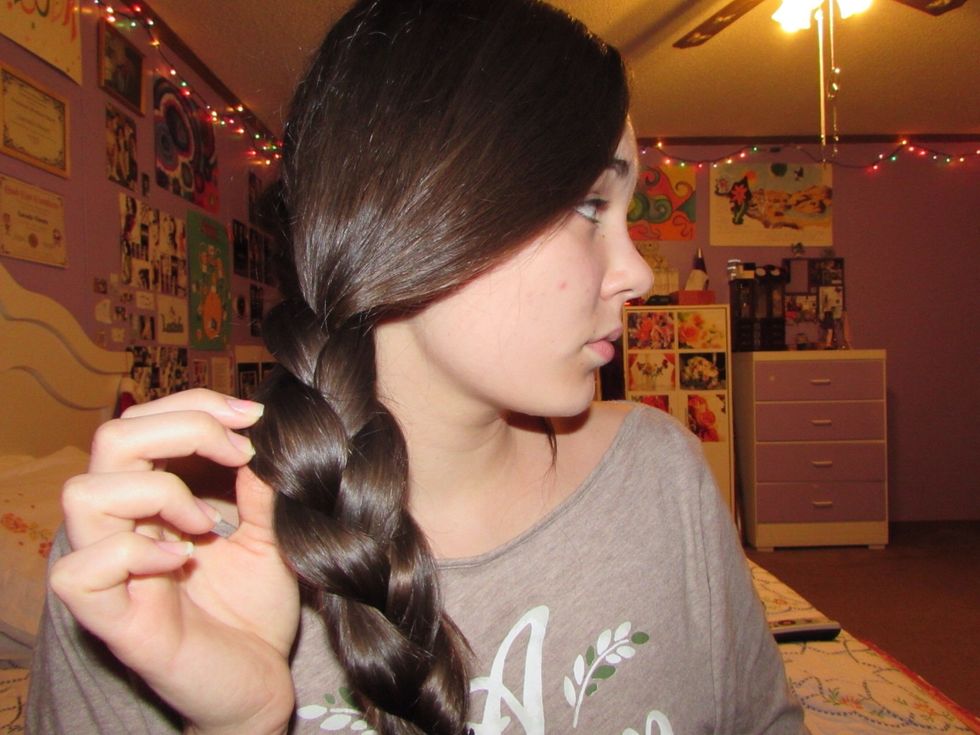
Ending the 2nd braid!
The 3 Strand Slide Up Braid
First start by braiding all the way down the length of your hair into a three strand braid. Don't make it super tight or extremely loose, keep the tension just right.
Once you have gotten down to the end where you can no longer braid anymore, hold two strands in one hand and one strand in the other.
Keep that one strand VERY tight. Hold on tight to the other two strands as you push them up the solo strand of hair.
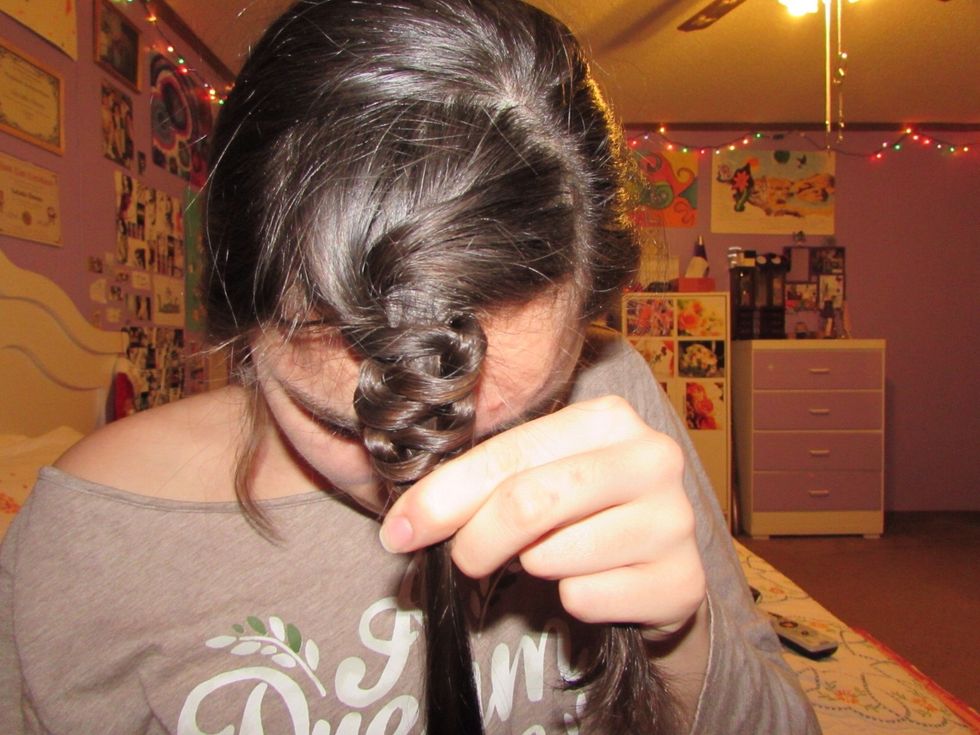
This is what your hair should look like once you have pushed the two strands all the way up to your head.
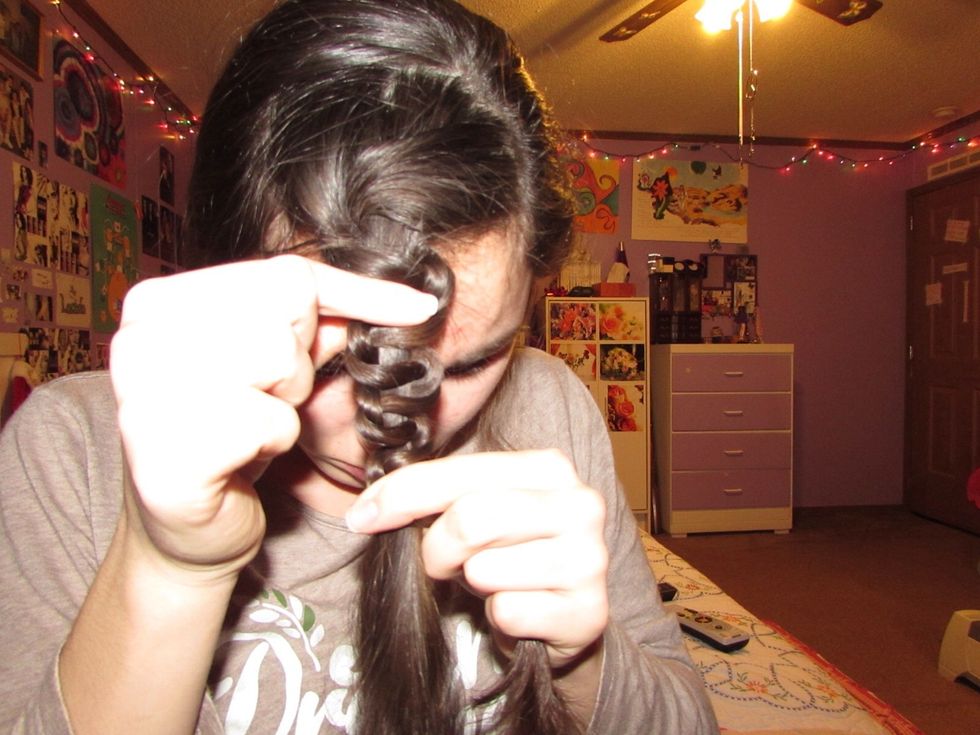
Slowly and carefully push and space out the braid. (This braid is also referred to as the Snake Braid) 🐍

This is what it should look like after you have spaced out the braid.
I pinned it back.
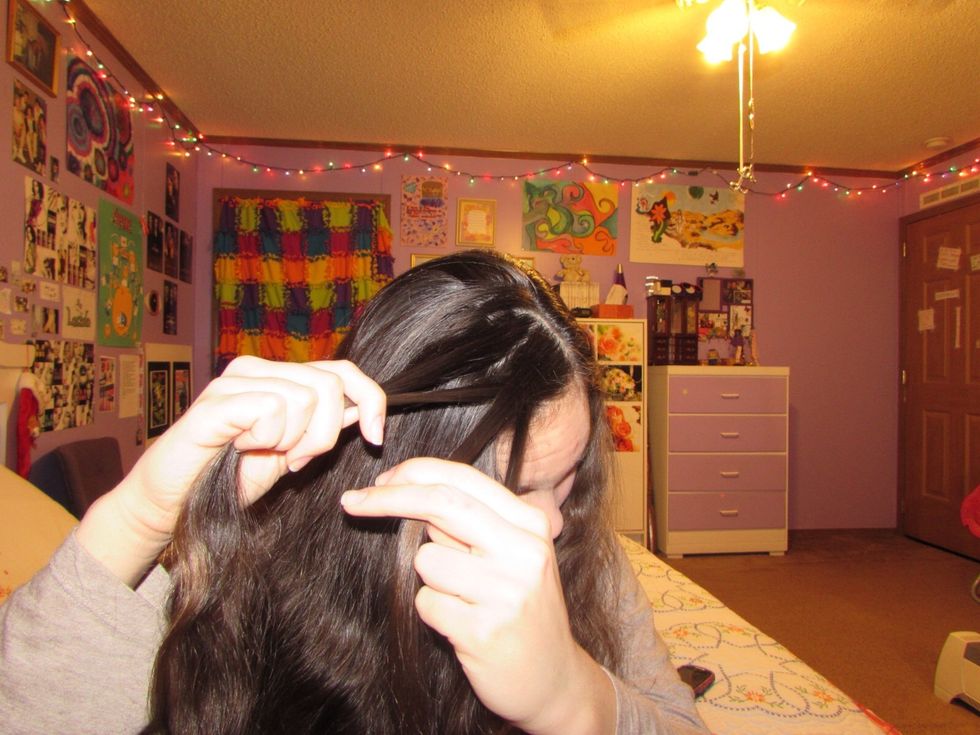
The French Braid
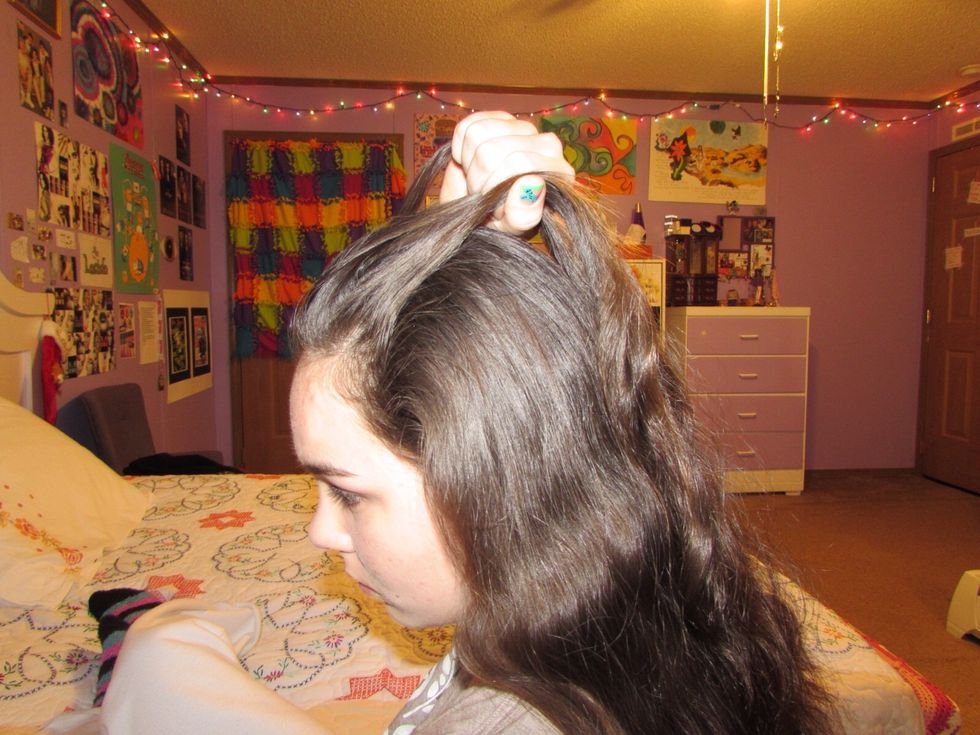
You can start this braid wherever you would like. Some people start this braid at the middle of their head and also close to their crown, but I like to start it where my fringe or bangs grow.
I split it into three equal sections.
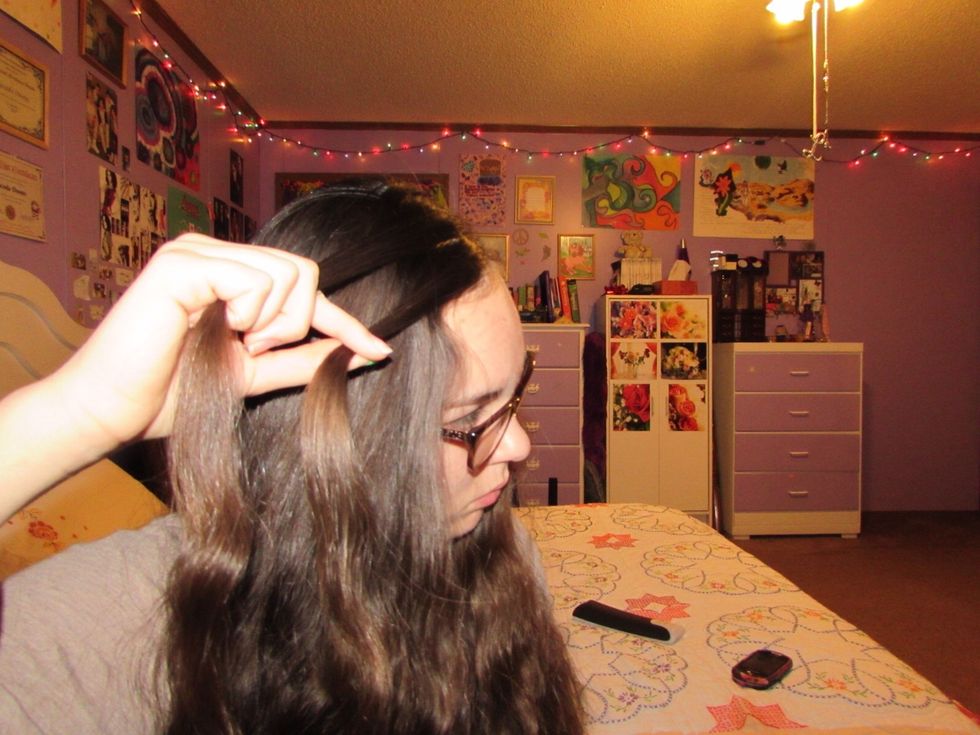
Take in hair from the left side. (I start on the left because I am left handed.)
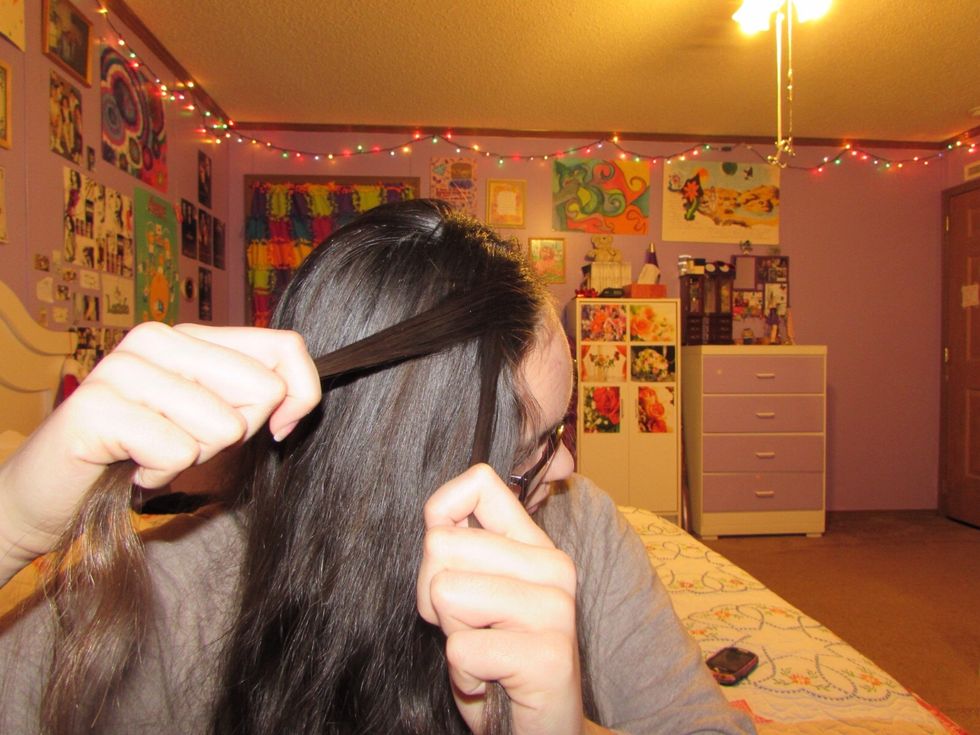
Take in hair from the right. Then what you want to do is, braid it like a three strand braid. After you have done that, grab hair from each side, and braid until you get down to your neck or continue.
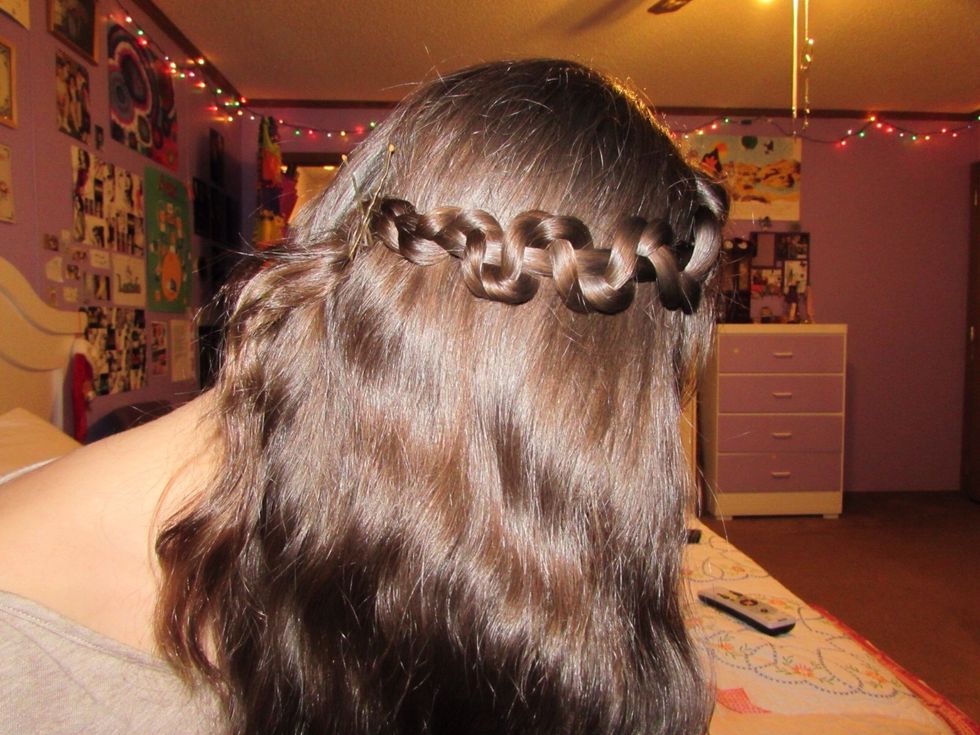
The end result of the 4th braid.
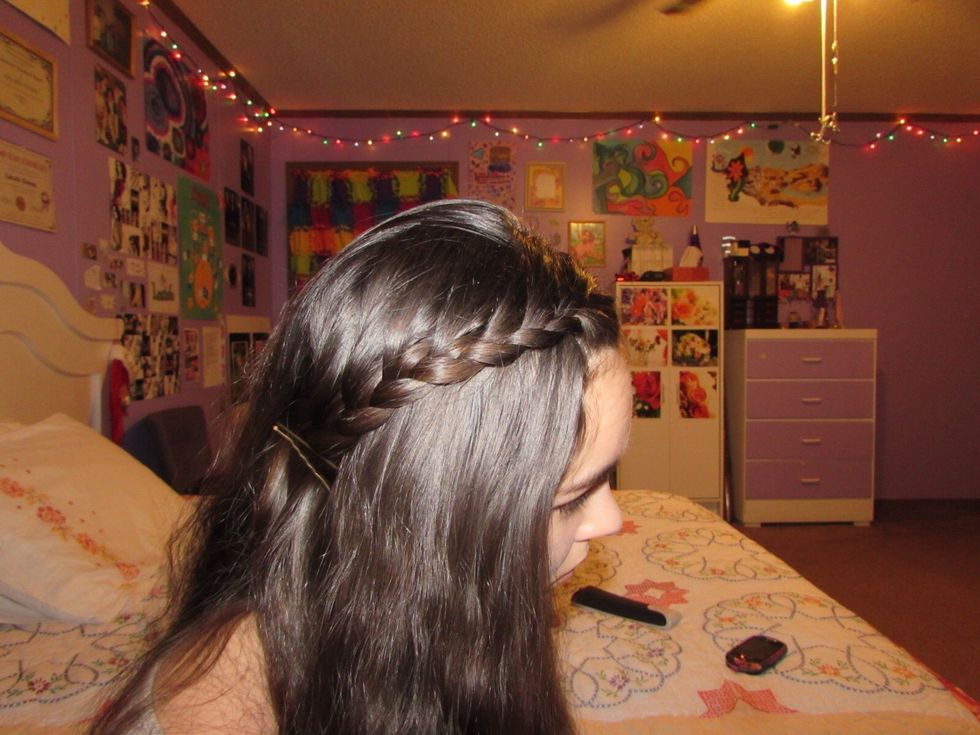
The Dutch Braid
The only difference between a French braid and a Dutch braid is that in a Dutch braid, instead of crossing the strands of hair over each other, you cross the strands under! This is my favorite!
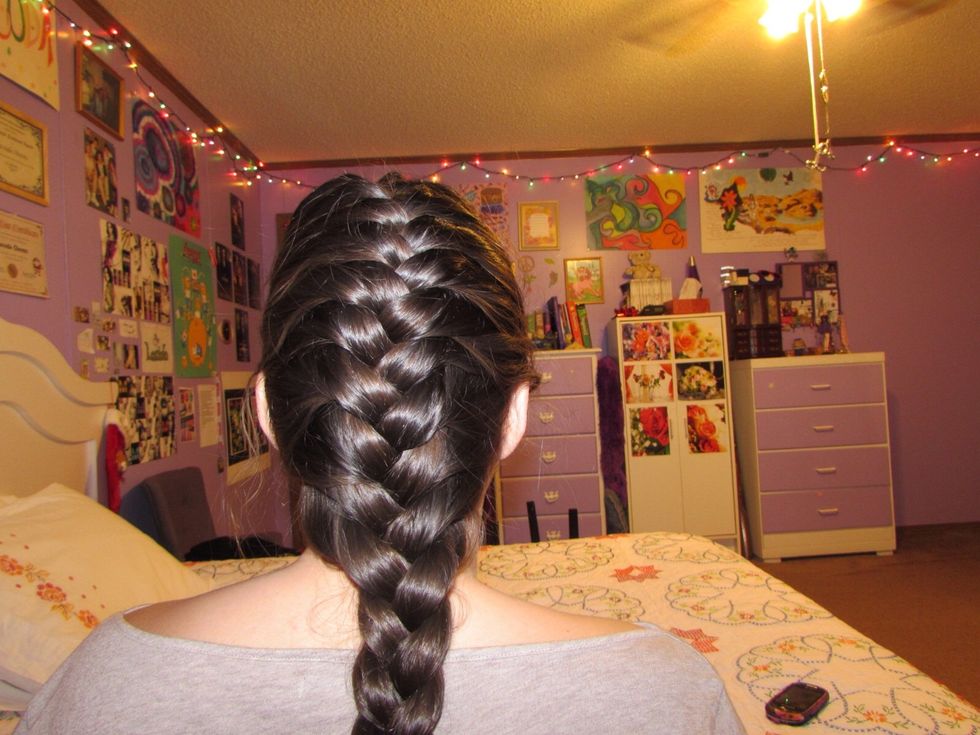
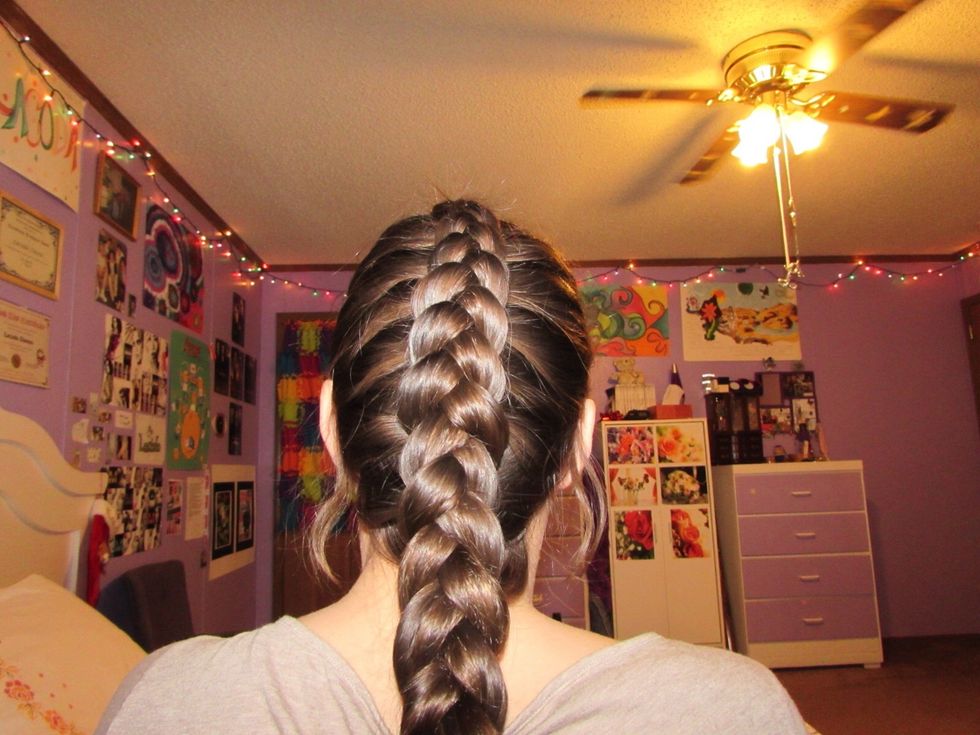
The 4 Strand Braid
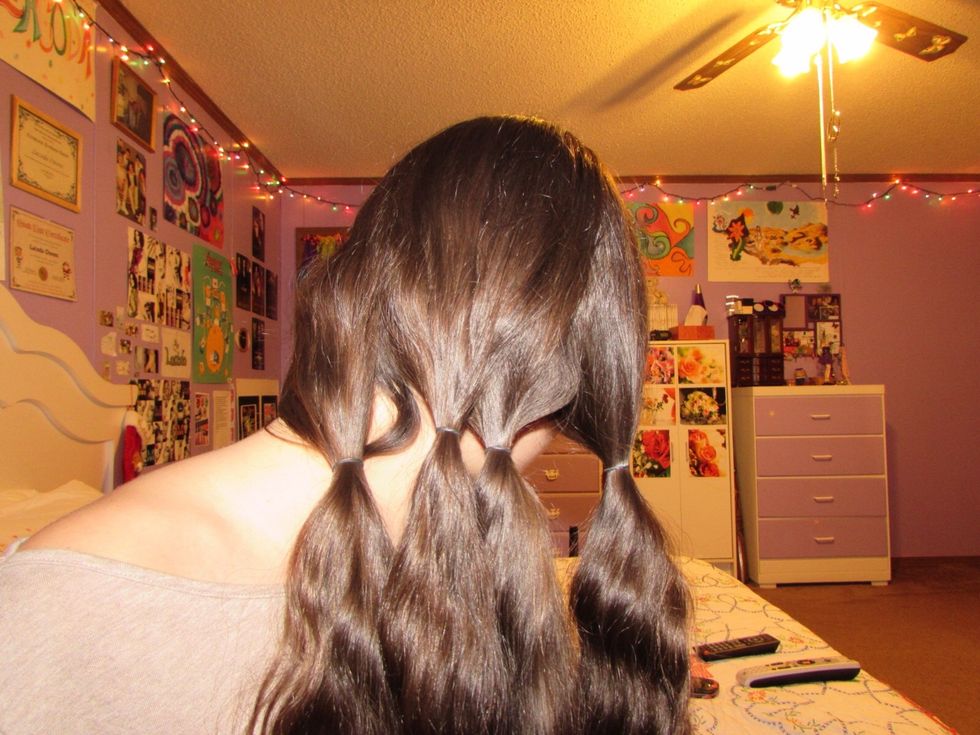
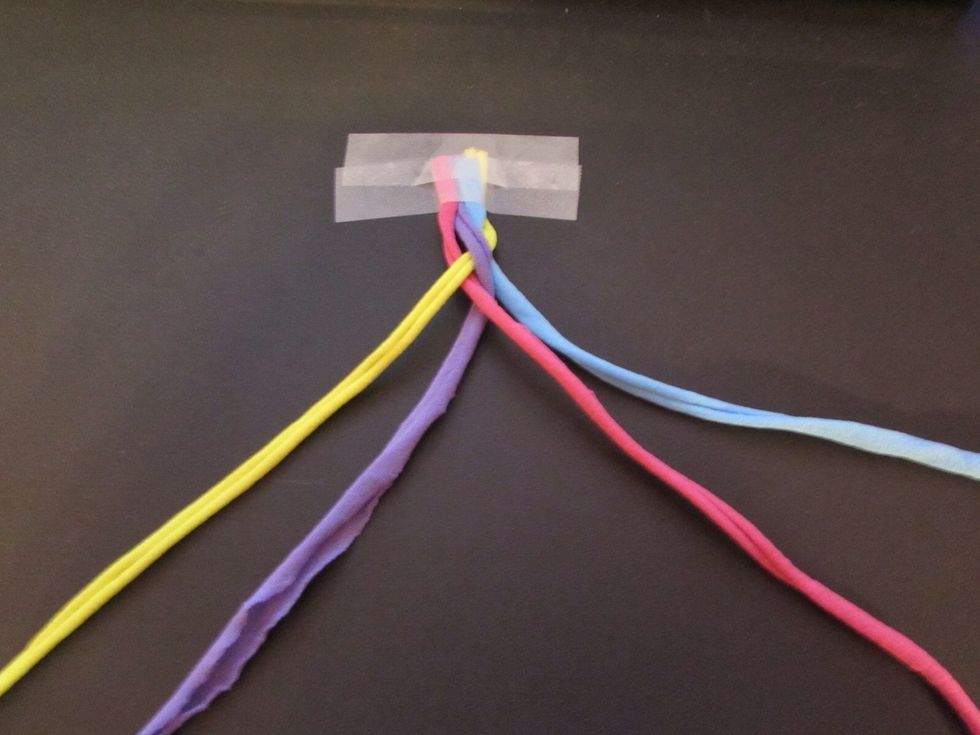
This is (to me) the hardest braid. Split your hair into four equal sections. I tied them off so they would be easier to see.
Ok this is the hard part. Take the right-most strand and place it over the strand on the right. So basically twist them. If that's confusing, let me know and I will do a guide specifically for this.
Take that strand and put it under the left-most inner strand. DO NOT TWIST!
Now take your left-most strand and place it underneath the strand closest to it. (Inner left)
This looks like a jumbled up mess so if you still are stuck hopefully these next steps will help you...
To make this braid easier to understand, I'm adding in some of these colorful strands I had to demonstrate, so it will be a little easier.
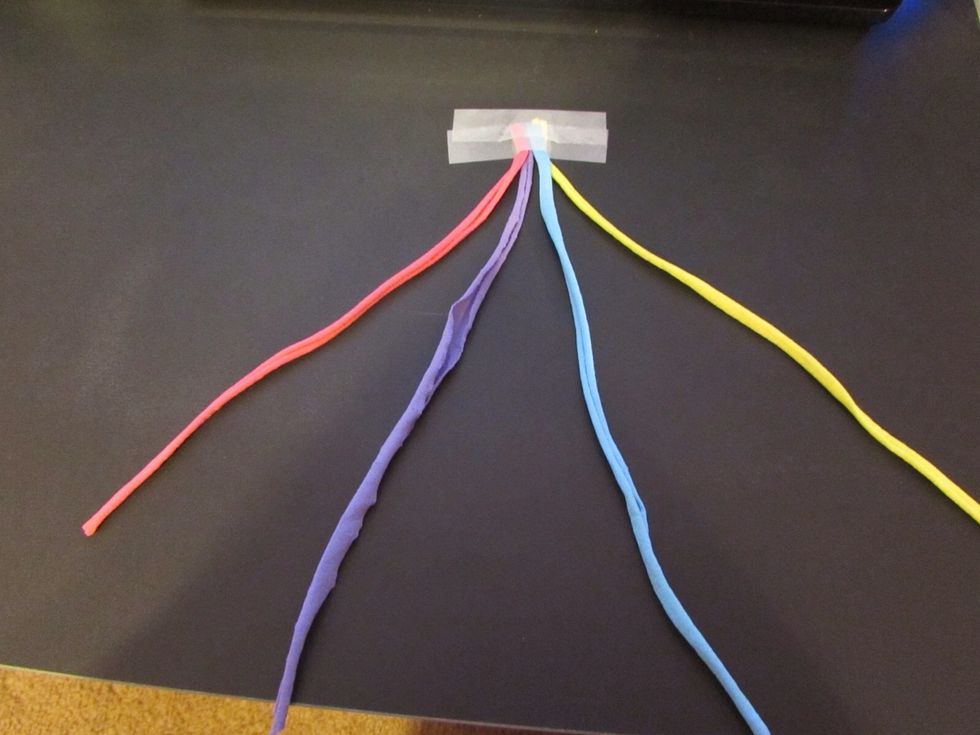
This is just for at first when I am explaining. •PINK=LEFT-MOST STRAND •PURPLE=INNER LEFT STRAND •BLUE=INNER RIGHT STRAND •YELLOW=RIGHT-MOST STRAND
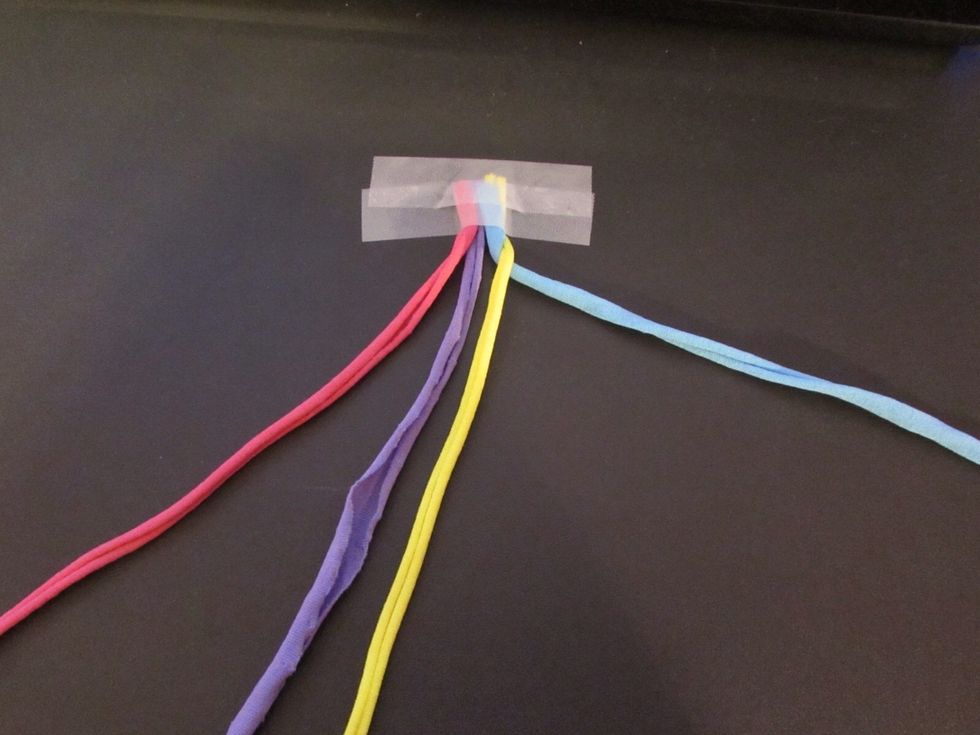
So take the YELLOW and place it over the BLUE.
Now place the PURPLE over the YELLOW.
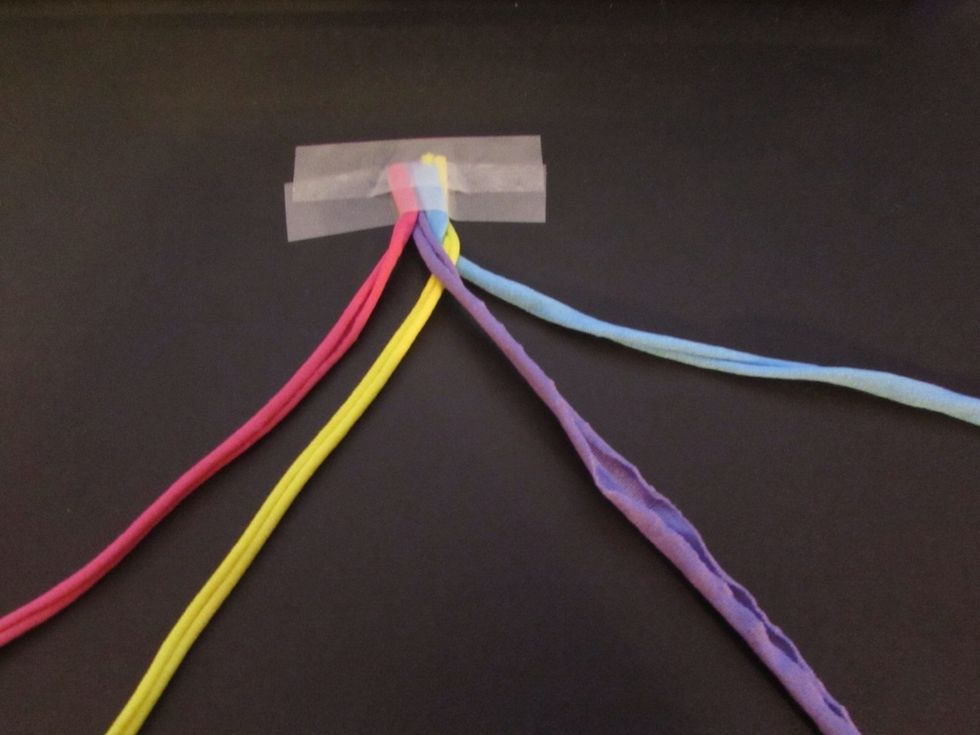
Take the PINK and put it under the YELLOW.
Put the PINK over the PURPLE.
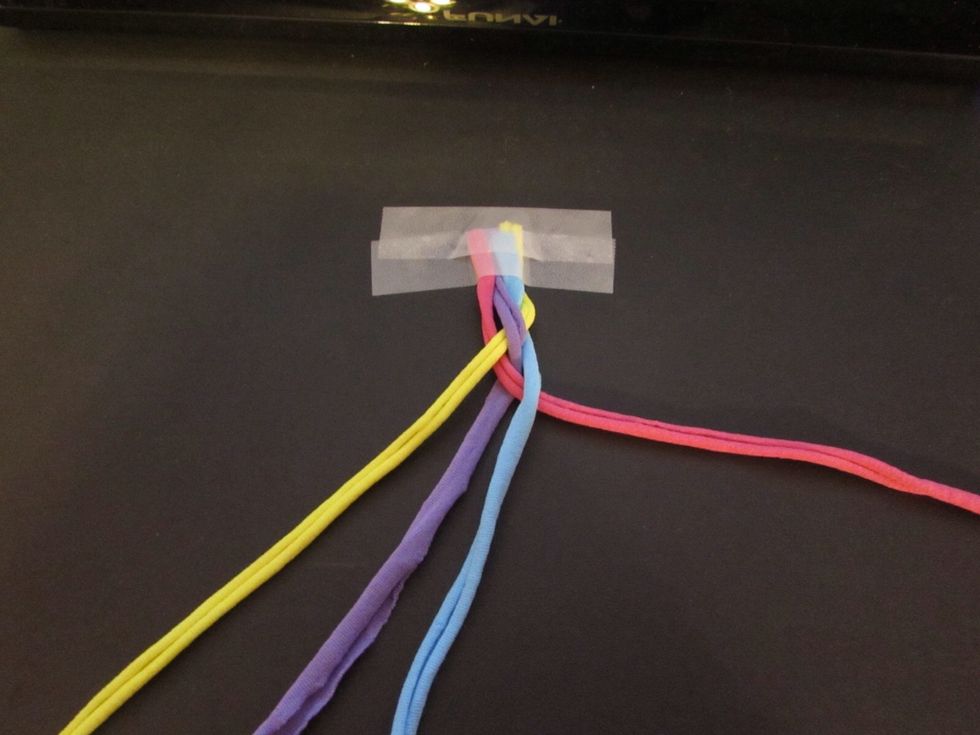
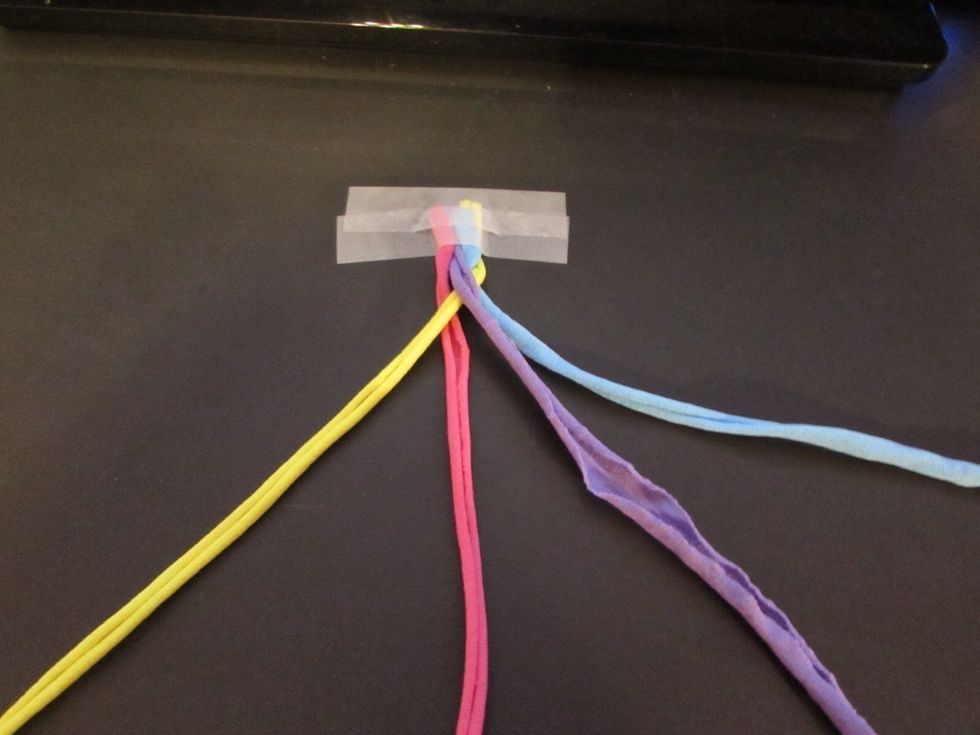
Finally place the BLUE over the PINK.
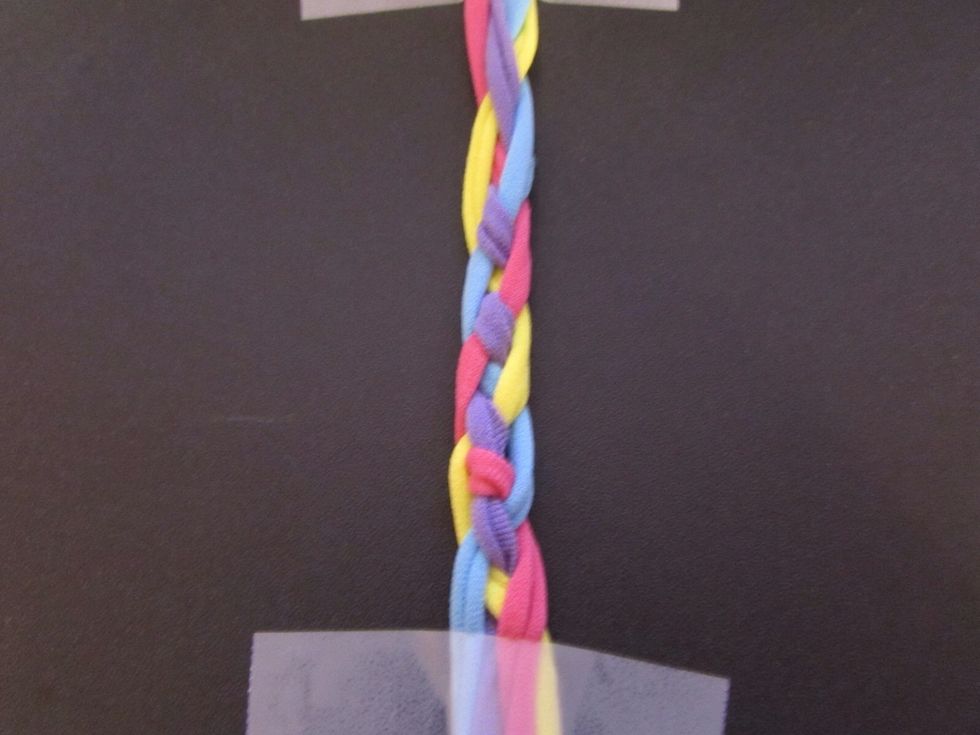
Reapeat these steps until it looks like this. The hair will have the same look as the colorful strands. When braiding this, it is just like weaving. When you get to the sides or ends, you just switch.
Again if anyone and I mean anyone, because this braid IS very confusing, I will create a guide just for this braid. Just let me know in the comments if you want a guide!
The Lace Braid
Start by sectioning off three strands of equally proportioned hair.
Three strand braid ONCE!
Now, only take in hair from the top! That is all you will do for this braid! After you add in hair three strand braid ONCE, and then repeat the process.
The French Twist Braid
Begin with two equal strands of hair.
Twist the two away from your face. This braid is very similar to the lace braid because you only add in hair from the top. Twist then add. Twist then add. EASY PEASY!
Dunskies!
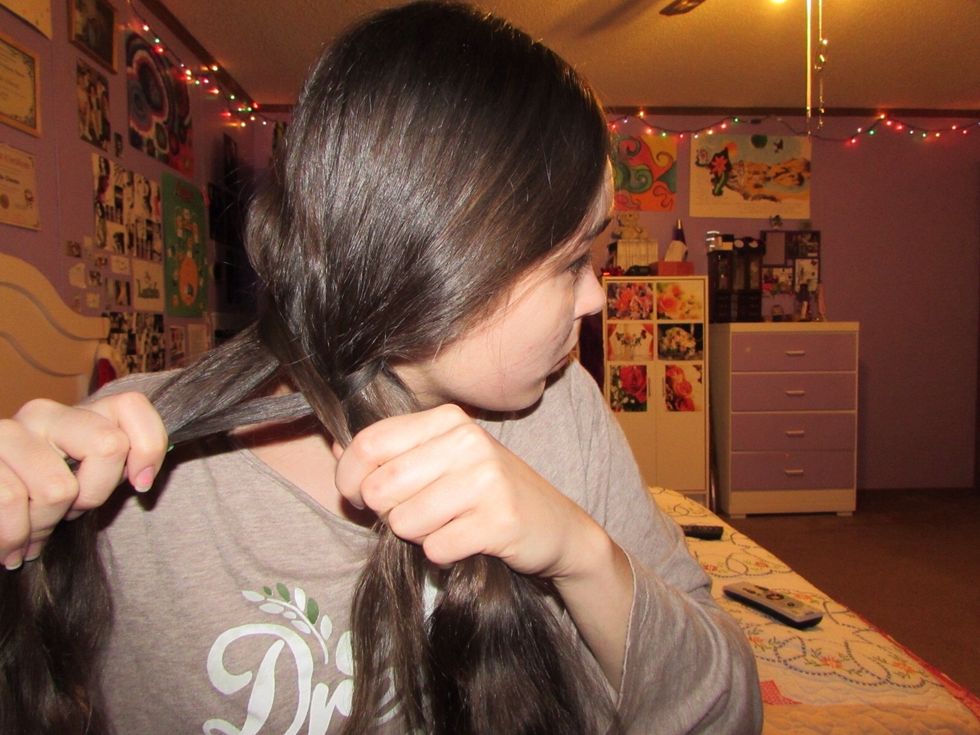
The Fishtail Braid
Split your hair in half!
Take a SMALL strand of hair out from behind the right-most side. Once you have done that, take the strand and cross it over to the other half of your hair.
Showing how to do it... 😗😗😗
Now just like on the right side, take a SMALL strand of hair from behind your left half of hair and cross it over to the right side. Repeat this until you reach the end of your hair.
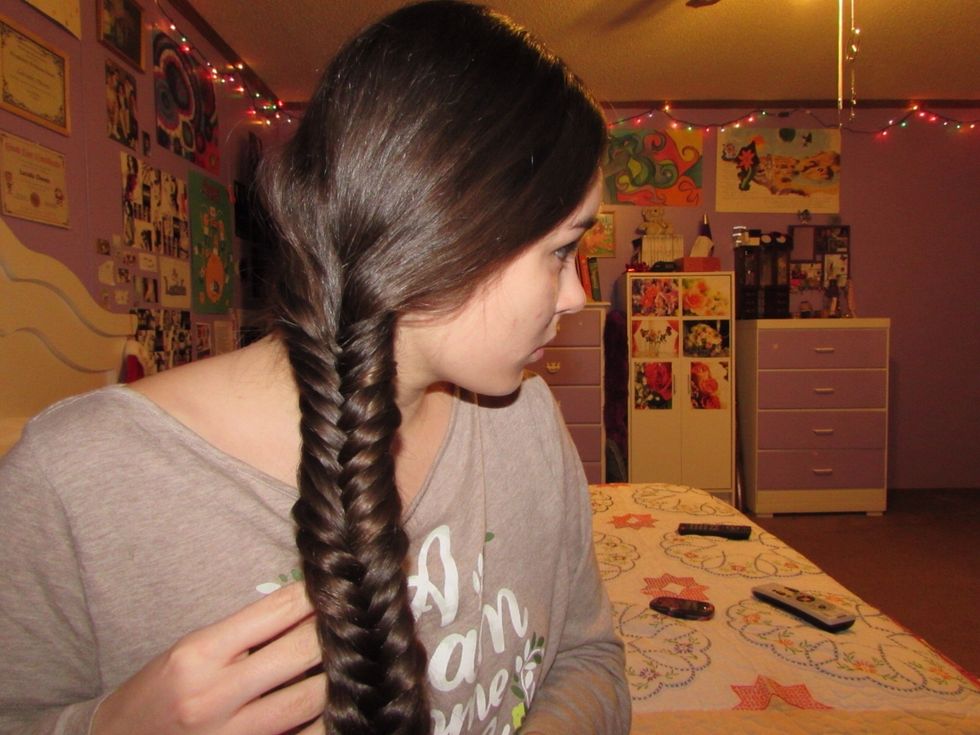
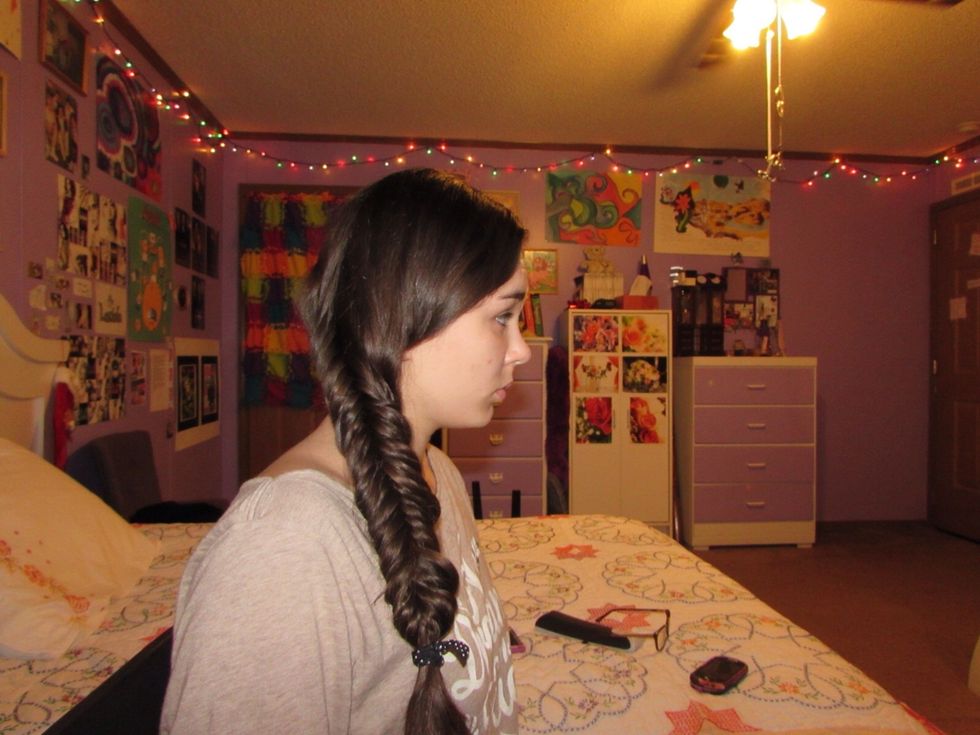
The end result of a fishtail braid.
The Inverse Fishtail Braid
The only difference between a normal fishtail braid and an inverse is that instead of taking the strands out from behind, you take the strands from the front and cross them behind.
I also consider this a difficult braid. If you want a guide, please comment and I will be sure to make one!

This is my hair in a Dutch braid. Like I said, it is my very favorite. Thank you sooo much for taking a peeksies at my guide. It took soo long to make but I enjoyed it.

I love getting requests! So please message me, that is if you want to request anything! Subscribe, HEART THIS, comment and REQUEST! Have an awesome day and stay out of trouble, ya hoolagin!! Byee😊👋