The Conversation (0)
Sign Up
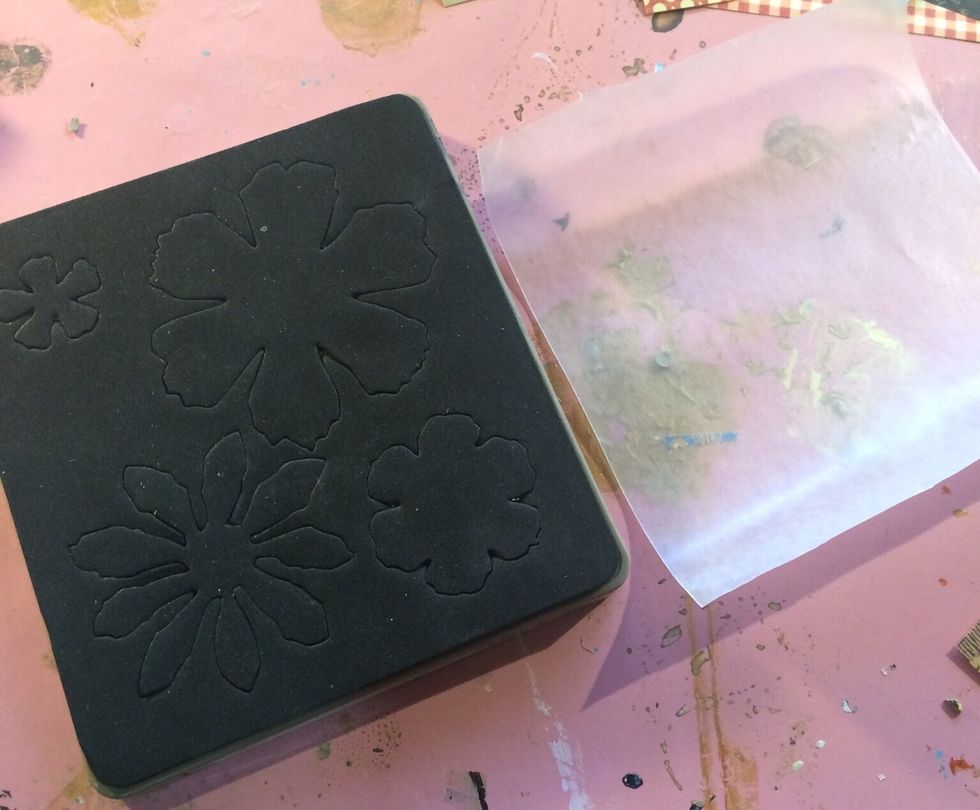
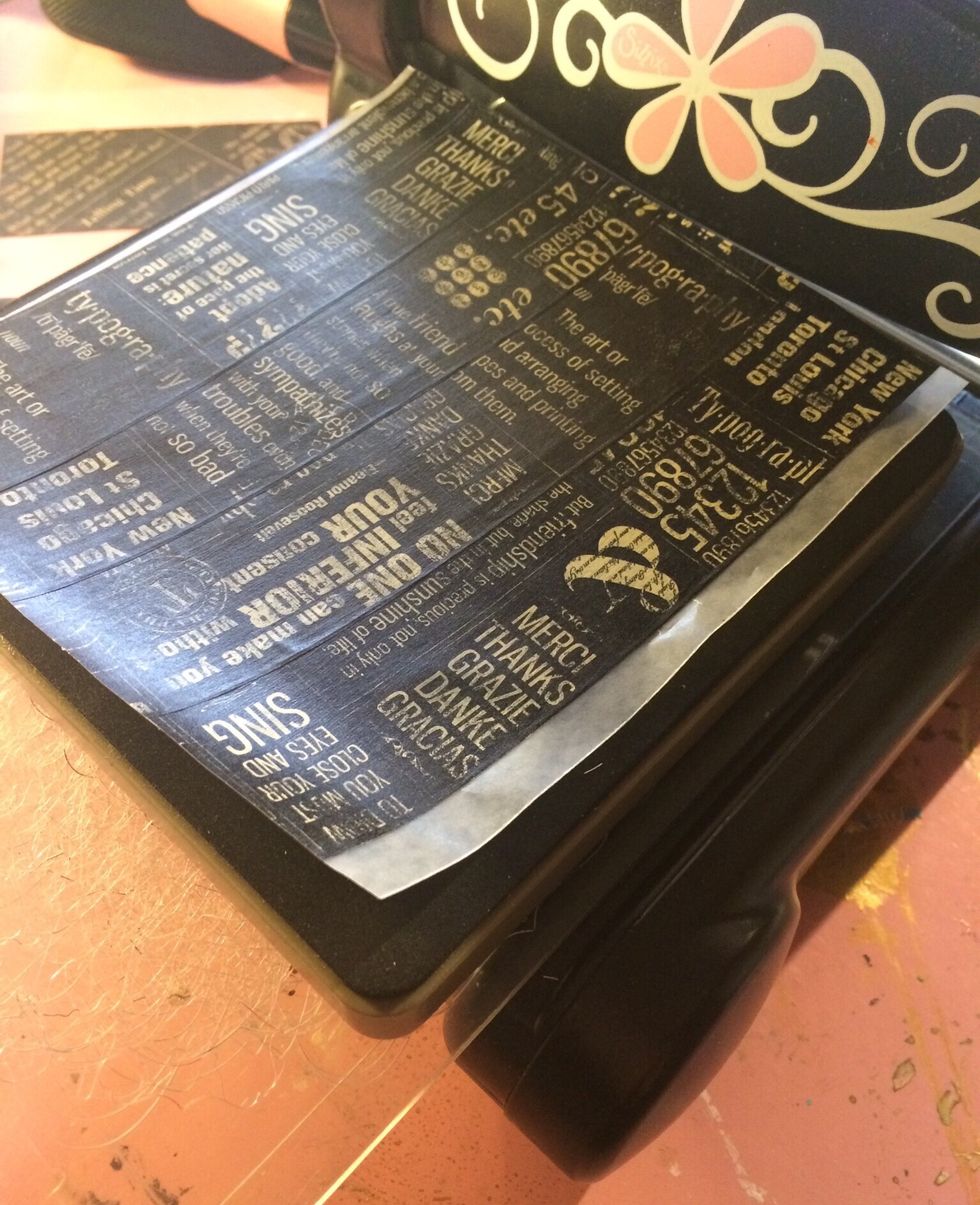
Grab your supplies! Cut your wax paper to approximately the size of your die of choice.
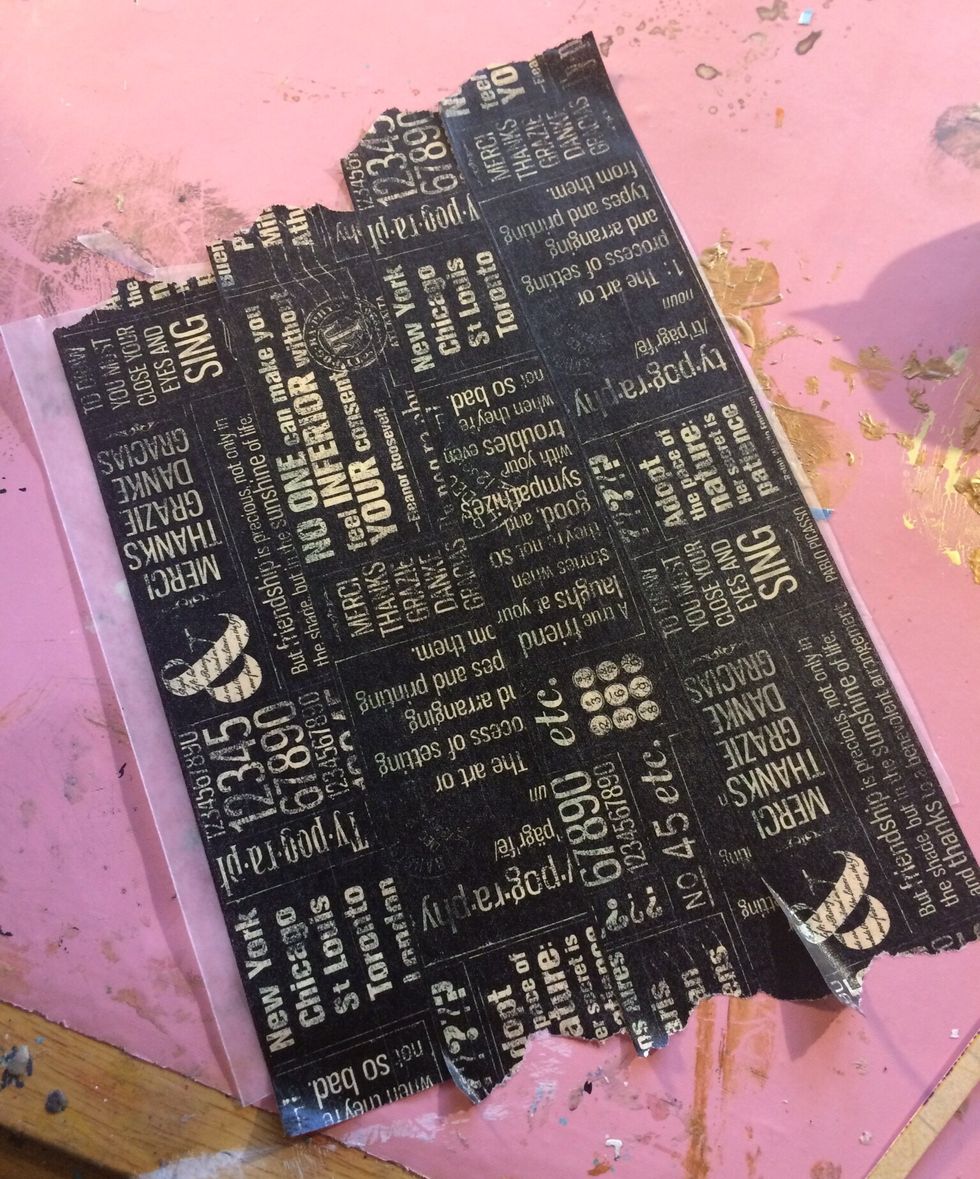
Layer your Washi Tape over your wax paper, making sure to overlap the the strips slightly.
Trim the edges to keep it from getting stuck in your die cut machine.
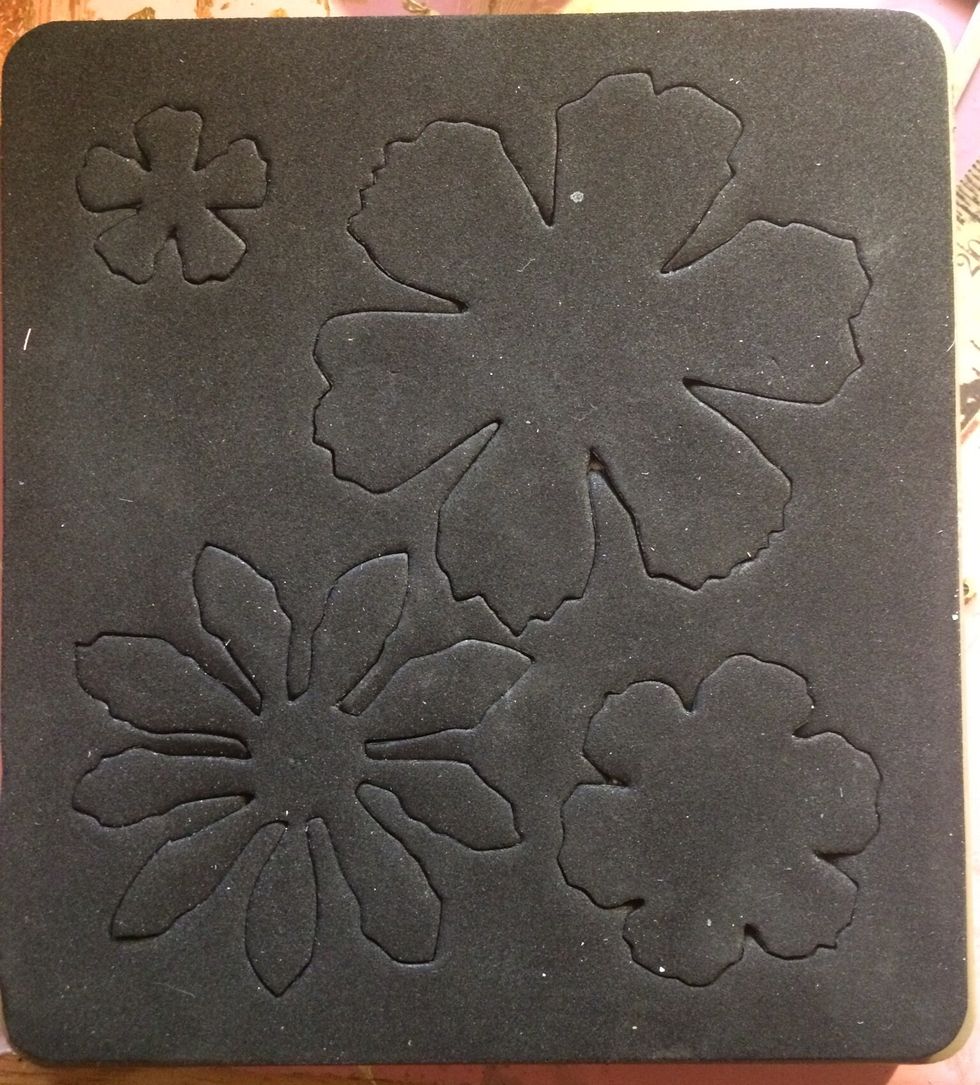
I am using this Tattered Florals Die from Tim Holtz by Sizzix. I have only tried this technique using a foam based die (as opposed to an all metal wafer die.)
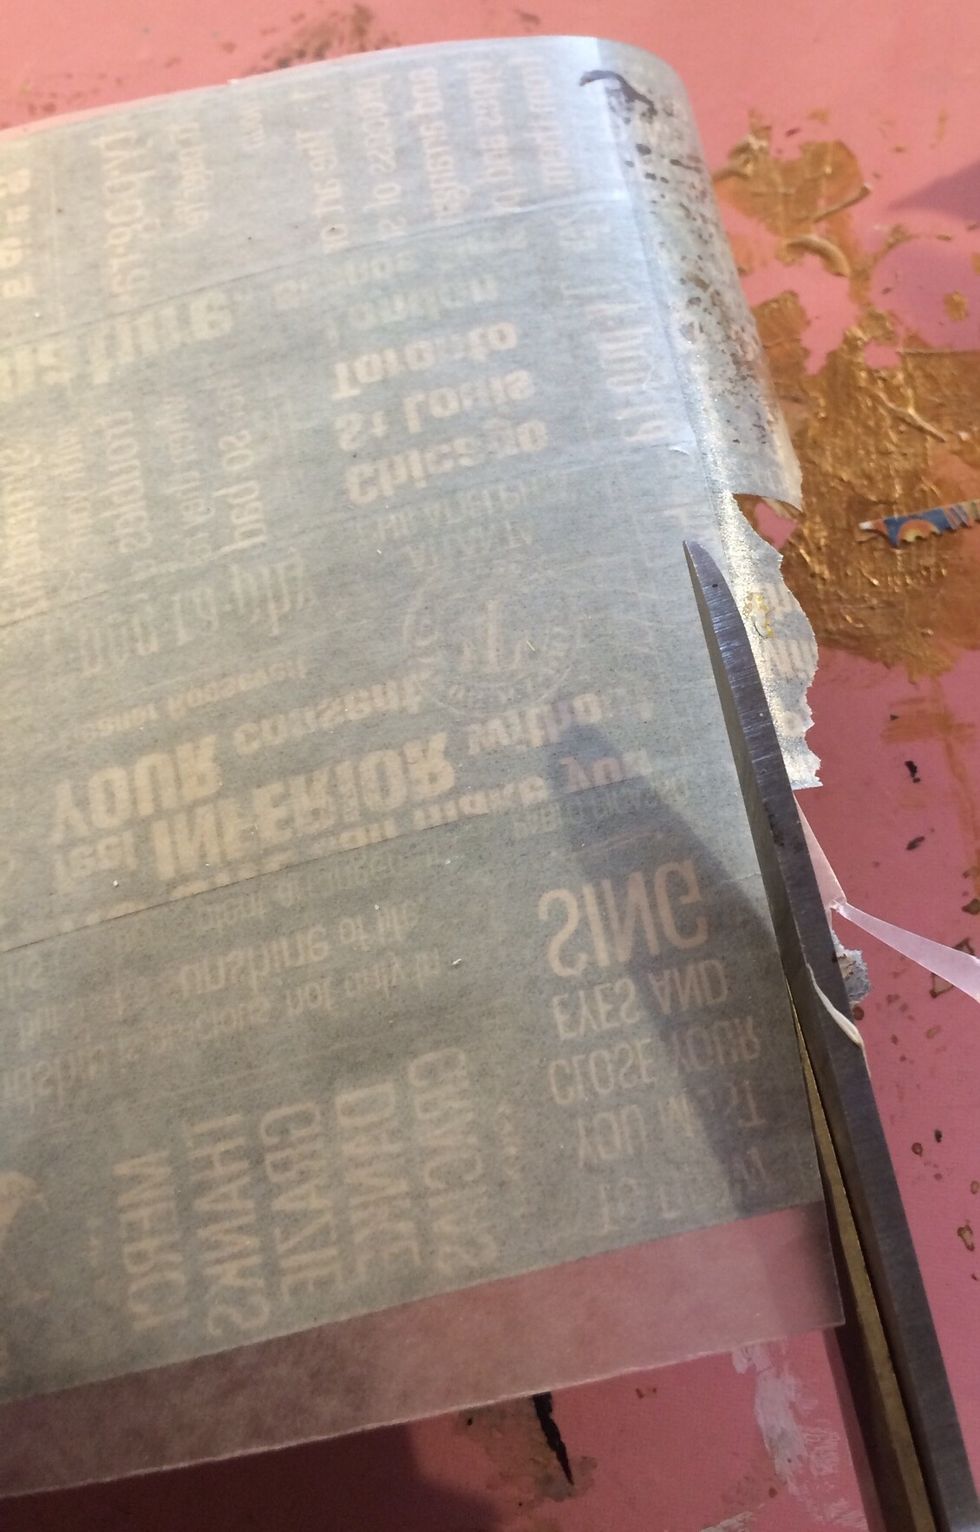
Sandwich your die and Washi "paper" according to your die-cutting machine instructions.

To apply, simply peel back your wax paper and voila! You have a sticker!
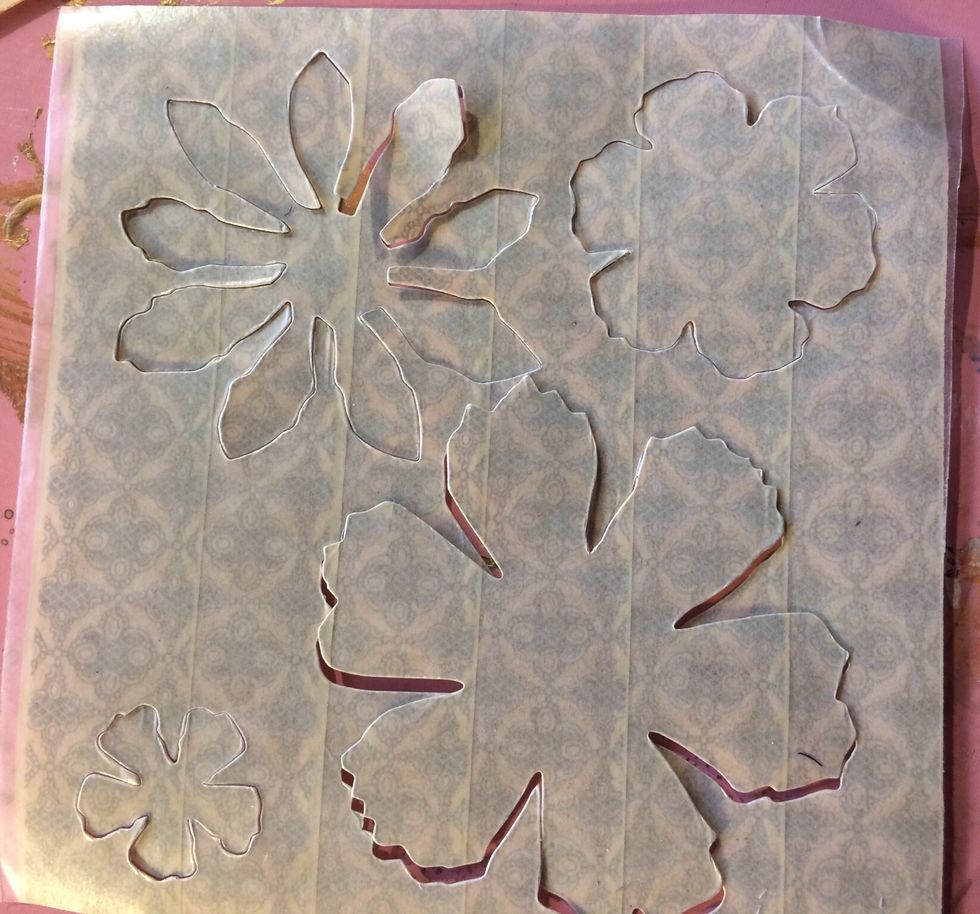
Your "paper" will look like this on the back.
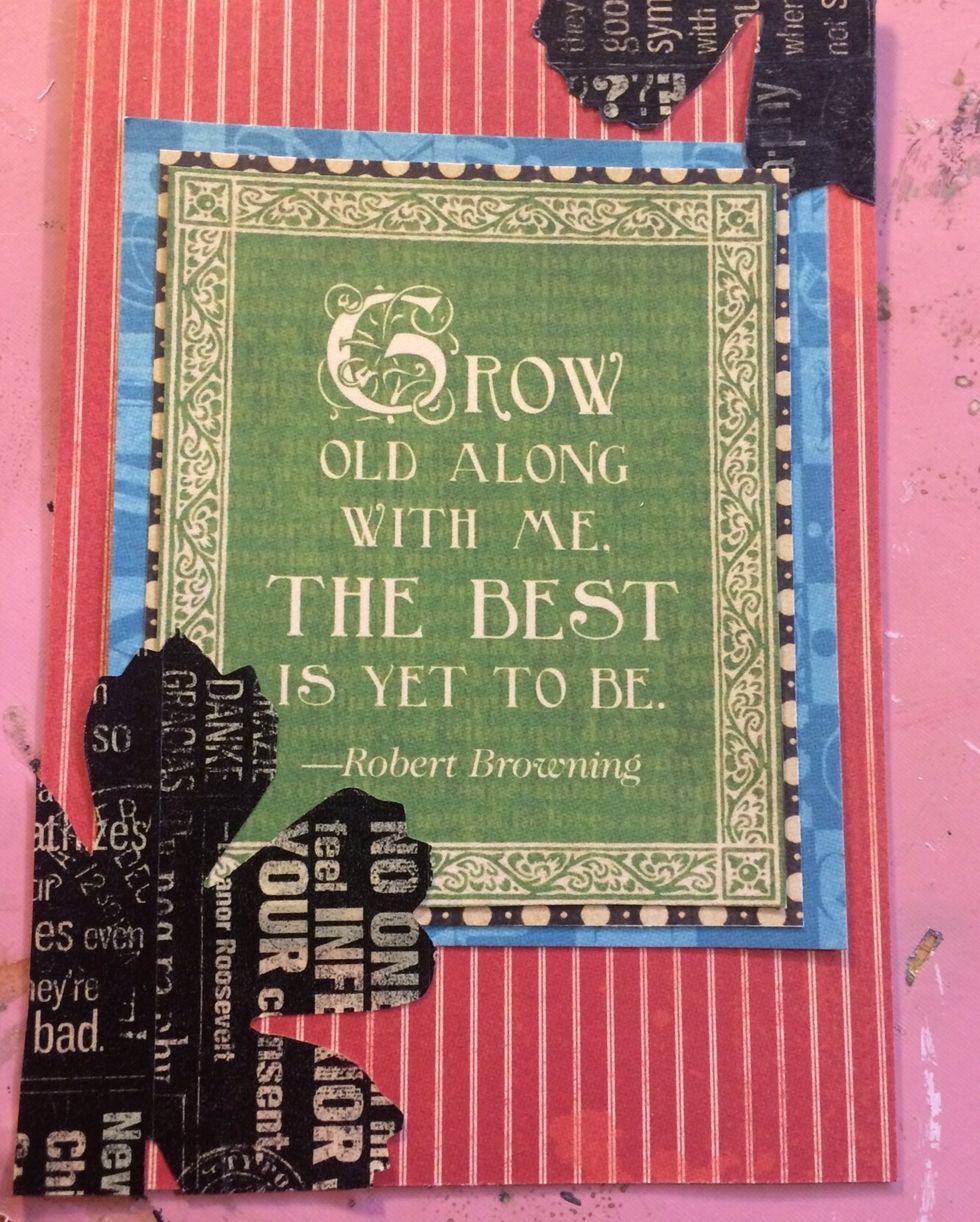
Apply like you would any other sticker and enjoy!