The Conversation (0)
Sign Up

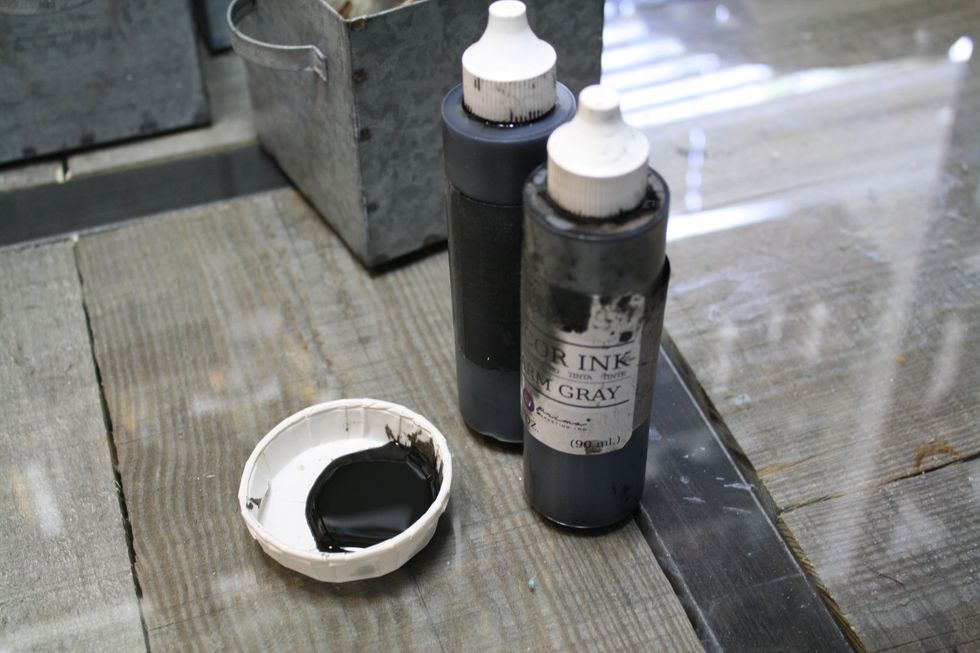
I will be transforming this storage unit using the amazing new IOD/ Prima DIY range of products. The roller stamps ( Iron Gate) , along with the Decor Inks, Molds, Clay, and stamp sets.
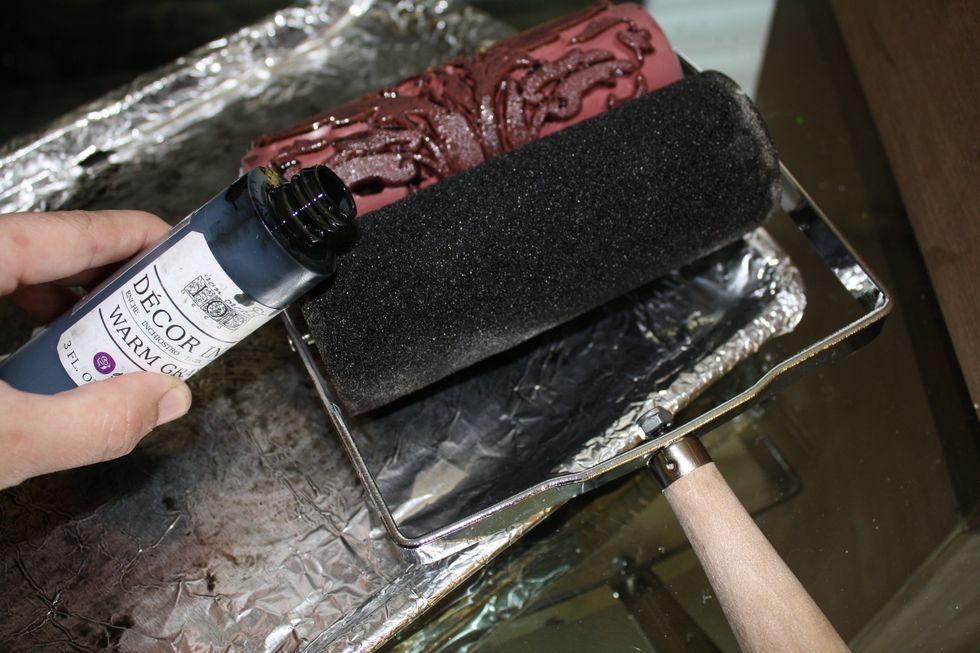
First step is just to add the Warm Gray Ink to the sponge section of your Roller Stamp. This is a very smooth ink that will stretch a long ways. So just make sure the sponge is covered, not saturated.
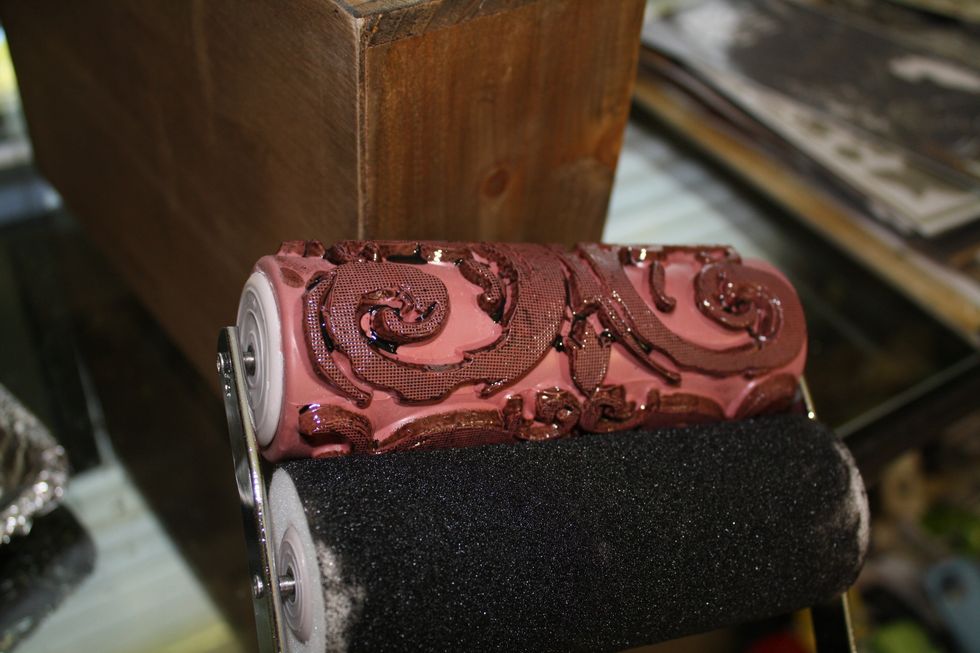
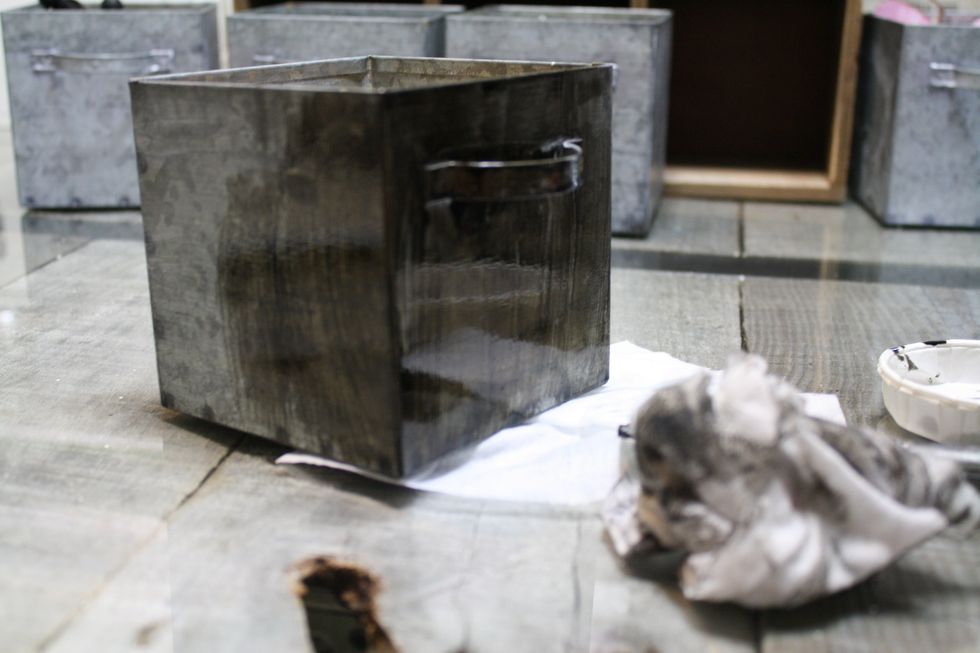
Pressing firmly , starting from the bottom , I roll upward with my Roller Stamp. It is a very easy process!

And look at those gorgeous results!!!! It took about 2 minutes to cover this piece. You will want to use these Roller Stamps and Decor Ink all over the house!
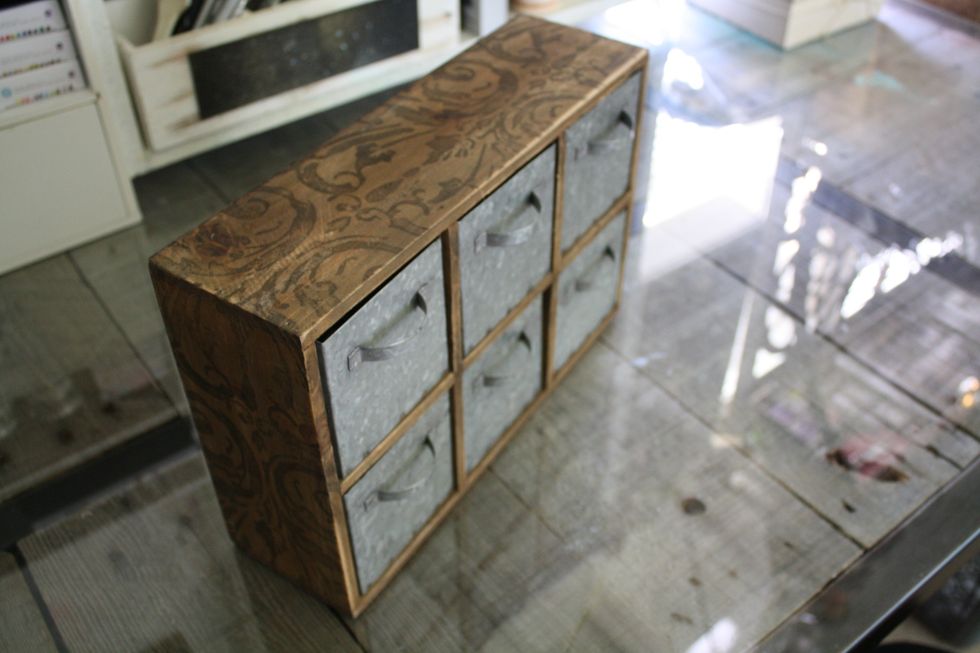
I wanted to add more though! The bins in the front were just too plain for me!
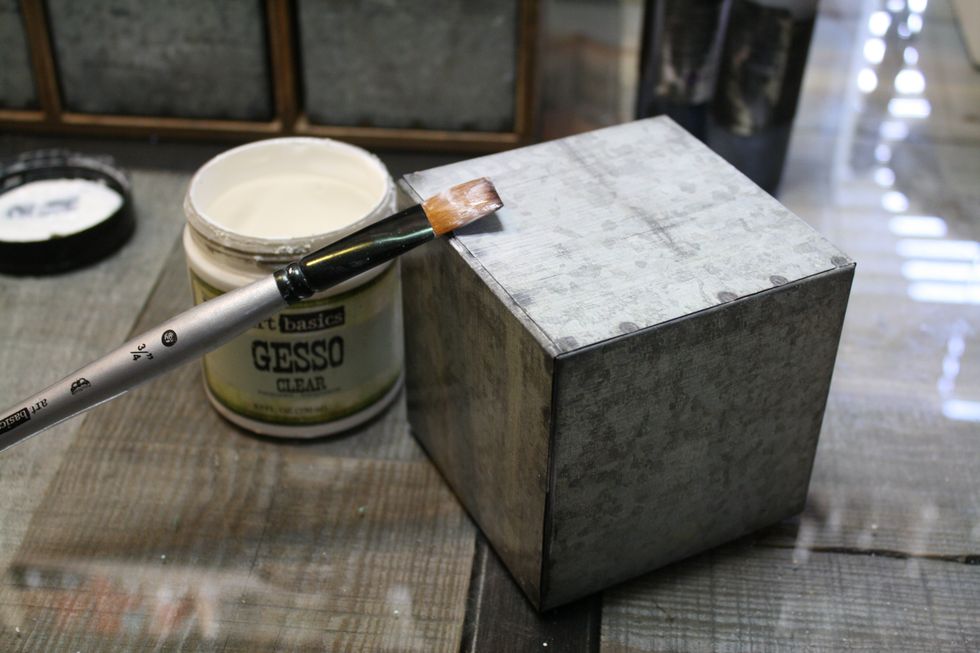
So I started out by covering them with Clear Gesso.
After the gesso dried, I mixed my 2 colors of Decor Ink together. Warm Gray and Stone.
I applied 2 coats of the Decor Ink on my bins. Letting it dry for a bit, then buffing off areas with a baby wipe.
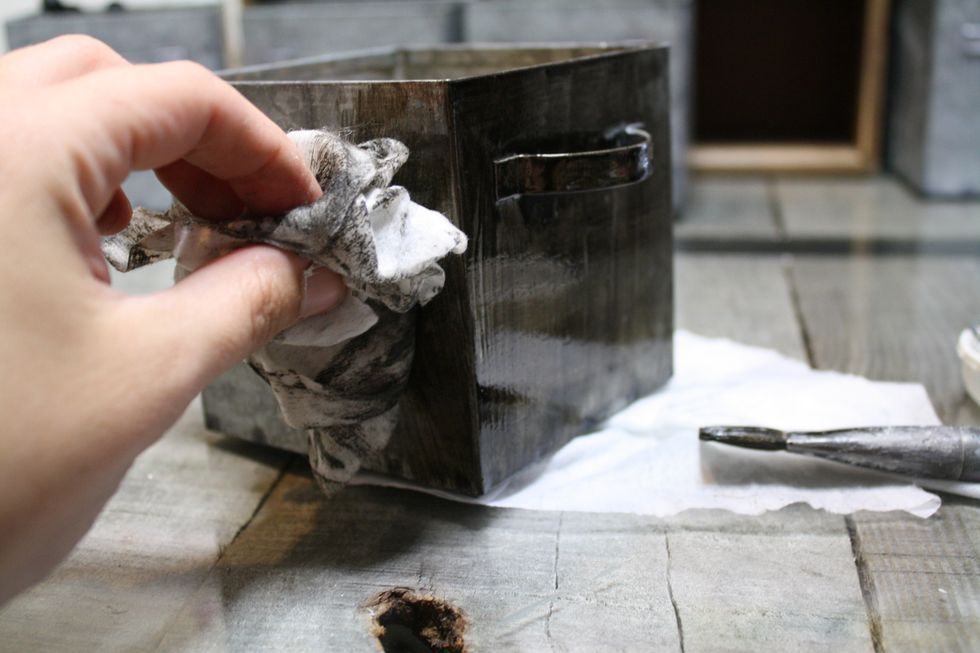
You don't want to wipe ALL the ink away, just buff until you like the results.

Here you can see the plain one on the left, compared to the inked one.
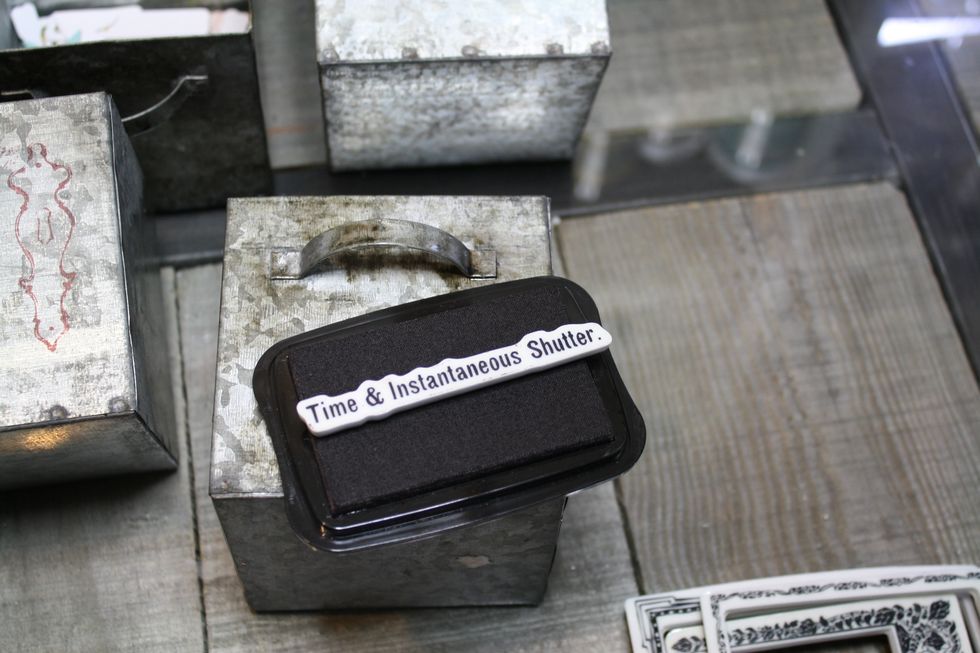
I used some stamps from IOD and Staz On ink . I just used a couple on a few of the bins. And I used a brown color so it wasn't so bold!

I was going for an industrial look!
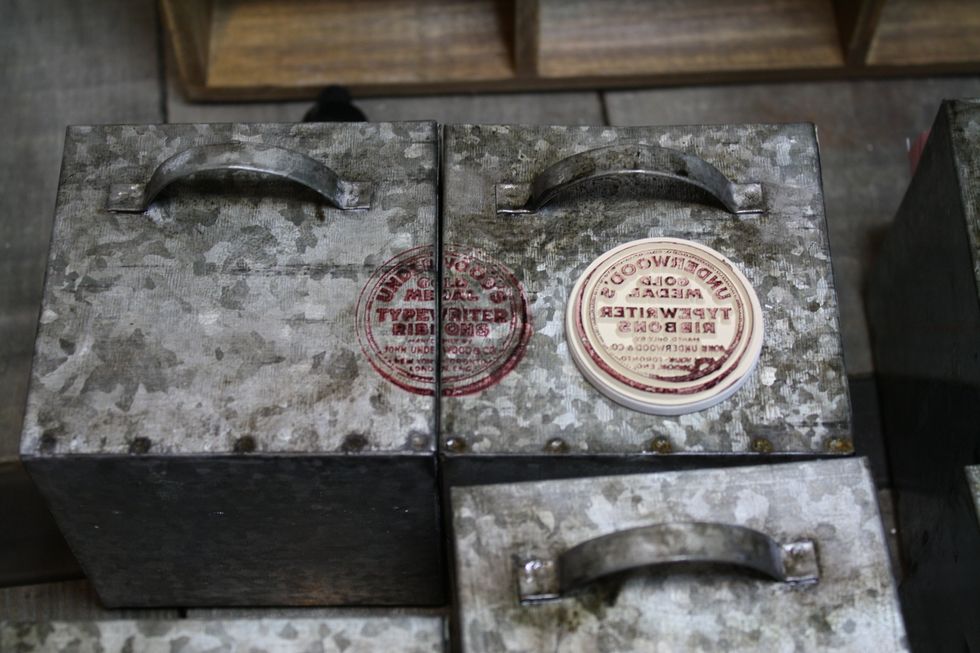
Get creative with your stamping. I pulled 2 bins together and used this stamp to span across them. Looks quite nice in the unit like this!
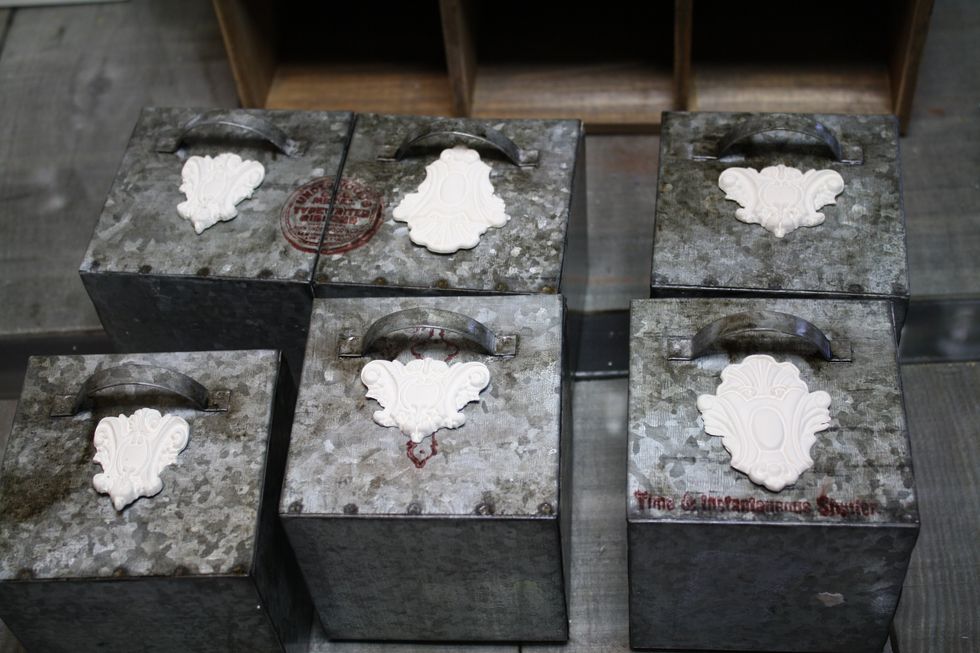
I grabbed 2 of each mold and played around with the placement I wanted. The molds IOD designed are so ornate and gorgeous! You can see all the detail here.

I adhered them to the metal using 3D Matte Gel. I was liberal with it. I don't want them falling off! These bins hold lots of my supplies, so they will be used a lot!
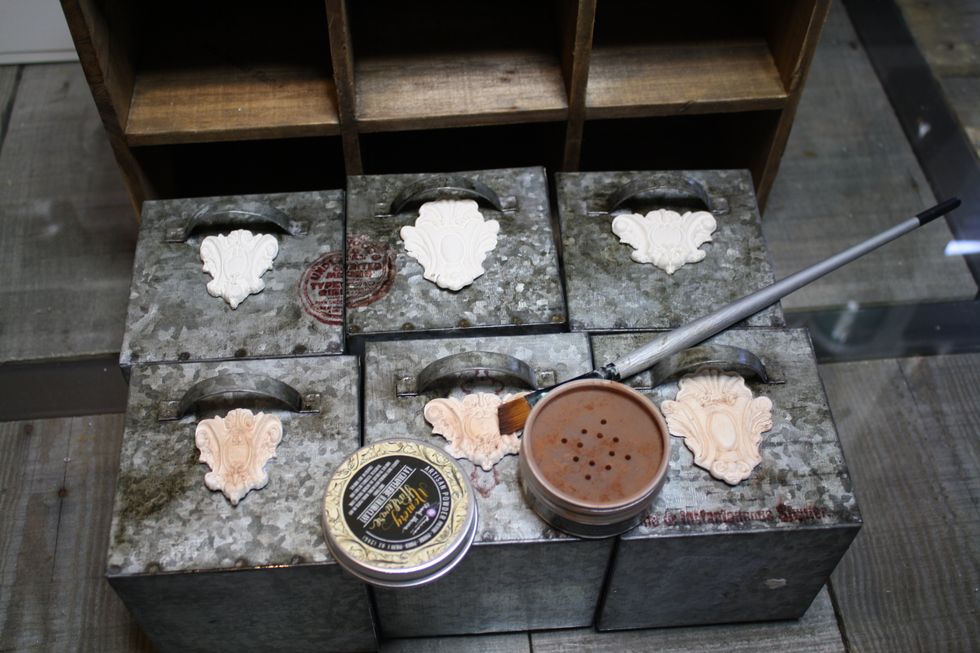
After they were adhered, I started coloring them! I used the gorgeous and fun Artisan Powder! This is pure magic in a pot! Just brushing it on , it only takes a tiny amount!
I wasn't fussy on perfect coverage . Because I will add more detail later.
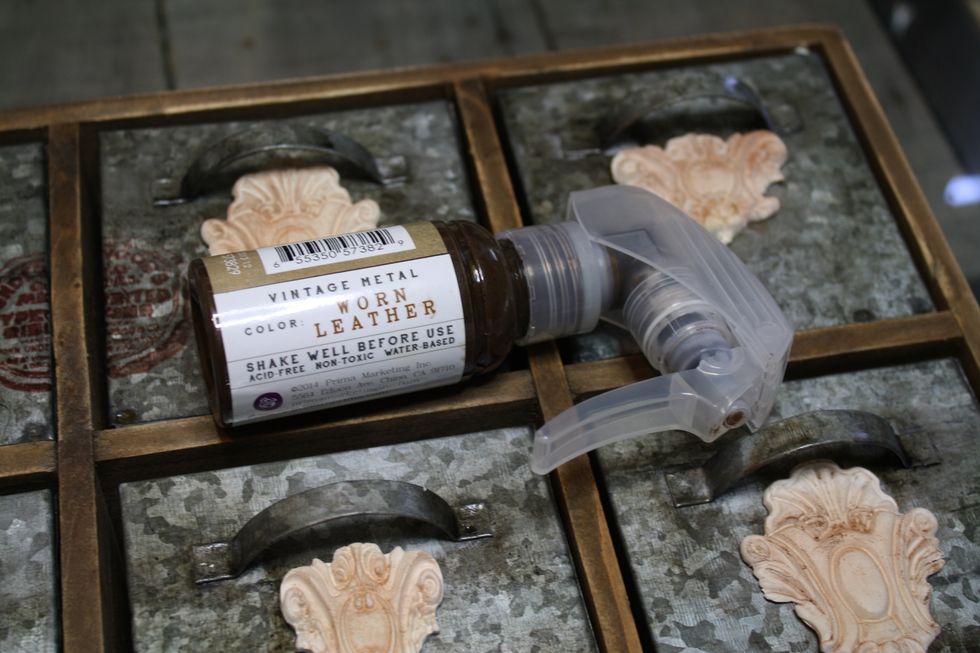
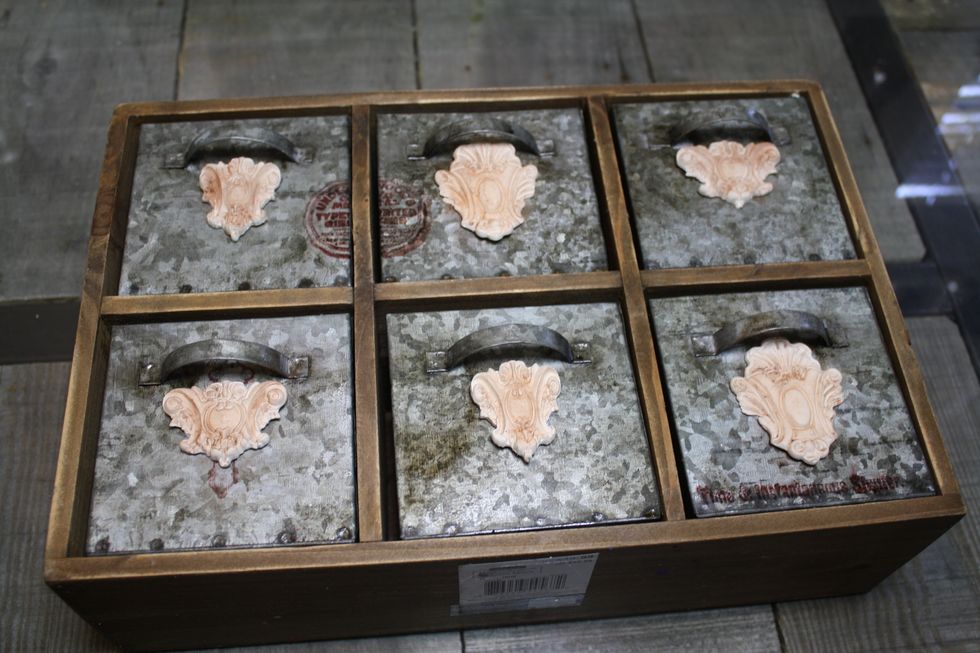
I broke out my Worn Leather Color Bloom Spray. This color went perfectly with the look of the unit!

I simply pulled the nozzle out and flicked the spray here and there. Just for an artsy look.

Since some of it got on my molded clay pieces , I spritzed some water and blended it all in. This helped that Artisan Powder to spread around as well. I got my edges well and created some shadow.

And there ya go! Completed on my table ready for use!!!!!
