The Conversation (0)
Sign Up
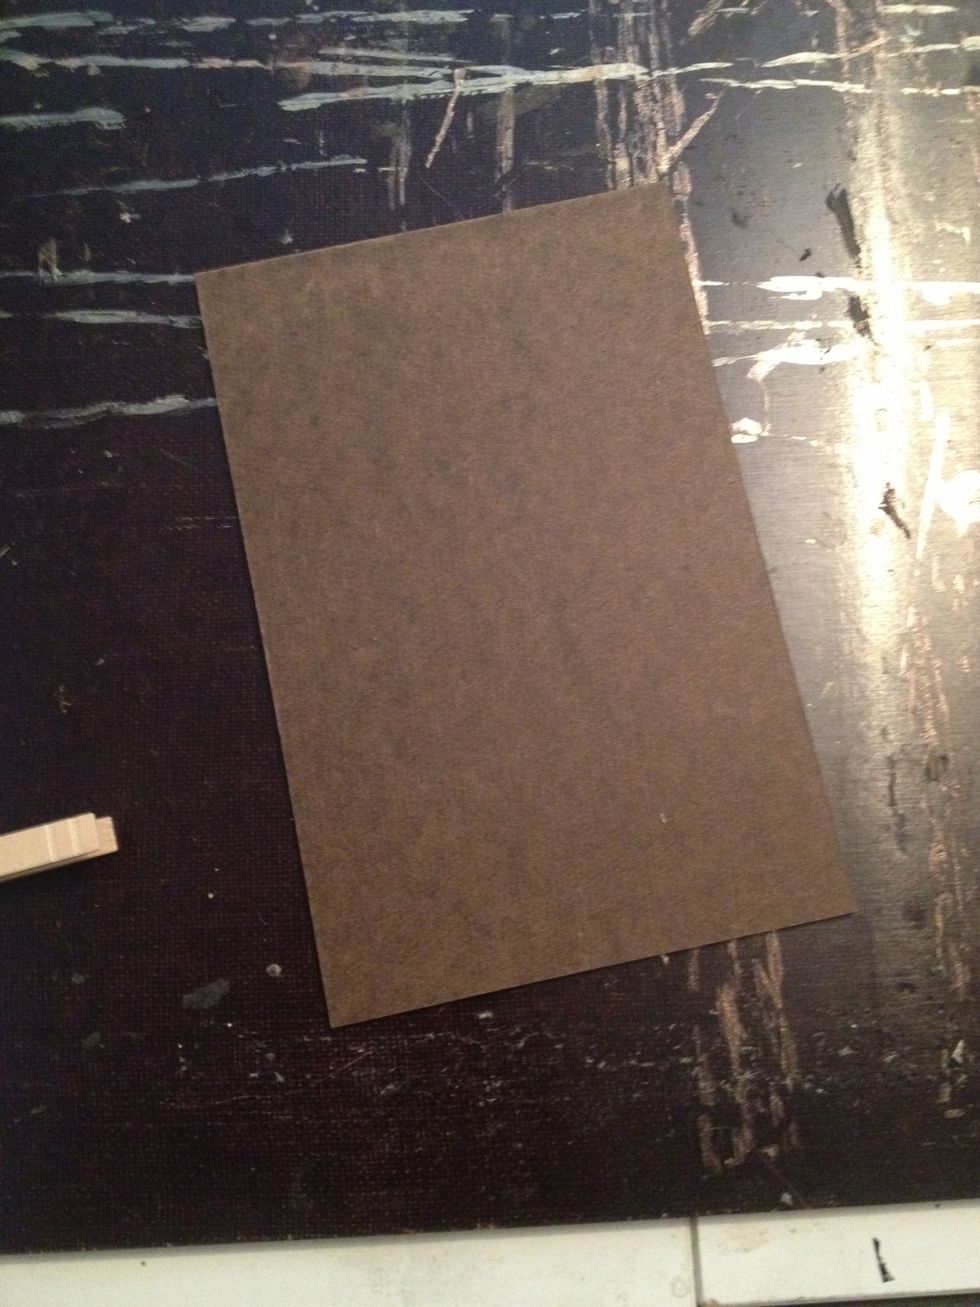
Purchase unfinished hardboard or masonite panels from your local home improvement store. Use a table saw or a friend with a table saw to cut them down to size.
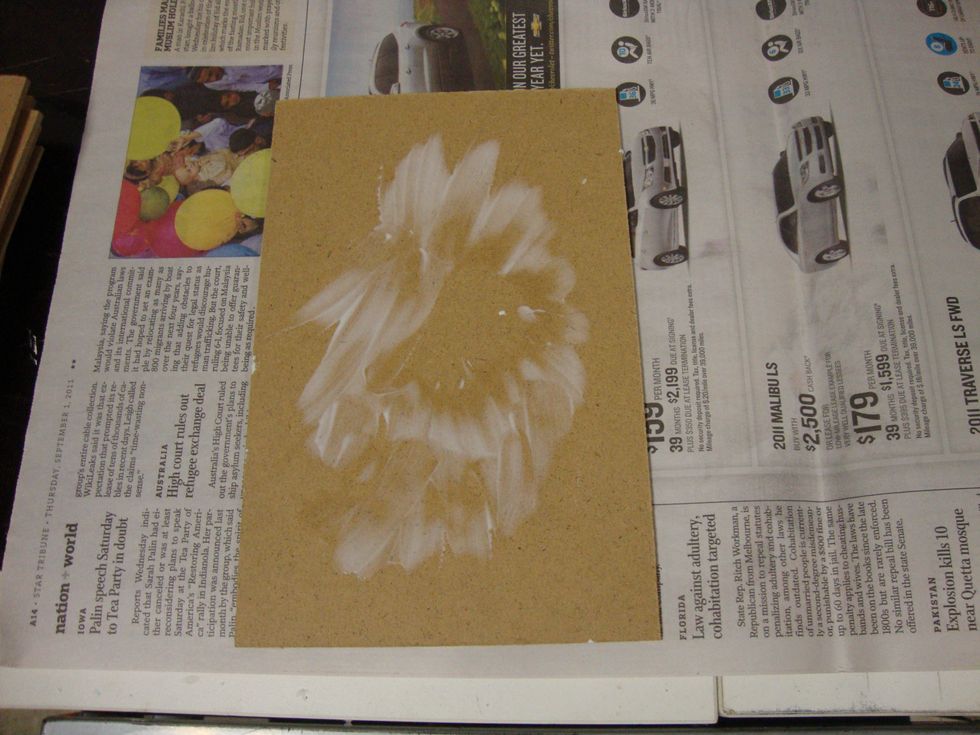
Create texture: Spread glue in a nonuniform fashion; keep the center clear as this will be the where the sunburst design converges.

Adhere newspaper and let dry overnight. Once dried, rip the loose newspaper off.

Paint the lighter background color. I added some yellow and brown for an antique white; I also added a little water for transparency purposes.
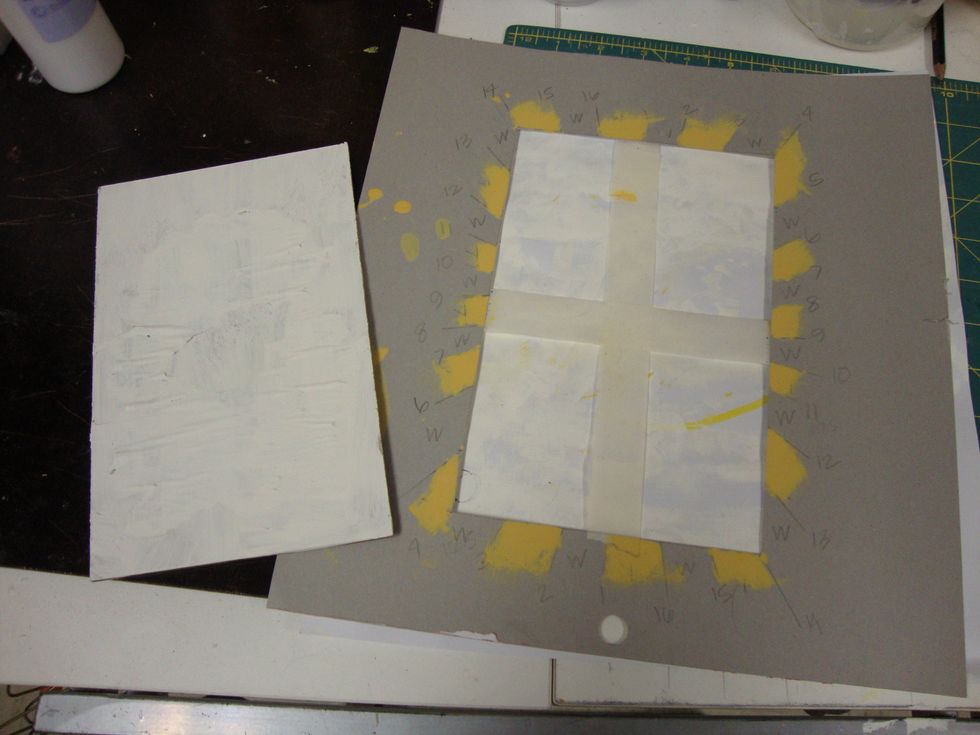
Make a template for the sunburst design. There must be an even number of triangles.
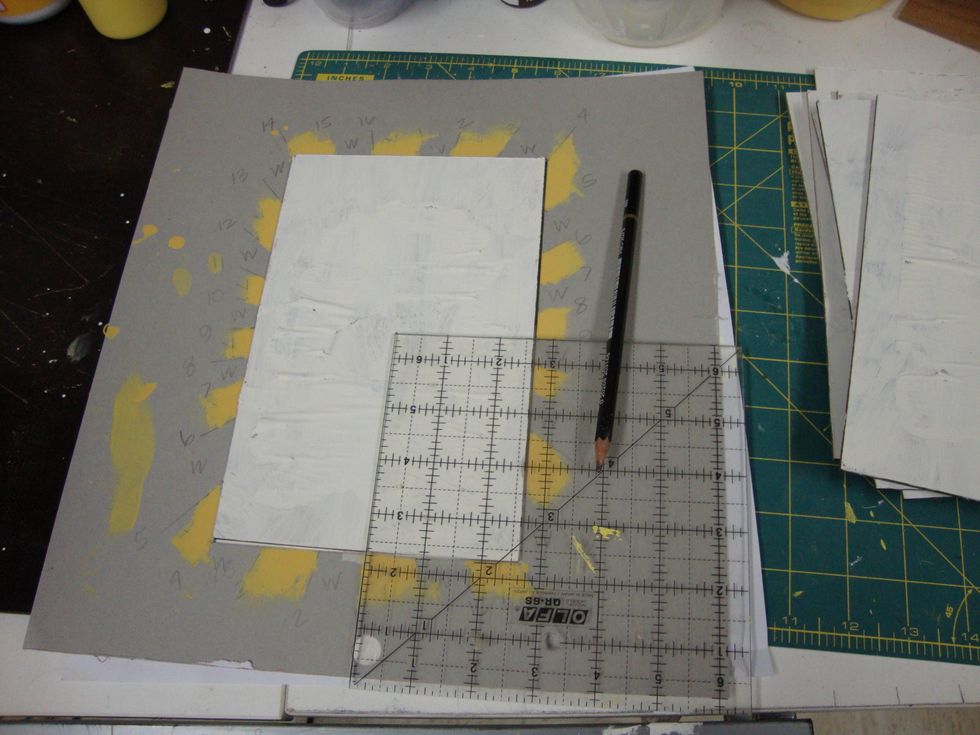
Find dead center using the template and a ruler.
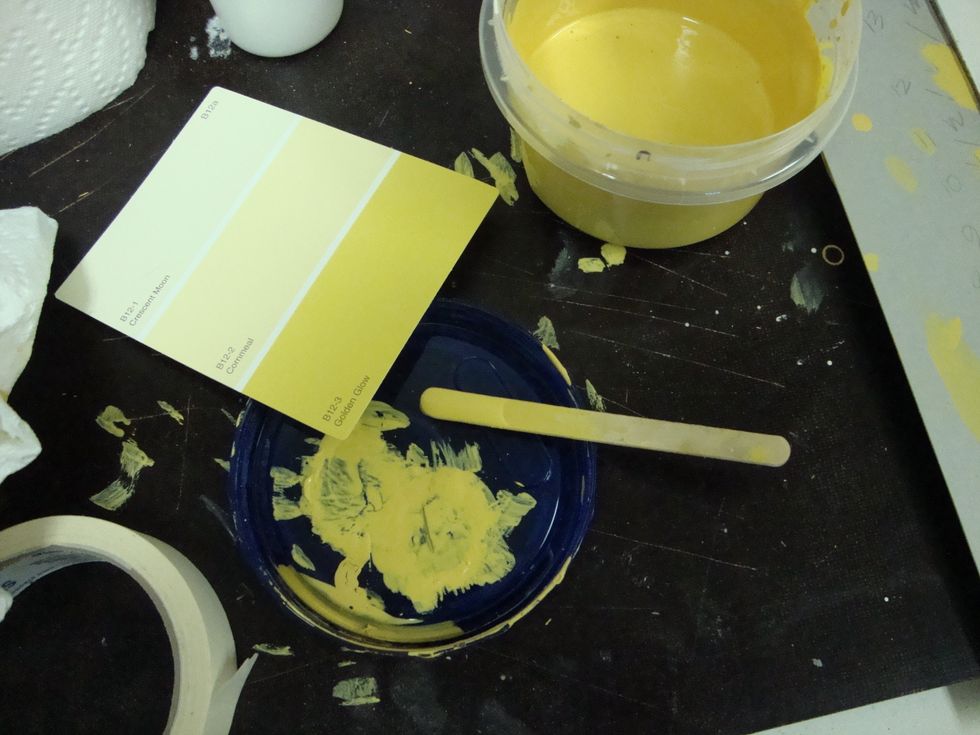
Mix your colors based on the paint samples selected for uniformity. I started with a primary yellow and added brown, red and white until I achieved the desired color.

Use masking tape to paint clean lines. Use each tape strip only 2 times with the clean edge or you will inadvertently transfer paint.

It's a laborious process but patience will pay off.
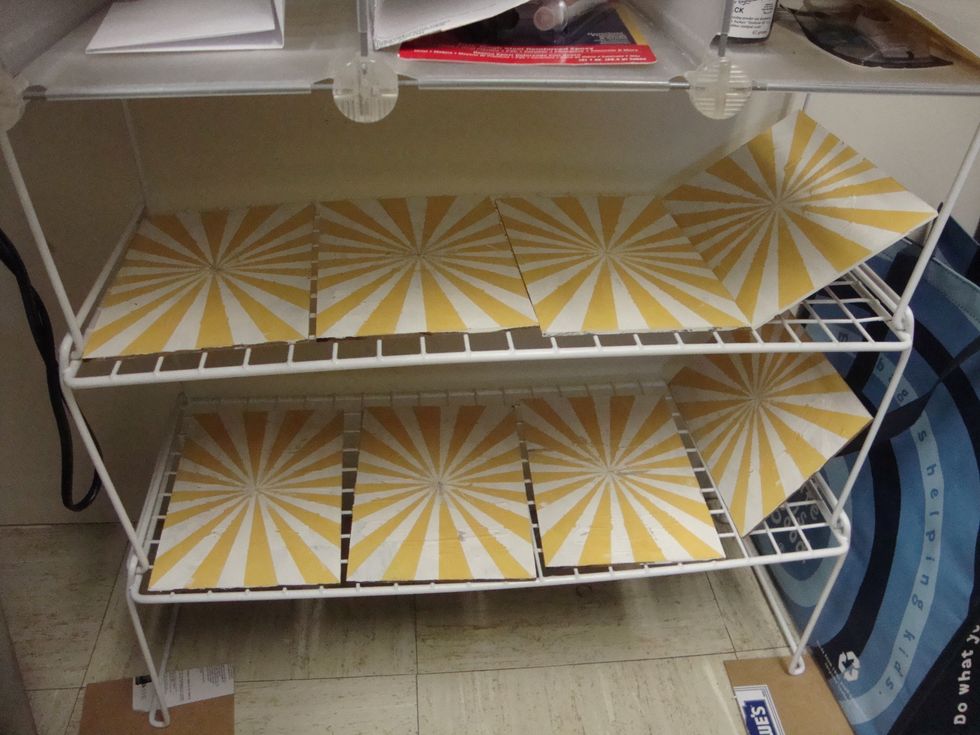
Utilize any surface and allow the paint to dry overnight.
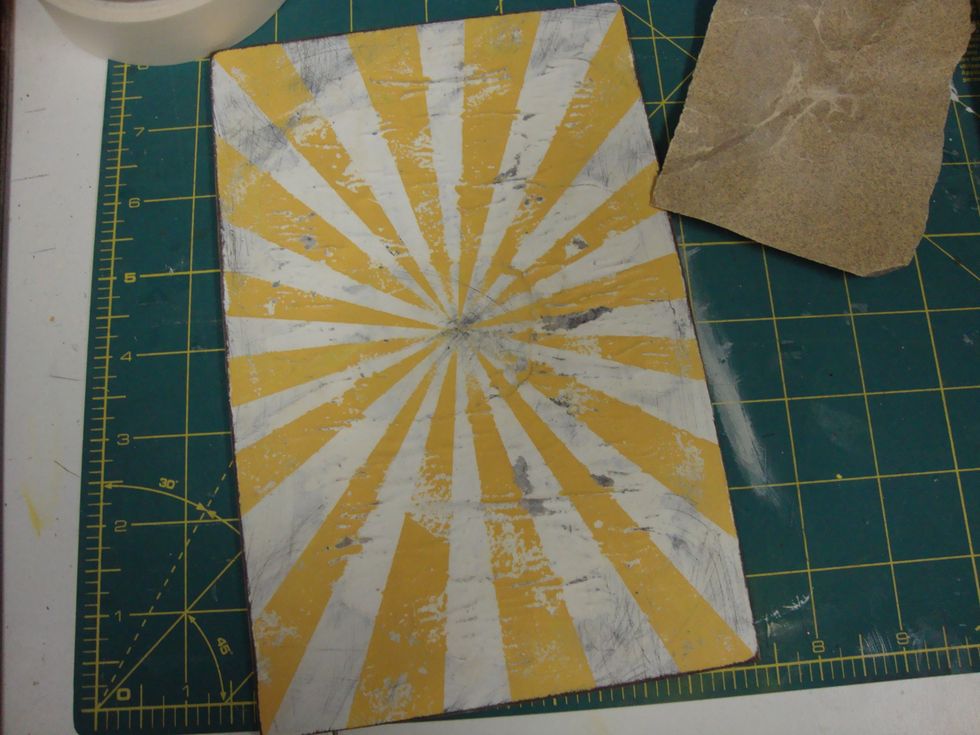
Once dried, take sandpaper to the invitation. Don't forget around the edges and corners!
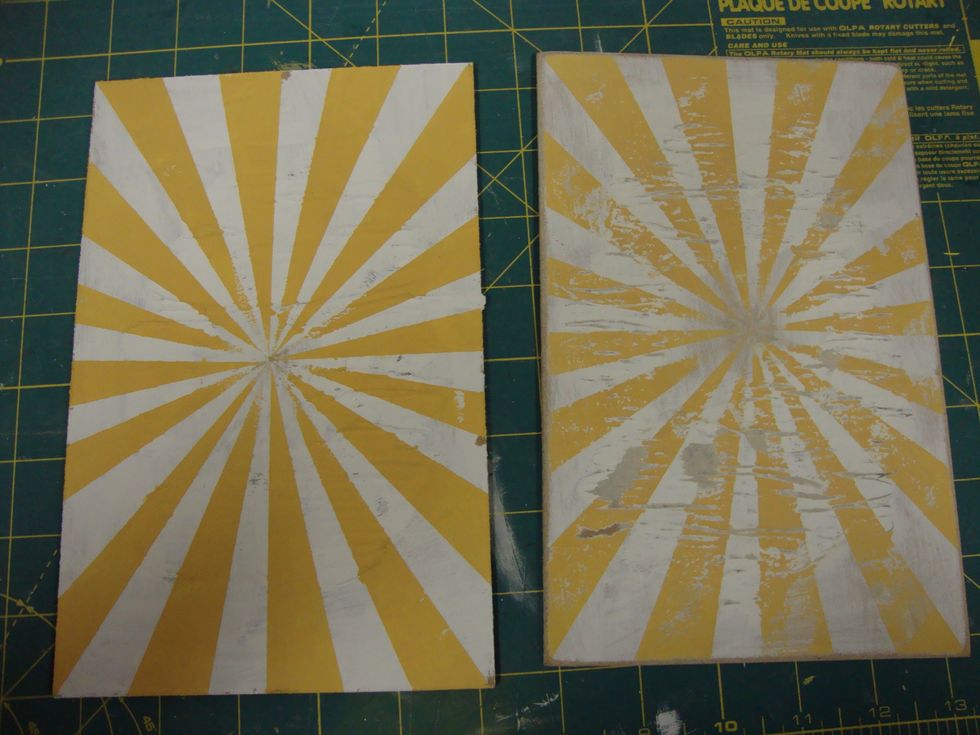
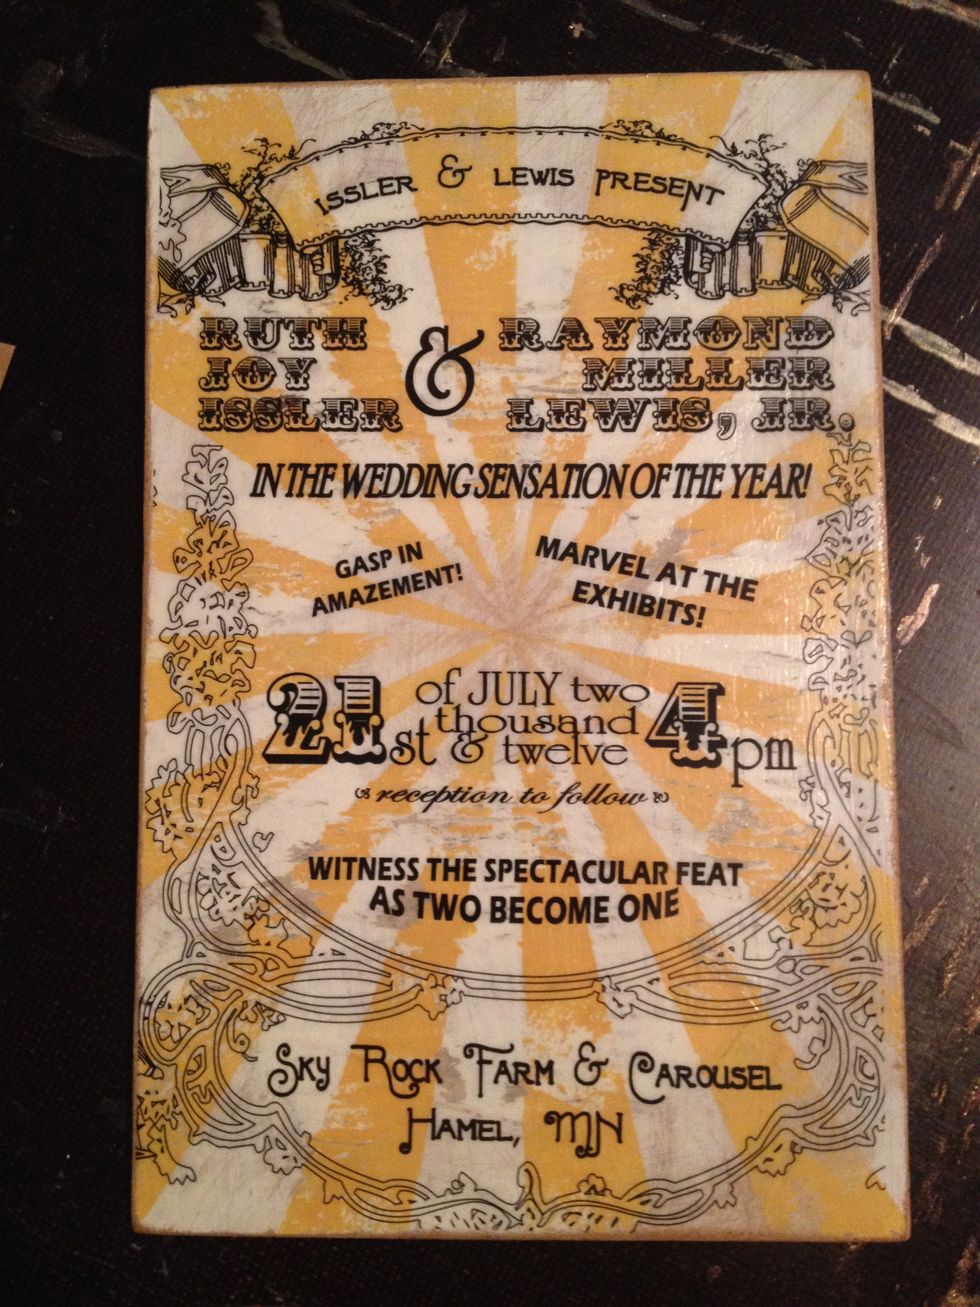
Freshly painted invitation on the left; distressed version on the right.
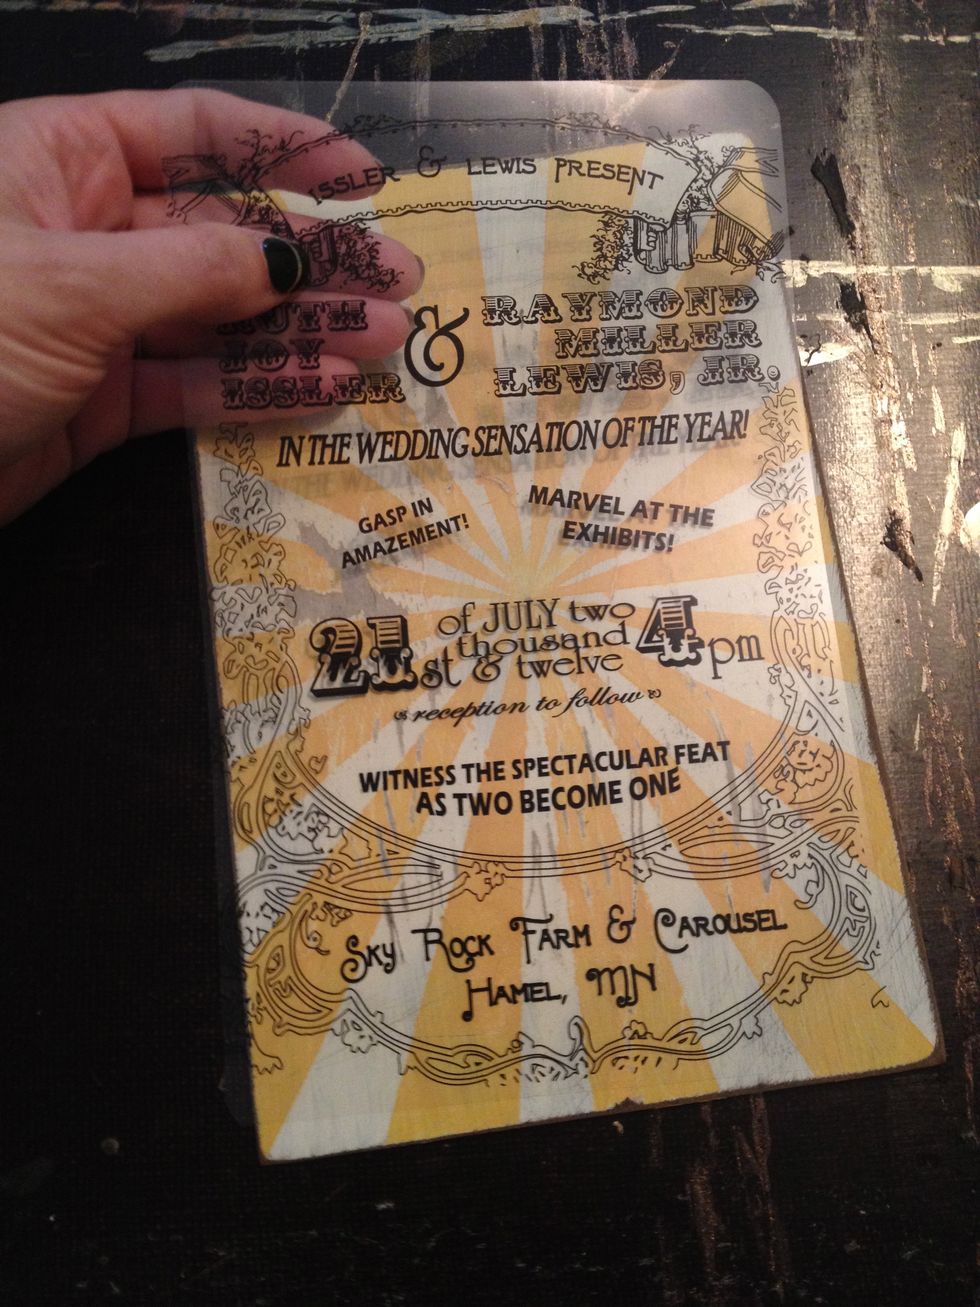
I designed the wording in Word using freeware fonts, images and WordArt. The completed image was reversed and printed on ink jet transparencies; trim the corners using the round corner punch.
The printer-friendly side of the transparency was carefully adhered using ModPodge gloss.
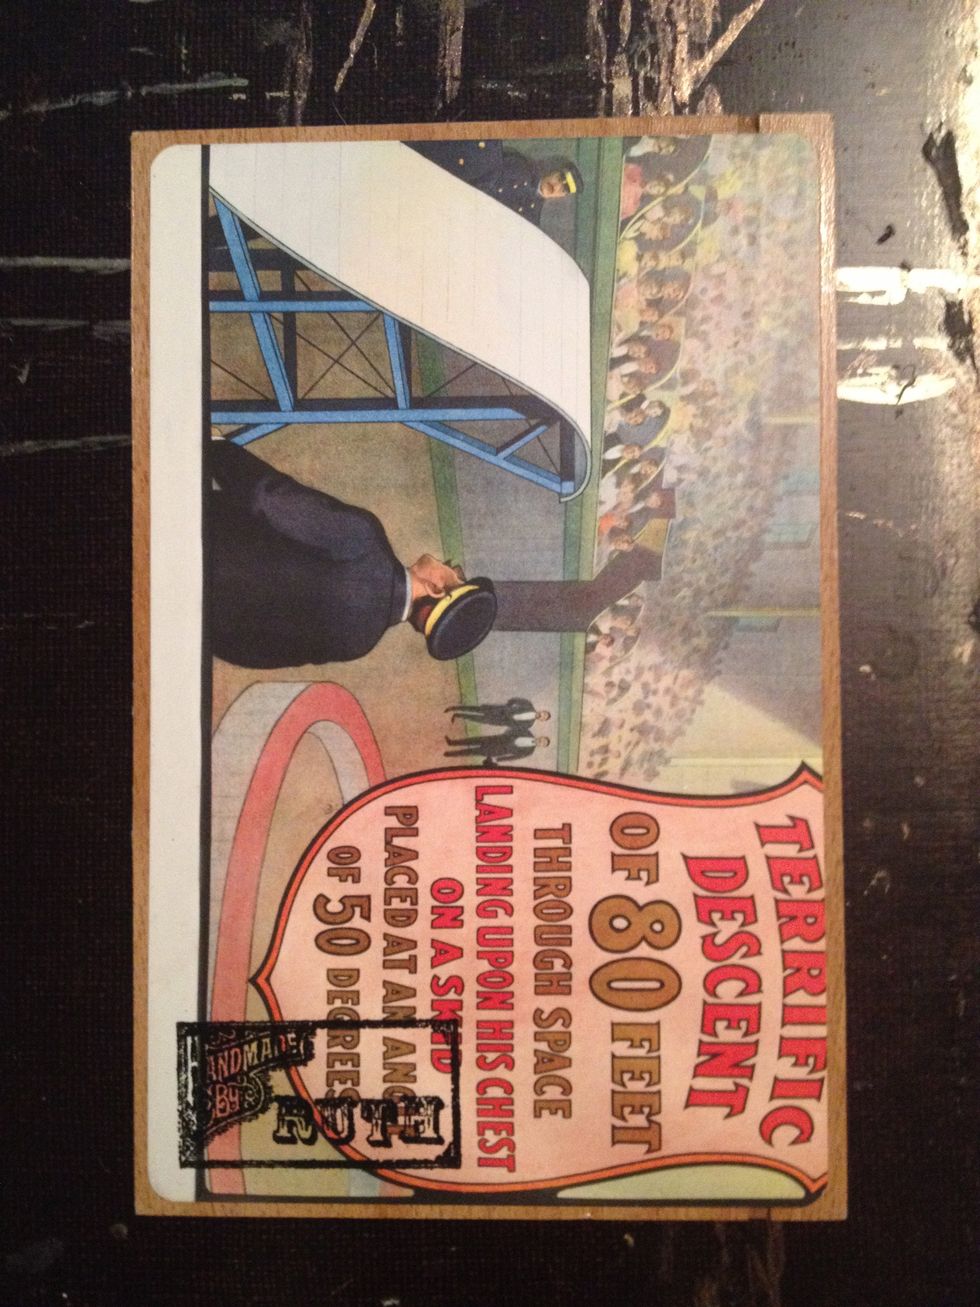
Cover the back of the invitation with vintage circus posters (I purchased calendars). Emboss your name using a rubber stamp.
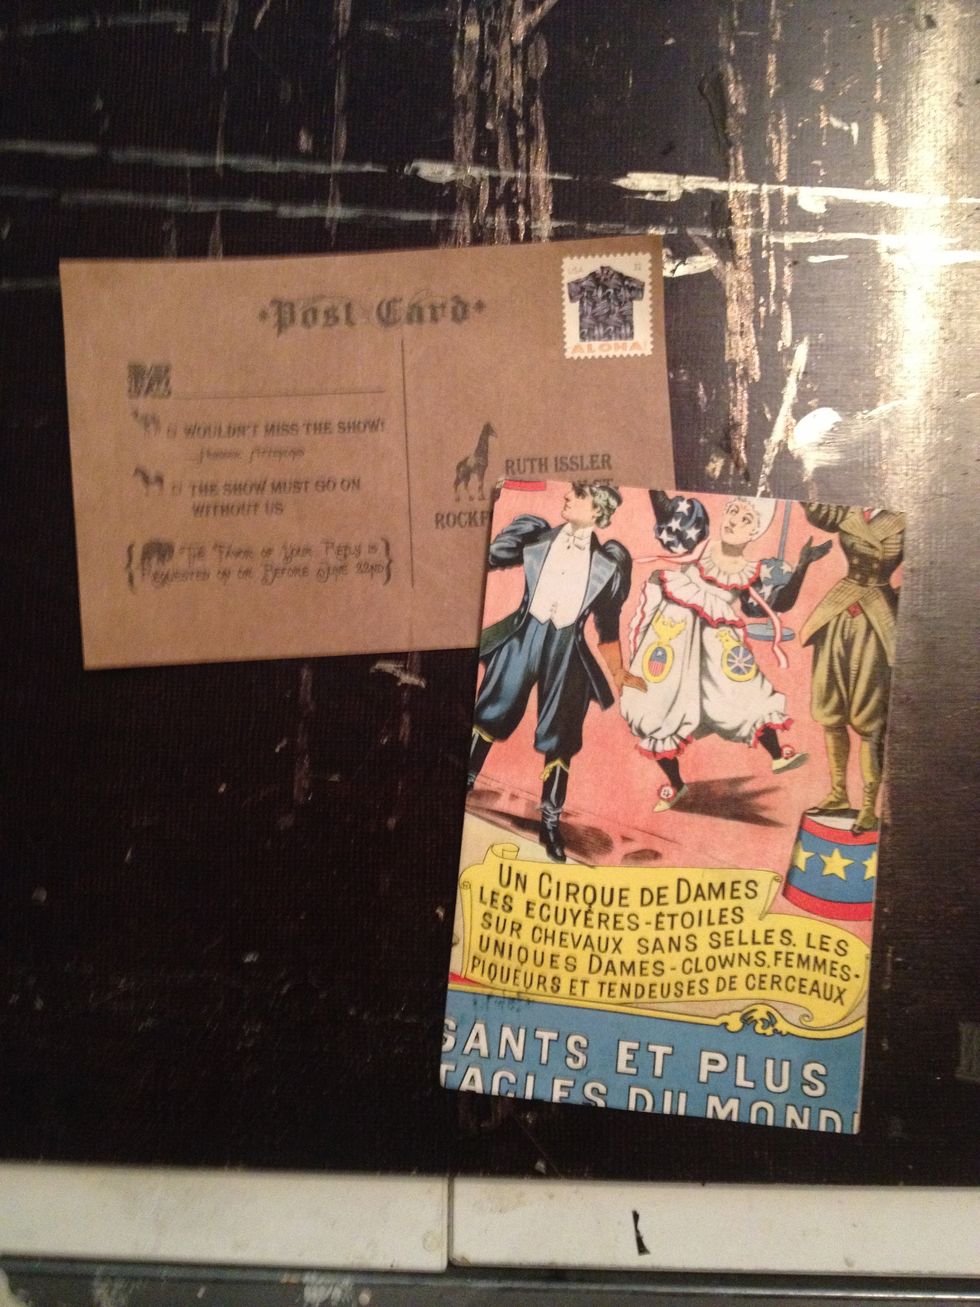
Create RSVP postcards and information cards in Word and print them on paper grocery bags cut to size. Use the circus posters as the postcard image.
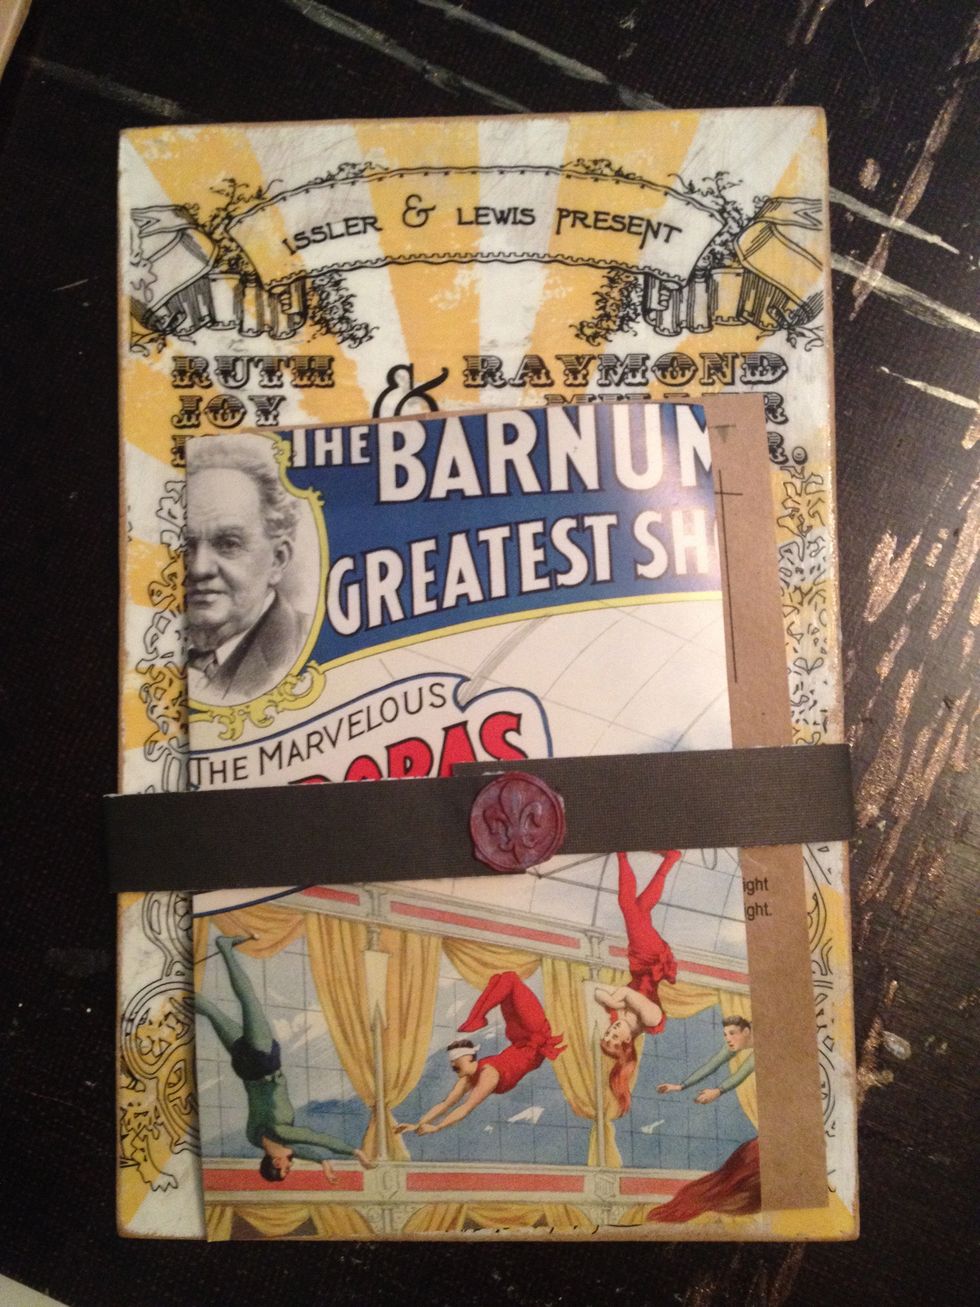
Hold everything together with a slim strip of paper and wax seal.
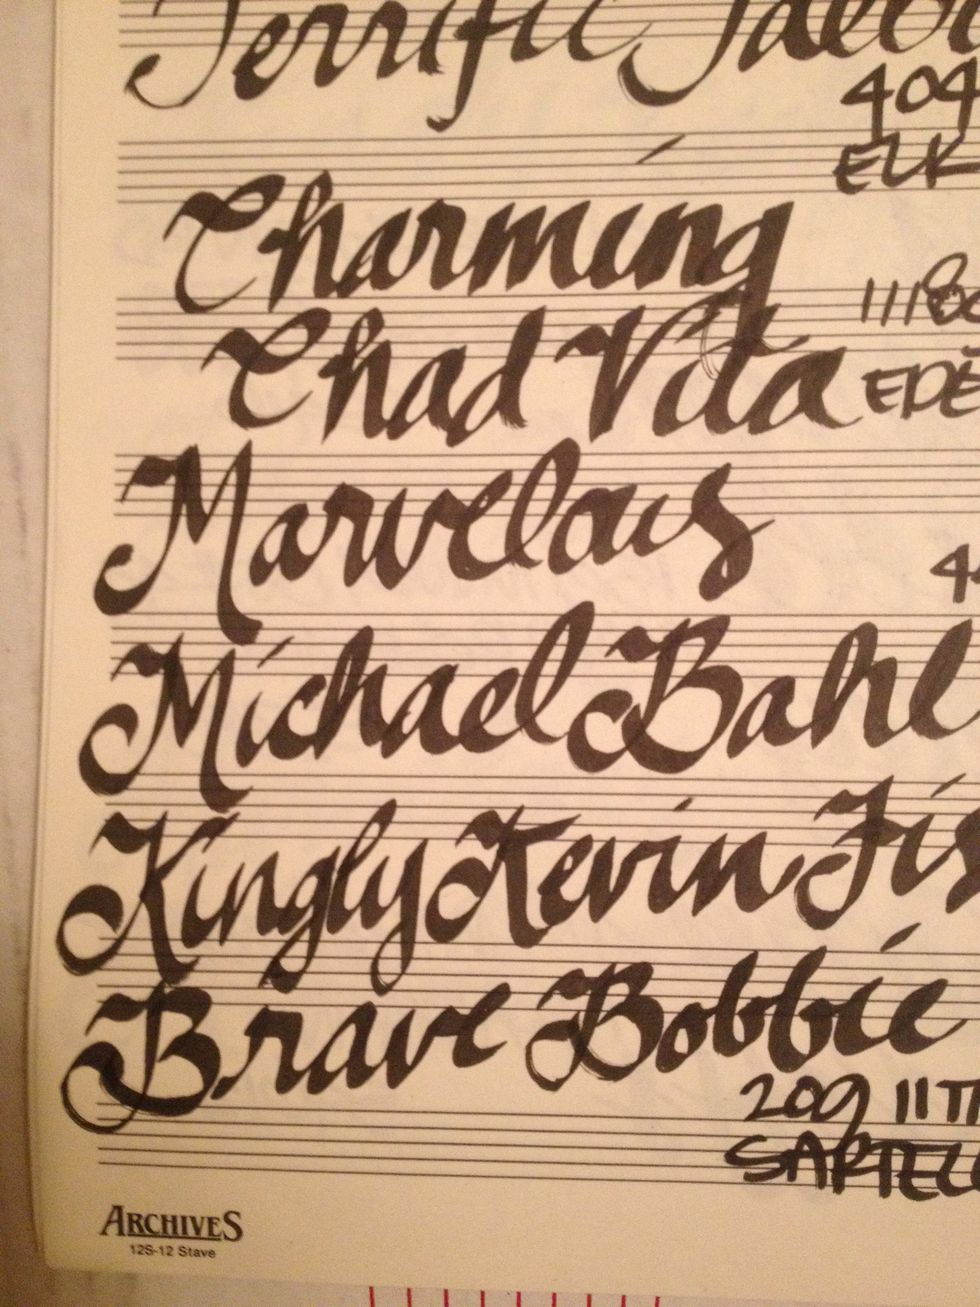
In keeping with the circus theme, I hand-addressed the envelopes using alliterative adjectives for each guest/party.
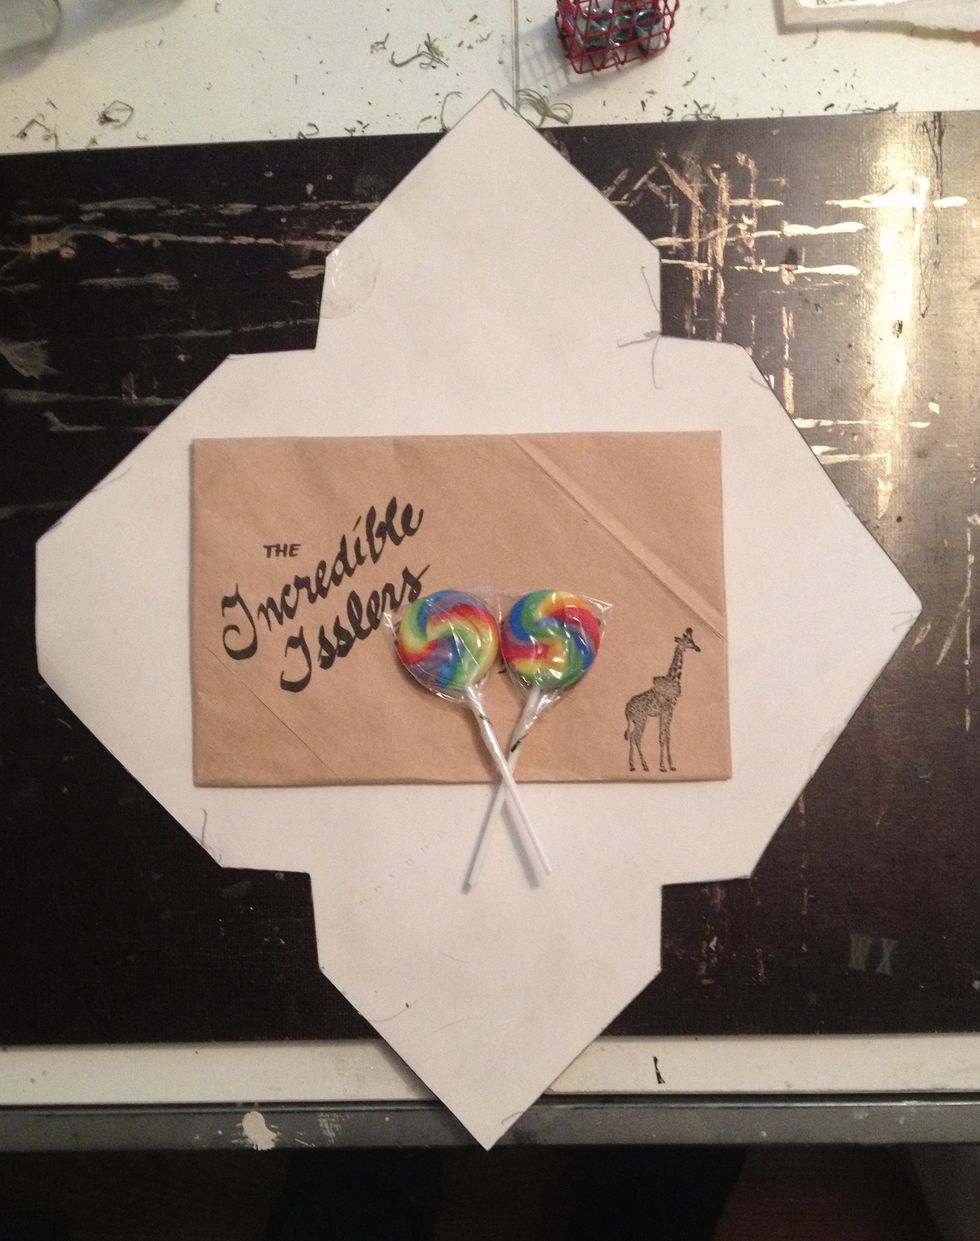
Cut and glue your own envelopes using a template (I made mine) and paper grocery bags.

Here's the final suite of wedding stationary! Total cost including all postage was around $300. http://www.brit.co/category/weddings/diy-weddings/