The Conversation (0)
Sign Up

These are the 3 basic supplies you will need to decorate your paper lantern. I chose to do a 6" lantern and used a large stencil cutter for my tissue paper.
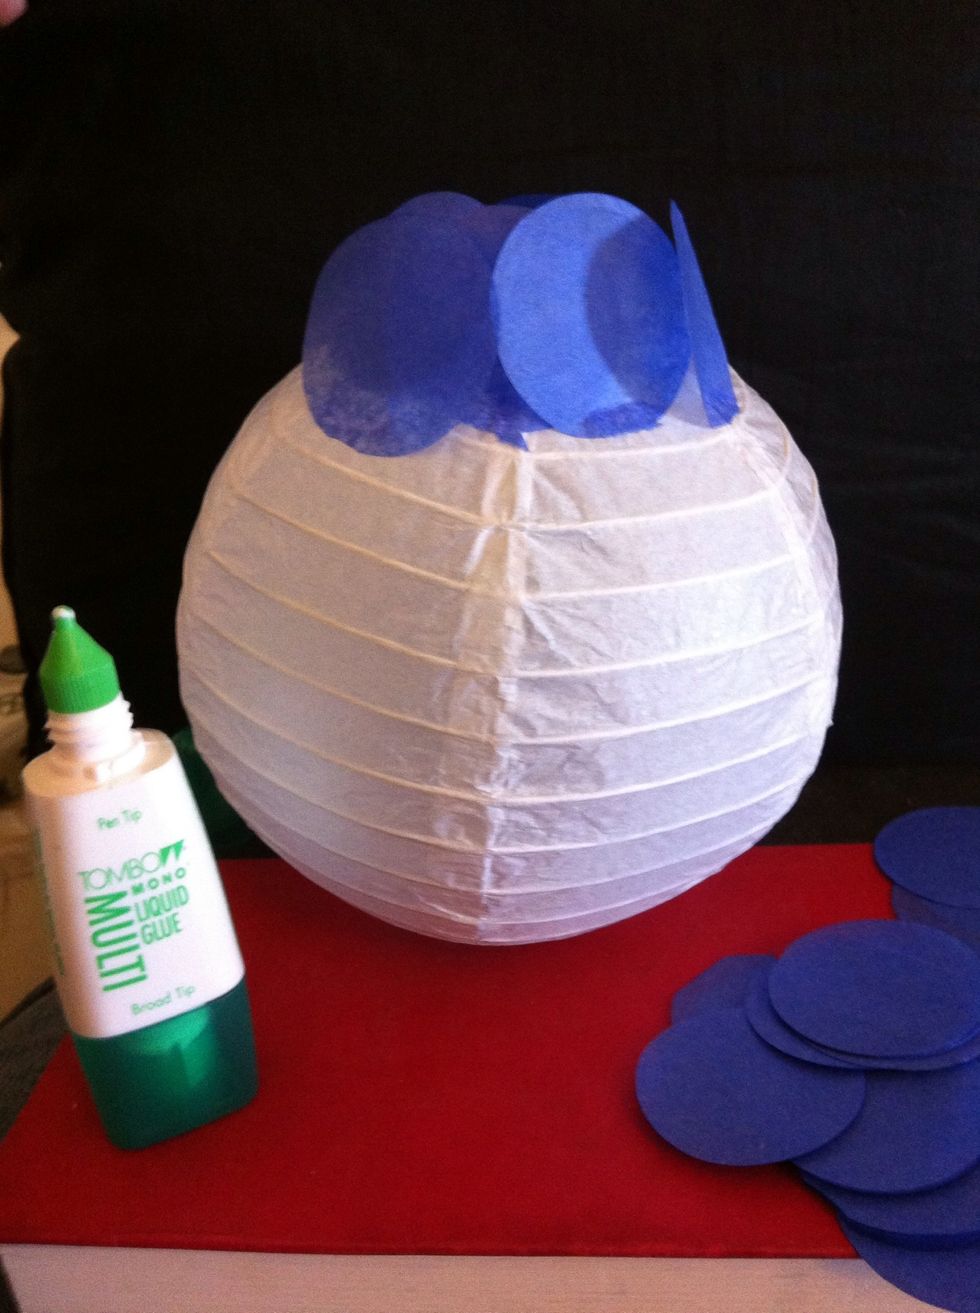
Starting from the bottom of your lantern, place a small amount of glue on a piece of tissue paper and start working your way around.

I also chose to add a few pops of color here and there. This is about half way done.
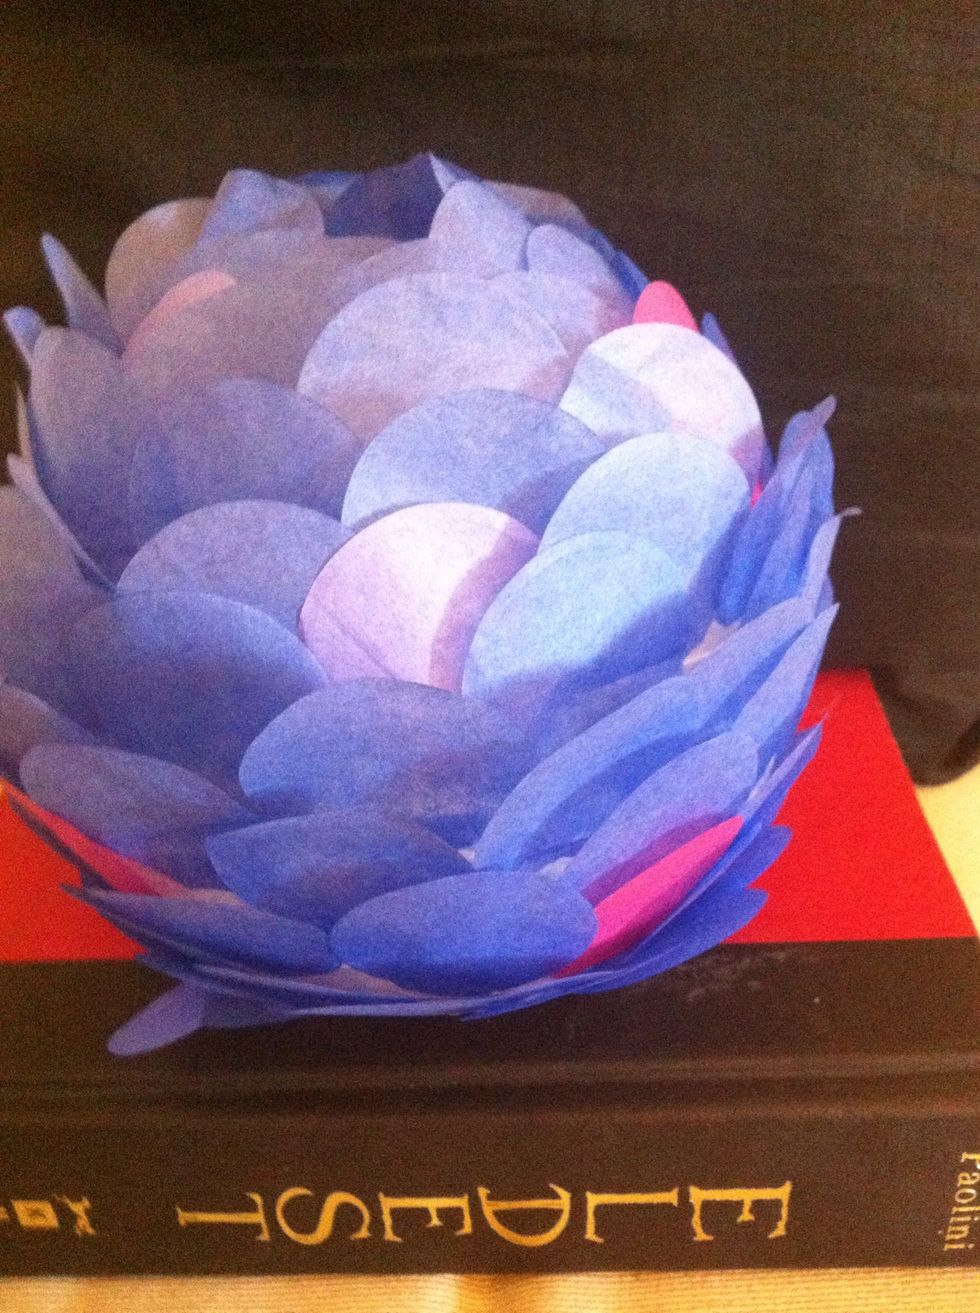
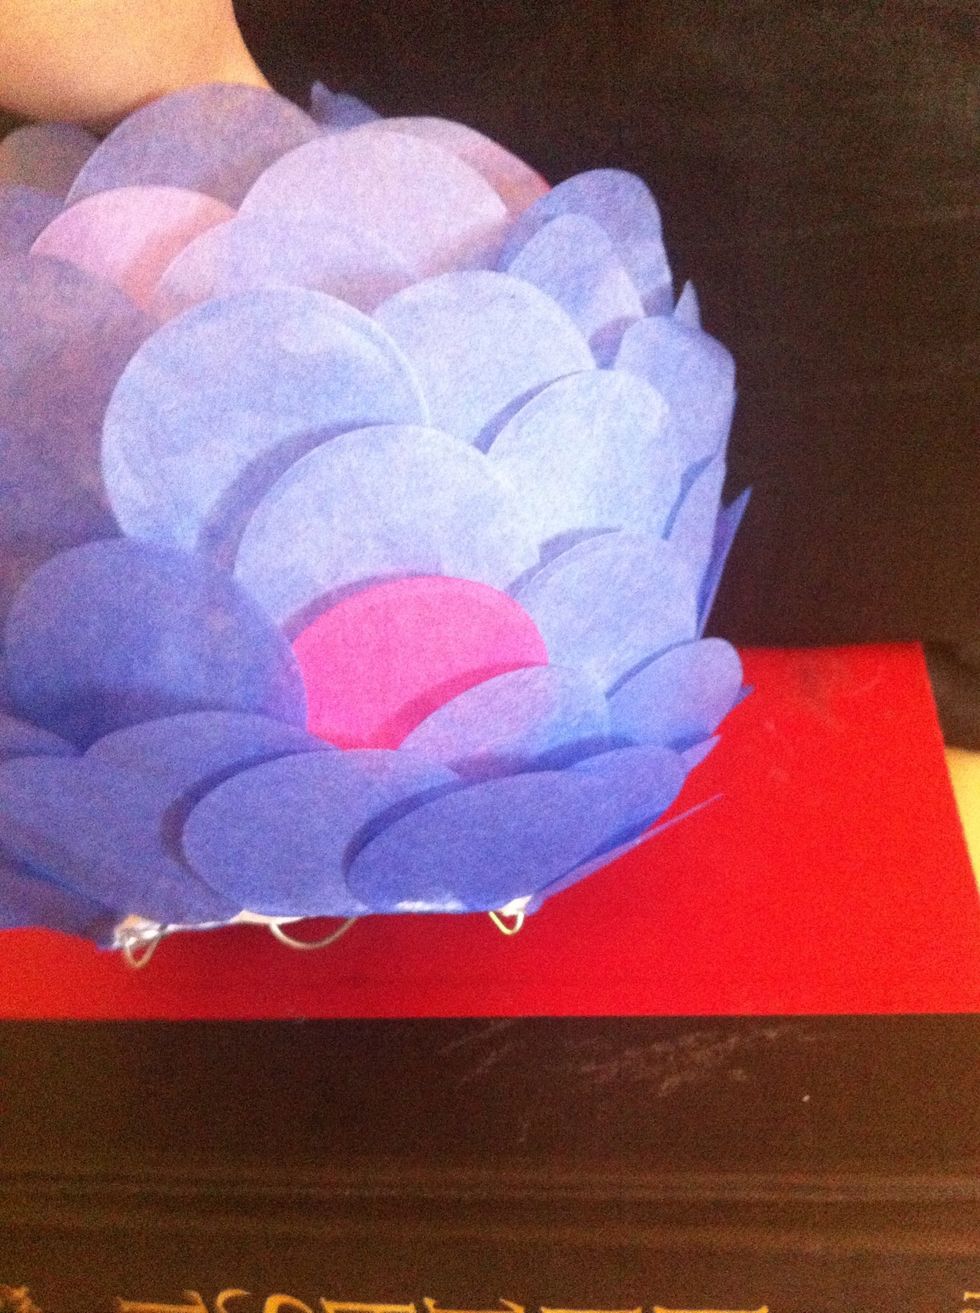
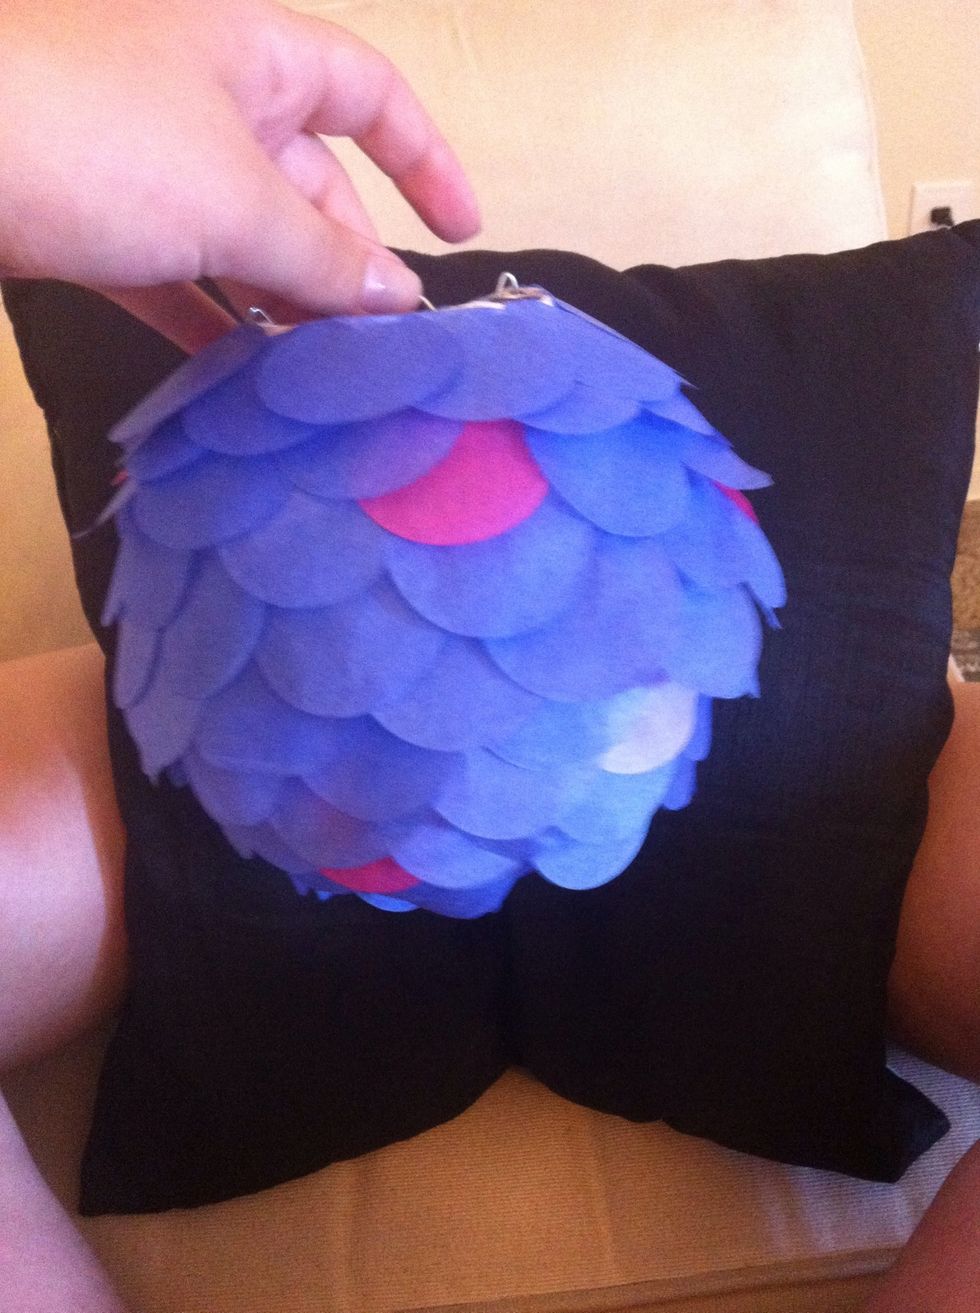
As you can see it will add a lot of texture to your lantern and give it a some what scaled look. Almost done here, just need to add to the top.
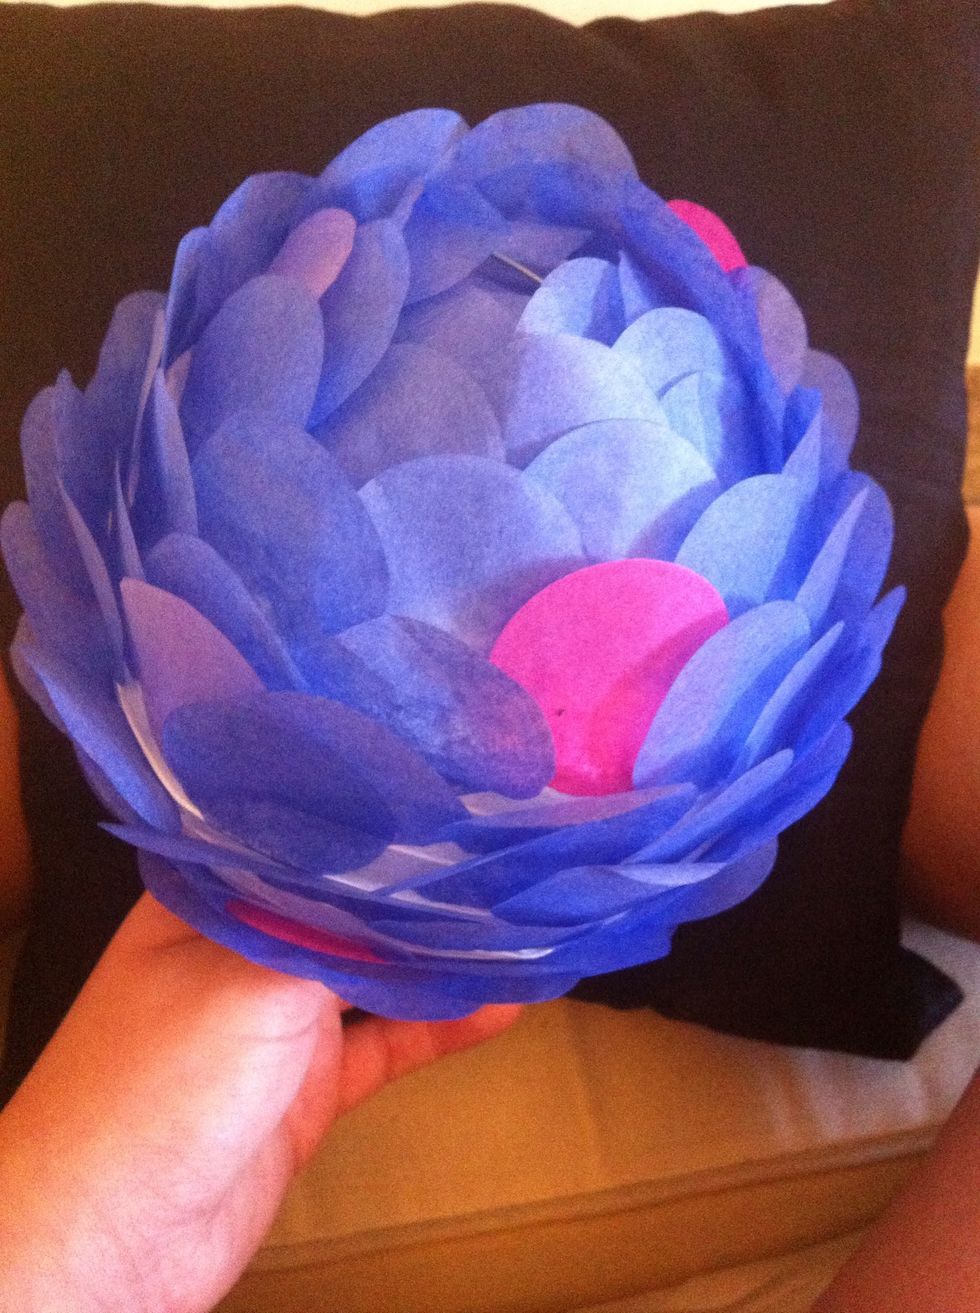
And it's done!

Here is the top, and the part where you can hang the lantern from. I have a little bit of white showing at the top, but I don't mind it. You can always add more though!
And this is what it looks like from the bottom.
And here is the final result! If you want your paper facing the other way, just start from the end where you are going to hang the lantern. This also looks great on larger lanterns too!