The Conversation (0)
Sign Up
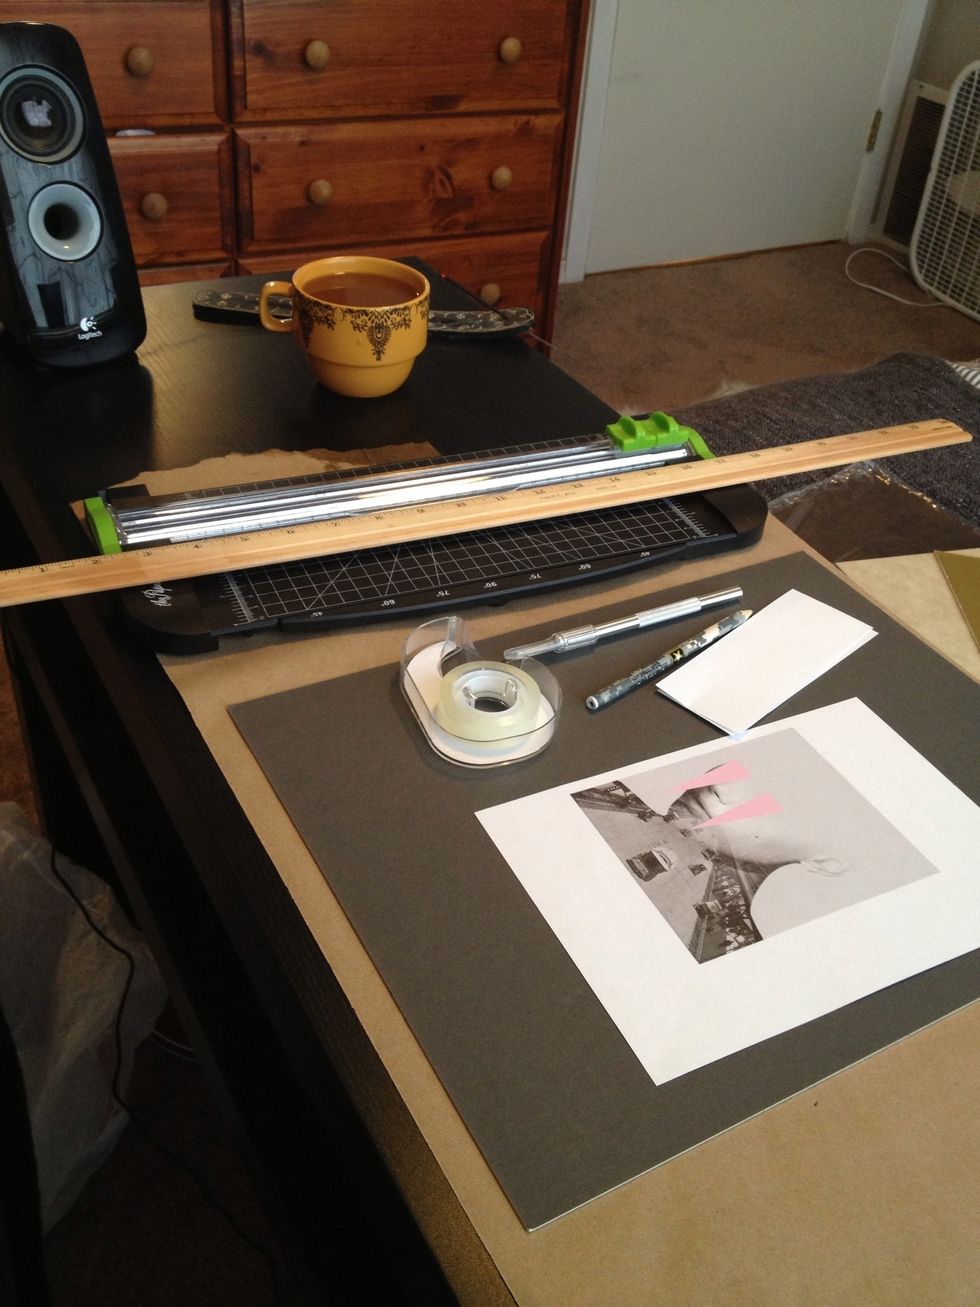
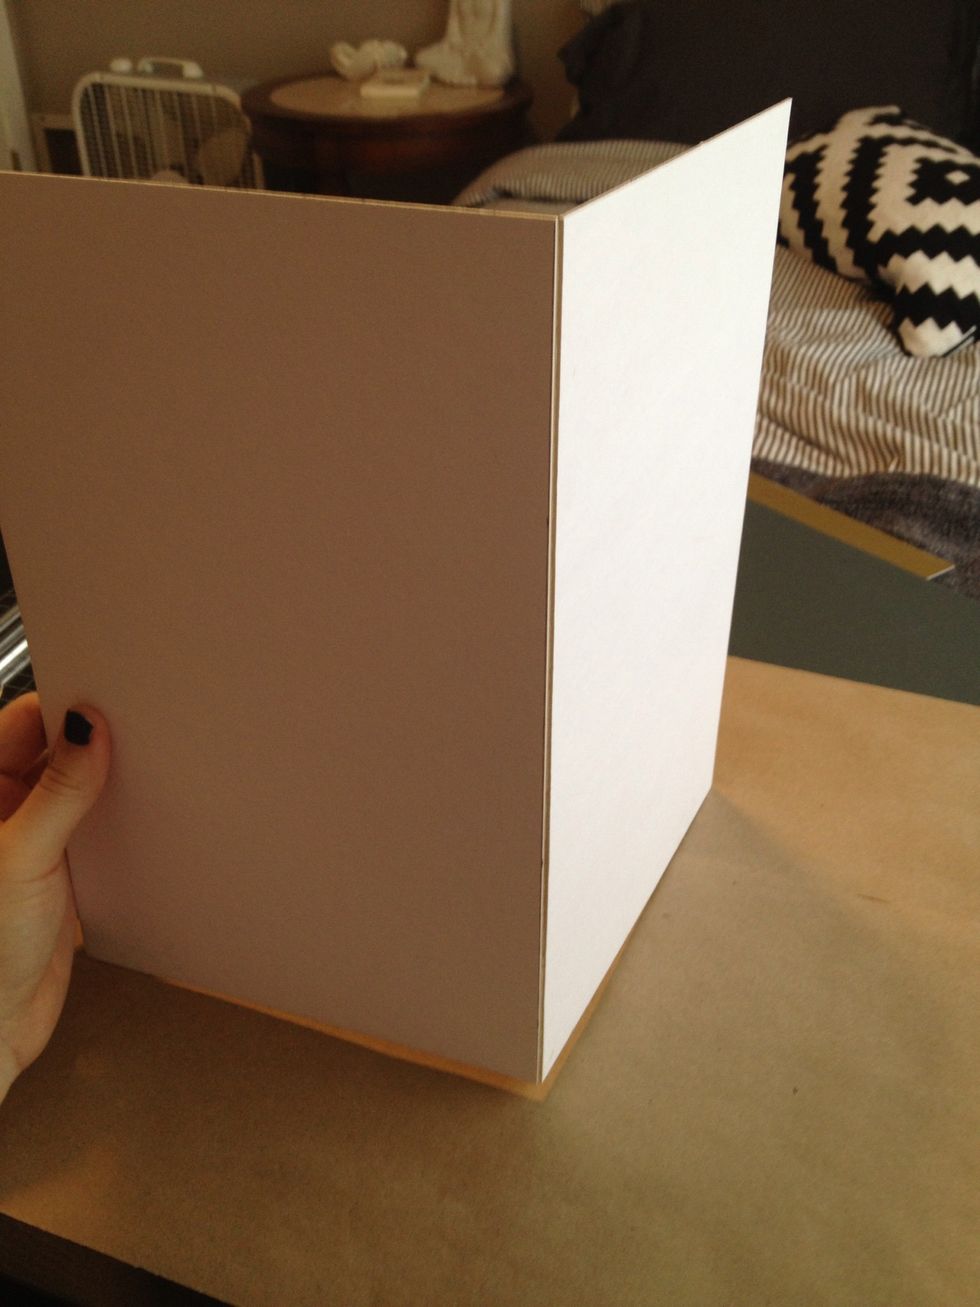
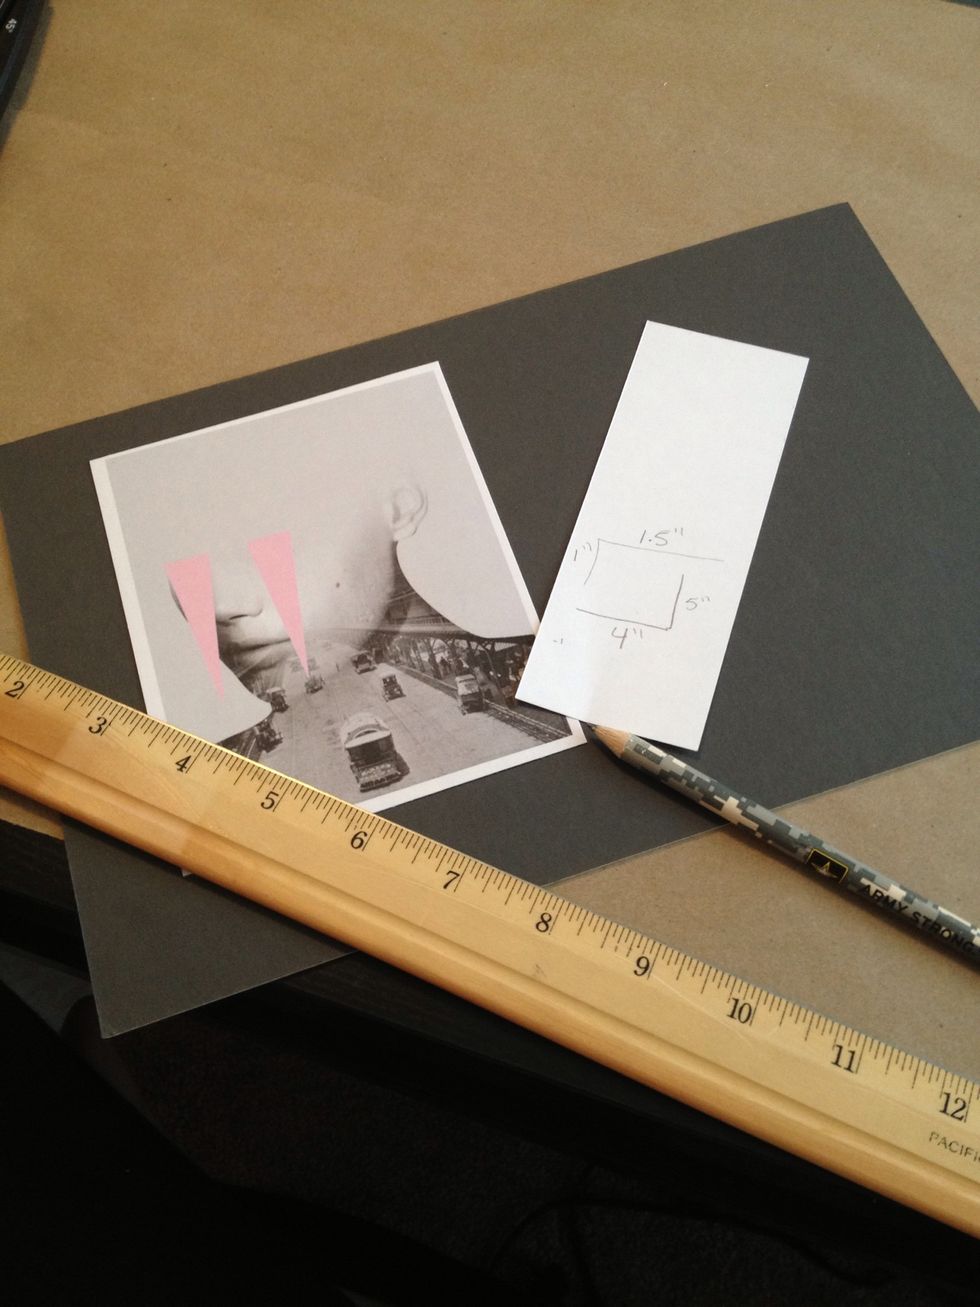
Gather the supplies.
First you need the mat board and image you will be framing. You're going to start by measuring your image and mat board for cutting.
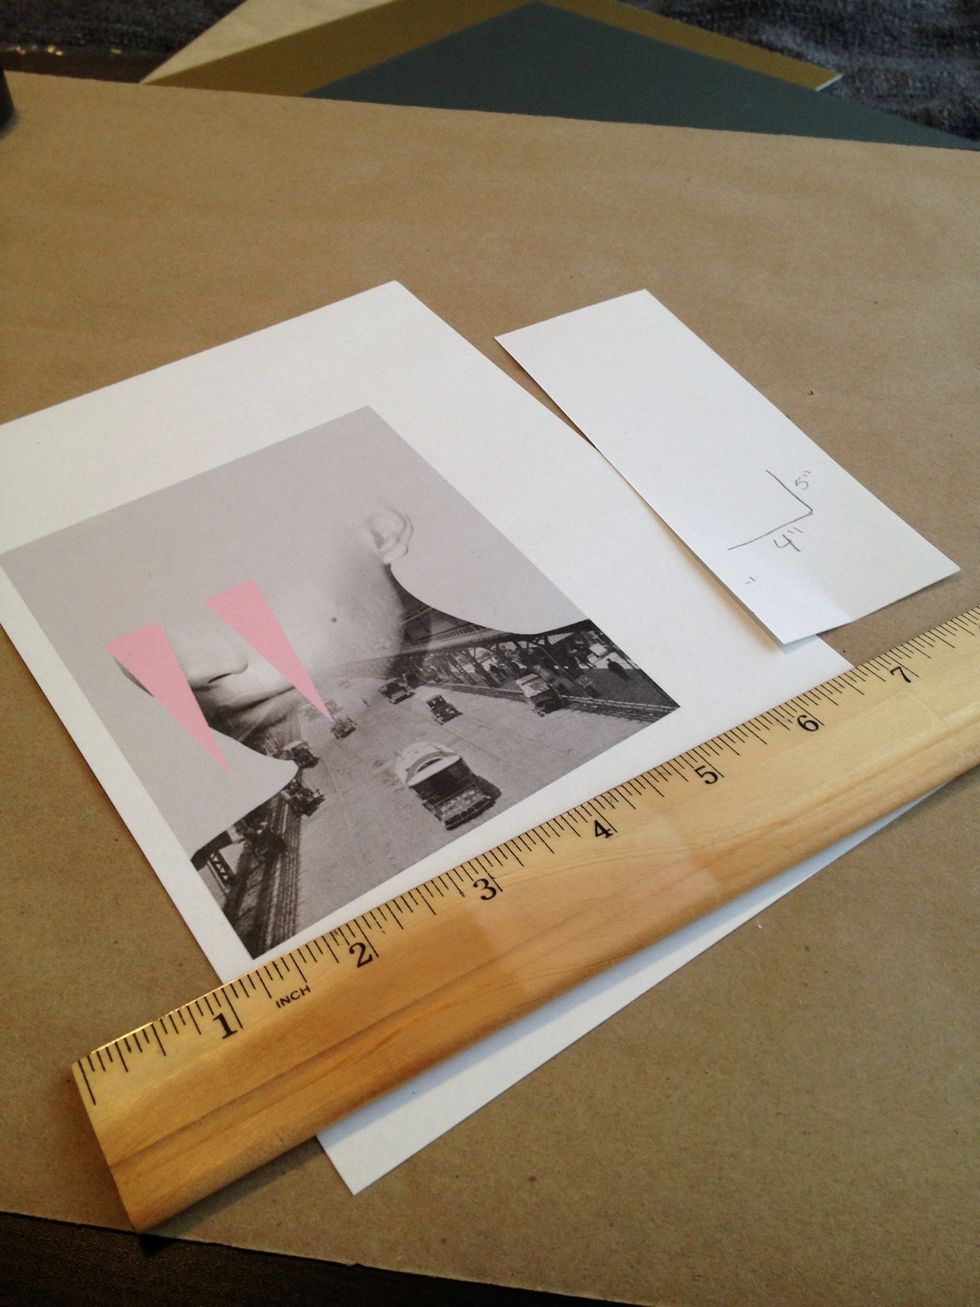
Google YouTube for "how to measure mat board" if you need help measuring.
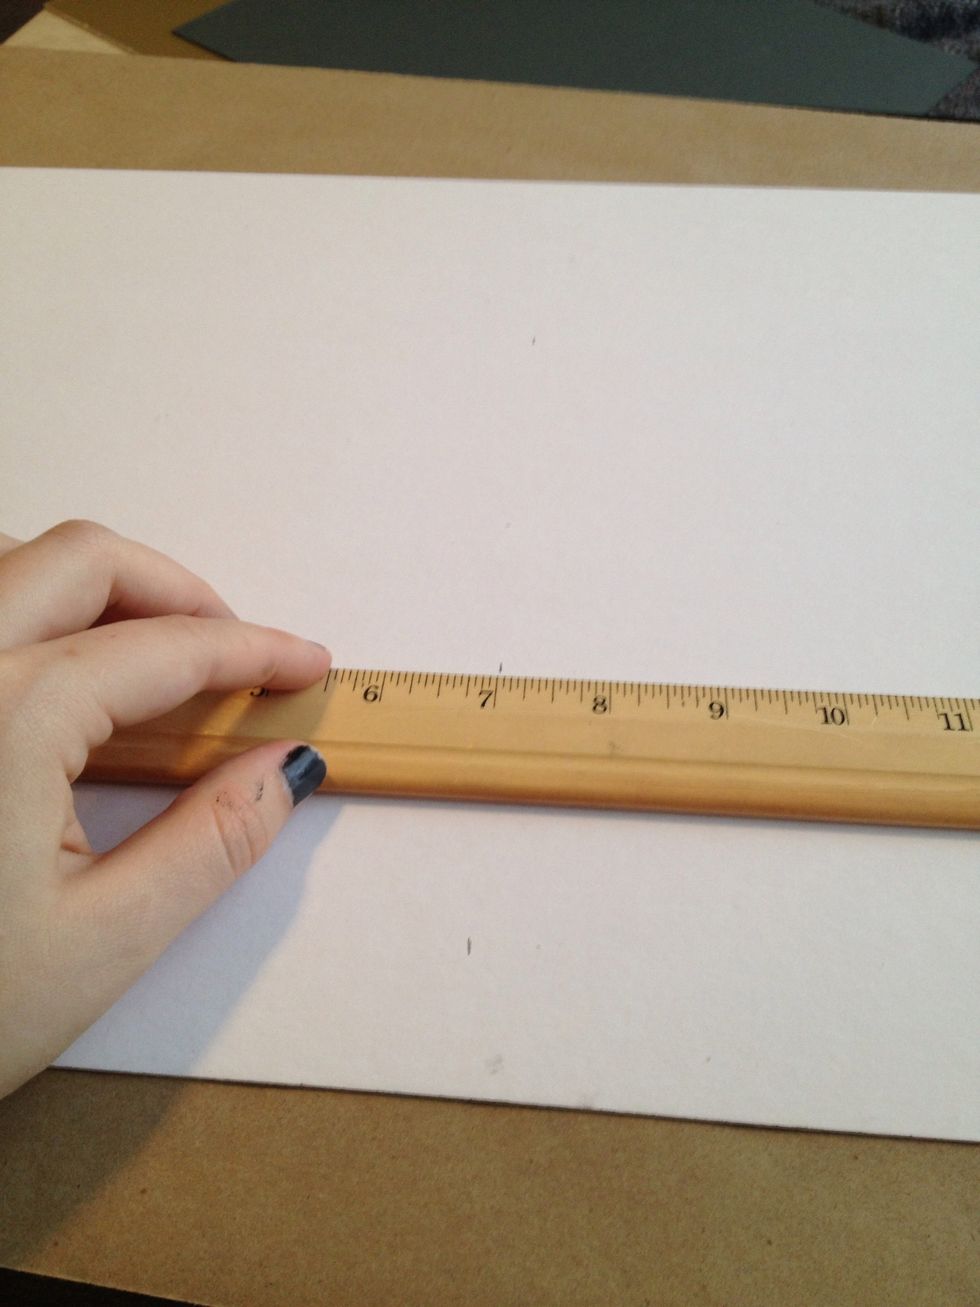
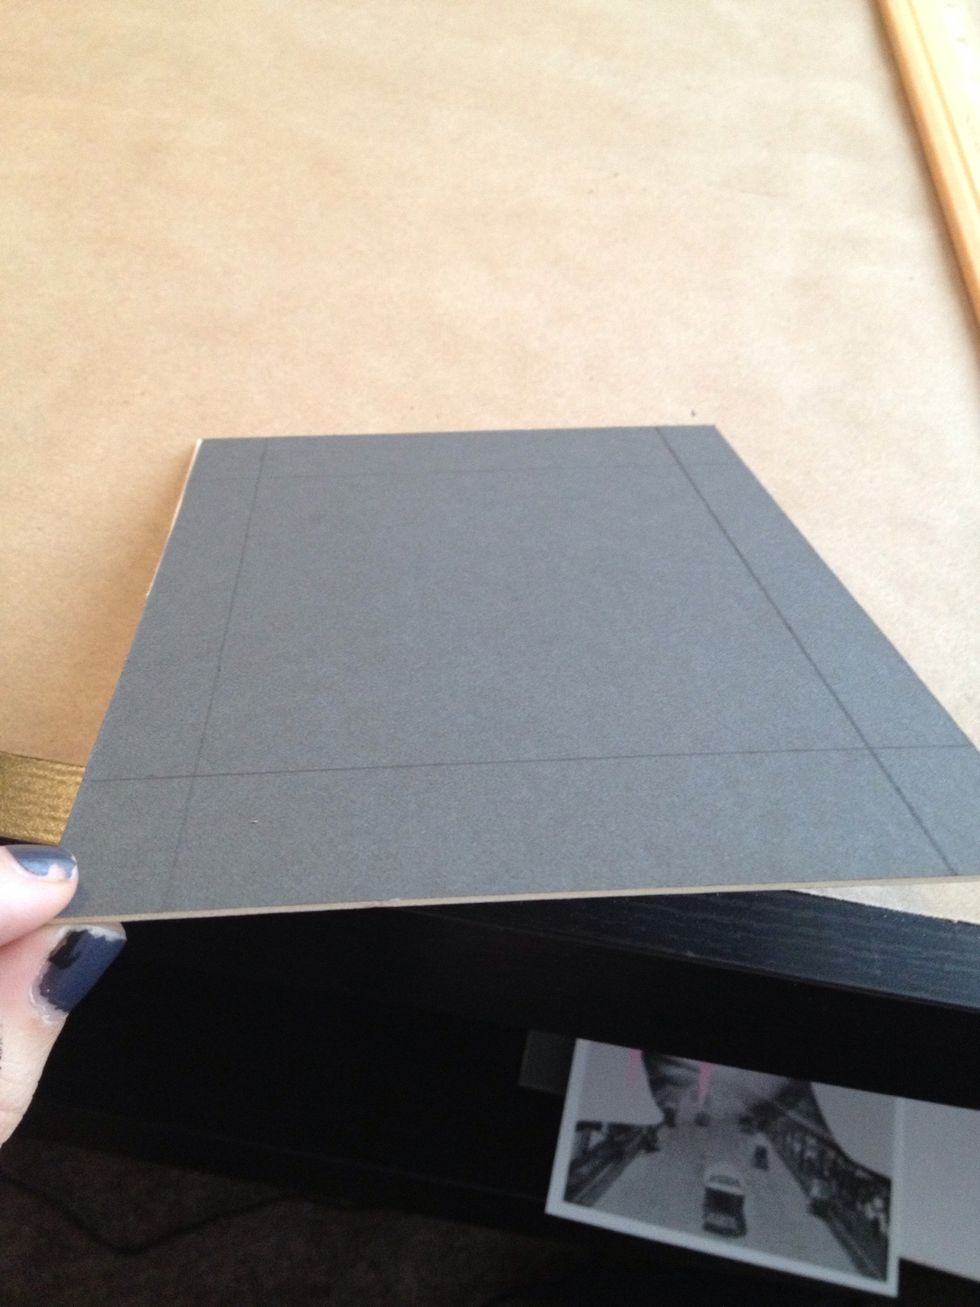
My board was 11x14, my image is much smaller so I cut the board in half. Using a ruler I marked 7 inches along the board
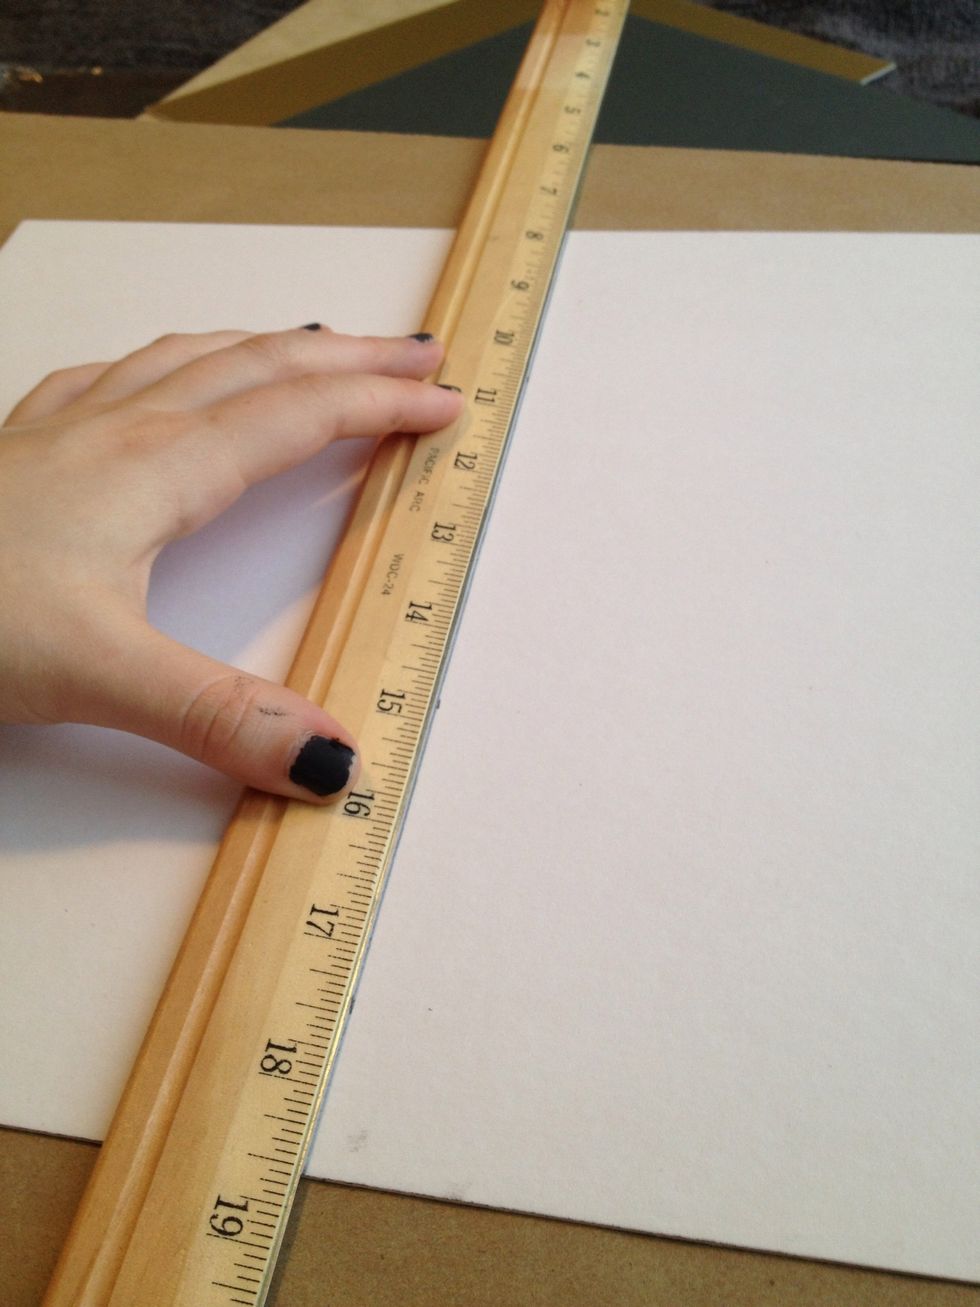
I used a ruler to connect the dots to ensure I had a straight line for cutting. *make sure you are marking the backside of the board
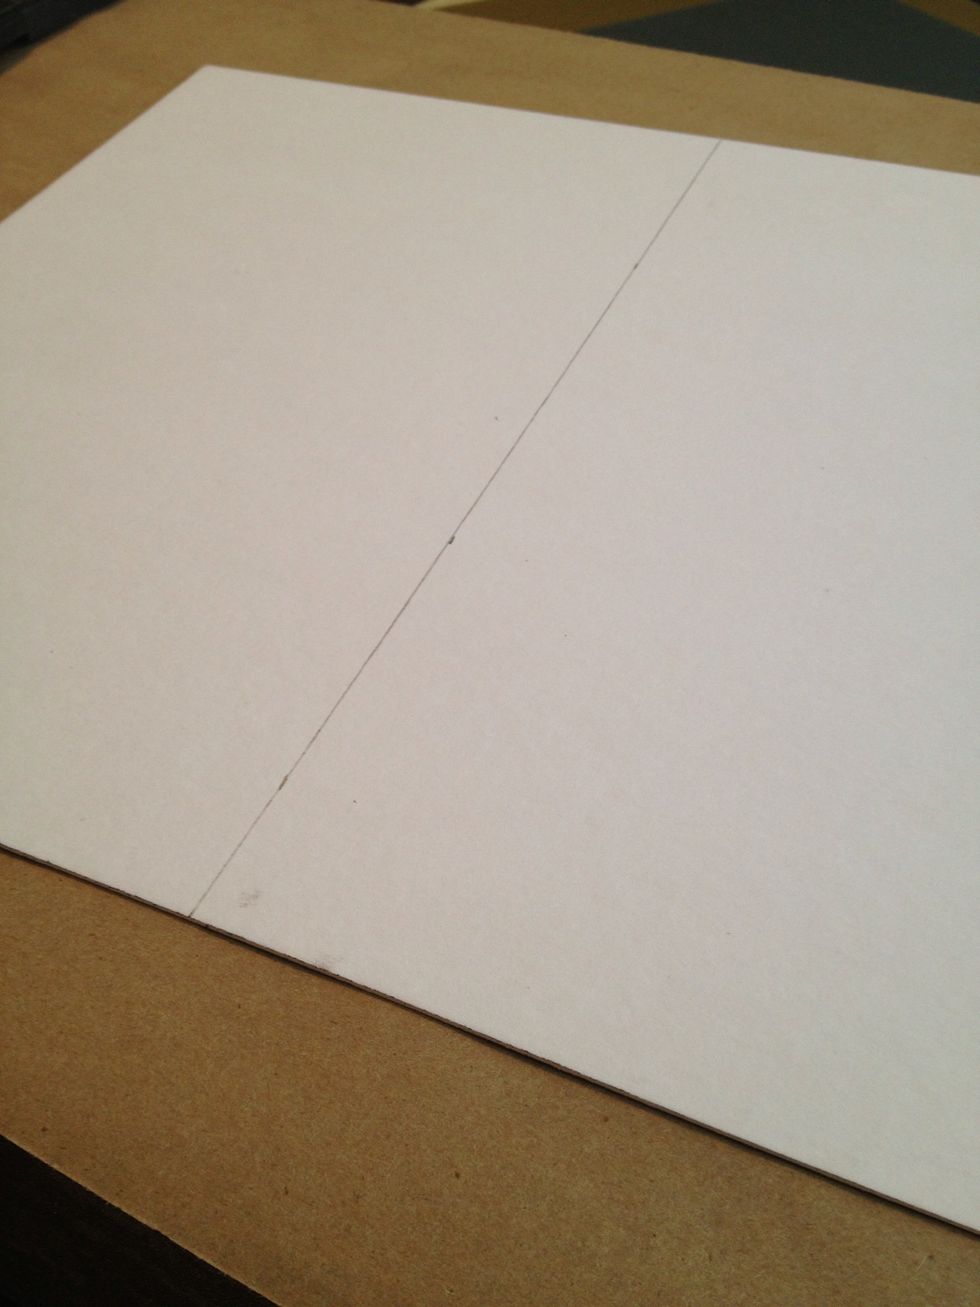
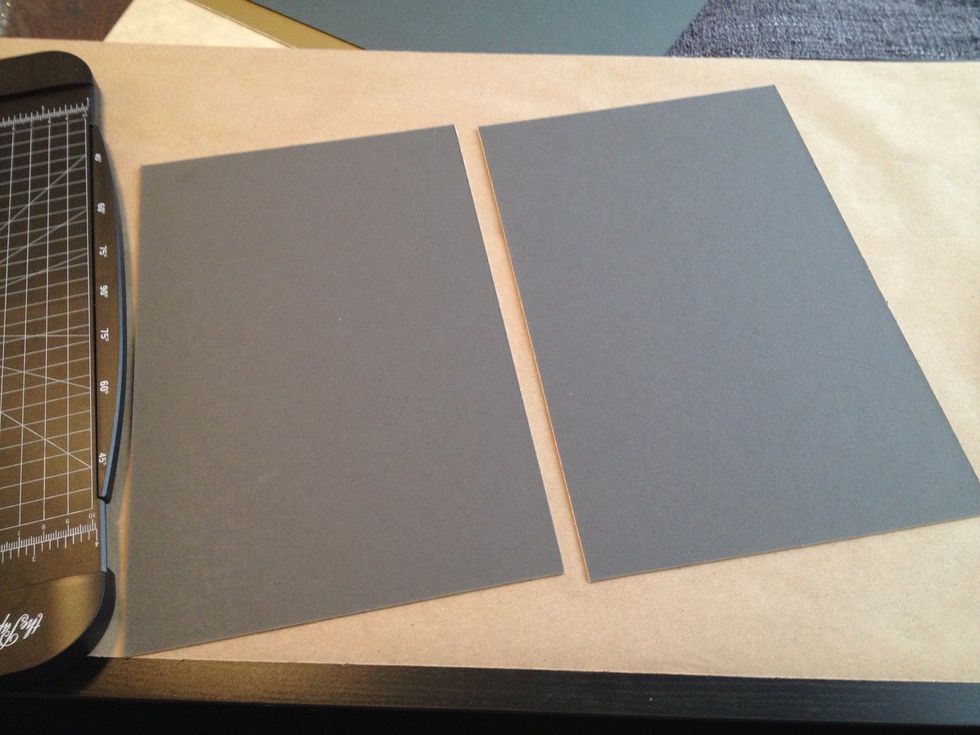
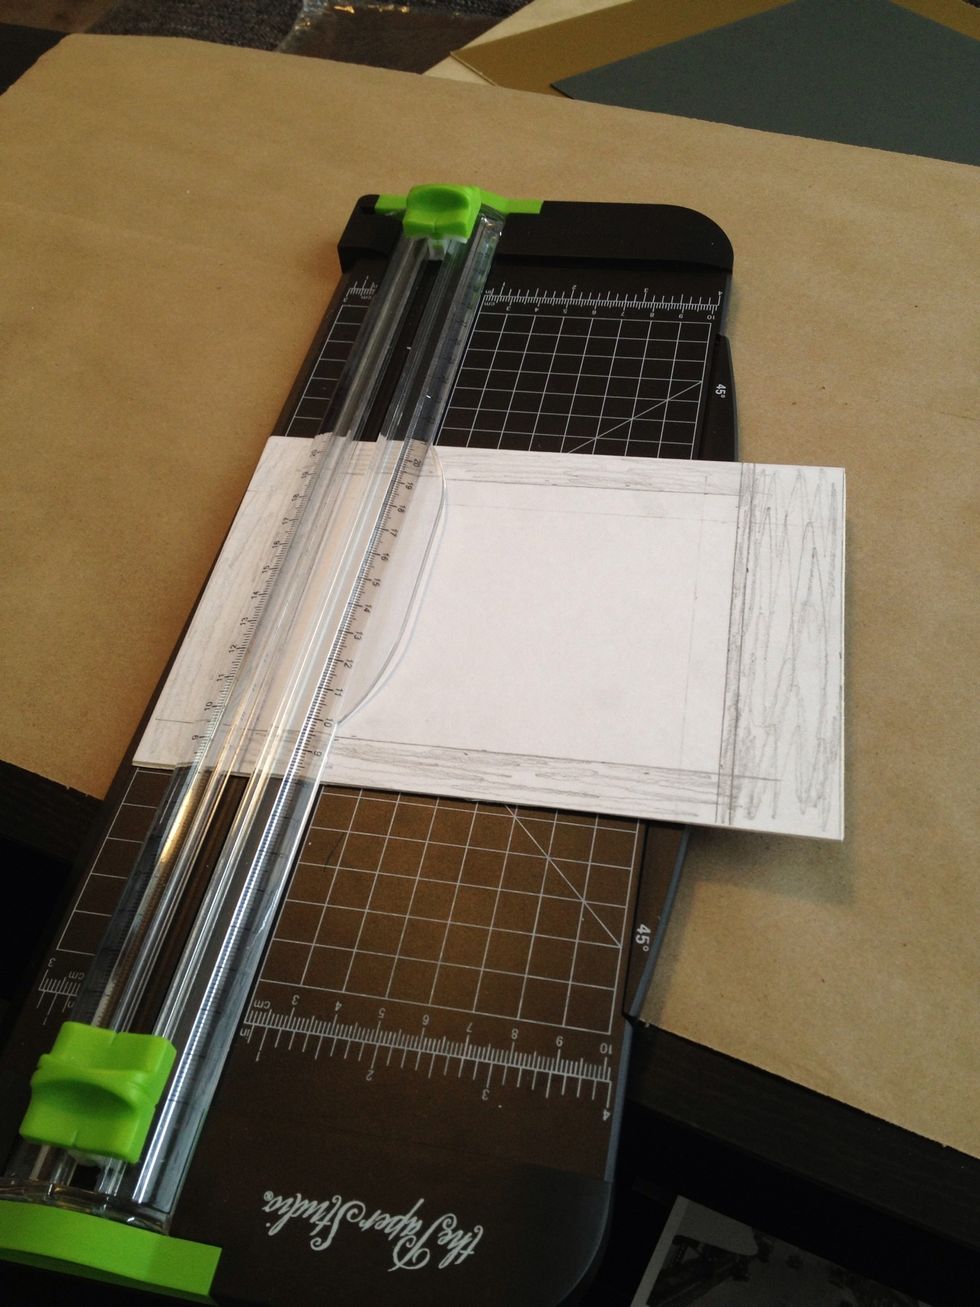
Now it's ready to cut
The straight line all the way down the board made it easier for me to align on my cutting board.
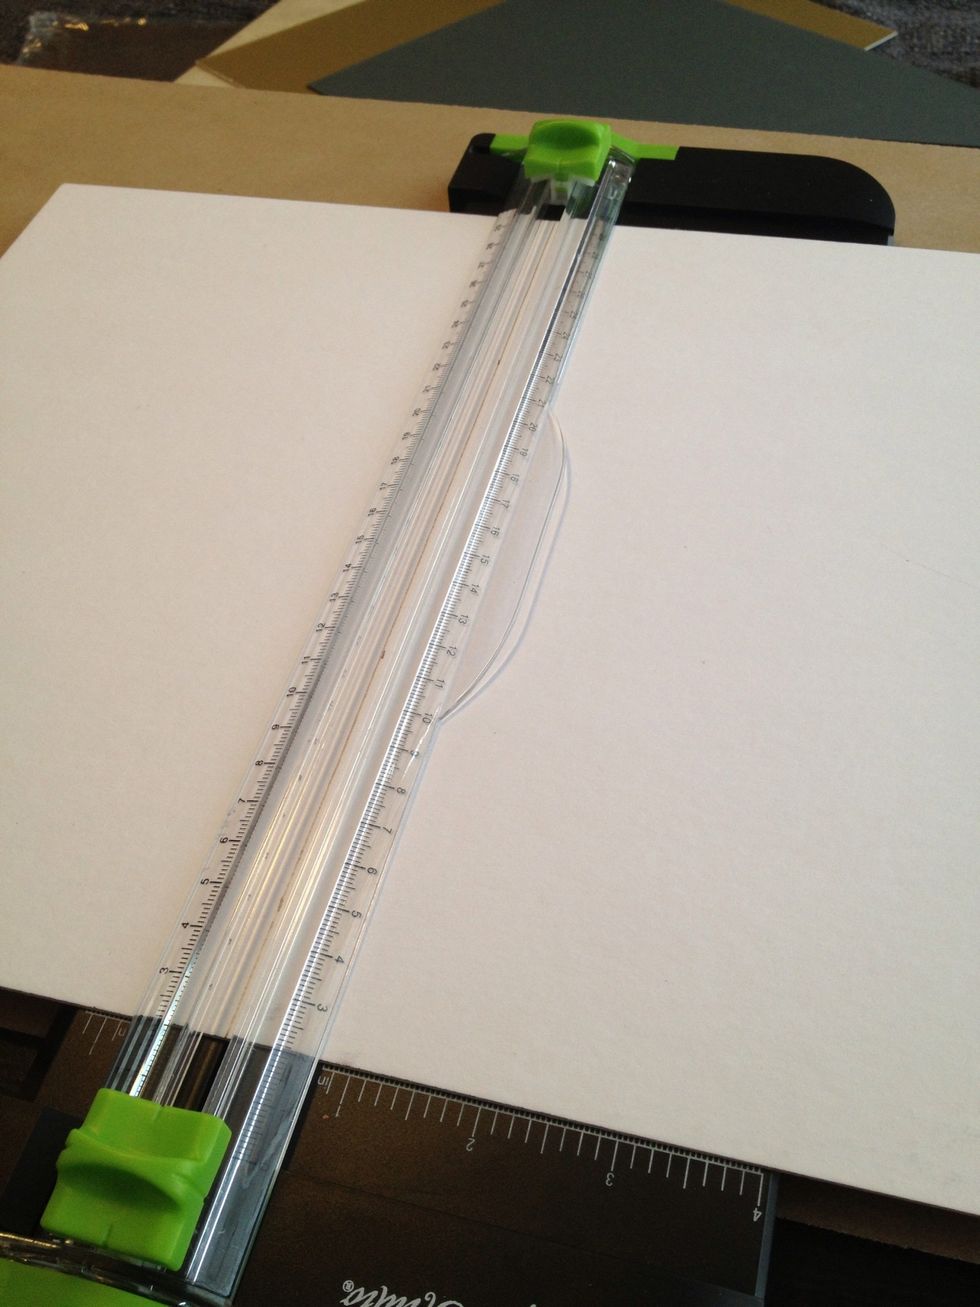
My paper cutter didn't cut all the way through my board. To compensate, I bent the board where it was perforated and on the opposite side drew a line in the groove
Draw a line on the groove to help you align the board on the cutter to get a clean cut
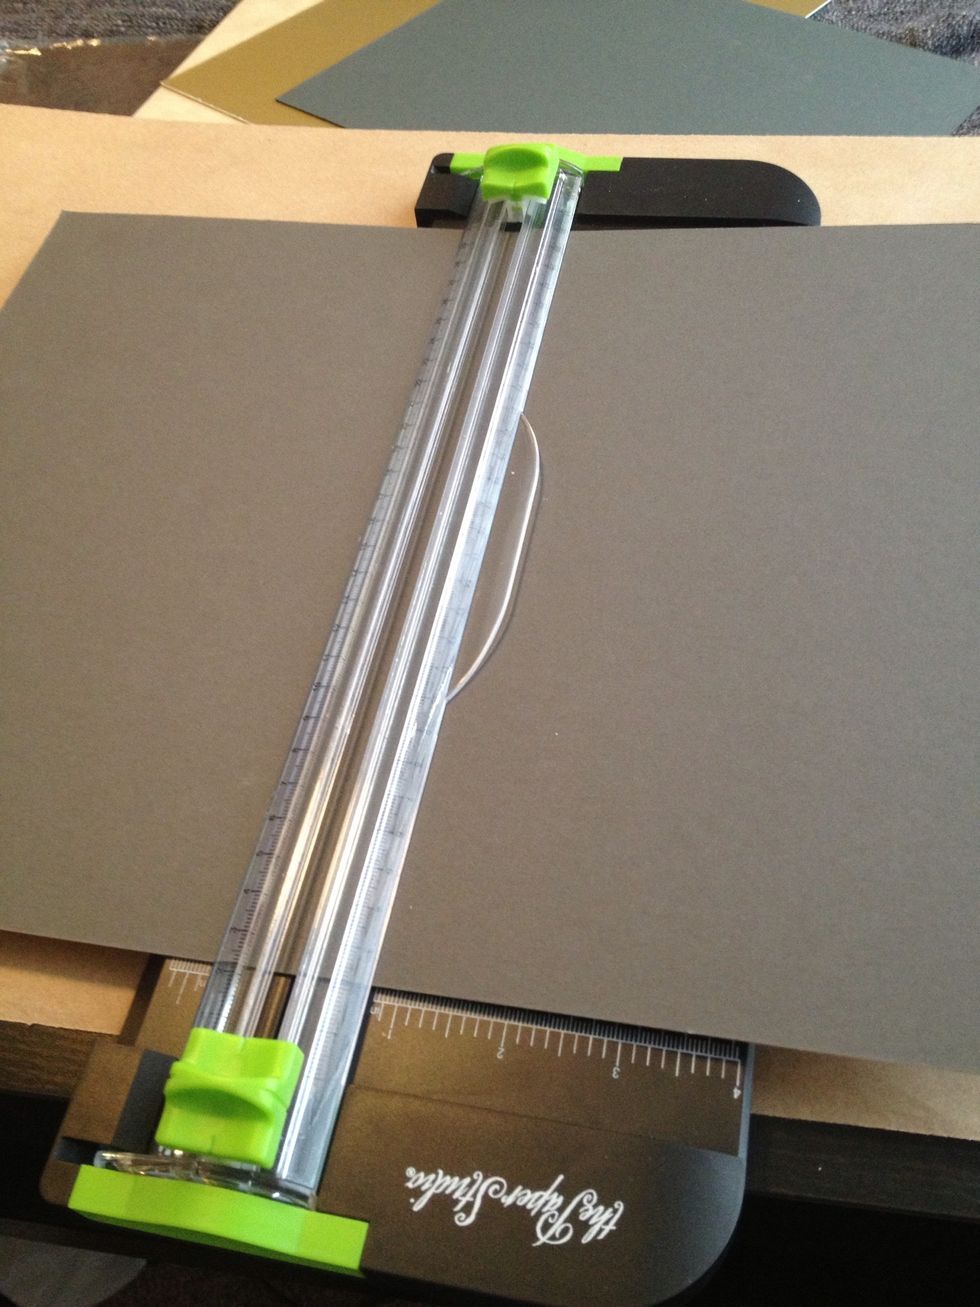
When cutting make sure to run the blade across a couple times.
Now it's time to mark the measurements where I will be cutting on the back of the mat
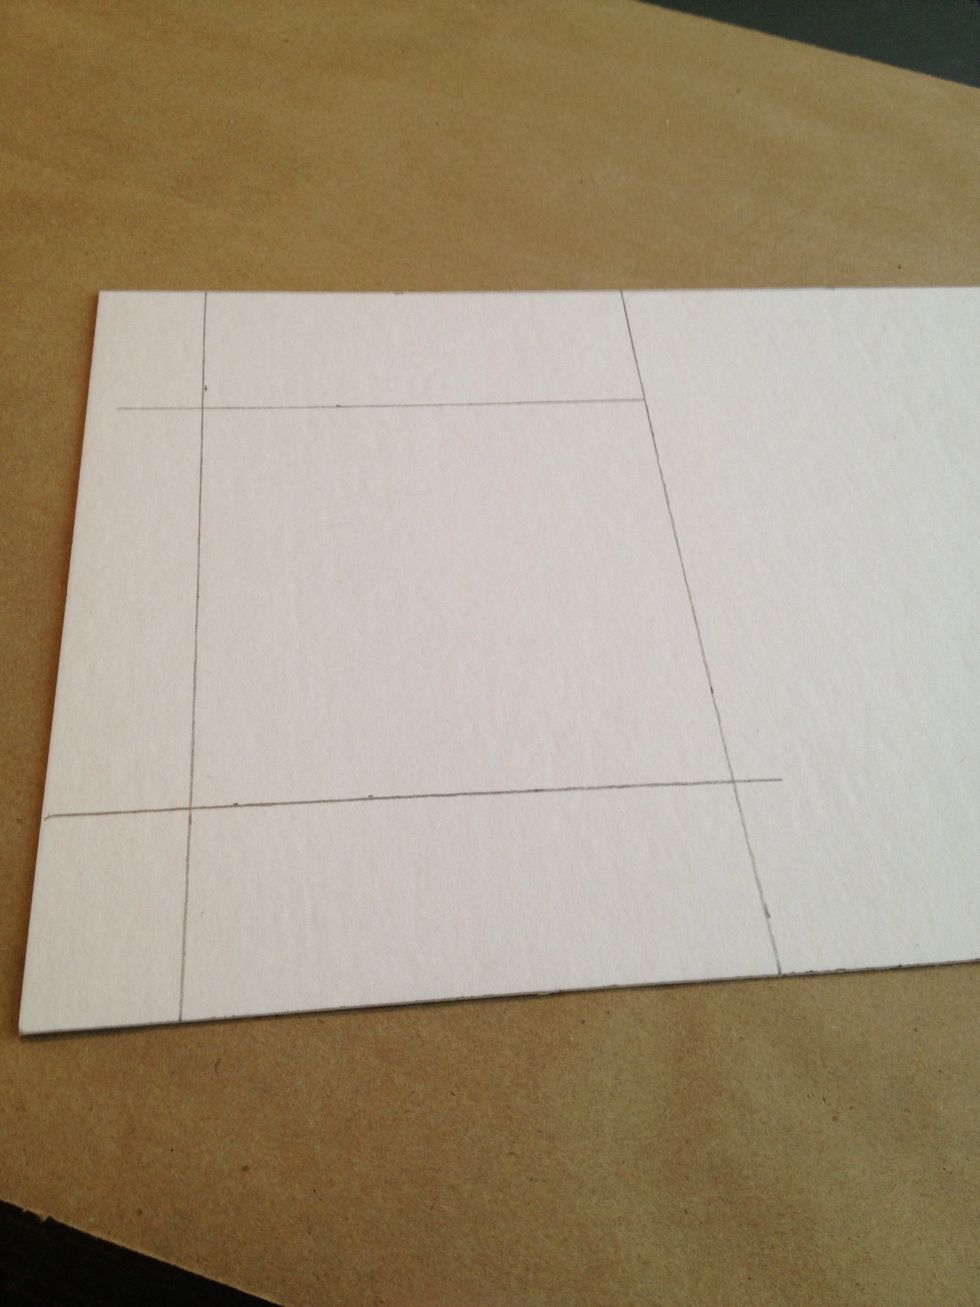
I'm bad at measuring, I had a few lines, so to make sure I cut the right lines I shaded in the area to void
Place your picture on the mat to ensure the measuring is to your satisfaction.
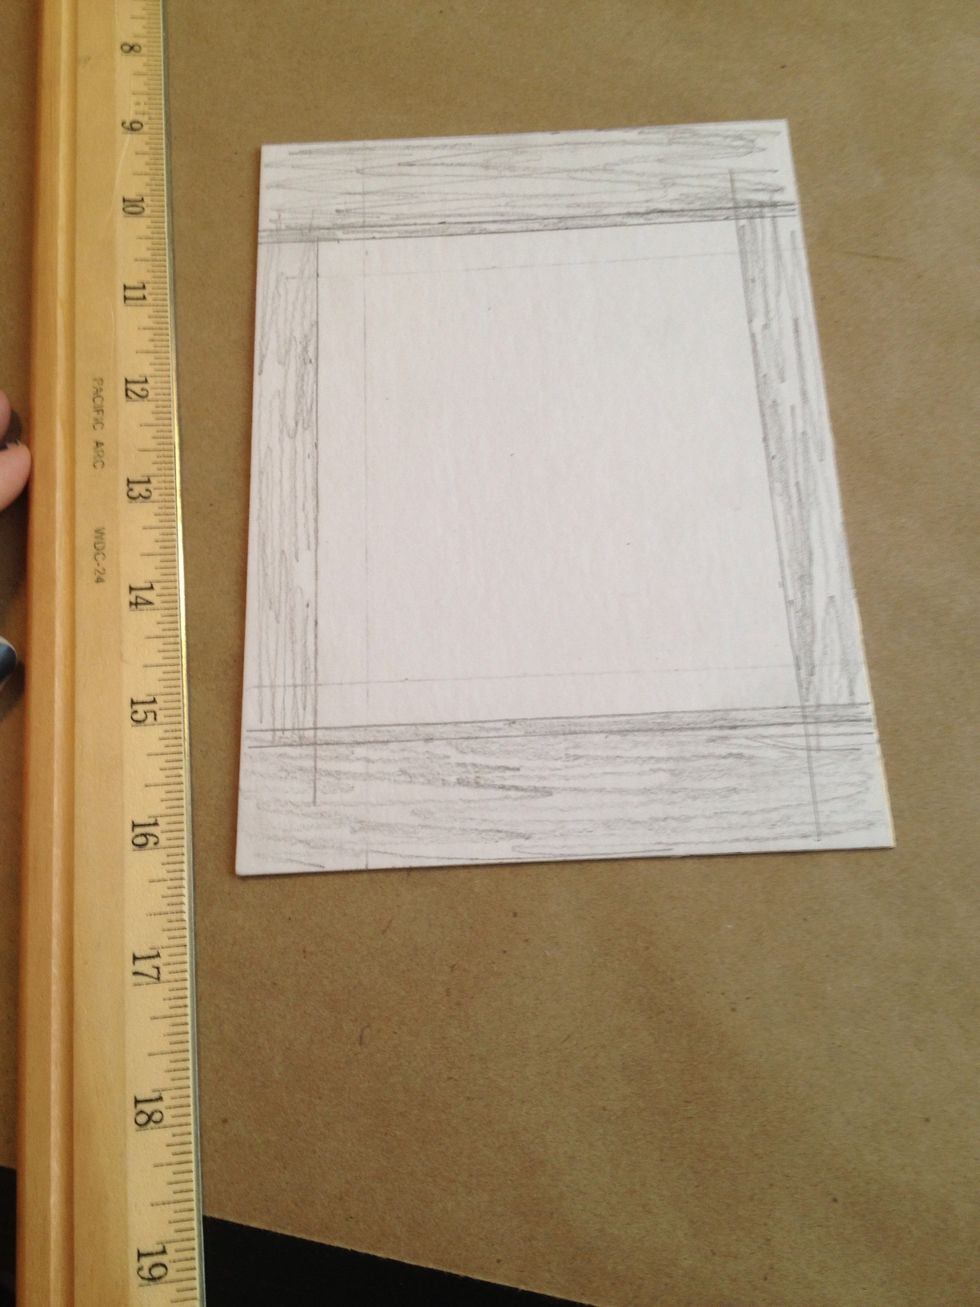
Next we are going to flip the image over and make the same measurement marking on the front. This is because my mat cutter doesn't cut all the way through.
Make sure to make light markings so you can erase them when it's completed
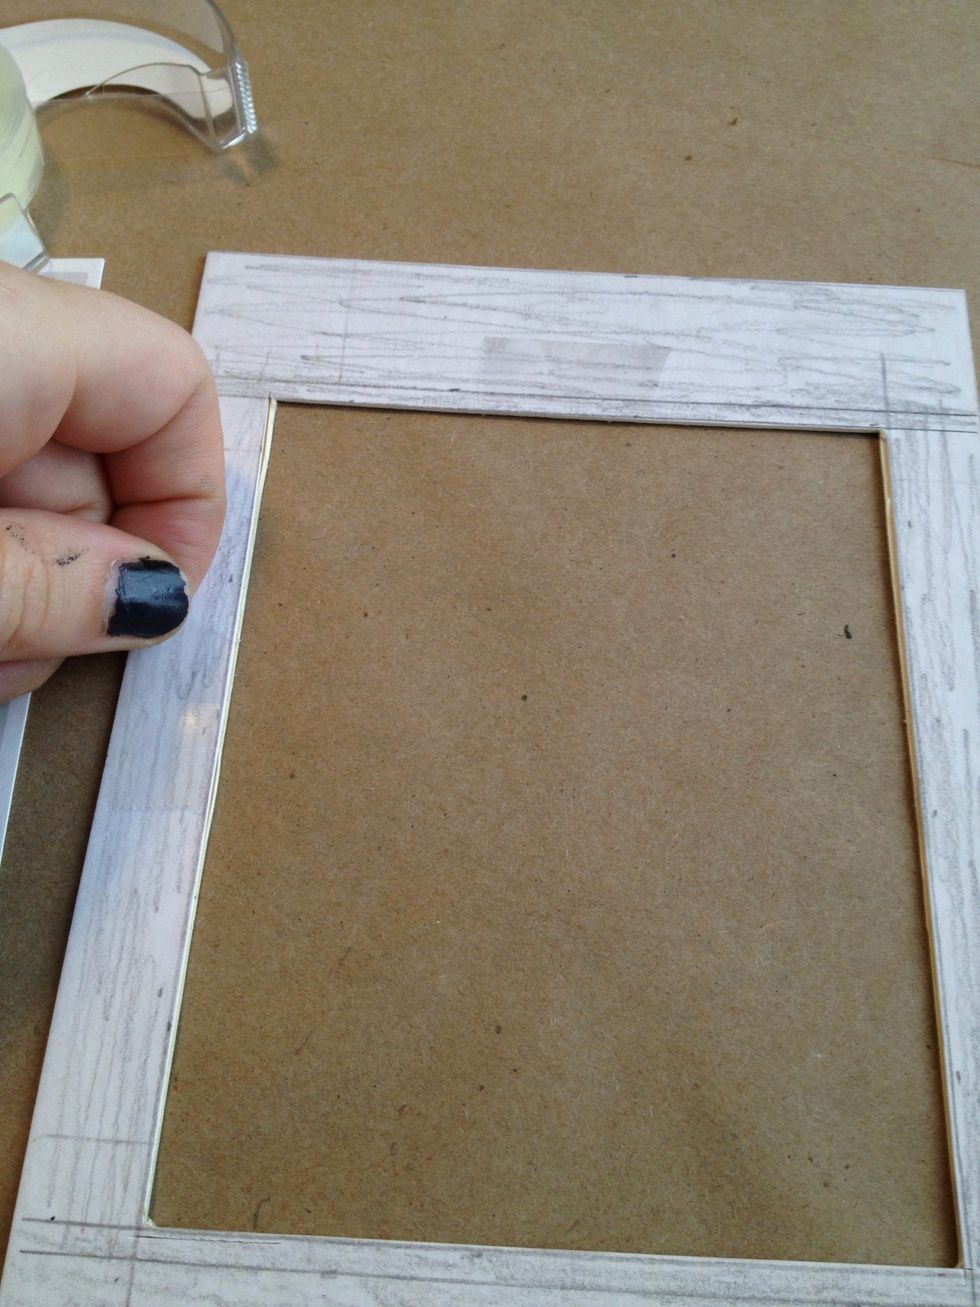
When you're ready to cut, start the cutting process on the back making sure to start and stop where the corners meet.
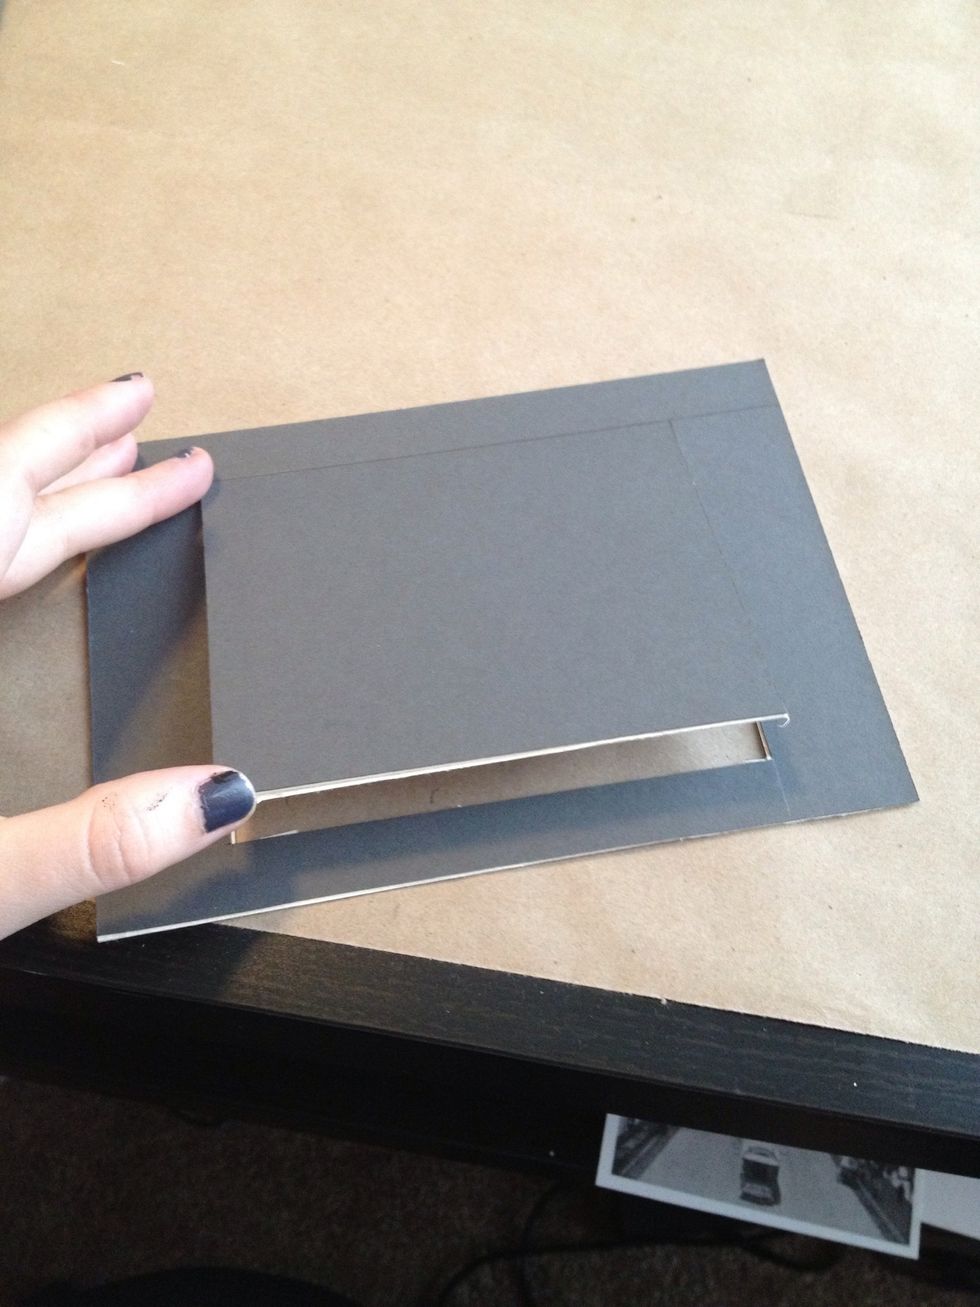
Flip the board over and do the same on the "face" side of the mat. When completed, the cut part of the board should pop out.
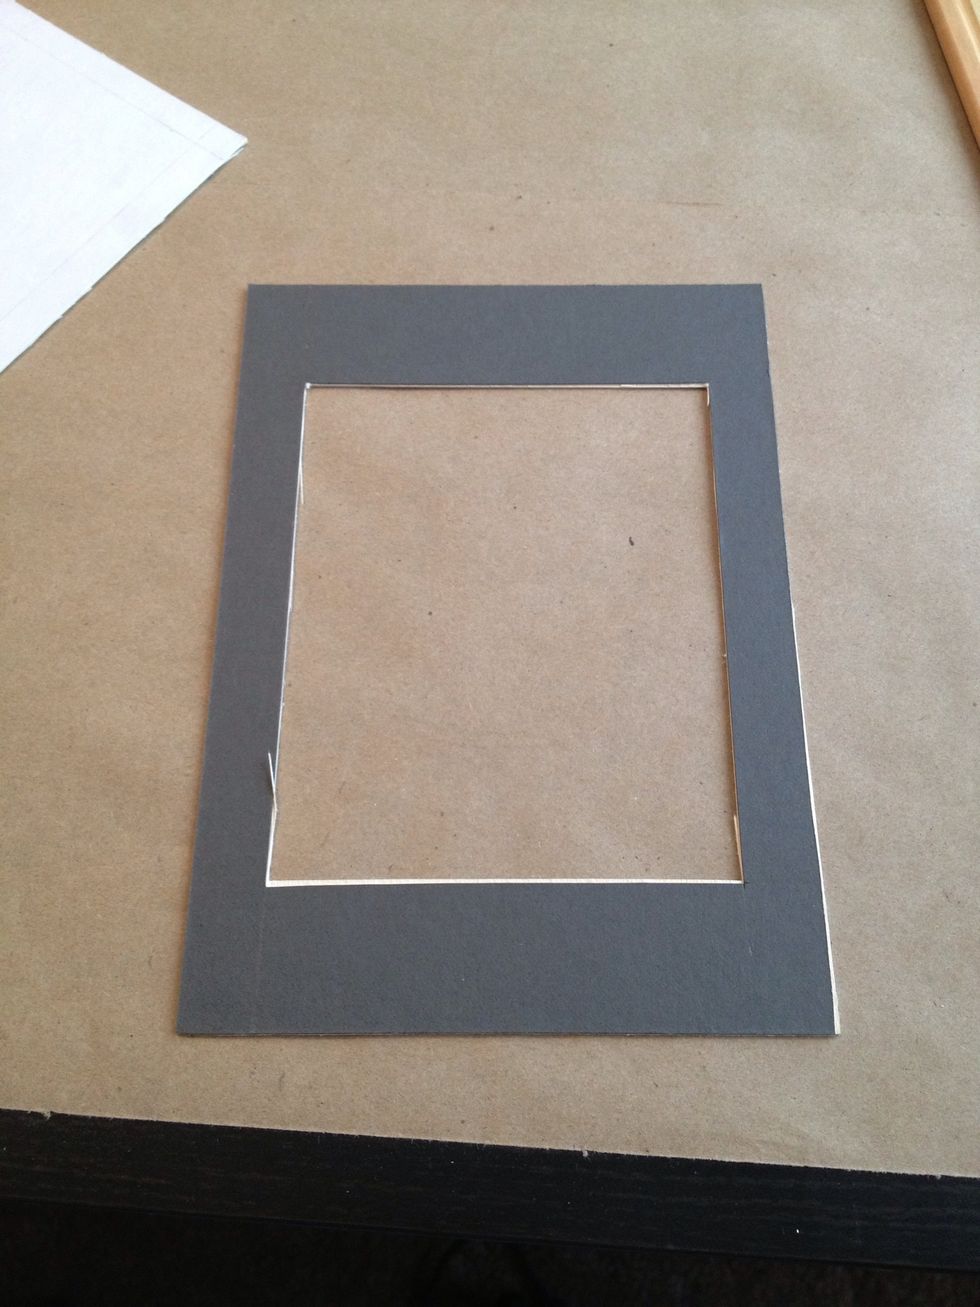
If you have strands of paper fibers, you can pull them off or use an exacto knife to run the blade across the edges
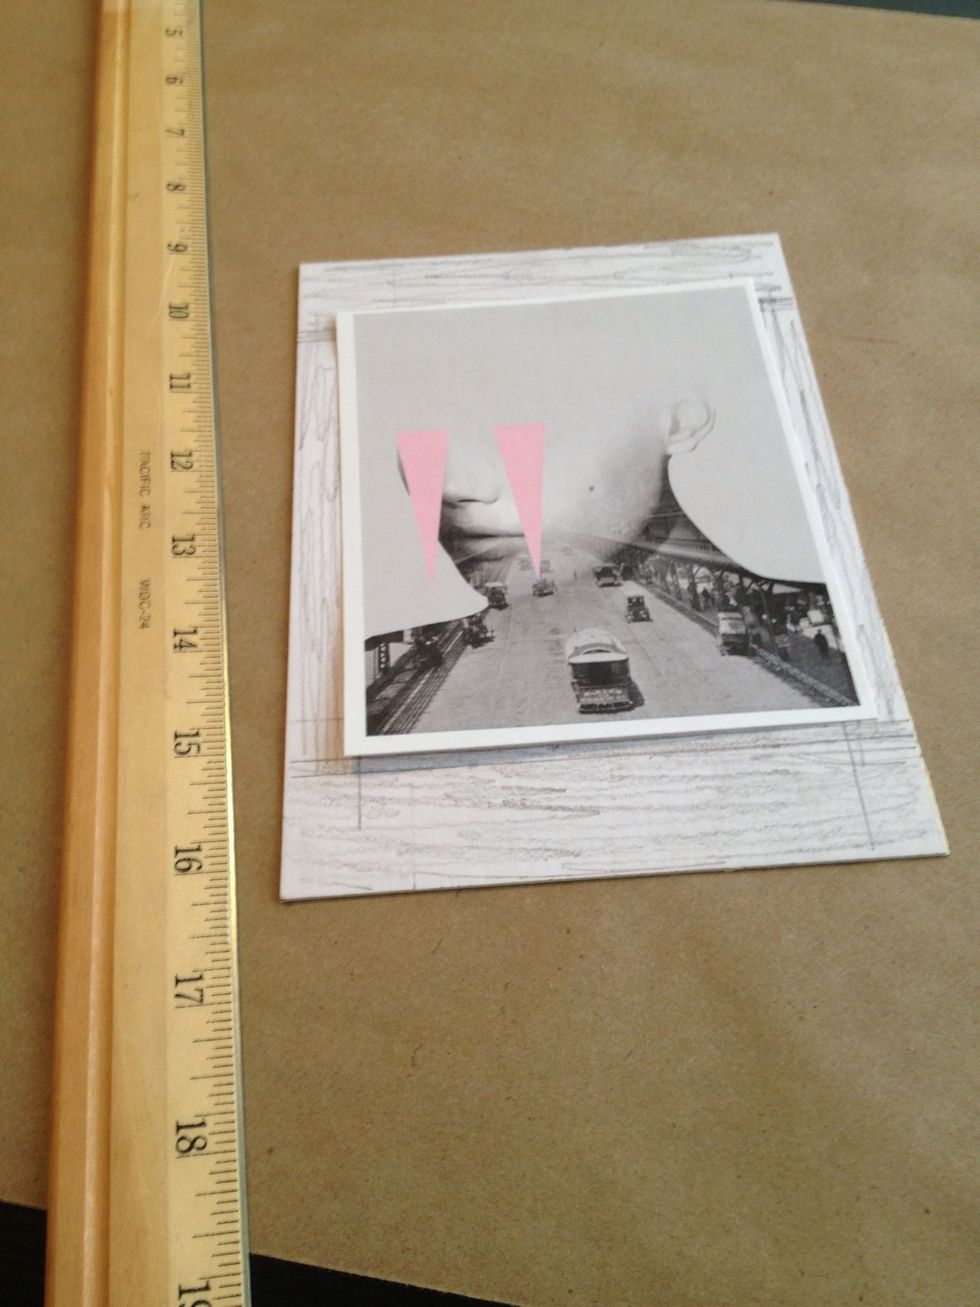
I use double sided tape on the back of the mat to attach the image.

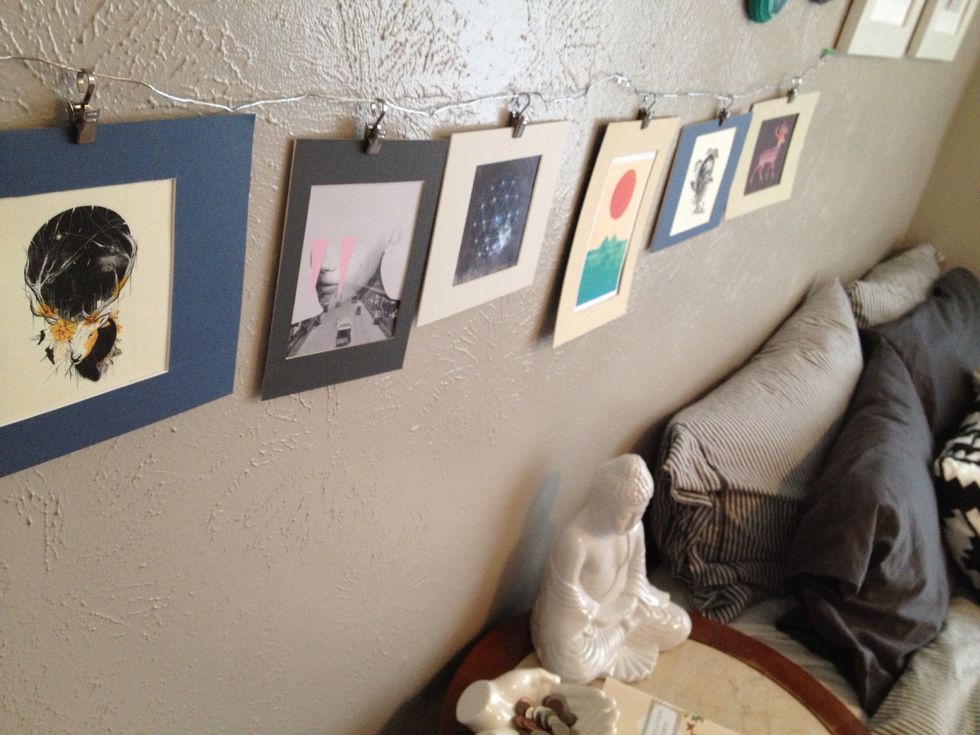
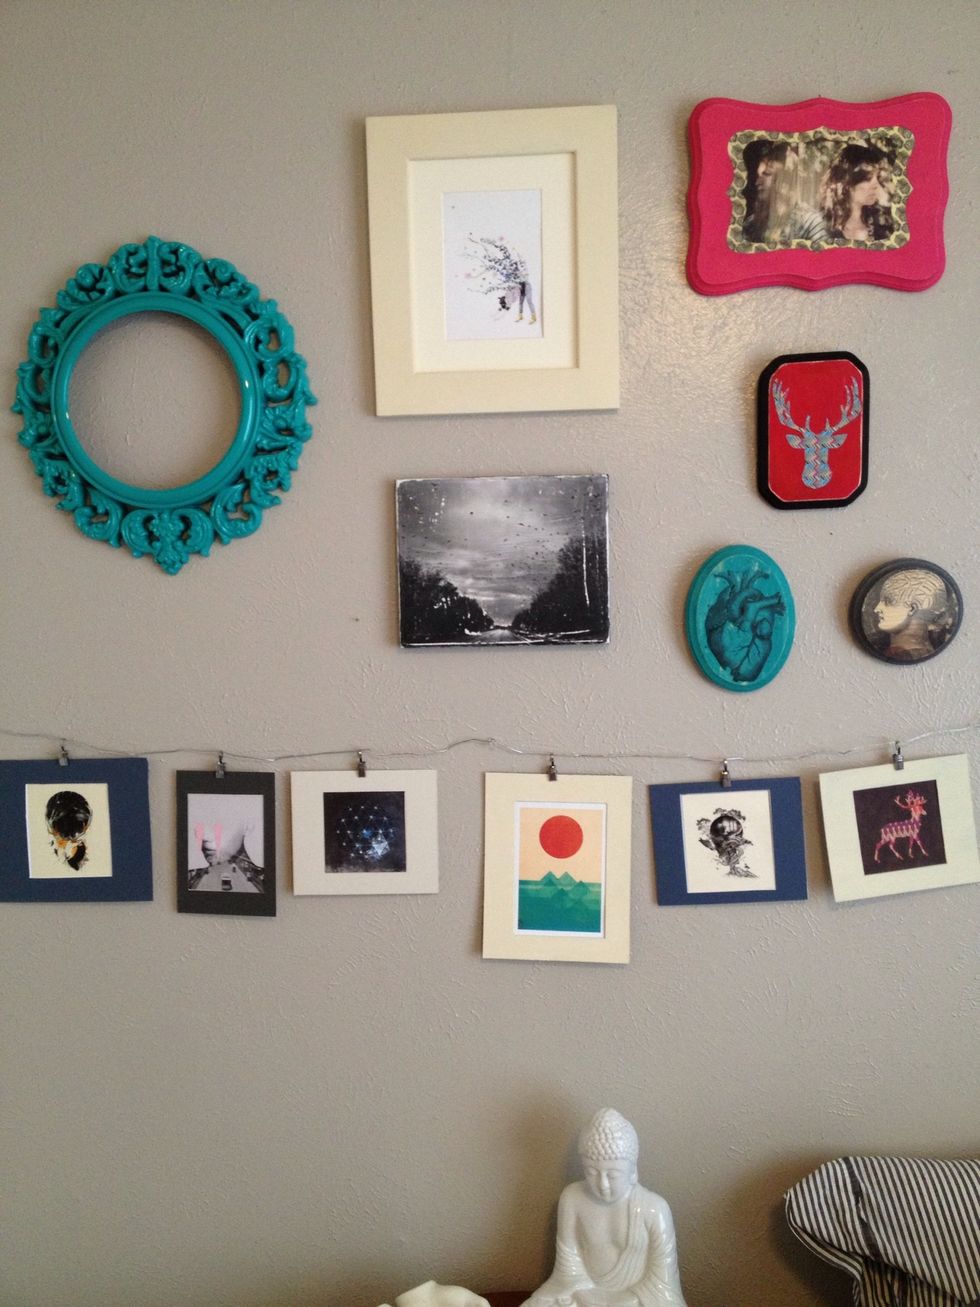
Lastly, lay your image down, take your mat and align where you want the image to be placed. When you have the view, press the mat board down on the image
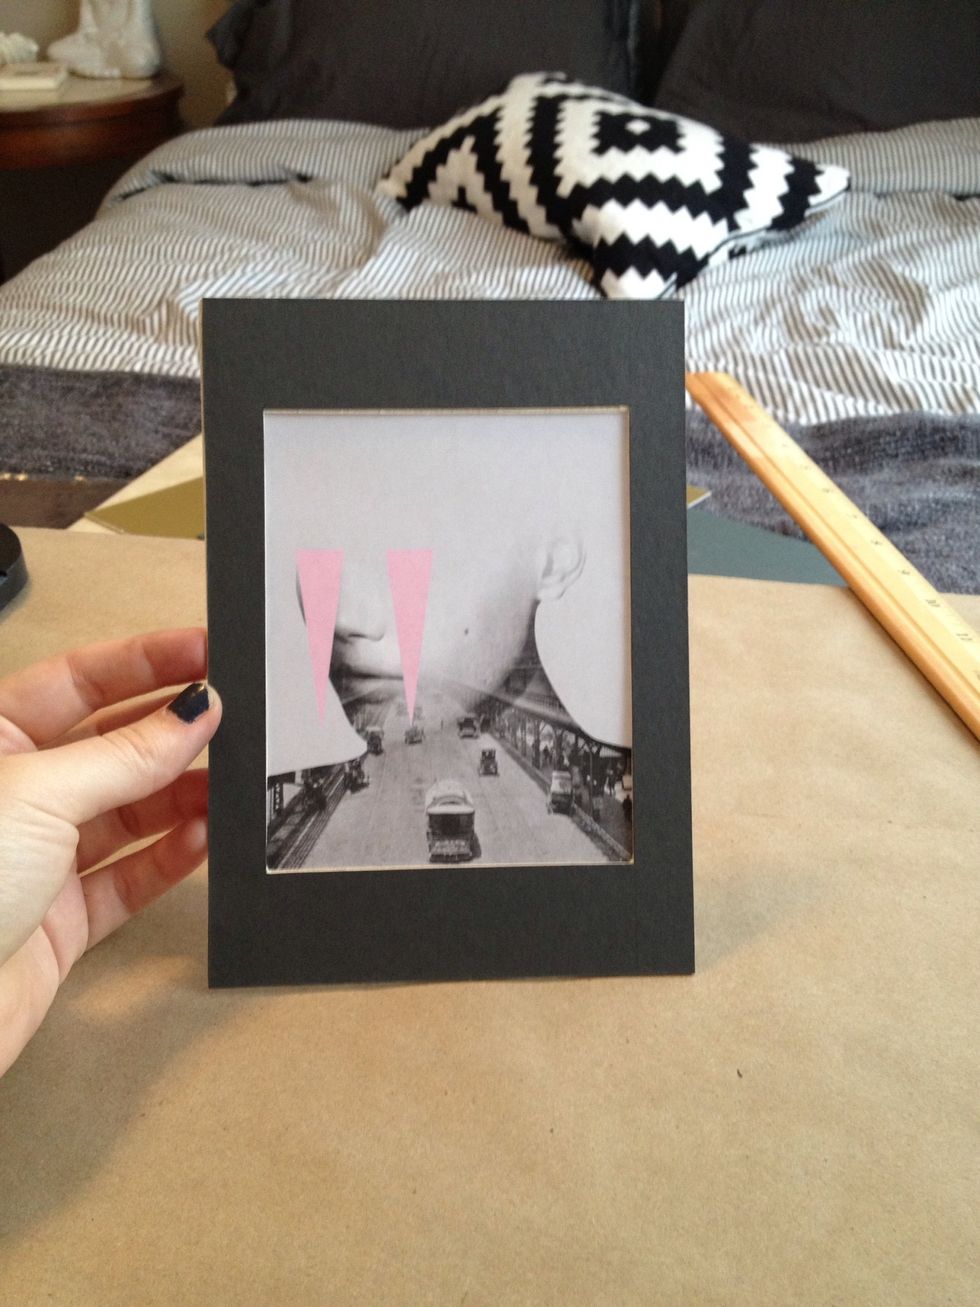
Press down on the sides to make sure the mat board is secure :)