The Conversation (0)
Sign Up
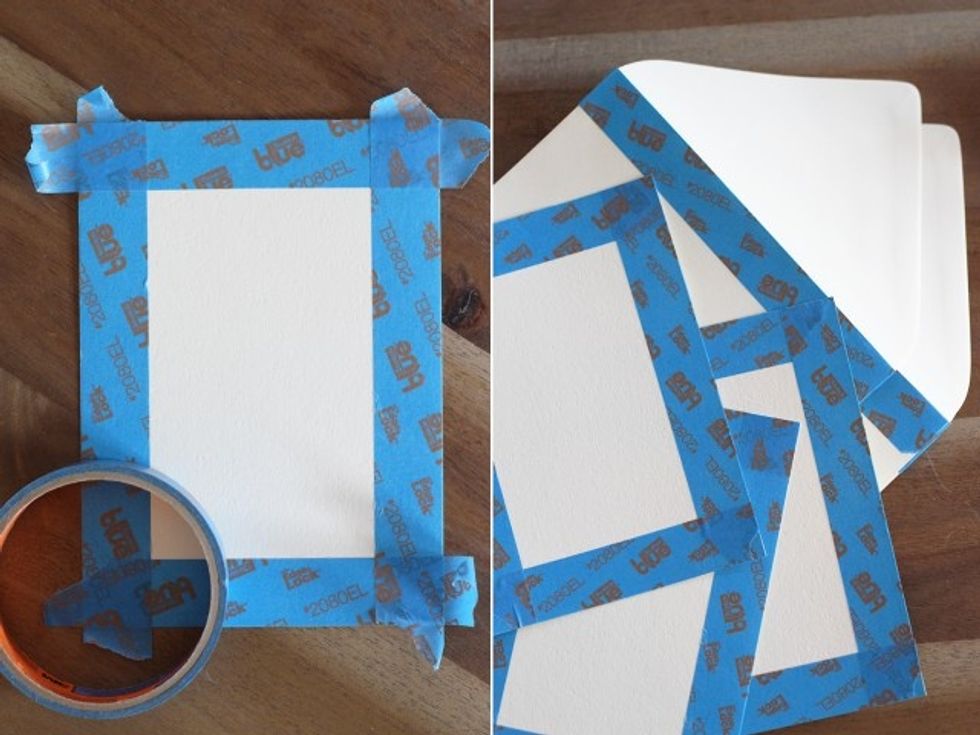
Start by masking off edges and backside of paper. It is important to use thick paper, so the shaving cream does not seep through!
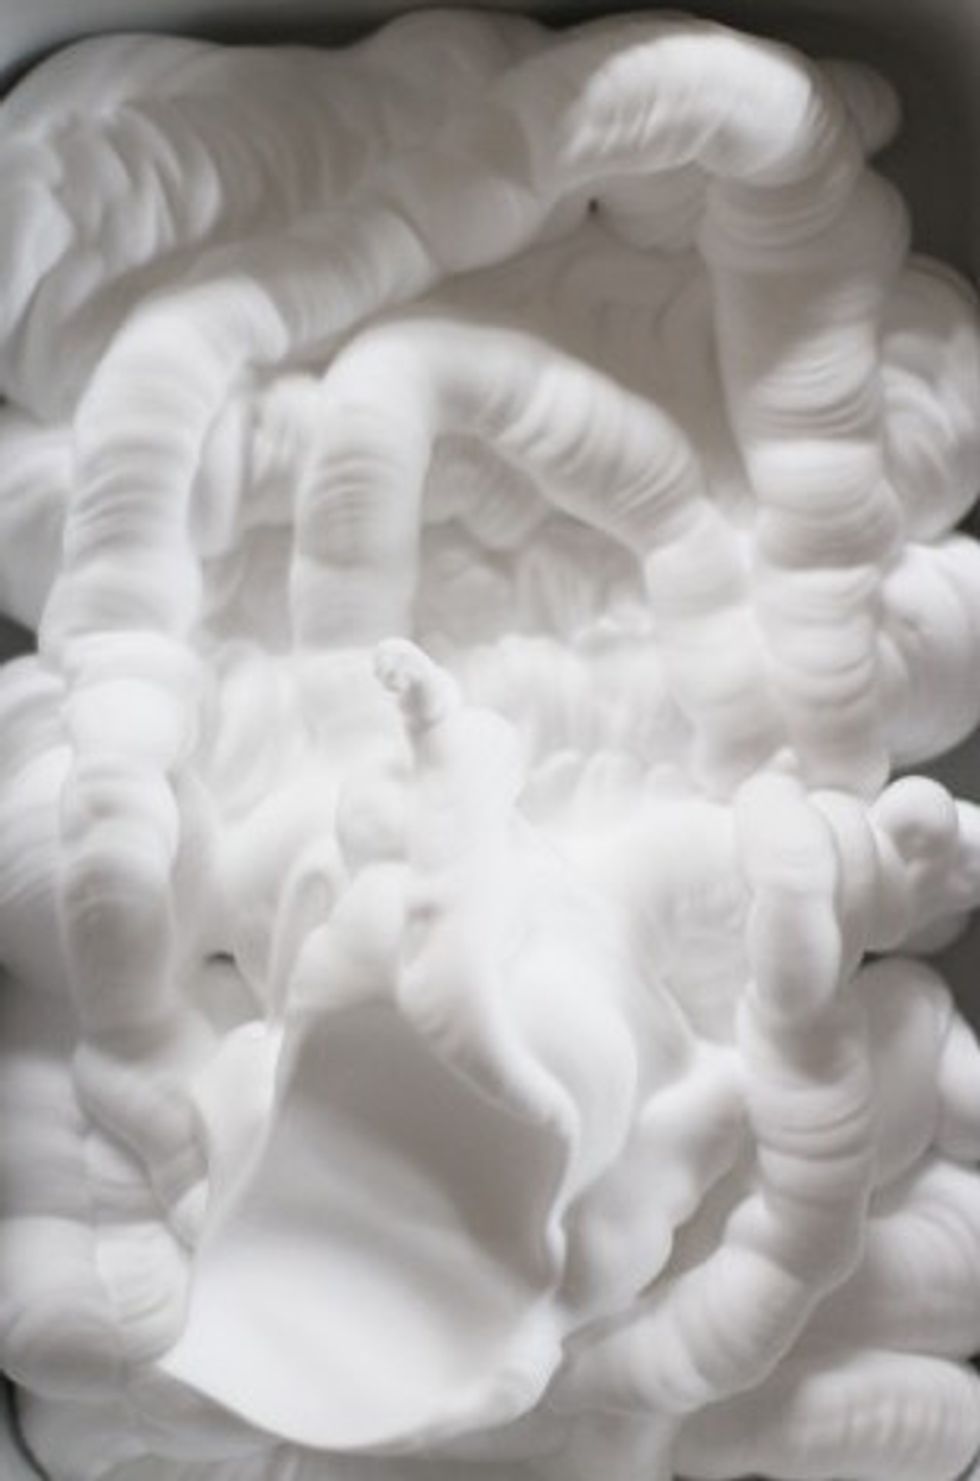
Get the large dish and spray an ample amount of shaving cream into the bottom, making sure the paper can fit nicely inside.
Next, squeeze a few drops of food coloring into the shaving cream - A little goes a long way!
Take kitchen utensil (spatula or wooden spoon would work) and gently fold over the shaving cream, mixing the color in "swirls".
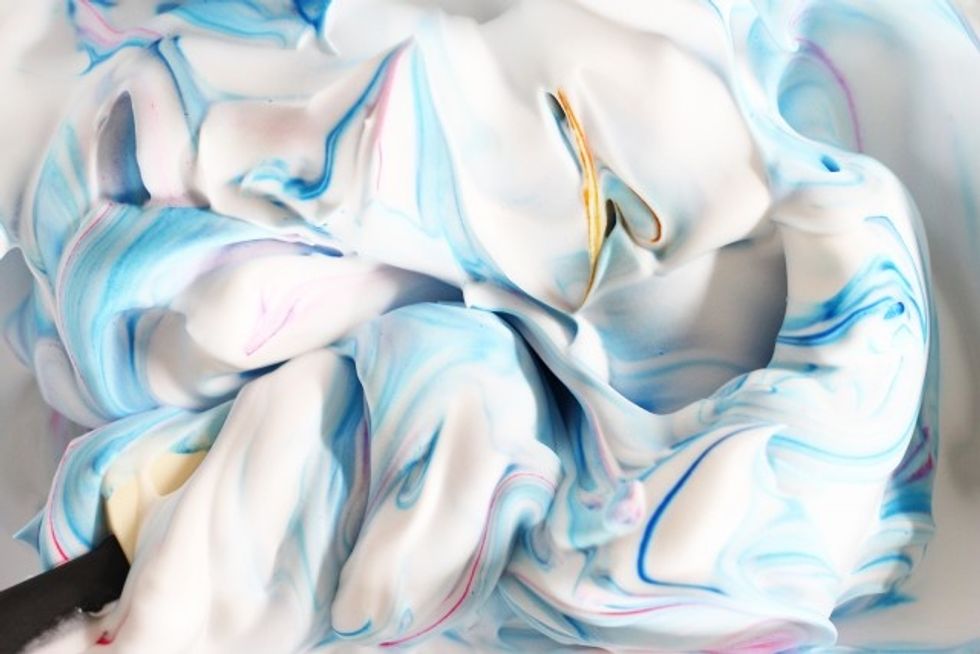
You can always add more than one color to the shaving cream, just be careful not to over mix or blend the colors too much!
Place the paper (tape side up) on the shaving cream mixture, pressing down hard. Be careful - Do not leave the paper on too long or it will get wet.
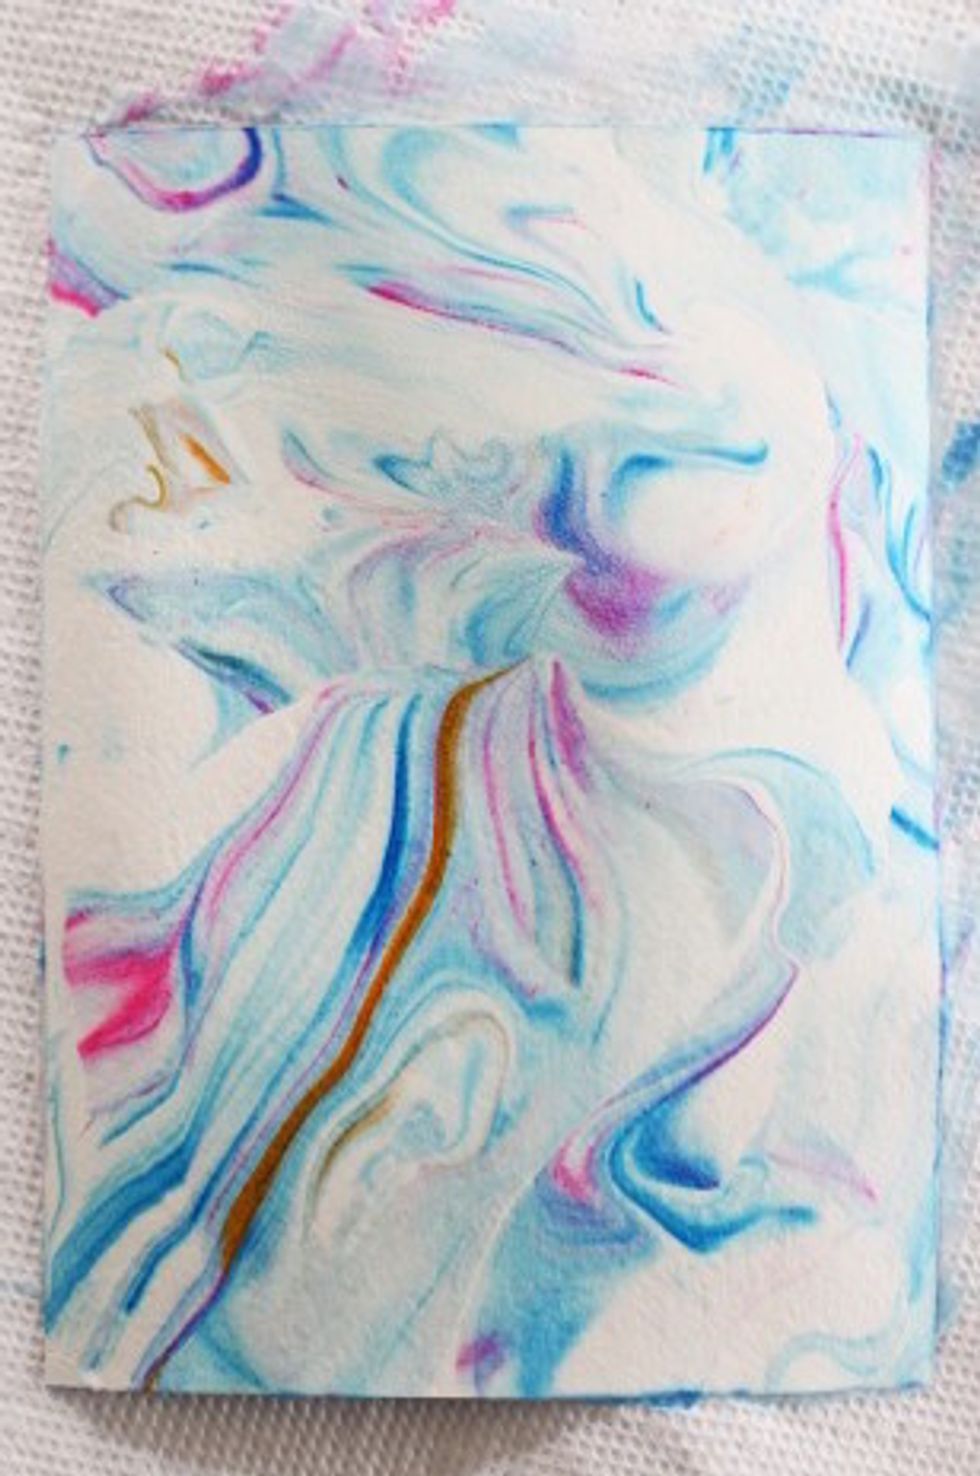
Remove paper and place on paper towel. Take ruler and neatly swipe off the shaving cream (in one solid motion).
If a little shaving cream remains on the paper, take an extra paper towel and wipe off any excess.... and ta-da! You now have a beautiful marbled piece of artwork of your own!
However, due to the moisture of the shaving cream left on the paper... Place paper under a heavy, flat object (like a book) and let dry.
Best part about this project - You never know what your art is going to look like!