The Conversation (0)
Sign Up
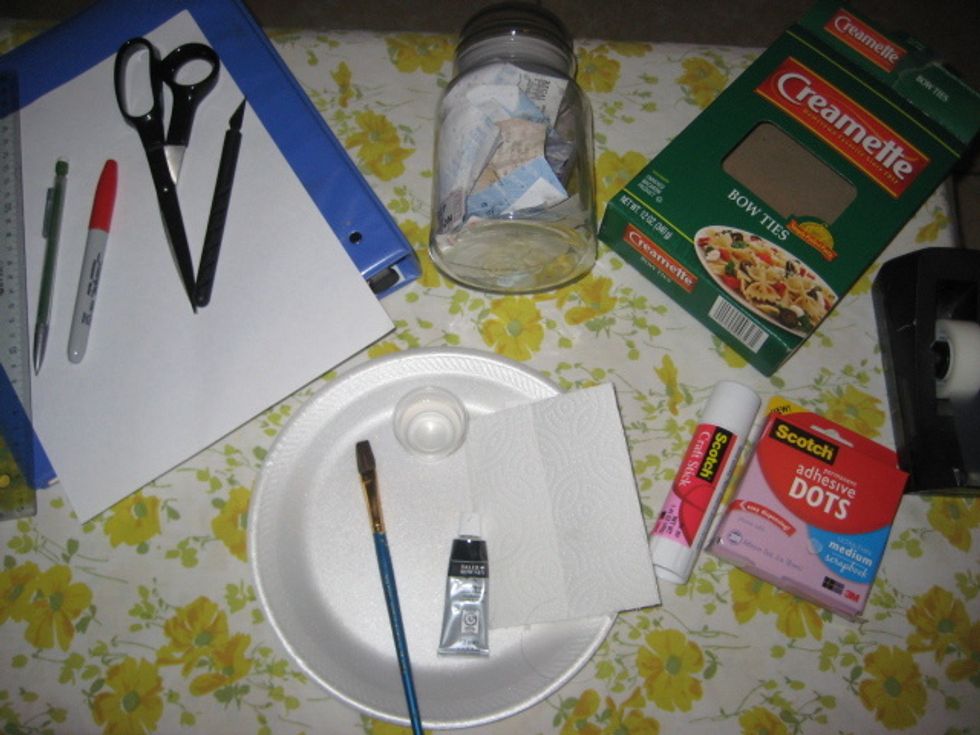
Gather Supplies (:
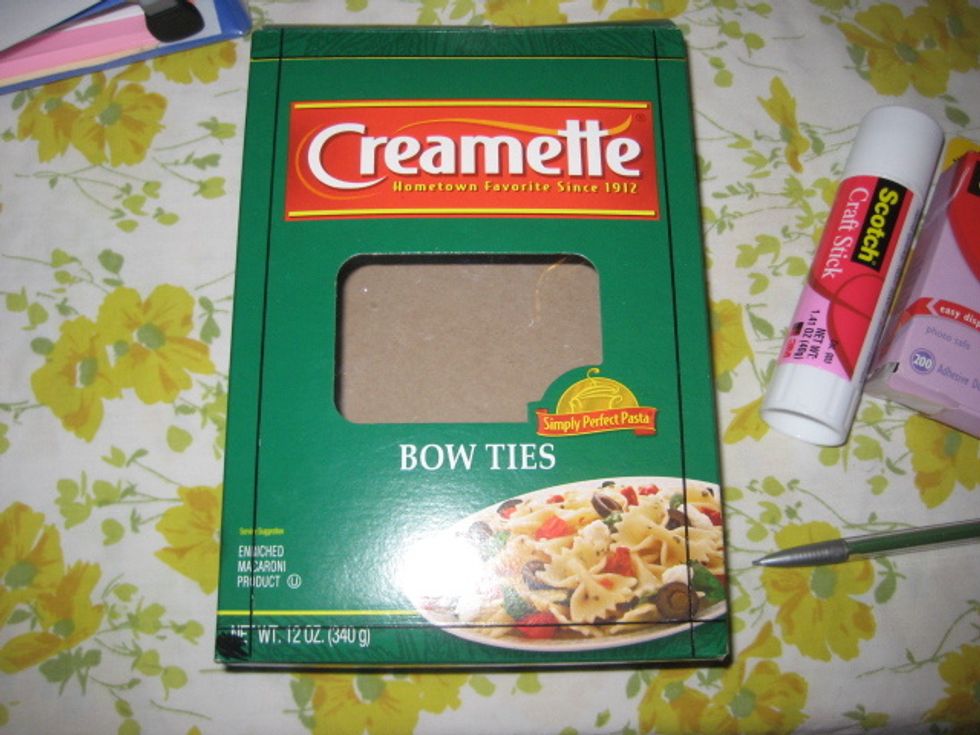
Now take your awesome bow tie pasta box or your bisquick box or your spongebob fruit snacks box and mark 1cm lines throughout all four sides.
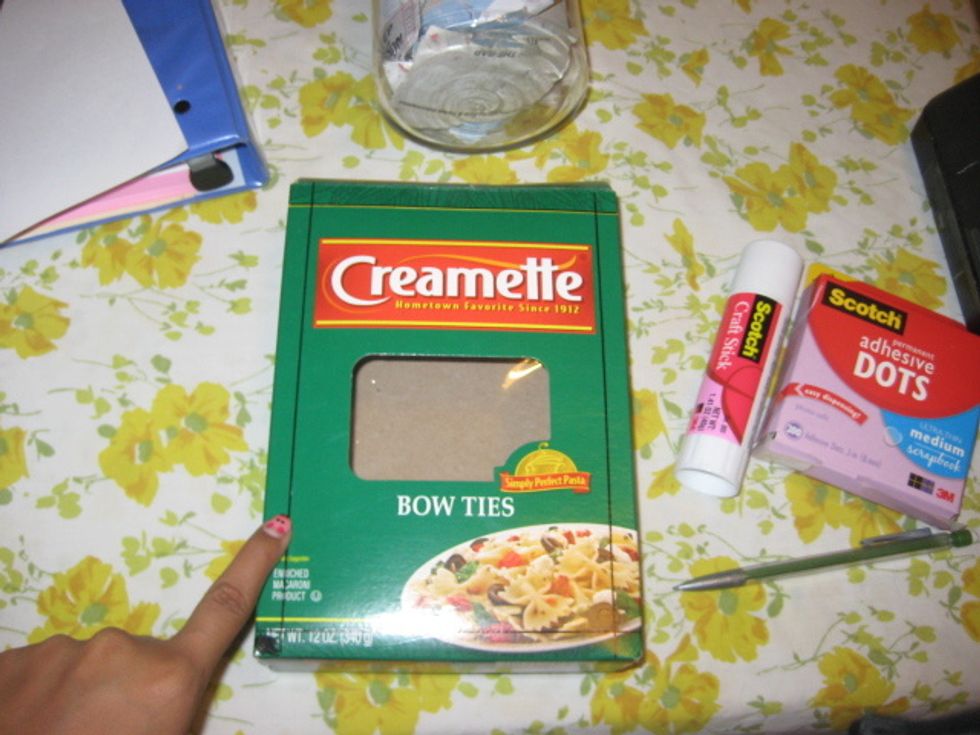
Now that you've measured 1cm from all four sides you want to cut out the center piece. (shout out to my cute pig nails)..yes i was showing off. Wouldn't you? (;
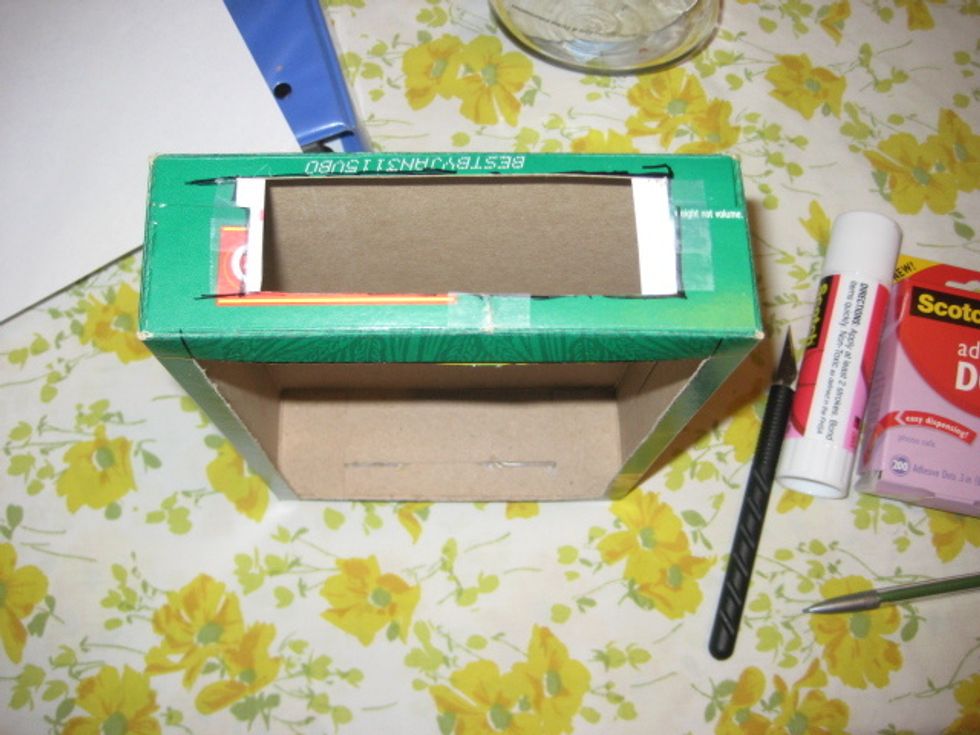
I just eye balled this part, make the hole as big or as small as you want. I would recommend a bigger hole. When you're inserting the plastic part you'll see why.
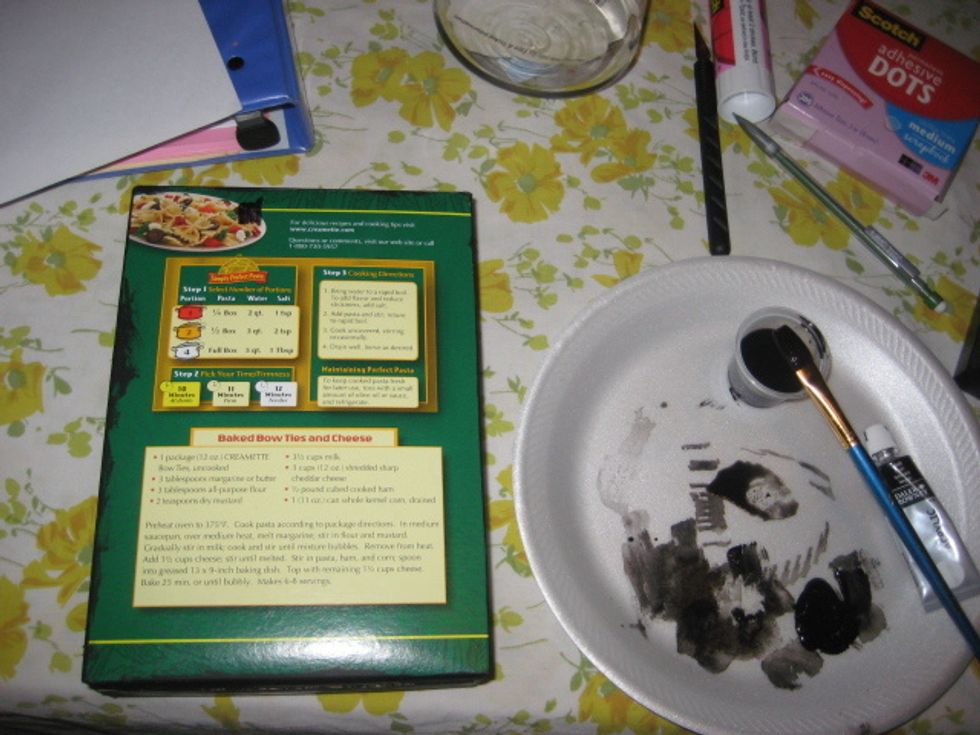
And now we paint this baby. I painted the whole thing but if you want you can paint the top, front, and sides and then put black card stock on the back. I would have done that but I had left overpaint
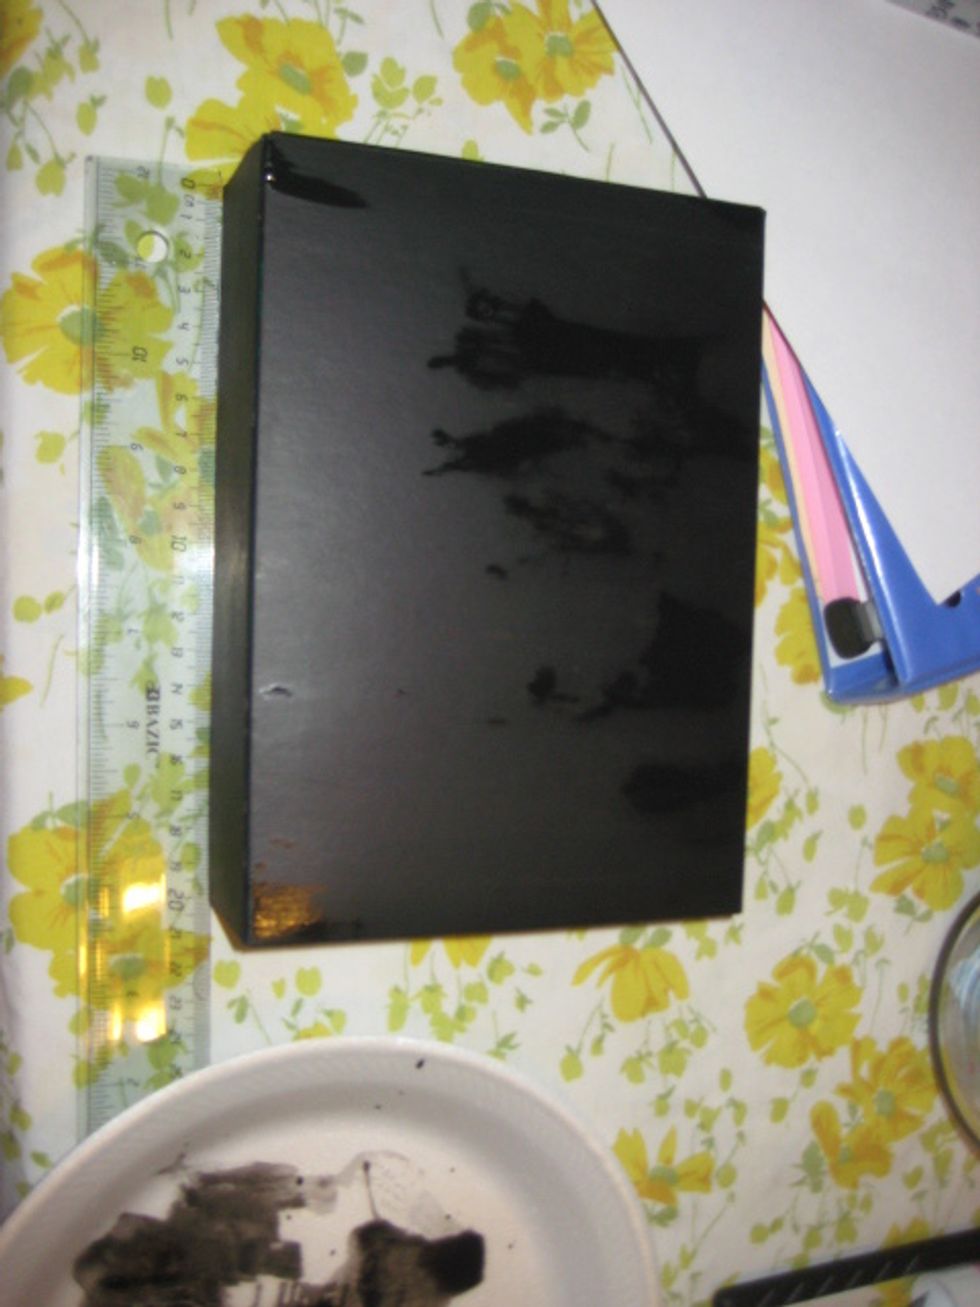
I painted the whole thing but if you want you can paint the top, front, and sides and then put black card stock on the back. I would have done that but I had left over paint. Loved the matte finish.
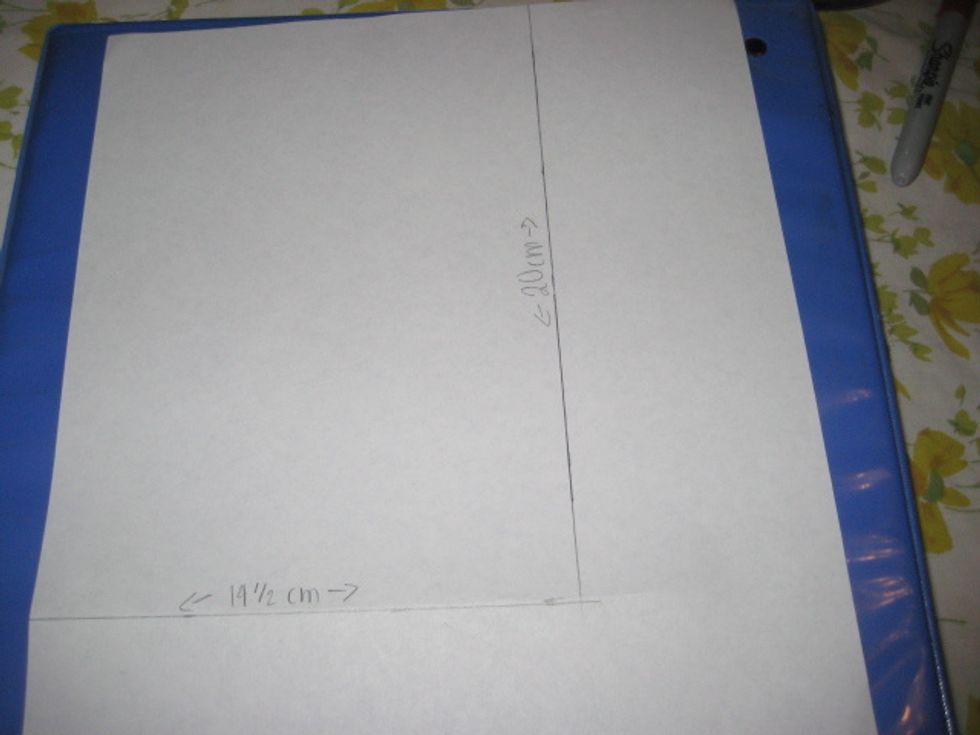
Now measure the back of your box. This is for the inside paper. Mine measured 20 cm by 14 1/2 cm
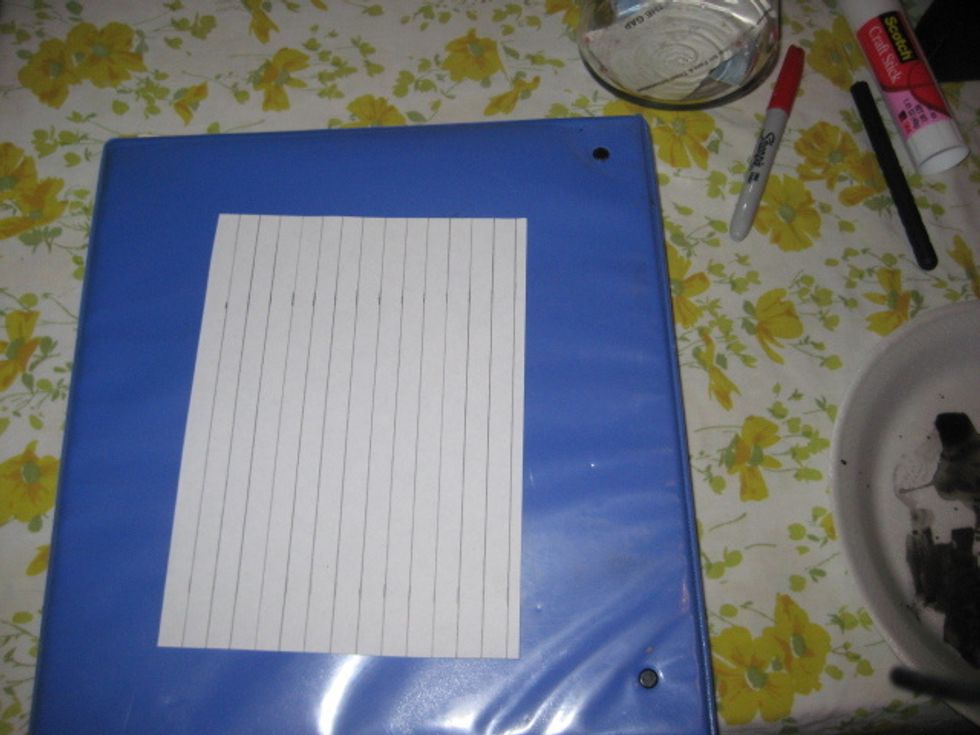
I made 1cm lines across the whole paper.
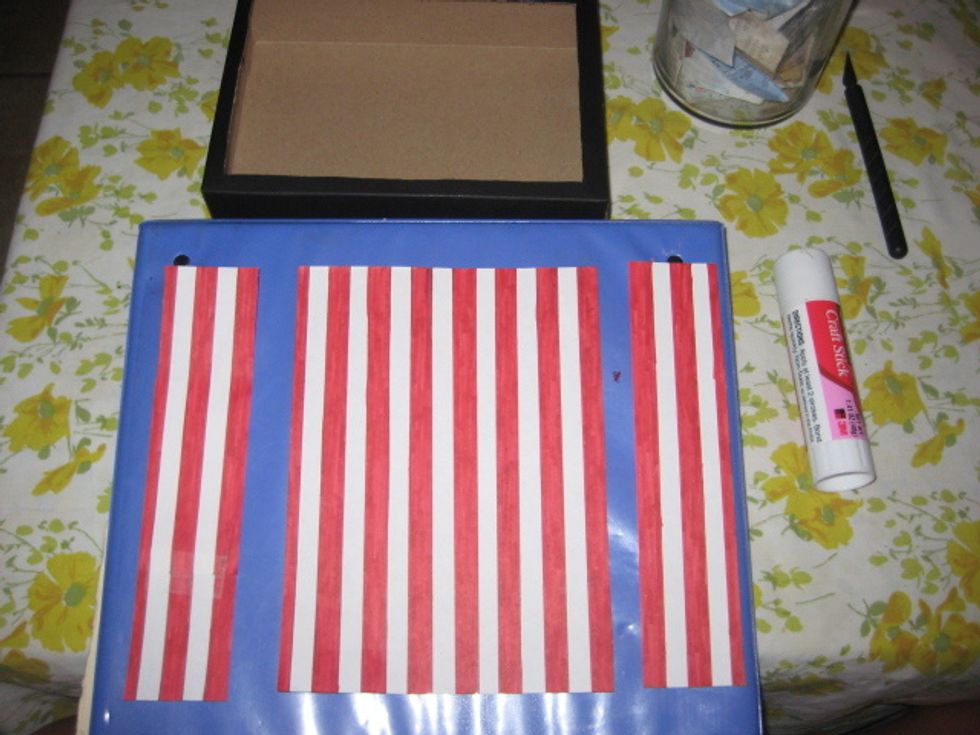
I also did the same step for the two side pieces.
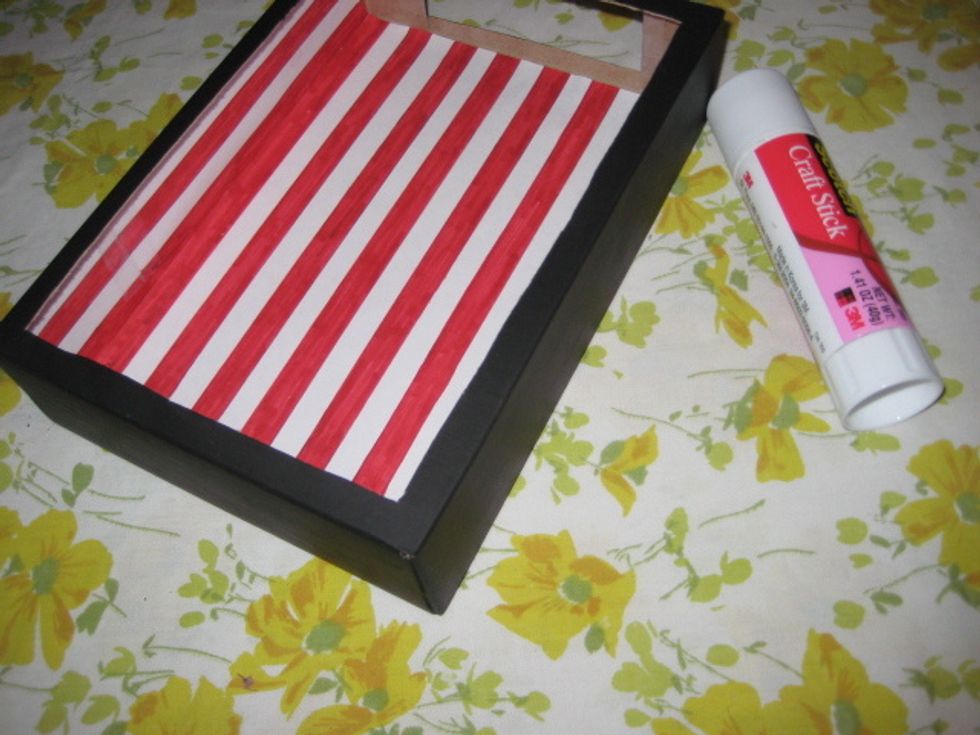
Now we glue it on.
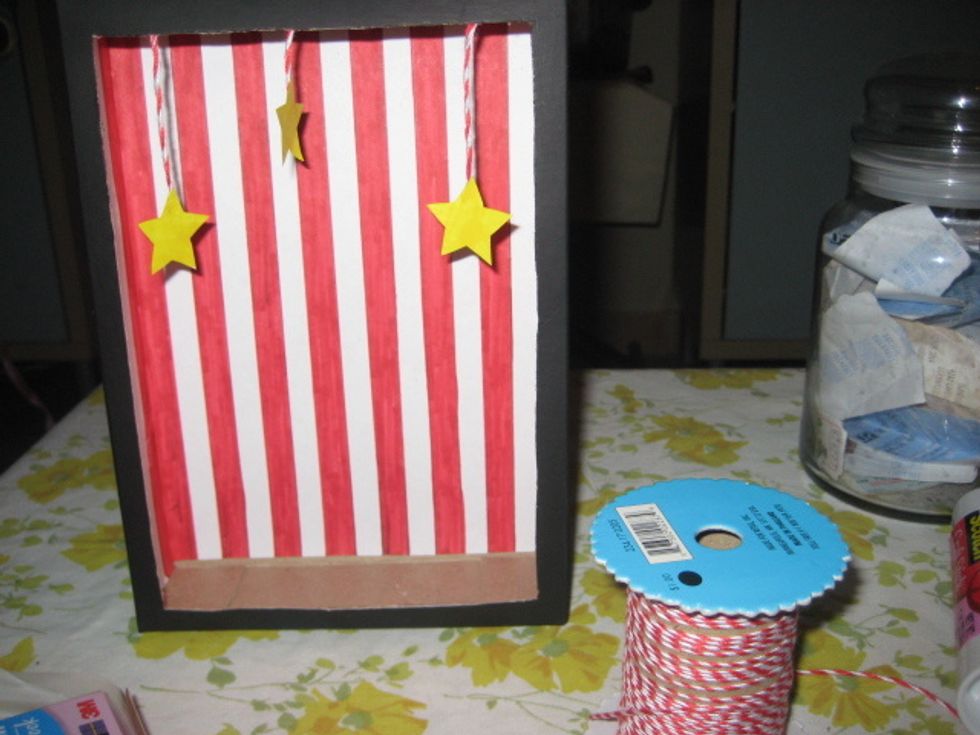
Before adding the plastic I wanted to add this stars for nice decoration. I glued the starts to string and then attached then with adhesive dots.
Now you want to cut your clear plastic from your old binder with the same measurements used for your red and white paper.
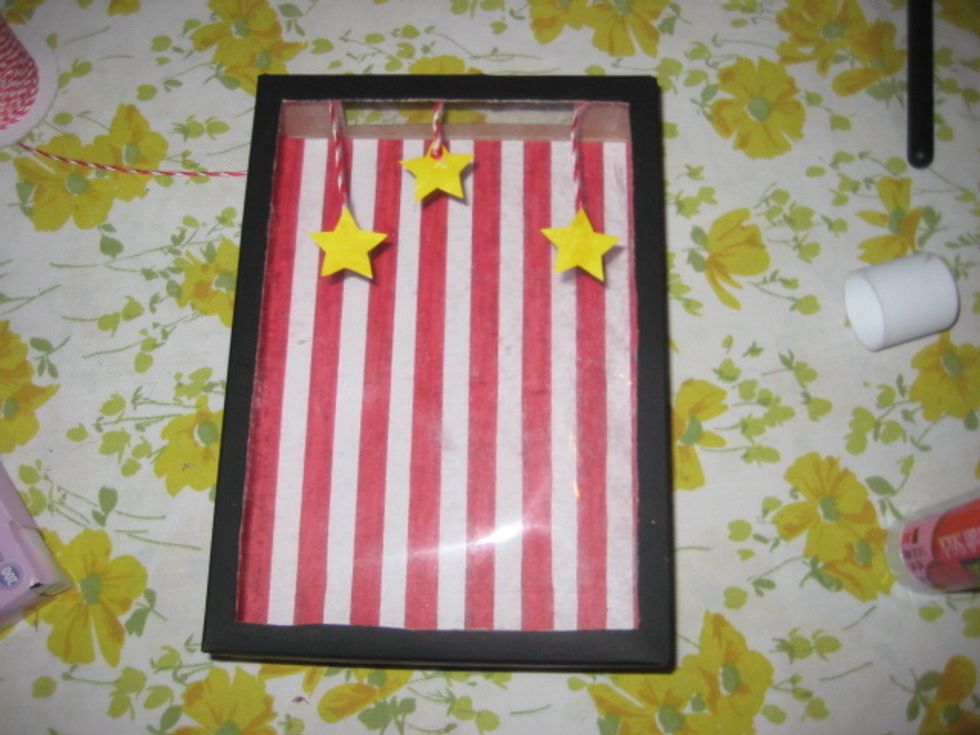
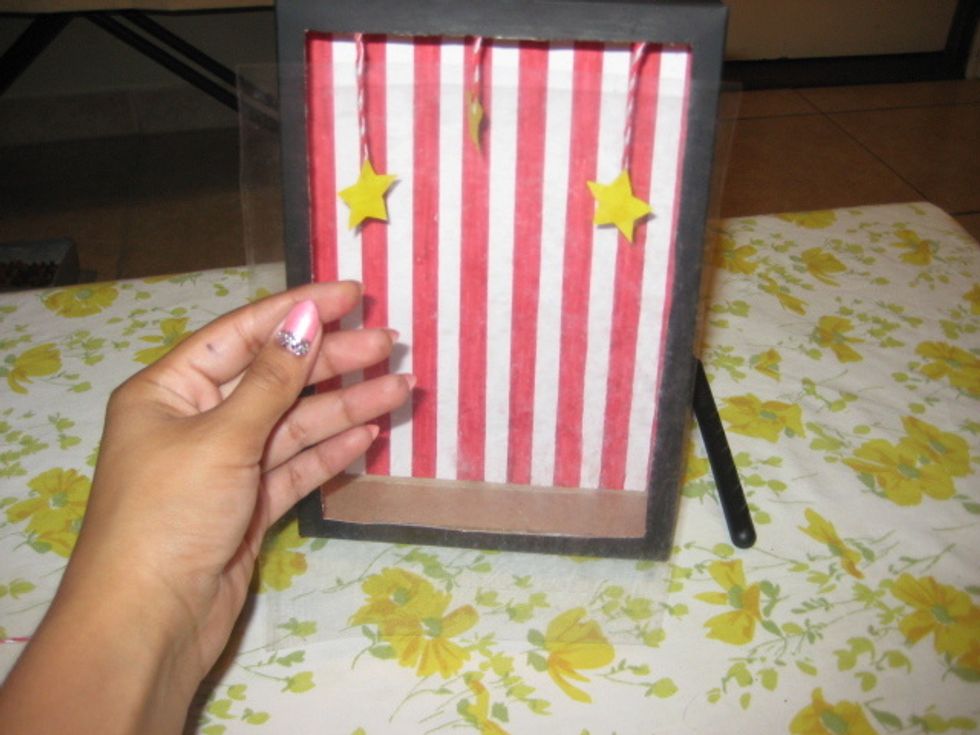
Attach the adhesive dots around the inside of the box and then attach the plastic. I kept the stars on the outside. If you need to adjust from the inside a ruler really does the job.
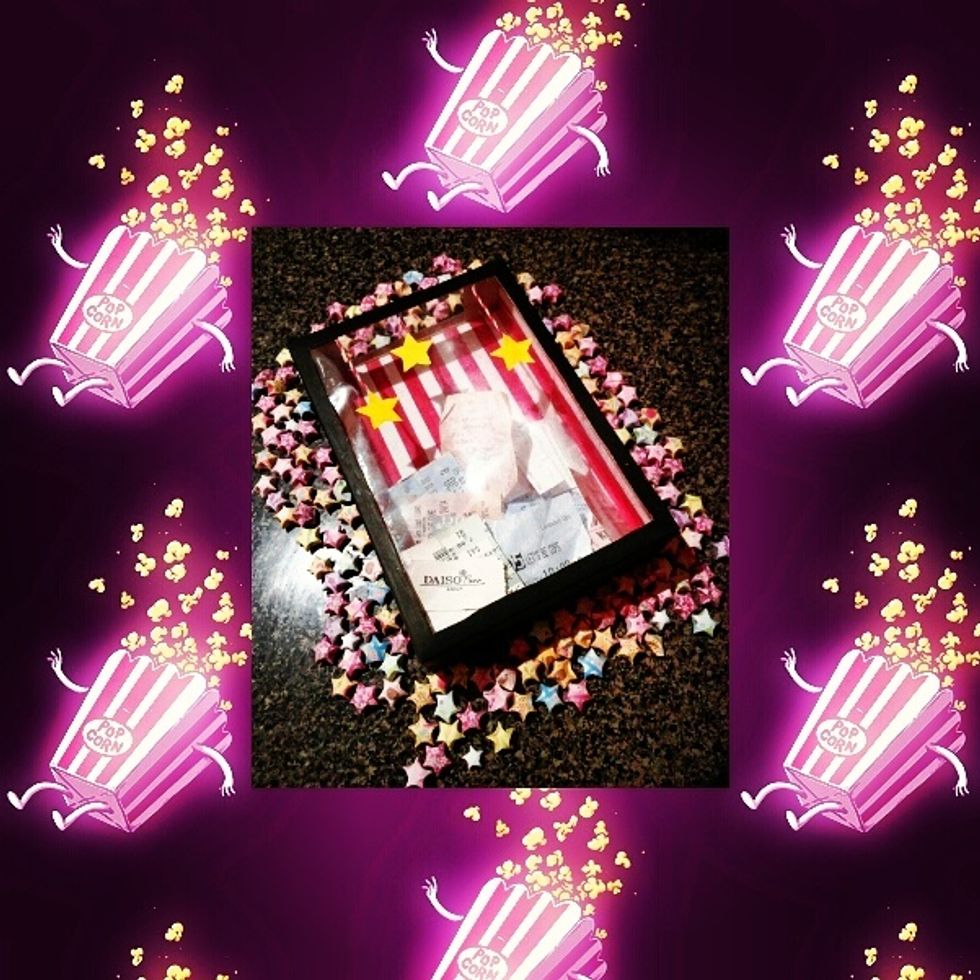
YOU'RE FINISHED. Just add all your awesome memories and stare at it all day. If you want you can add a chain to the back so we can both just walk around with it all day since it's so cute. lol
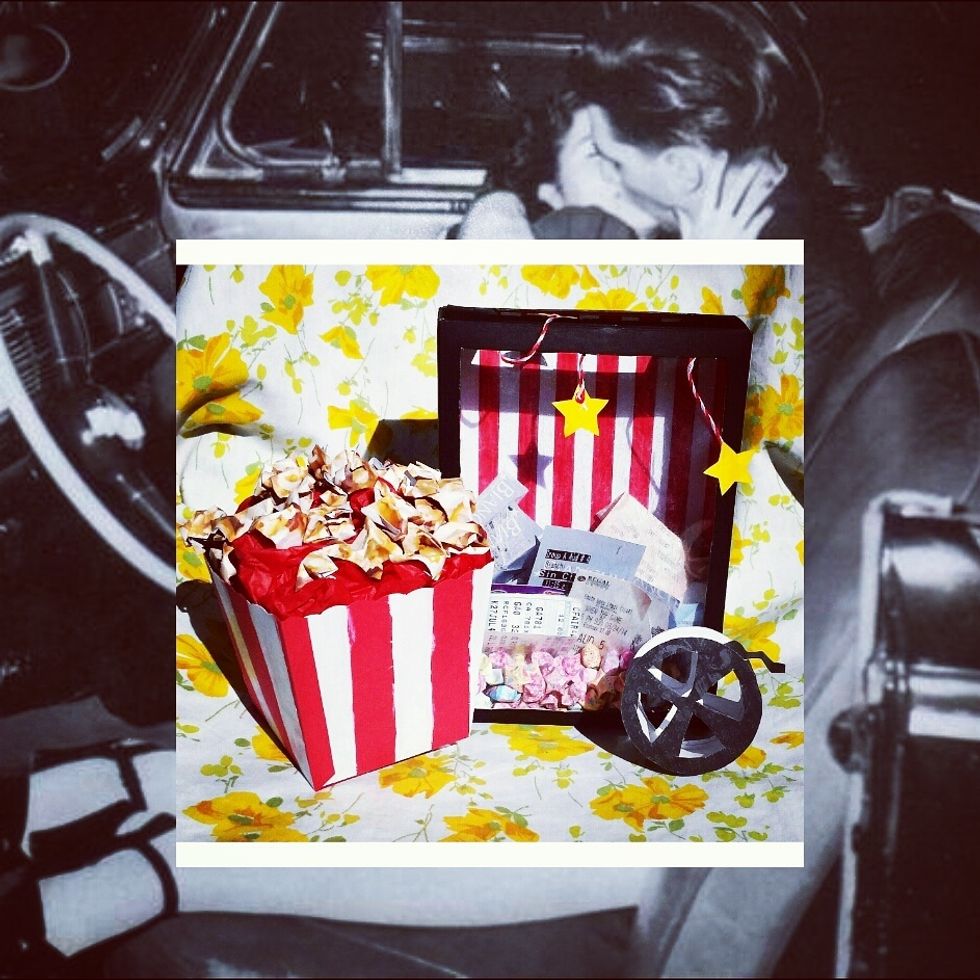
Diy popcorn box coming soon (; Hope you guys enjoyed ! I love it