The Conversation (0)
Sign Up
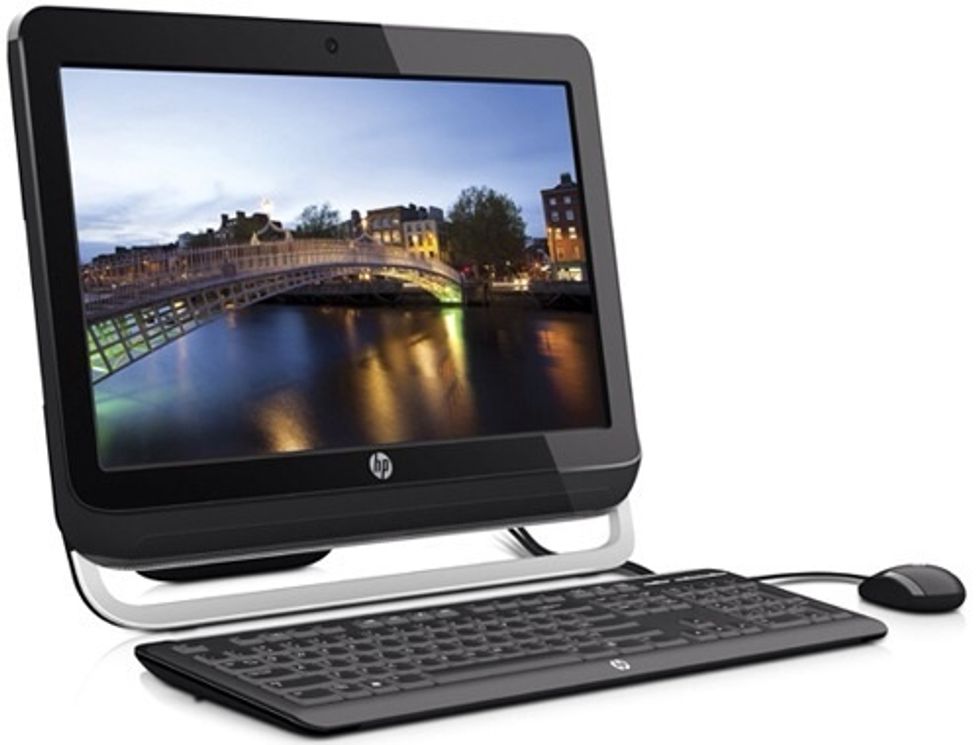
HP Omni 120-1124 - HP stock image from Bestbuy.com

This Snap guide is going to offer a visual instruction guide that is easy to use whether you have a doctorate in software engineering or you are a middle thirty year old with three kids at home.
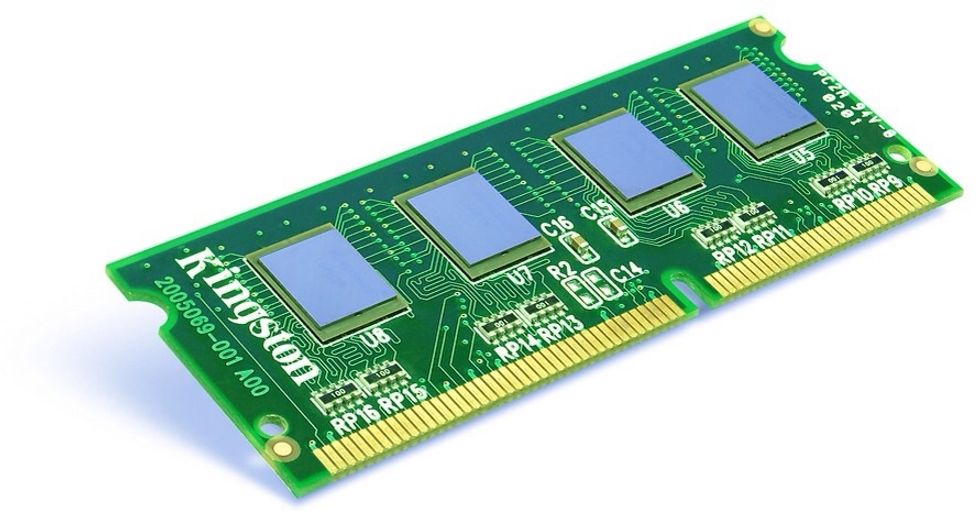
The upgrade we will be conducting relates to the parted titled RAM which many also know it as Memory. The HP Omni comes with a stock 4gb SAMSUNG DDR3 RAM chip, it has the capabilities of going to 8gb.
To start off upgrading your systems memory you must first determine how many screws you need to remove, where they are located at and then try and find an owners manual from the manufacturers website.
The reason you want to find a manual first is to confirm you are not just winging it and assuming that you can figure it out on your own. This can turn an easy fix into a nightmare.
Once you have clarified that you have found all screws needed to be removed before being able to remove the main cover, you are going to want to lay out a blanket on the floor. I typically use two.
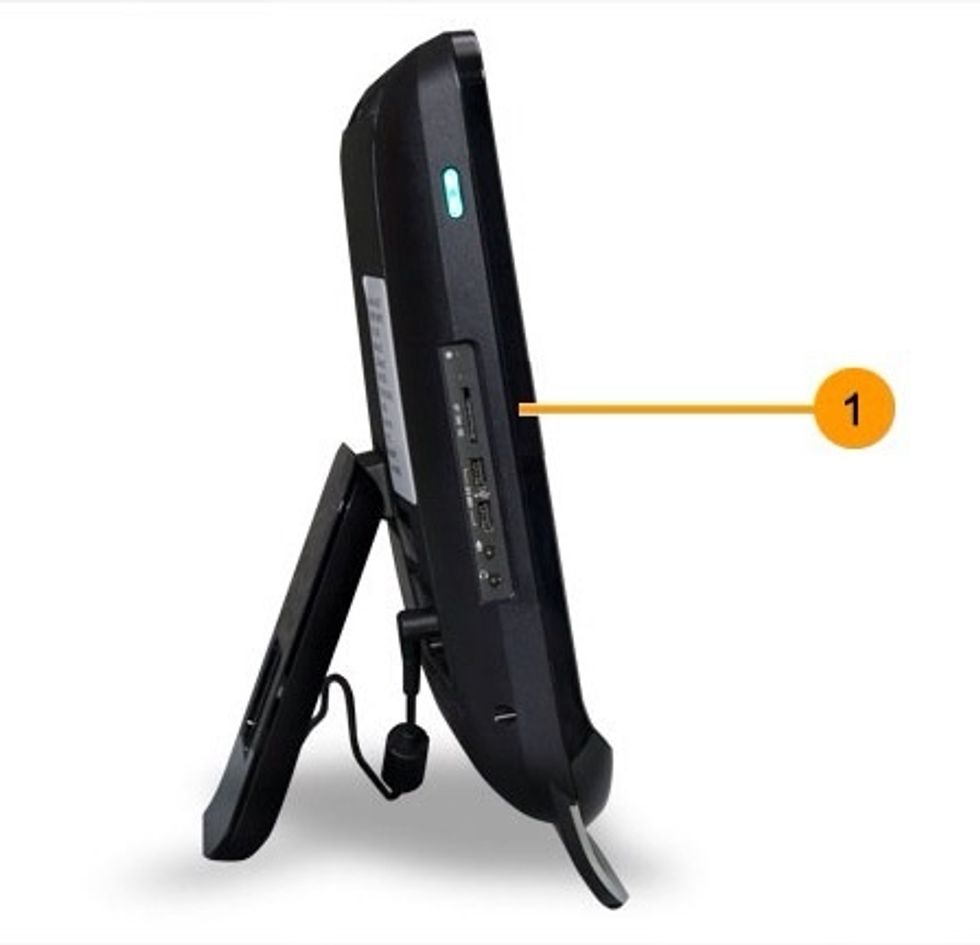
The blankets protect the screen from scratching, cracking or who knows what. Face the computer face down on the blankets, remove any thing still plugged into the USB or Stereo plug ins.
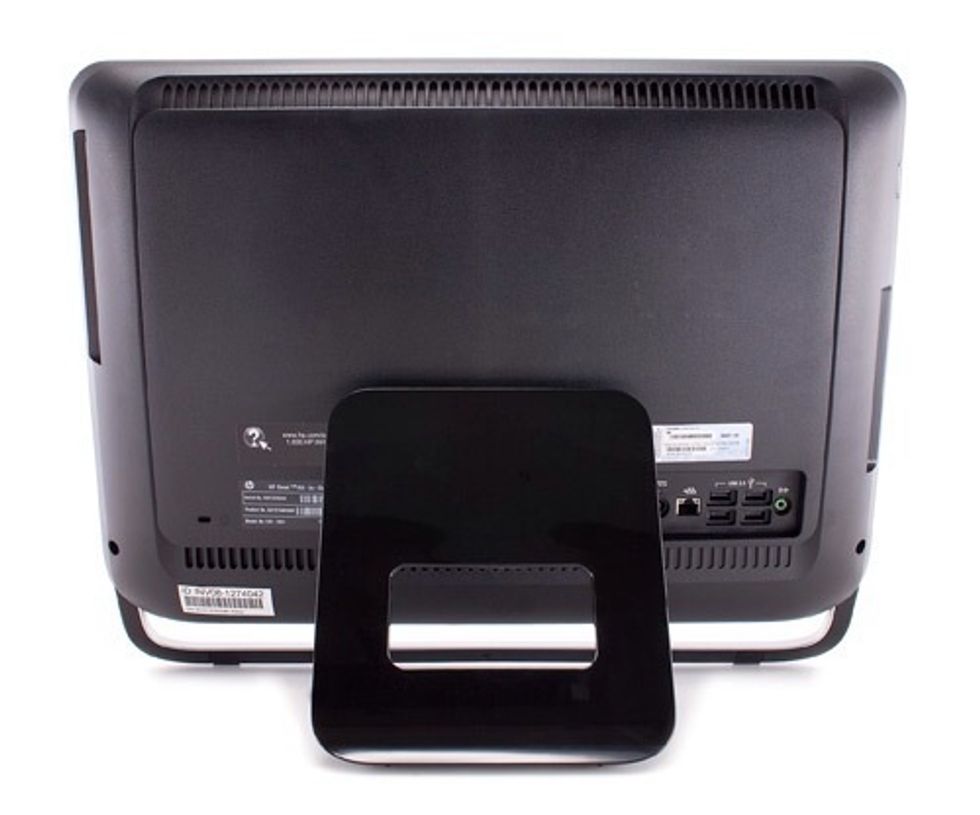
Remove both screws at the bi lateral corners of the bottom portion of the back cover. Remove them. As you begin releasing tension you will hear the sound of the plastic "pop" .
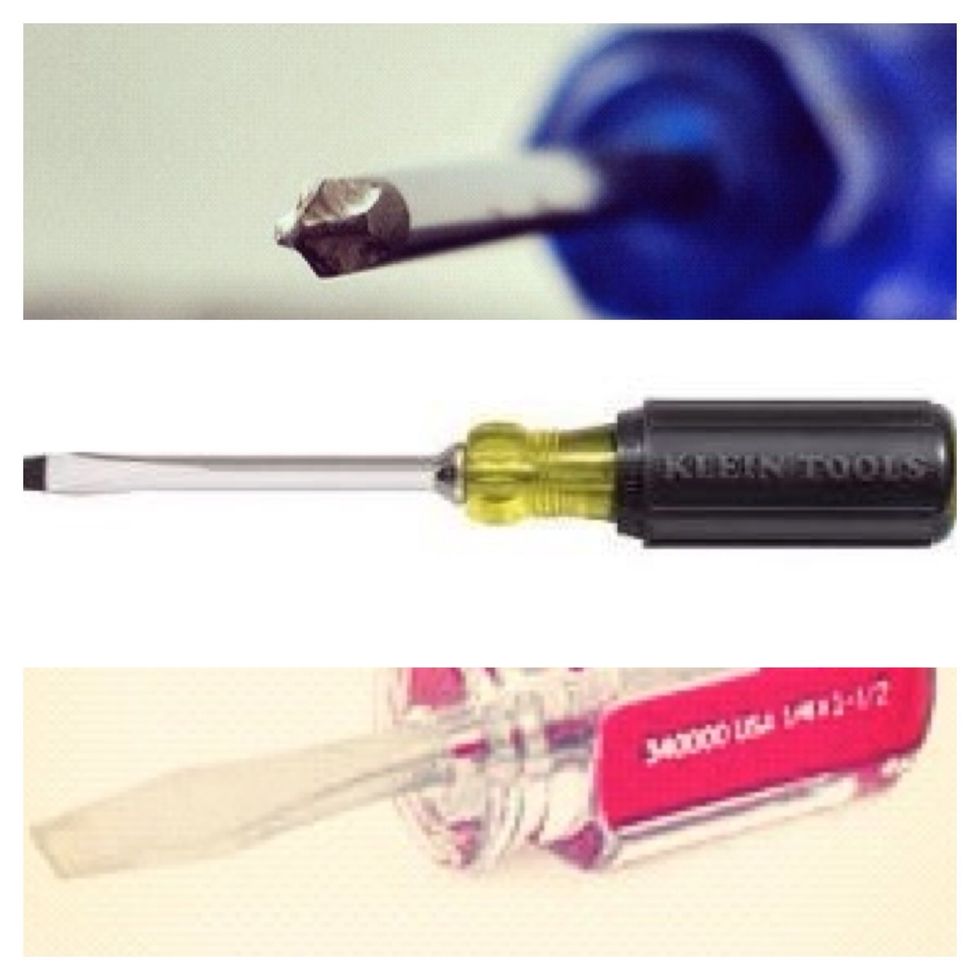
The popping is nothing to worry about. You will utilize these three above tools to remove the screws then go around the outside of the frame. This "frame" is the part where you see the front and back
The "frame can be seen here. The DVD drive is part of the Front Frame, and the back section with the kick stand is just the cover for the HD, RAM and Motherboard. Go along the line with the flathead.
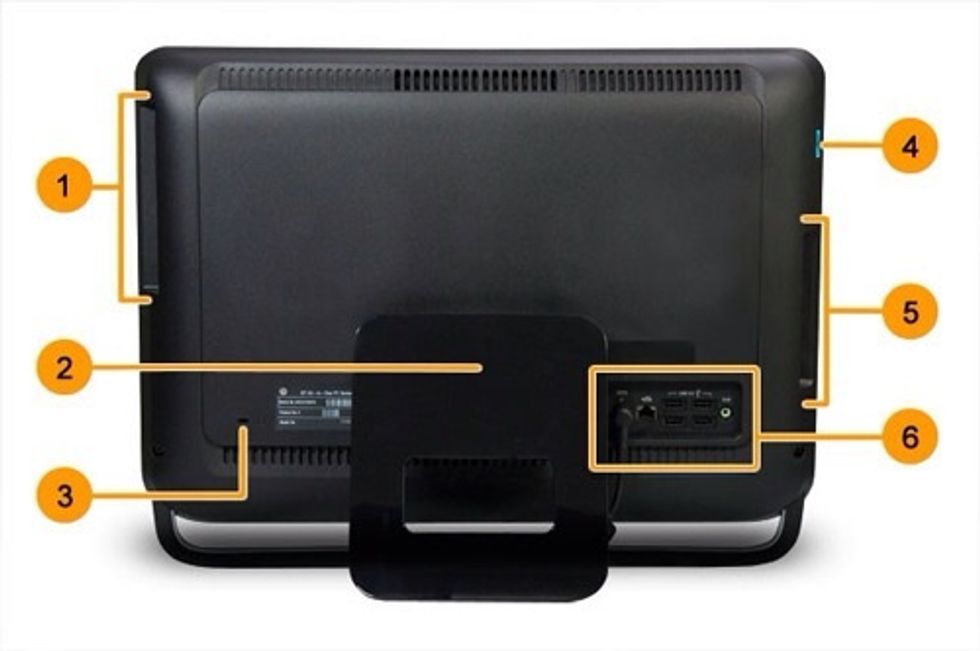
Once you remove the back cover, you will see a metal brace on the left hand side protecting the DVD drive, in the middle it is protecting your SATA HD and on the rightside above the USB ports is RAM.
Visual: RAM is located above this portion of the PC under the back cover.
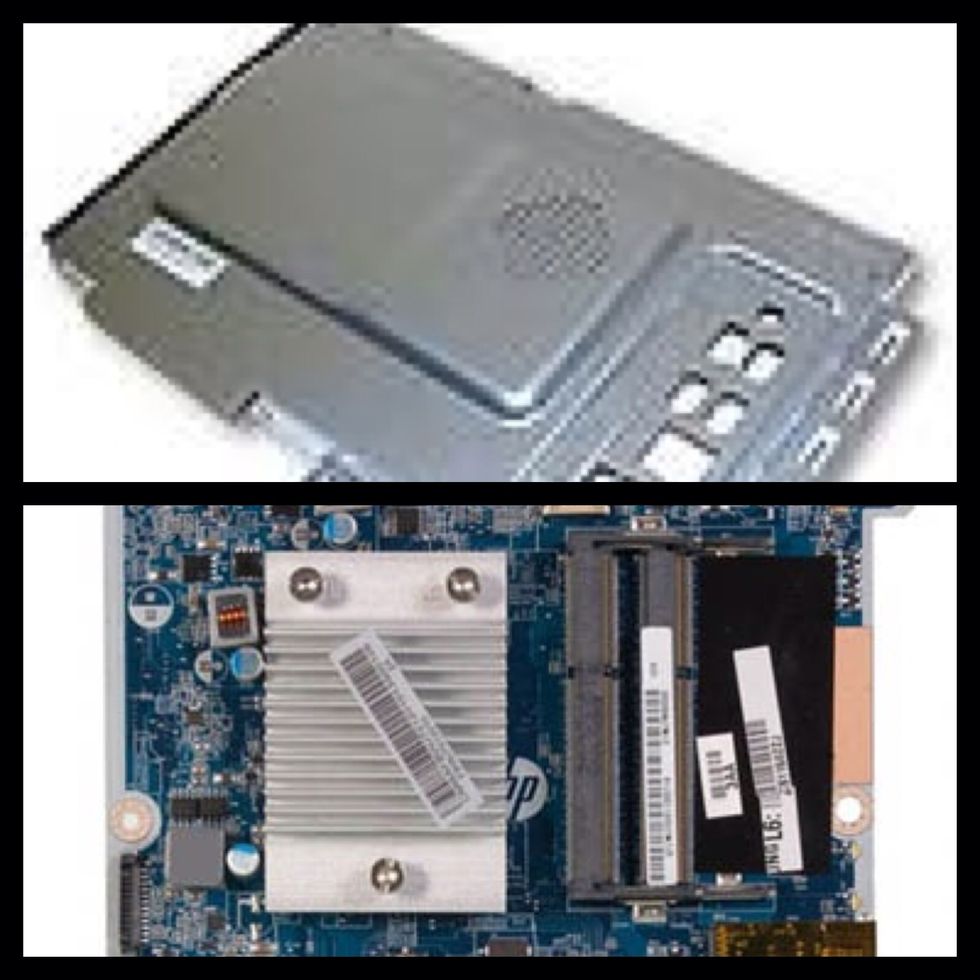
Top: this metal cage protects the mother board and RAM. Their is two screws holding it to the front cover securing the brace. They are located right side bottom corner, and left side bottom corner.
Bottom: that is a picture of the mother board, the item to the left is empty, that is where the RAM will be located/installed.
Install the correct RAM needed for your personal computer. CRUCIAL.com has a software program (free) that will tell you what you need exactly for your PC.
Install the RAM and close the PC back up. Ensure you screw the back cover on equally, meaning start with the right halfway then do the left halfway and then complete it till your hear it pop back.
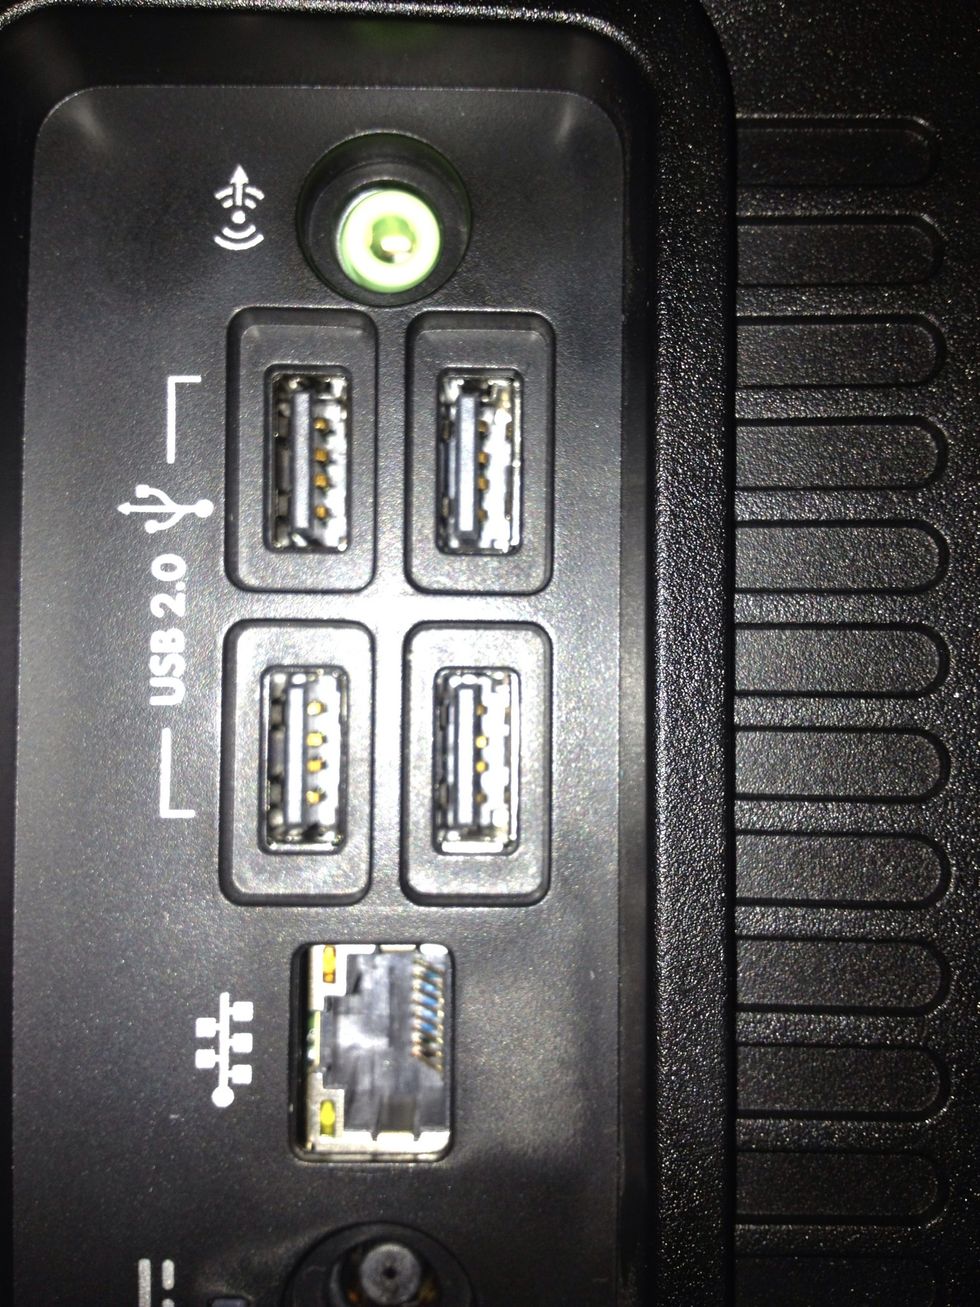
Go around the edge snapping it in place and ensuring all of your USB ports, power buttons and ect. Match up. Plug your keyboard, mouse back in the USB ports, reattach power cable, then turn on surge.
Once Surge Protect has had power restored to the outlets, hit the OMNI power button on the left side. Allow windows to launch, log in to your user. Once booted go to the START menu.
Highlight over Control Panel on the right side of the start menu, under the folder computer. Click on the Control Panel. Once Control Panel has opened up, click on the System & Security.
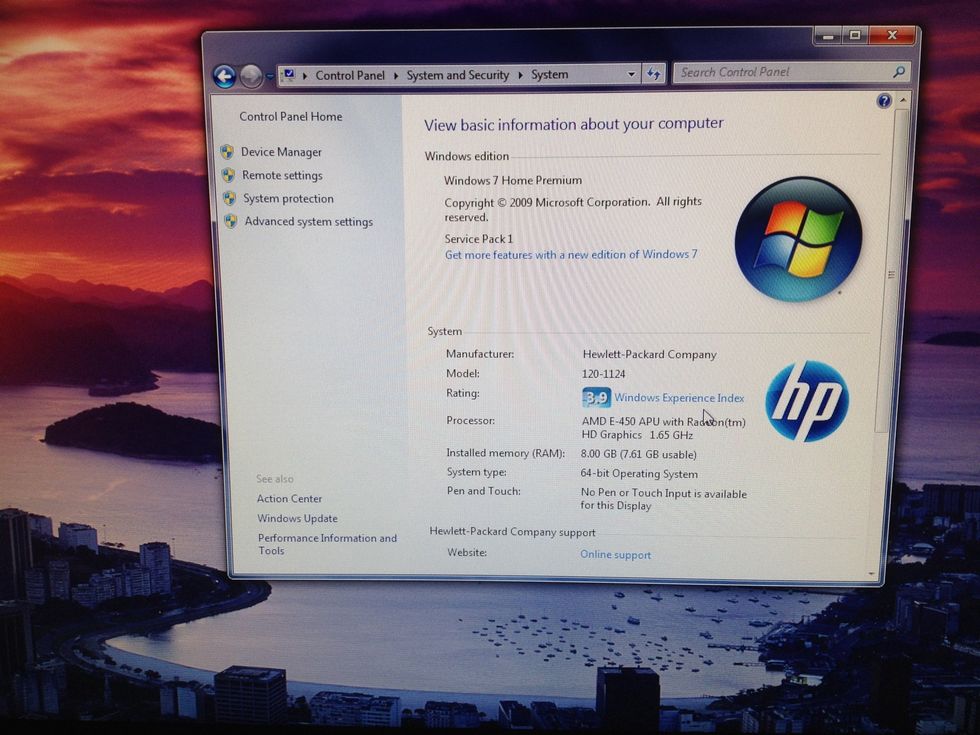
Click on System and look to see the "installed memory" under system. It should state 8.00gb (7.61gb usable)

Thanks to HP, Google and Hipster Branding.com as well as DougDougoose for our own personal images. Enjoy