The Conversation (0)
Sign Up
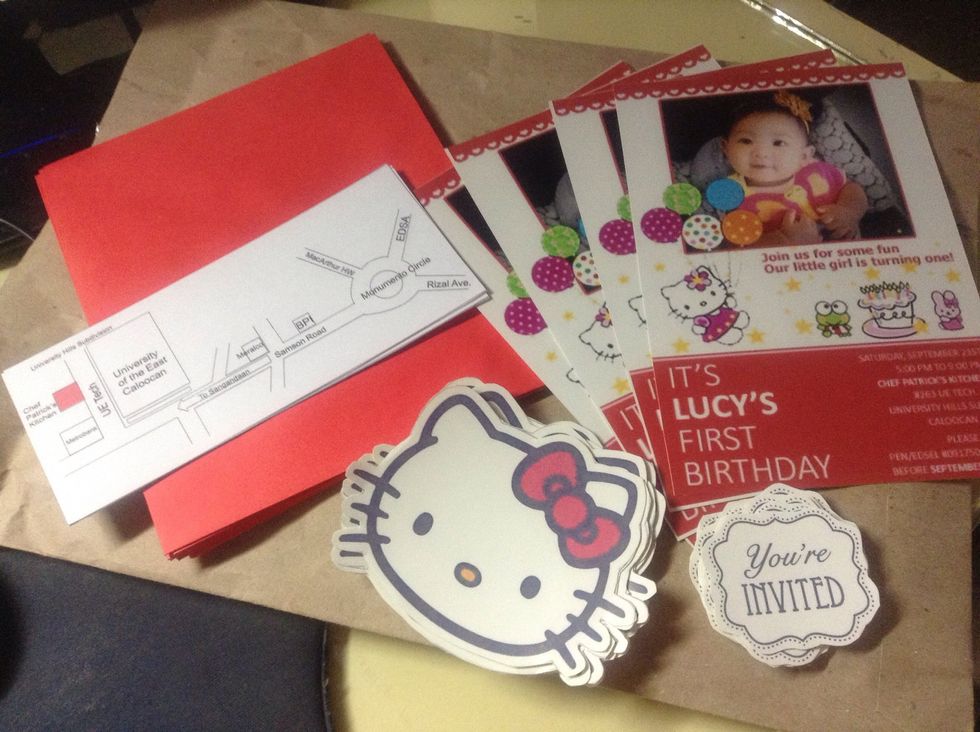
1st layout & design 4r photo invitation of your choice using PSD(Photoshop or Corel). Layout your location map for your venue. Choose a hello kitty clip art design you want for your colored envelope.
Here u can see my customized HK 4R invitation and my baby girls picture :) Actually layout and design is my other habit :) You can visit and like my fan page www.facebook.com/penselcasecreations :)
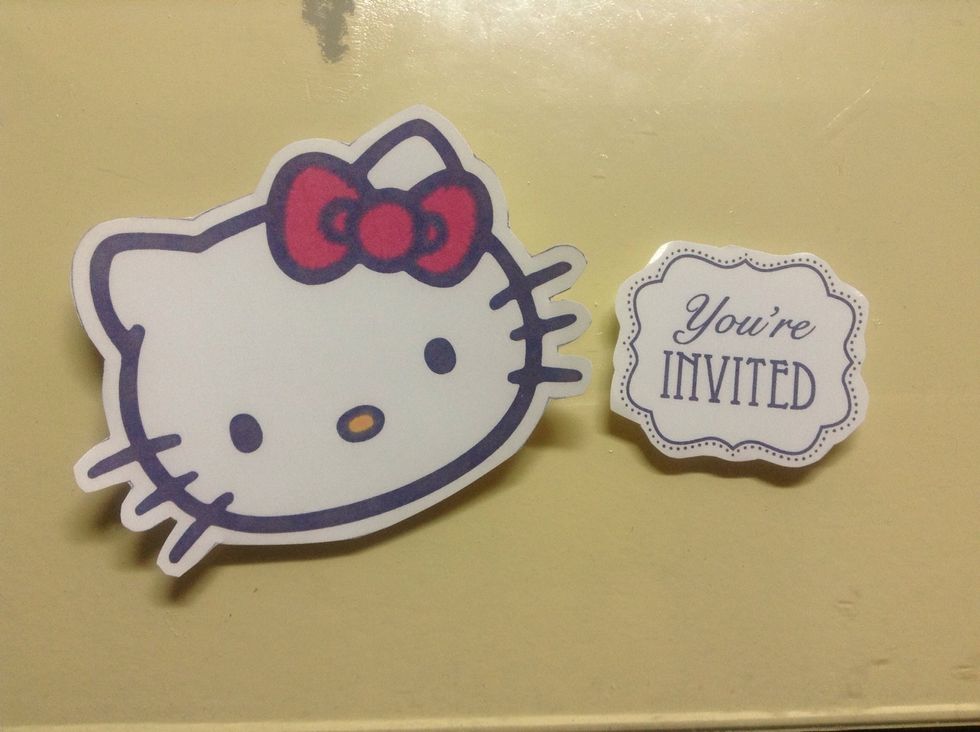
Here are the cut clip arts that I will stick on the front and back of my red envelope. :) You may print some of the clip art designs you want to stick on your envelope just don't stick to many :)

Here is the venue location map of my daughter's party. Layout and printed
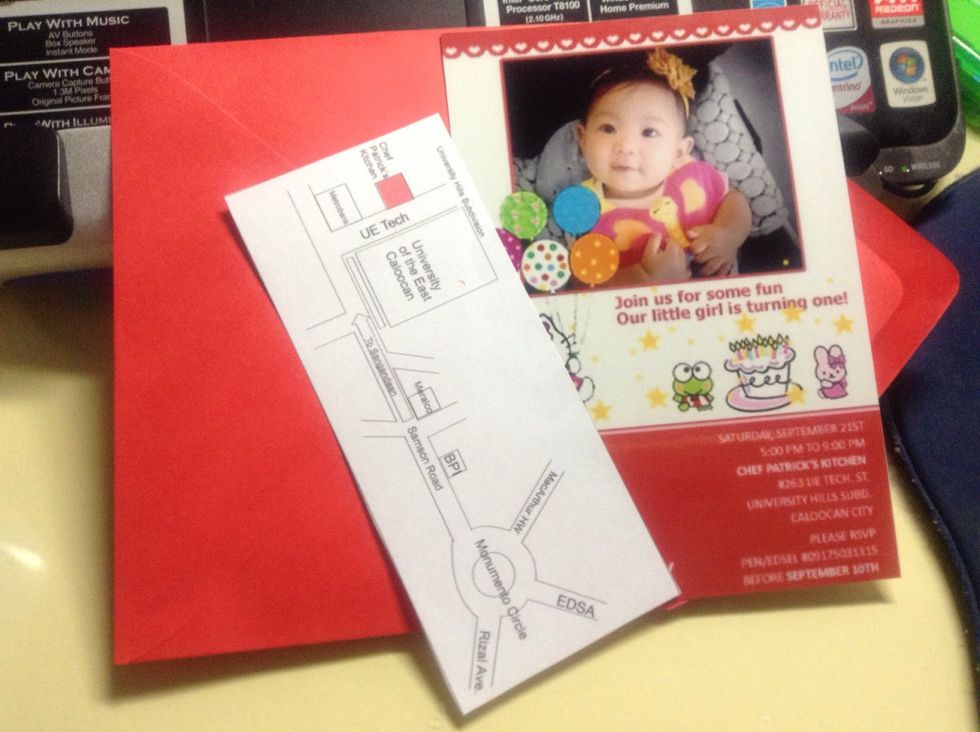
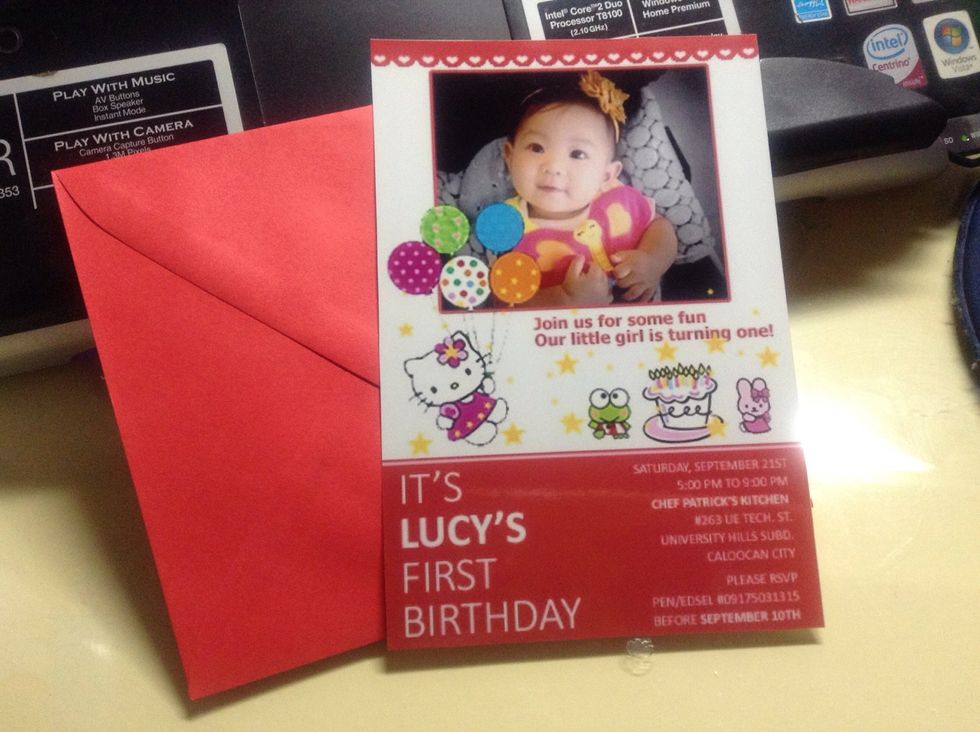
Now take your 4r DIY invitation, envelope and the cut out location map.
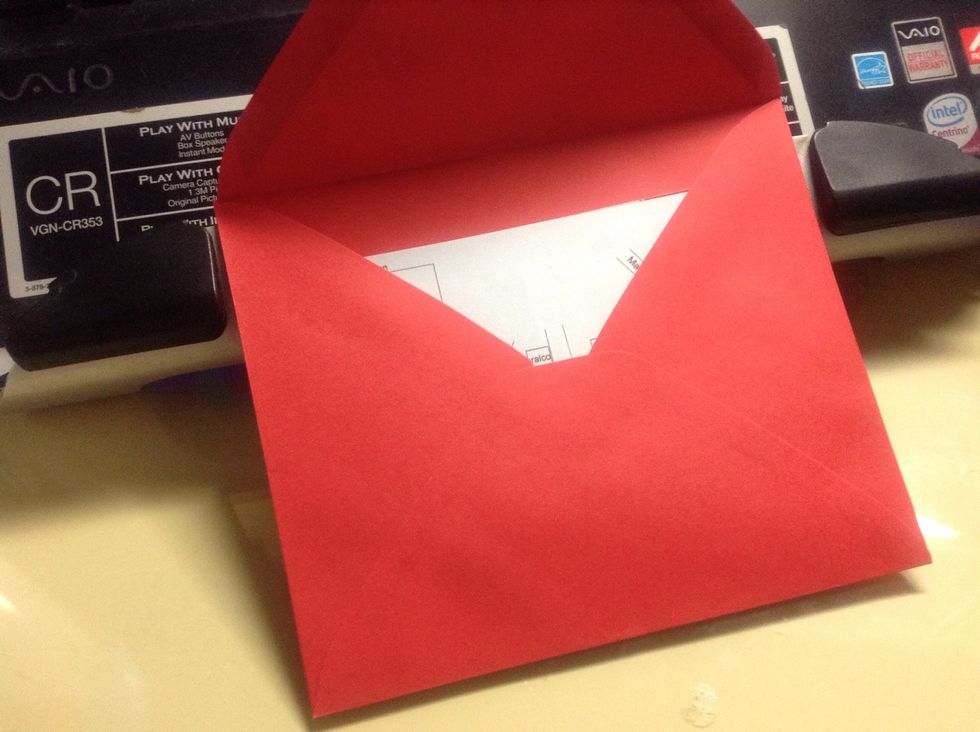
Insert the location map and the 4R customized invitation and insert it inside the envelope.
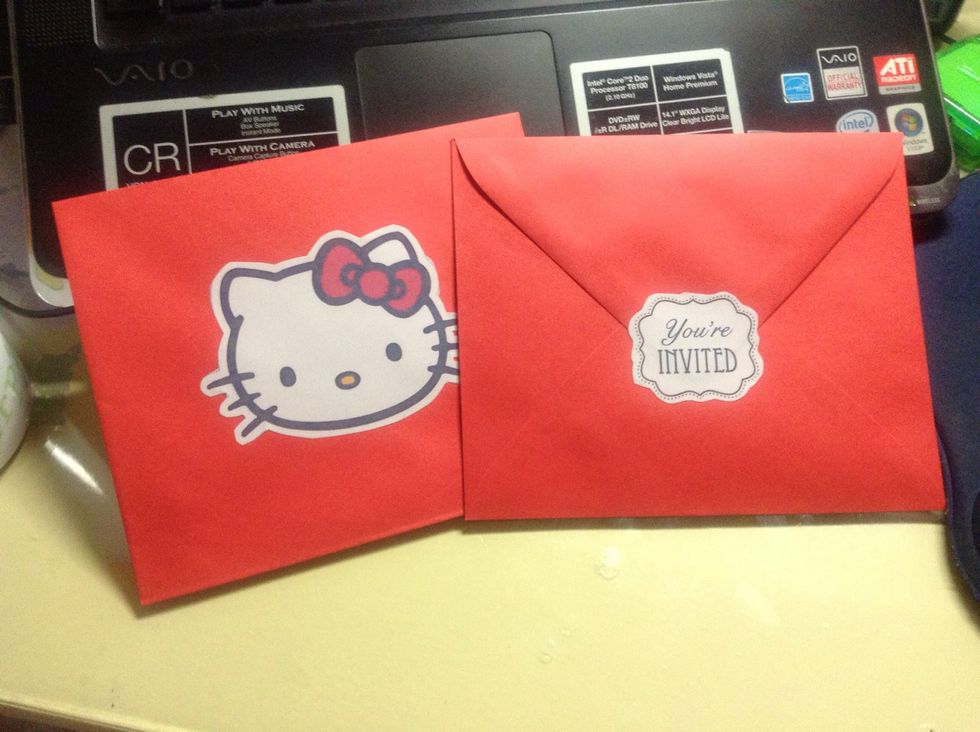
In front of the envelope stick on the Hello Kitty face clip art or the clip art of your choice. Just be sure that you are sticking it in the middle of the envelope :) be careful when sticking it!
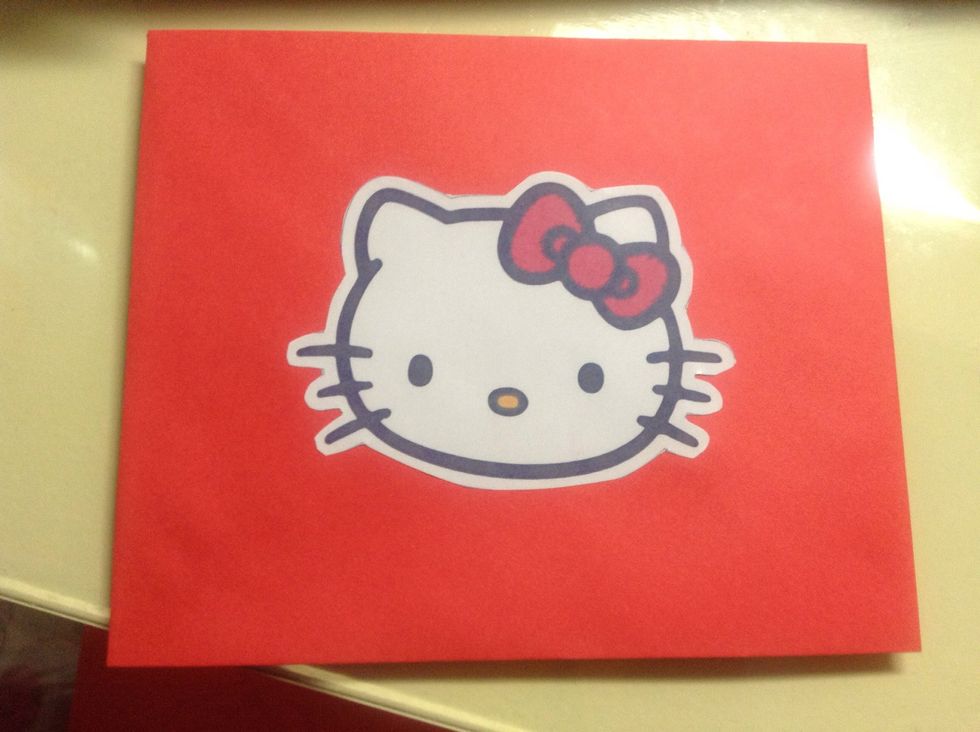
Tadan!
At the back stick on your other clip art. See the picture:)
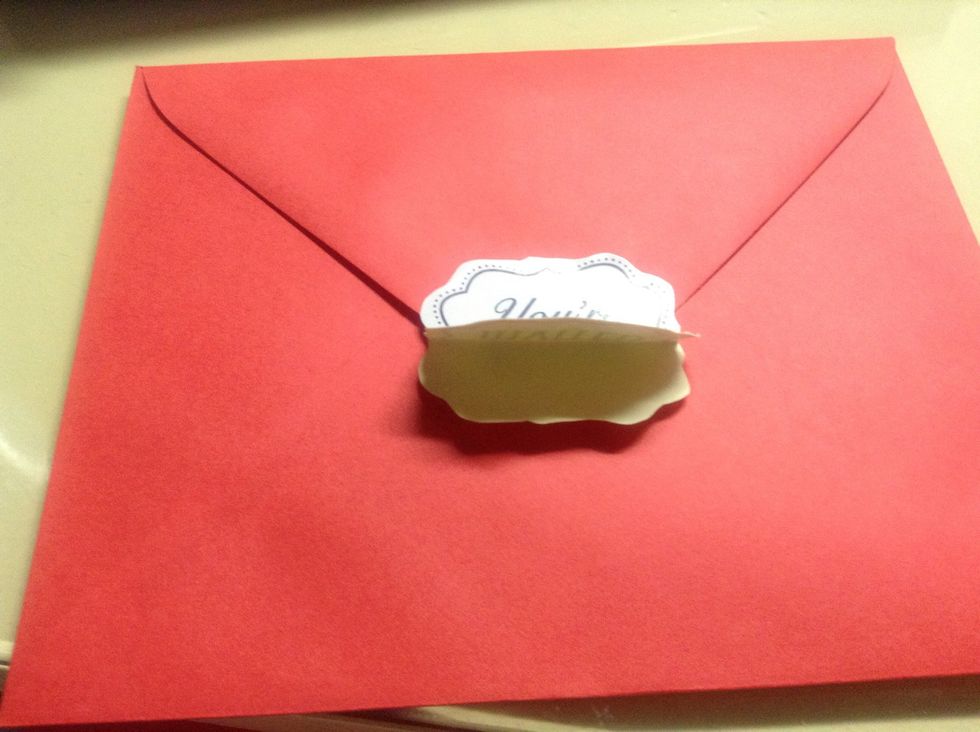
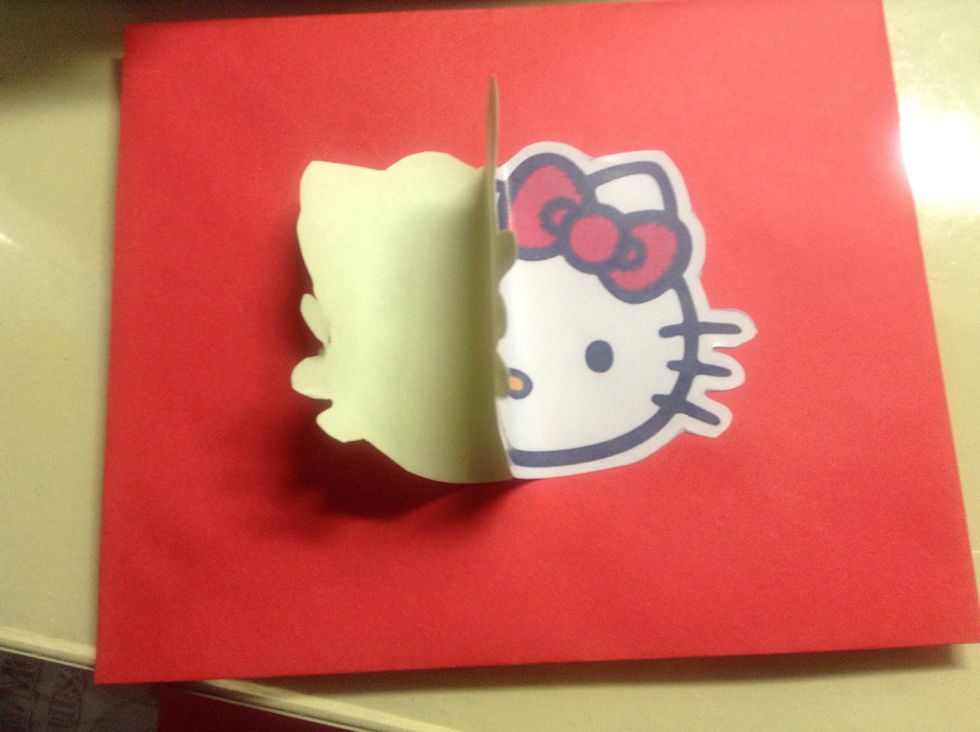
Carefully pull the yellow part of the double sided. Be sure that you have already put all the necessary print outs inside the envelope before you lock it! :)
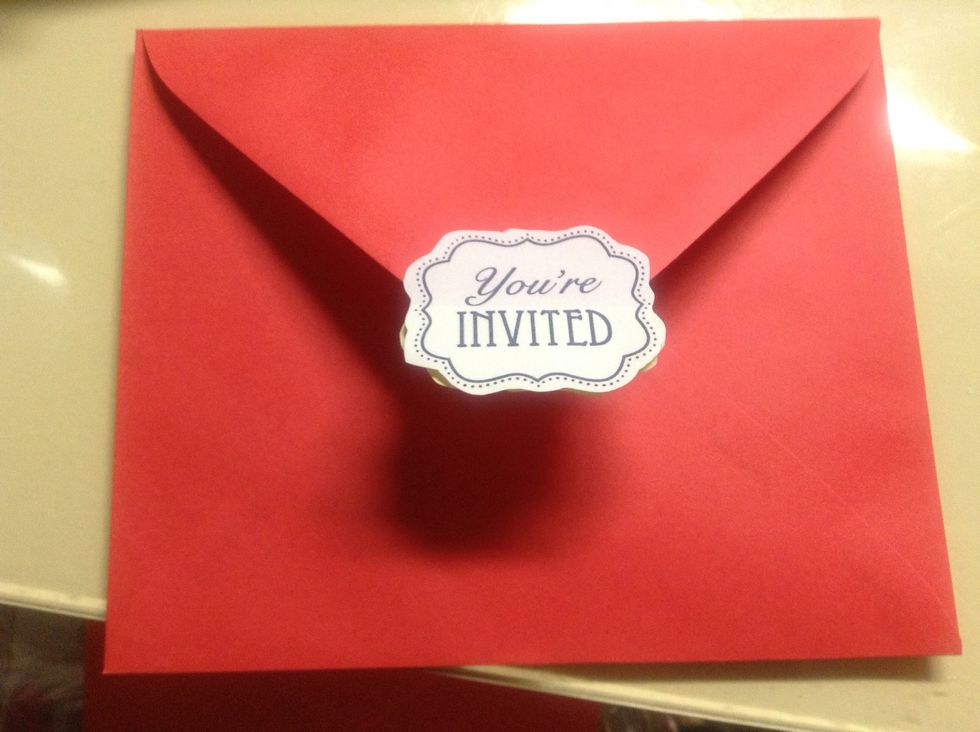
Tadannnn! Simple, affordable, fun and just perfect for my baby girl's party! Pls. visit and like my fan page www.facebook.com/DailyCravingsCustomSweets Thank you! And follow me on IG: icantstop_baking
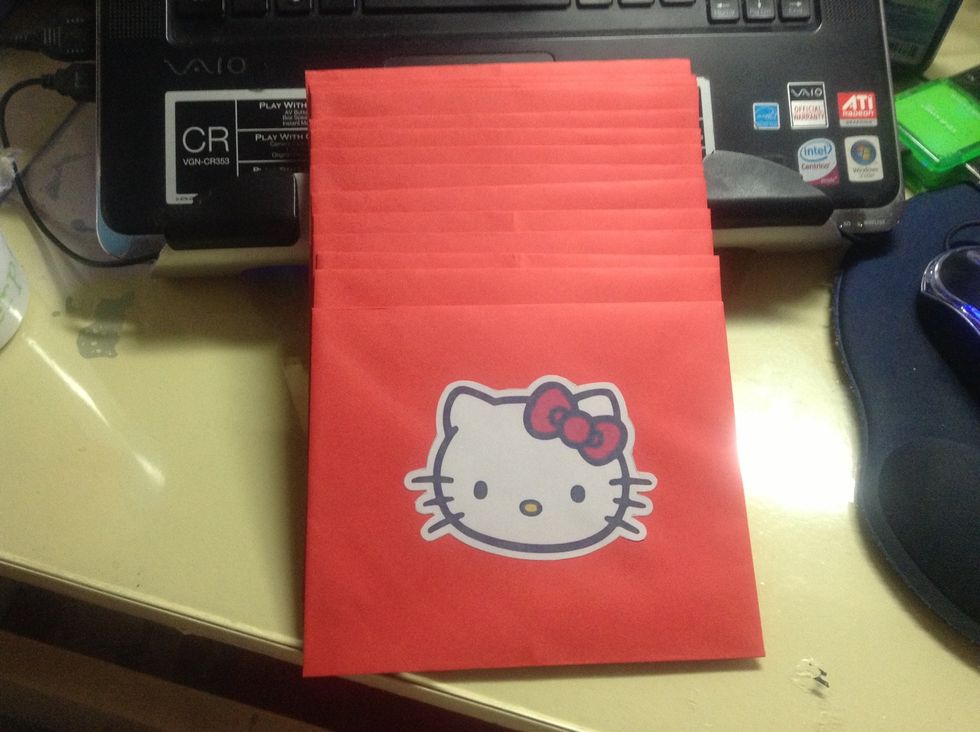
Ready to send! Keep on following for more guides! I'll be doing some HK cookies simple and yummy for my little girl's party! :) Thank you to all my followers!