The Conversation (0)
Sign Up
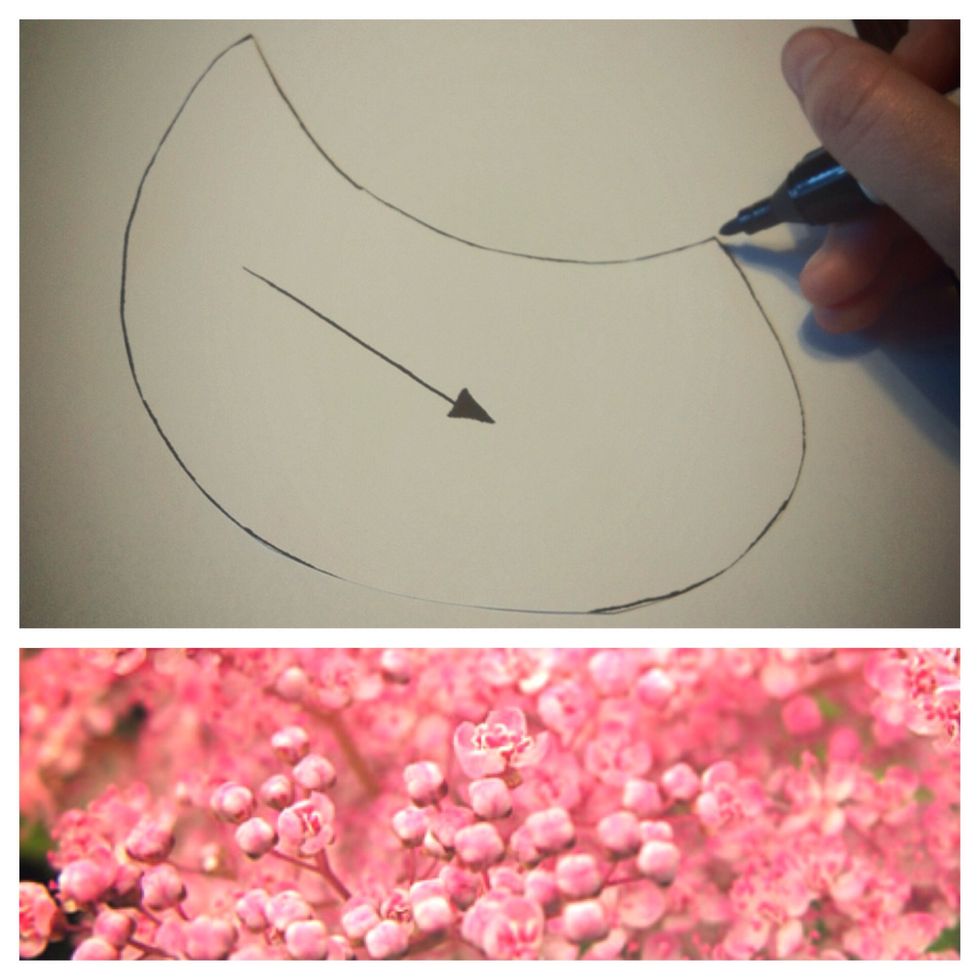
Start by drawing a stencil for your collar.

Cut it out and use it to trace the shape on the ironing fleece.

Flip it over and do the same again. Make sure, that you'll have two mirrored shapes.
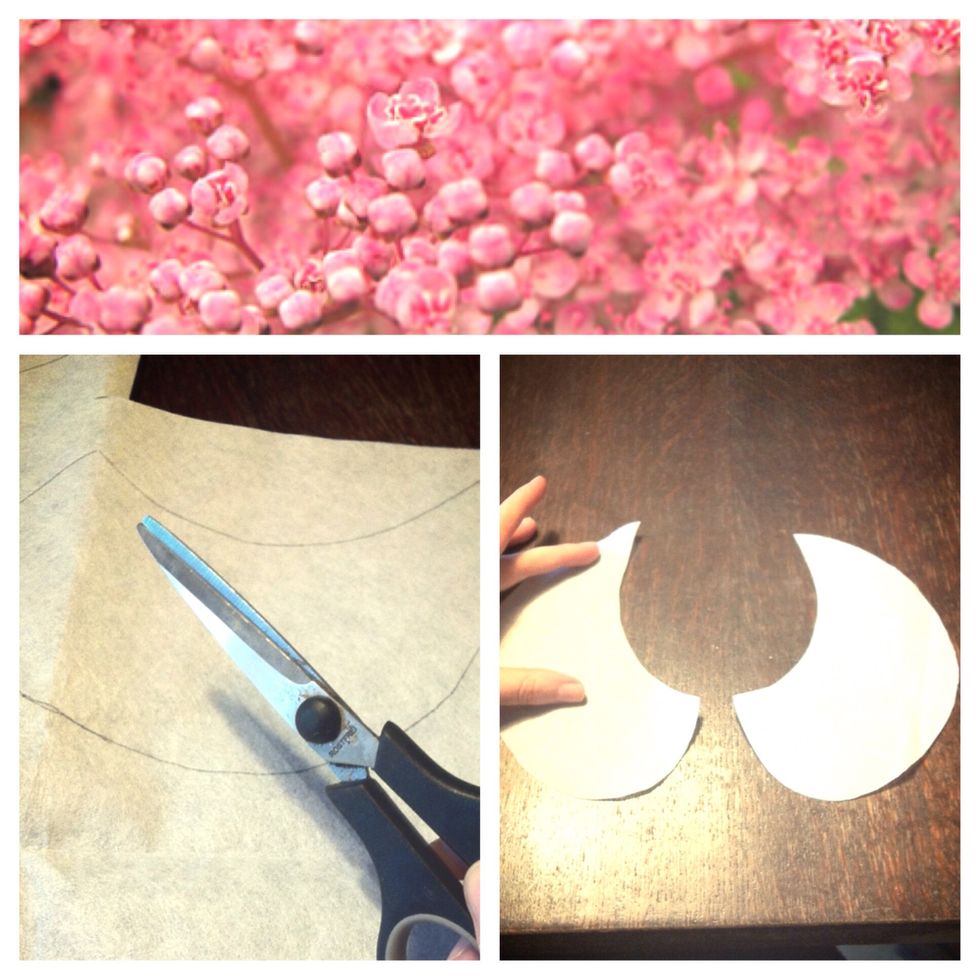
Cut those out.
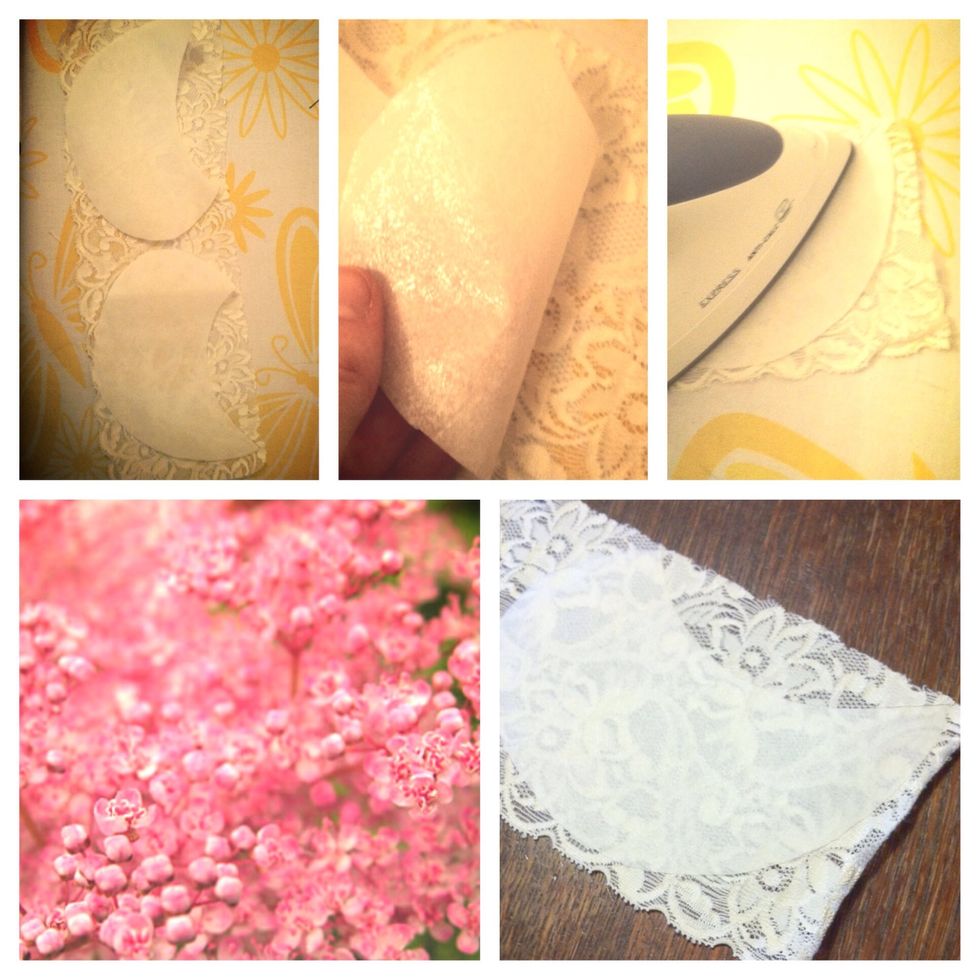
Iron the fleece onto your lace. Make sure, that the shiny side lies face down. The lace should lie the same way (faced down)
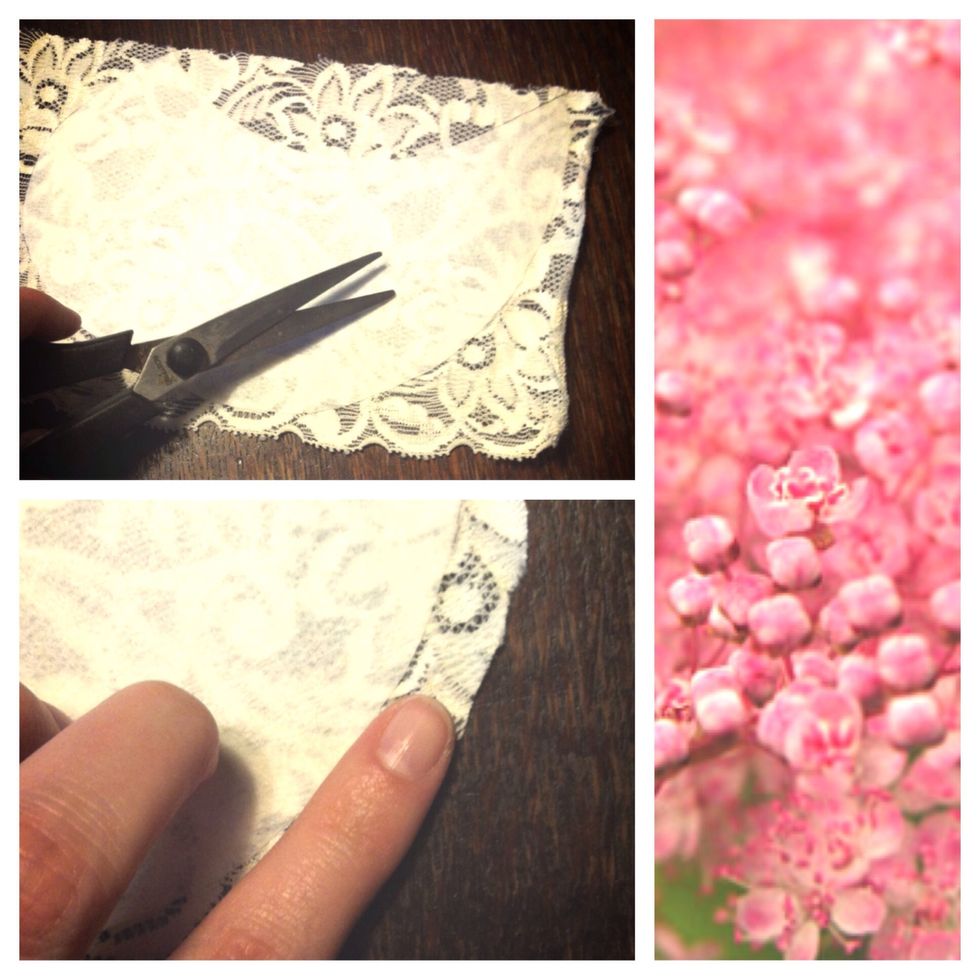
Cut it out. Leave about 1cm seam allowance.
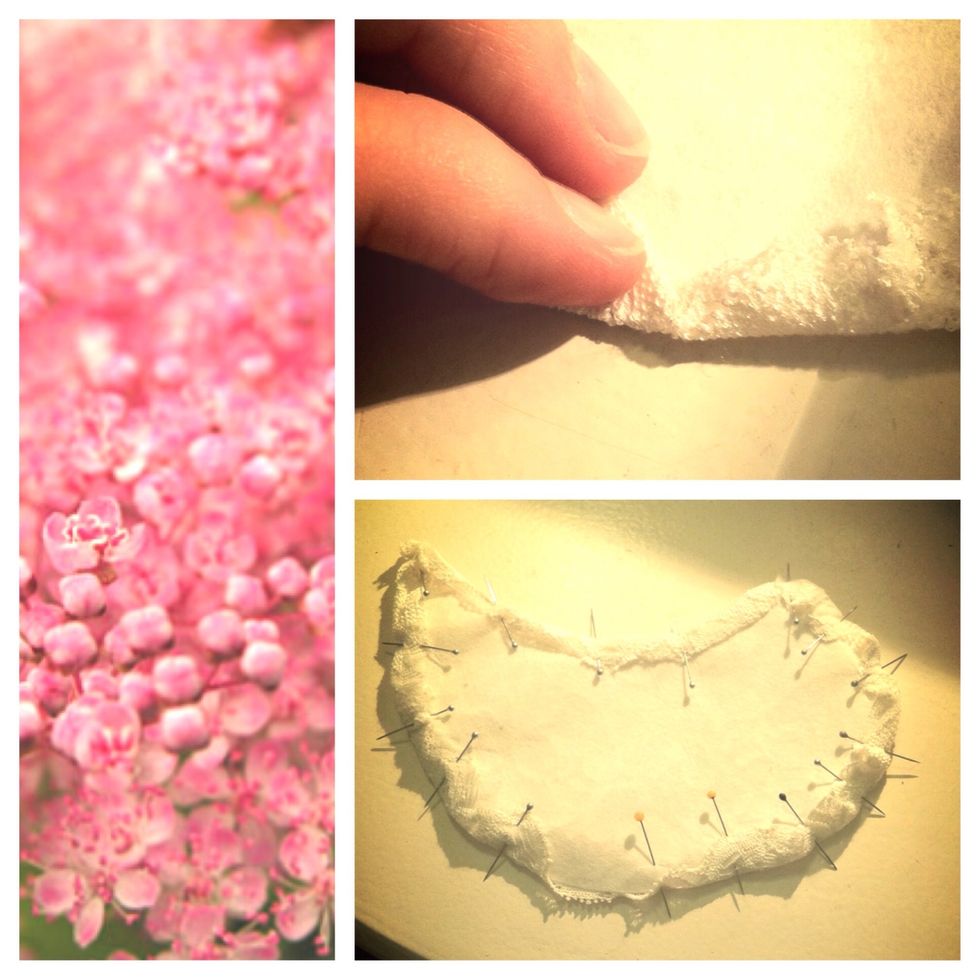
Fold the lace over and pin it.
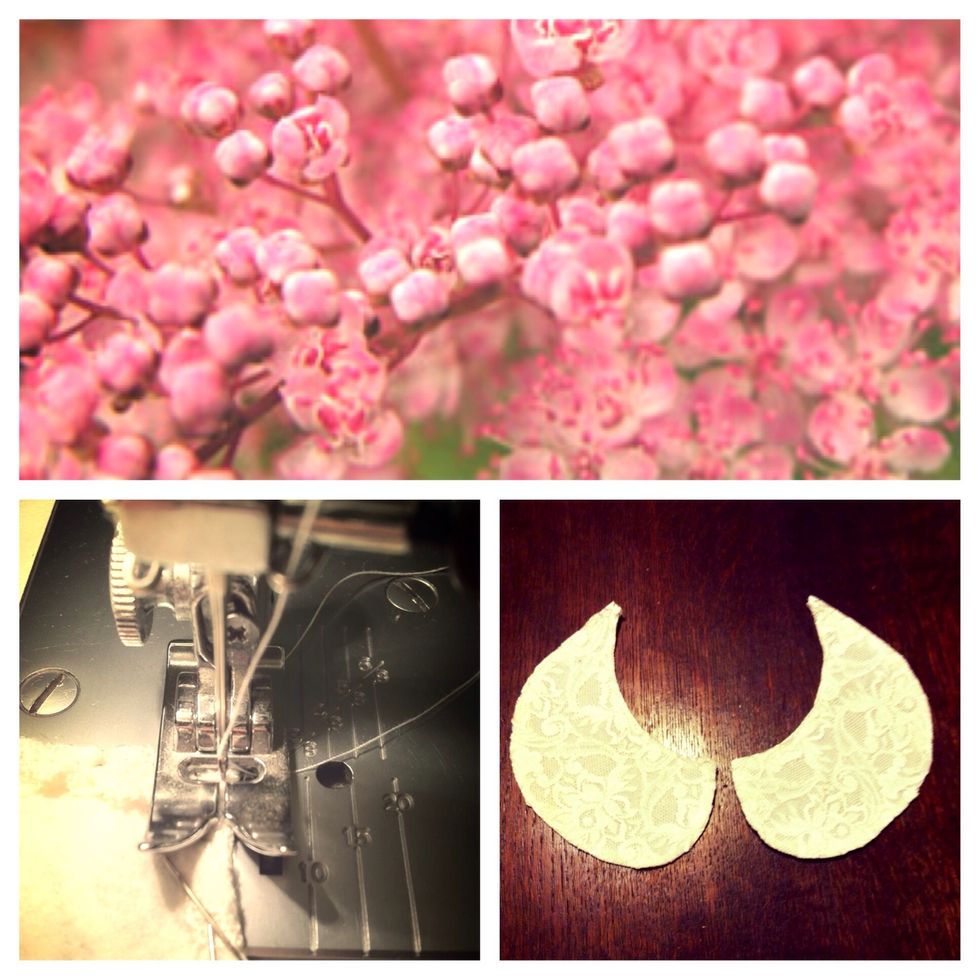
Sew either by hand or with a sewing machine.
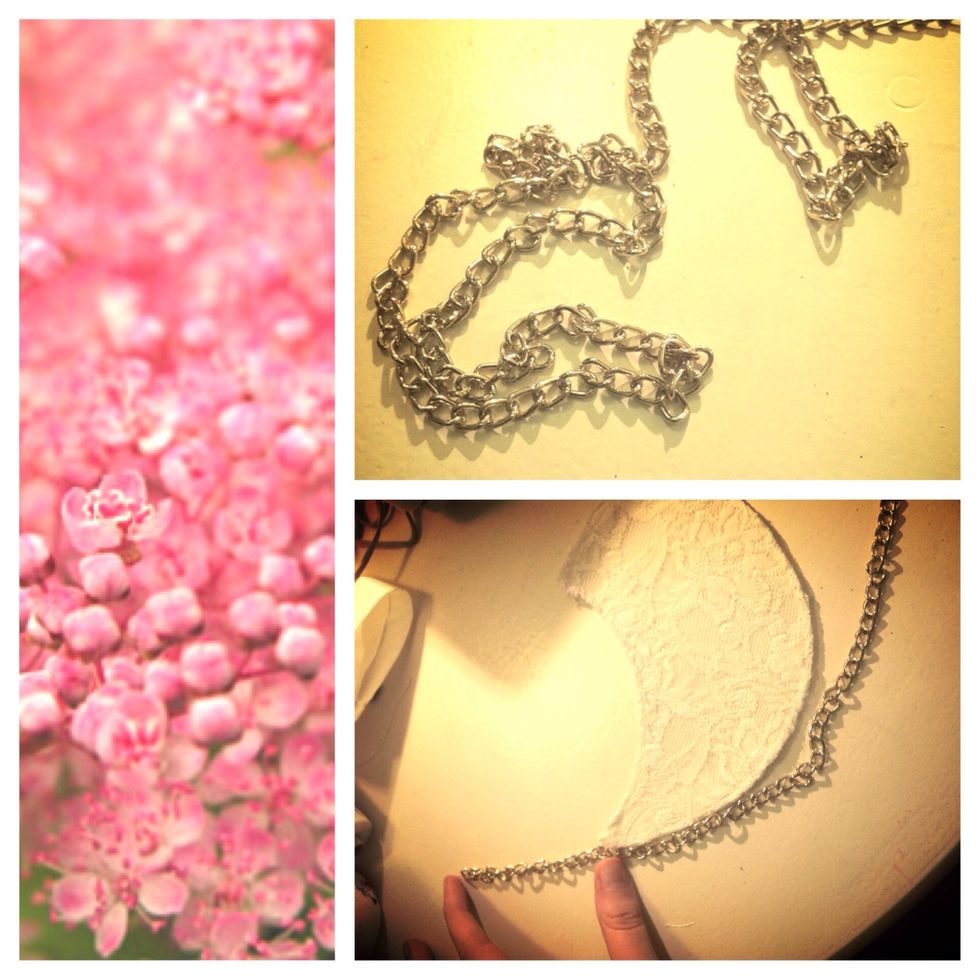
Choose a chain or ribbon and start sewing it on the edge of your collar. Leave a rest stand over. This will be your clasp at the end.
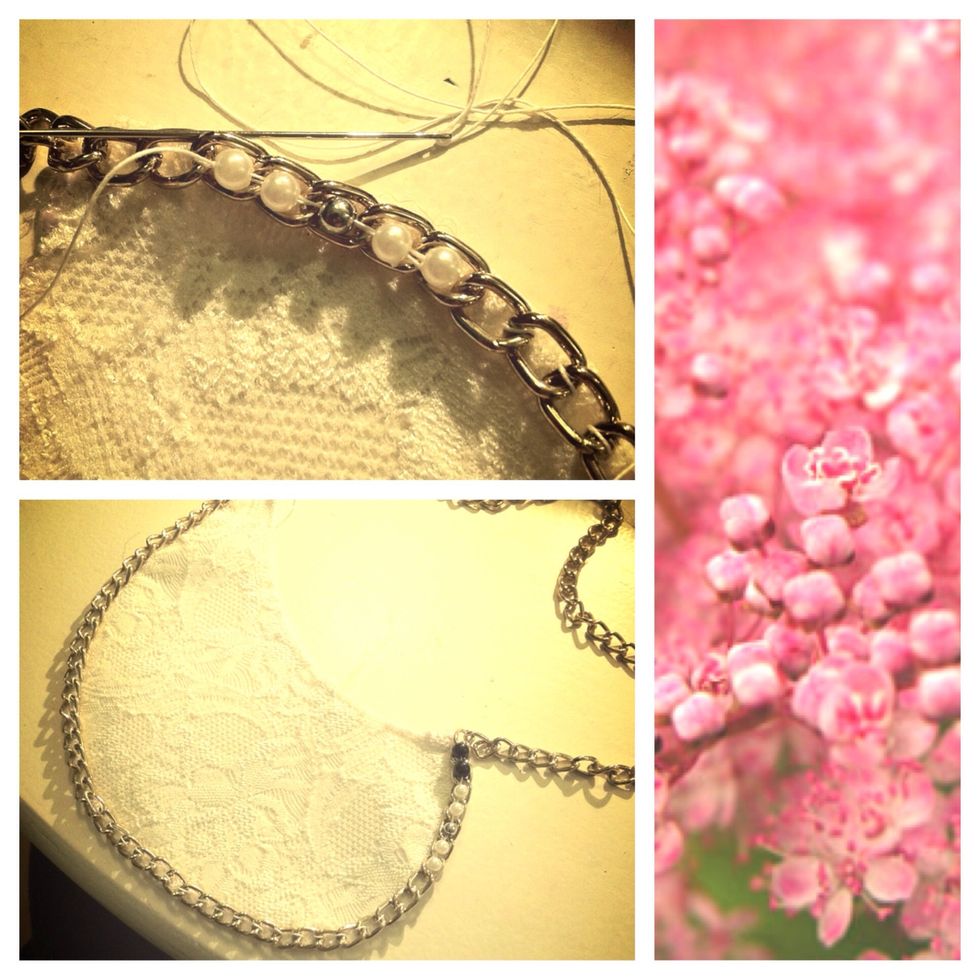
I added some beads to the chain. But this is up to you!
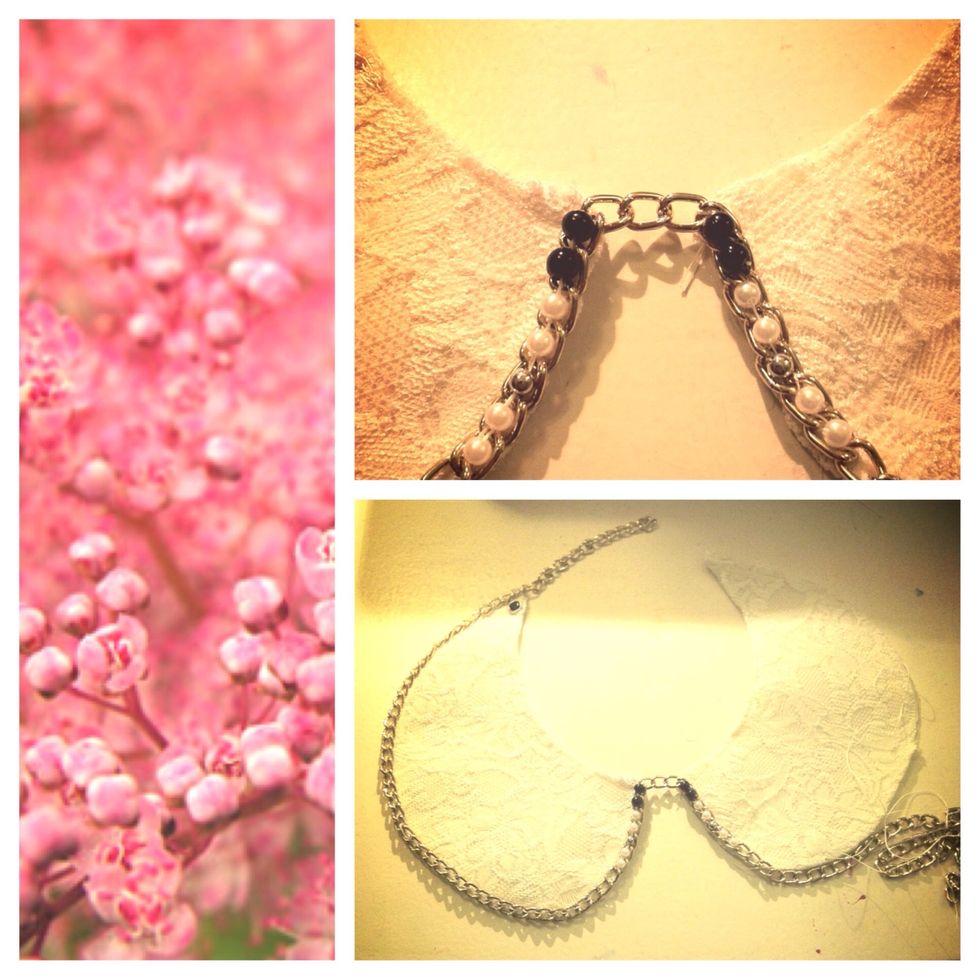
I choose to leave three chain links between the two sides of the necklace. Then I repeated the pattern of the beads.
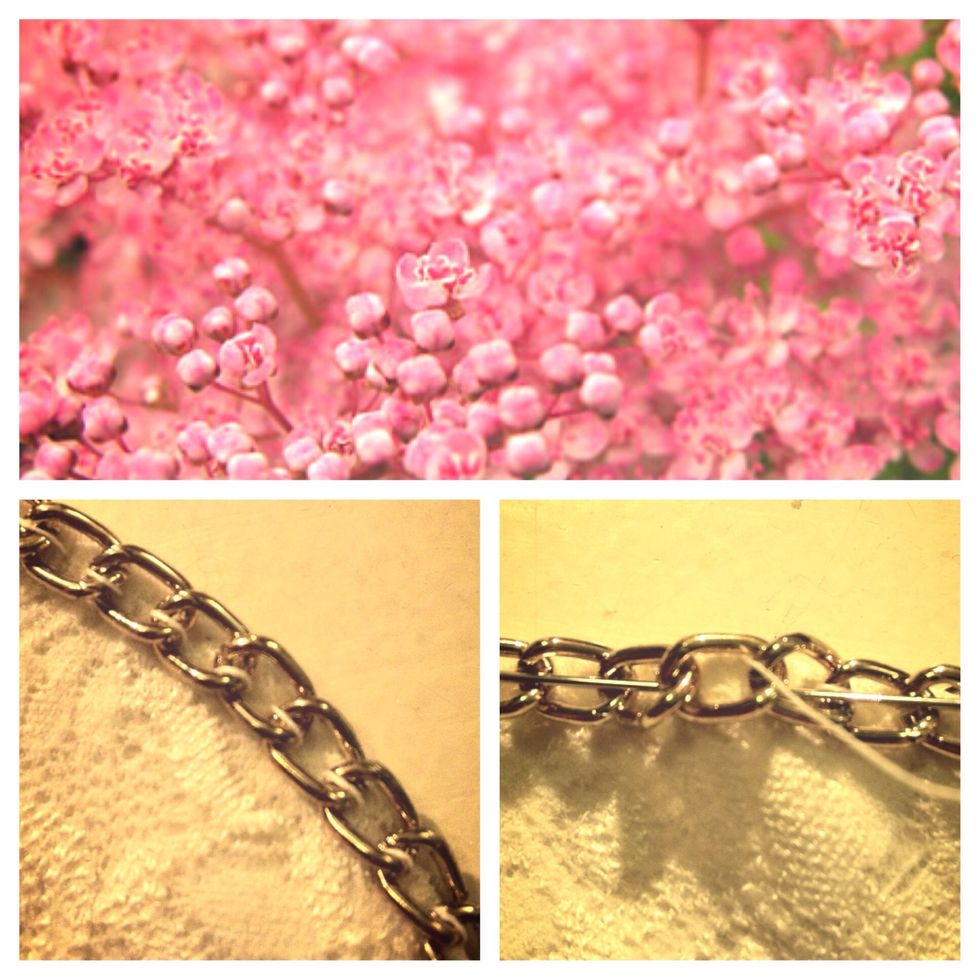
Here is a close-up of the stich. But you can sew the way you feel comfortable with!

There you go!
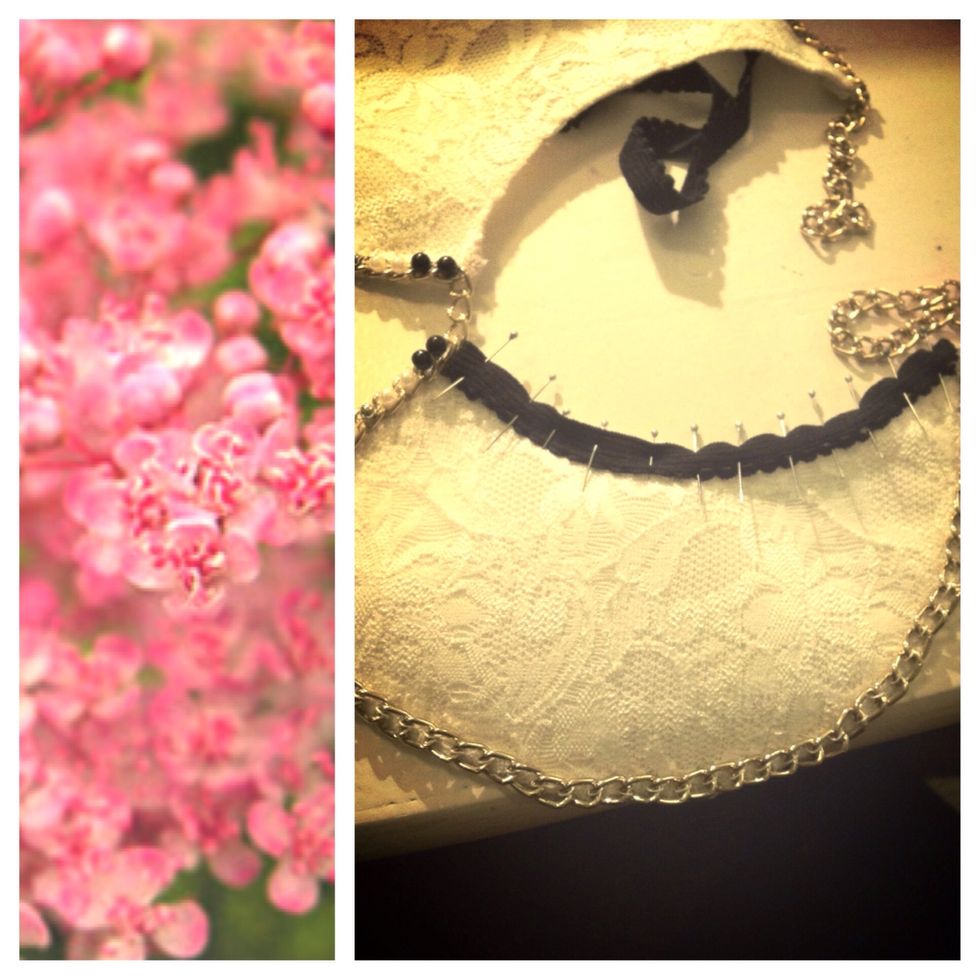
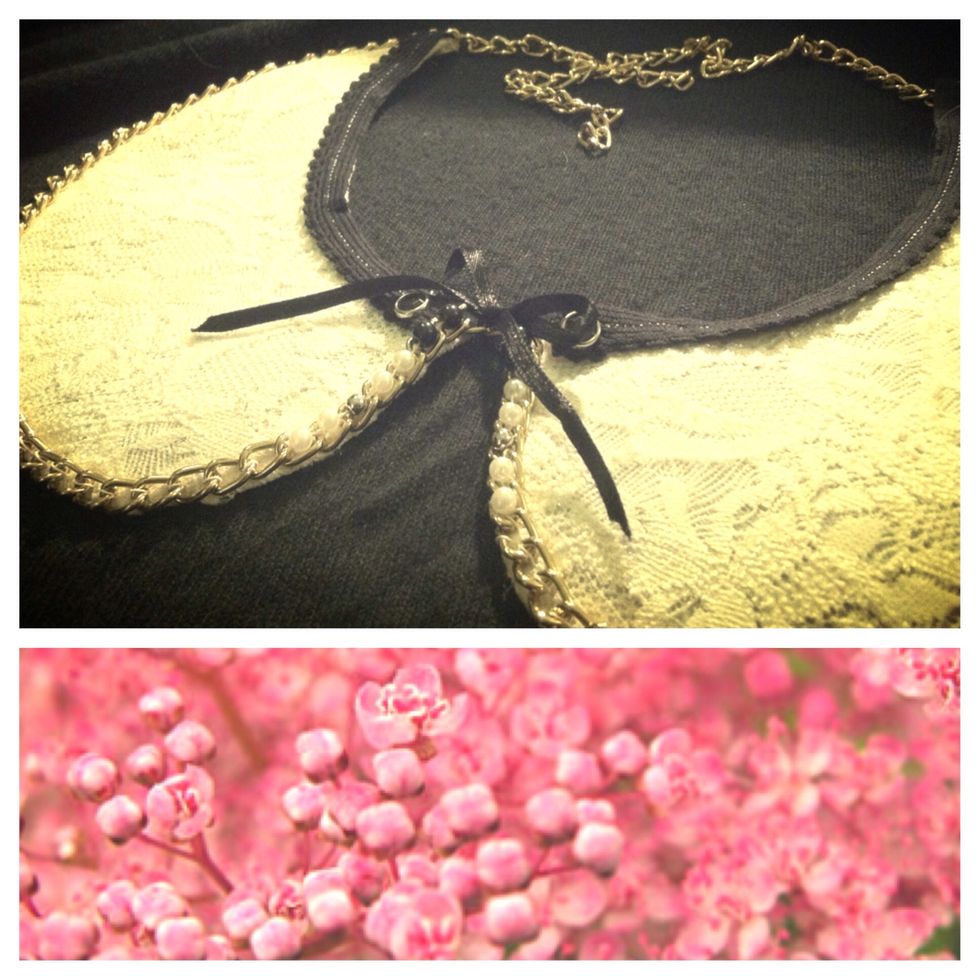
I pinned a black ribbon on the upper part of the collar.

I sewed it using a black thread and a white one.
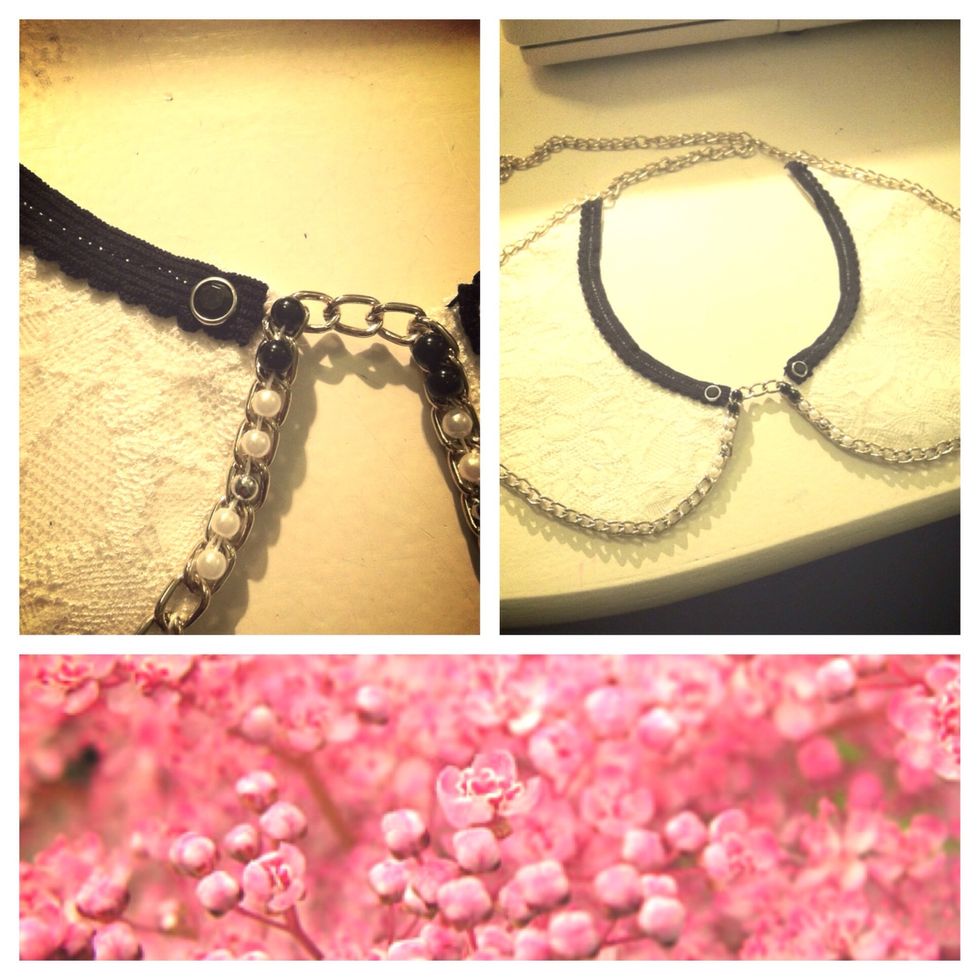
I added some black rhinestones.

And a little black bow in the middle.
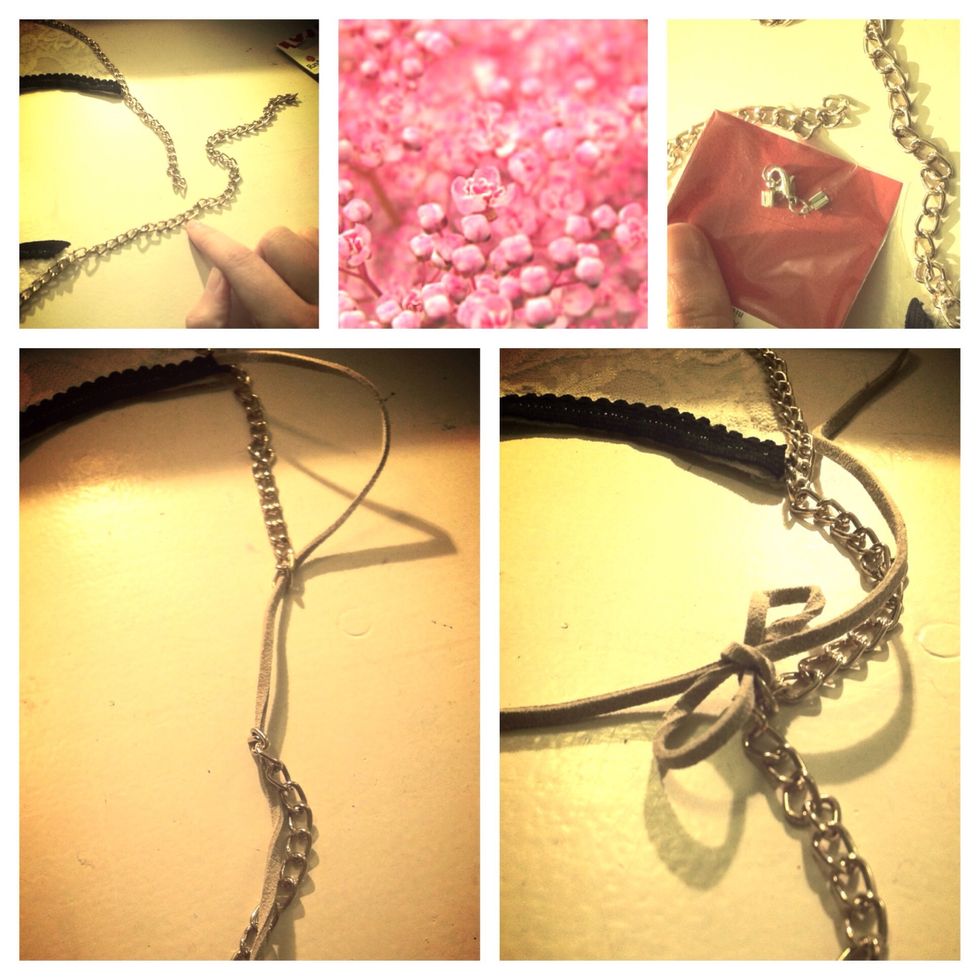
Shorten your overstanding chains with pliers and select your favourite clasp. I took a leather band, so I can vary in lenght.
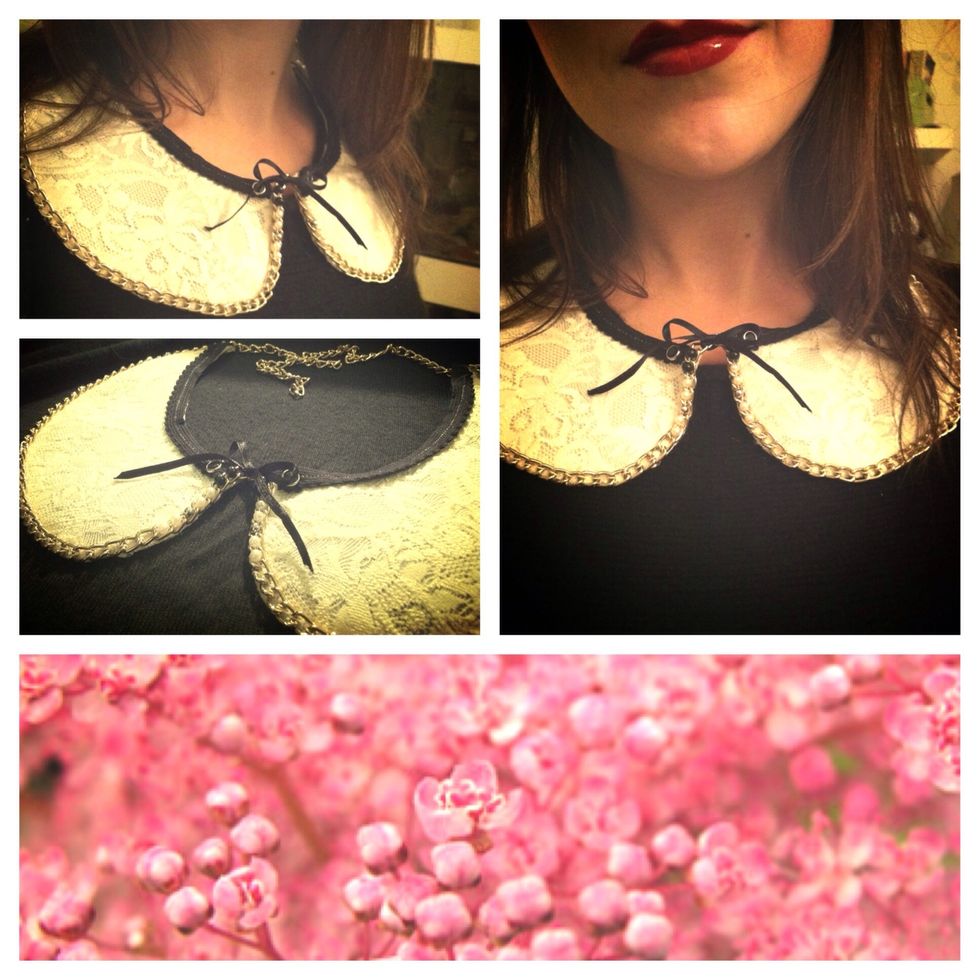
And thats the result!
I hope you enjoyed! You can create many different peter pan collar necklaces this way. It's up to you! Have fun!!!