The Conversation (0)
Sign Up

Start with a large T-shirt. Any shirt will do
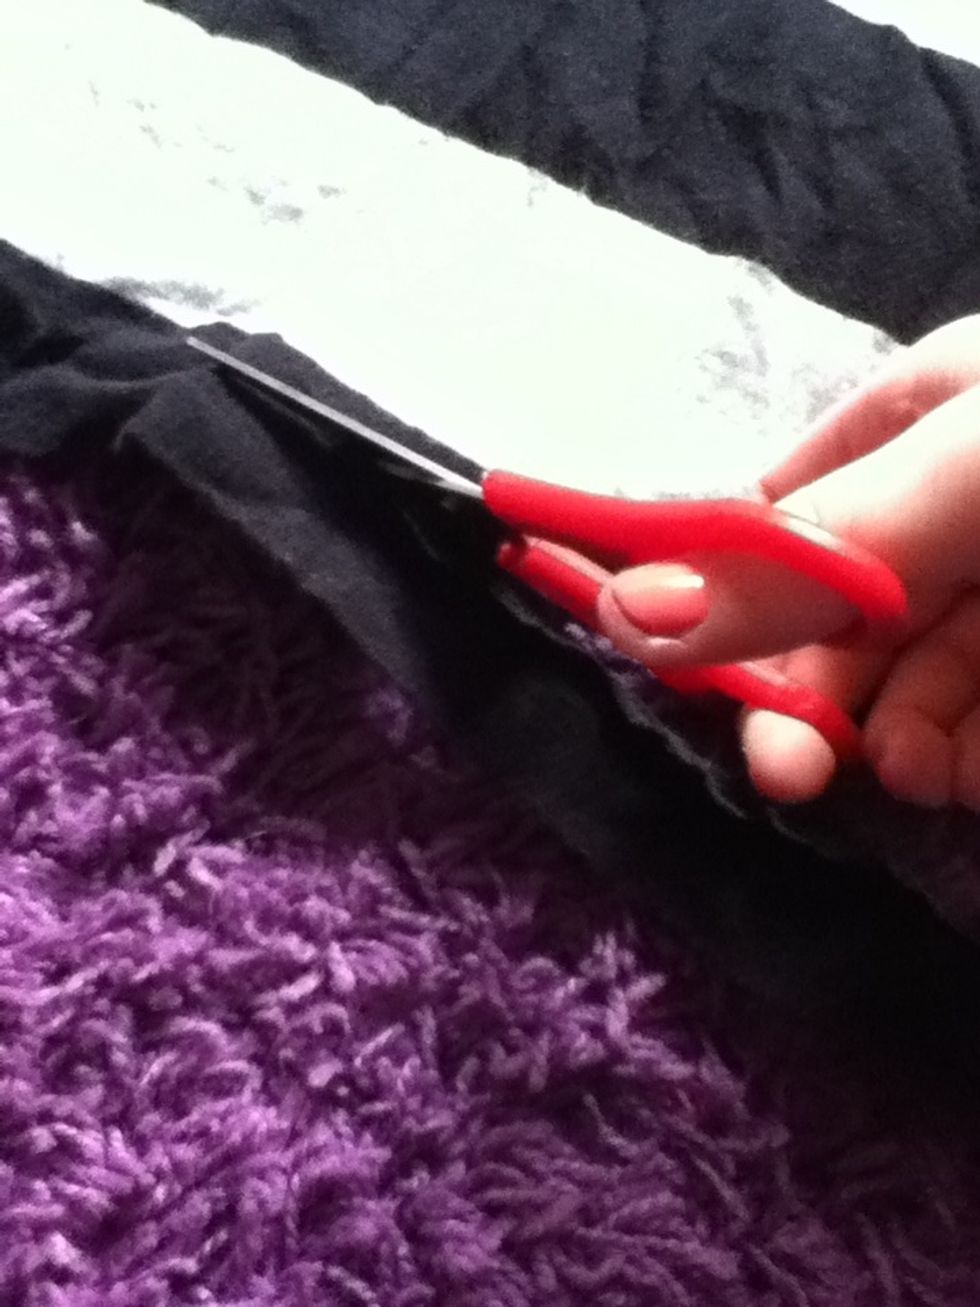
Cut off the bottom hem of the shirt.
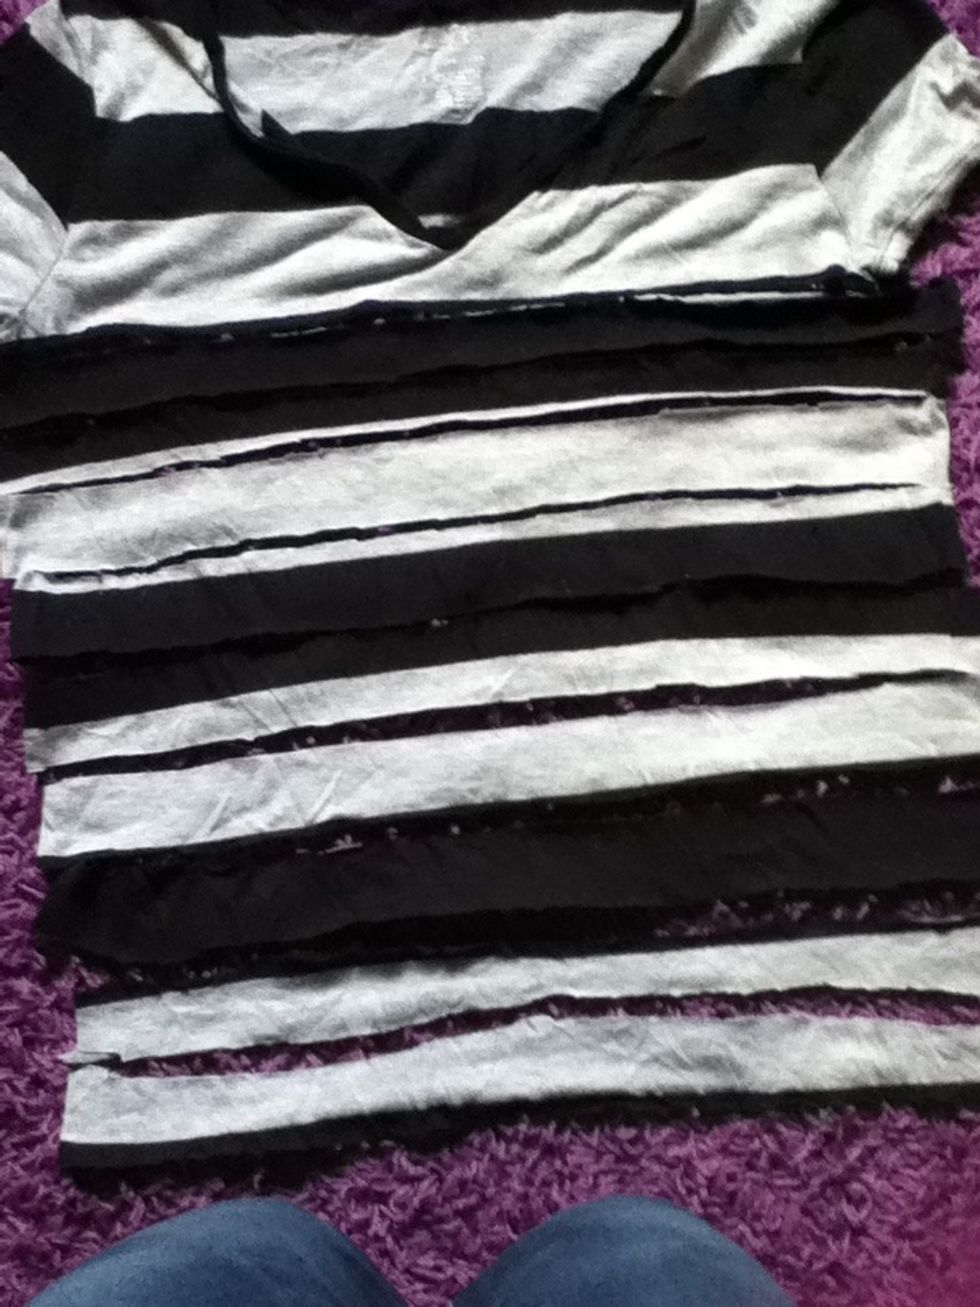
Then cut 1in - 2in wide strips horizontally across the shirt from bottom to armpit.
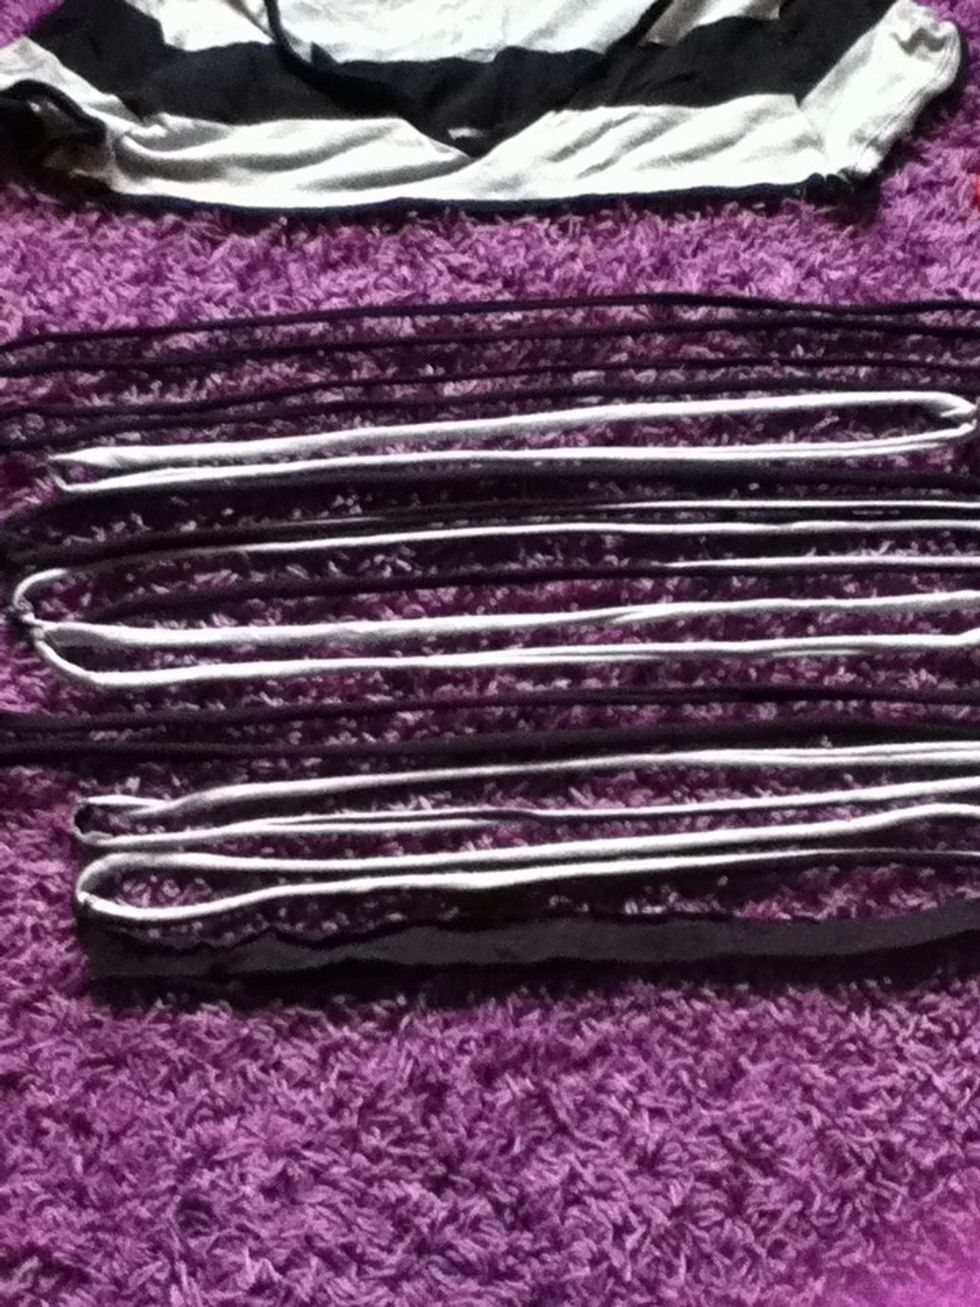
Set the bottom me aside. Stretch all of the remaining strips until the become long, and the raw edges starts to roll inwards.
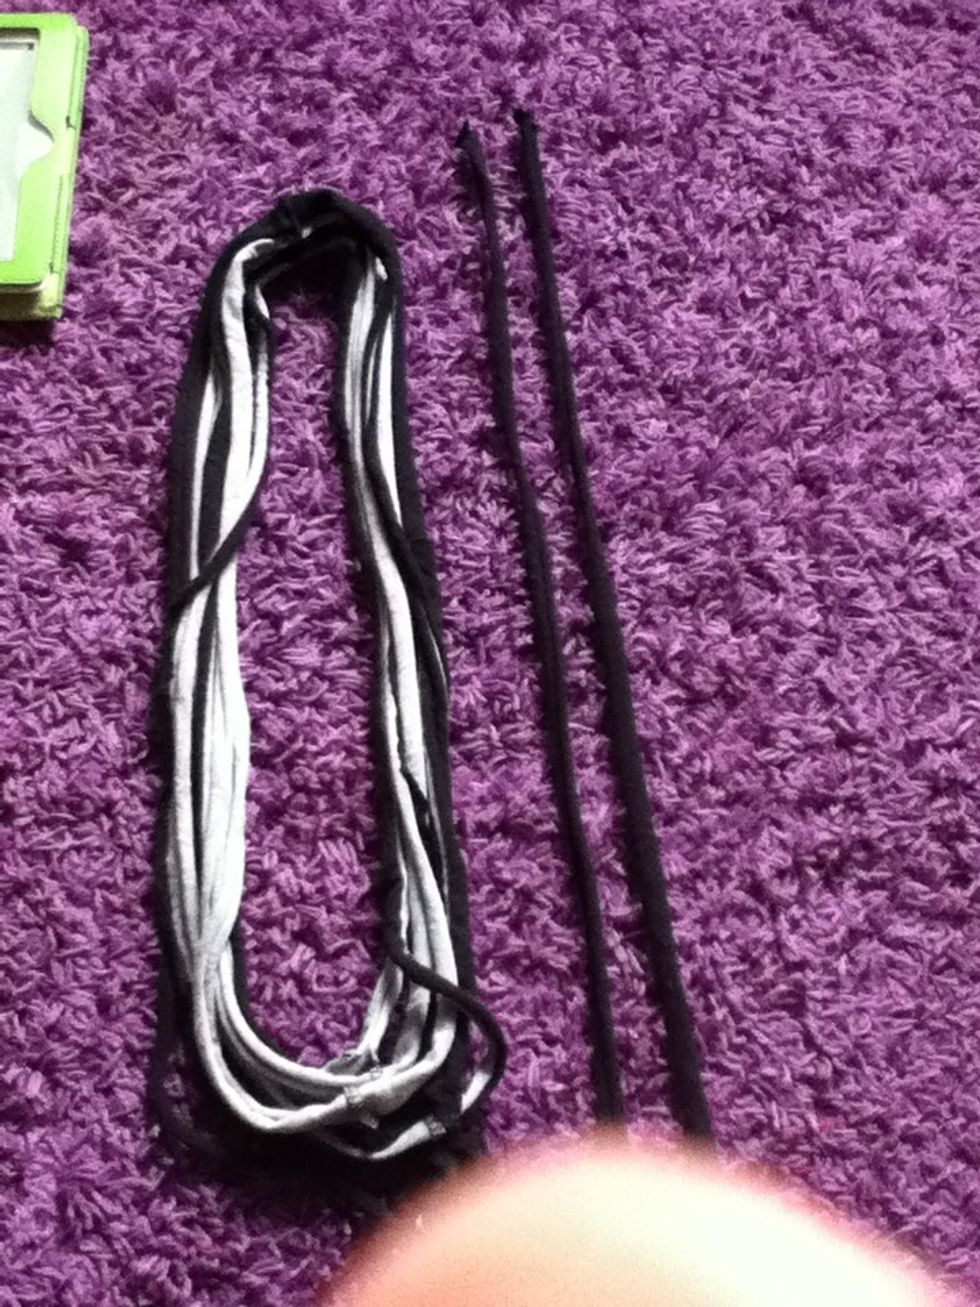
Put all the strips together. Cut one end of the bottom hemline so it becomes a string.
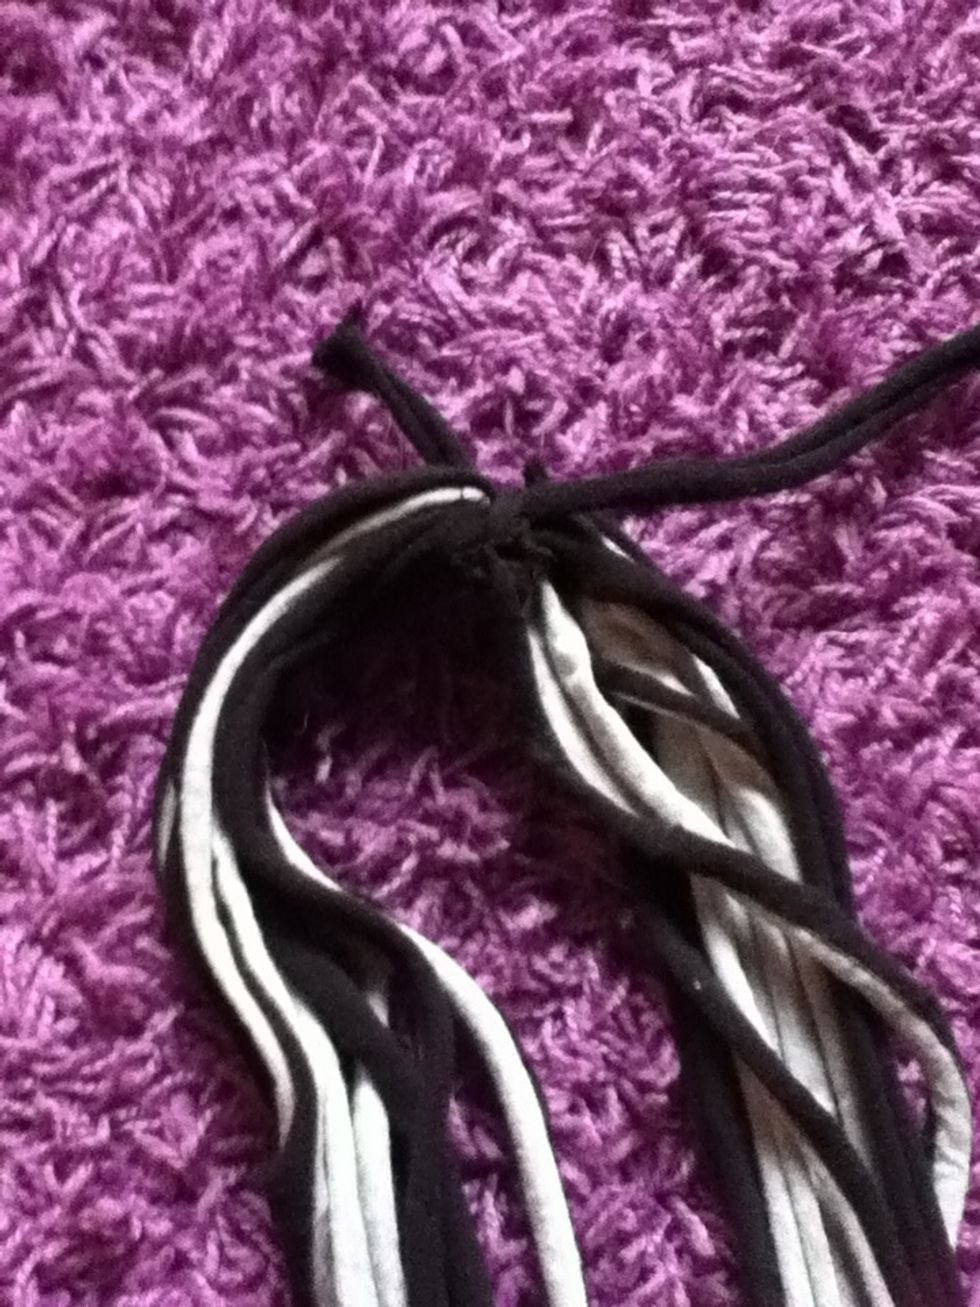
Using the strip of the bottom hemline, knot it around the strands to secure them in place.

Wrap the strip of fabric around the strings. Once it is long, tie it with the other knot.

Trim the lose strings

Viola!!! You have just made a multi-strand scarf!