The Conversation (0)
Sign Up

Purchase a 1x8 wooden board cut to be six feet long. You can find this at your hardware store and they are almost always happy to cut it to 6'. I recommend pine... Avoid wood with a rough surface.
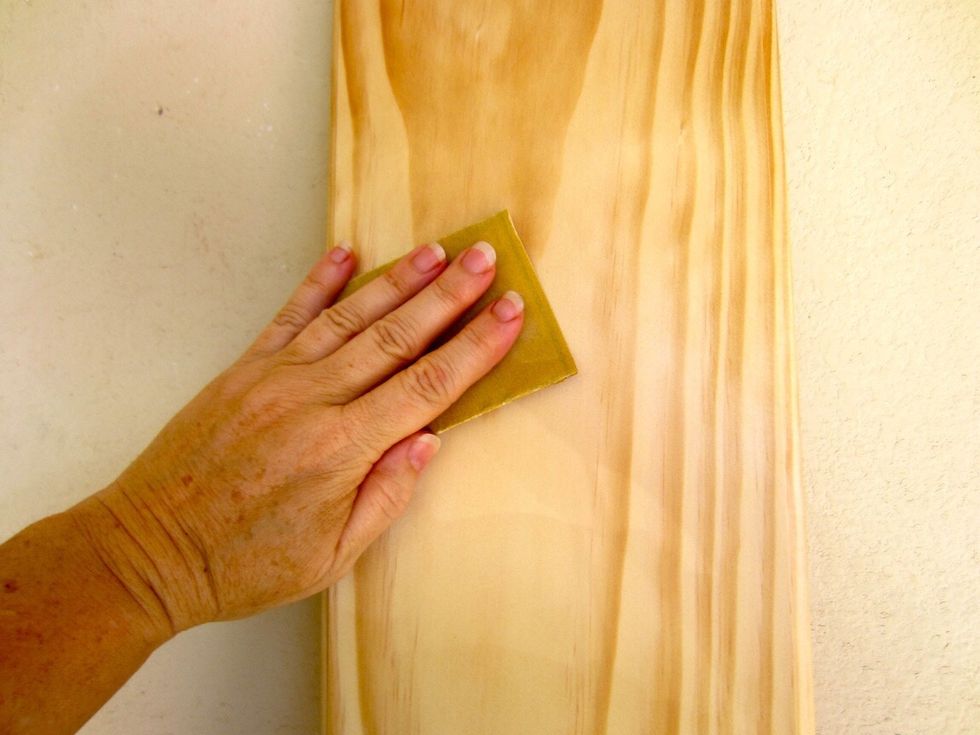
As much as desired, sand the board and edges.

Wipe the board free of particles and dust.
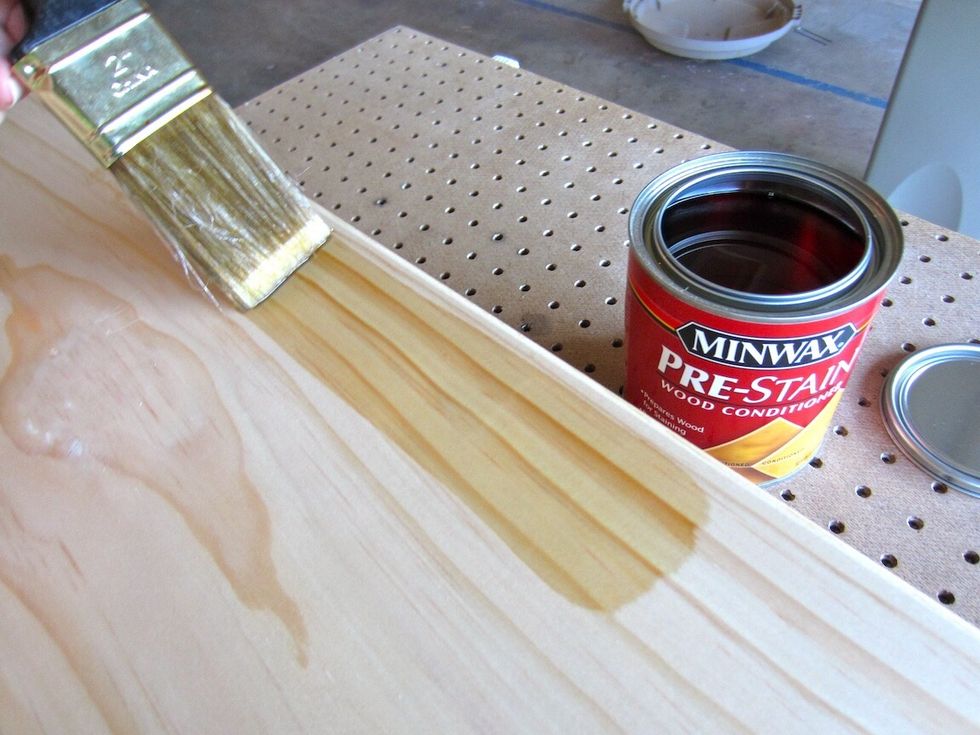
Pretreat your board with a pretreatment before applying your stain to avoid a blotchy look.
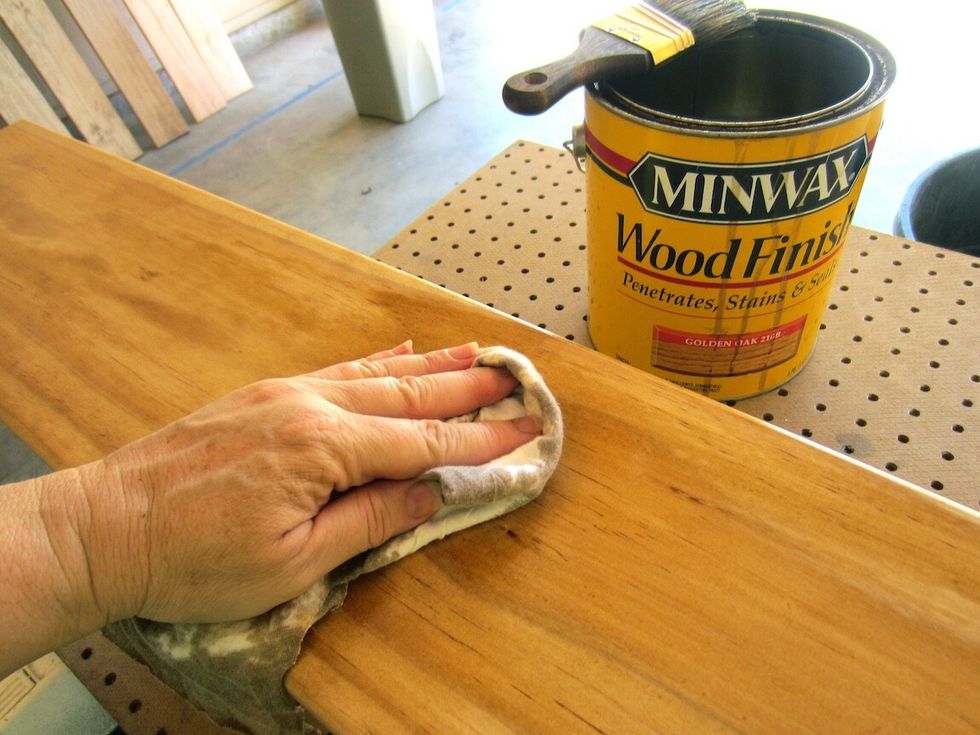
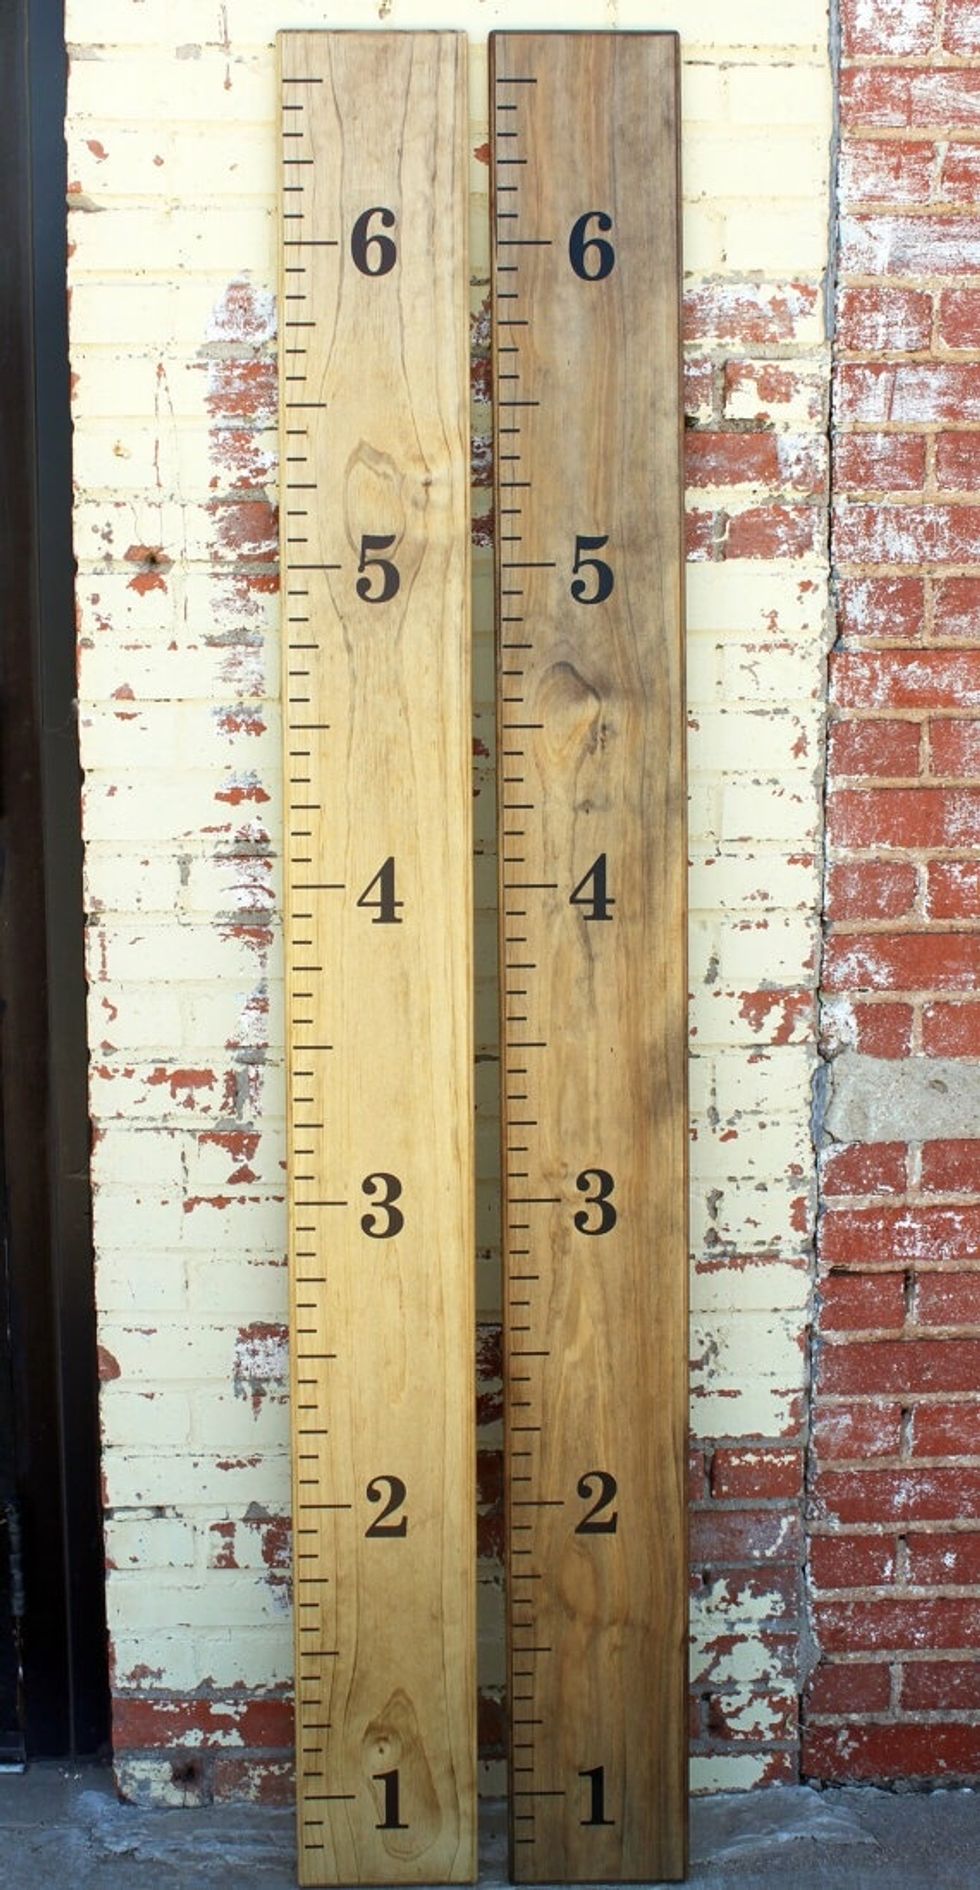
Stain with a basic, oil based stain that isn't too dark. (Test on back to make sure!) Avoid using products that cut corners on drying time like "quick dry" or "poly blends".
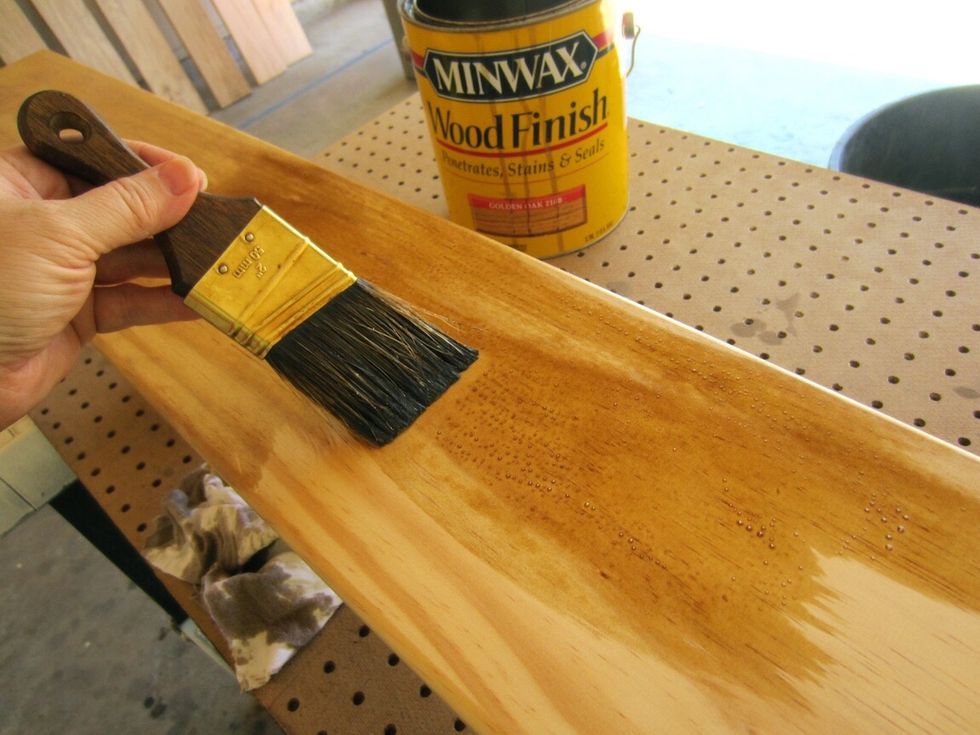
I like the look of Golden Oak by Minwax. Allow 72 hours to dry so that the stain is completely absorbed into the wood and won't repel the vinyl.

Next step is to add your measuring marks and numbers! Little Acorns by Ro sells an easy to use DIY vinyl kit here: https://www.brit.co/shop/catalog/DIY-growth-chart-kit_32770/

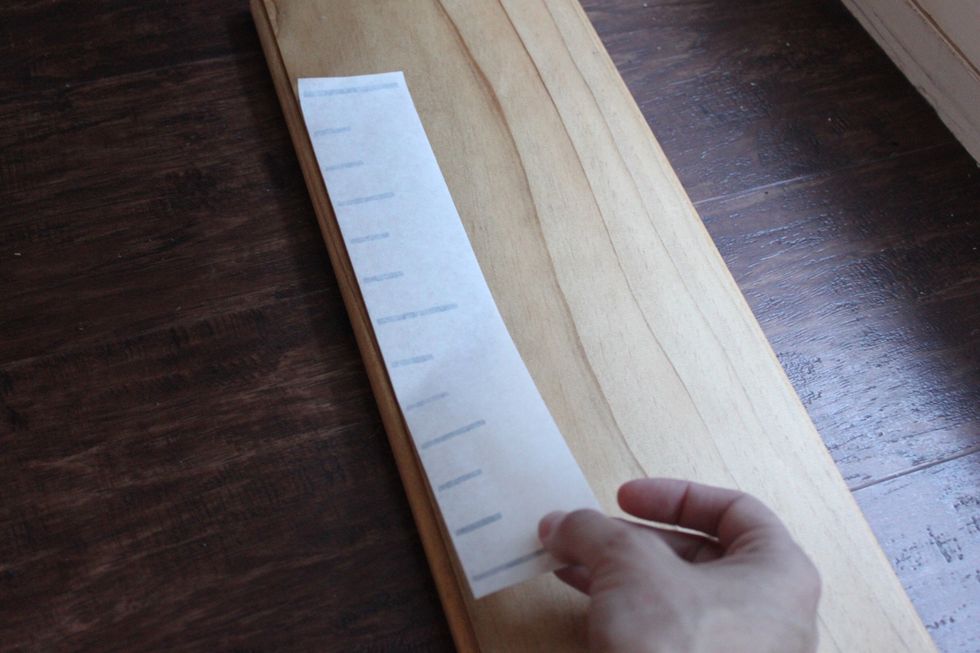
Make reference marks for each foot. If you plan on hanging 8" off the ground, start your reference marks at 4".
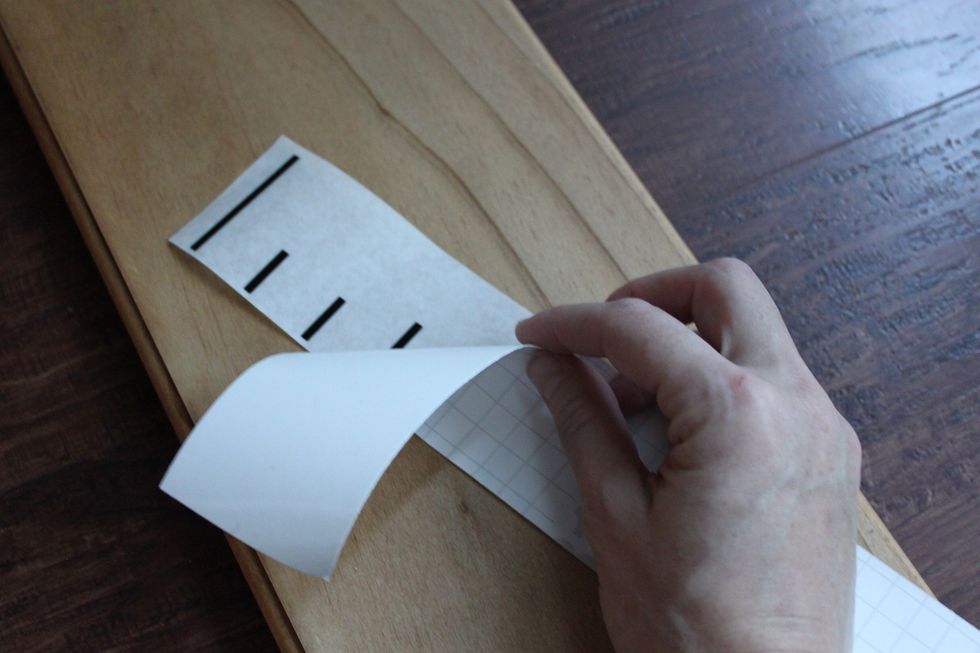
Lay vinyl flat with backing paper face up and slowly peel, keeping the transfer paper with the vinyl flat. This way, it won't curl up and stick to itself!
Align and press, using a credit card or something semi rigid. "Squeegee" over the transfer paper sever times to eliminate air bubbles and make sure the strips are adhered to the board.
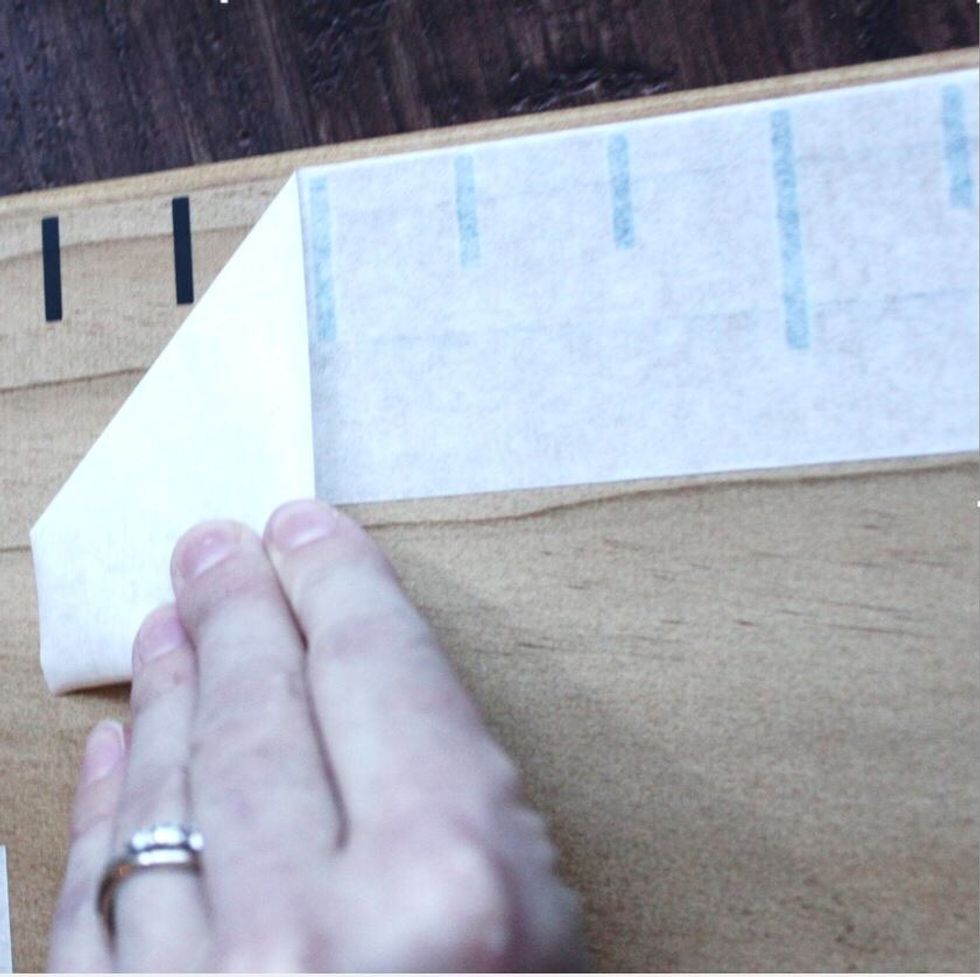
Slowly peel back the transfer paper. Step back and admire how beautiful it looks! :)
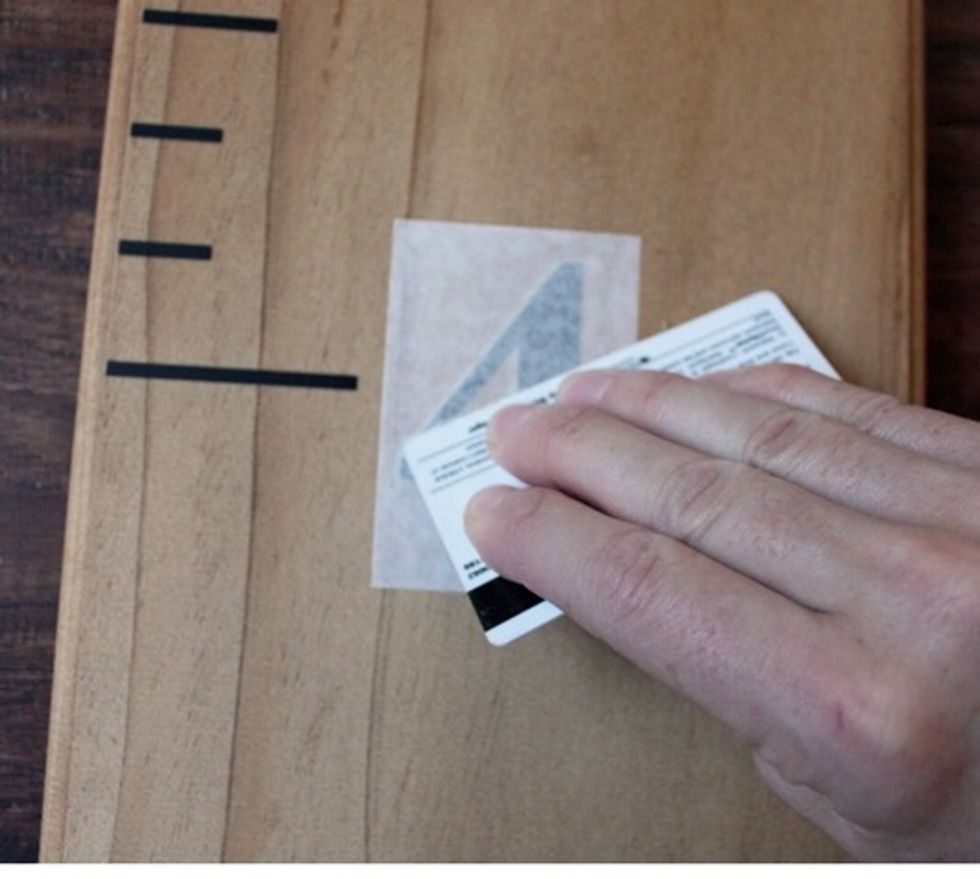
Follow the same process to apply the numbers.
You're done! Hang with screws or a sawtooth hanger. Mark your children's heights with sharpie or paint pen (test out the pen on the back first.)