The Conversation (0)
Sign Up

You love giving handmade gifts, but even a DIY queen can be overwhelmed by the holiday season. To help out, here’s a DIY gold foil notebook you can make in minutes + easily ship around the country!

Gather your supplies.
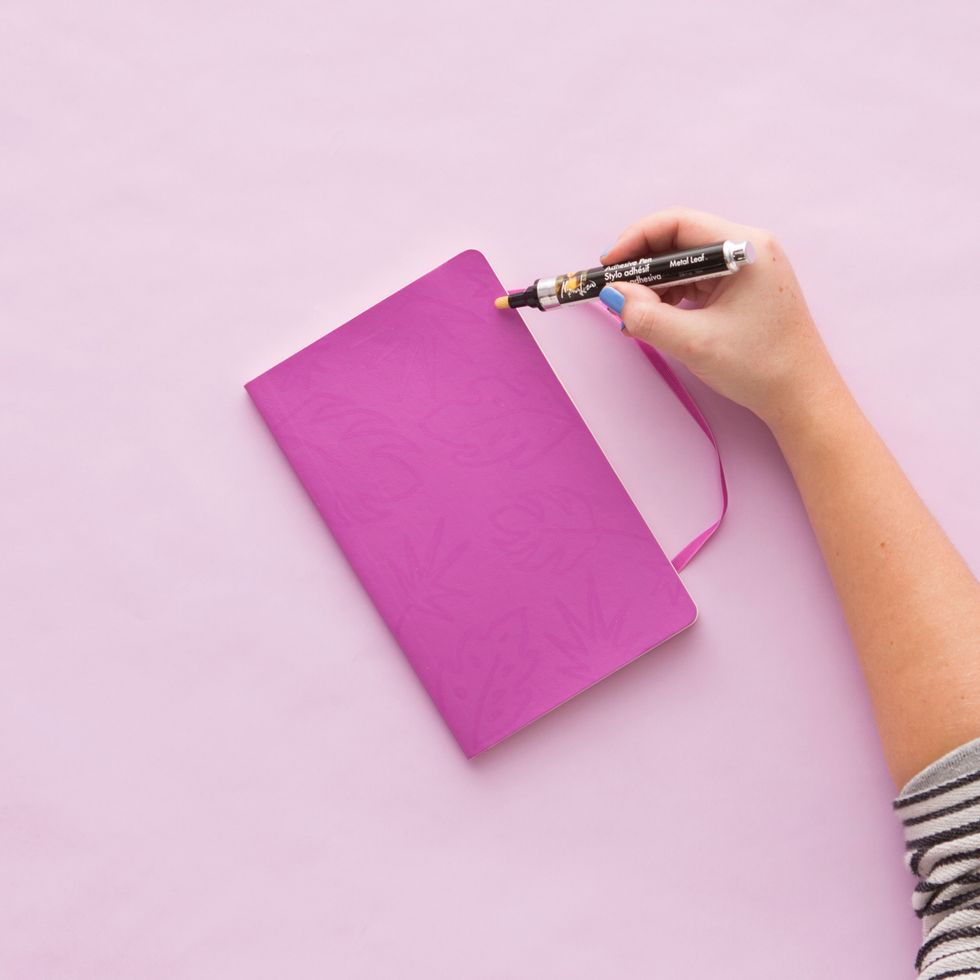
Draw your design onto the cover of the notebook using the adhesive pen. Let the glue dry for a minute or two until just tacky, but not completely dry.

Lay your sheet of gold foil down onto the cover, press down firmly all over the cover.

Peel back to reveal your foiled design.
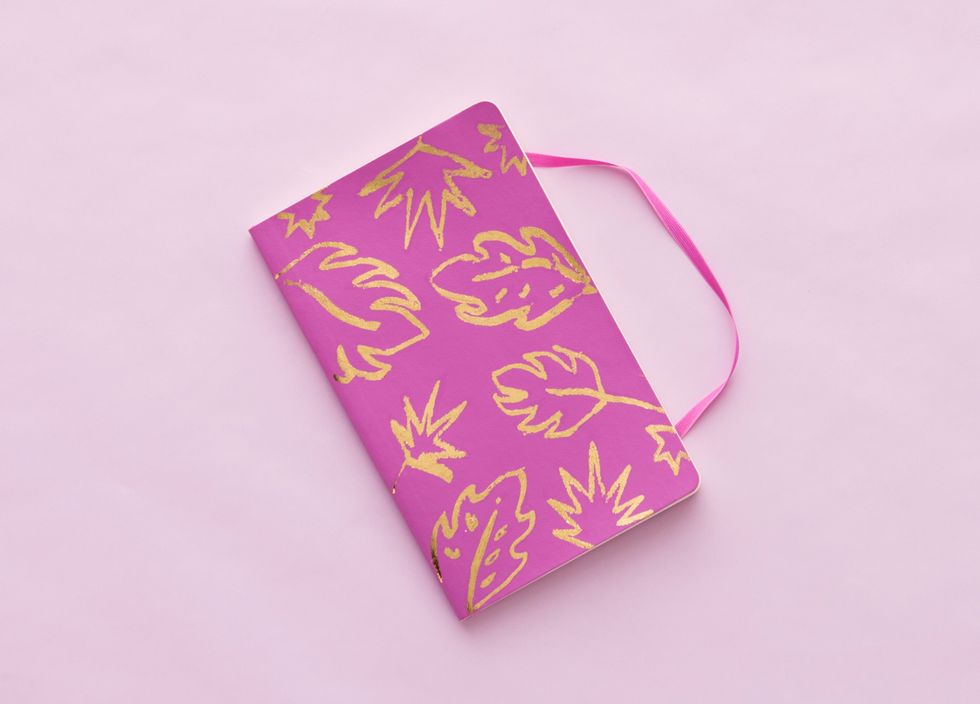
This pretty little notebook makes a perfect gift to ship to friends and family that may live further away!
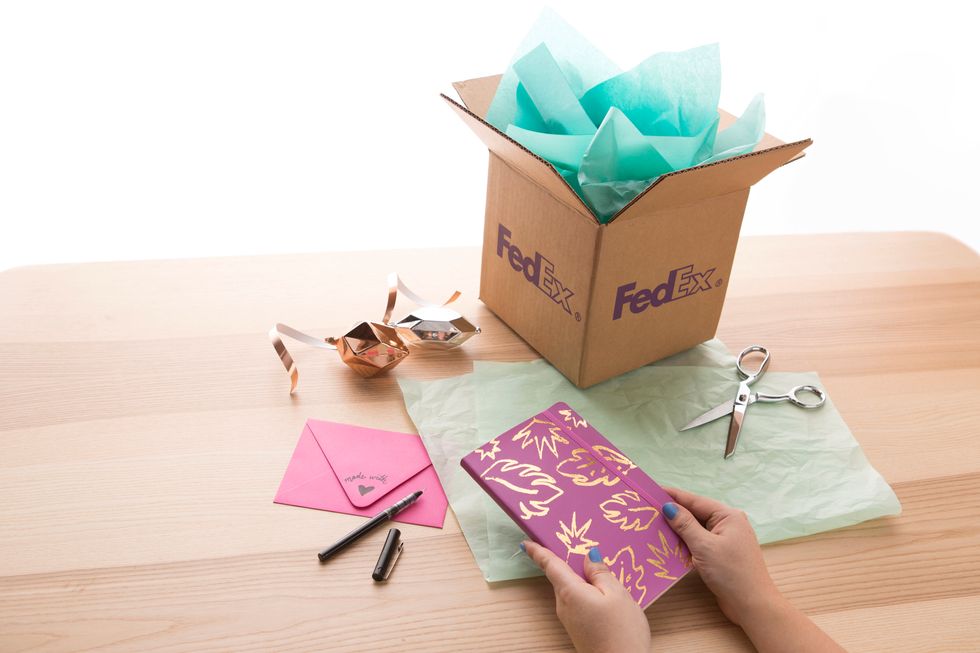
Shipping Tip: To make sure your pretty gold foil designs stay pristine, make sure to protect your items with at least 1-2 inches of cushioning around the top, bottom and all four sides.