The Conversation (0)
Sign Up
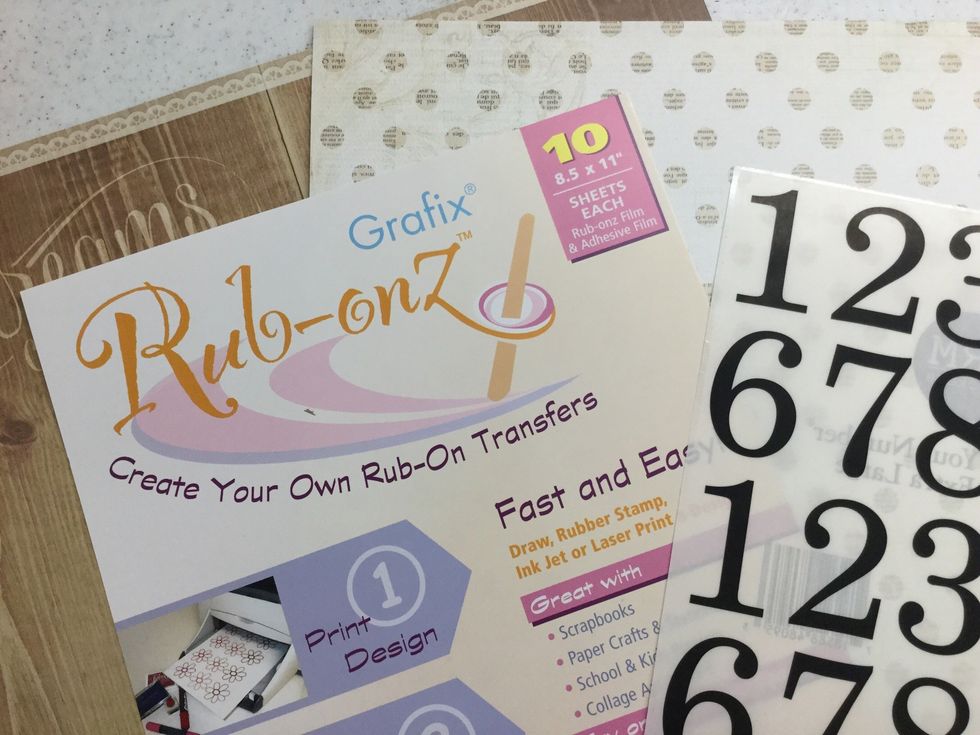
These are some of the items you will be using for this project. We were able to use only 2 sheets of scrapbook paper because one of them had a design on the back which coordinated with our project.
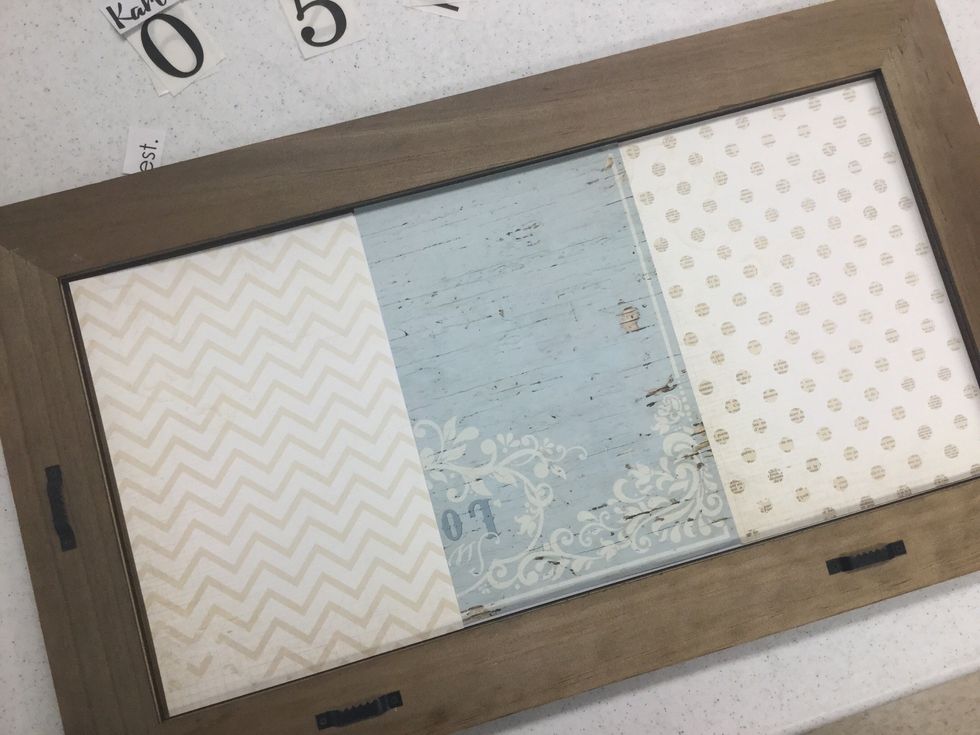
Cut scrapbook paper to fit. We cut our paper 6" wide and 9" high. Take the backing off the frame and lay papers over the mat openings. You may adhere the pieces in place, but it's not necessary.

Replace the backing and turn the frame over to work on the front side.
Use your computer to experiment with different fonts for your project. Print on scrap paper and cutout to determine your layout.
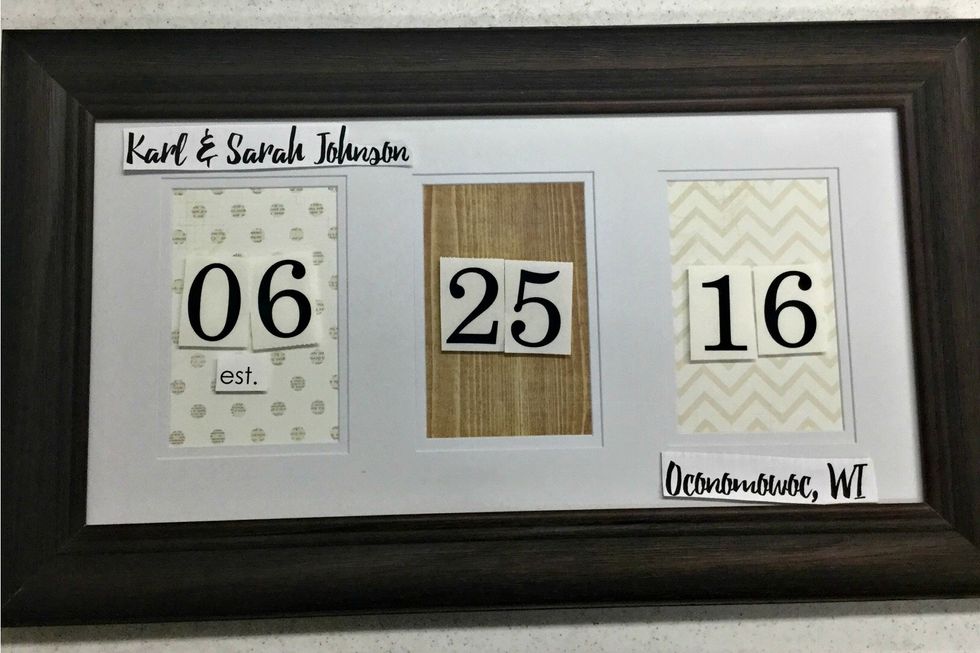
We used the font Beacon for the names and location text. This font was downloaded from www.dafont.com. Century Gothic was used for the est. text. The date numbers were cut from the SRM sticker sheet.
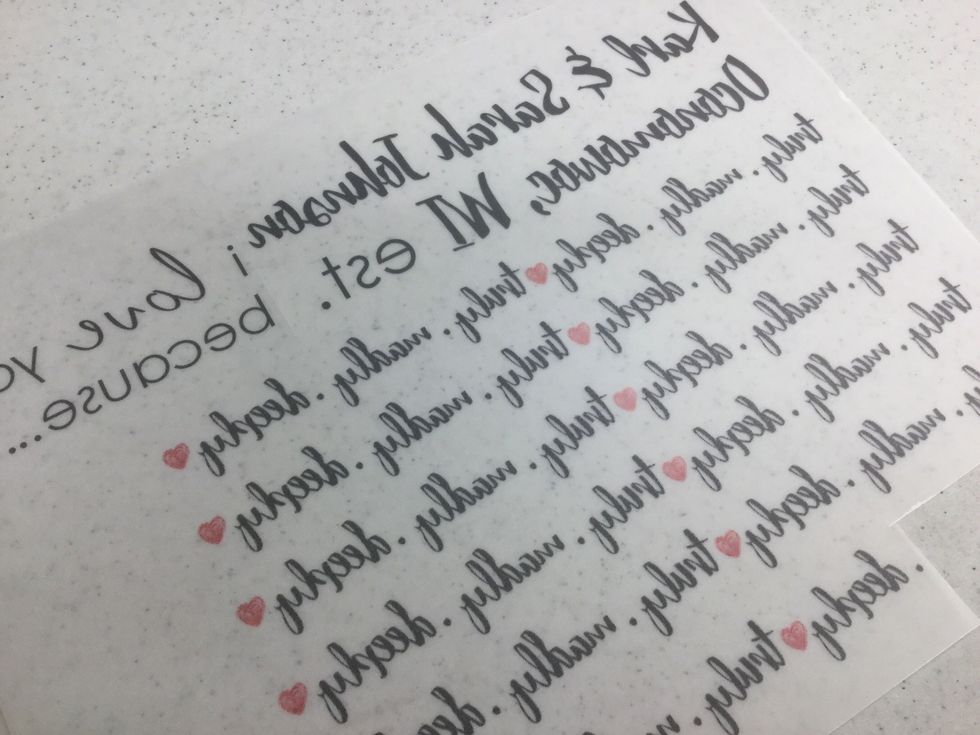
When you are happy with your fonts and layout, flip the text image in your editing program. Save and import to your word processing program. Adjust to size and print as directed on Rub-onz film.
Tip: Think of other phrases you may want to use as rub-ons. Fill up your page with reversed text and images before printing.
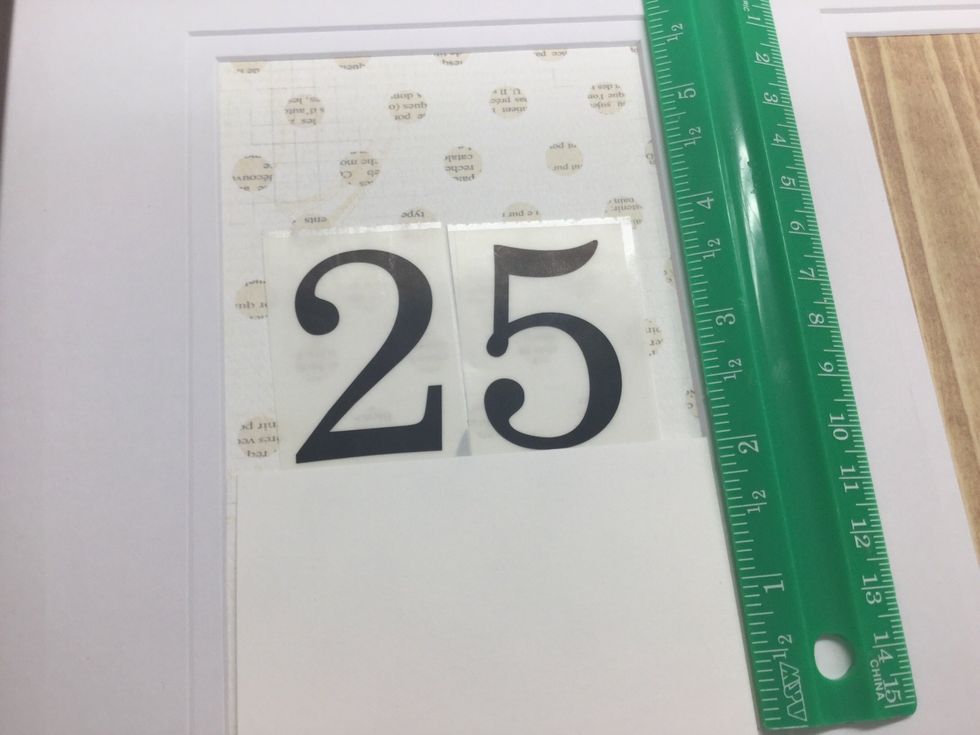
Arrange the numbers as desired. Measure the height from the bottom of the numbers to bottom of openings. Cut a piece of scrap cardstock to this height.
To make sure all of your numbers are even and aligned, place this piece of cardstock at the bottom of the opening and lay your ruler along the top.
Lay the numbers in place with the bottom of the sticker barely overlapping the ruler. When you are satisfied with the placement, remove the ruler.
After all numbers are in place, you will add the custom rub-ons created earlier. You'll want to remove the mat from the frame and place on a firm surface before applying the rub-ons.
Cut a piece of adhesive film that will fully cover your text image. With white liner facing up, slowly peel away from adhesive film and discard. Apply sticky side to matte side of transfer film.
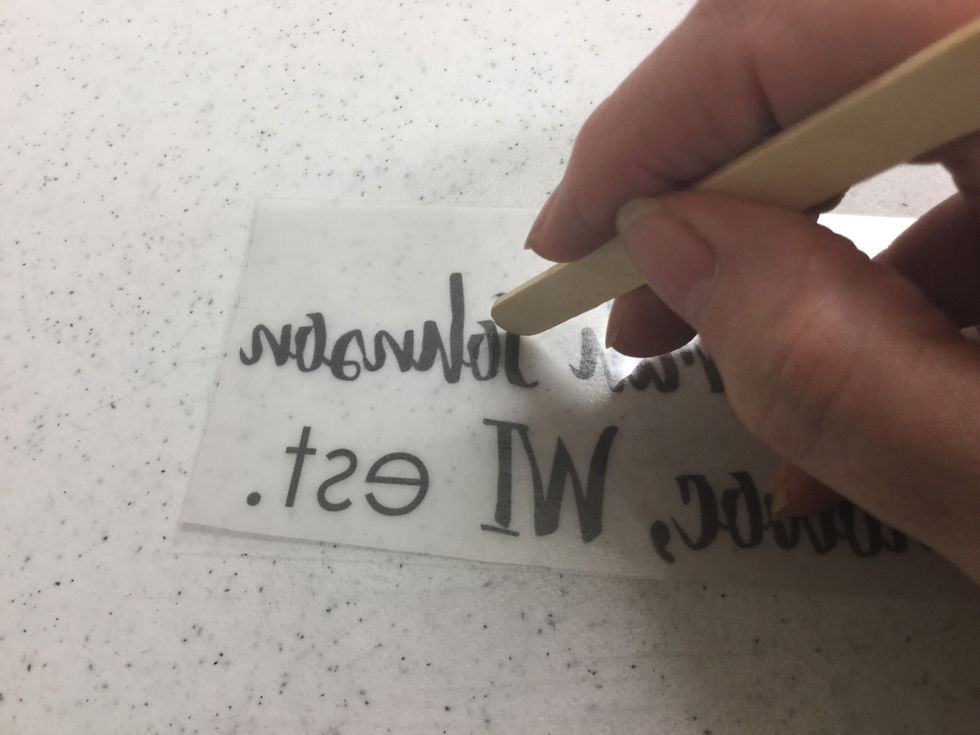
Use a craft stick or coin to gently rub top of clear adhesive film to bond adhesive to design.
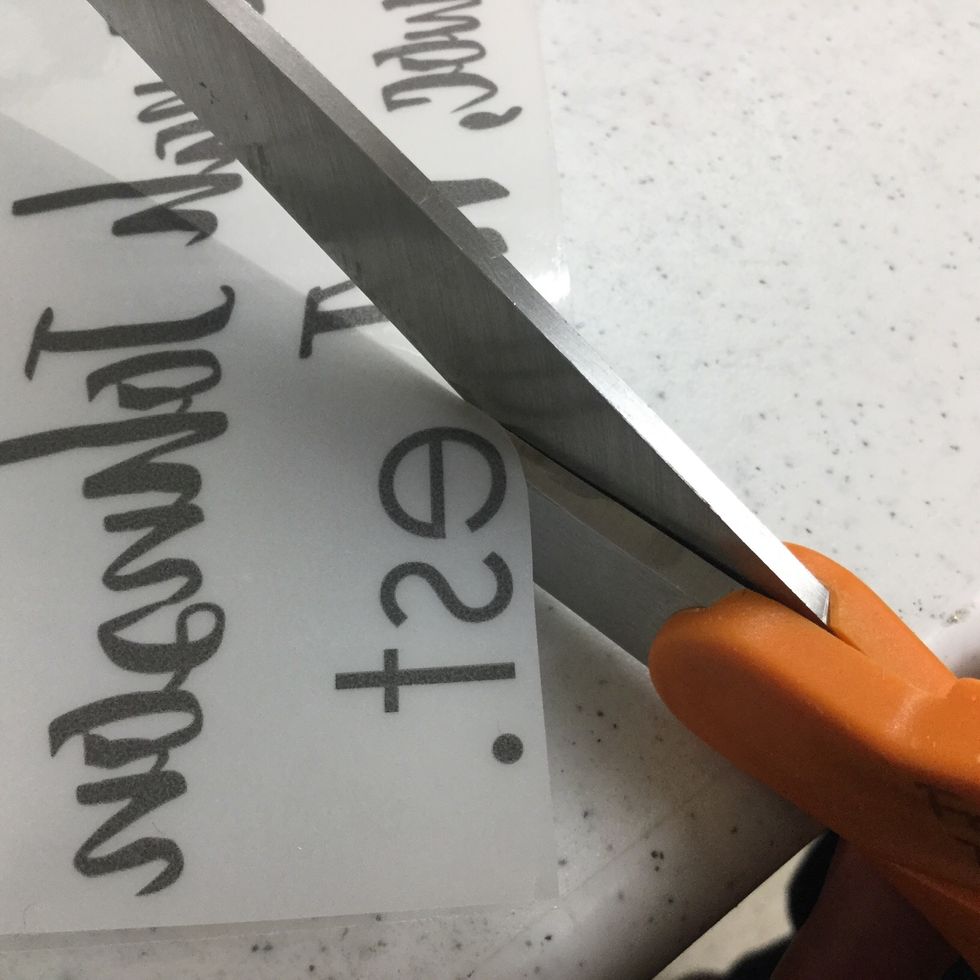
Cut out design. Trim as close to design as possible to avoid a halo-like effect of the fransfer film around the design.
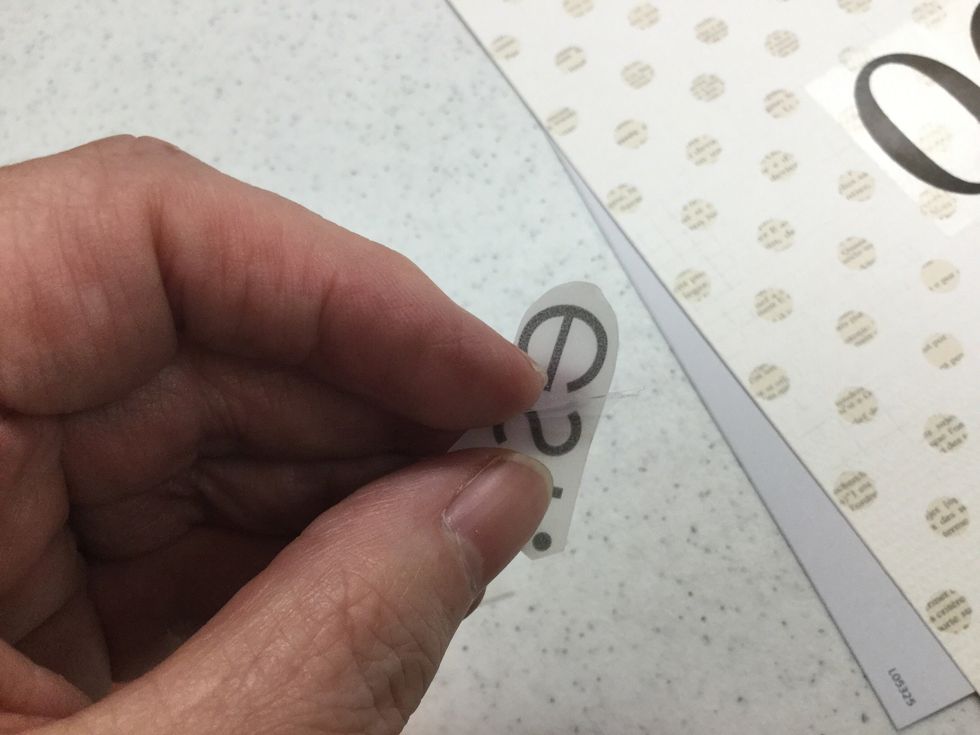
Peel away clear adhesive film from corner of design to reveal a sticky surface beneath. As you work on peeling up the film, check to be sure that you are not mistakenly peeling up the image as well.
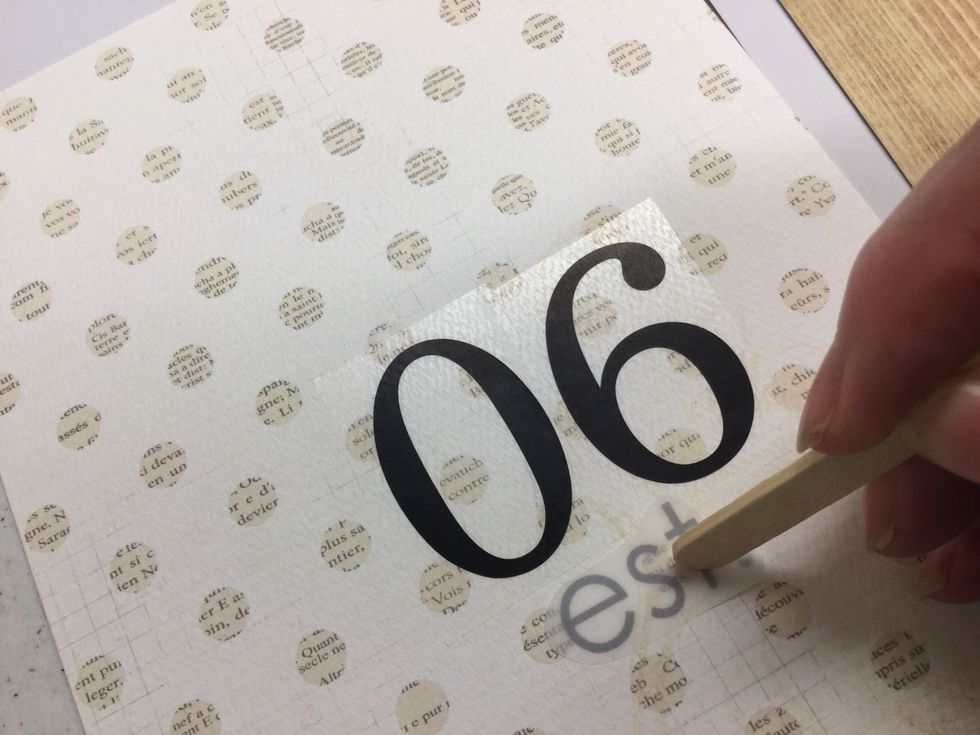
Stick design down in desired location. Use a craft stick or coin to gently rub the shiny side of the transfer film, bonding the design to the surface. Peel away shiny film to reveal adhered design.

Repeat steps 13-16 with name and location text.

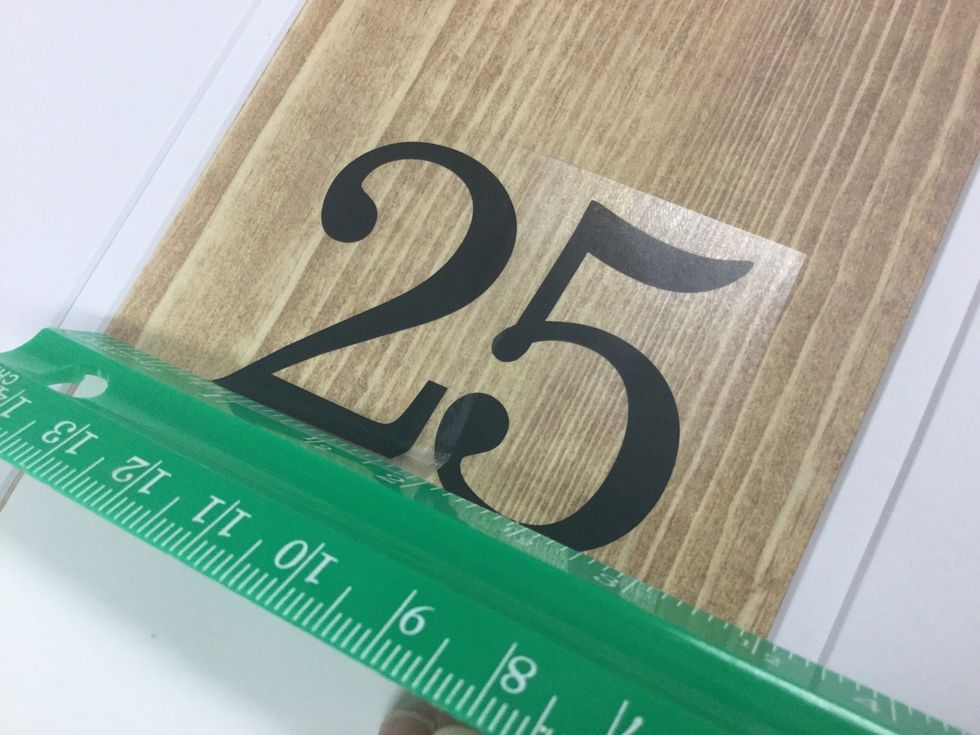
Layer the numbered papers back into the frame. Be sure to check that your pieces are in the right order and facing the correct direction before replacing the frame back.
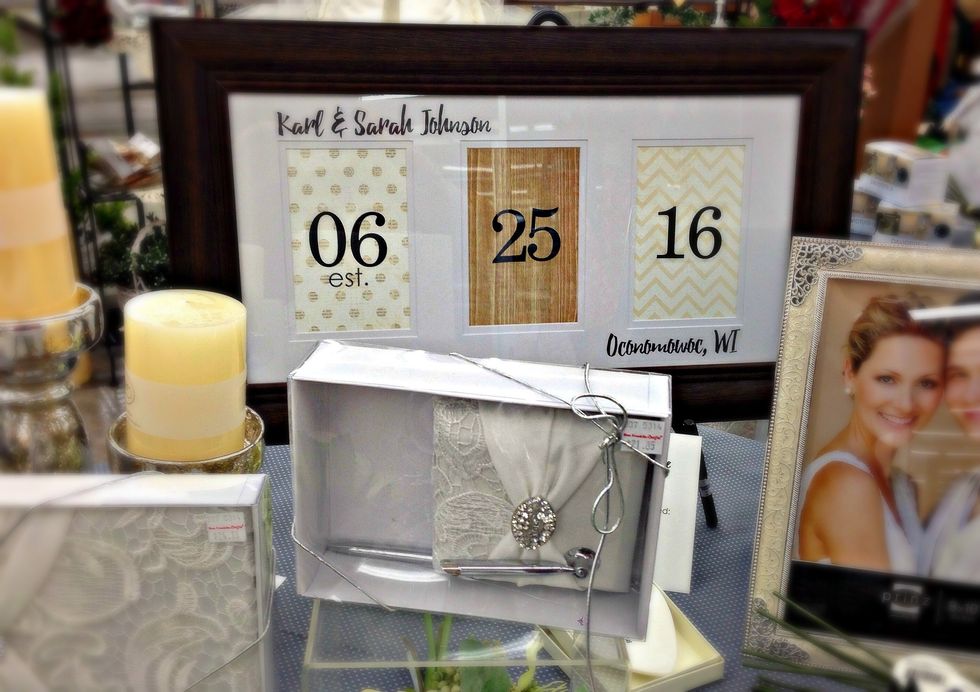
That's how easy it is to DIY your own custom wedding date frame. Once you make one, you'll want to make more! Watch out - your family & friends will probably be asking you to make them some, too!
We would love to see YOUR completed DIY Wedding Date Frames. Upload a photo to our Facebook page: https://www.facebook.com/Ben-Franklin-Crafts-333747557922/