The Conversation (0)
Sign Up
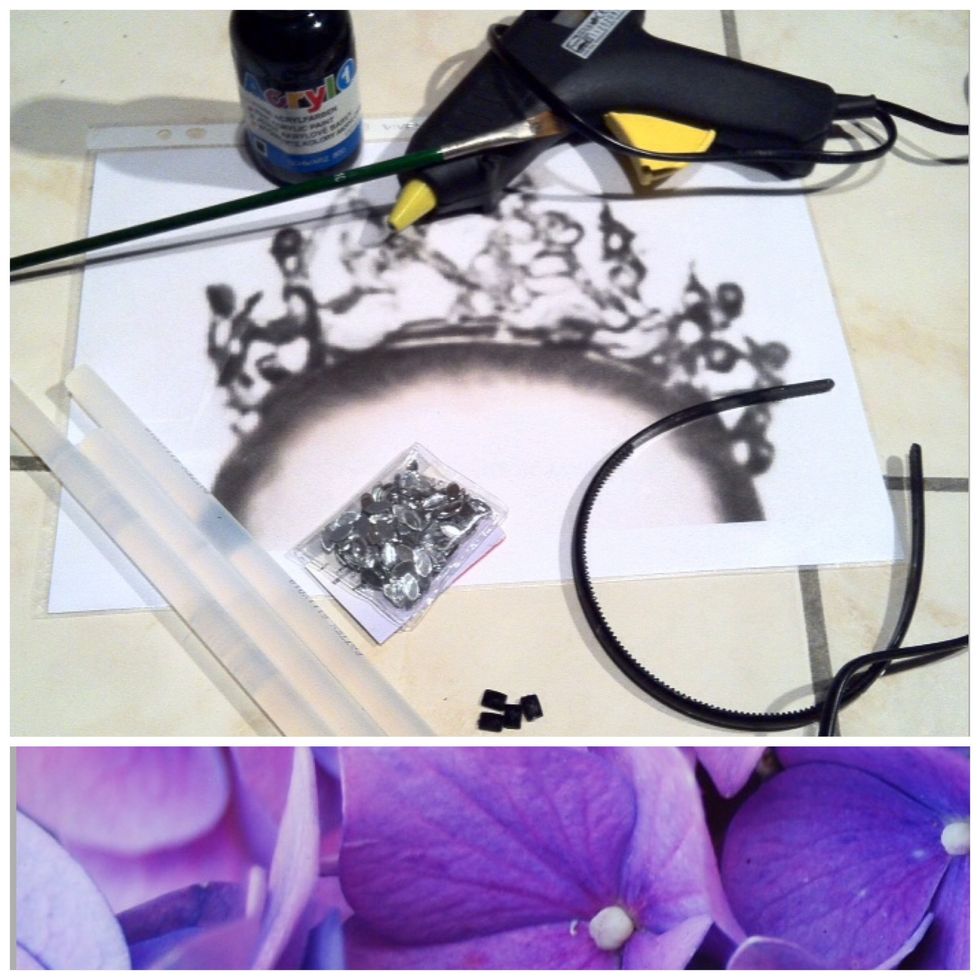
Gather your supplies
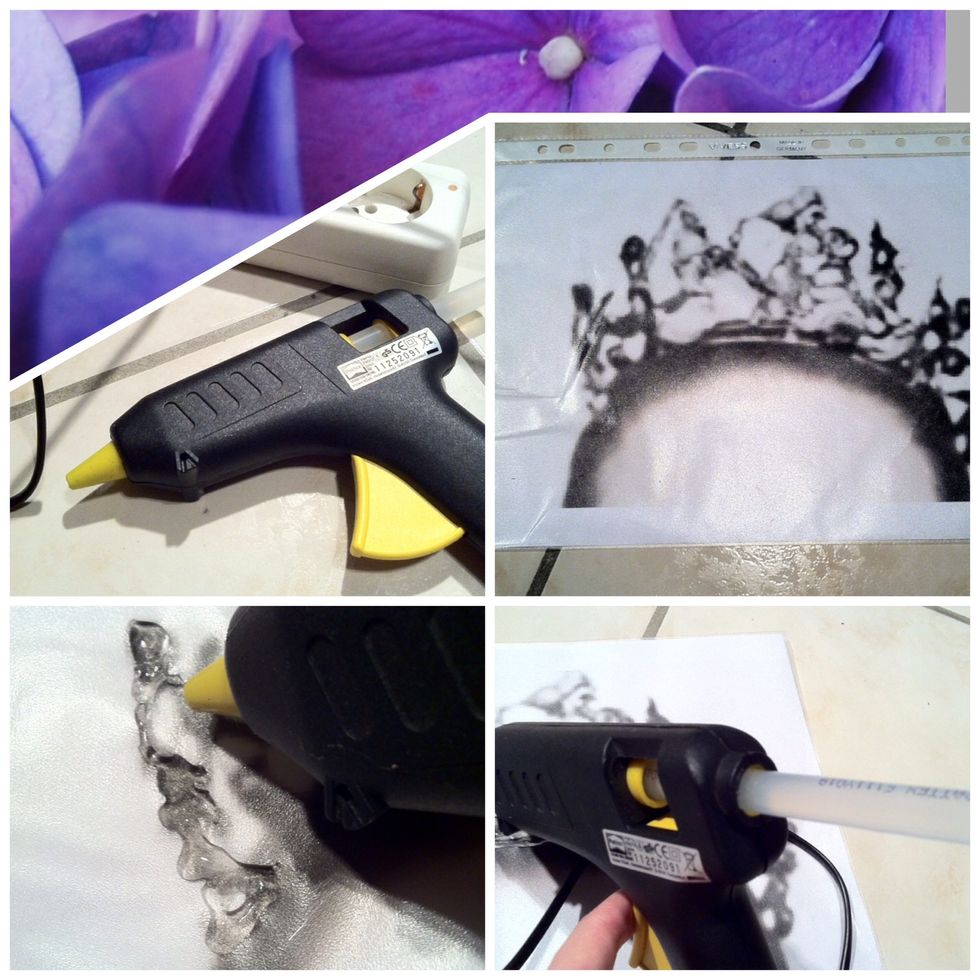
Heat the hot glue gun and print out a picture of the black swan crown. Put it in a plastic sleeve and once the hot glue gun is ready, start to trace it with the glue.
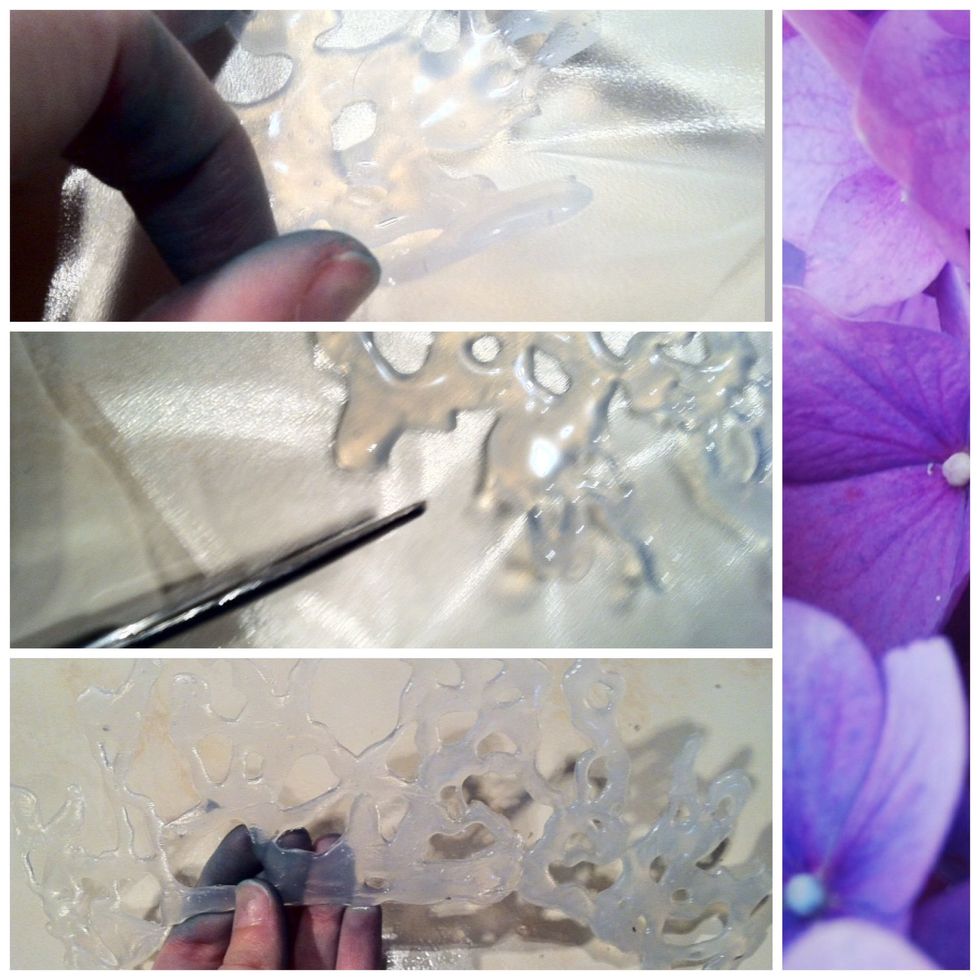
Once the glue is completely dried, take a pair of scissors and cut the crown out (because the plastic sleeve is melted and you can not just pull the glue of) ✋ Later you'll see why my hands are blue!
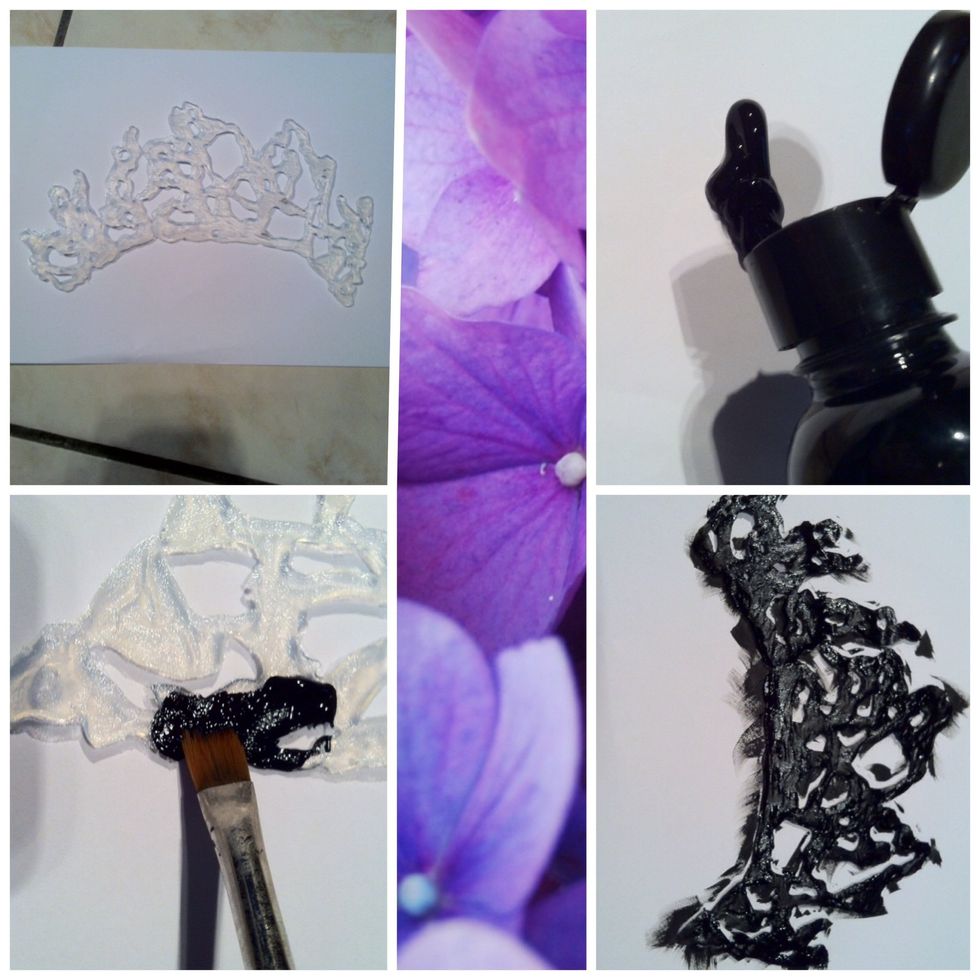
Lay the glue-crown on a sheet of paper and paint one side black
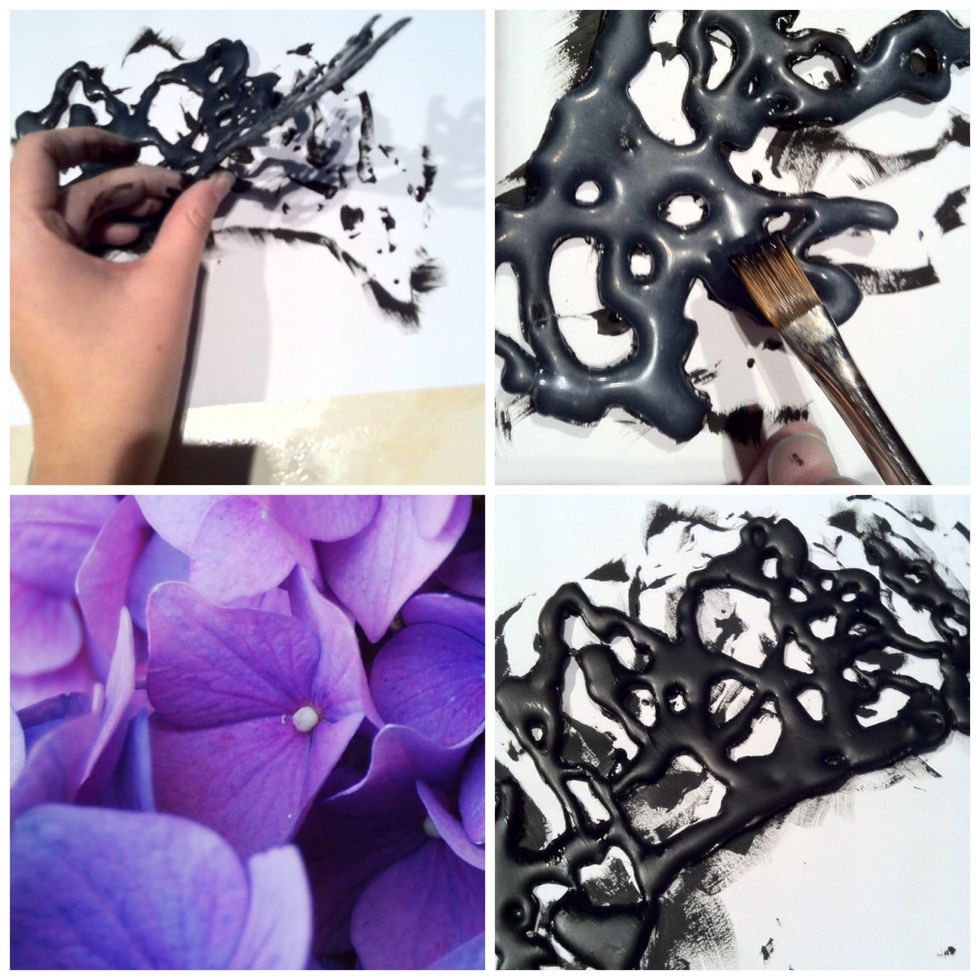
Let it dry, flip it over and paint the other side
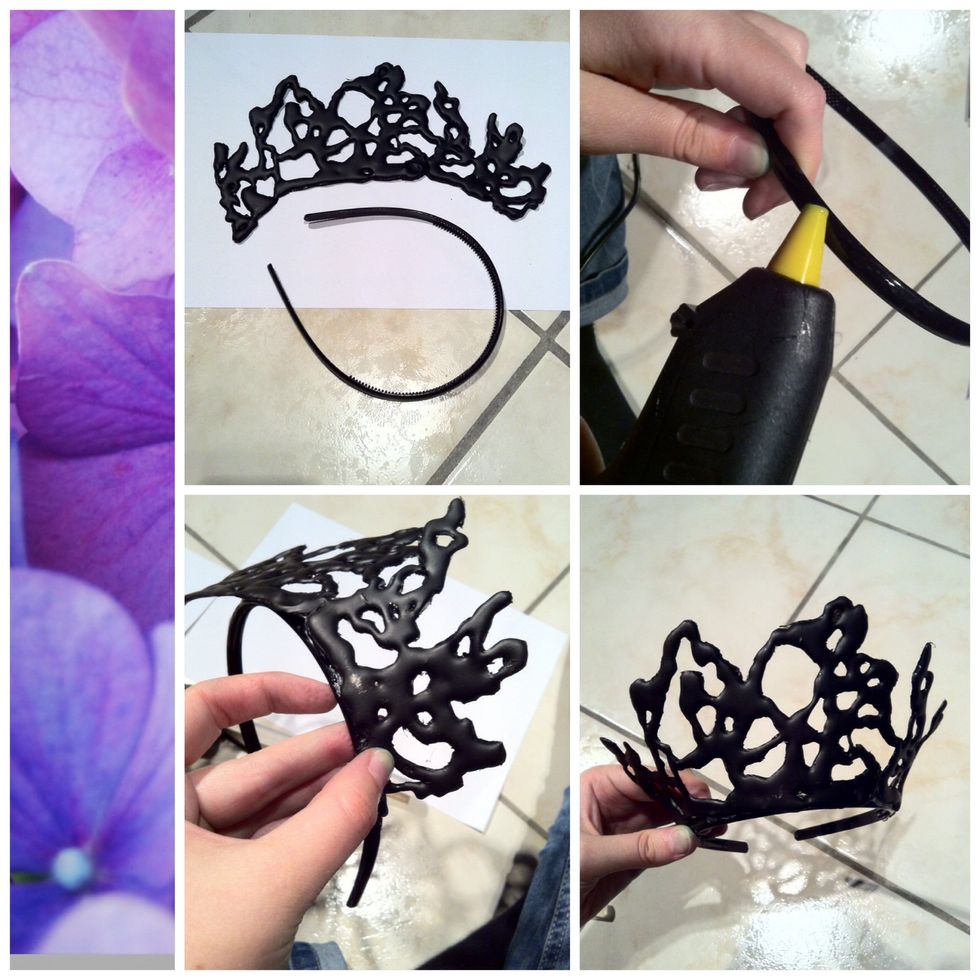
When it's dried, take your circlet and hot glue the crown on. You'll need to push it on until the glue has dried!
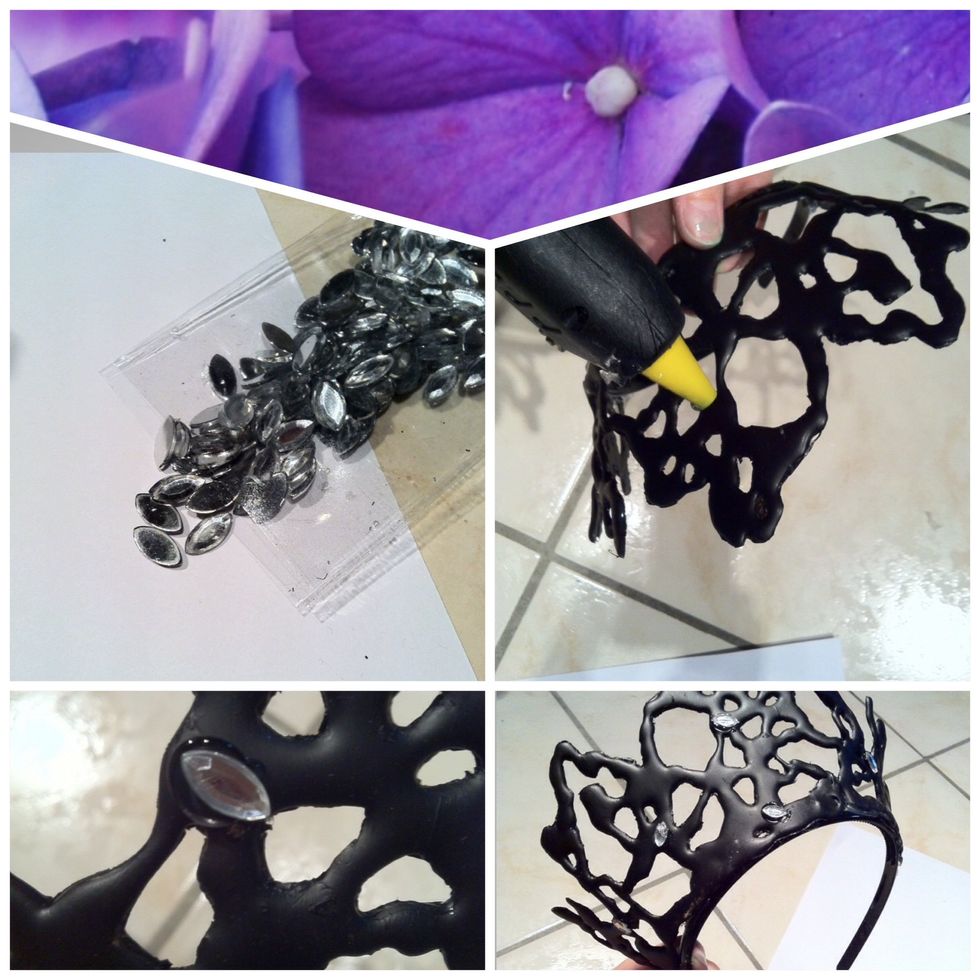
Last but not least glue some rhinestones to the spots you would like to add a little glitter. And YOU ARE DONE!! (With the crown 😉)

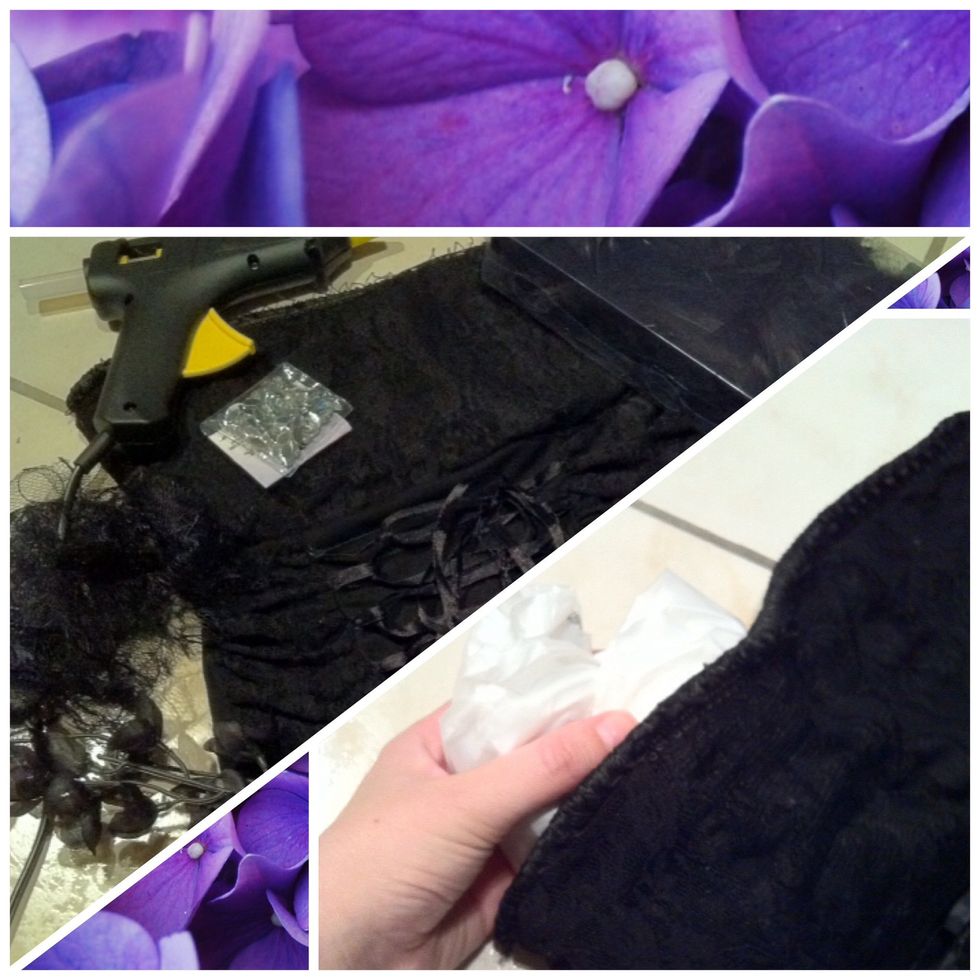
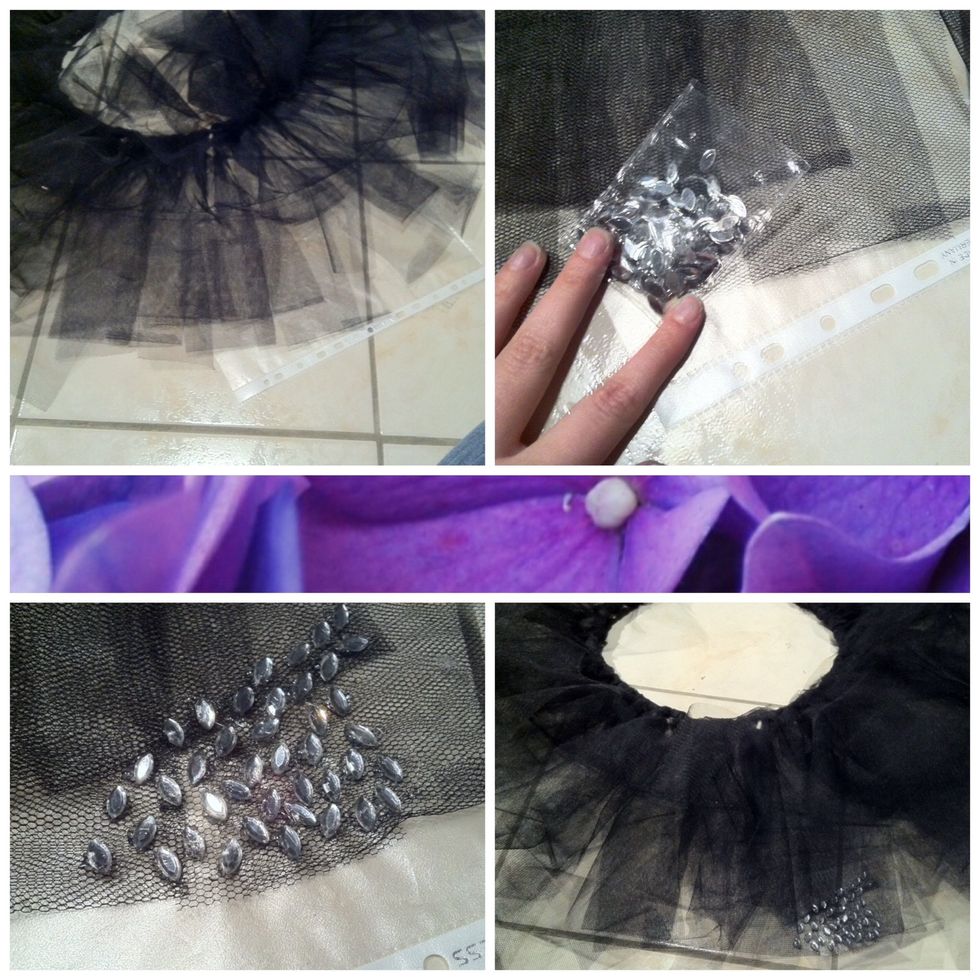
First wrap some plastic bags together and put them under the right breast in the corset.
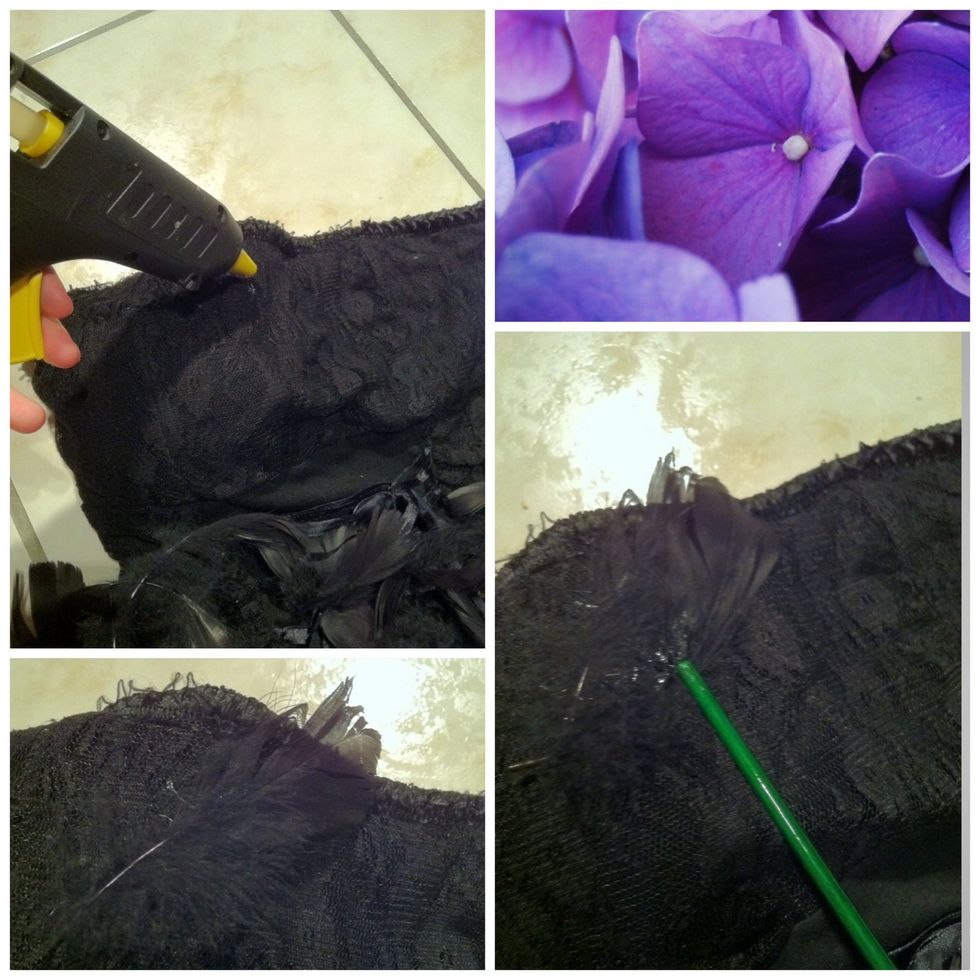
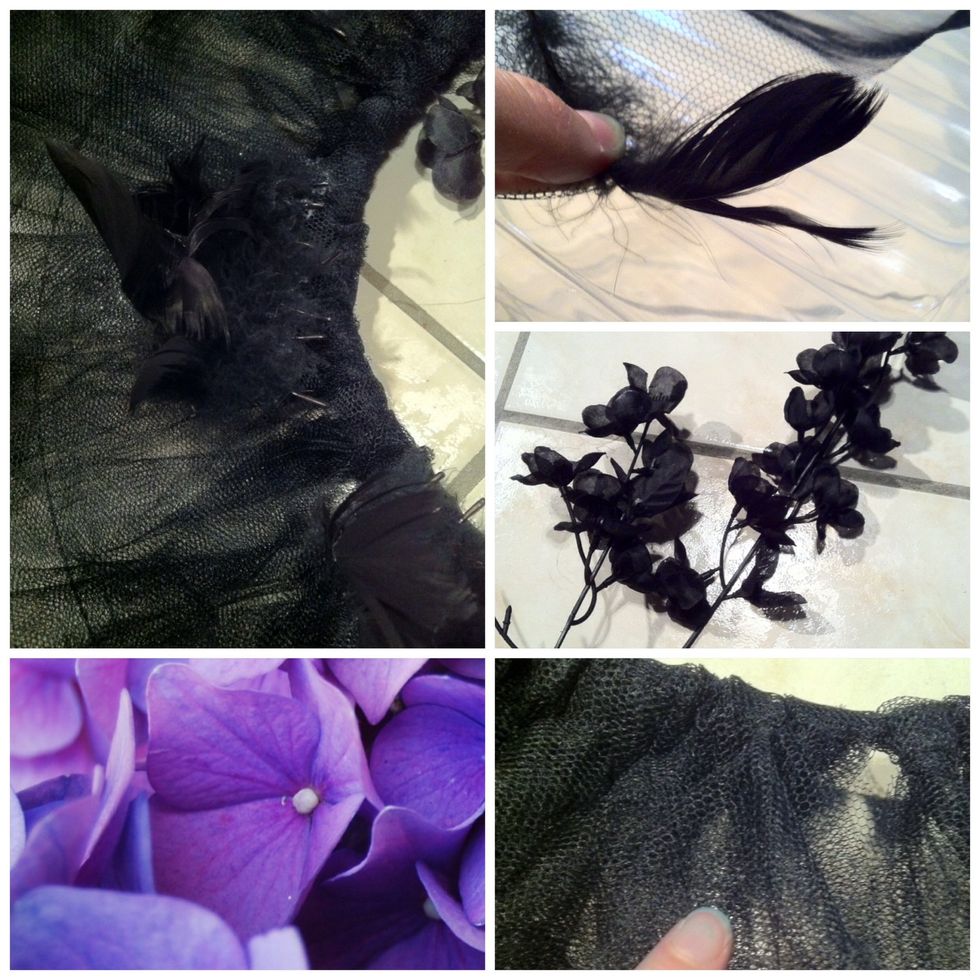
Then take the hot glue gun and start glueing the feathers on the cup.
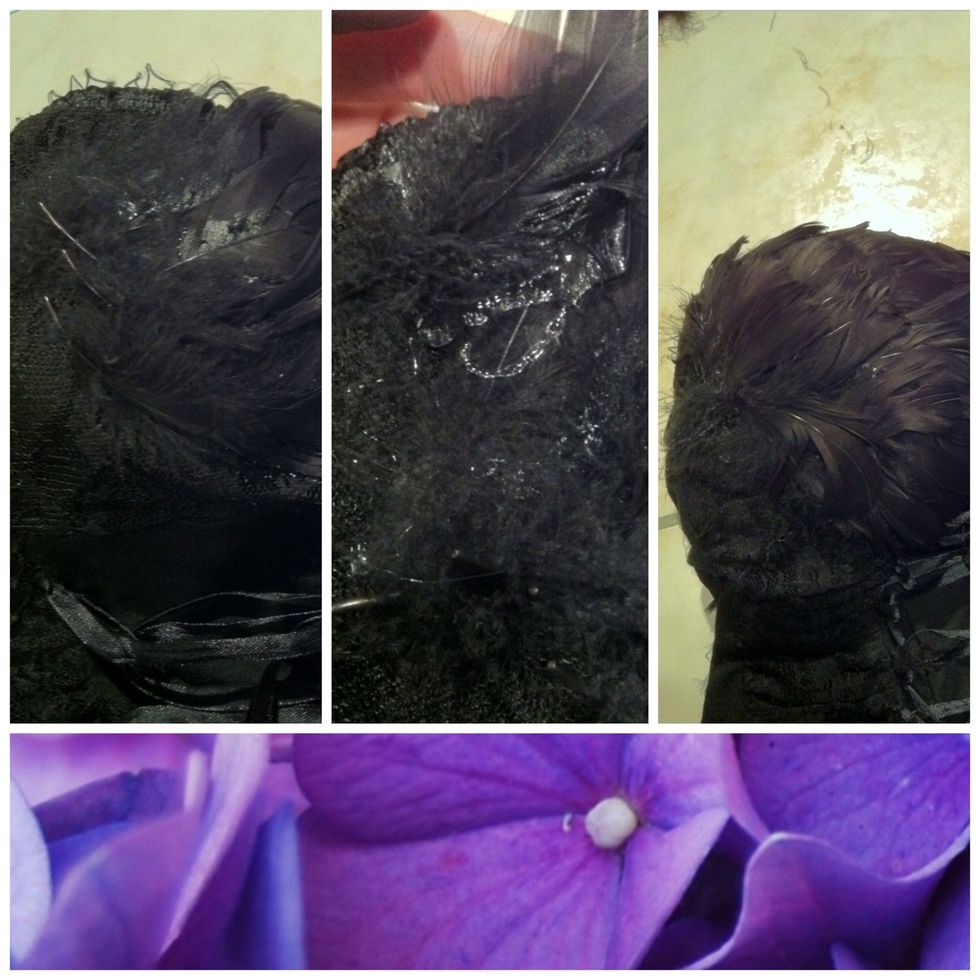
Row after row until two thirds are covered. Make sure that every new row covers the glue of the row before.
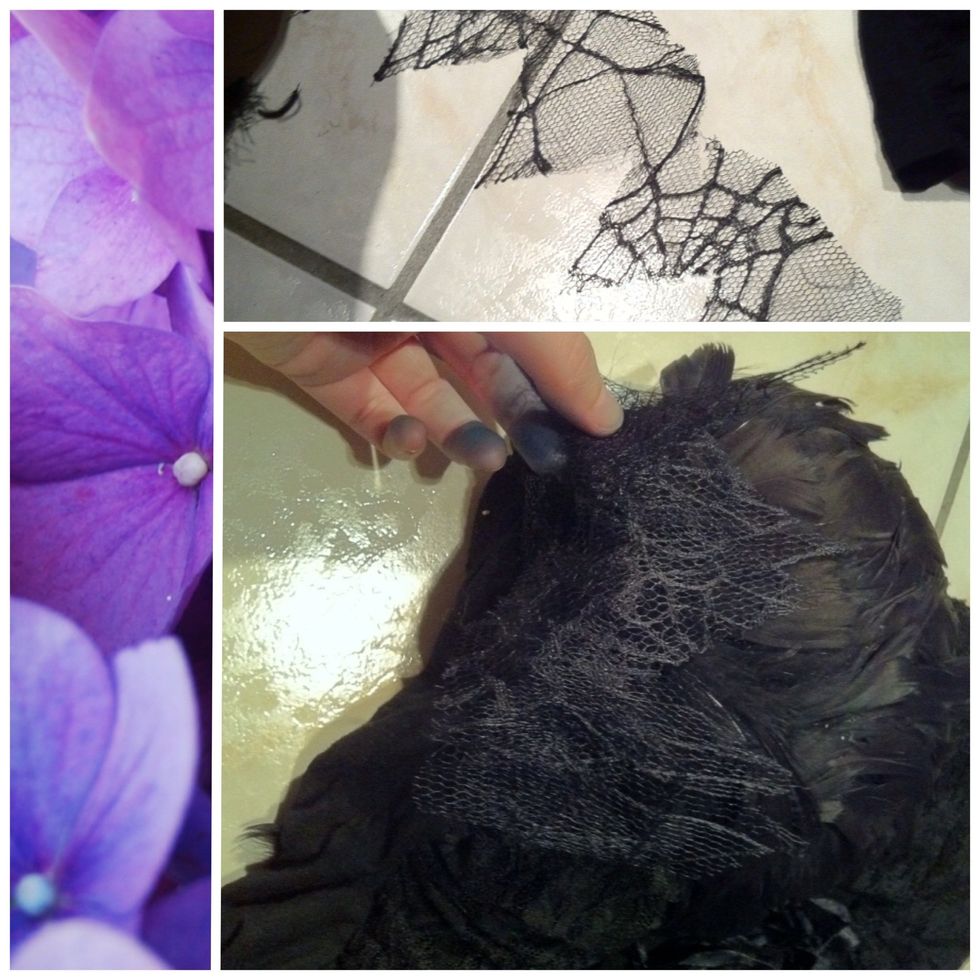
Now take a strip of lace (mine is a leftover from an old spider costume) and glue it onto the ugly ends of the quills.
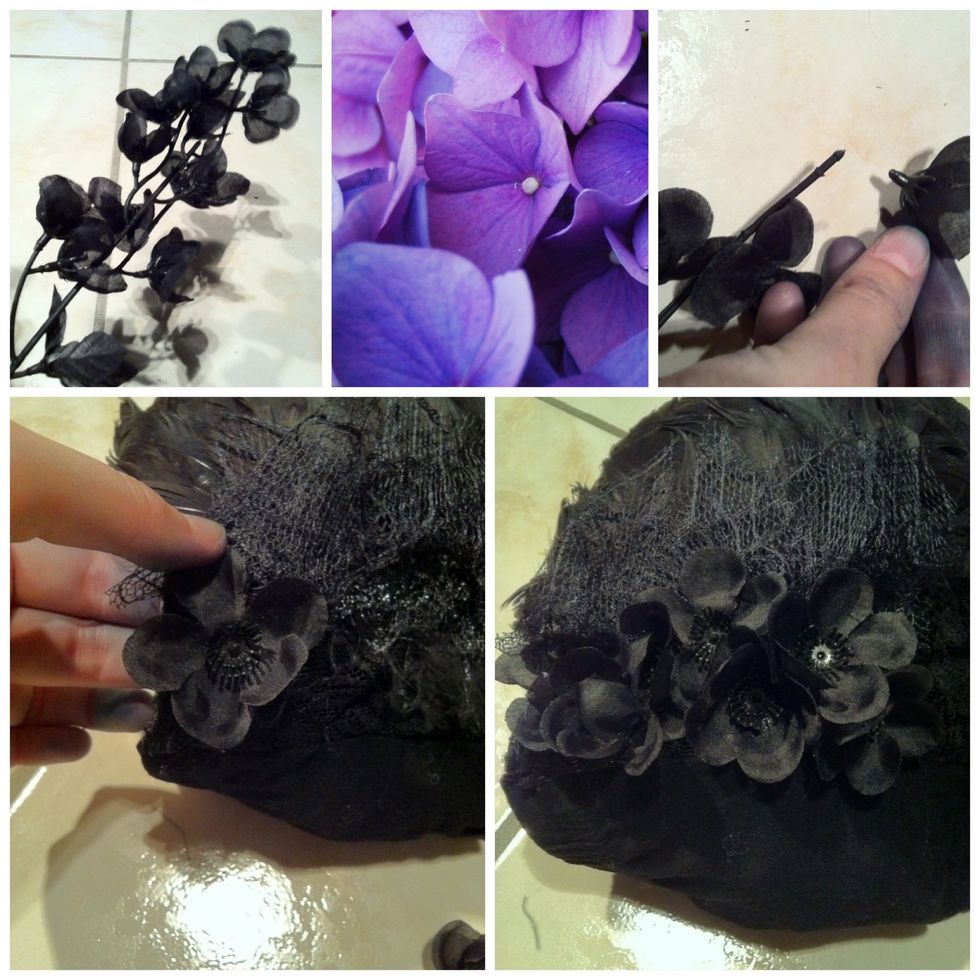
Now for the plastic flowers. Cut of the heads of and glue them on the very rest of the cup, so that it's fully covered.
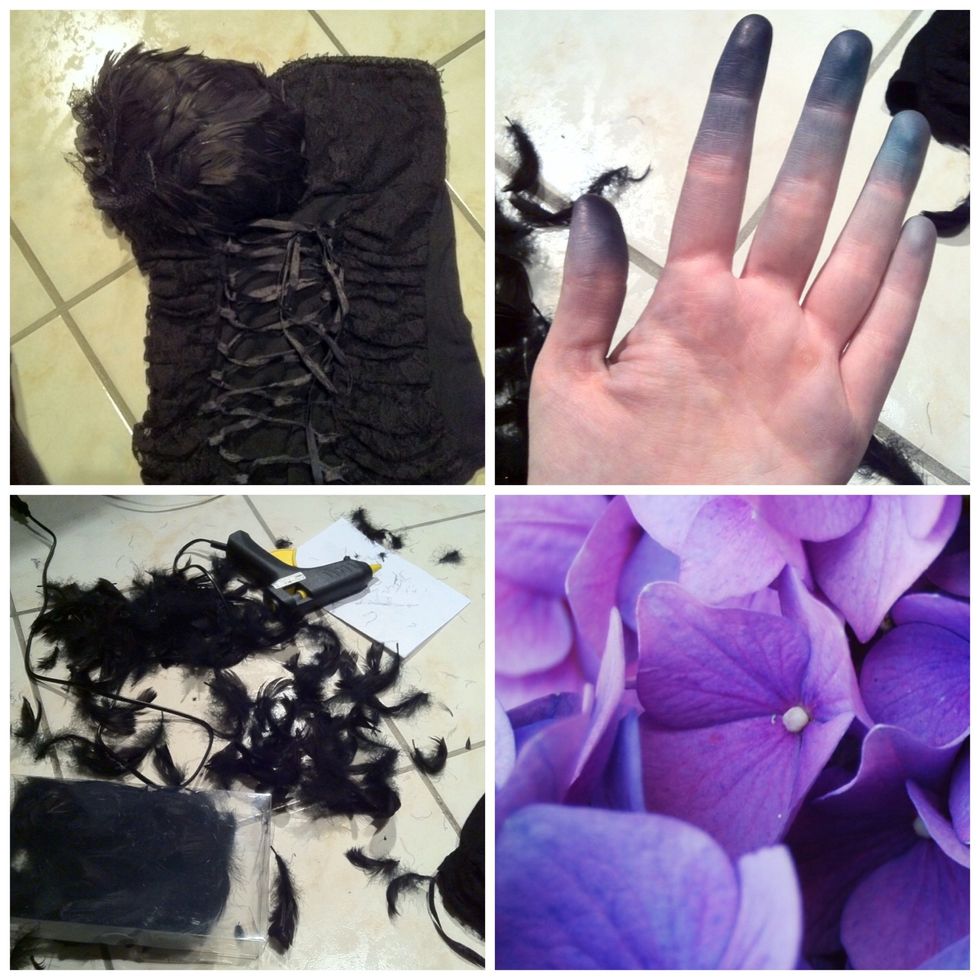
Let the corset rest for a moment and tidy up the mess you made 😊 Also wash your hands, if the feathers stained your hands as good as mine!
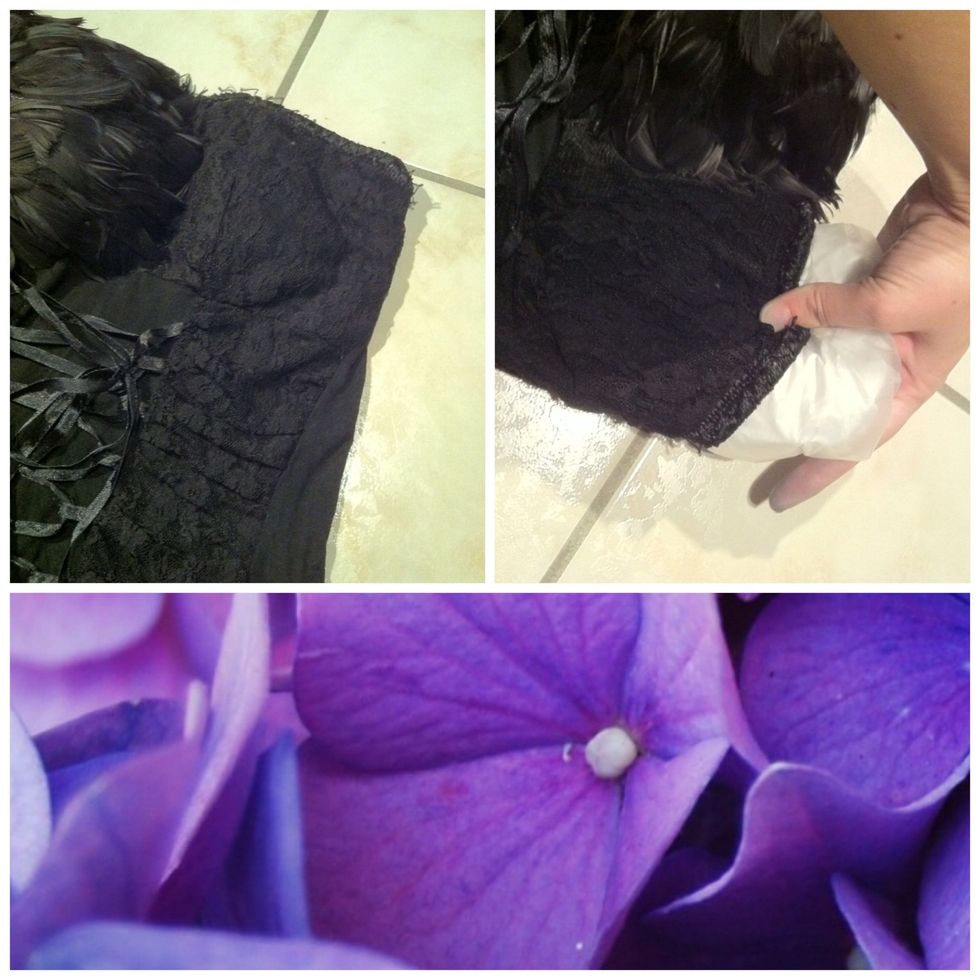
Now put the bags under the left cup.
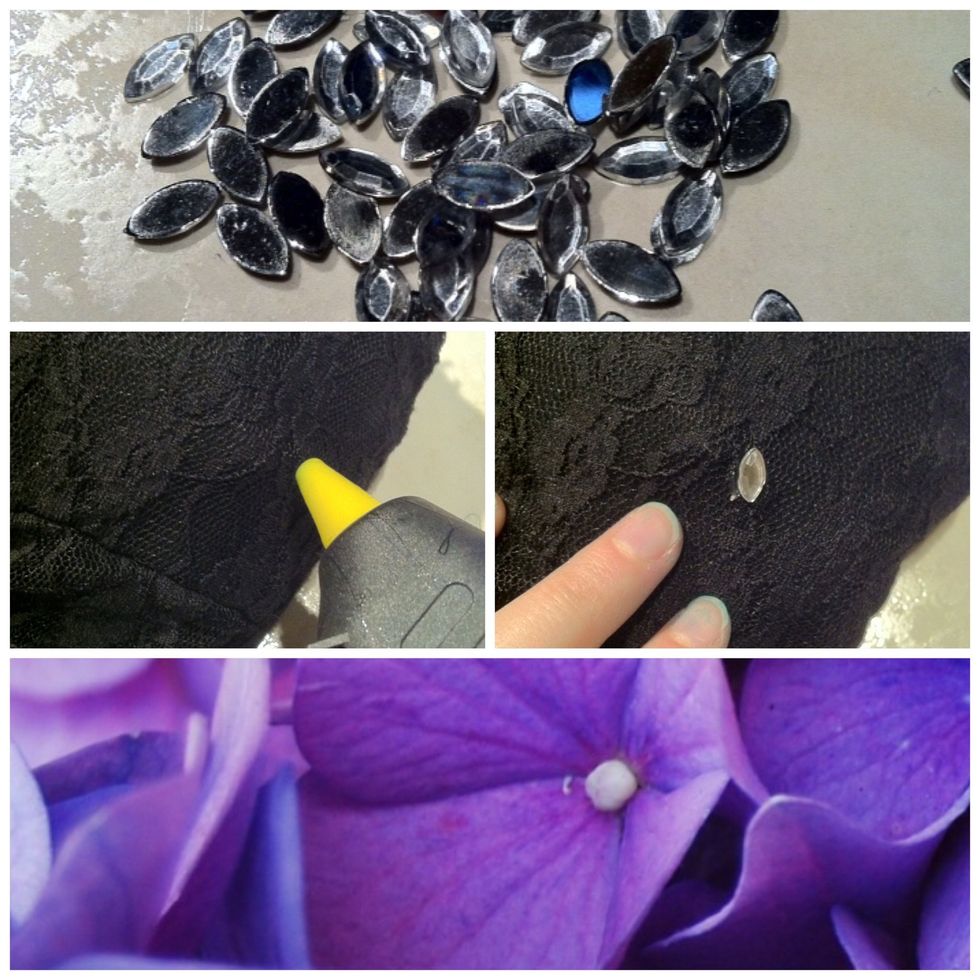
Choose where you want to glue on your rhinestones.

And then you're done!

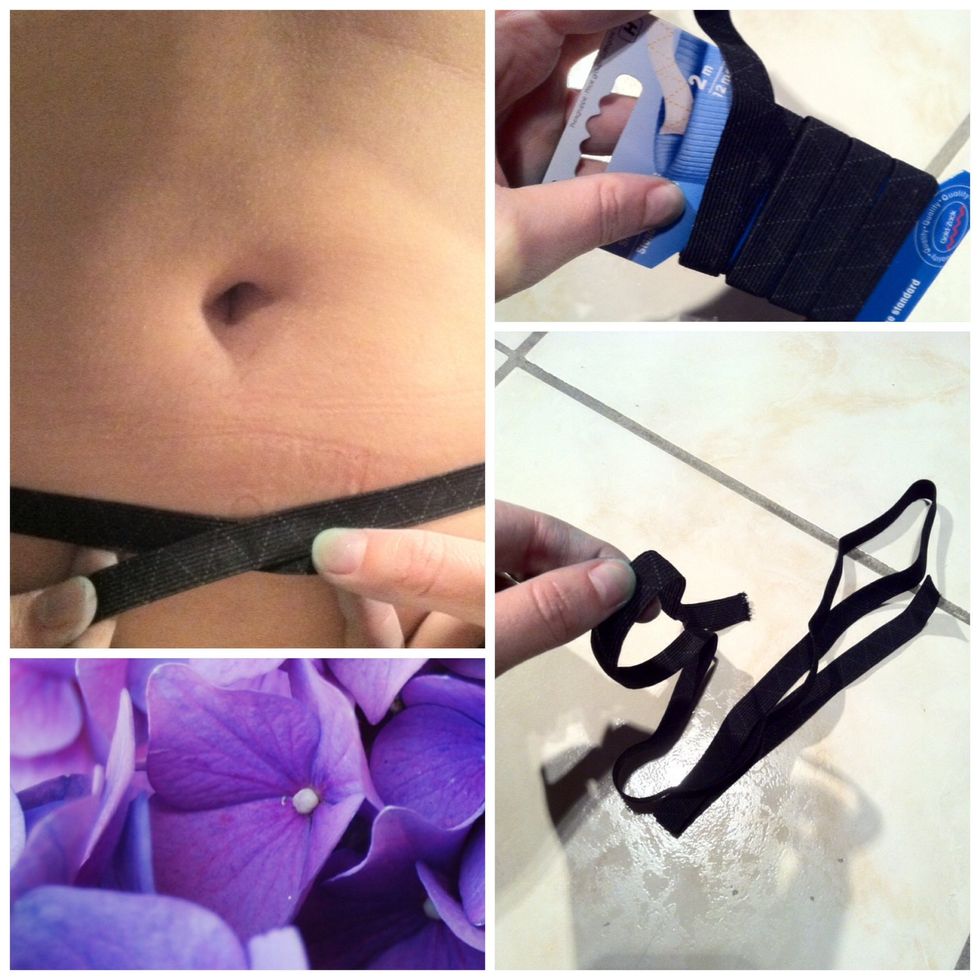
Measure how much elastic band you'll need to wrap around your hip. Leave about 10cm at both ends.
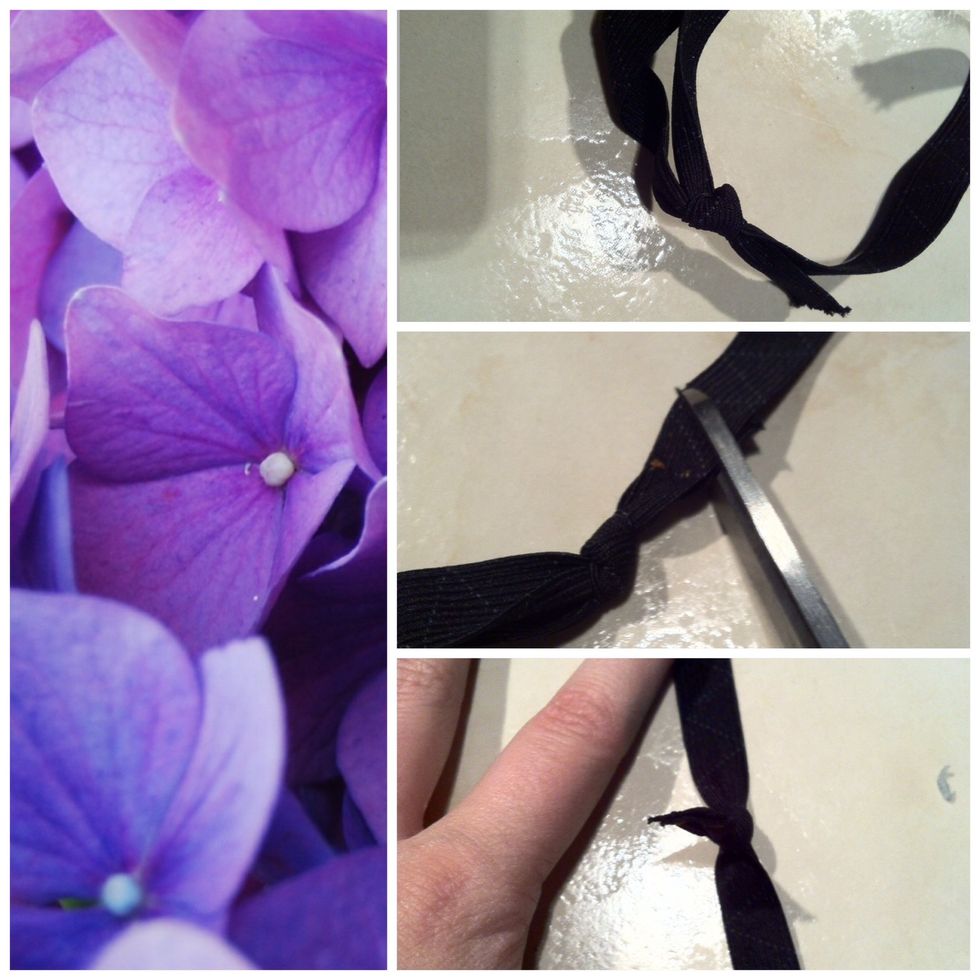
Tie a knot at the end, pull it tight and cut off the access.
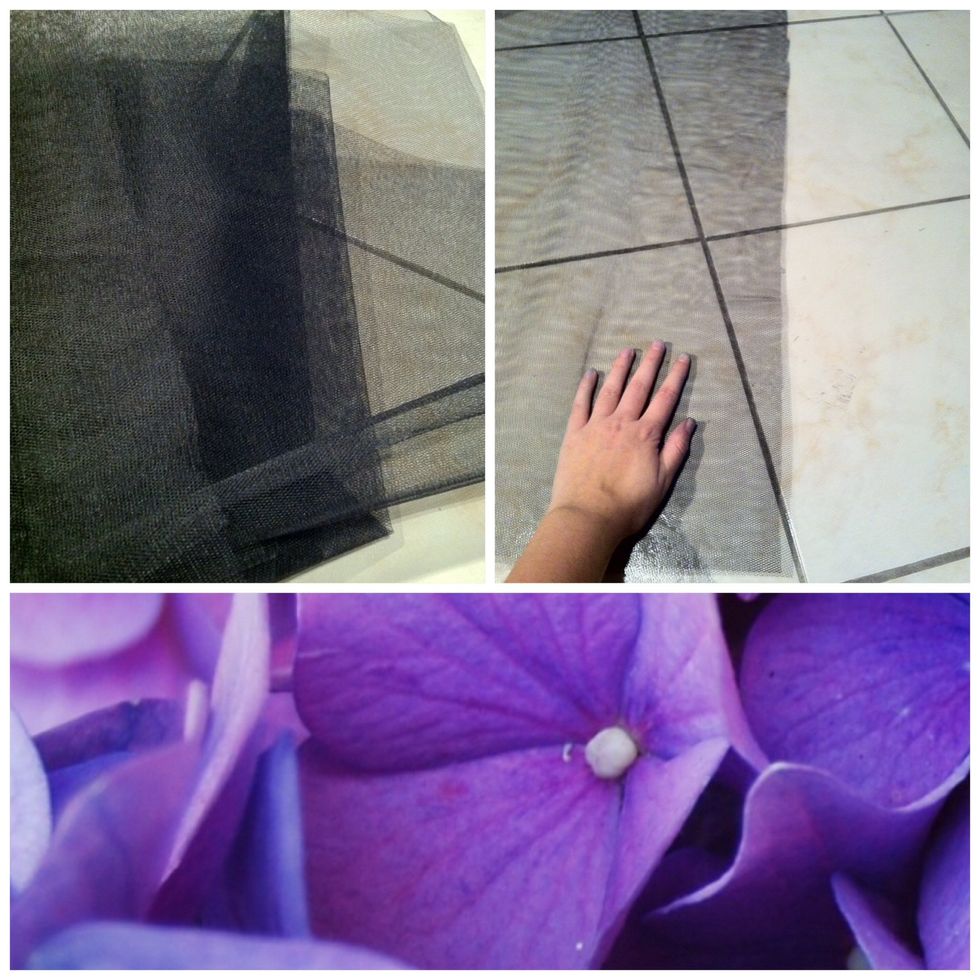
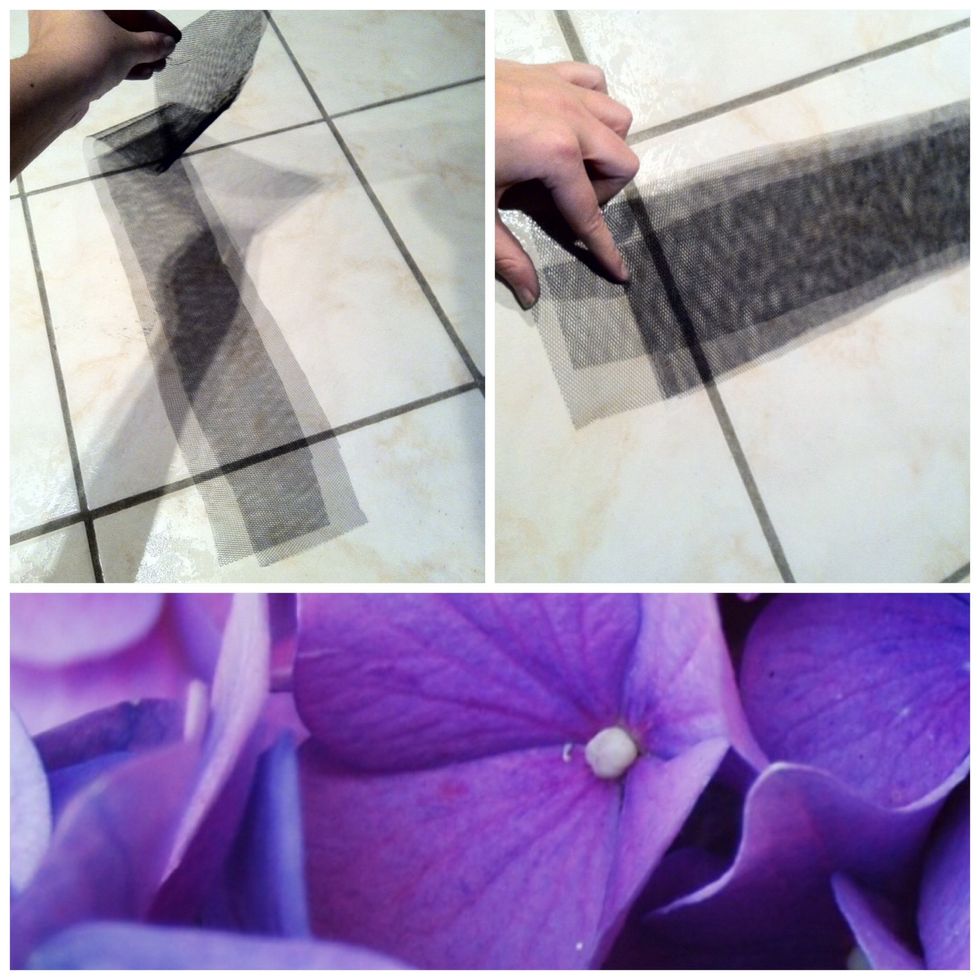
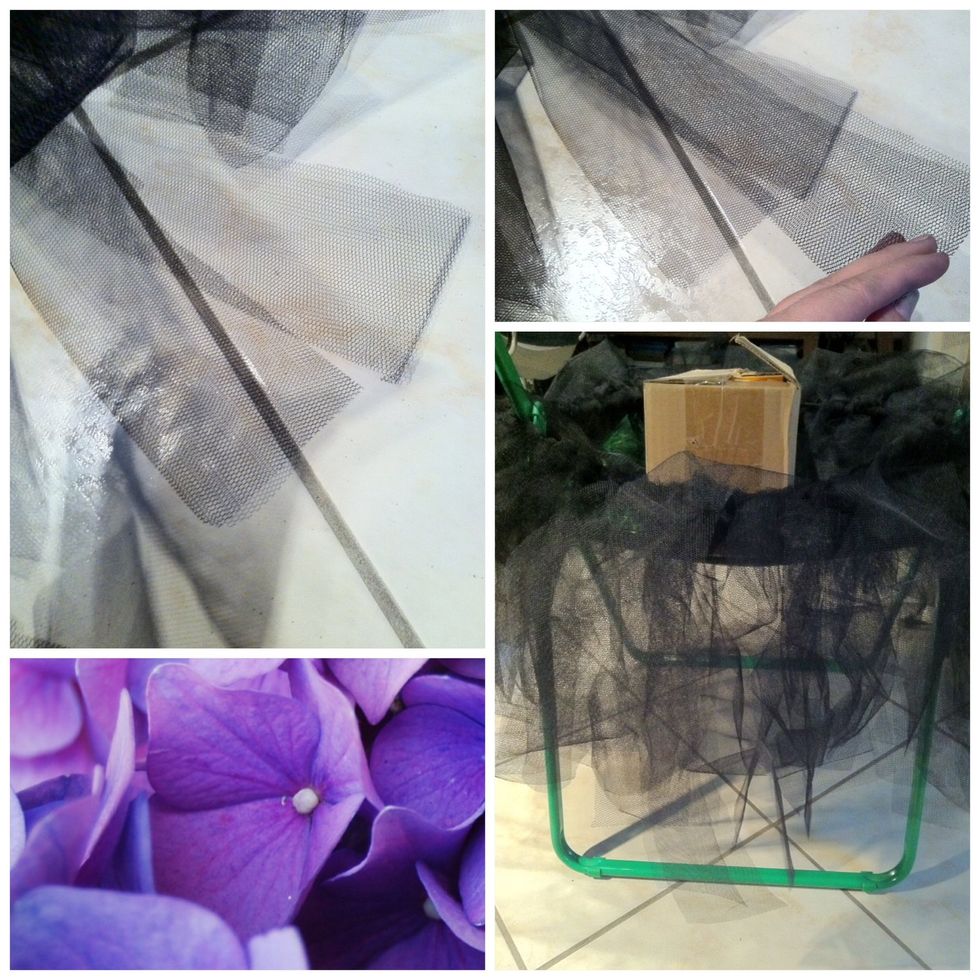
Take your tulle and lay it flat down. My tulle is 4x1,6m.

Make sure that it is doubled in lenght so it becomes 4x0,8m.

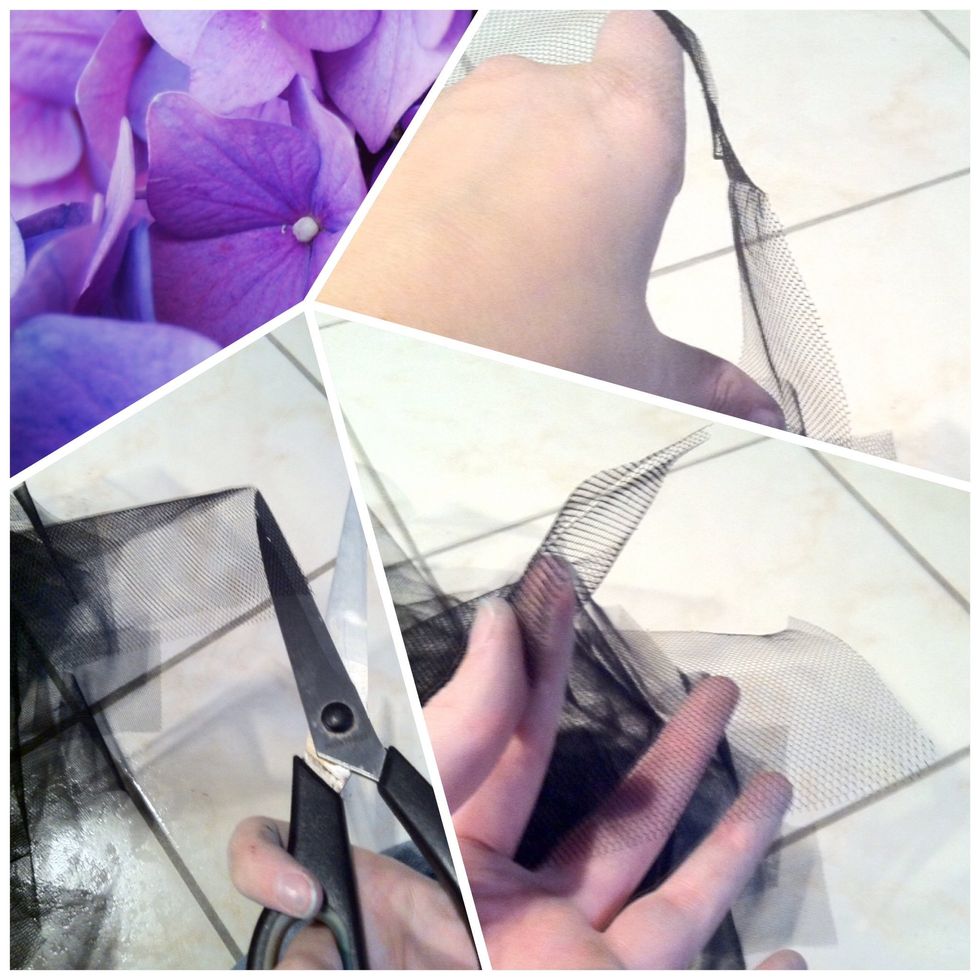
Cut a strip. One strip is about 5x80cm.
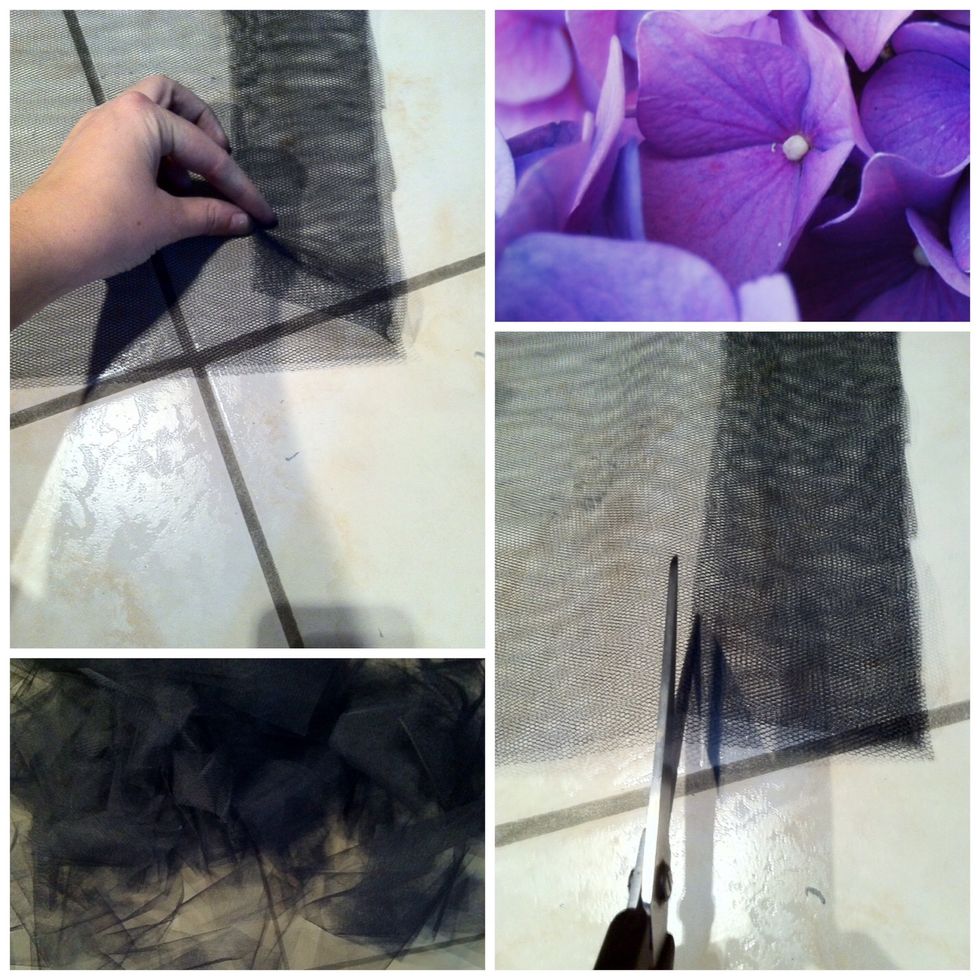
Take this strip as a stencil or cut the other strips by eye until the whole tulle is cut.
Now fold one strip, so that there is a longer and a shorter half. There should be about 5cm difference.
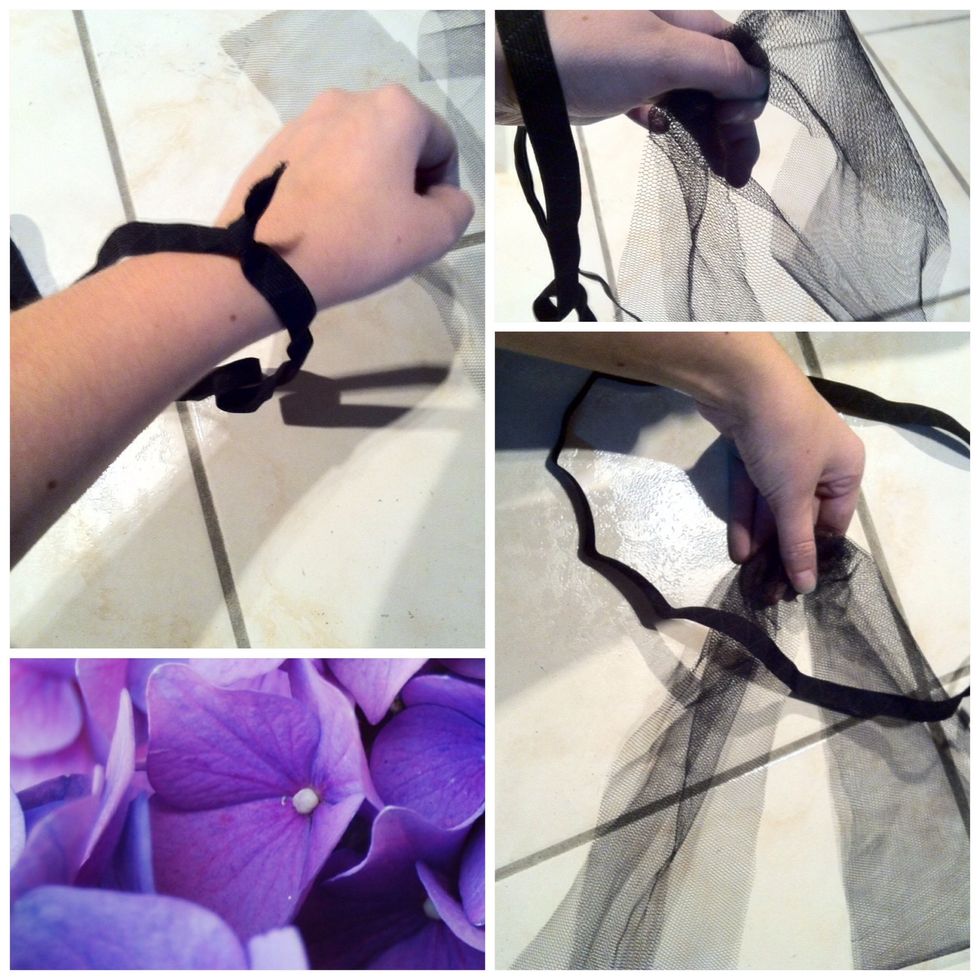
Take the elastic band and put your hand through. Take the strip on the fold we just created and pull it through.
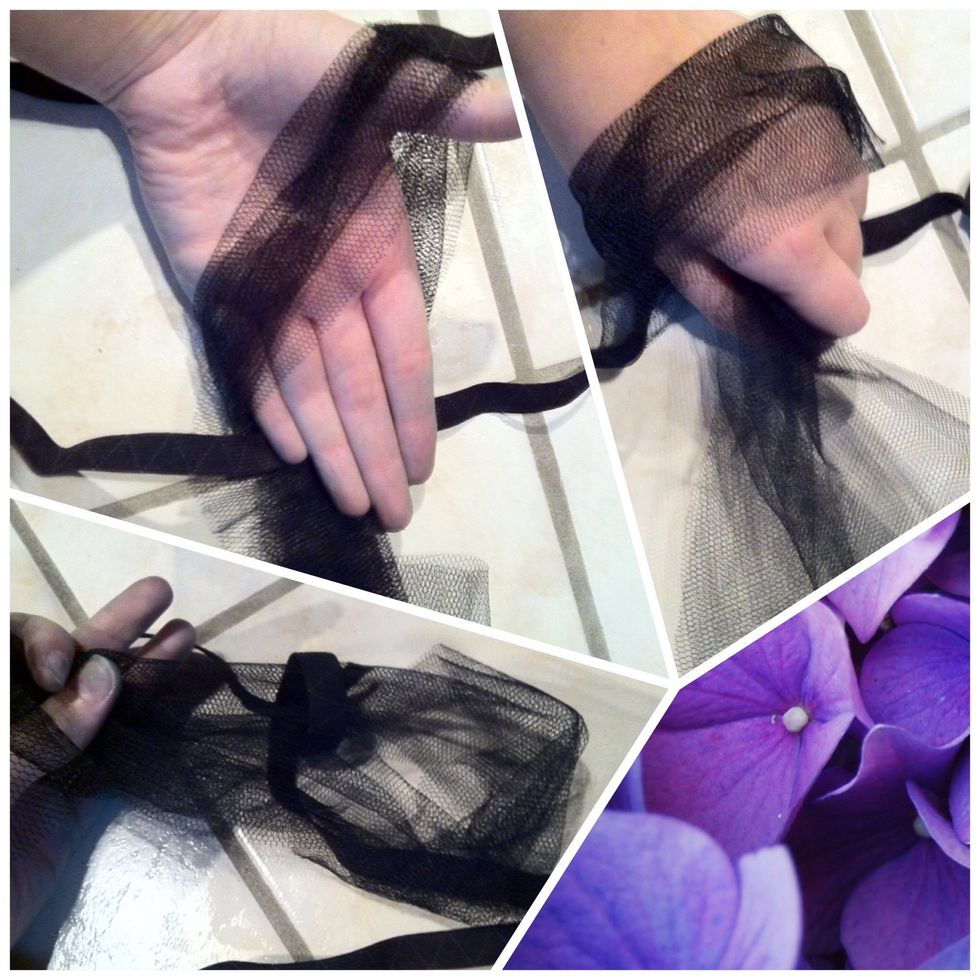
Now put your hand in that loop, grab the strips and pull them through.
Pull it thight and your first strip of the tutu is done
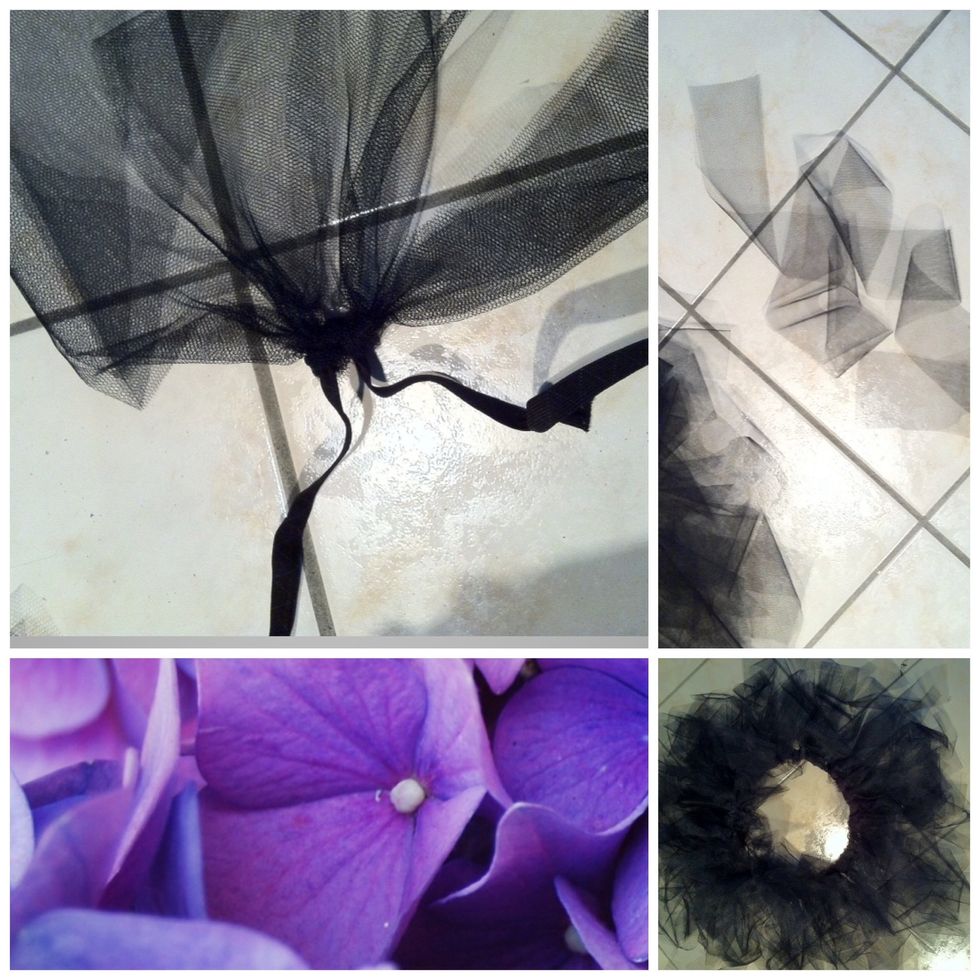
Continue doing that until all strips are tied to the elastic band.
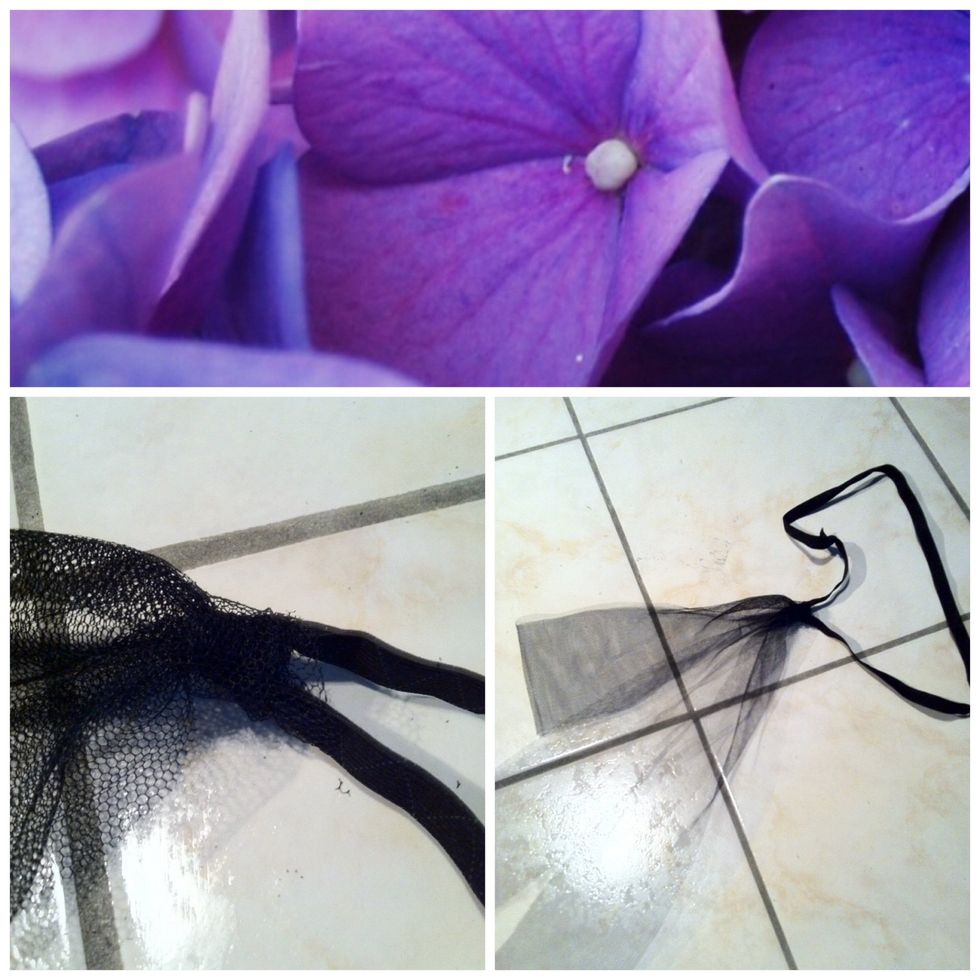
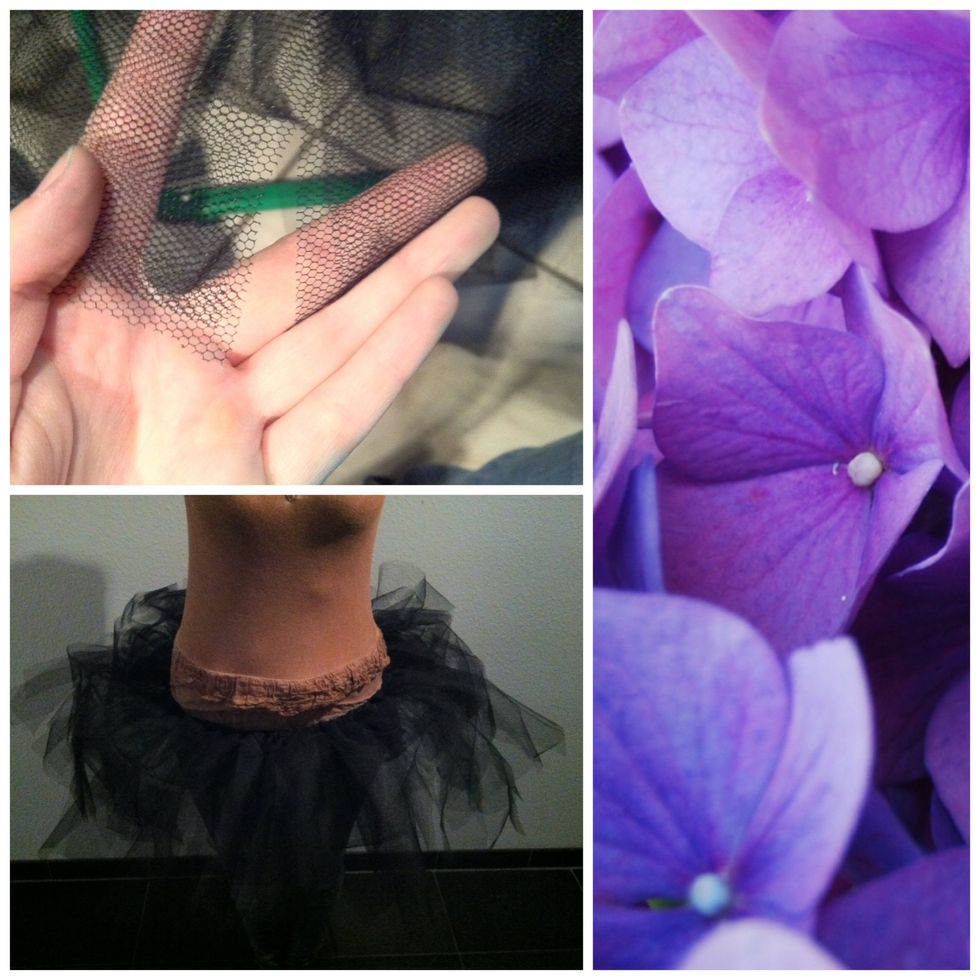
Now comes the training part for your eyes. Search for every loop in the strips and cut it open! (This is the fold from the beginning)
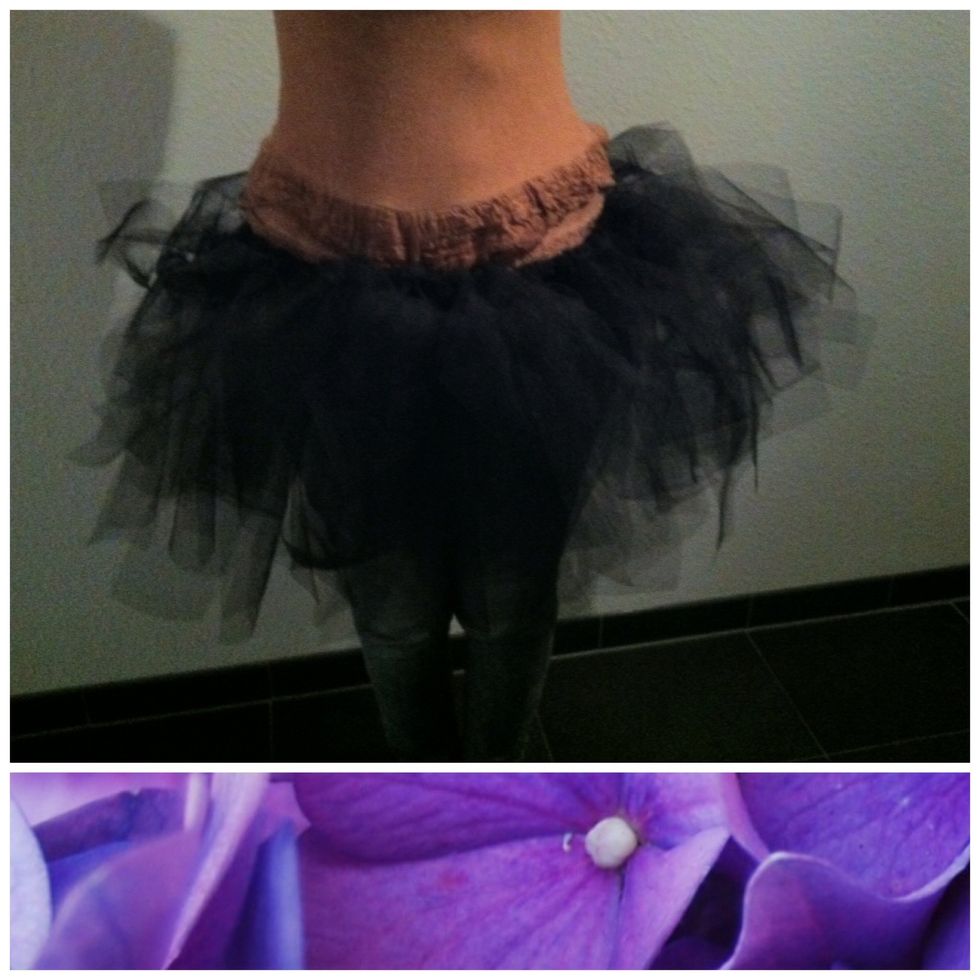
This is how it looks on right now. But we are not done yet! But if you like it that way, you can skip the next steps...
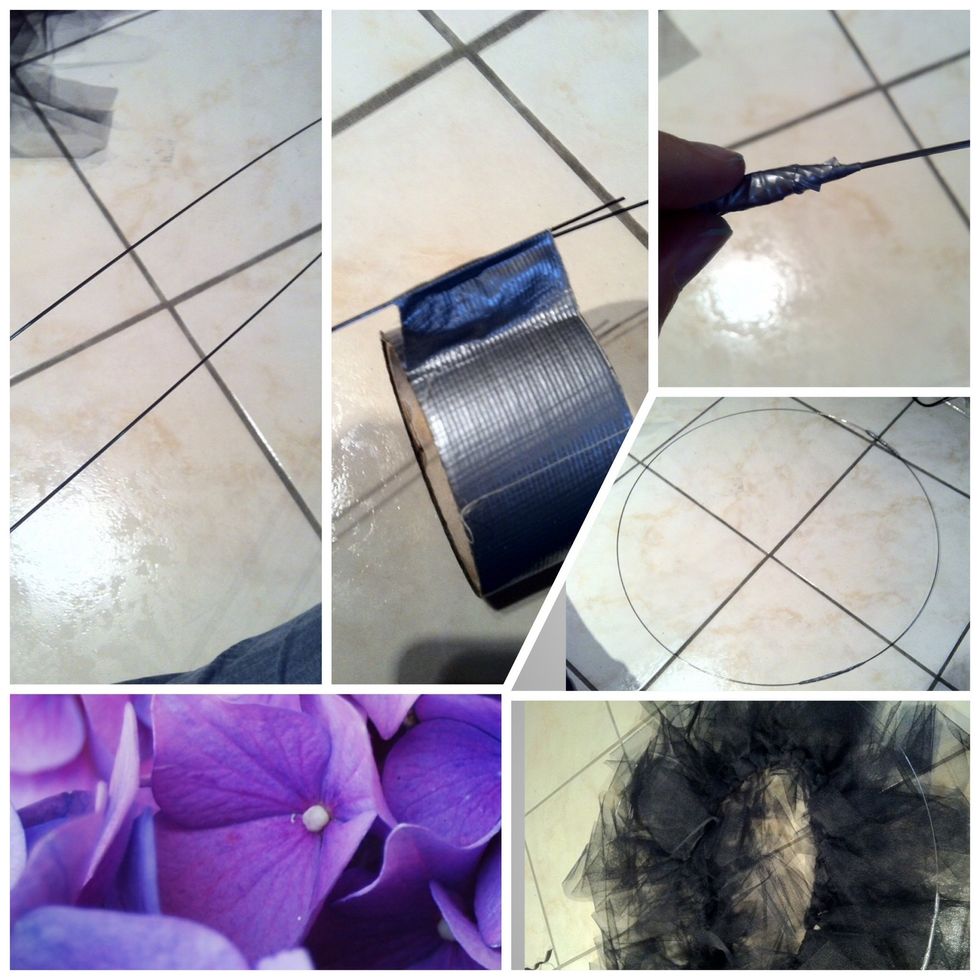
Take your wire (mine is from an old hoop skirt) and tape the ends together. My wire-circle is about 15cm wider than the elastic band. But you can vary.
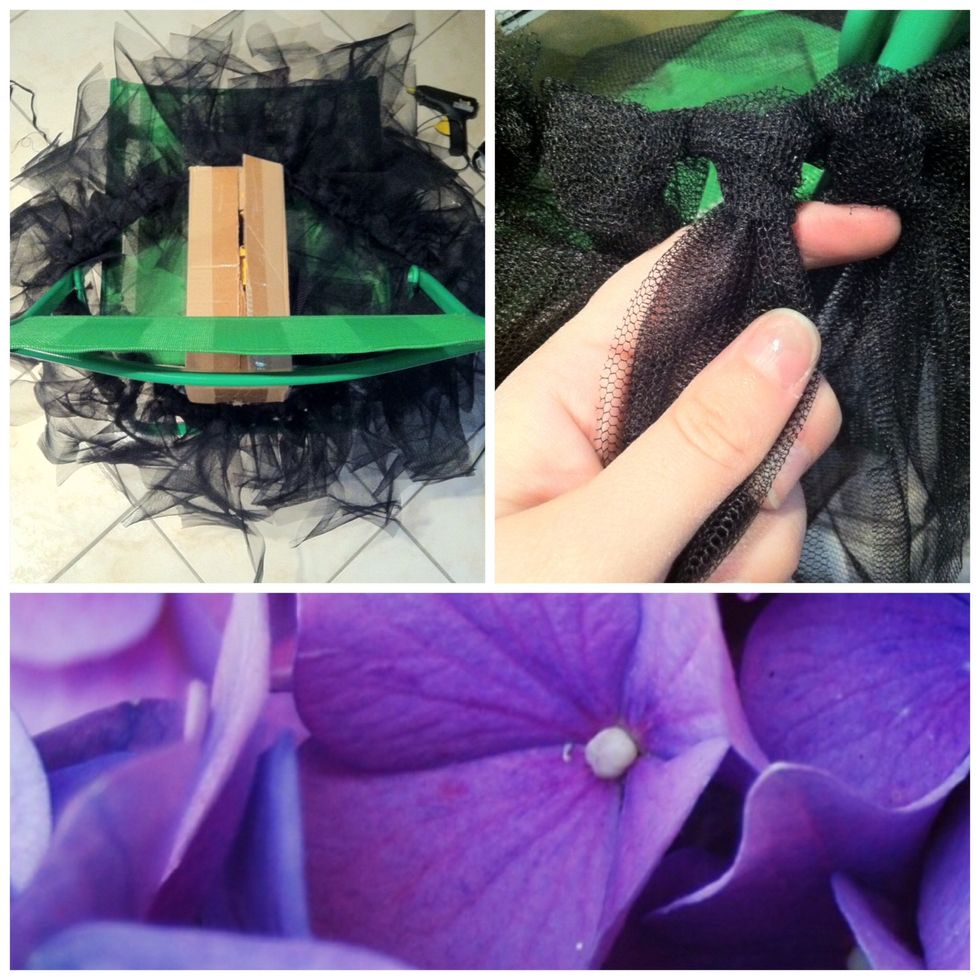
Now look for anything you can put your tutu over. I took a chair and a carton. That makes it much easier to work with! Take one knot and its four strips.
There are two longer ones and two shorter ones. Separate them, so that the longer ones are underneath the shorter ones.
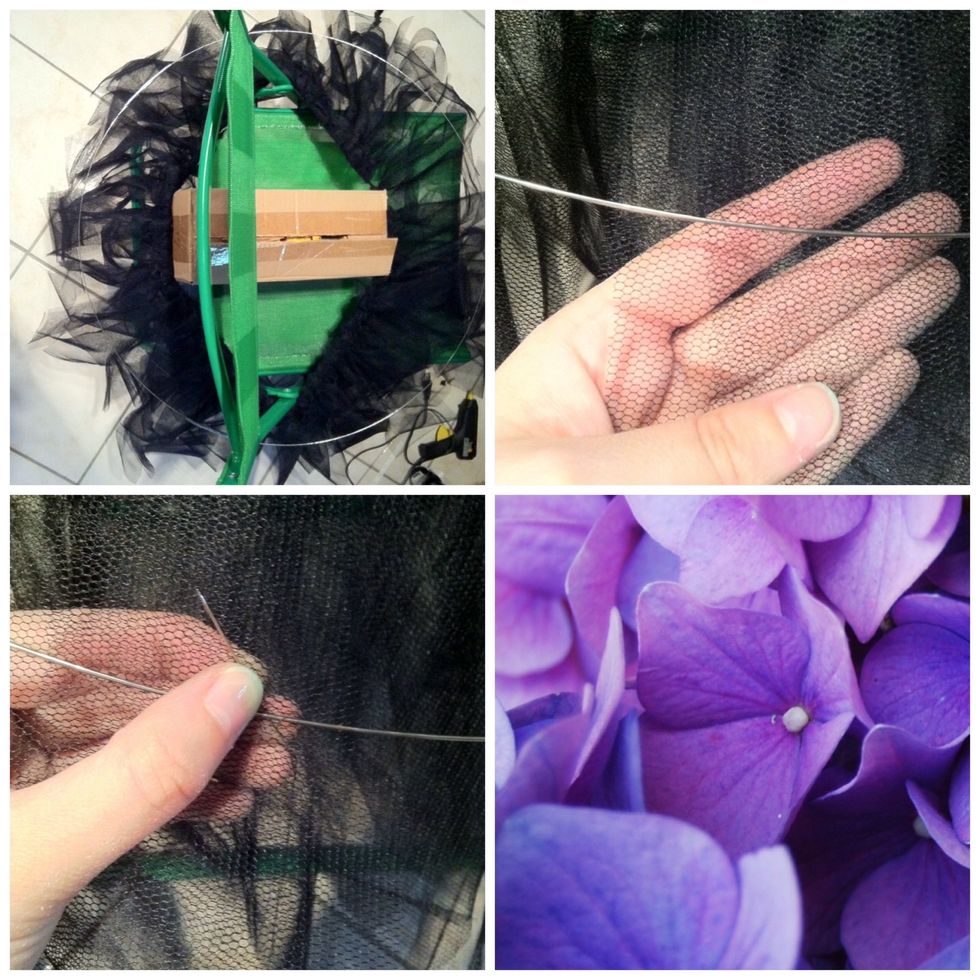
Lay the wire circle on top of your tutu and sew it onto the short strips. Make sure not to sew through the longer ones!
Sew around and make sure to sew every short strip to the wire.
The original costume has a few rhinestones on the front of the tutu. So I glued some on the lower layer. I put another plastic sleeve underneath so that the floor stays clean.
I decorated the tutu with some more feathers and flowers. If you do so, make sure to glue only on the strips, not the elastic band!
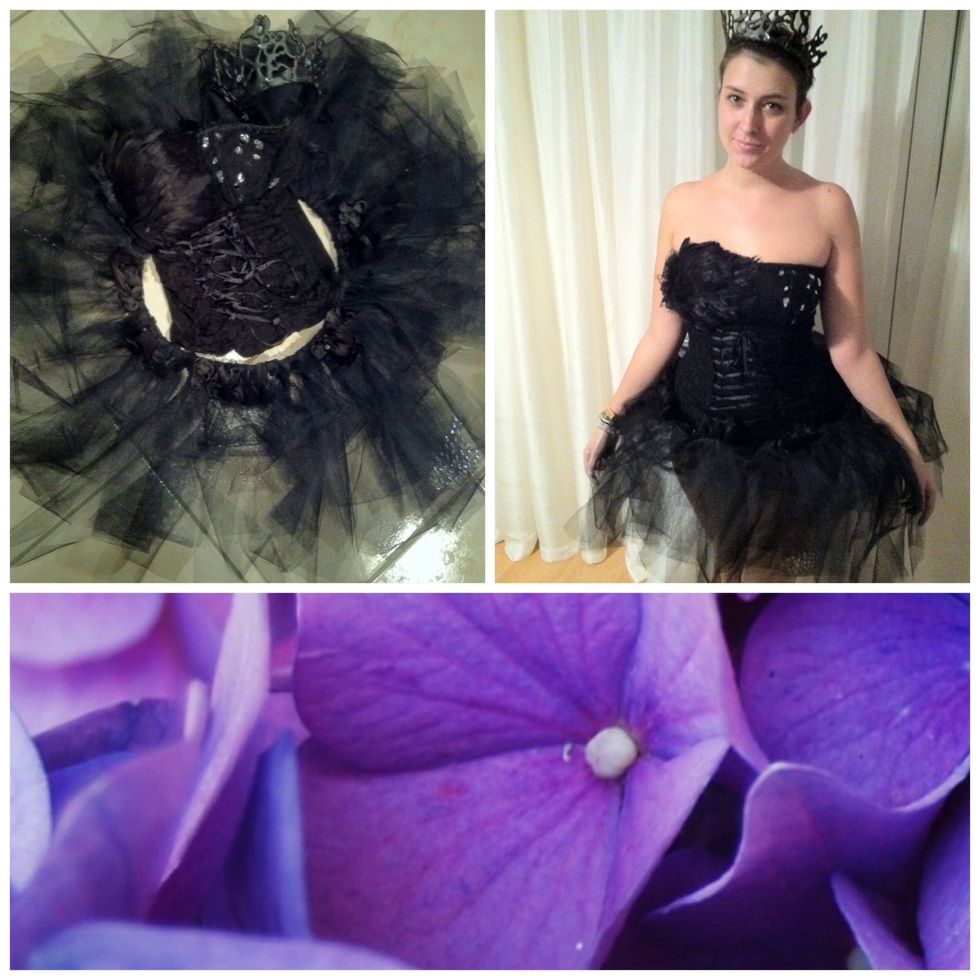
And here you go! Just put some white thights and a black panty on and overwhelm everybody with your DIY costume!
What's missing now is the characteristic make up. I'm going to do a guide on that as well. So stay tuned! I hope you enjoyed 💕