The Conversation (0)
Sign Up

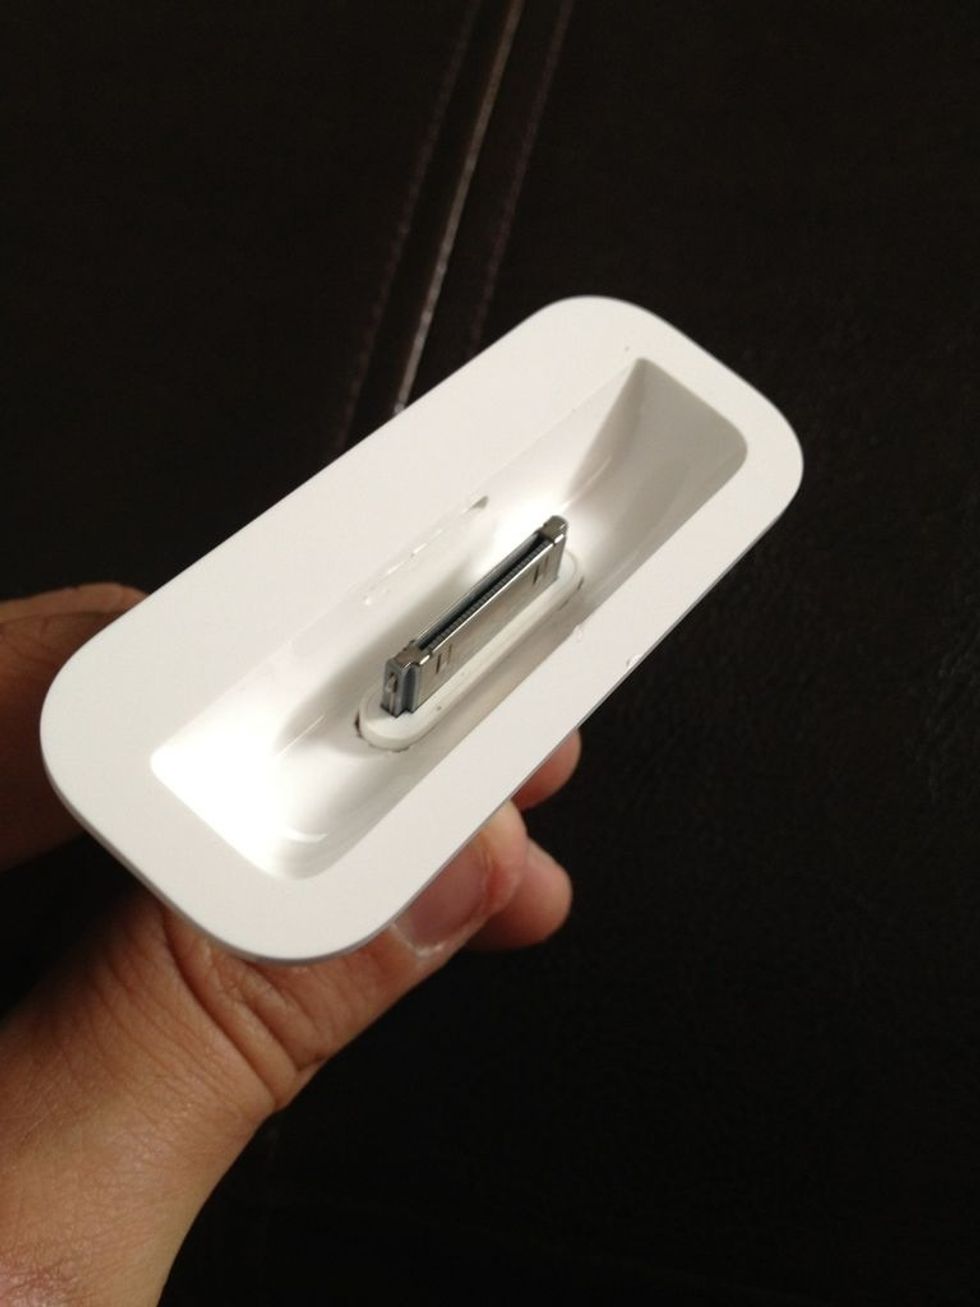
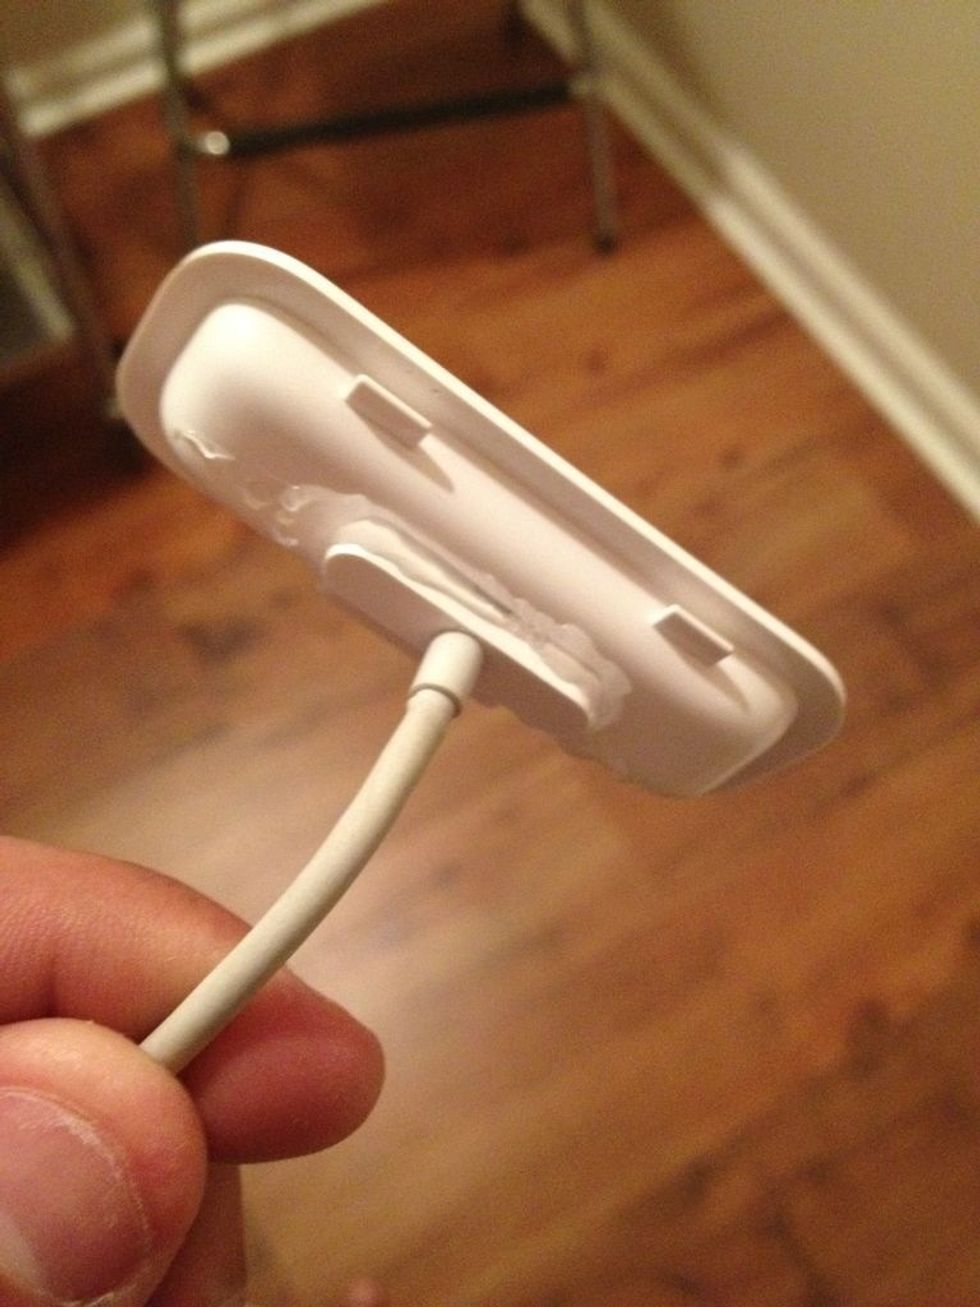
The iPhone connector doesn't actually fit into the Apple dock adapter, so take a razor, scissors, whatever, and slightly trim the ends, the width is fine just make the slot a tad longer.
Grab a metal file...
This is what your shooting for, but there is a problem...
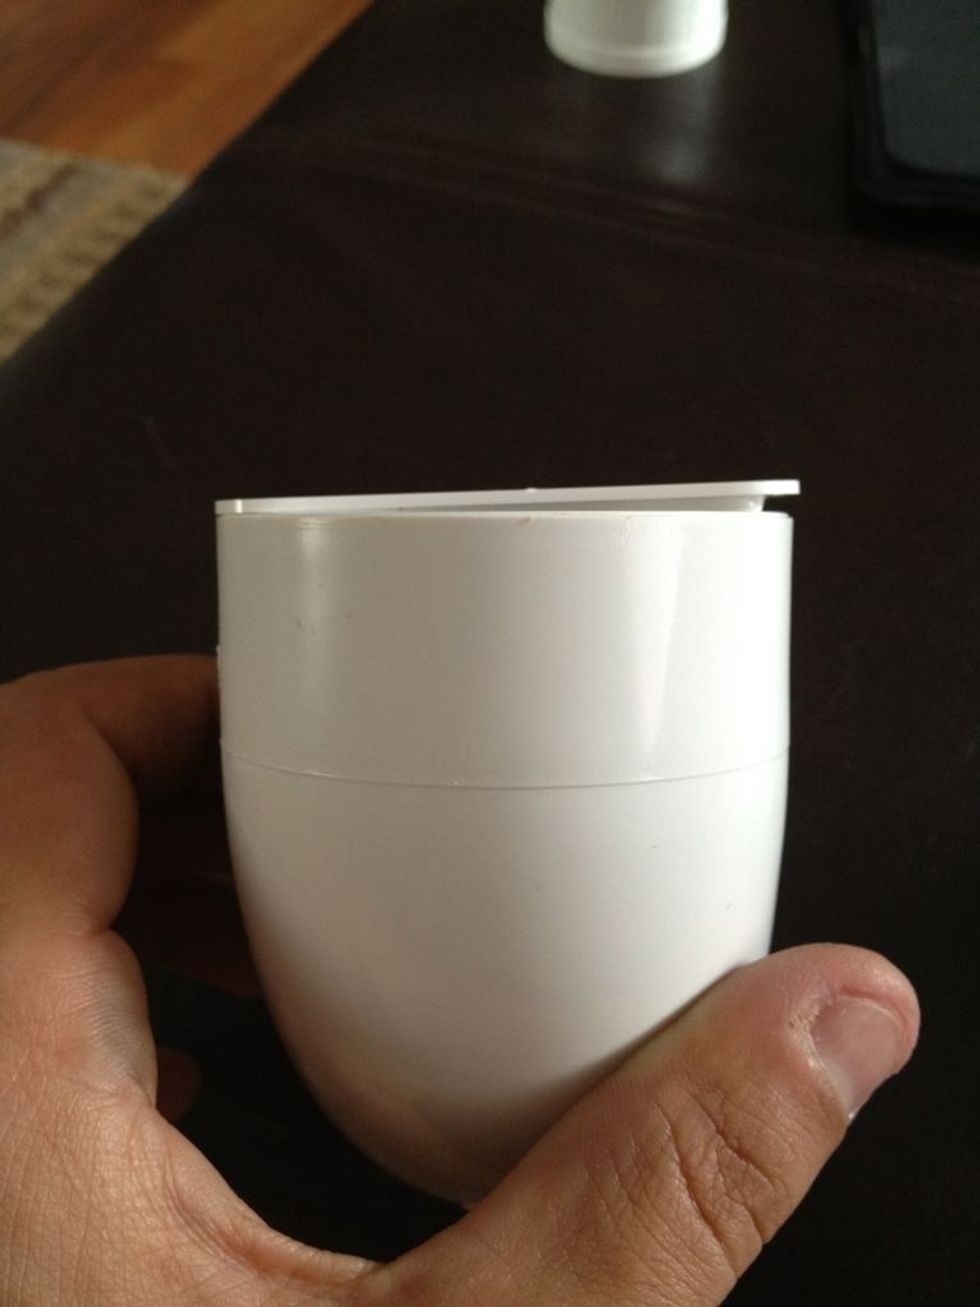
It's off. You'll want to trim the inside rim of the elbow so the dock sits flat. Take a razor at a 45 degree angle to do so. Don't trim all the way around, just where the adapter rests.
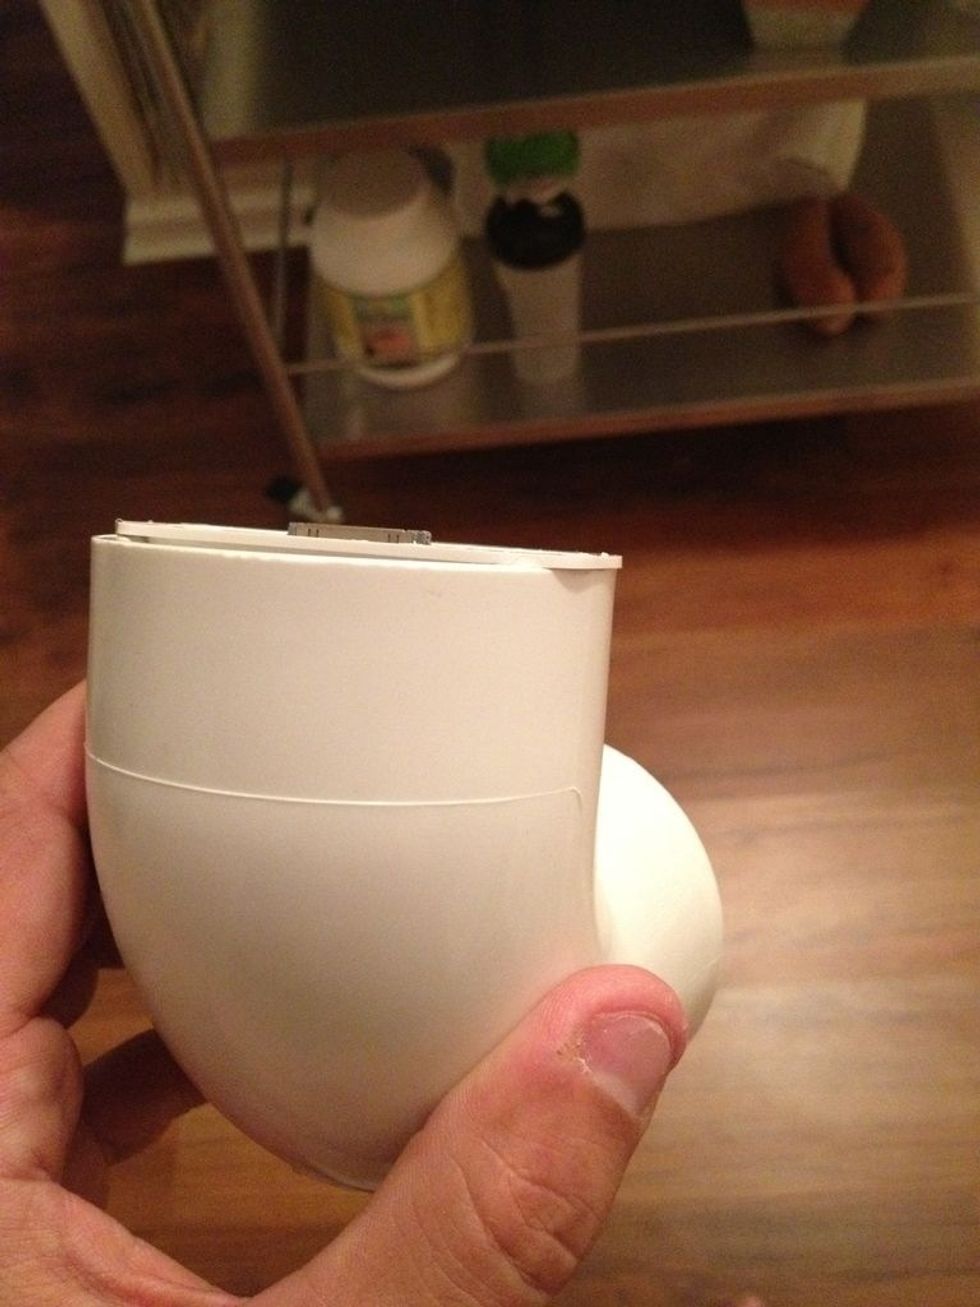
This is what happens if you only trim one side.
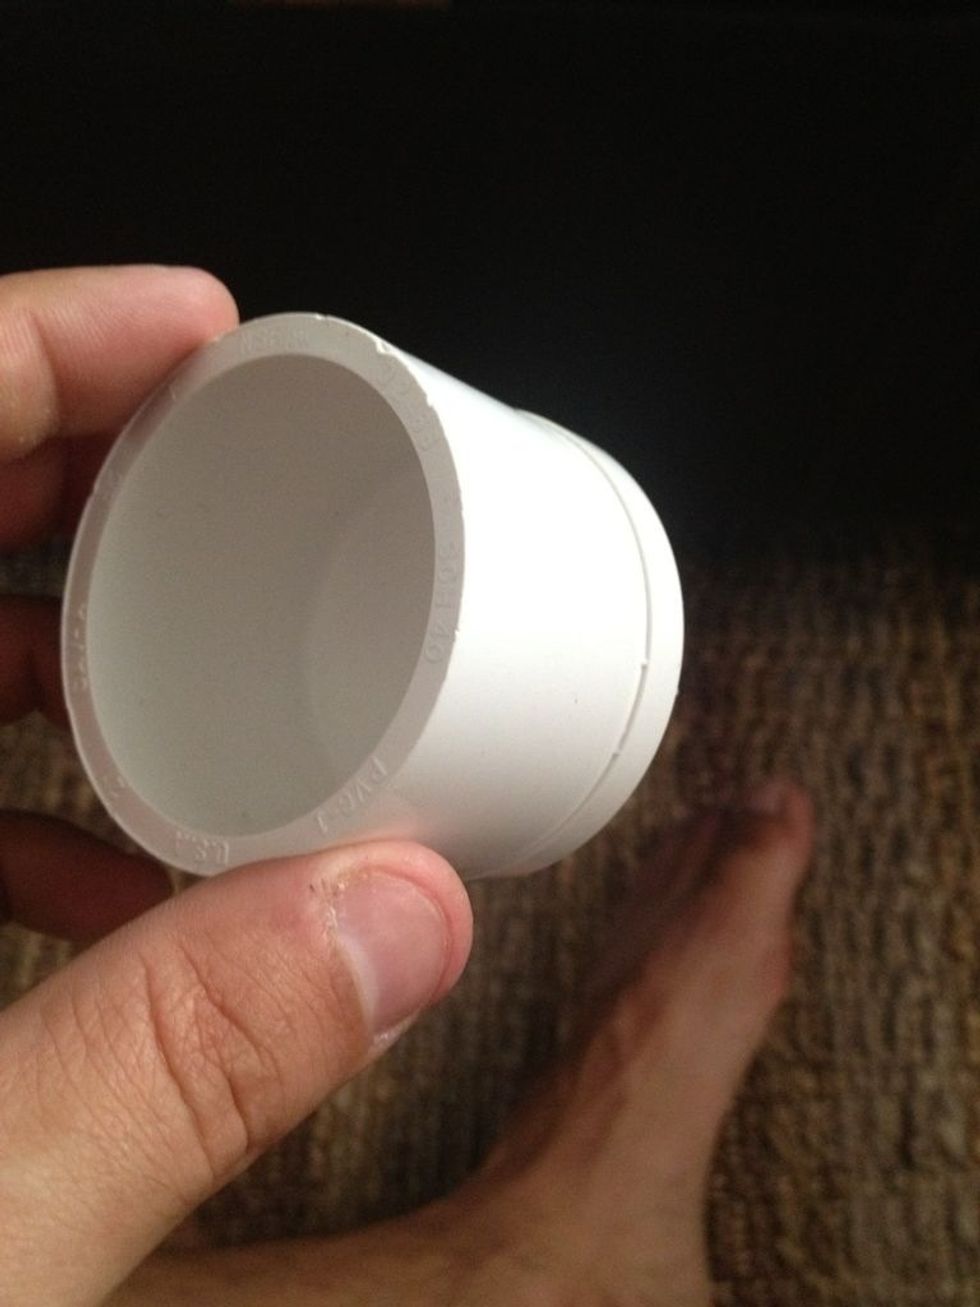
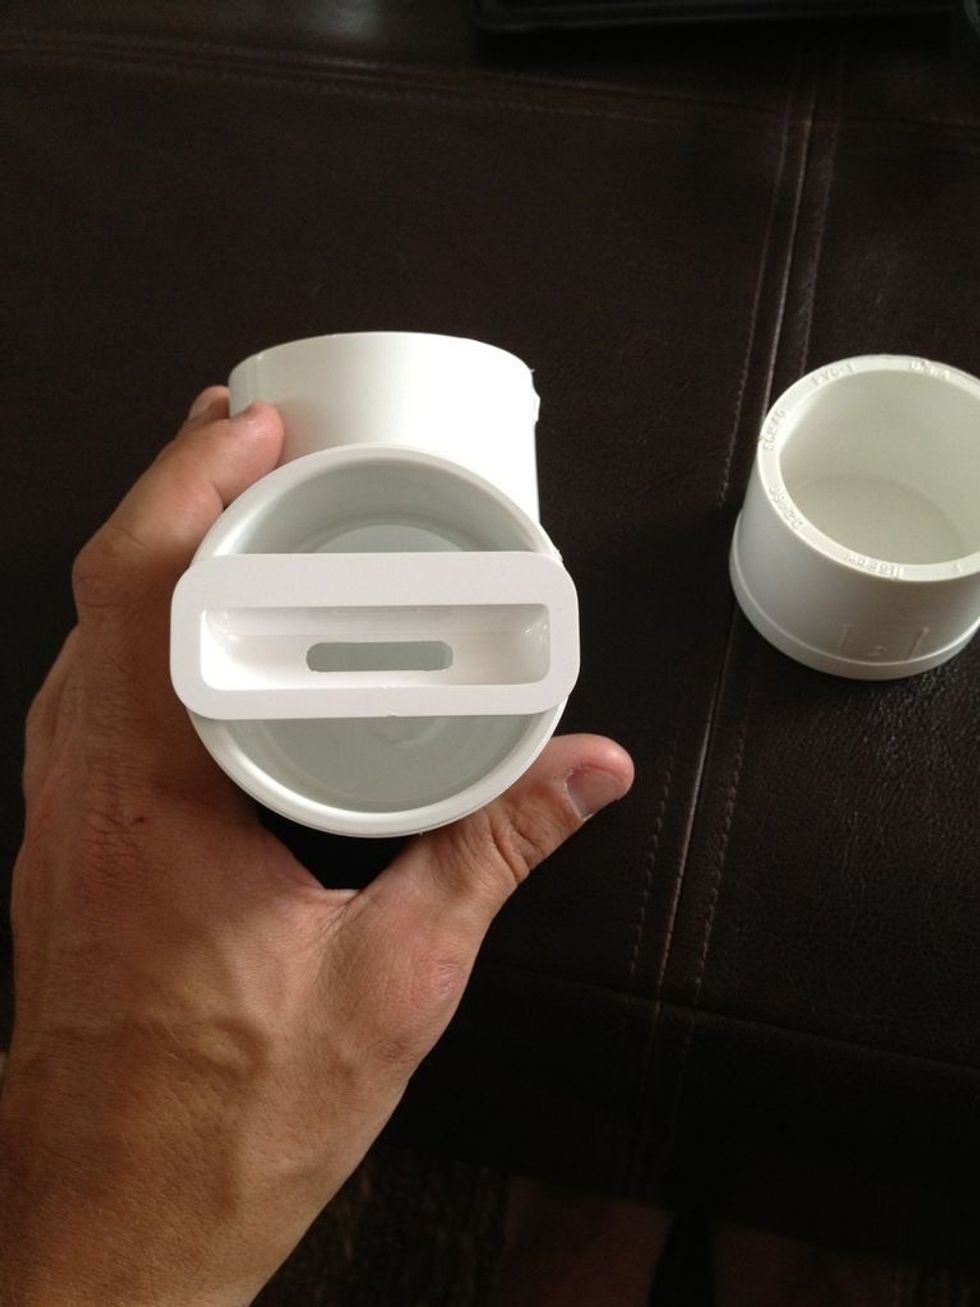
Next piece of interest is the male coupling that inserts into the elbow. This is what will attach to the wall and the elbow dock will slide over it, but there's some work to do first.
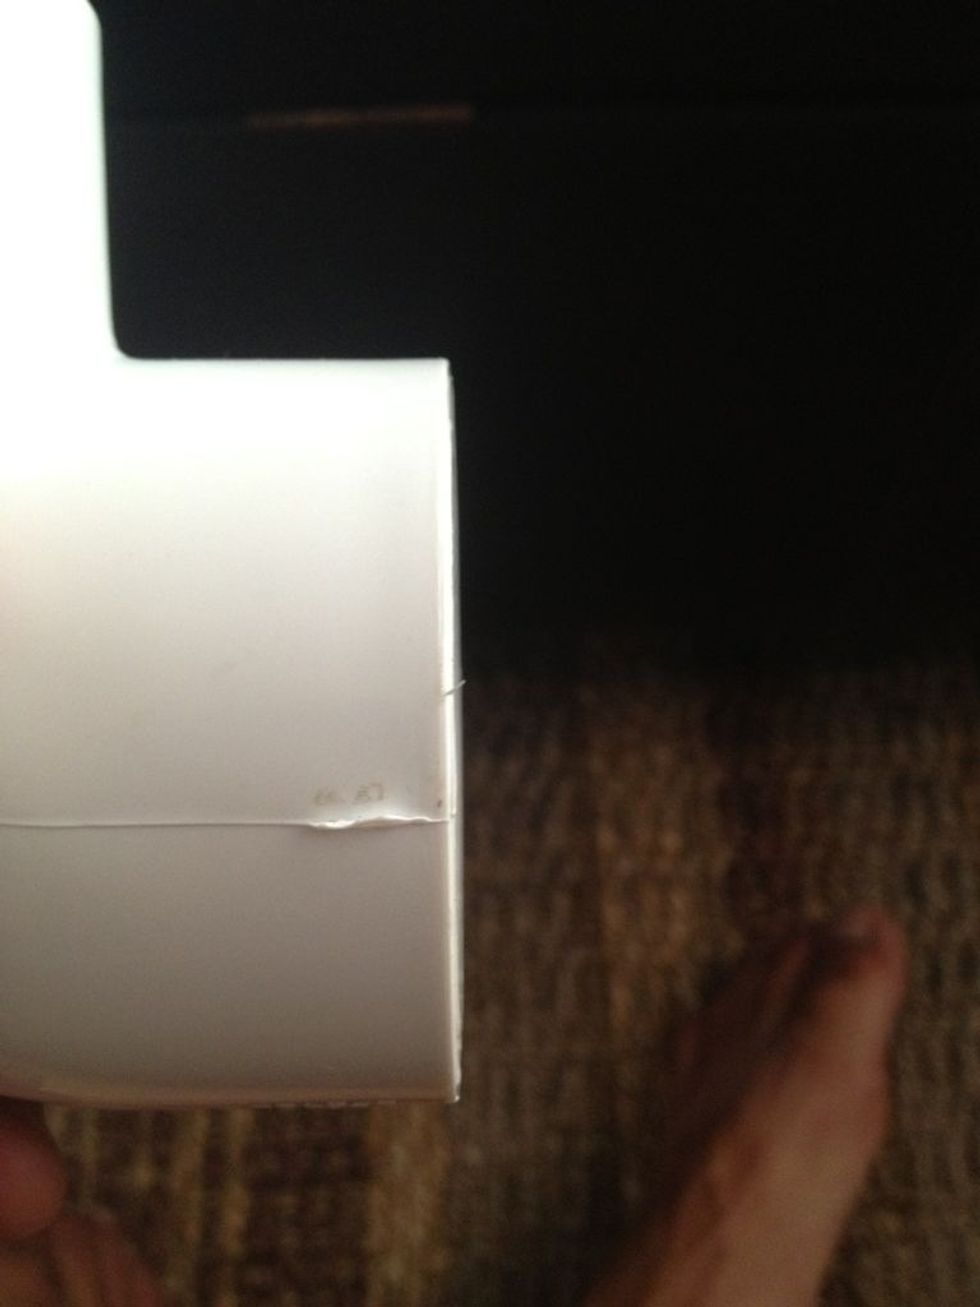
That lip is a problem, as is the overall length, it won't completely fit inside our elbow. Also, the fit is very tight! To fix this, start by cutting the length down .5".
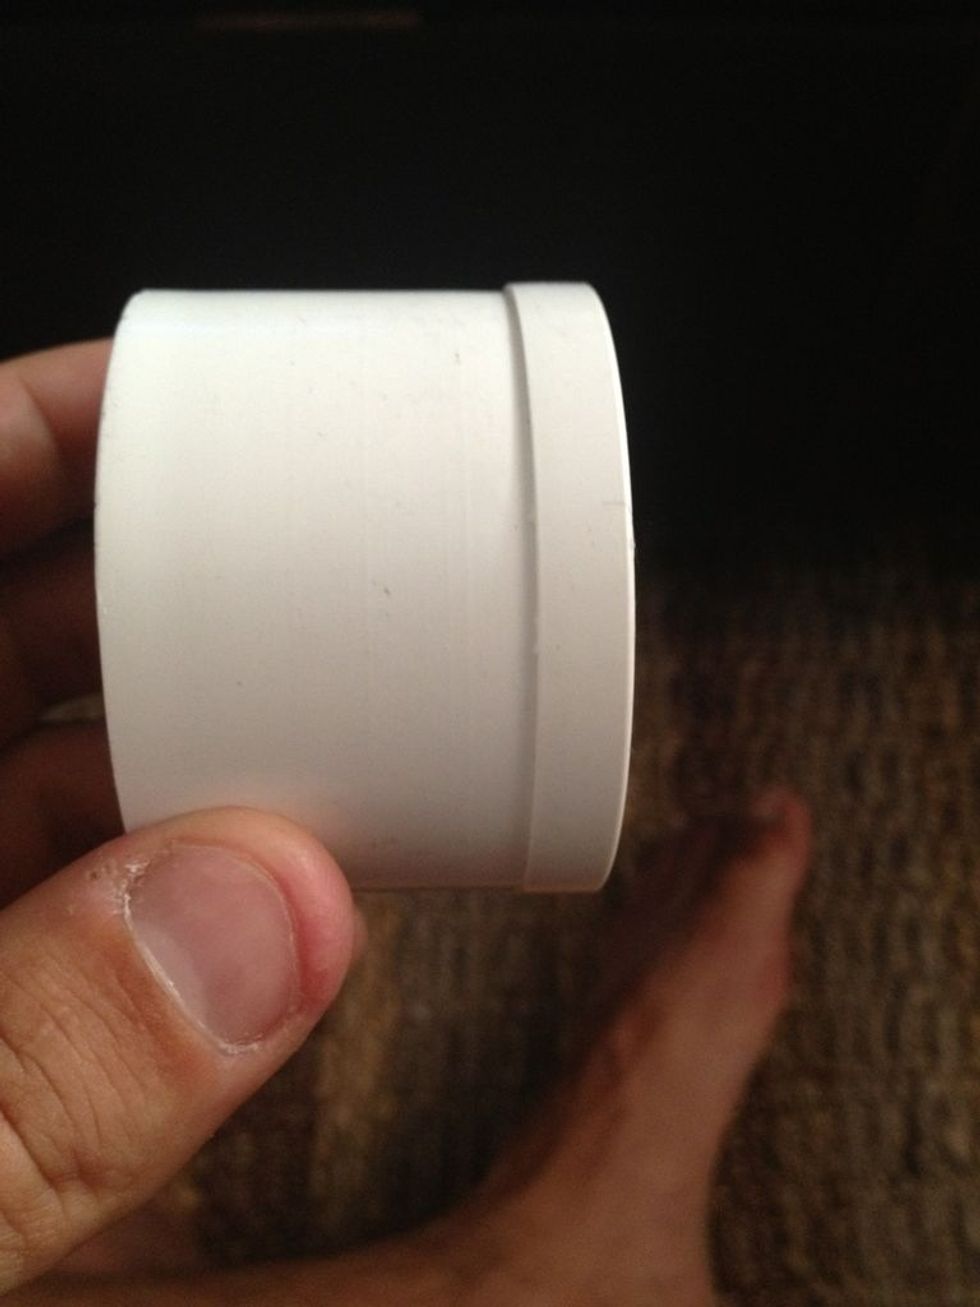
Then I took the lipped end to a bench grinder and sanded it down and roughed up the whole piece to make it not such an impossibly tight fit, this is designed to be removed after all!
A shorter, slightly skinnier piece is the result. You want it to fit in snug, but that's it, you should be able to push this all he way in and then pop it out using your fingers.
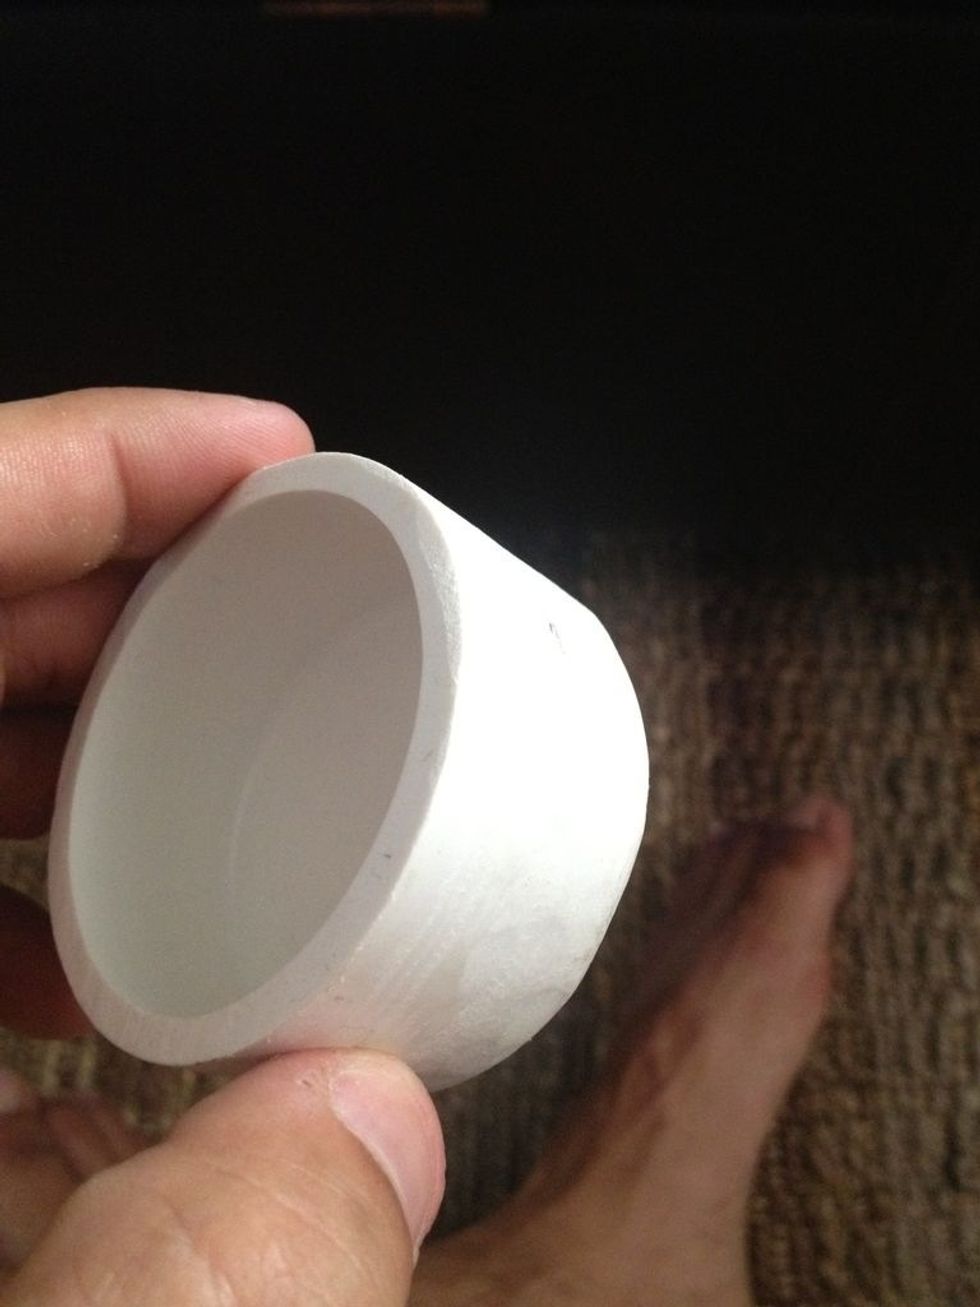
I also smoothed the edges and roughed the whole thing up to make it slide in and out easier- just remember it needs to be snug, but not too much that you can't pop it back out from inside the elbow.
Make sure to trim an equal and even amount from each side, it'll sit askew otherwise.
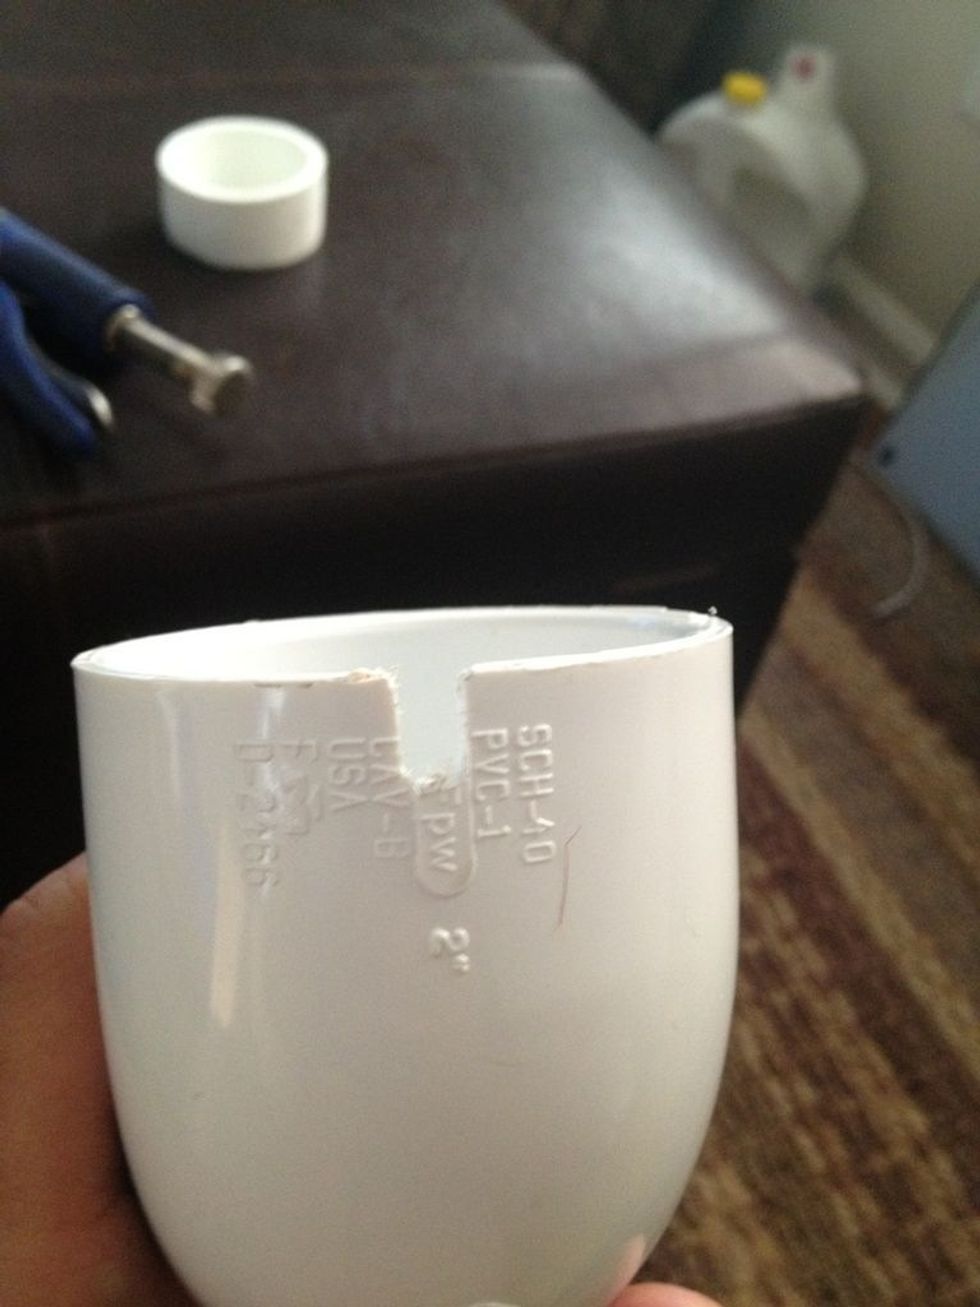
Next, "assemble" what you've got so far minus the wall mount, figure out which way is up and which end will be against the wall. You'll need a saw or a drill and bit to make a notch on the wall end.
Should look like this. Can use that 1/4" drill bit from the supplies list I mentioned, I put the elbow in a vise and used a jigsaw.
This is with the wall mount inserted
Next, after you've got the wall mount where you want it and the notch on the bottom of the wall end, you'll need a similar notch or hole in the wall mount so it doesn't pinch your cable!
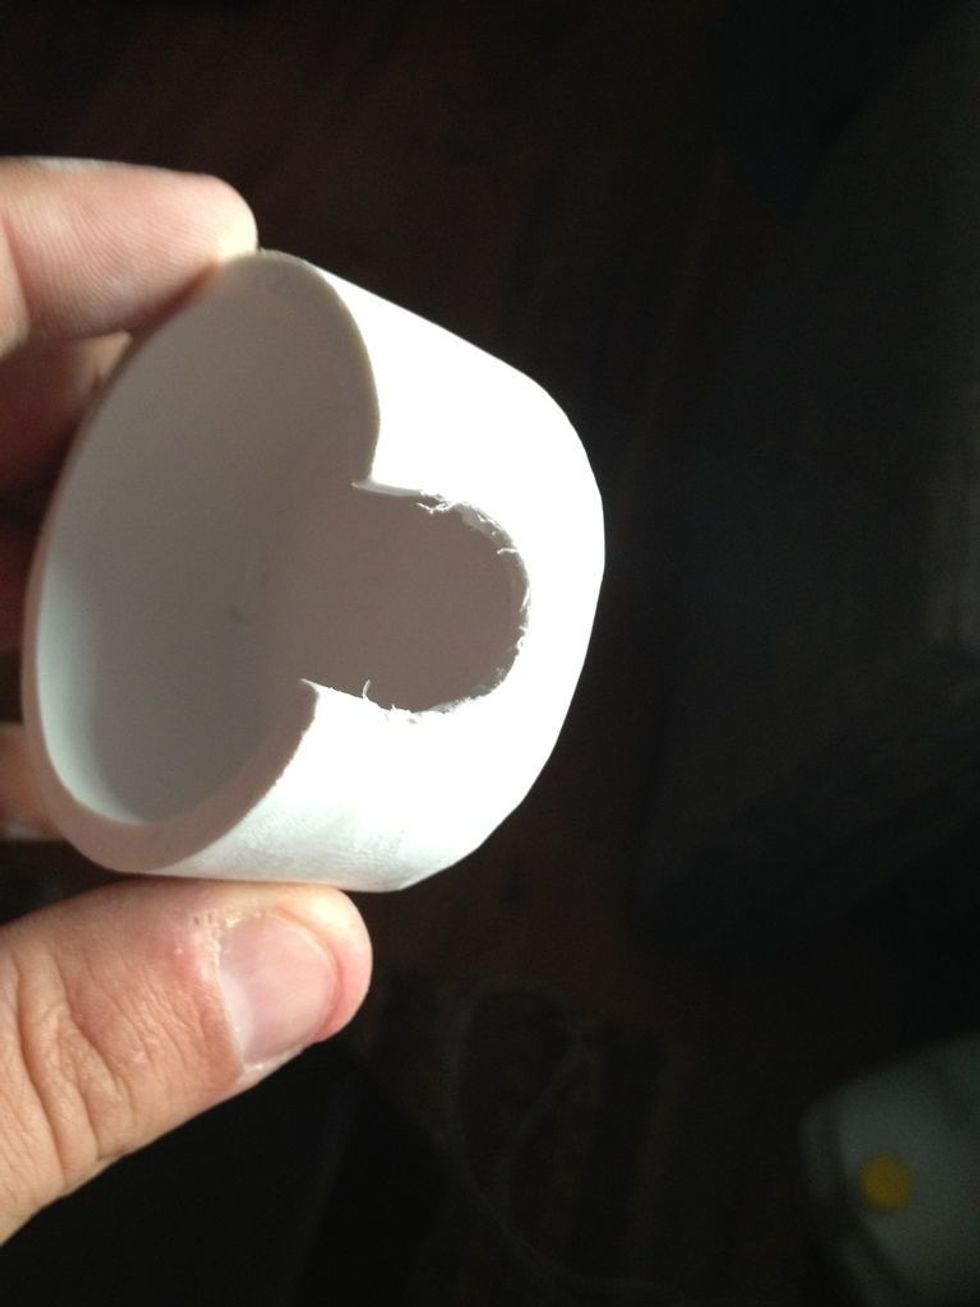
Right? Because if you don't, when you go to slide the dock elbow over the wall mount it'll get jammed. You can use a jigsaw or a hole saw bit, I used a 3/4" hole saw bit (drill bit).
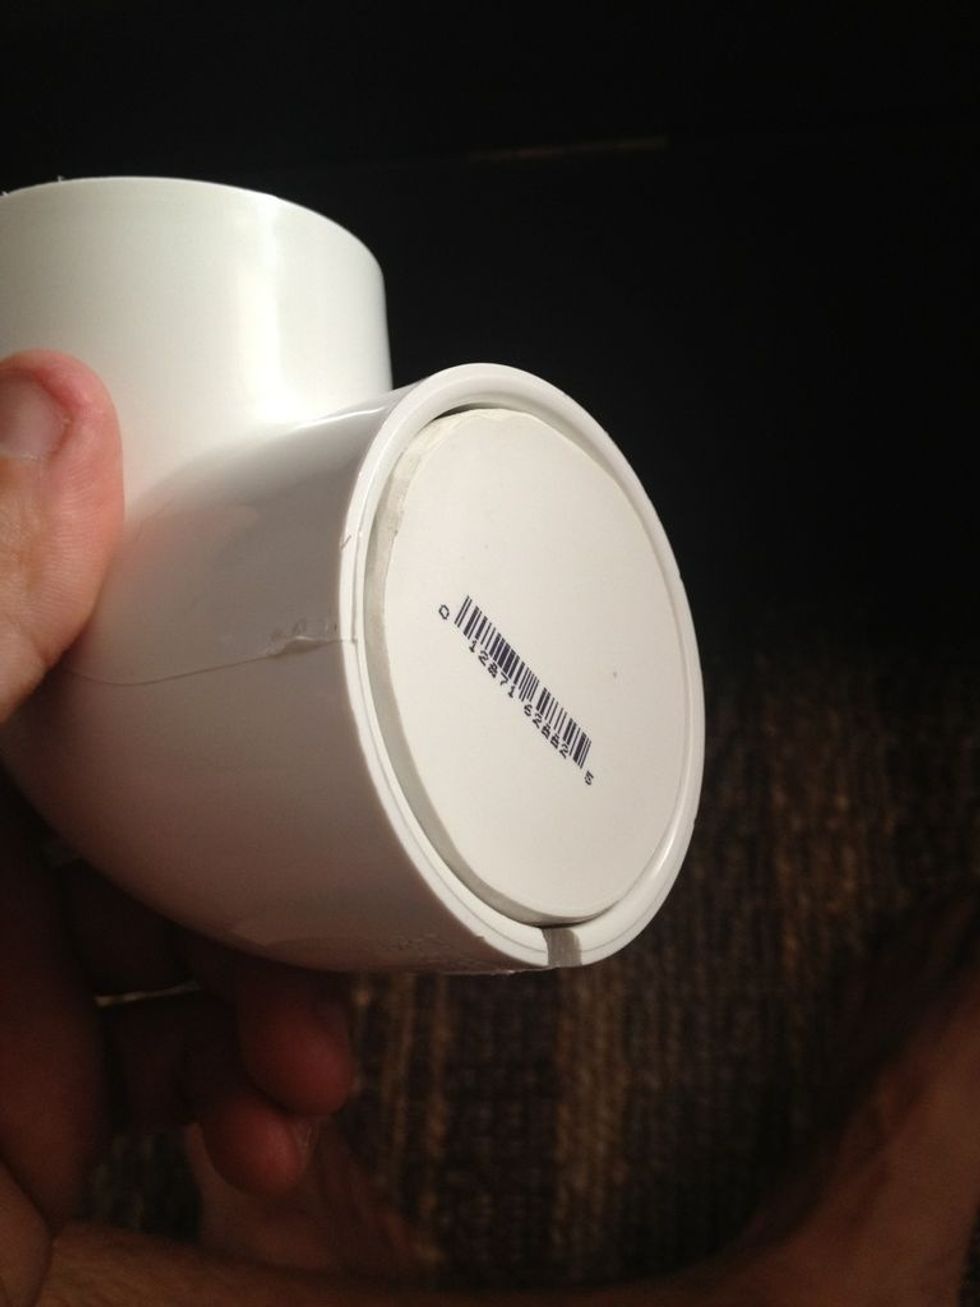
It doesn't look flush, but it is, see next picture

You're almost finished!
Time to hot glue or PVC cement, your preference. Test fit the Apple dock adapter and your iPhone first. Bulky cases may not allow the device to reach the 30 pin connector when resting on the adapter.
Most people will not be able to use their cases with this, as most cases are too bulky. The vast majority of all docking stations out there are made for the naked device.
Push iPhone cable completely through the adapter plate you trimmed out earlier. Connect iPhone then slide the adapter up to the iPhone. If you have a case on it you may have to remove it.
Once I got the depth where I wanted I adhered them

Then feed the cable through, set it where you want and glue the underside of the adapter and press it onto your elbow.
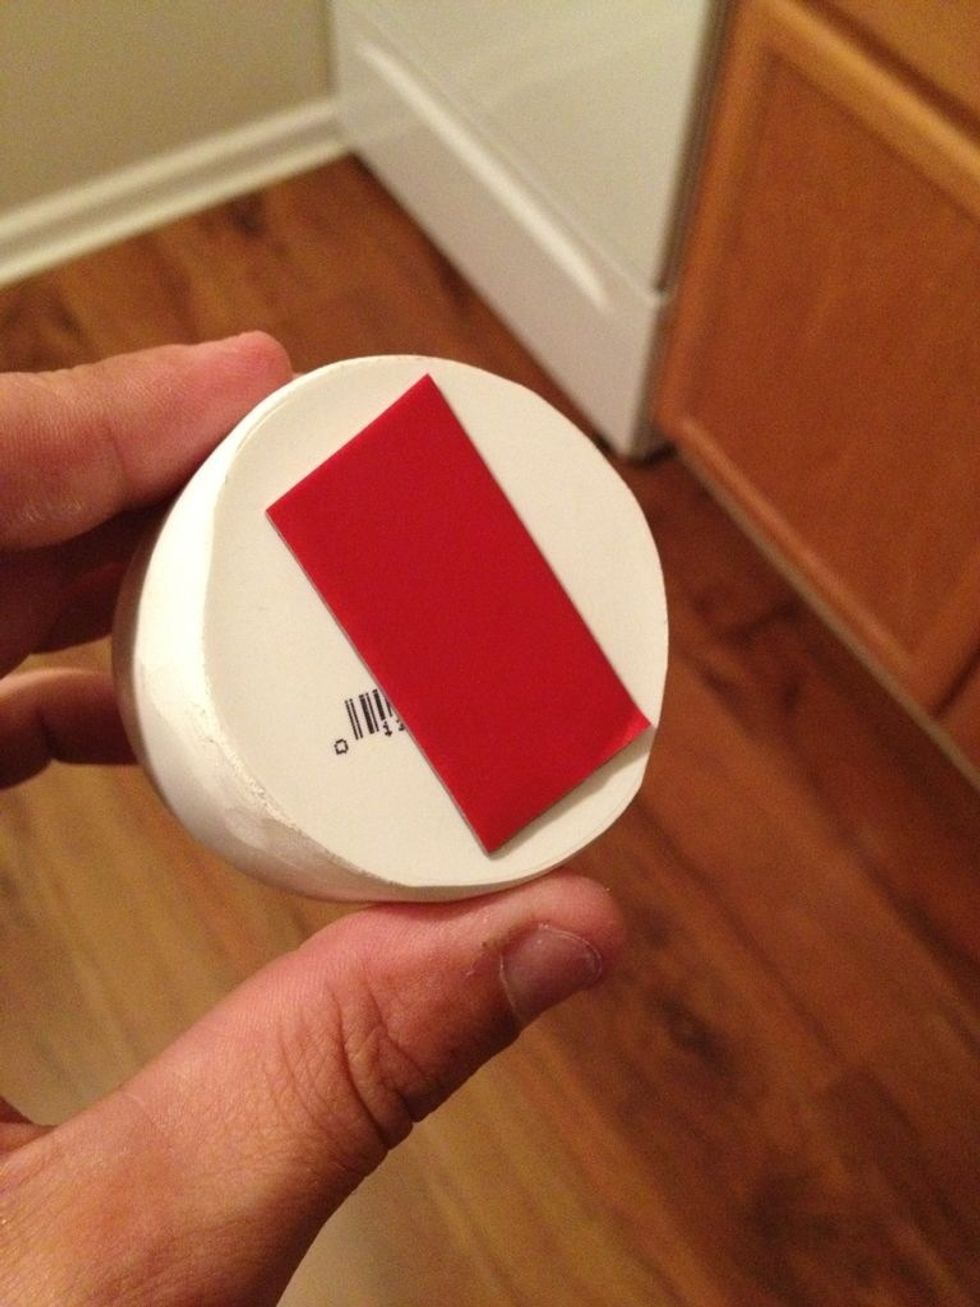
This is the commercial grade scotch double sided tape. From Home Depot, the residential grade sucks, don't even waste your time. This is damage free of course but may require some touch up painting.
The key here is to place the wall mount where you want first, making sure the hole you drilled is facing DOWN
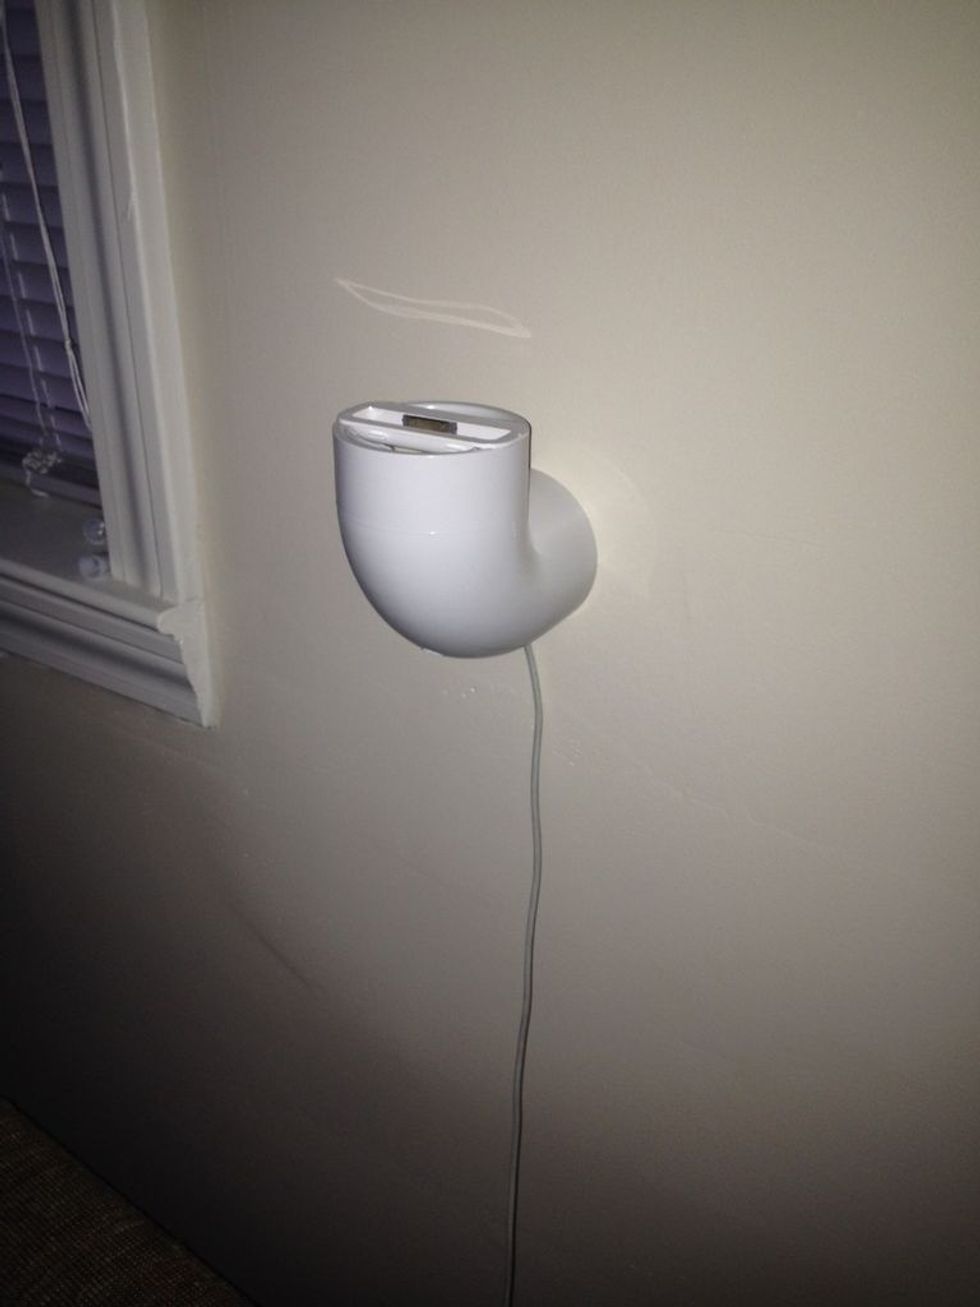
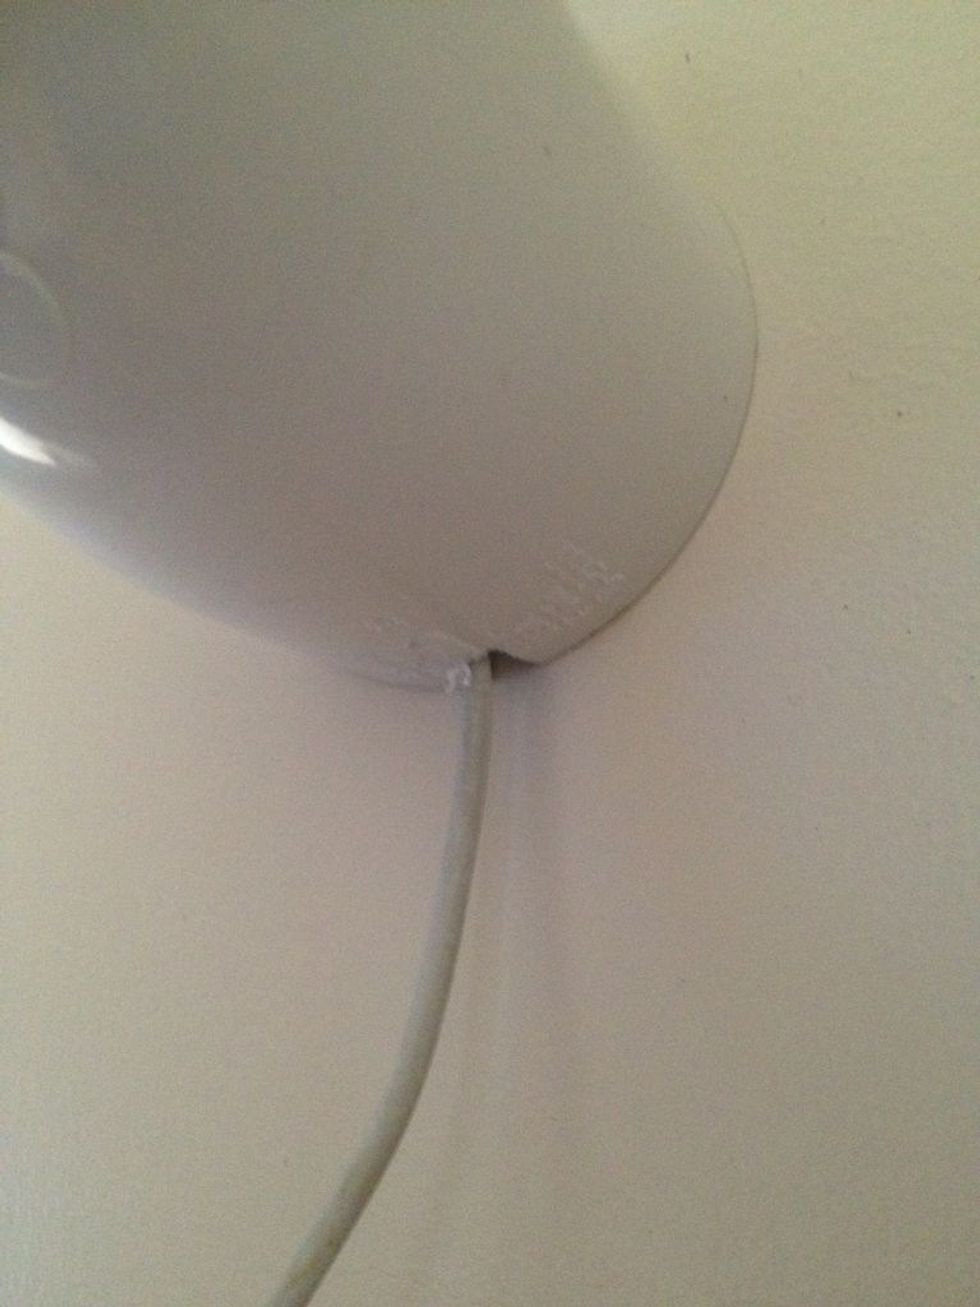
Then slide your fancy new docking station over the wall mount!
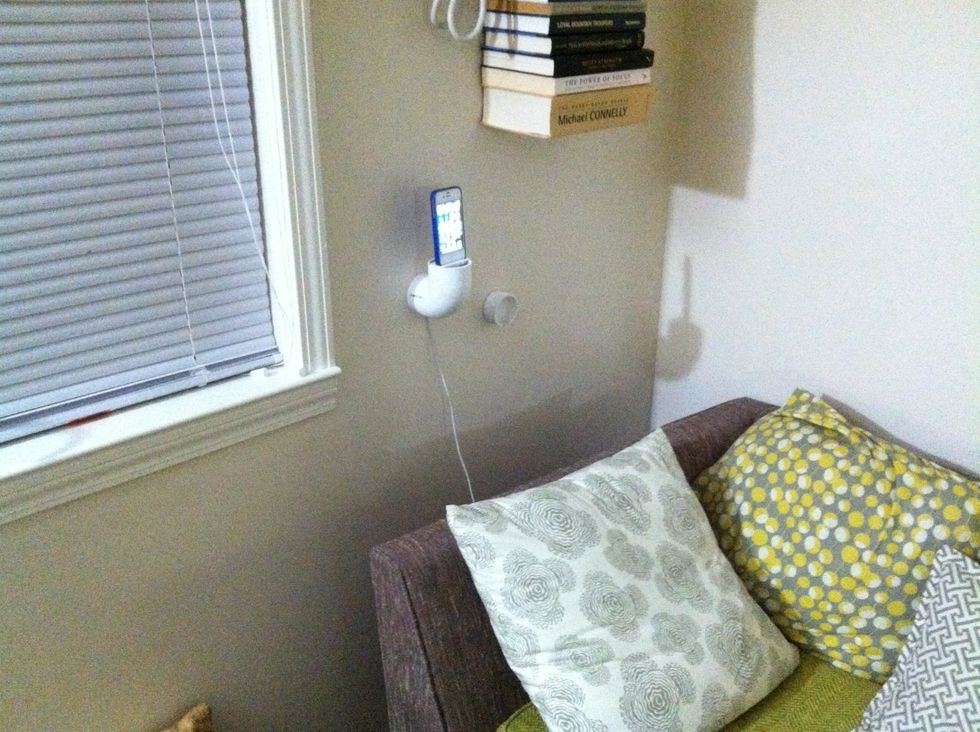
So now I'm chilling on my couch with my iPhone within arms reach and charging. I later added a cord hide track that sticks to the wall and conceals the charge cable, it's wall colored too!