The Conversation (0)
Sign Up
This is a feature I've been asking ArtStudio to add and they finally got it added in their latest update. So I figured I'd make this guide to show you how to use this useful feature.
This guide is for the ArtStudio app but the same basics apply to any image editing program that allows you to distort the shape of an image or layer. You'll see how useful this is to image editing.
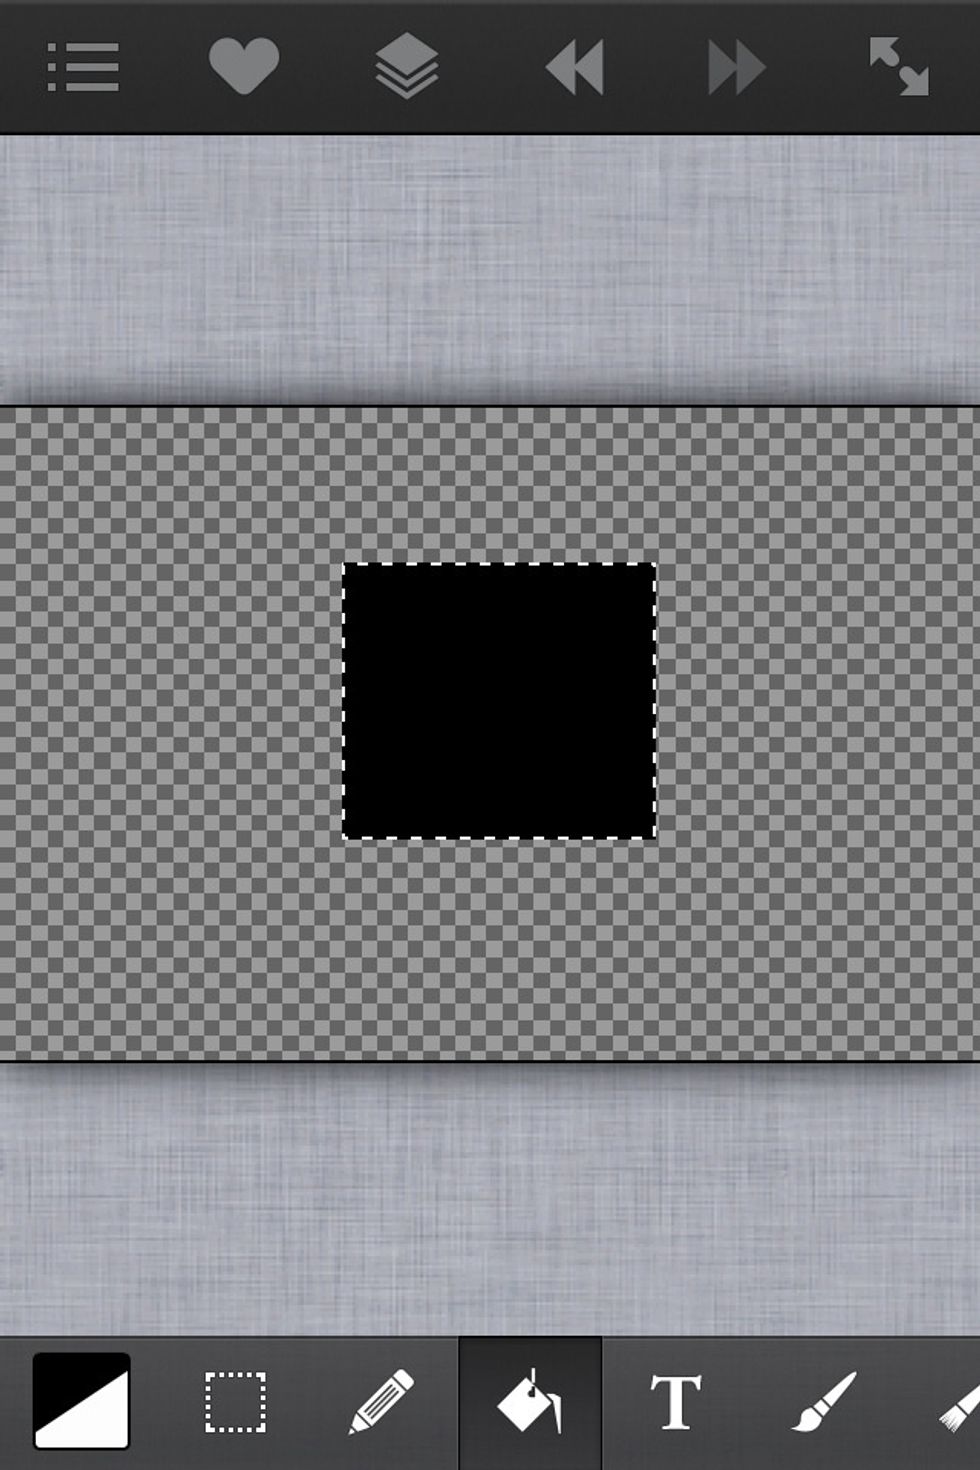
Here I used the selection tool and filled in a square black. Now we're going to distort this square.
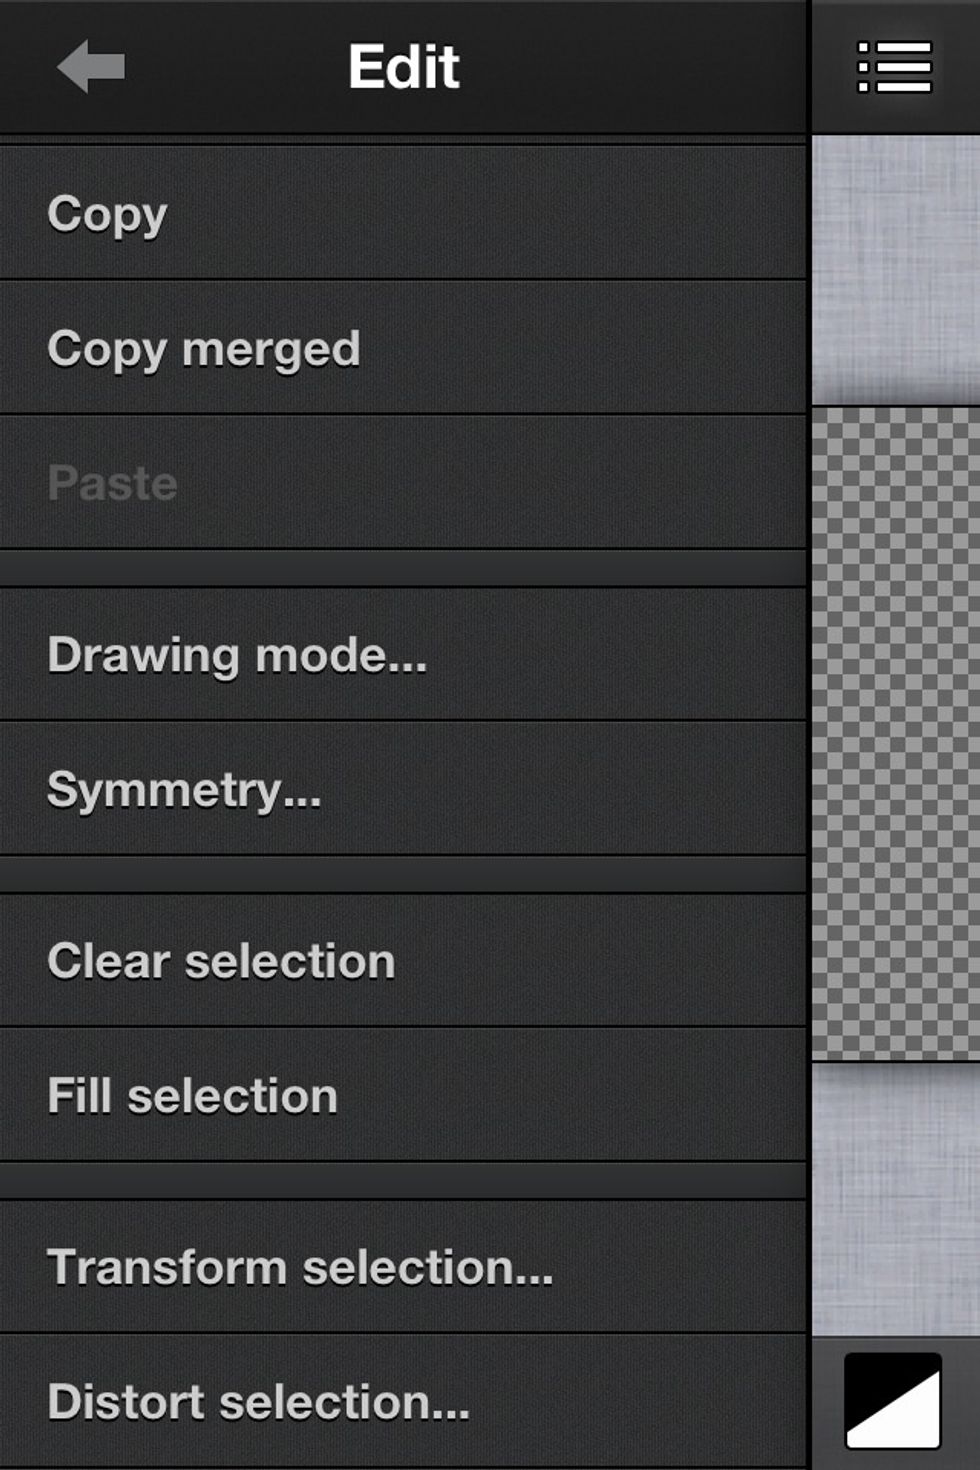
The square is selected (see dotted line around square). Go into the Edit menu and select "Distort Selection".
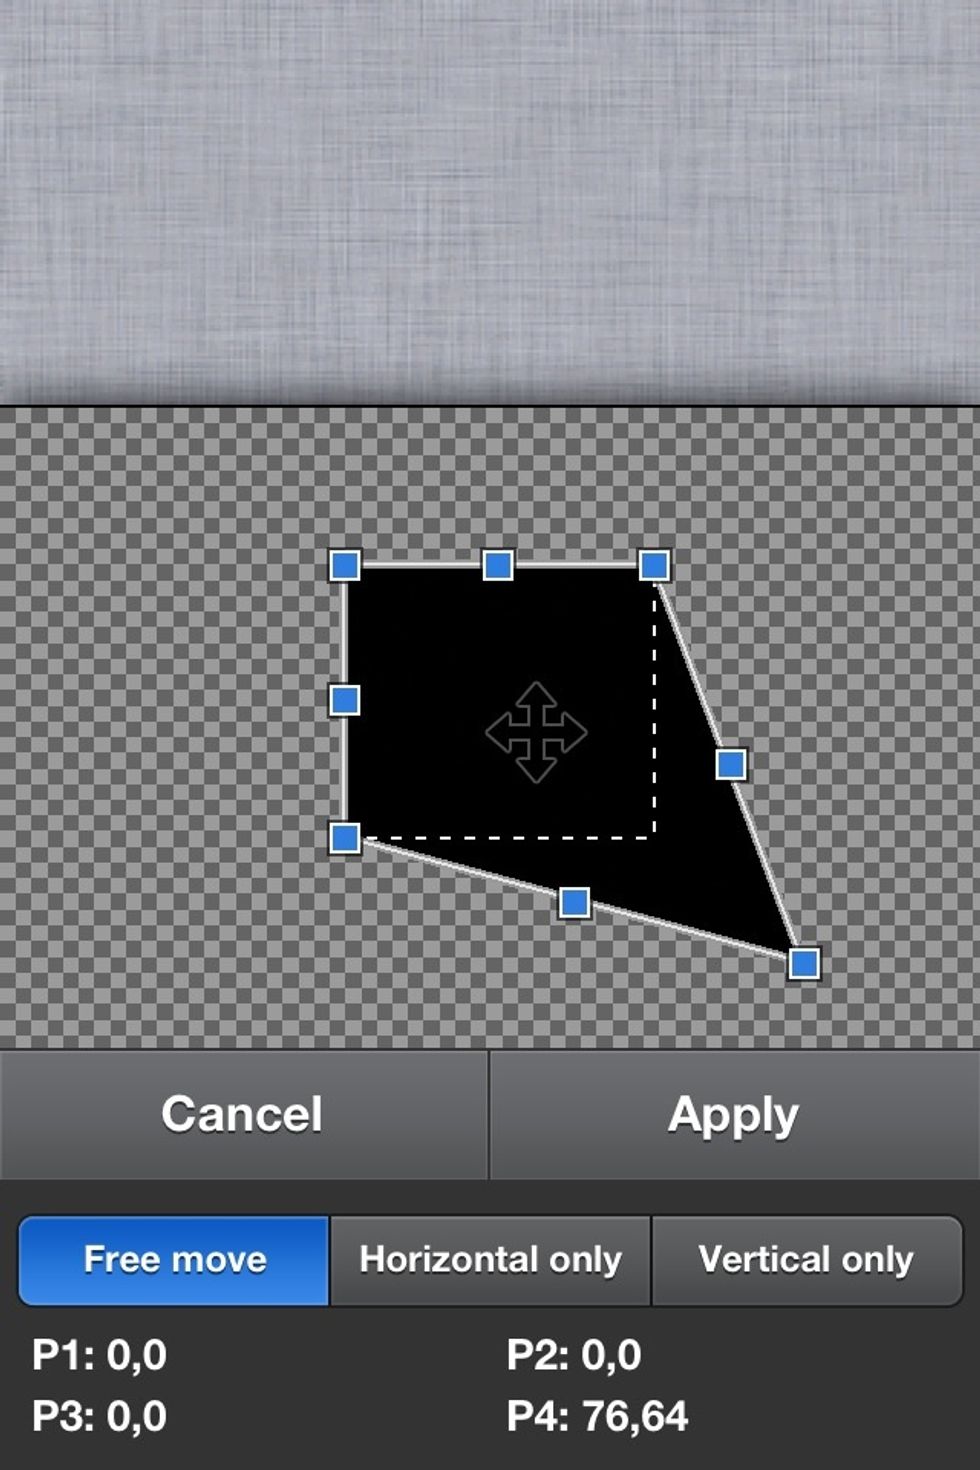
These little blue squares will be seen around the image. By dragging these blue squares you can alter the shape of the image.
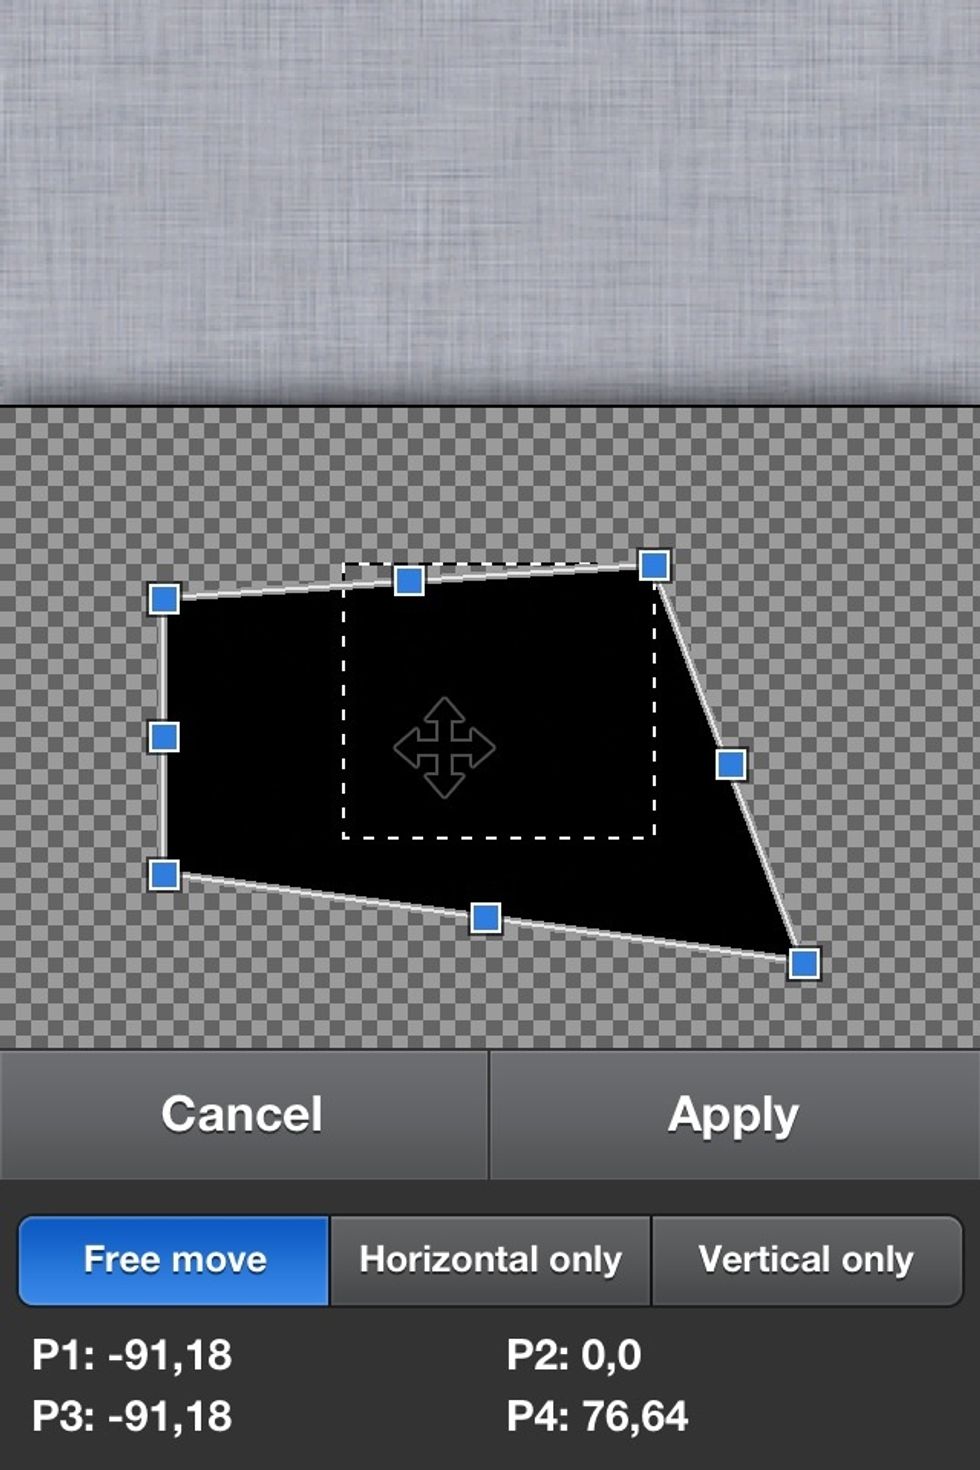
Play around with it and you'll get the hang of altering it to the shape you desire. You can also drag the entire image by sliding the black cross arrows in the center.
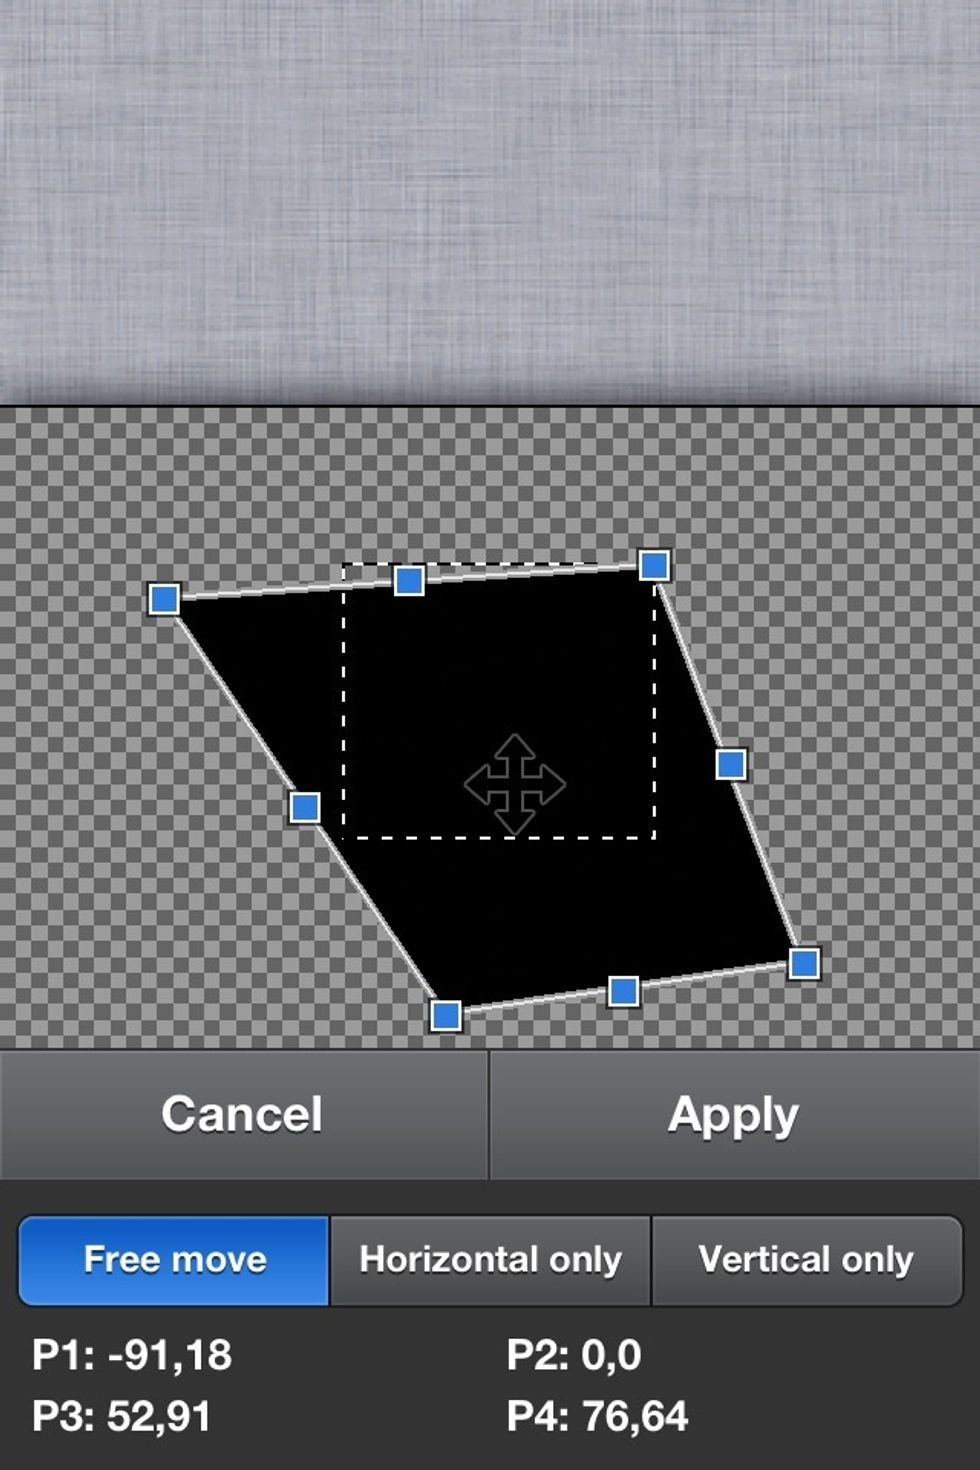
The ability to alter the shape of an image or layer can be very useful. For example this image creates a sort of 3D effect.
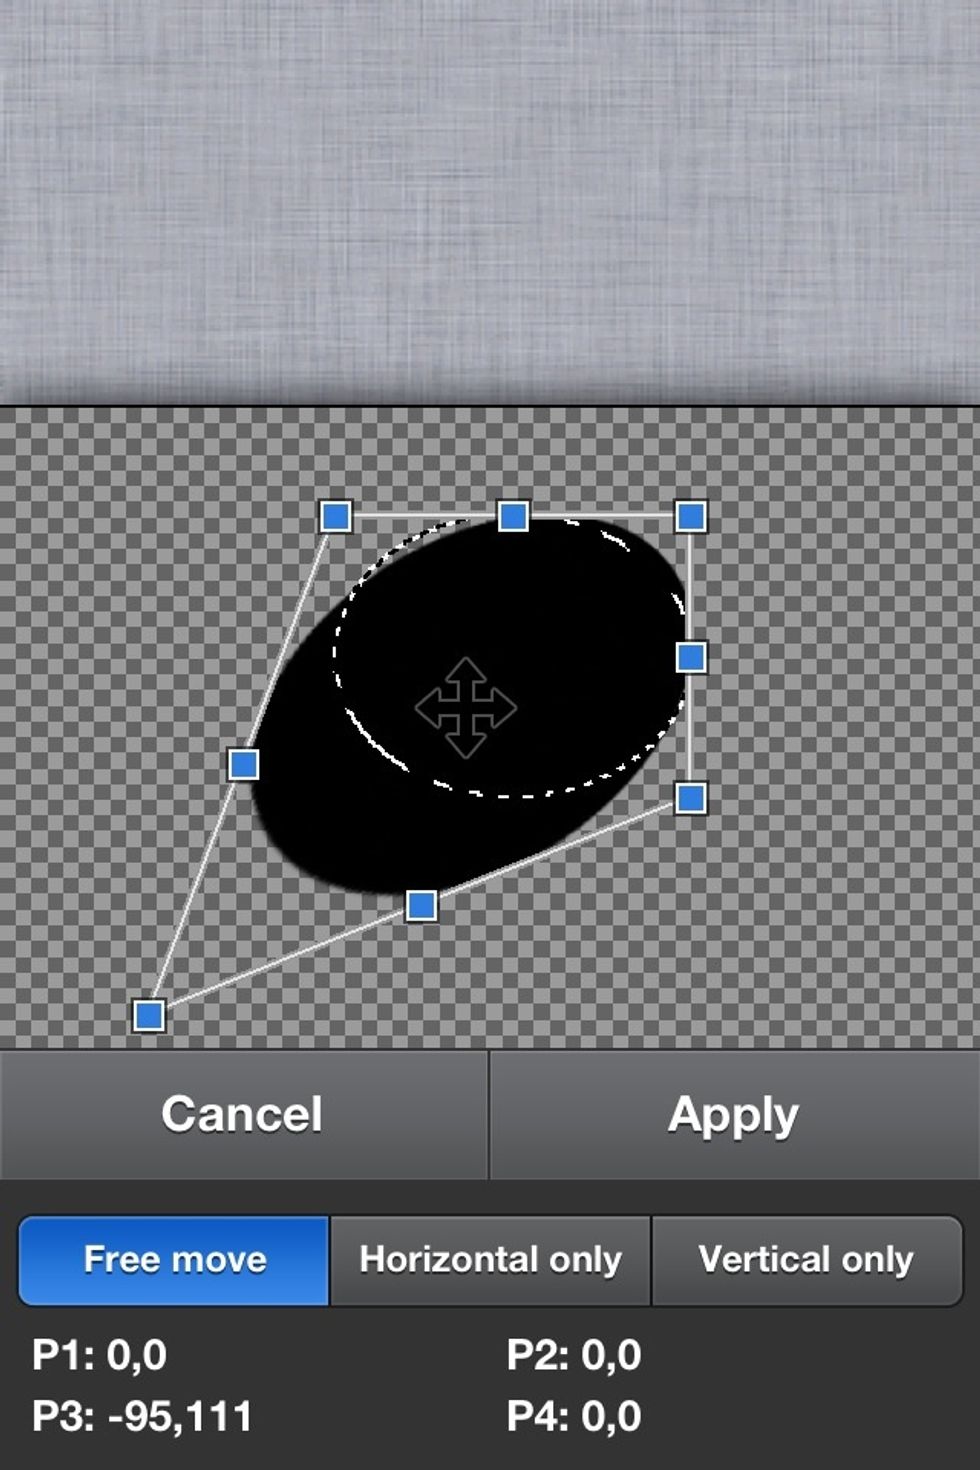
You can alter any shape. Here I'm altering a circle.
But how is this useful? Imagine you want to place a square photo on an object of another image to match its angle. Here's an example.
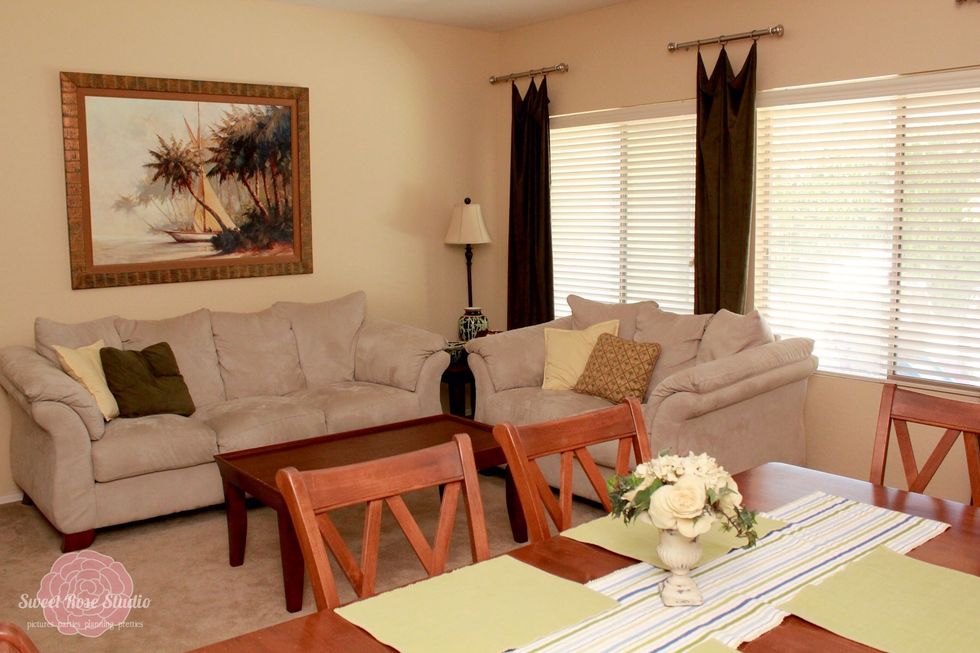
Lets say I want to replace the painting on the wall in this image.

With this painting. Here's how.
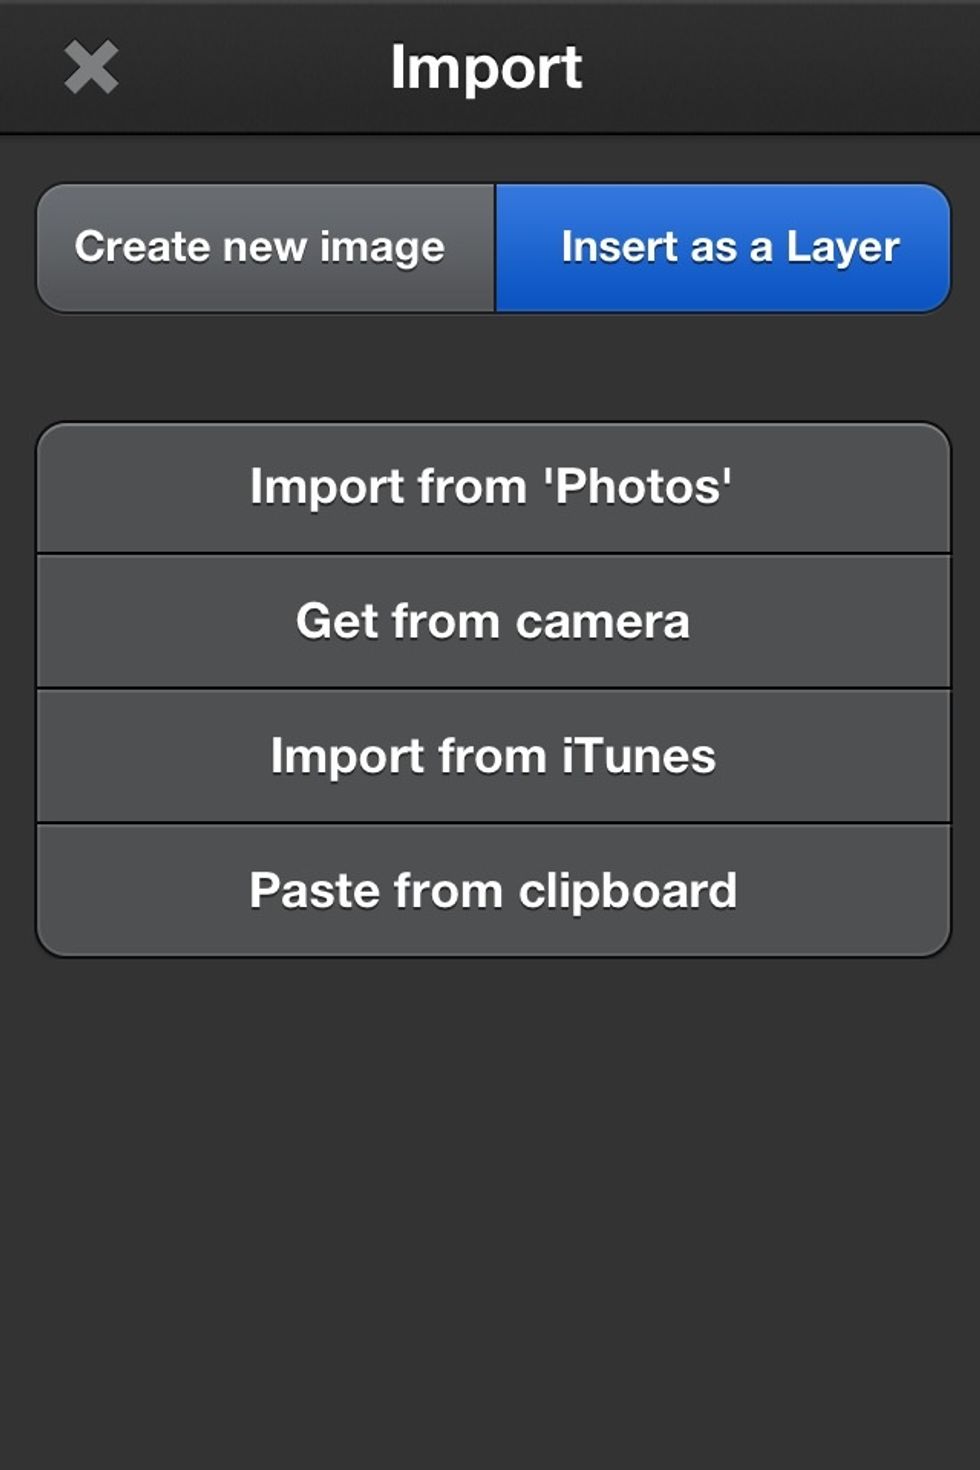
Load the first (living room) image into art studio. Then import the new painting onto a new layer.
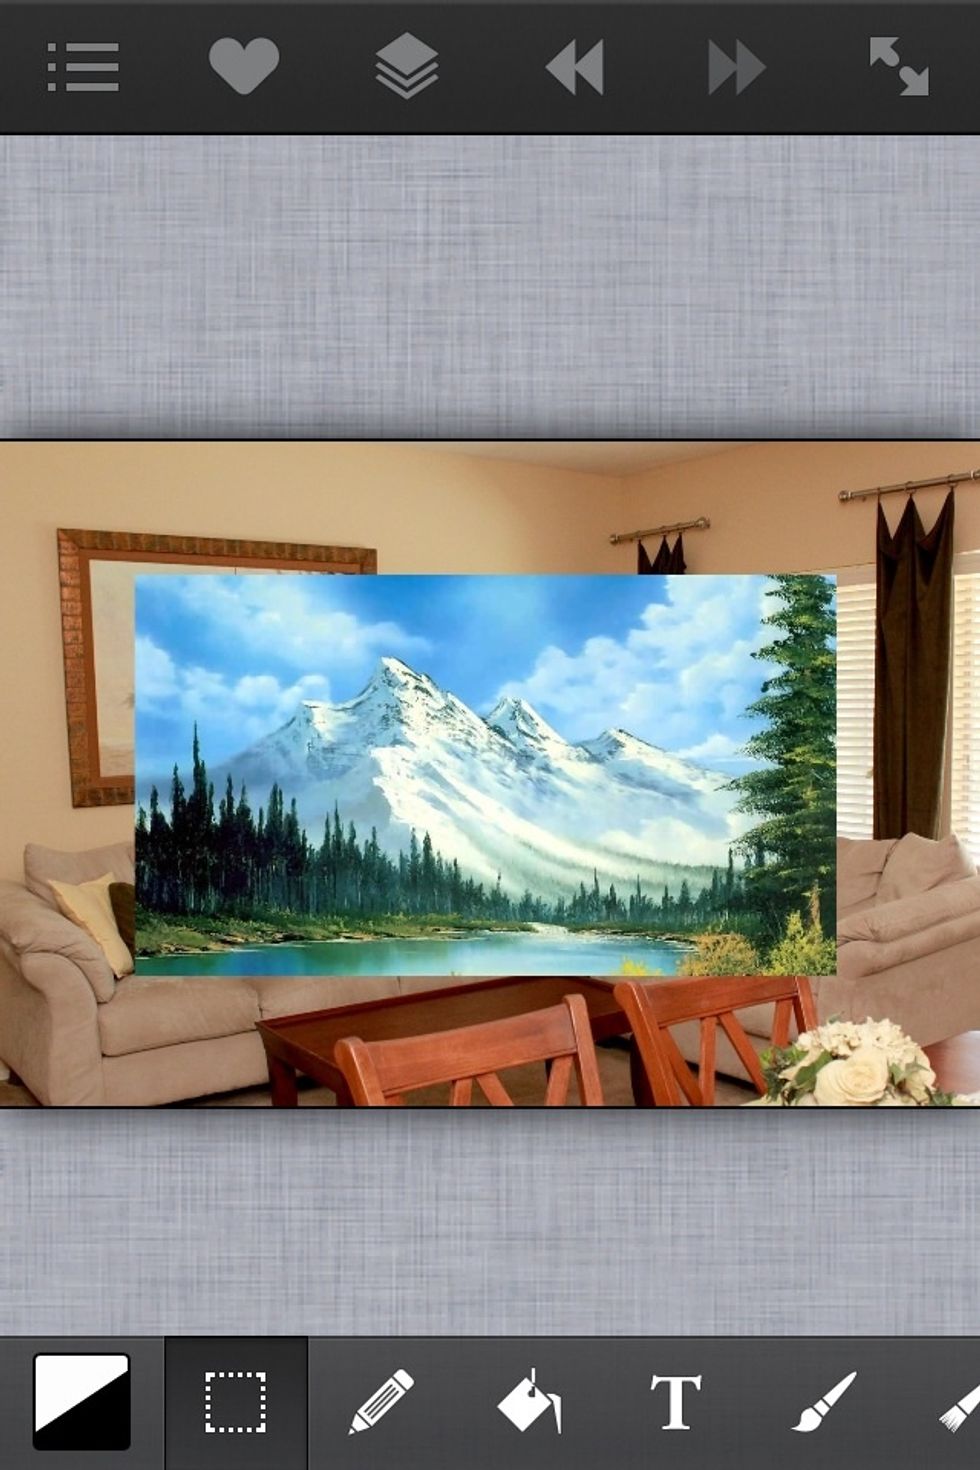
So you'll end up with this. The mountain painting is on a layer above the background layer (see my layers guide to understand layers).
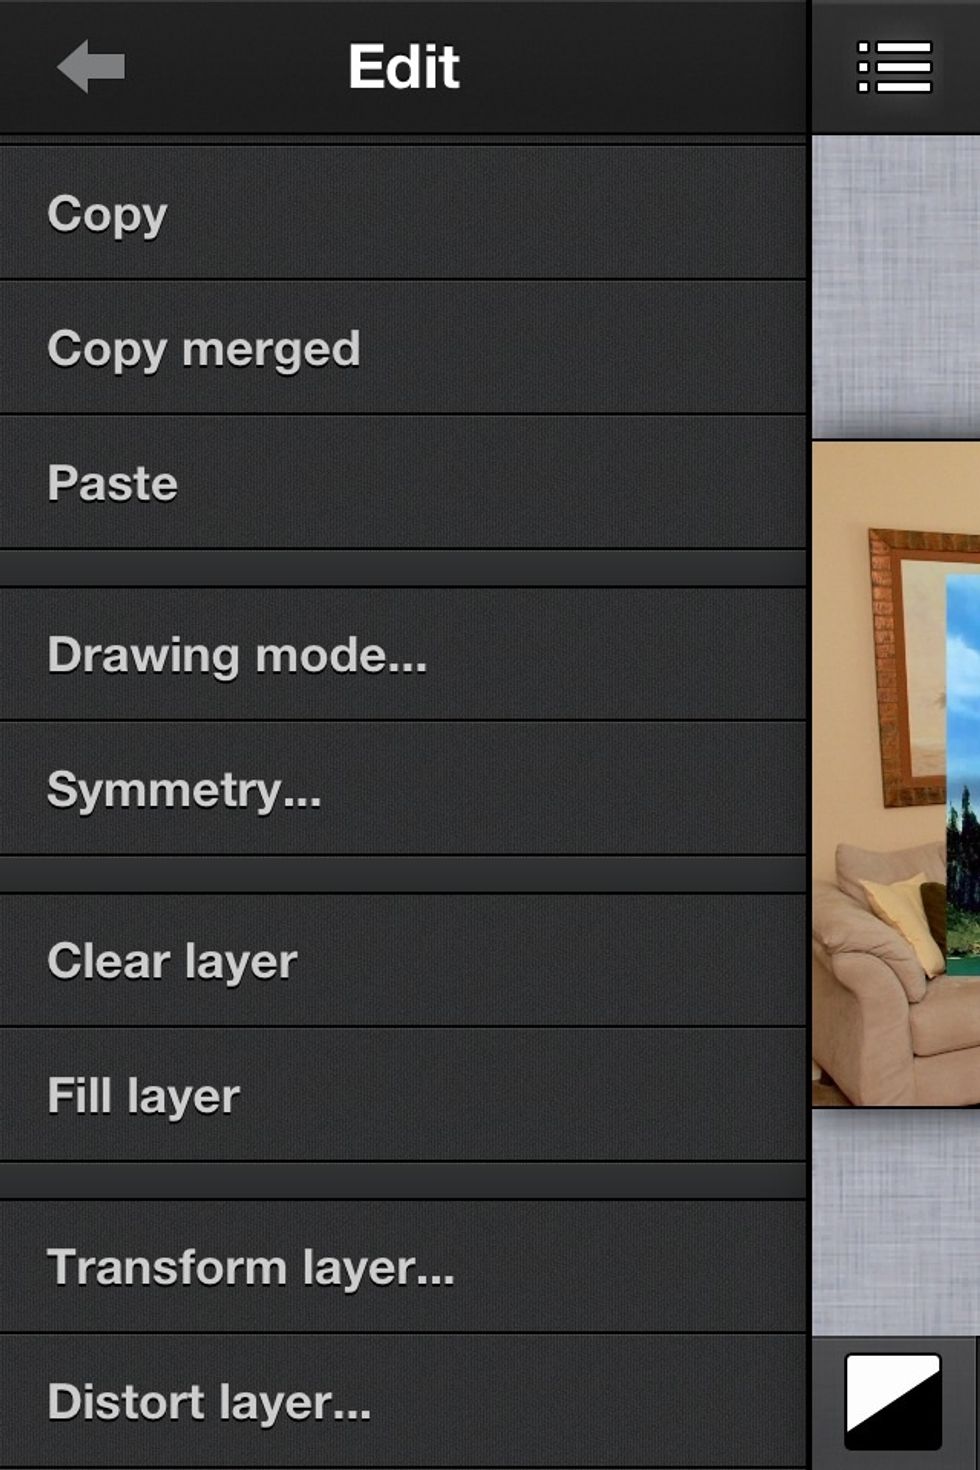
Make sure the (mountain) layer is selected in layers. Then go to the Edit menu and select "Distort Layer".
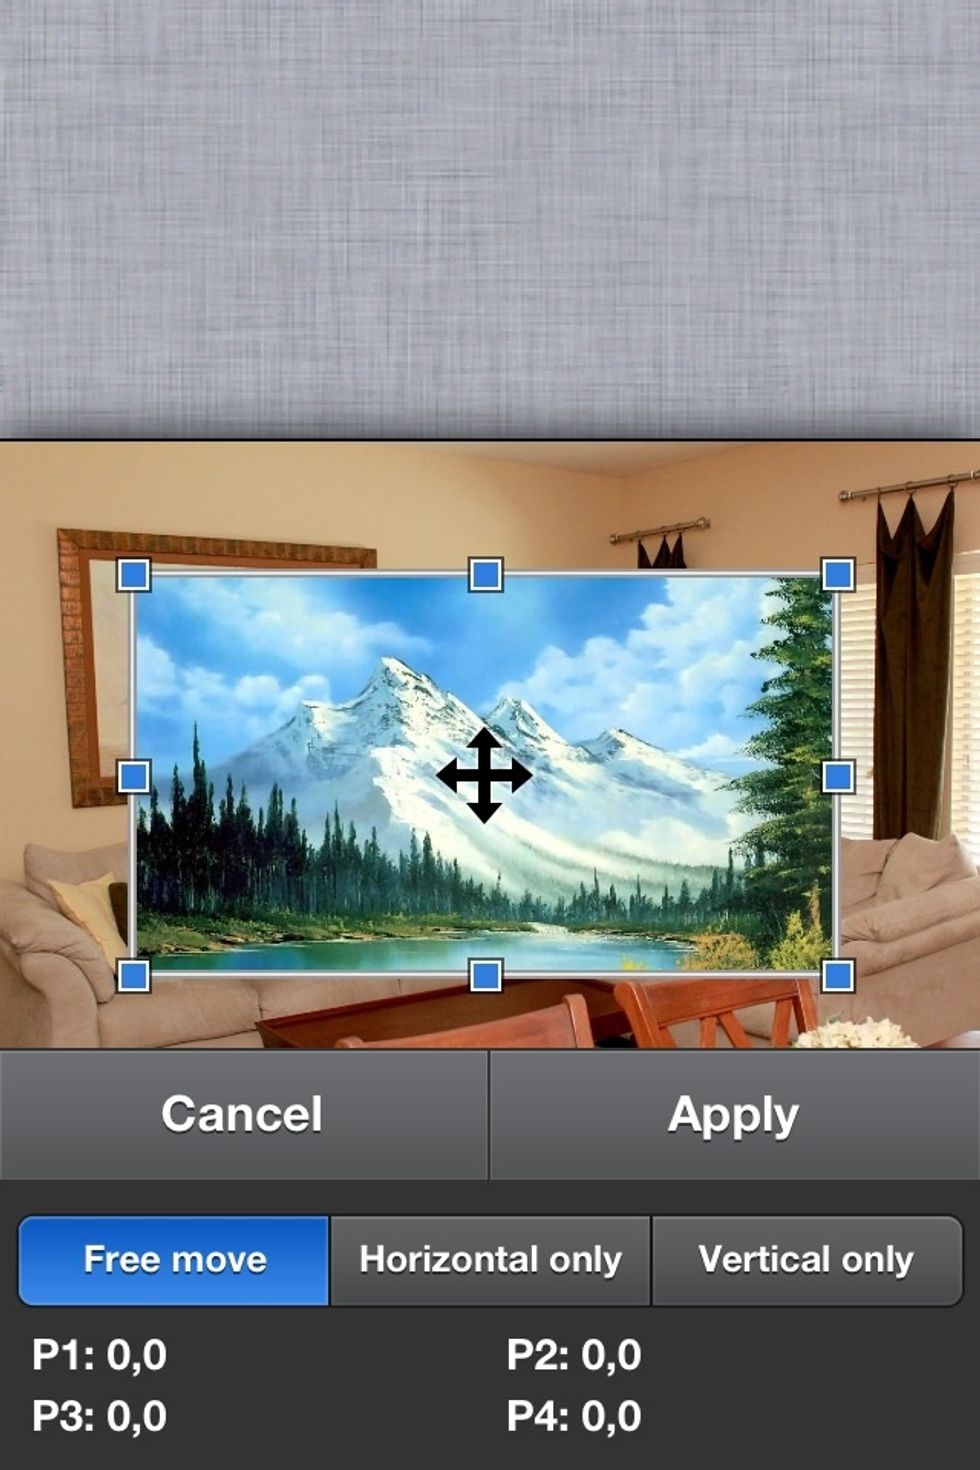
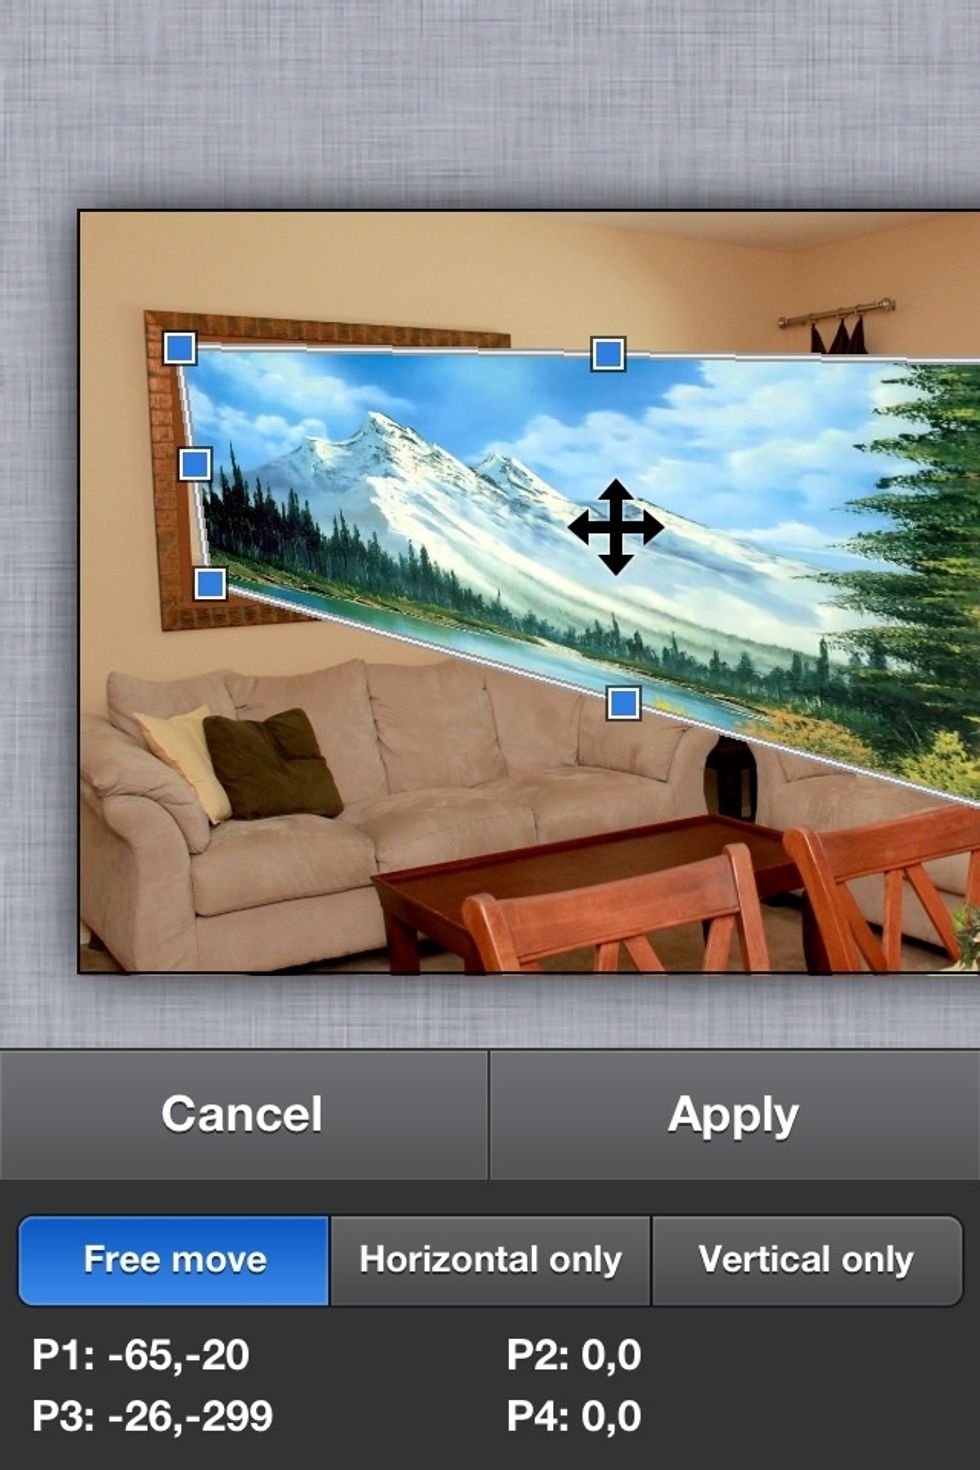
The blue squares will appear.
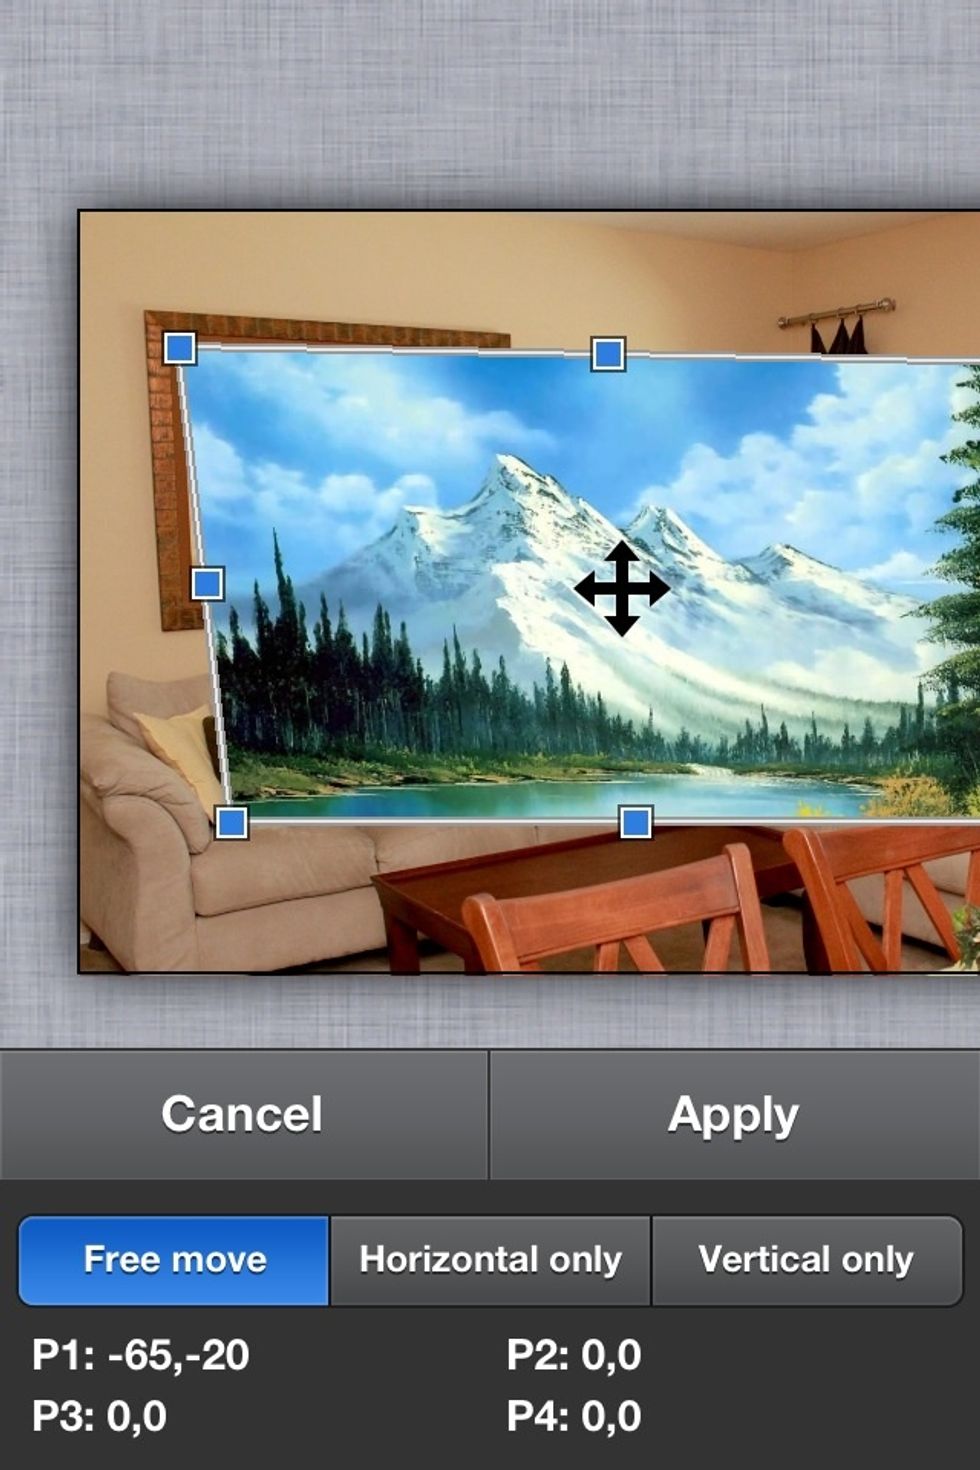
Drag the corners to line up with the corners of the picture frame on the wall.
Then another corner.
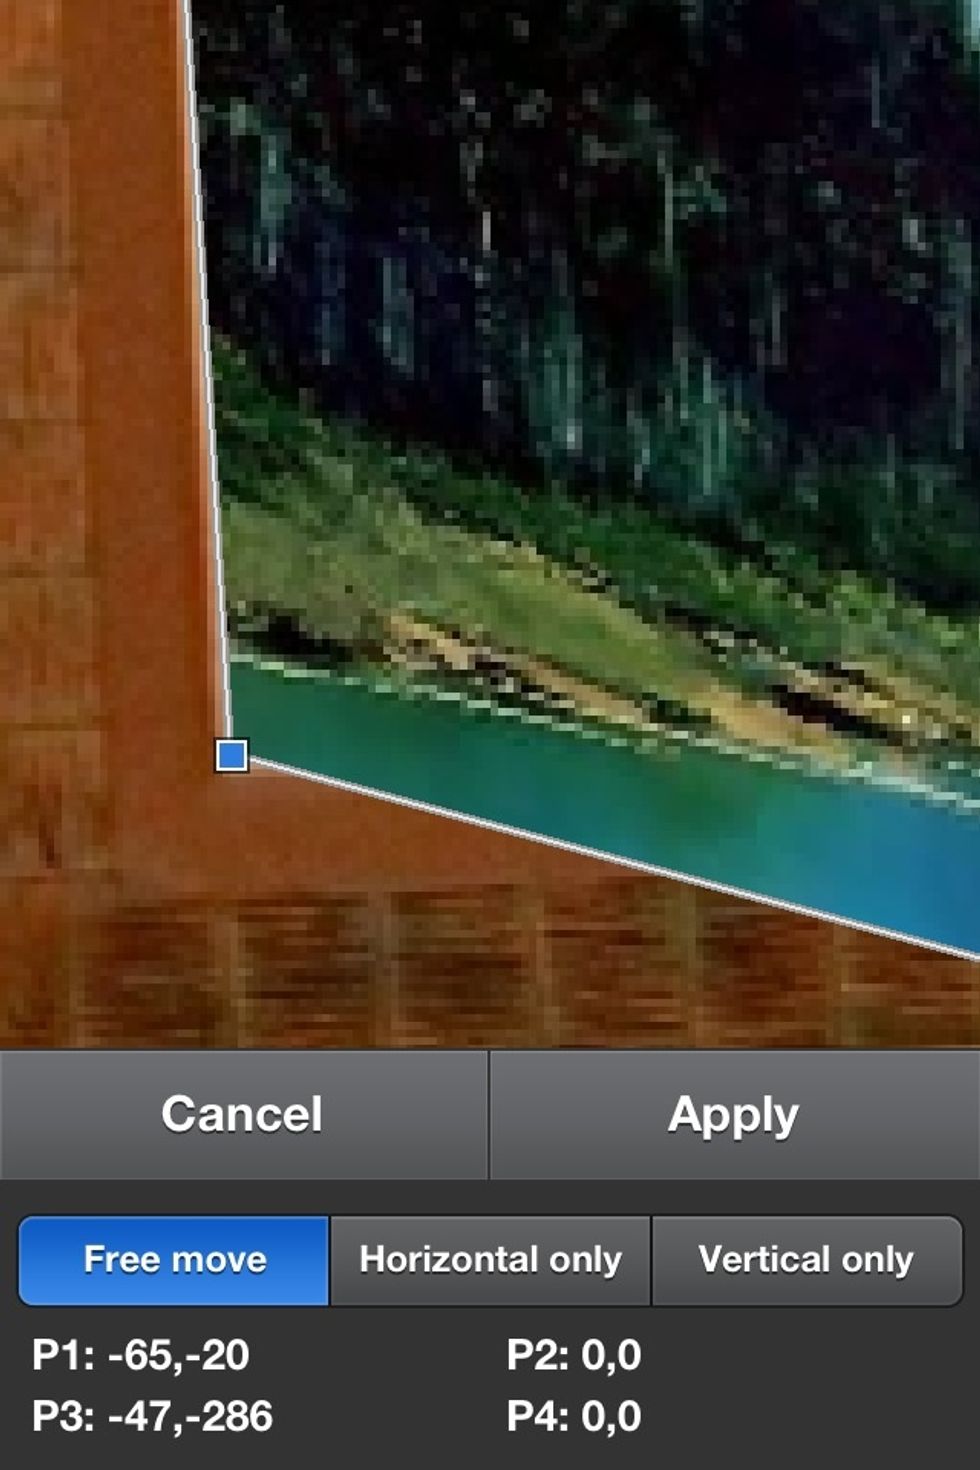
Pinch in to zoom as close as you can so you can line the corners with the picture frame.
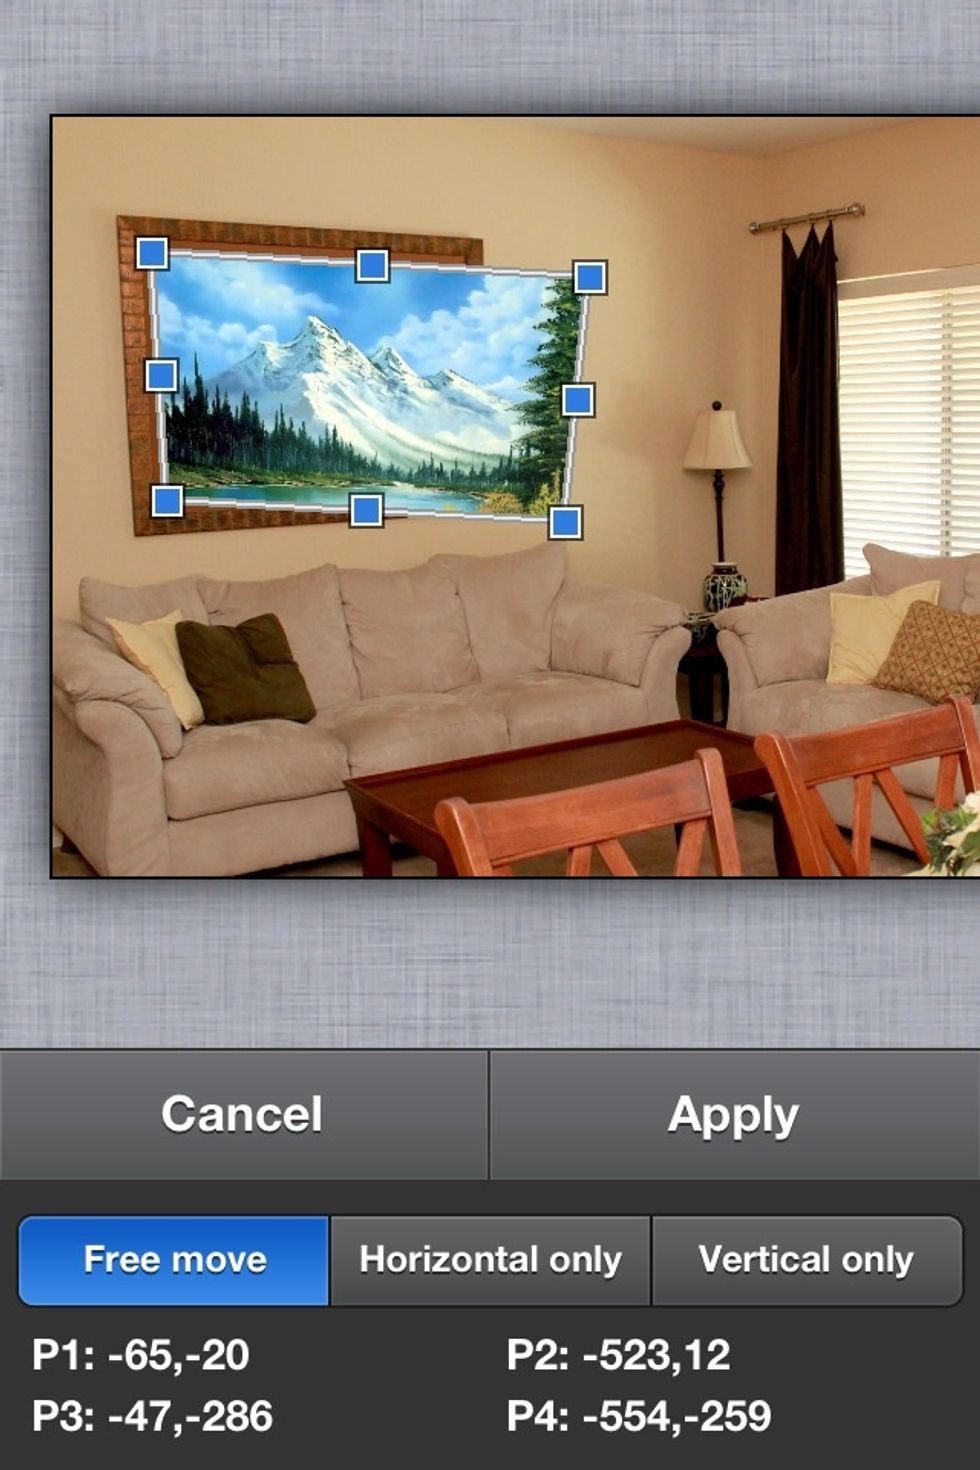
I just added this image so you can see the process. I'm simply lining the image up with the picture frame.
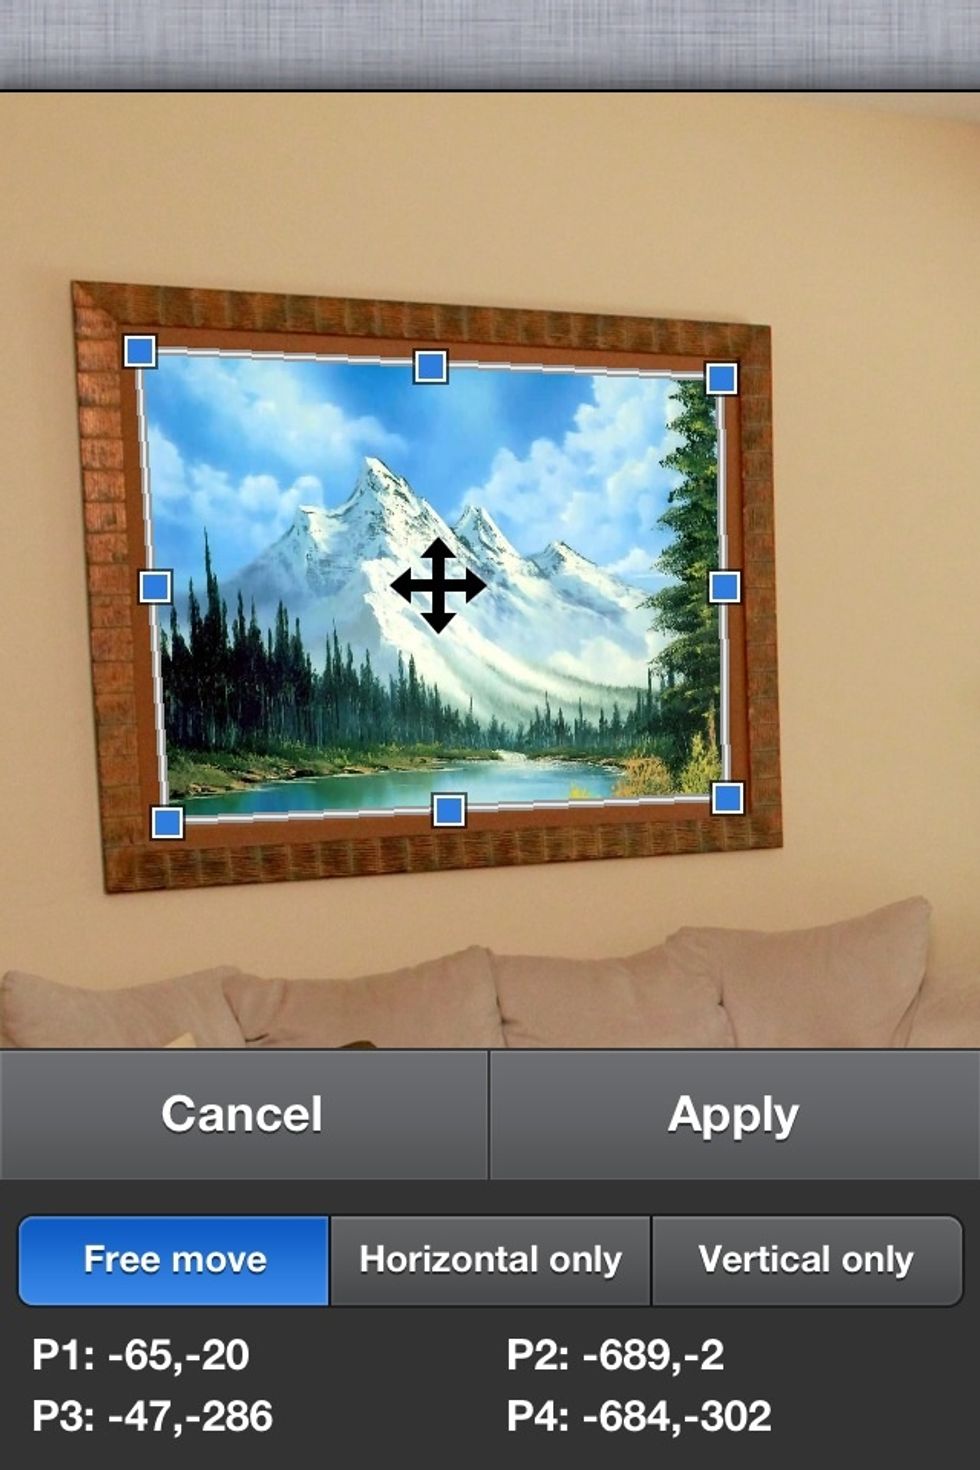
When its all lined up select apply to finish the job.
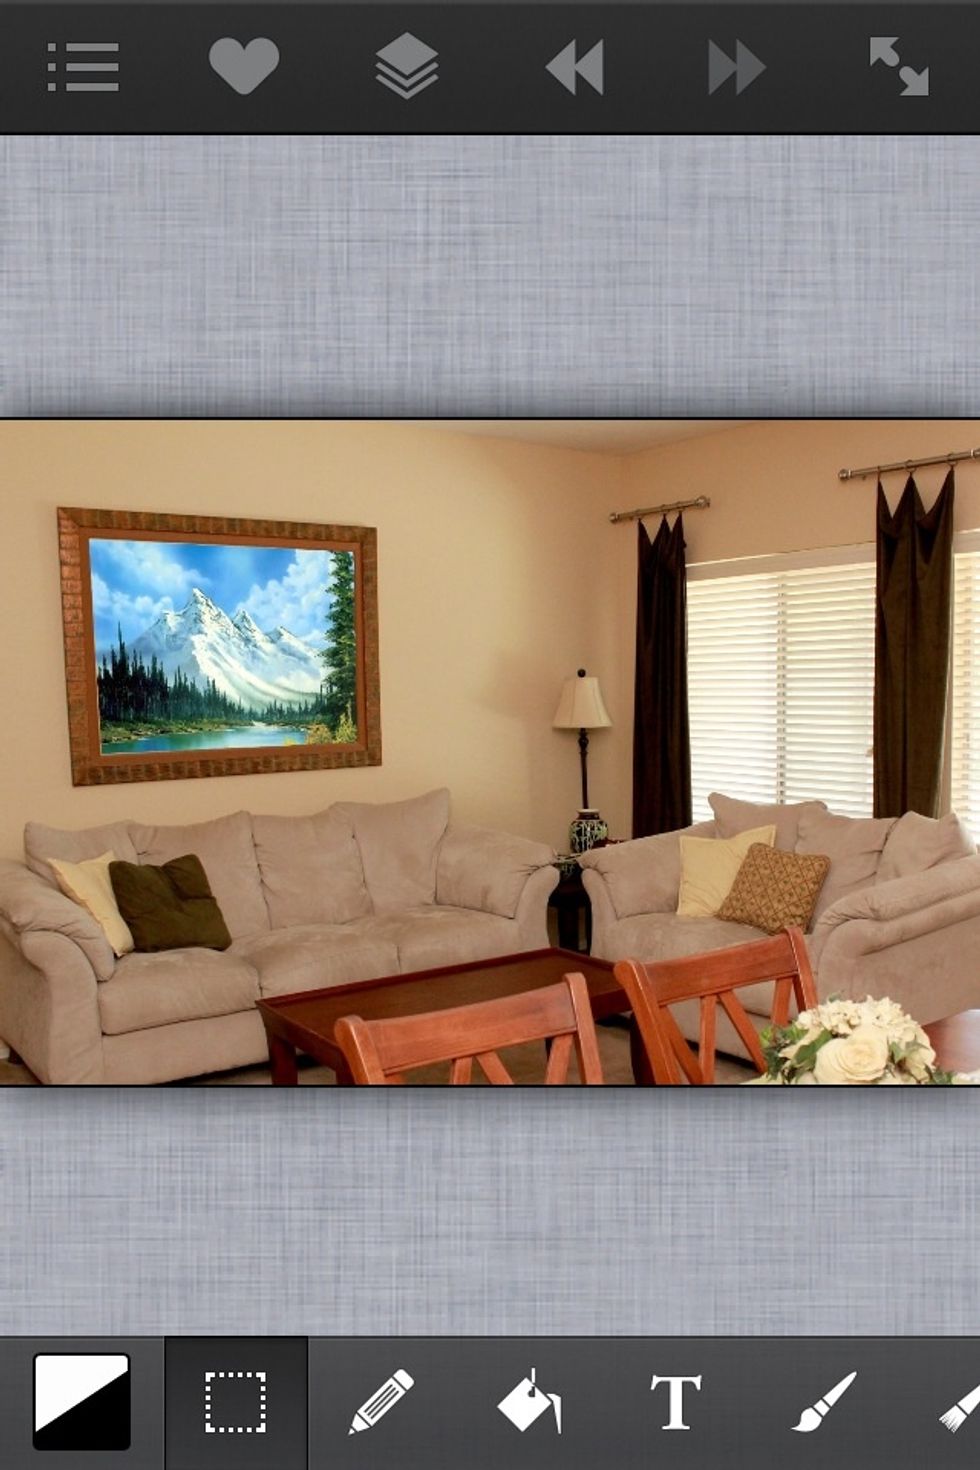
Now the new picture is in the frame. But in this case the lighting of the new painting doesn't really match the lighting of this image. So as a bonus to this guide, here's a tip to fix this.
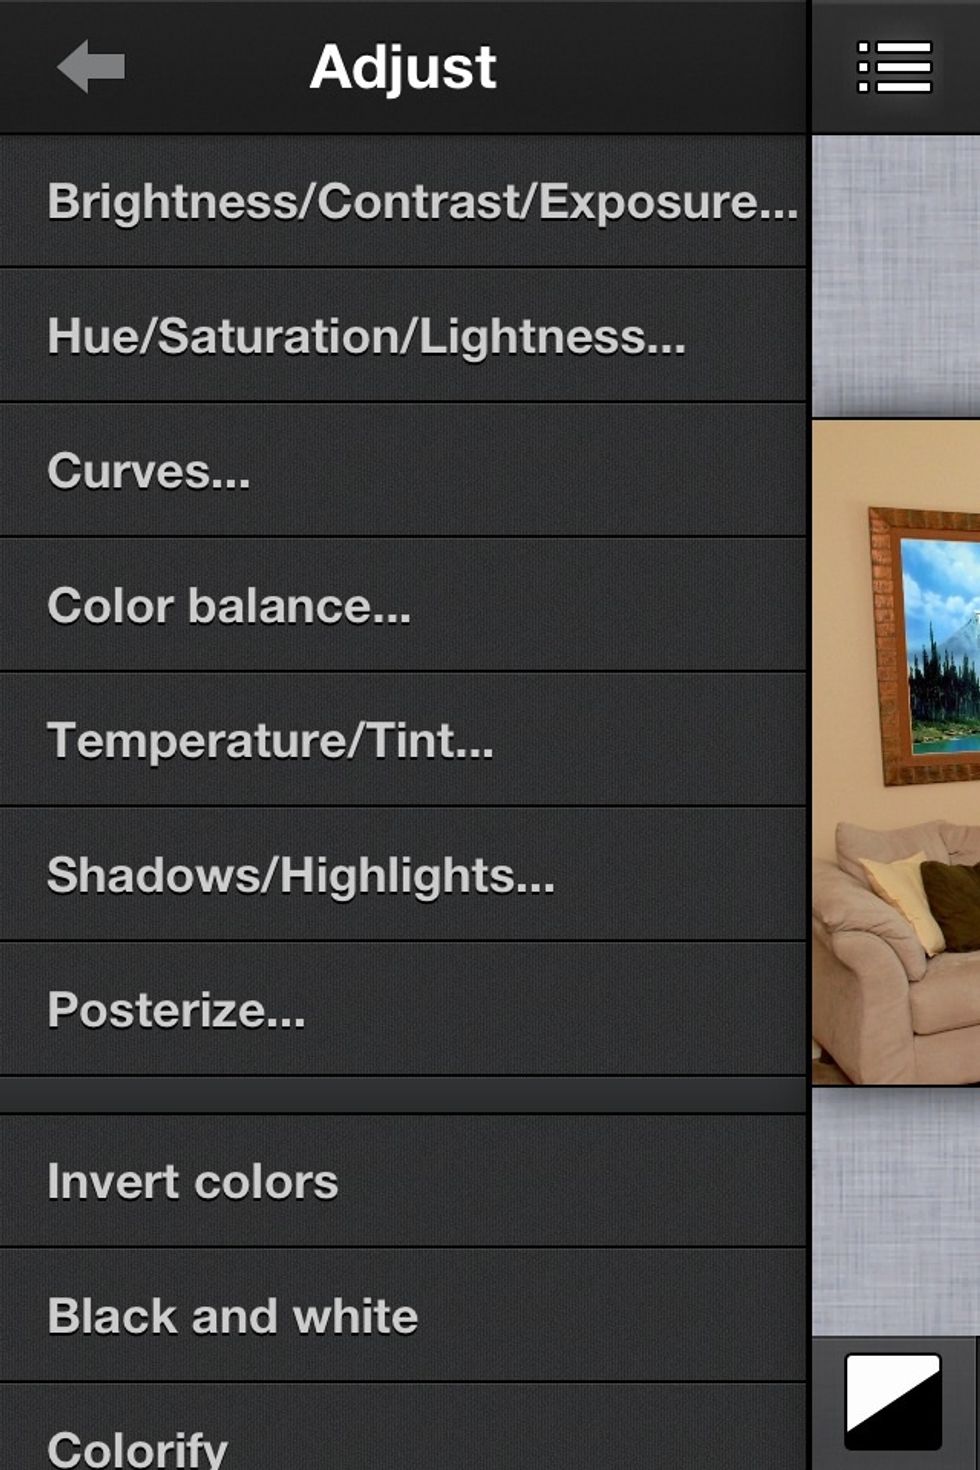
Go into the Adjust menu and select brightness/Contrast/Exposure.
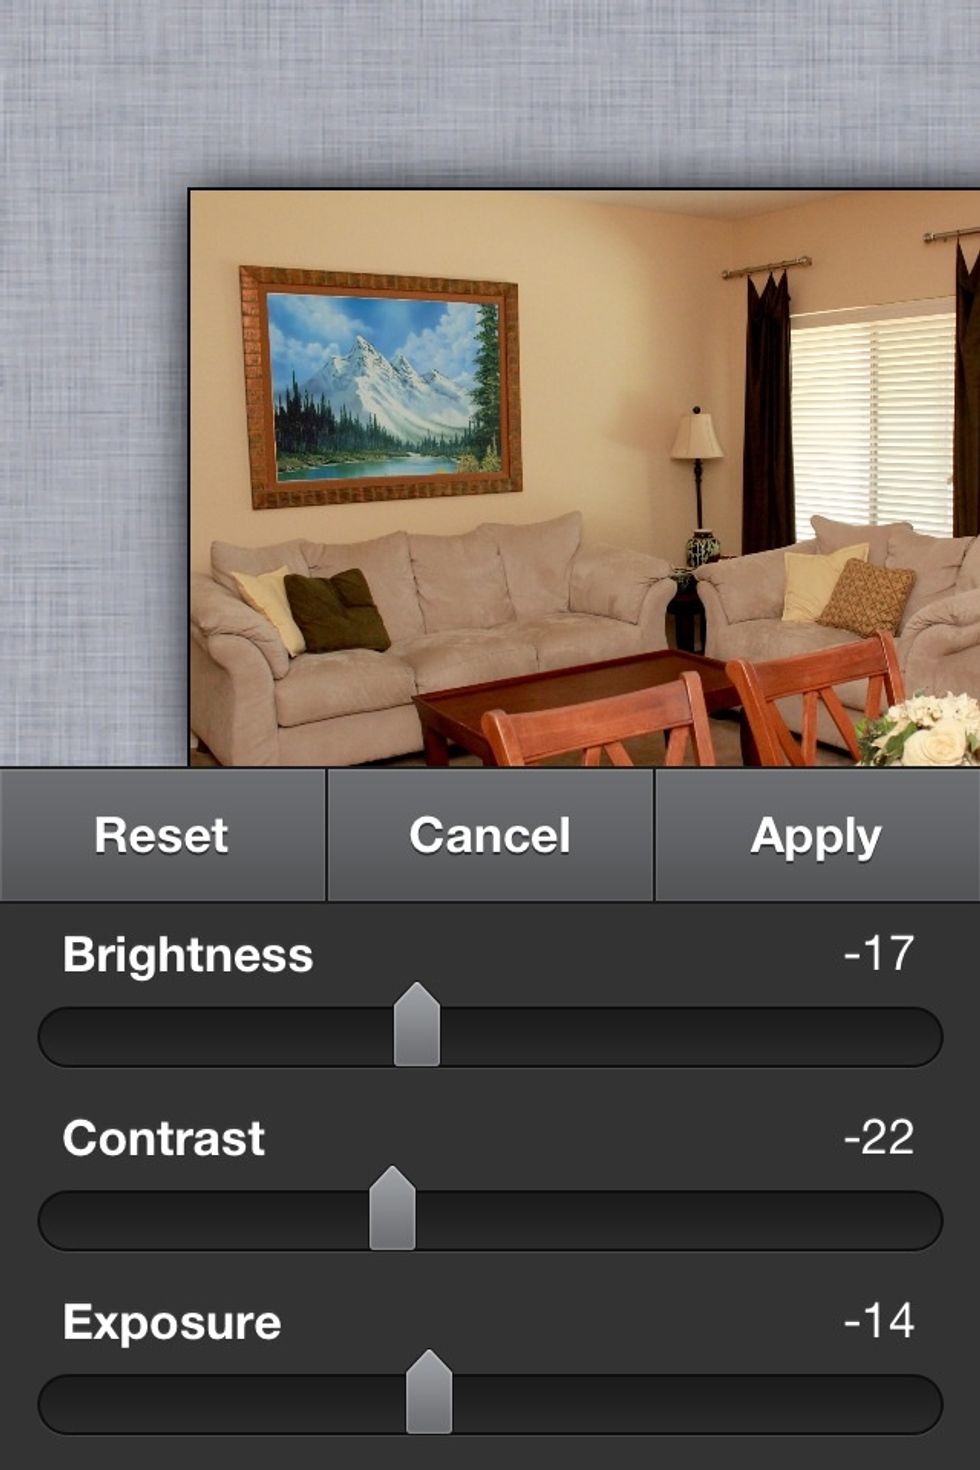
And adjust until it matches the rest of the image.

Here's the finished image. Use this to put your image on a billboard, a photograph that's laying flat on a table. Distorting the image allows you to match the angle of the images you're adding to.
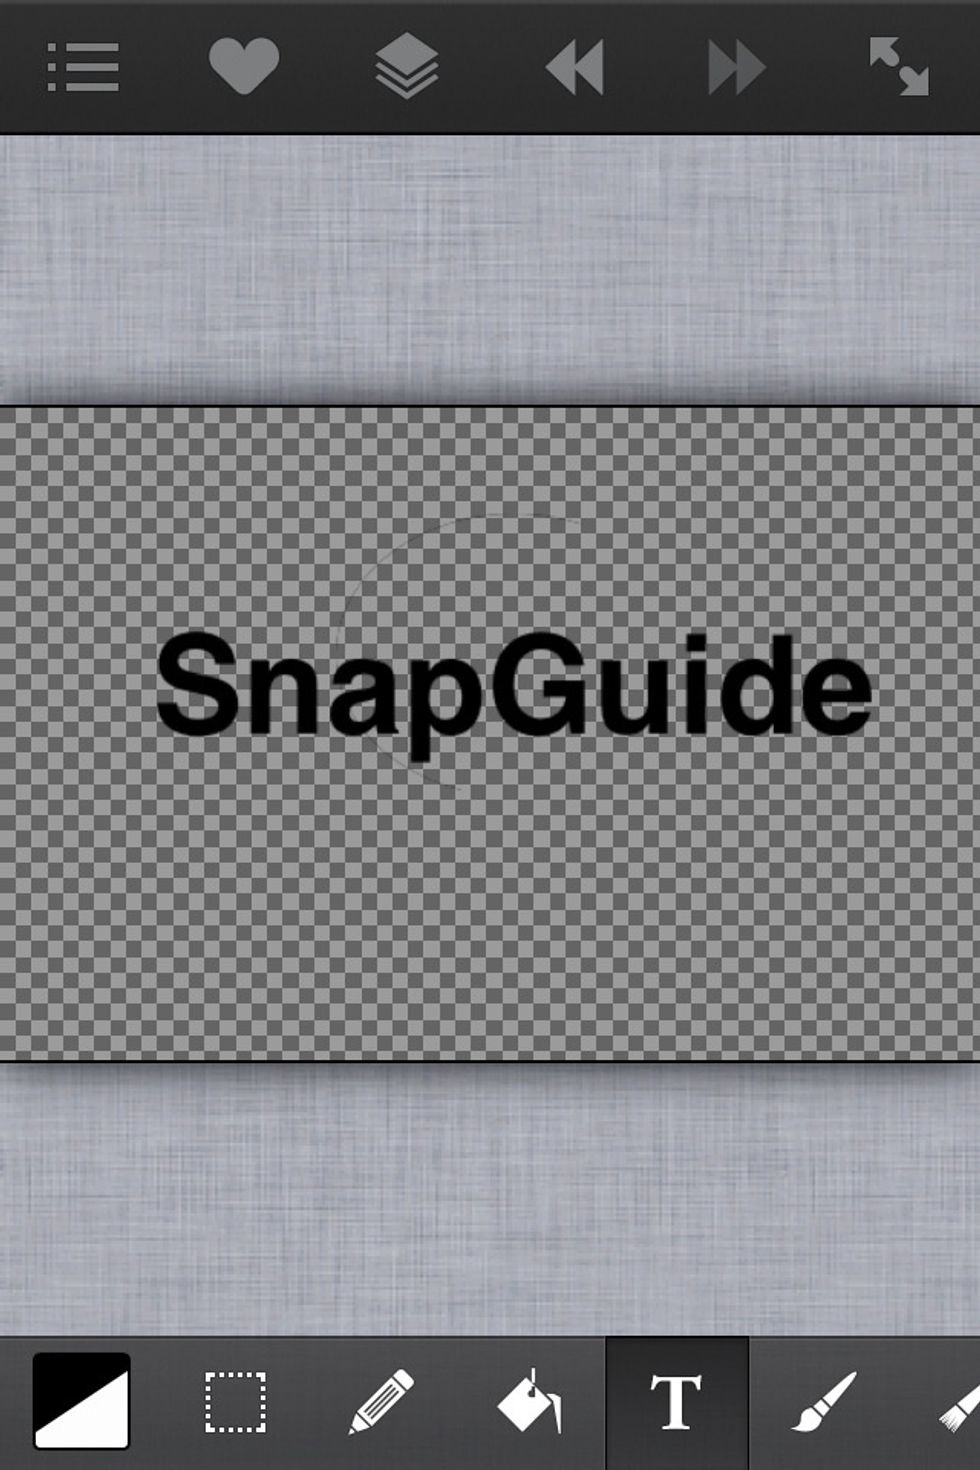
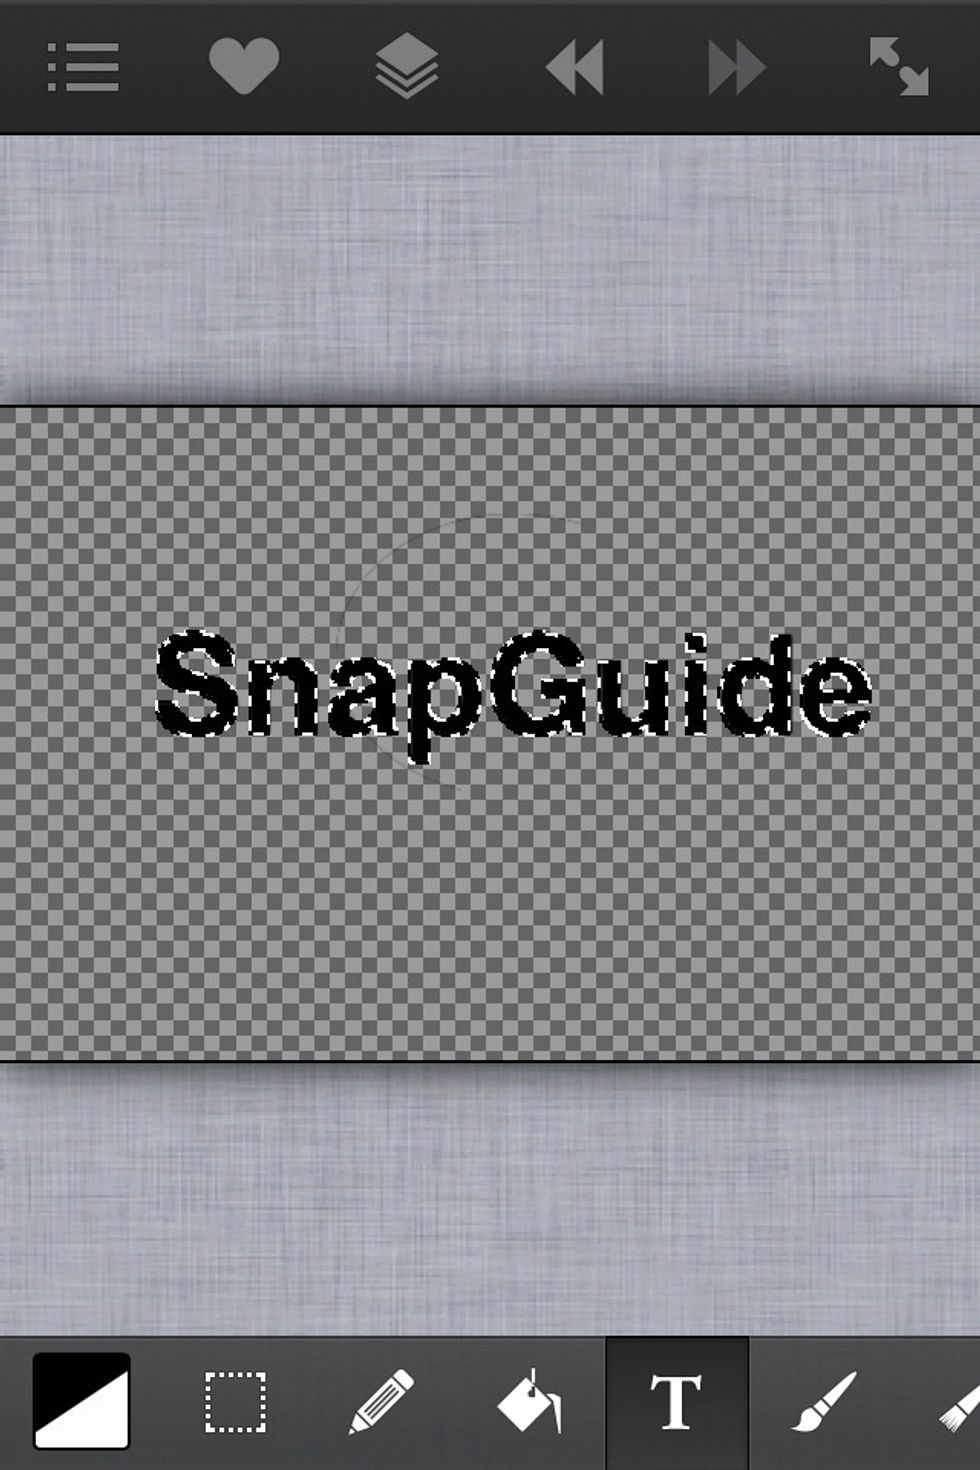
To distort a text layer. A couple of extra steps are require before you can distort the shape of the text. So here I have some text on its own layer.
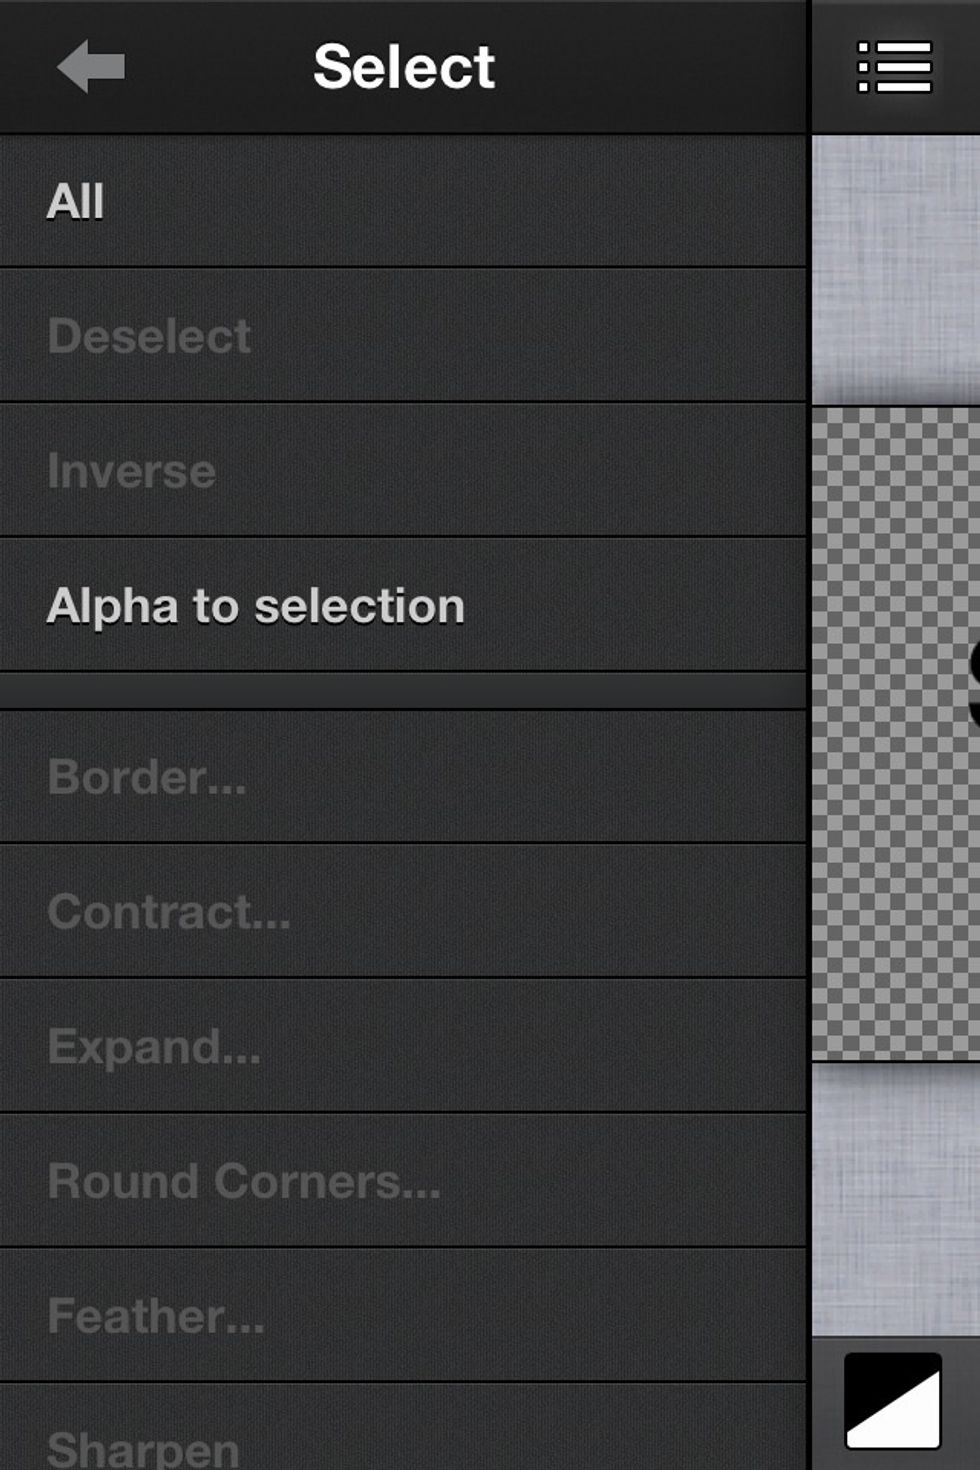
In the Select menu select "Alpha to selection".
This will "select" the text.
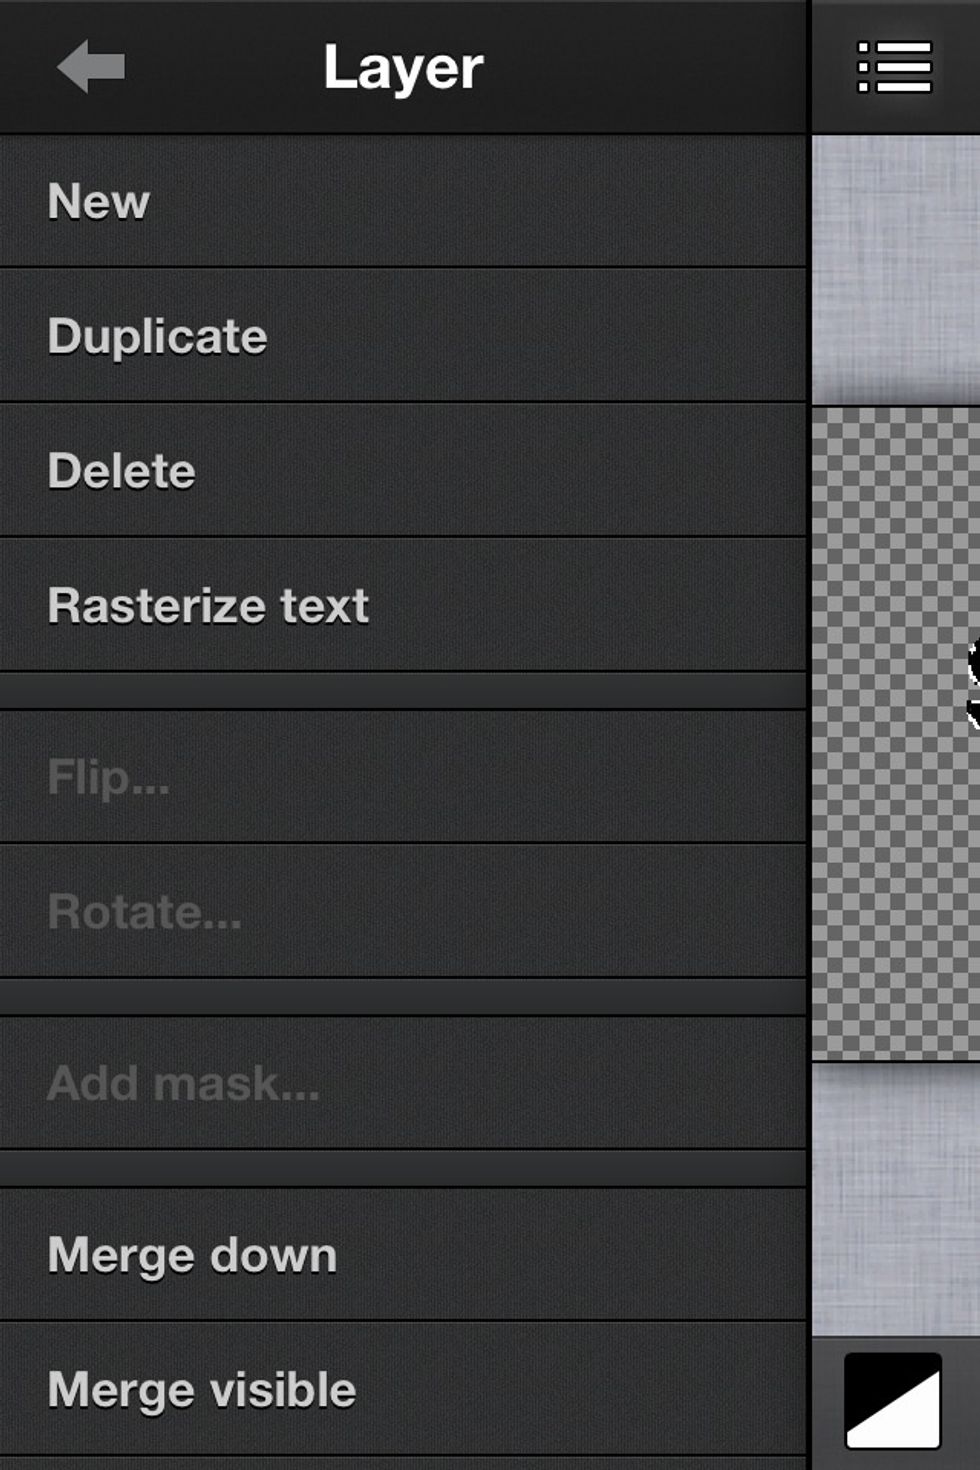
Then go to the Layer menu and select "Rasterize Text".
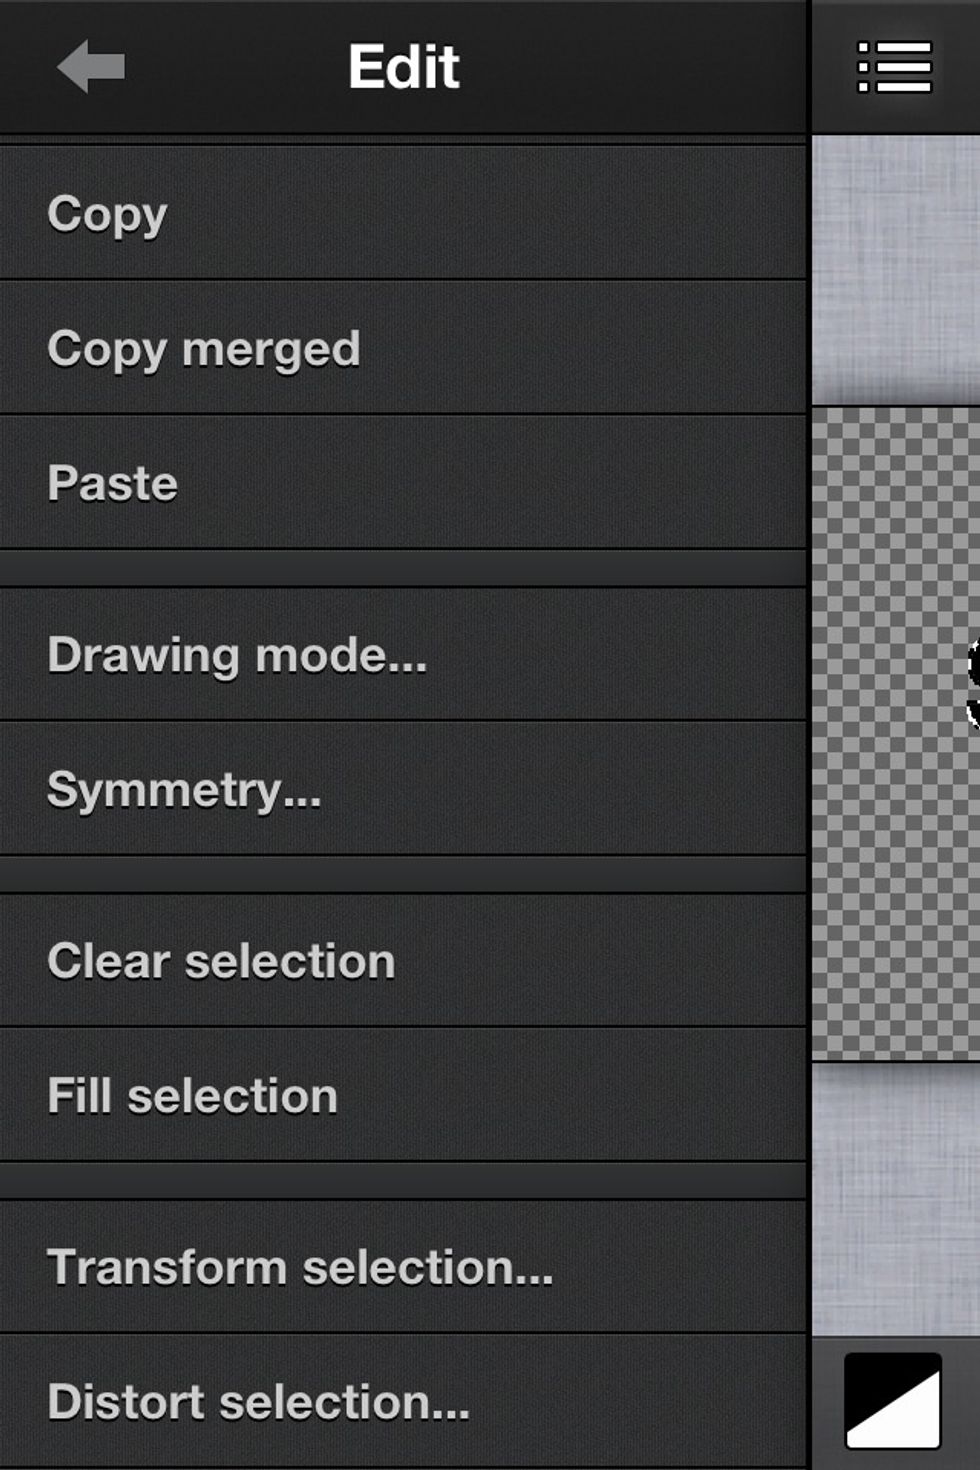
Now the text is ready to be distorted. So again, go to the Edit menu and select "Distort Selection".
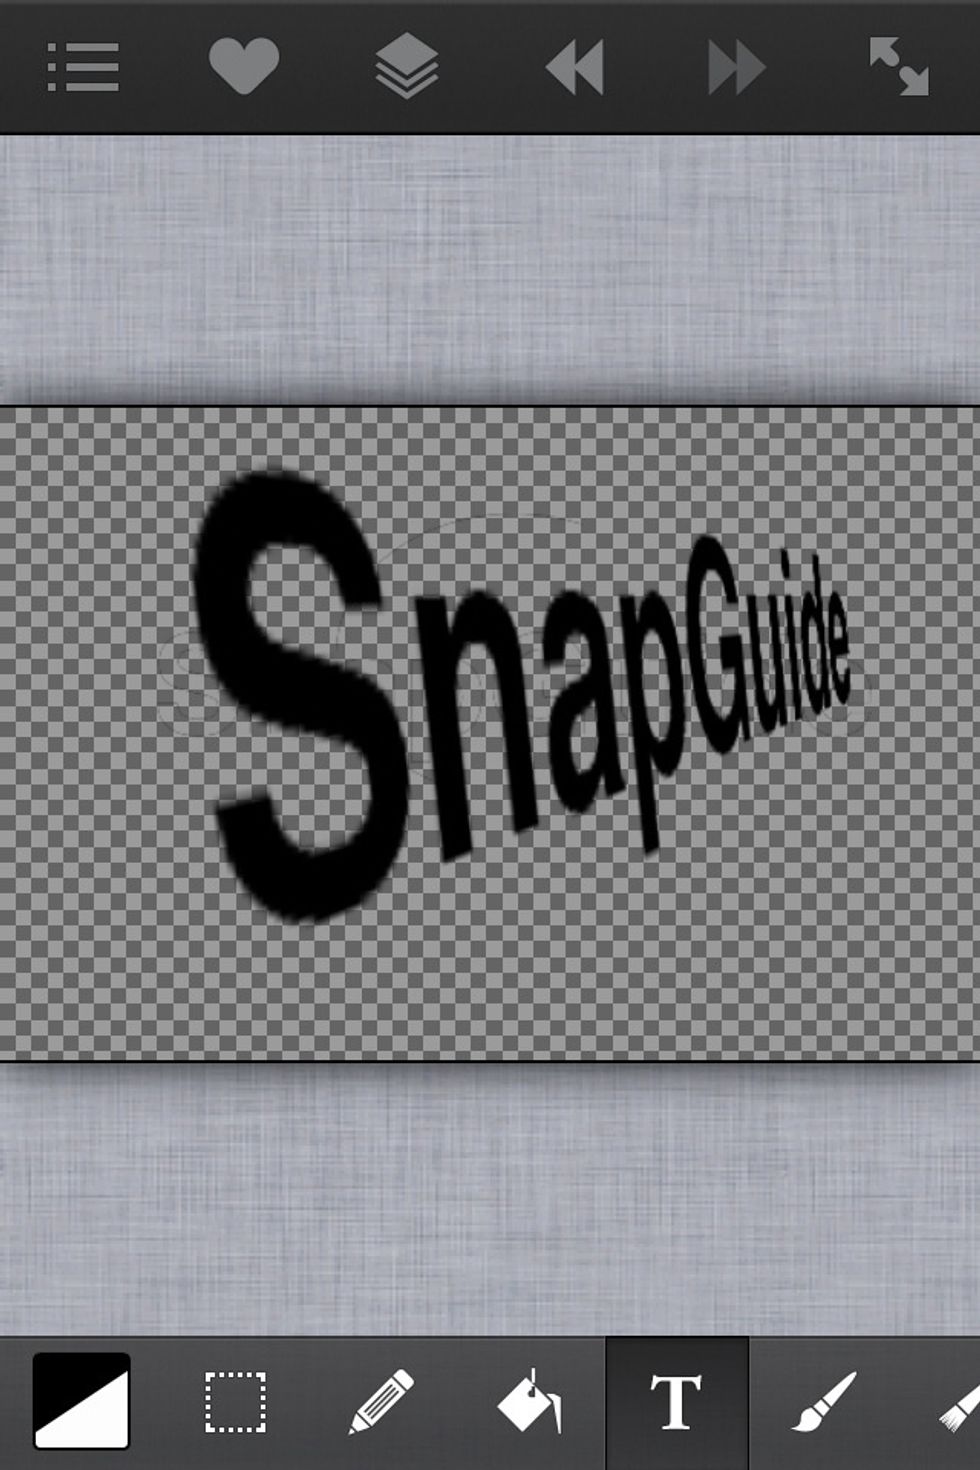
The blue squares will appear again and you can drag them to alter the shape of the text. Here we see the text with a sort of 3D, pop out the screen (superman movie) kind of effect. :)
Well there you have it. A very useful tool and I'm so glad ArtStudio made it available. I hope you find this helpful.