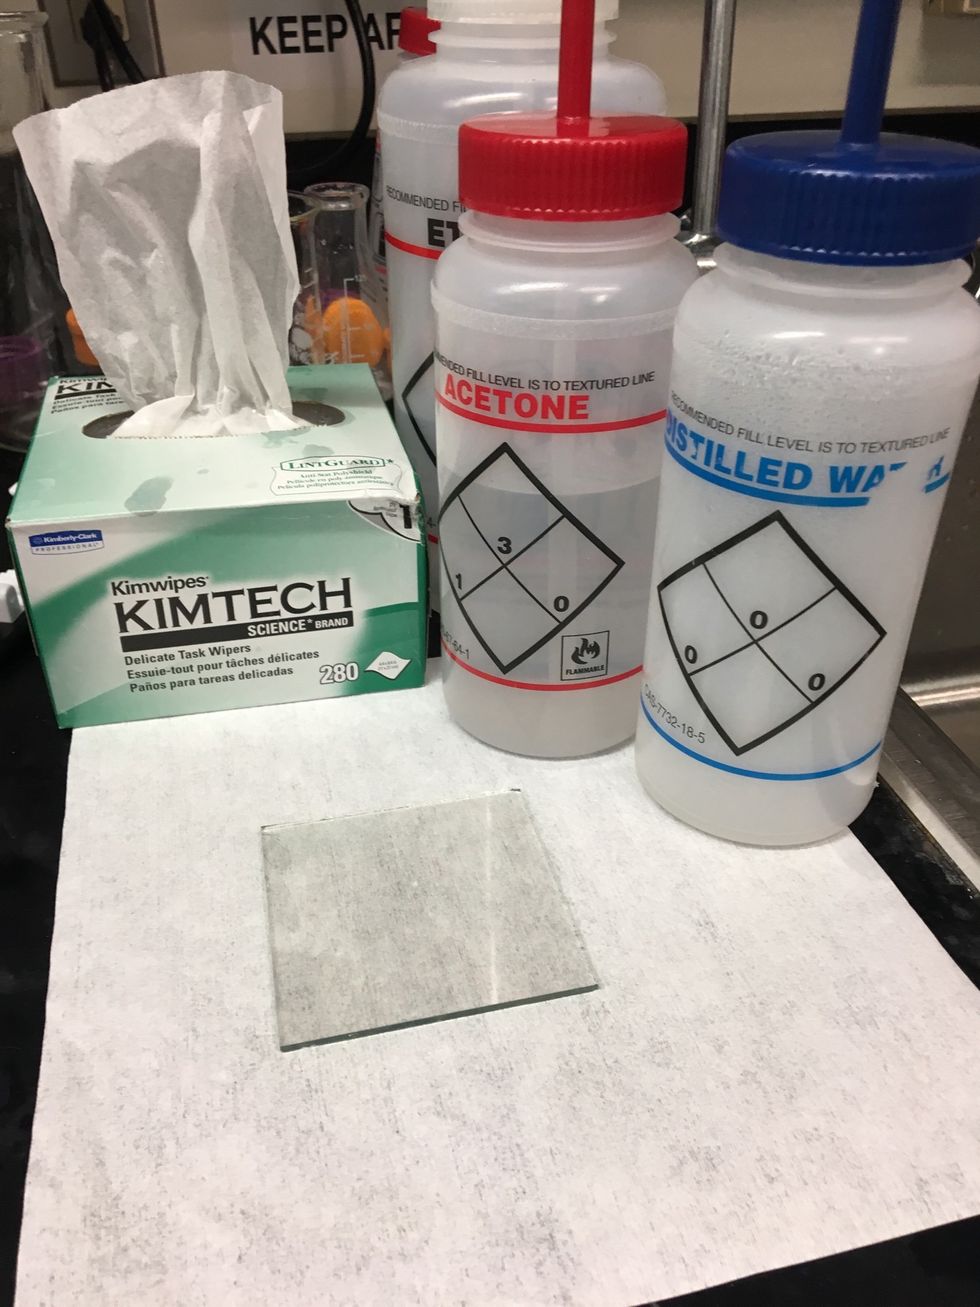
Preparing the Glass Slide: Clean both sides of the glass slide with water, then acetone or isopropanol. Dry the slide.
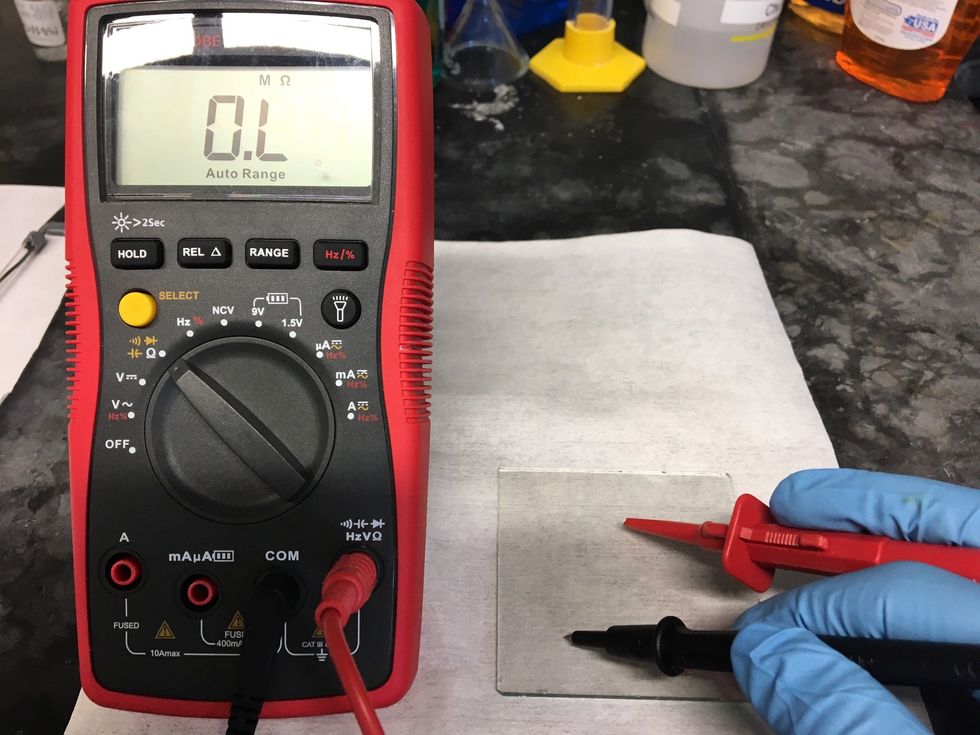
Determine which side of the glass slide is conductive. Using a multimeter set to ohms, place the tips of the electrodes on one side of the glass slide. A ‘0’ reading identifies the nonconductive side
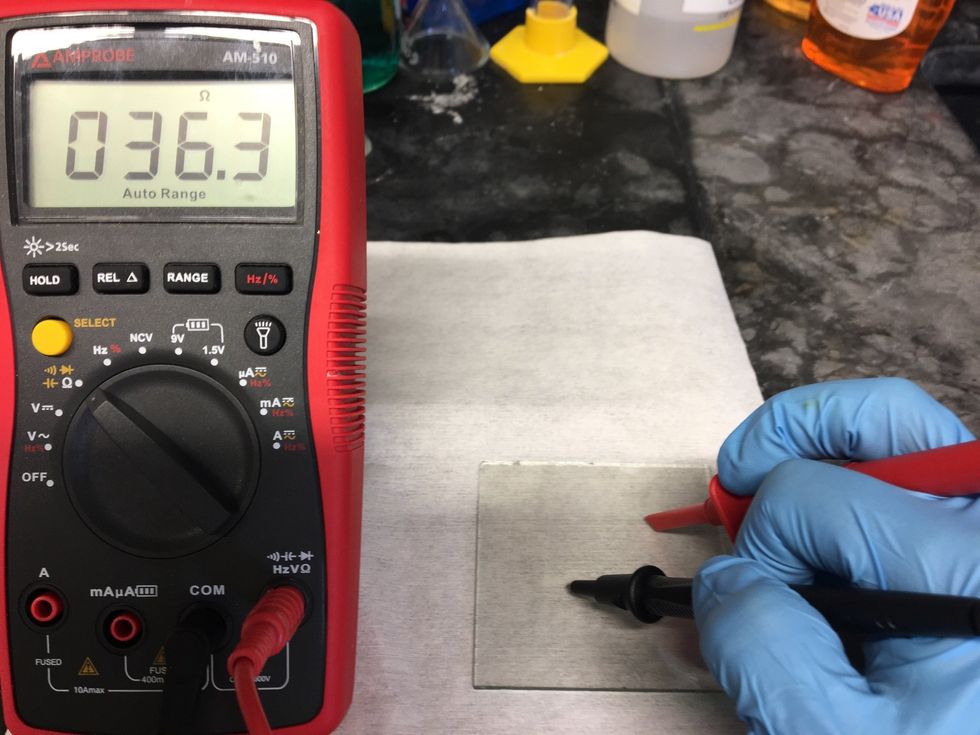
When the electrodes are placed on the conductive side, the multimeter will display a number. Leave that side up for the glass slide.
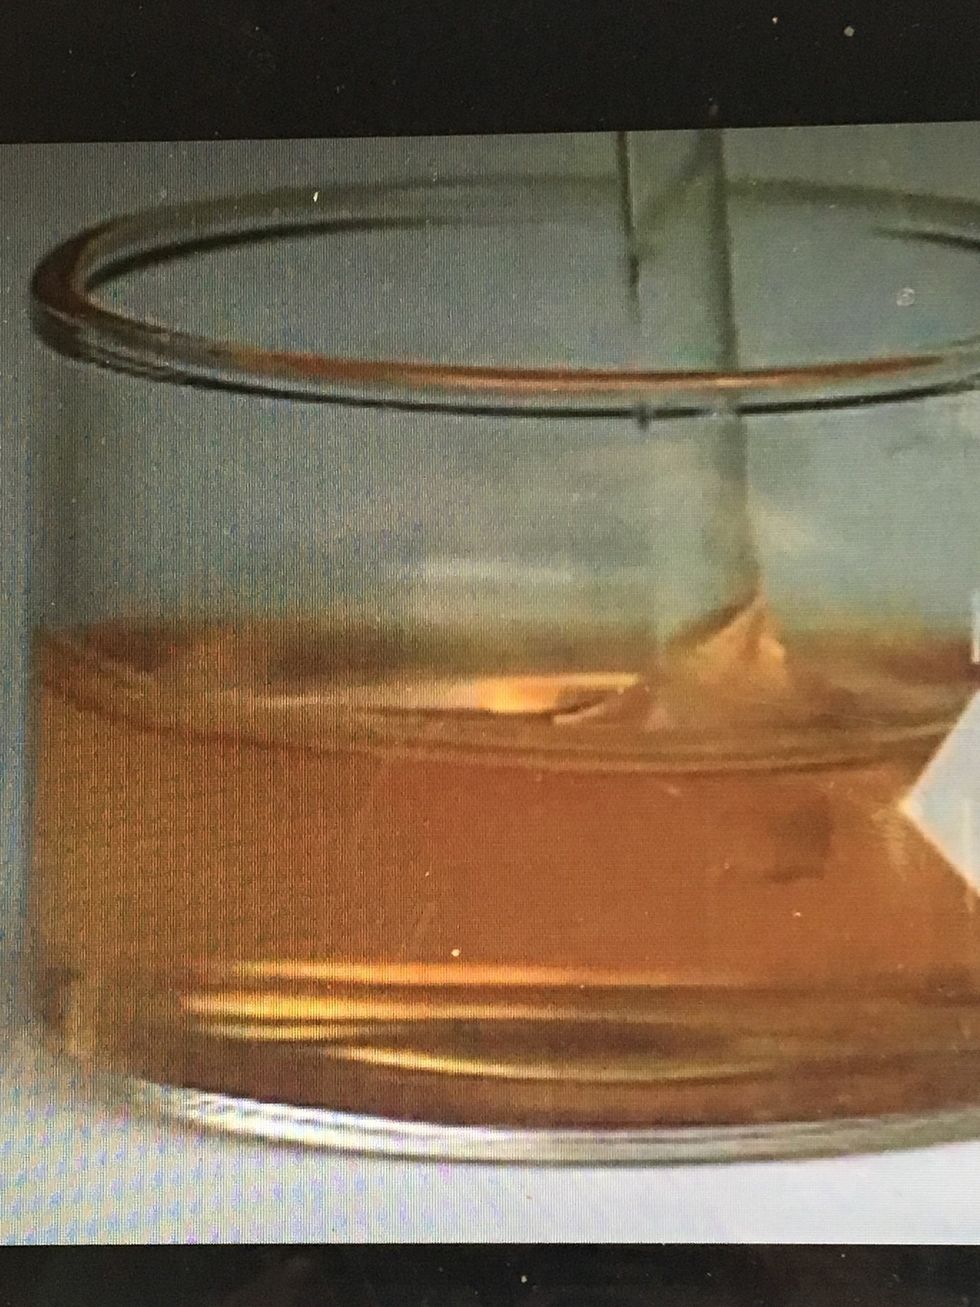
Prepare a 0.04 M solution of Fe(NO3)3
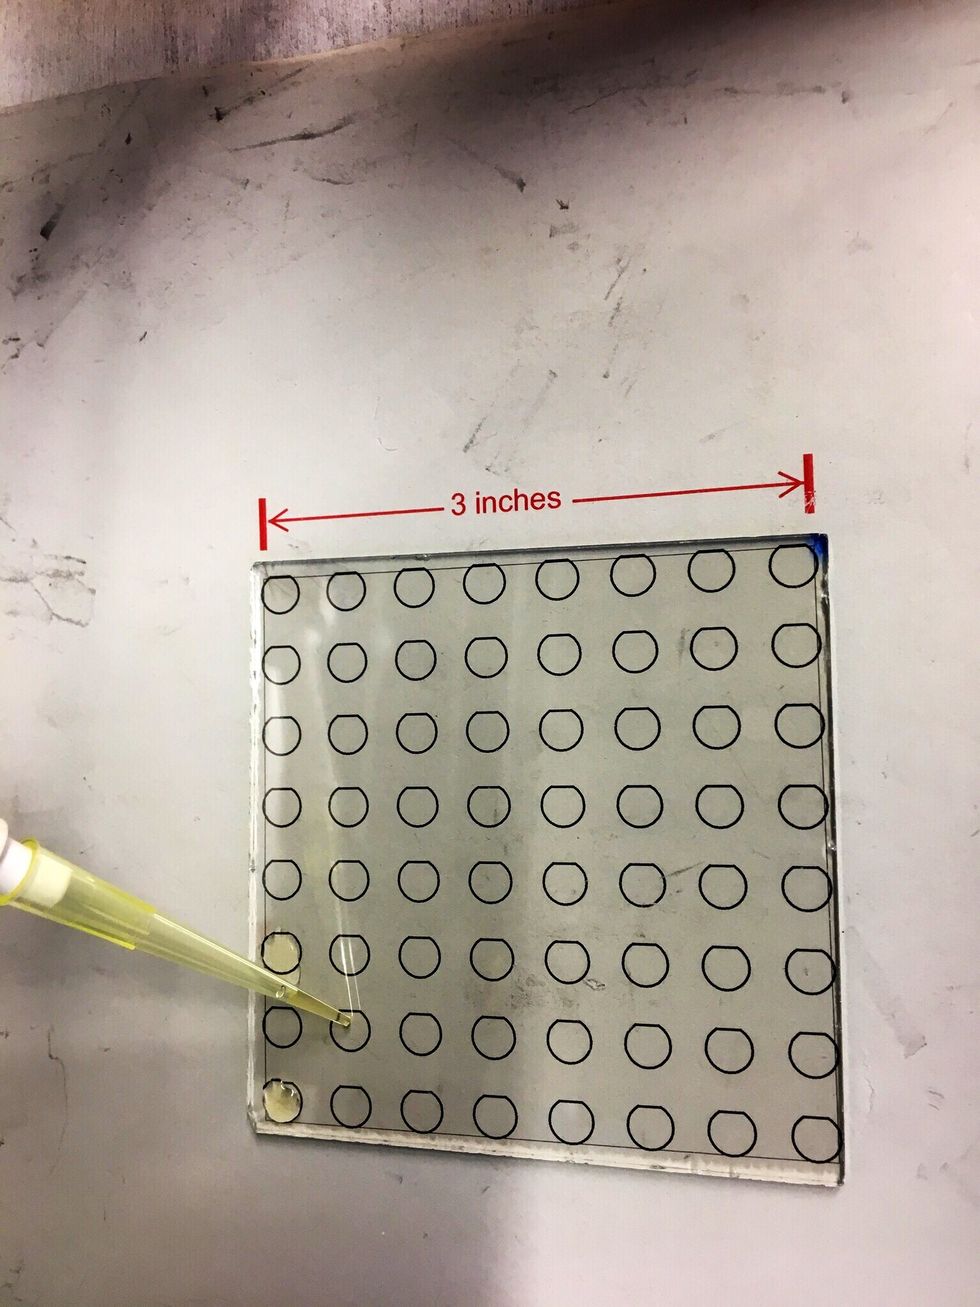
Place the glass slide over the template. Pipette 10 microliters of the 0.04 M Fe(NO3)3 solution on every other dot on the plate.
To facilitate evaporation of the water, place the slide on a hot plate for two to three minutes.
Heat the glass slides for three hours in an oven set to 500 degrees Celsius. Allow the slides to cool for several hours or overnight.
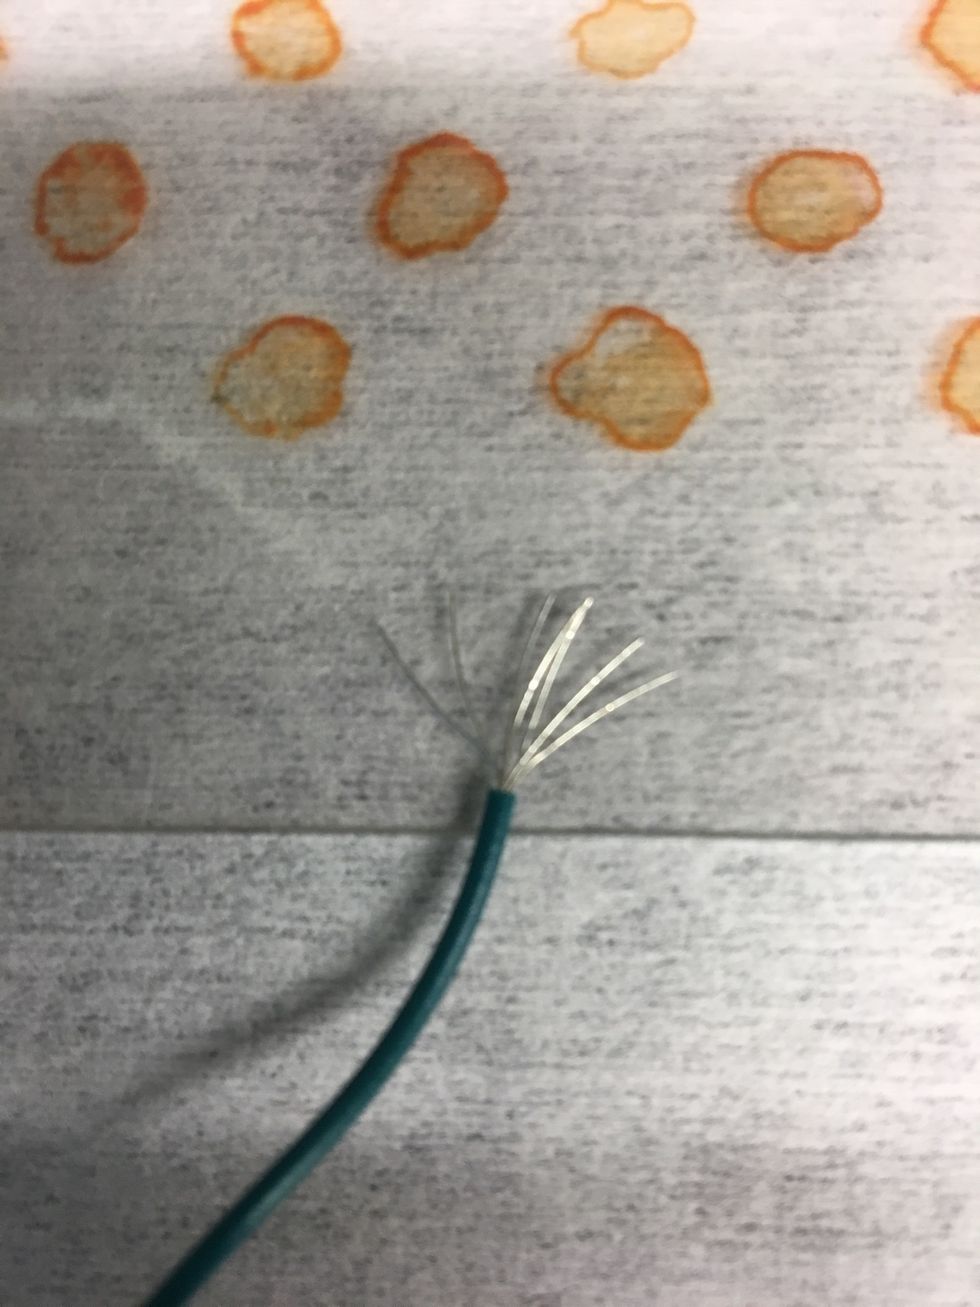
Cut a 5” piece of wire & strip 0.5” of insulation off each end. Splay the wire on one endothelial maximize contact with the plate.
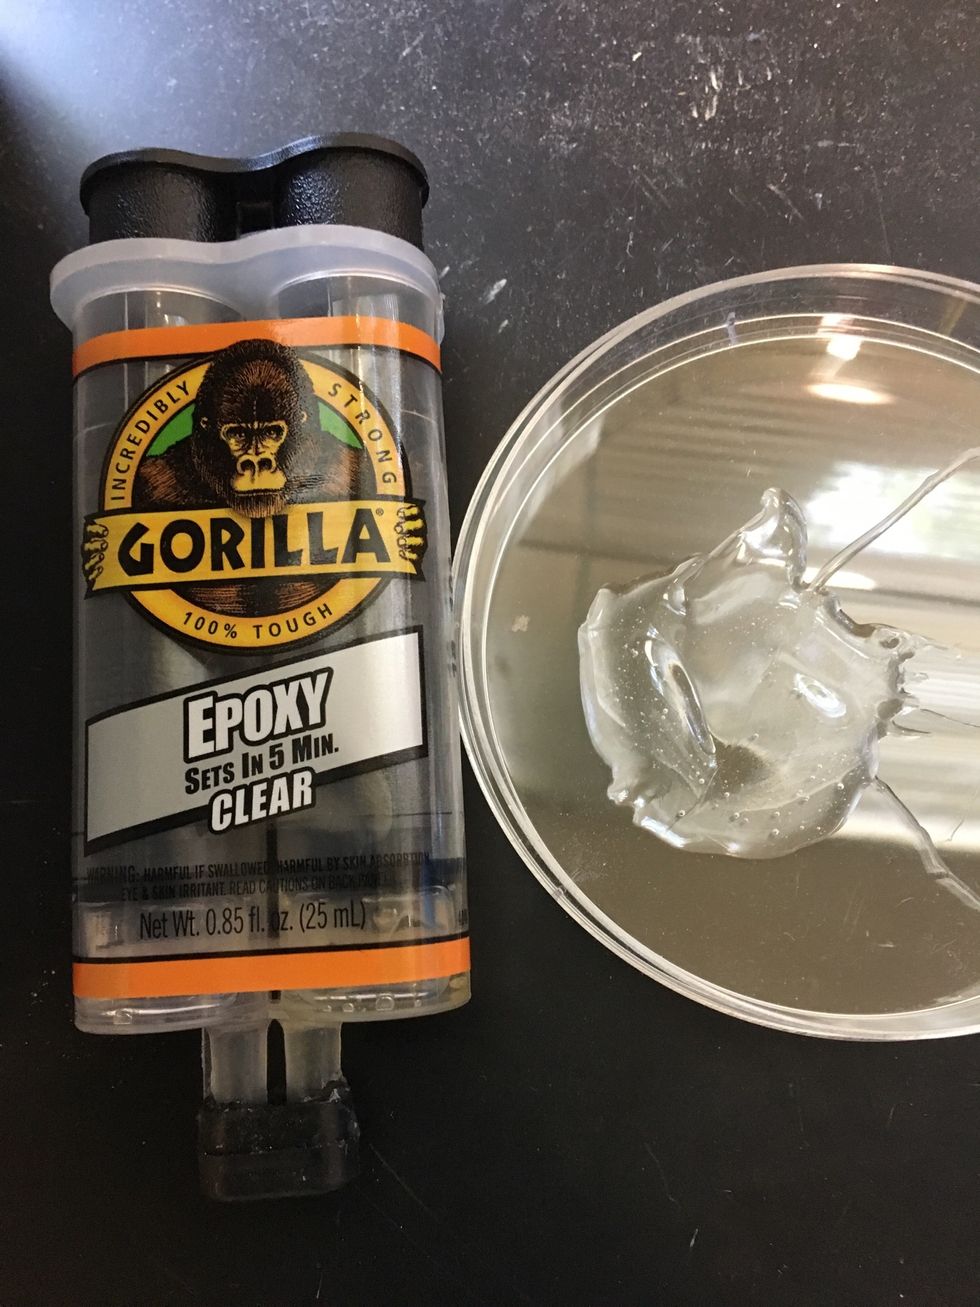
Prepare the 5 minute epoxy according to the package directions. Typically, two ingredients should be added to a mixing dish in equal proportions, stirred for twenty seconds, then used immediately.
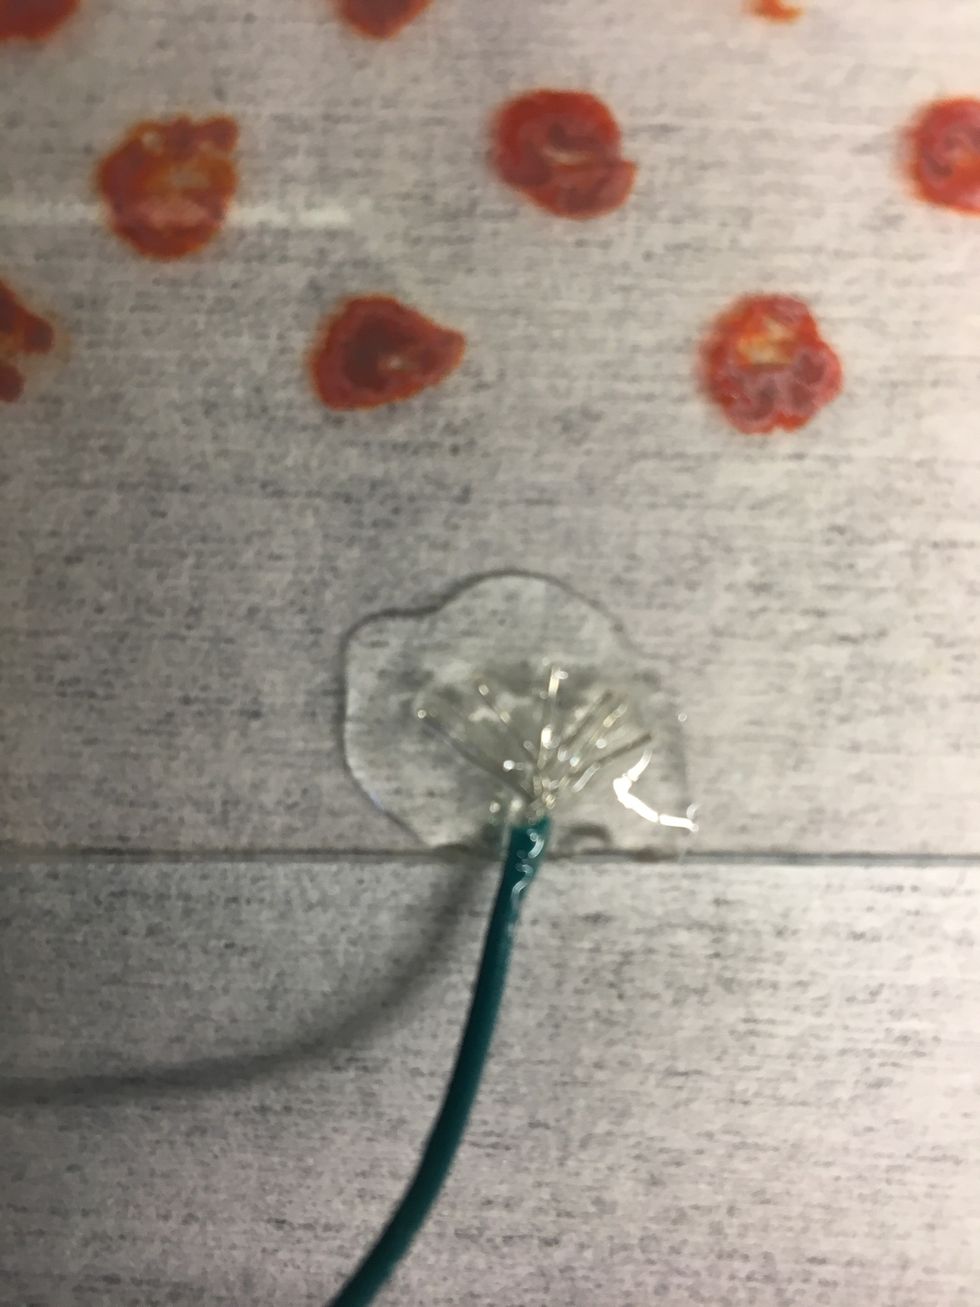
Attach the splayed end of the wire to the corner of the glass slide using the 5 min epoxy. Cover all of the wire. If any wire is exposed, the circuit will short and the plate will not work.
The wire may need to be held in place as the epoxy dries.
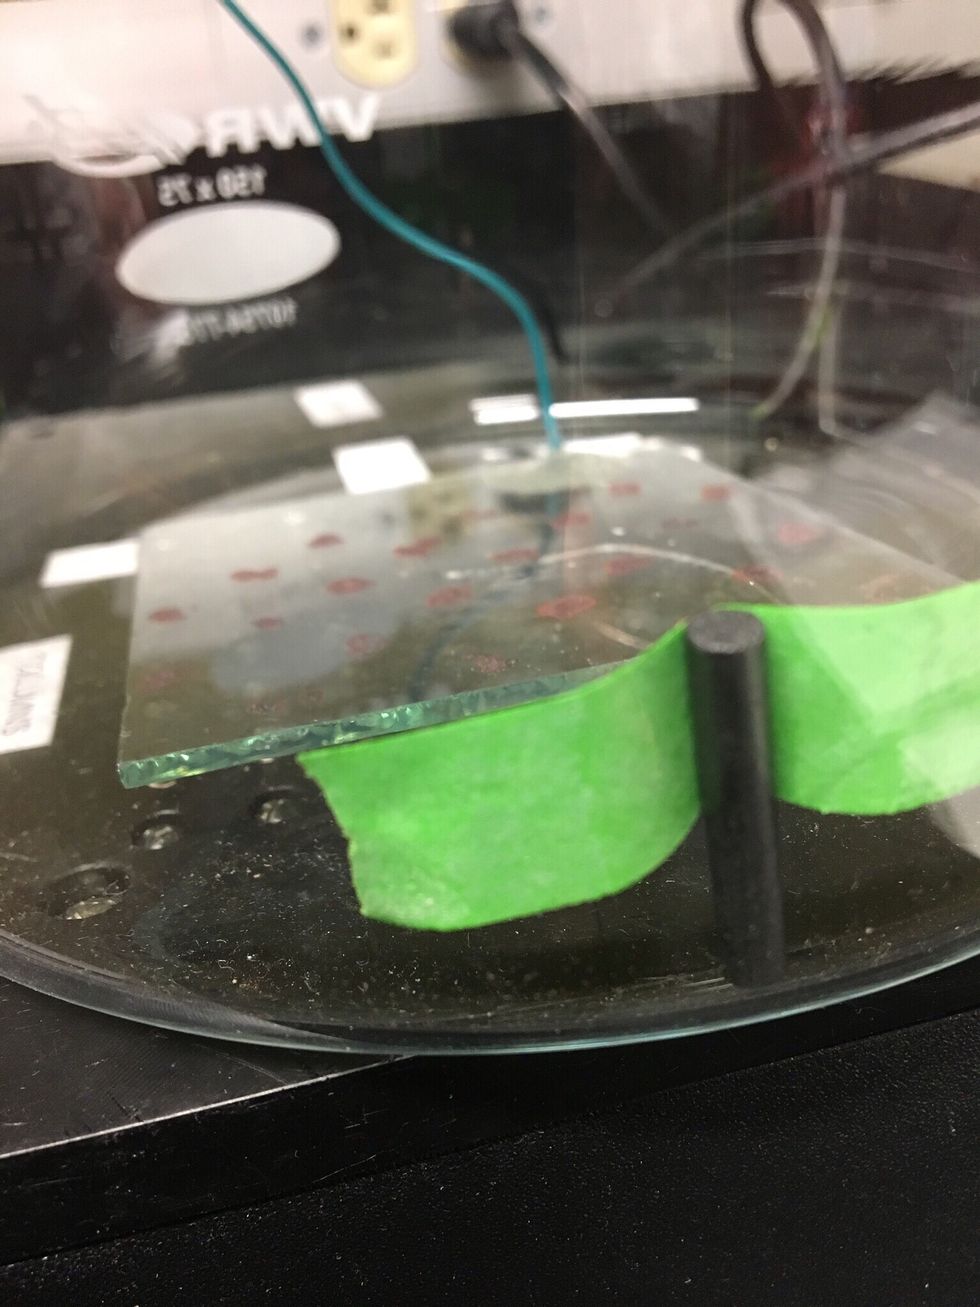
Place slide in a glass dish with spots facing up. Securely tape a graphite rod on the side with the bottom touching the dish. Add enough 0.1 M NaOH to cover the slide & the bottom of the graphite rod.
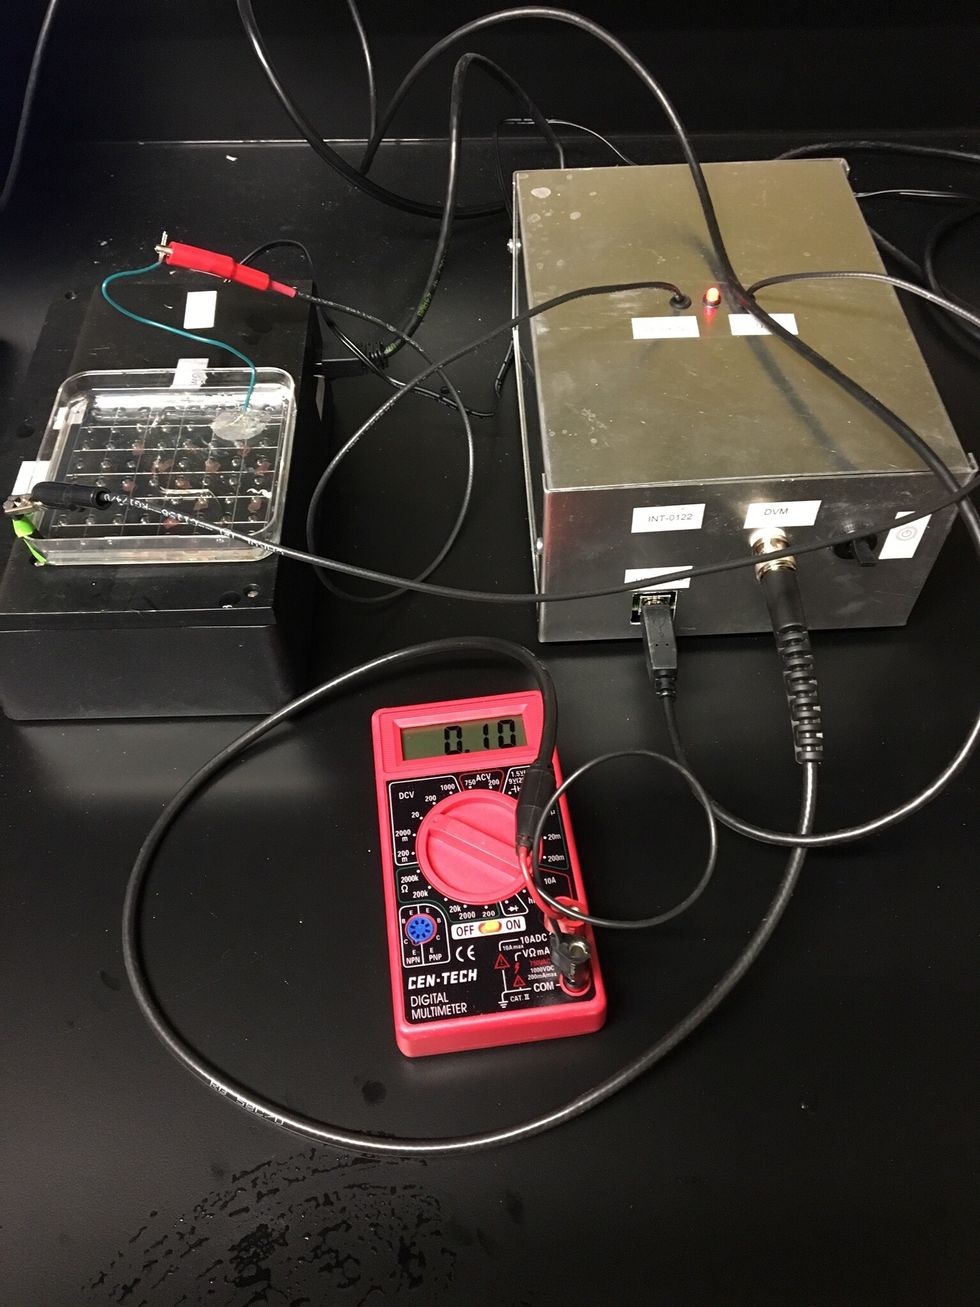
Plug the current integrator box and LED array into different outlets. Use cable to connect them to each other. Attach the multimeter and computer to the current integrator box.