The Conversation (0)
Sign Up
There is a video at the end of this guide showing the process from start to finish. 👍
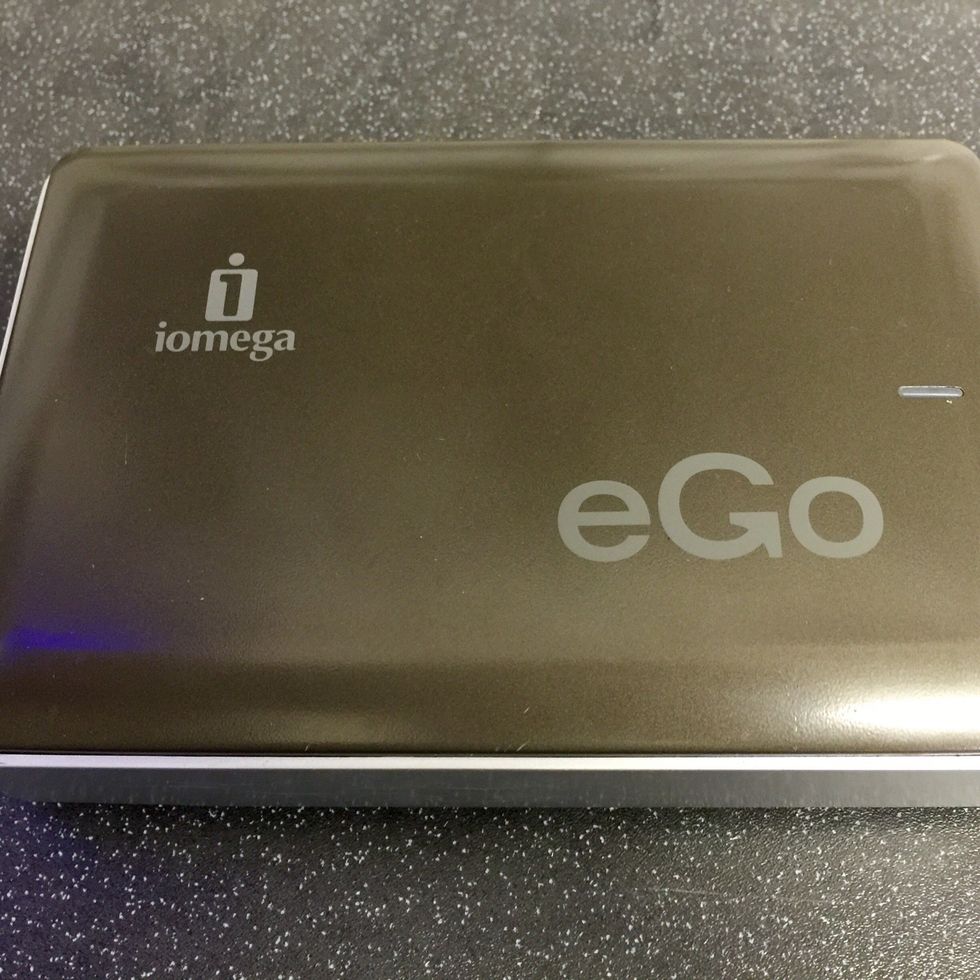
This is the Iomega eGo 2TB USB external hard disk drive we are about to disassemble. The caddy is not working, so my customer needs the drive tested and transplanted to another USB caddy.
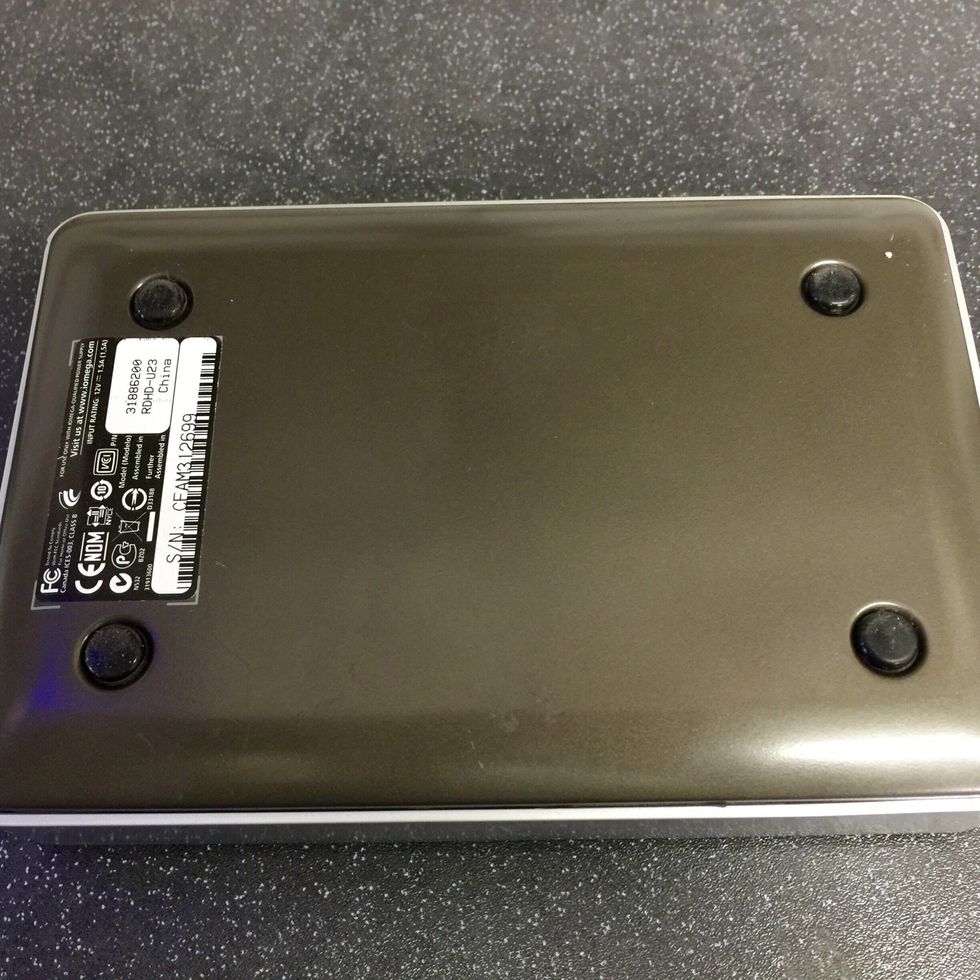
Underside: Here we have 4 rubber feet which are easily pulled away

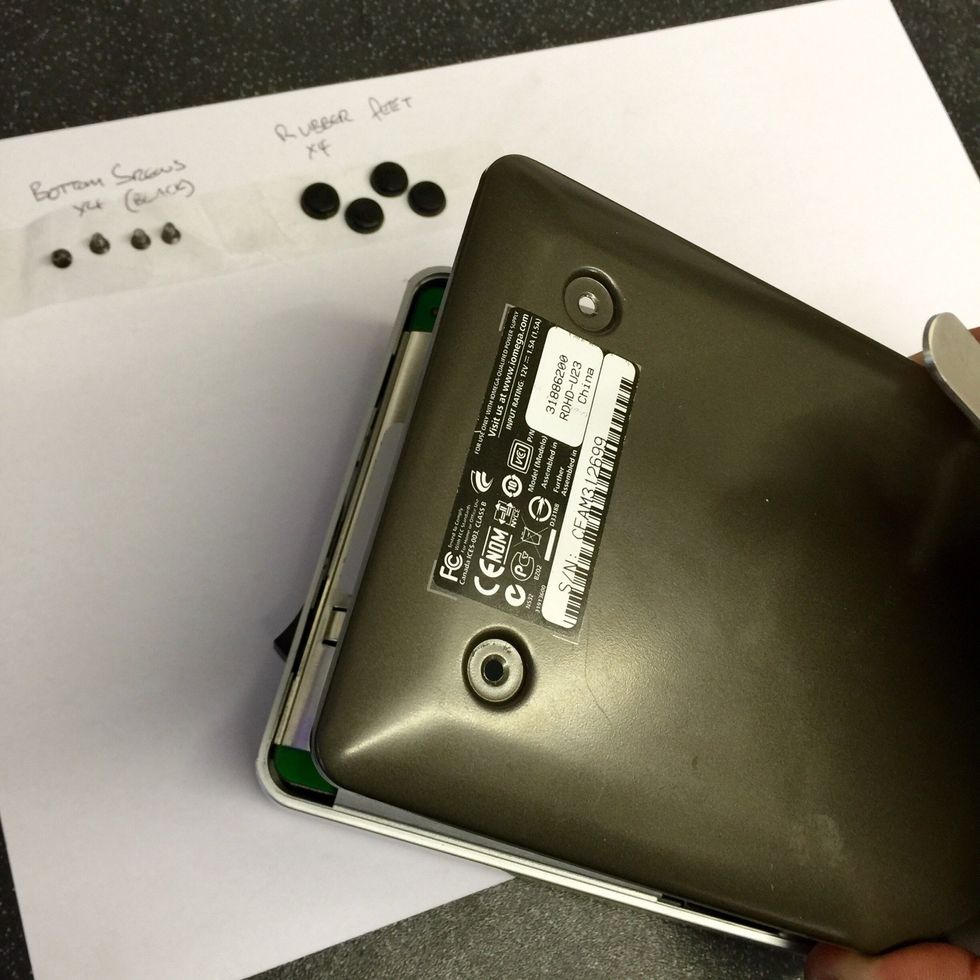
Once the feet have been removed we can unscrew the four black screws. Here I have secured them to a piece of paper with sellotape and labelled them.
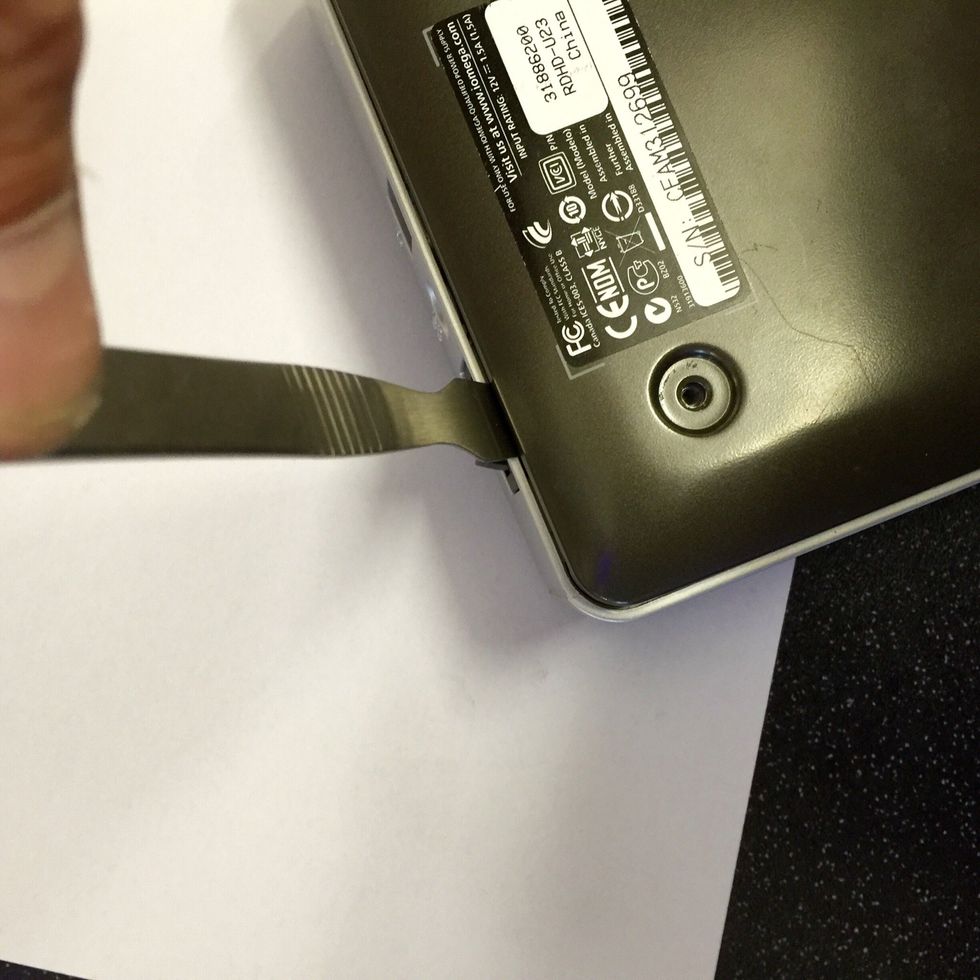
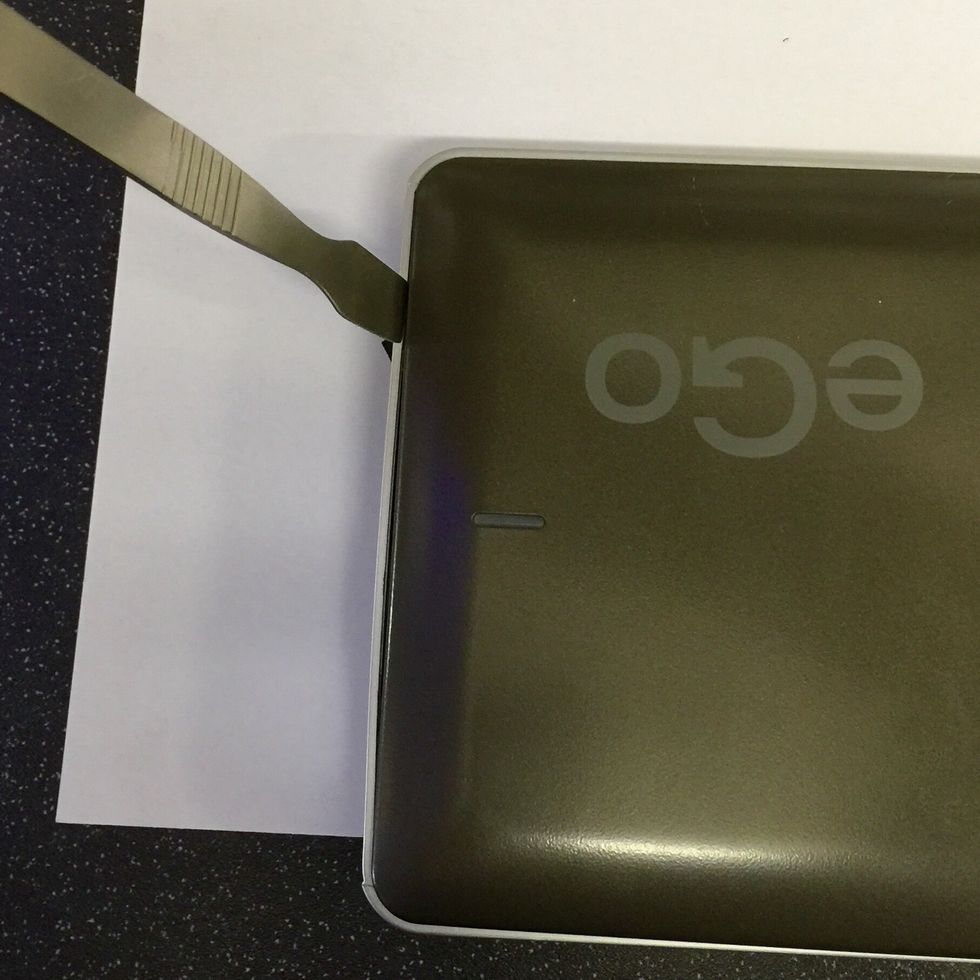
Using the spider (or plastic gift card) separate the bottom plate by inserting the spider in the small gap between the bottom case and silver band adjacent to the power button.
Run the spider along this edge to desperate the bottom panel the pull the panel away.

We now have access to the bottom of the hard drive. Remove the screw as indicated in the photo along with its twin in the opposite side.
With the screws from the previous step secured and labelled turn the drive over and insert your spudger between the top panel and side by the power switch in exactly the same we we removed the bottom.
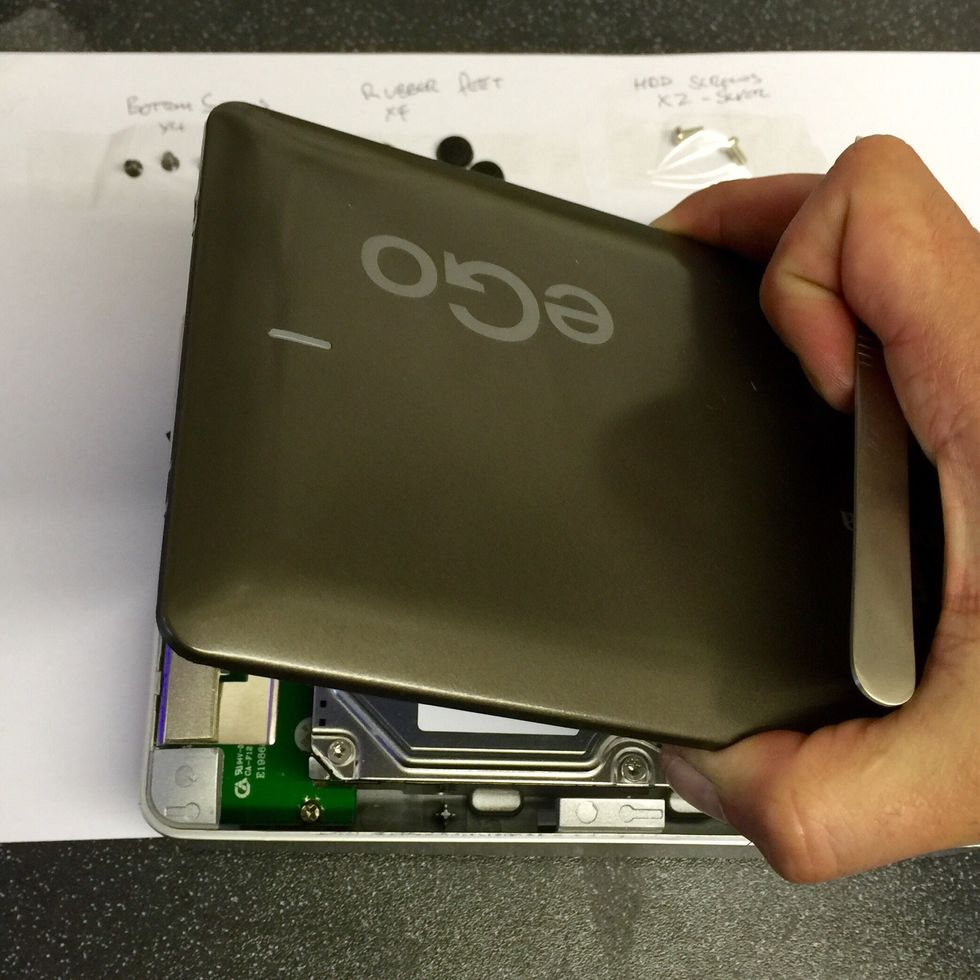
Again, as with the bottom panel, lift the top panel away.
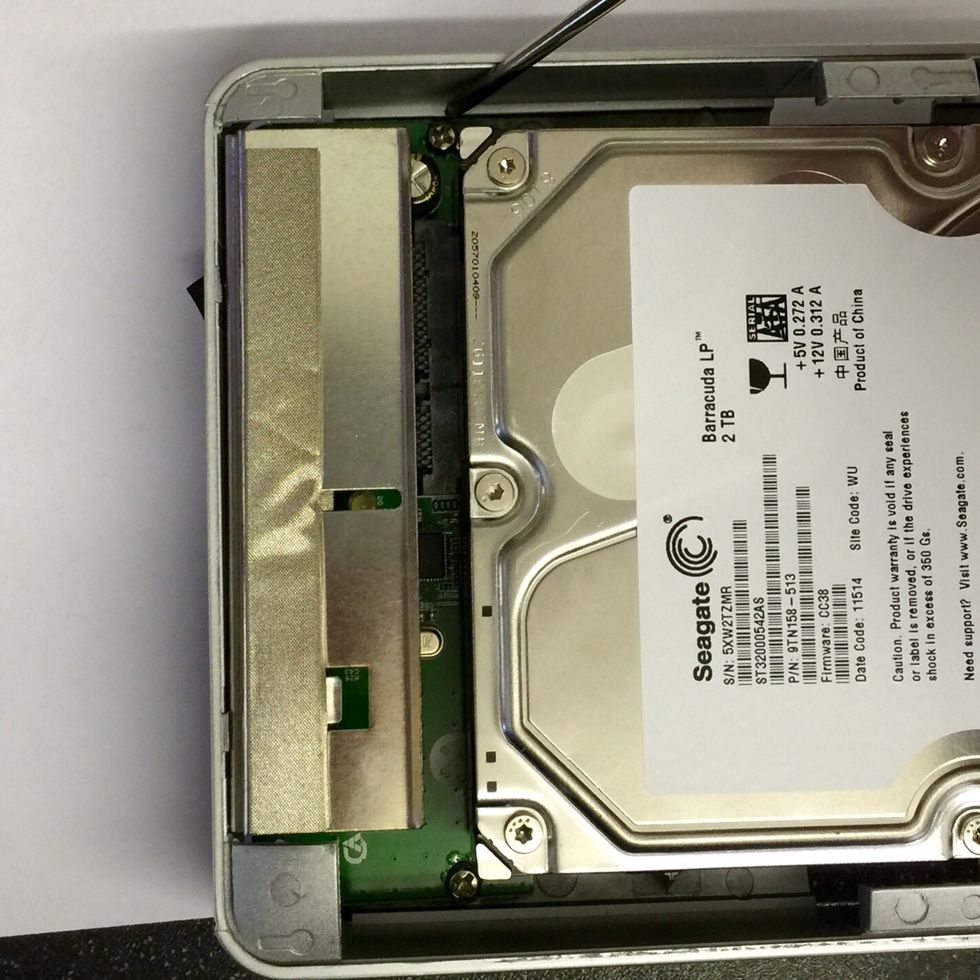
Remove the screws on either side of the PCB and secure and label them.
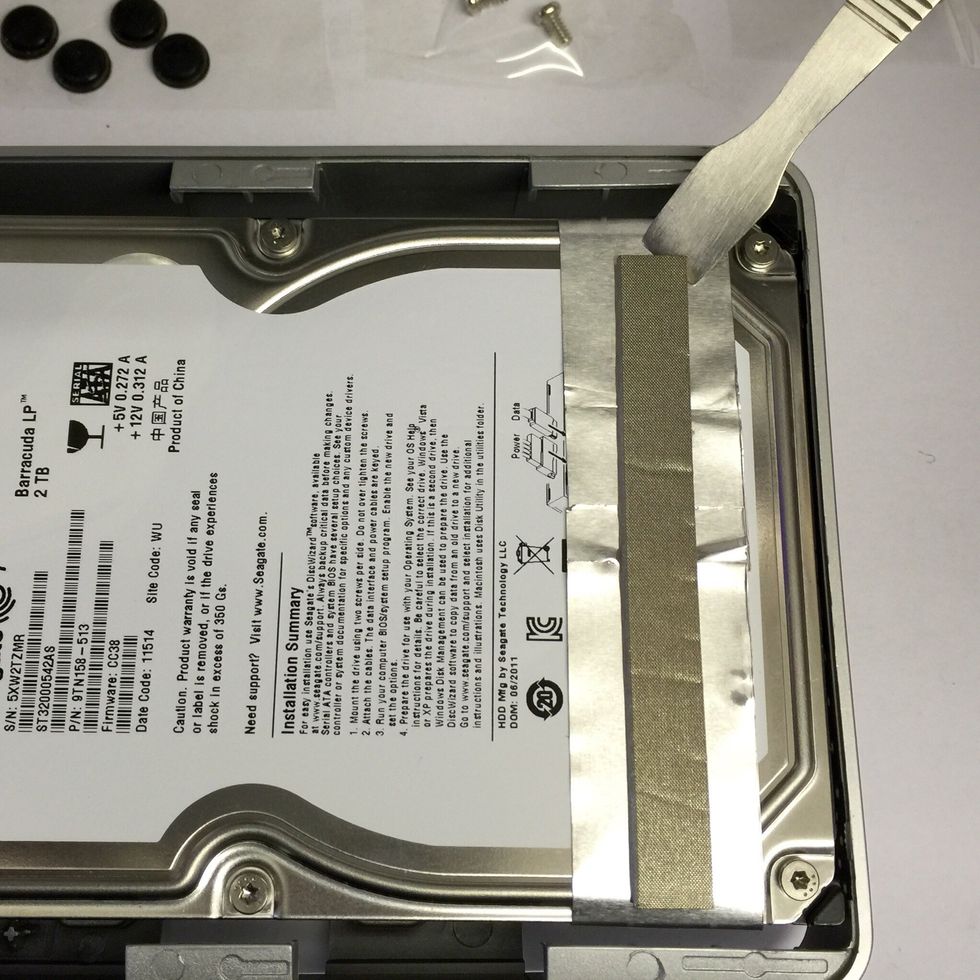
Remove this padded strip. Gently push the spudger into the end and lift away. Put a piece of sellotape down in your piece of paper the the strip on top.
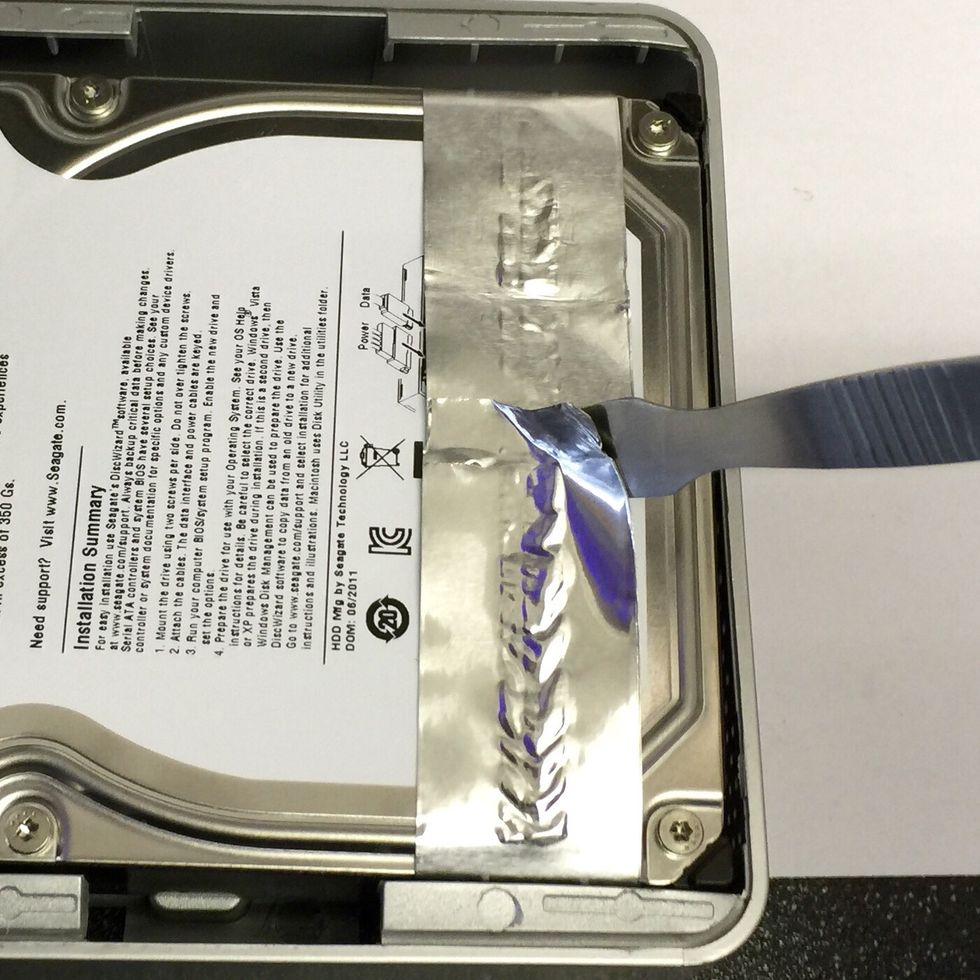
Repeat the previous step the remove the silver tape.
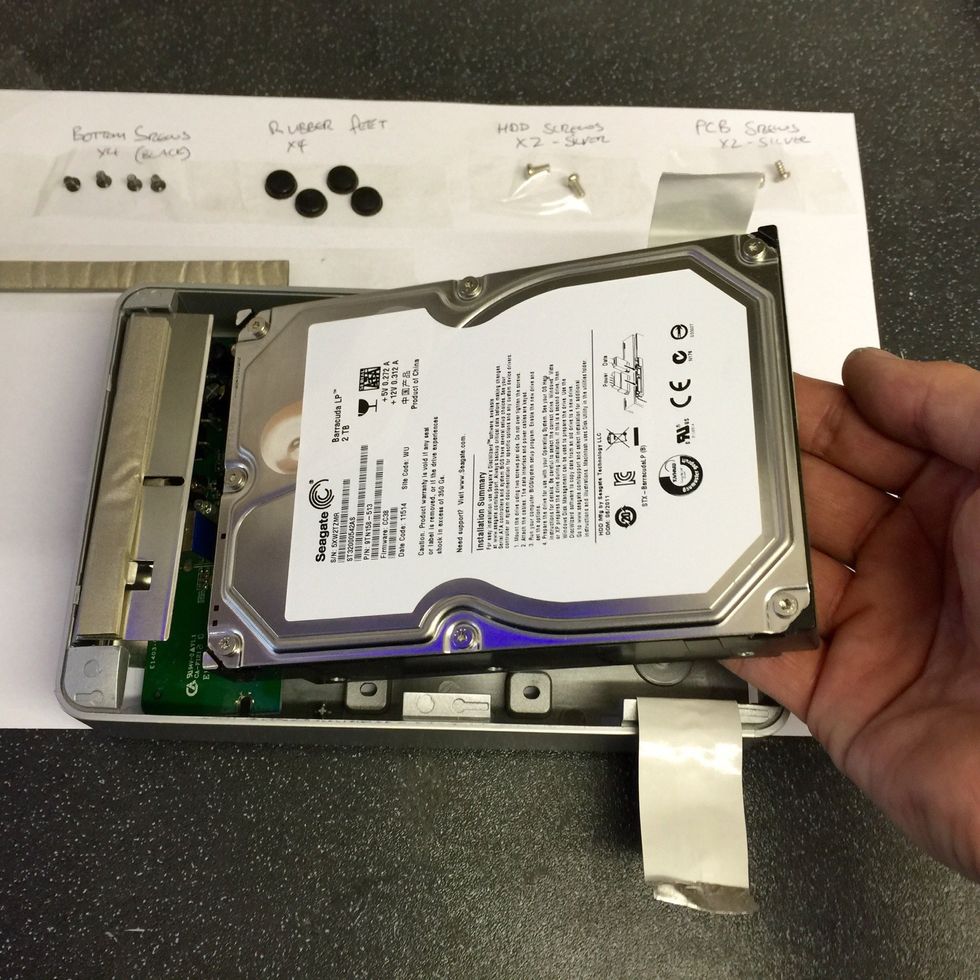
Lift the drive out of the caddy from its bottom edge.
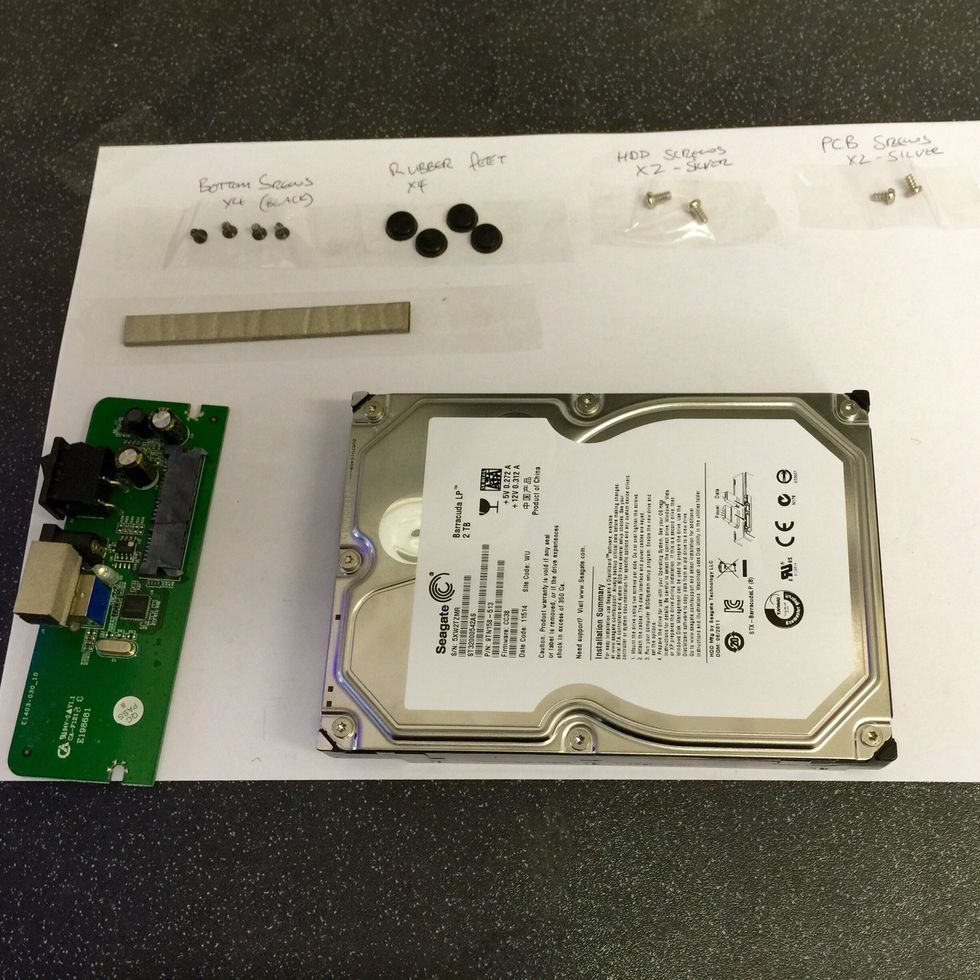
Pull the PCB gently out from the drive.
What follows is a hyperlapsed video of the process we have just been through. Hopefully this will clarify anything that needs clarifying.
I hope you have found this guide useful? If so, please like and share it! If you feel it needs further clarification please comment. Thank you for looking 😎