The Conversation (0)
Sign Up

UPDATE 7th July 2016 Twitter user @therealphydeux mentions the danger of using brushes on electronics. I should have mentioned when I made this guide that I use an anti-static wristband & workmat. 👌
Be warned, following these steps WILL void your Xbox 360 warranty. It is therefore advised that you only follow this guide if your console is older than 3 Years.
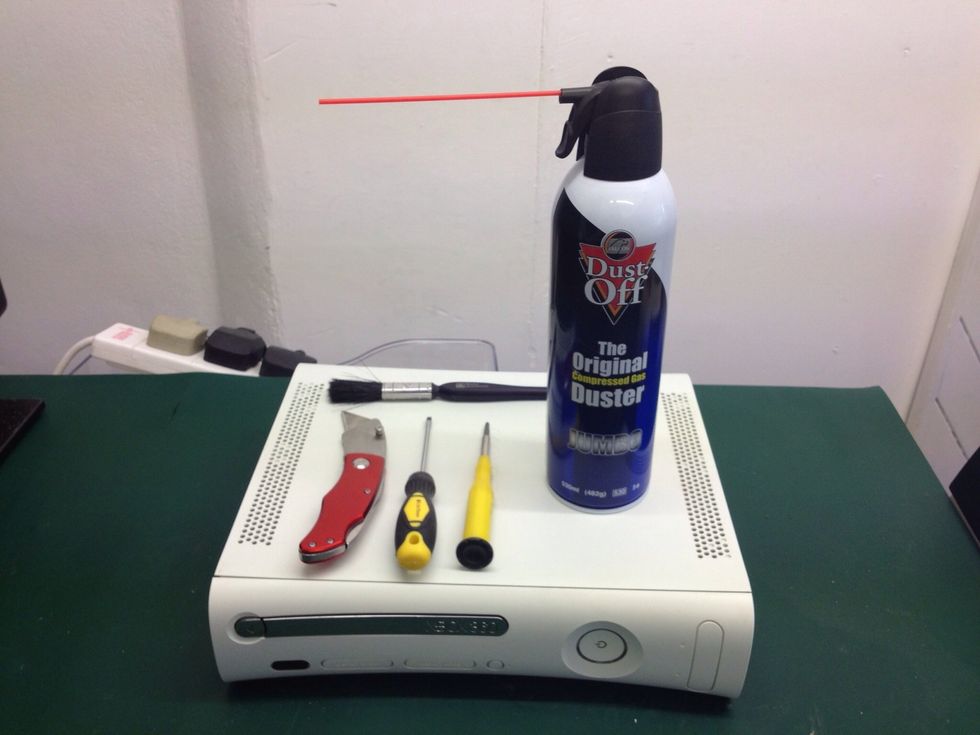
Xbox 360 and supplies (click the supplies button for more info).
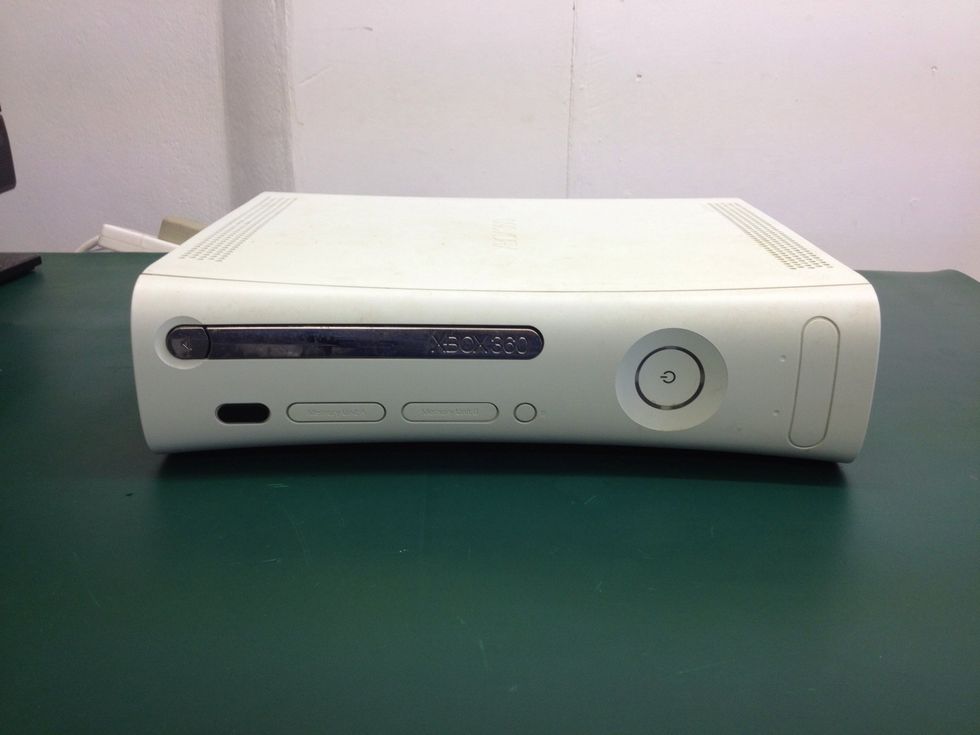
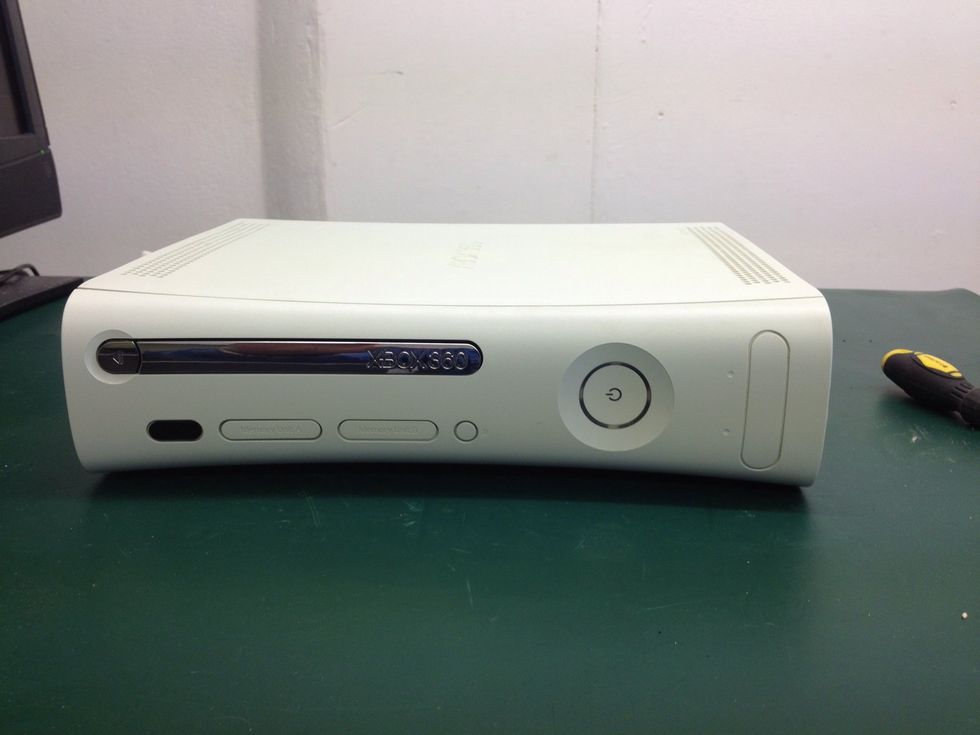
This is a classic white Xbox 360 Premium. Usually it has a hard drive attached, however this one did not when it arrived for cleaning.
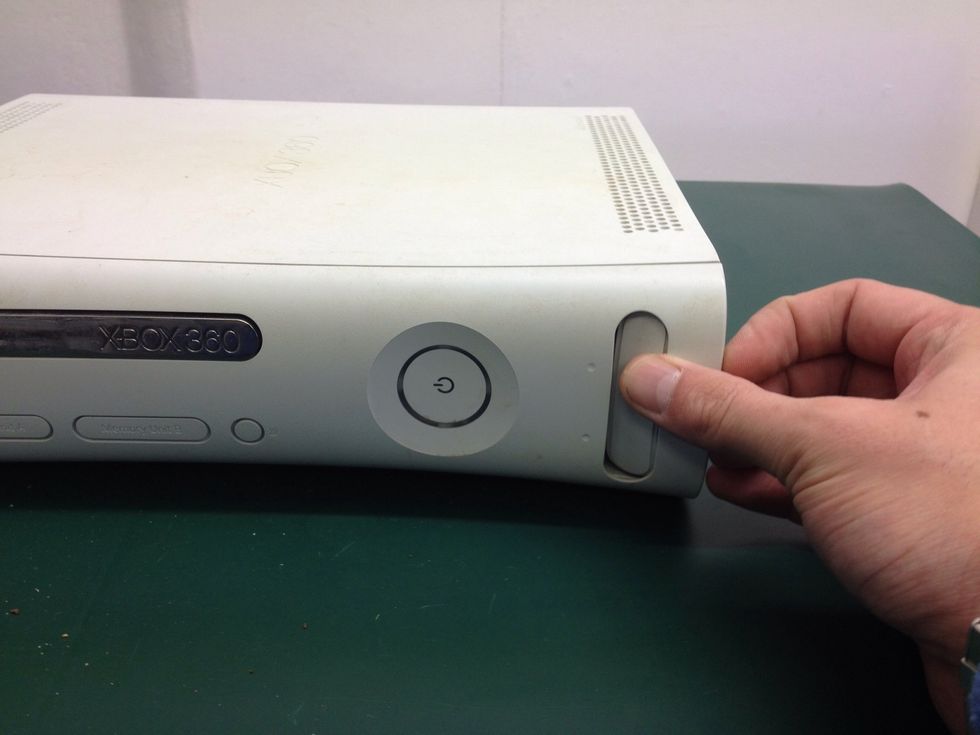
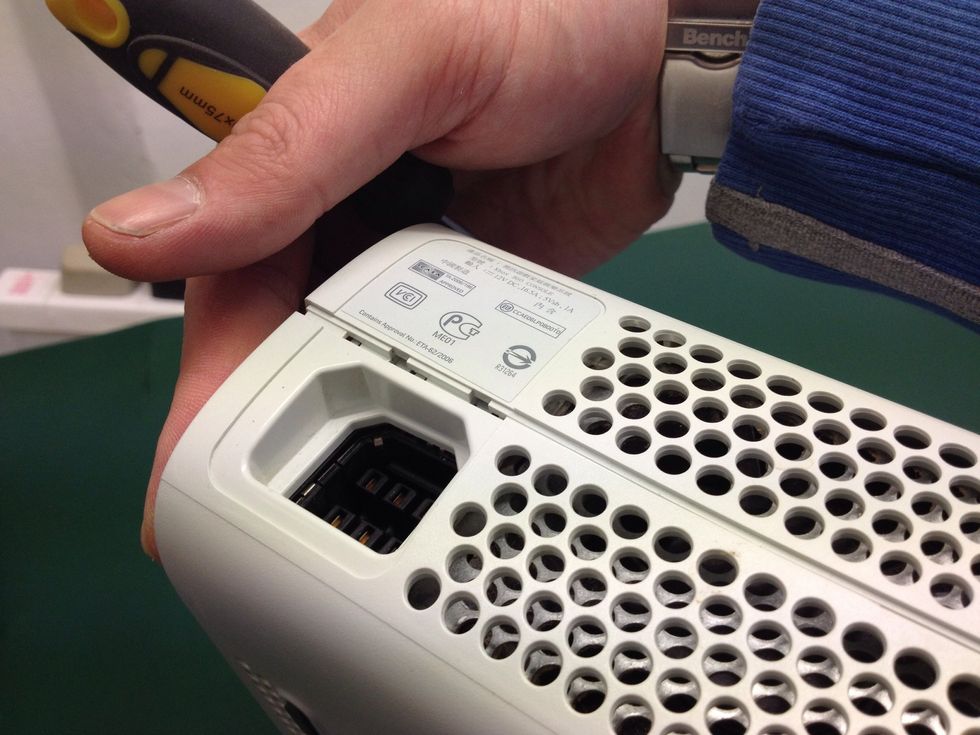
Start by removing the front bezel. Pull from the bottom (if vertical) or the right-hand side (if horizontal).
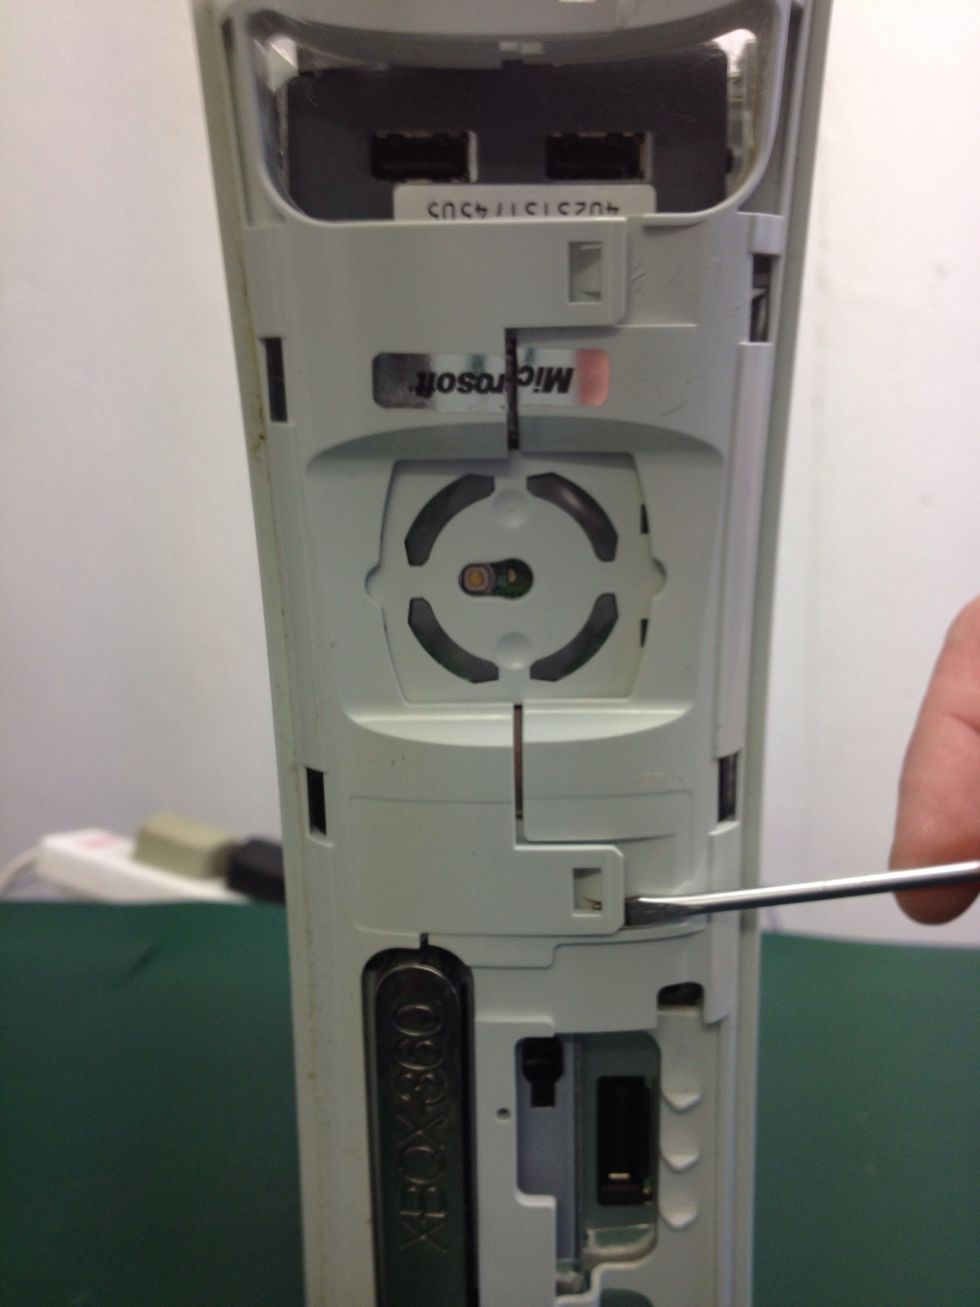
Following this step WILL VOID YOUR WARRANTY! Use you knife to carefully cut the warranty seal along the seam.
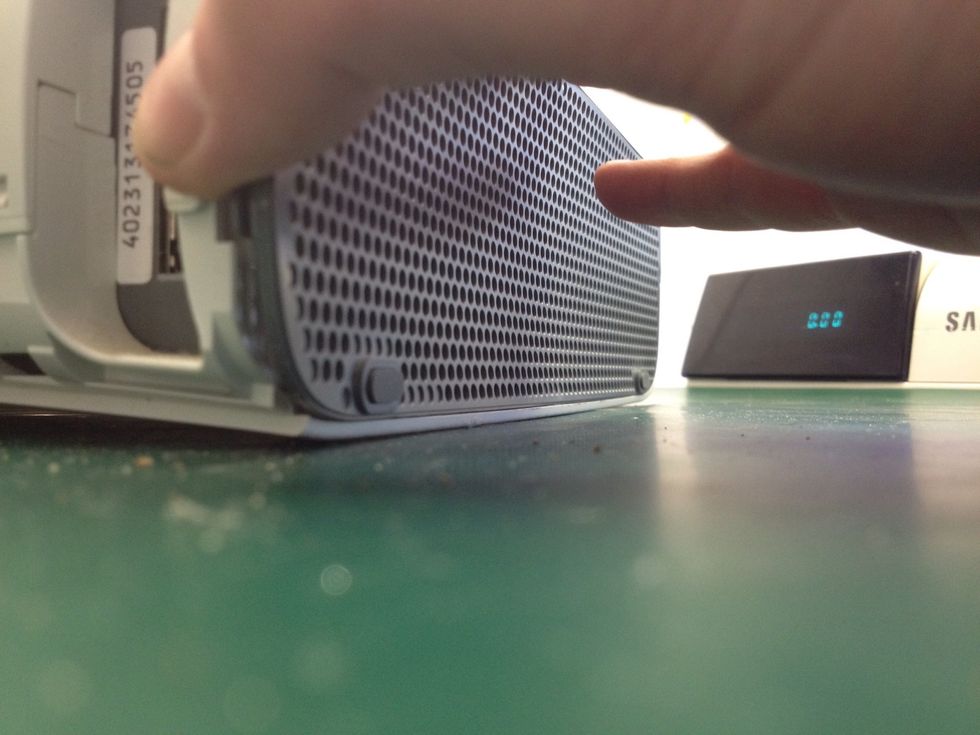
Remove the bottom plastic grey vent. Pull from the front edge in one quick motion.
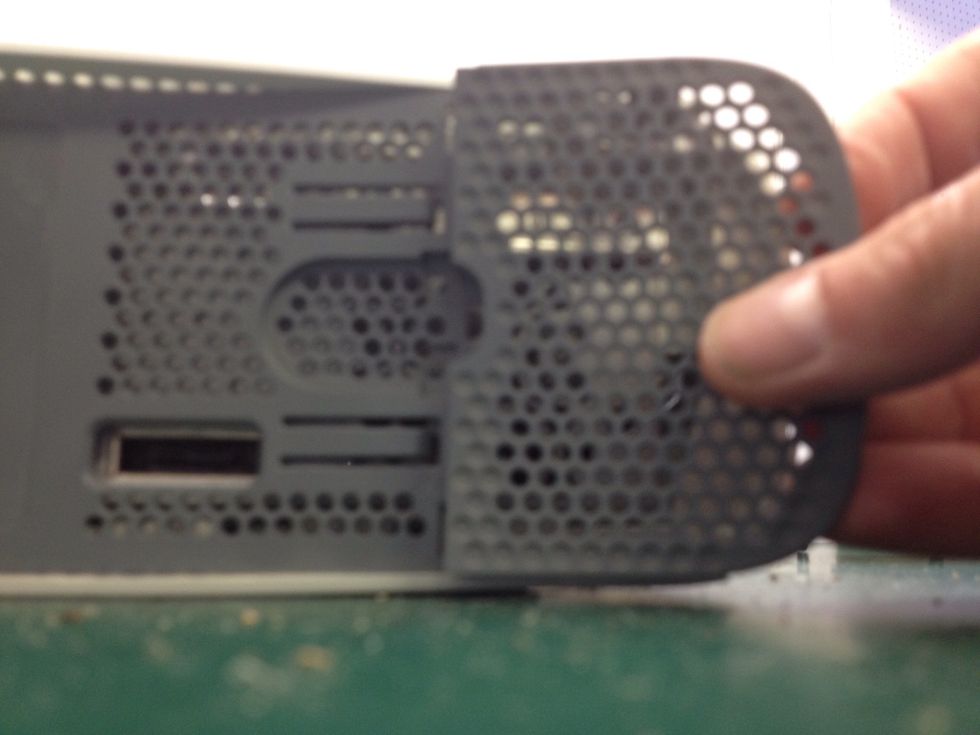
Repeat the last step for the other end.
Now grab your small, flat-head screwdriver.
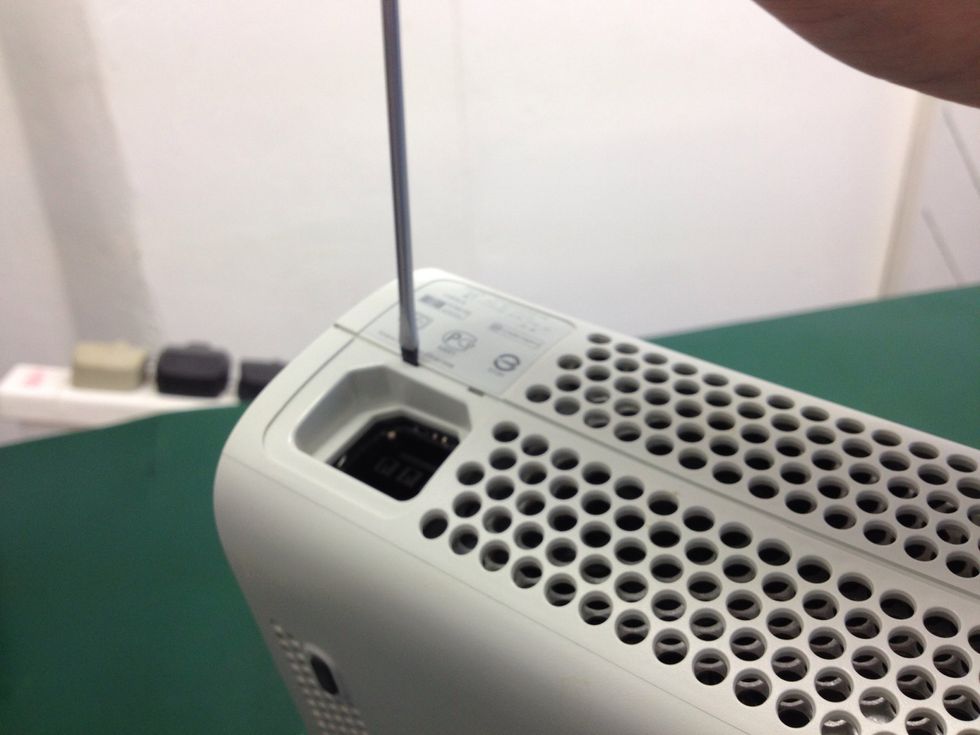
Insert the screwdriver as shown and with a (little) force push down until you hear a click.
Separate the two halves of the case as you repeat the last step all along the seam line (7 times total).

Keep gently pulling apart the casing as you go.

Here we see the rear of the case fully seperated.
At the front the 360 you need to separate the locking tabs. I find this easier with the screwdriver but it can be done using just a fingernail. Again, gently separate the case as you move along.
Lift off the bottom part of the case now and lay it flat, naked side facing up as shown.

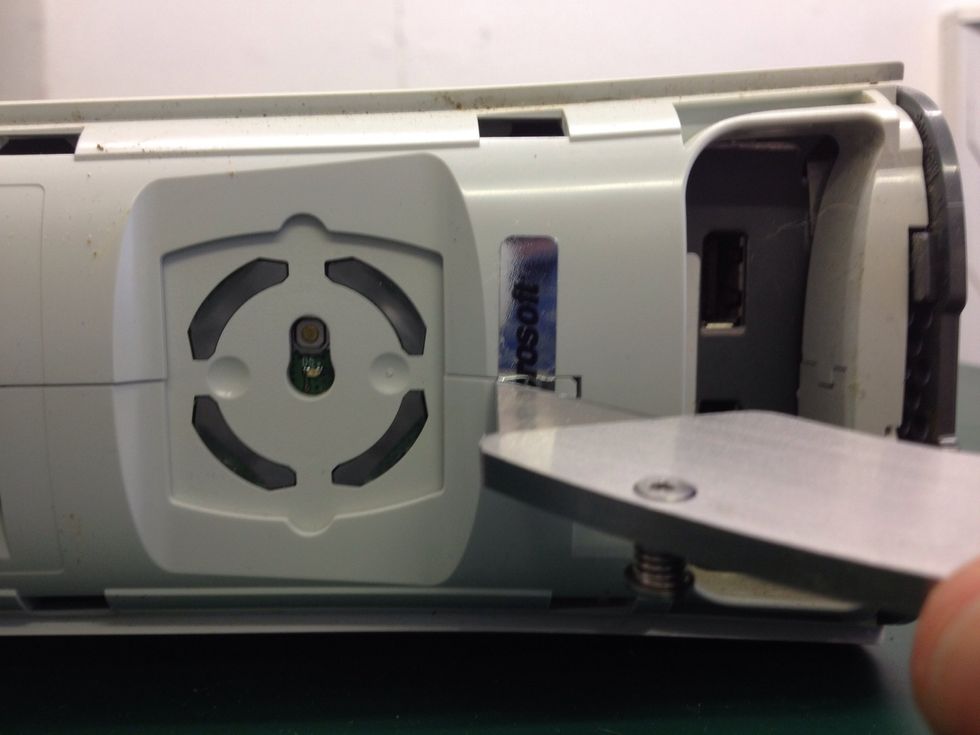
Remove the eject button, pulling it away from the right hand side. It may be quite stiff, but don't worry.
Now, again with your knife, slice along the warranty seal.

Time to get out the T10 Torx Driver!
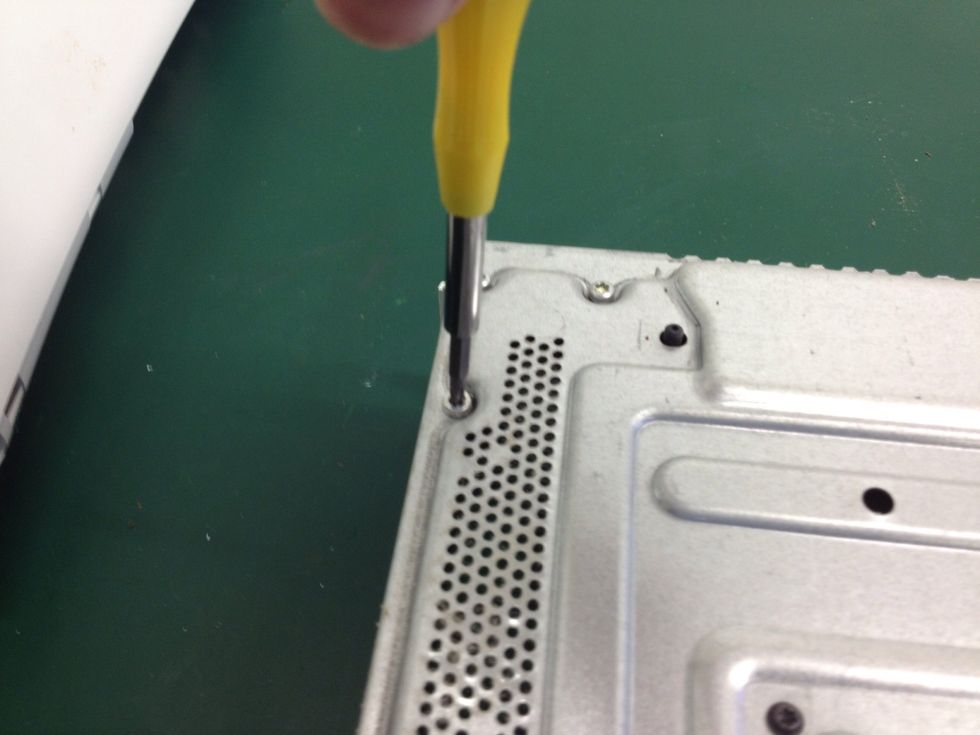
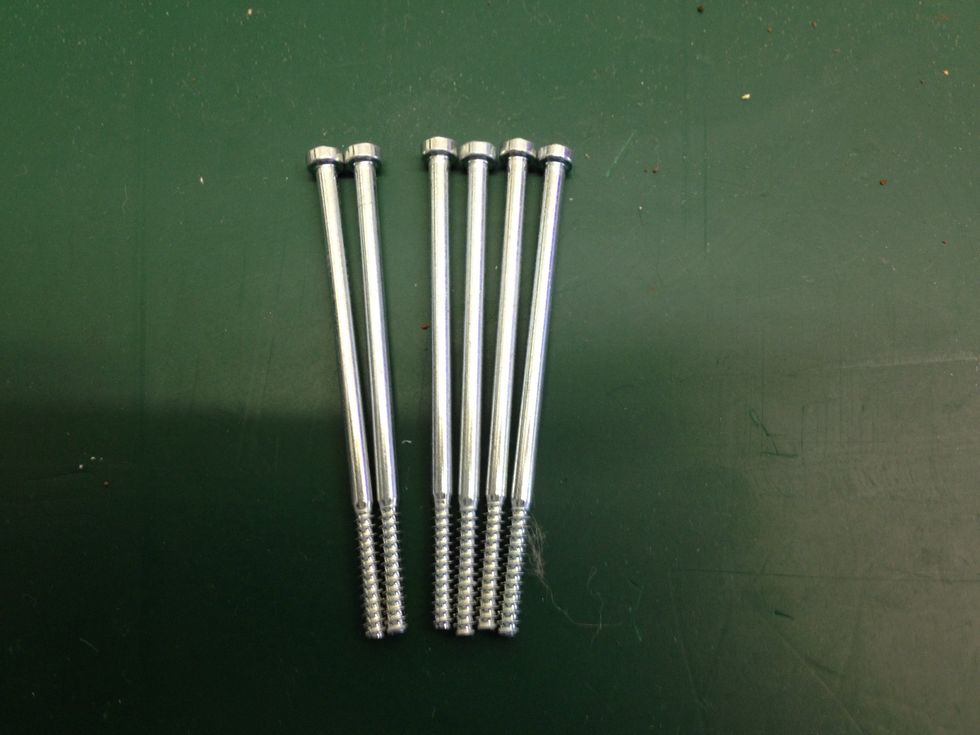
Remove the screws. 6 in total. 2 at each side and another two in the middle. They are silver and DO NOT HAVE ROUNDED HEADS.
Take a close look at the heads, if your screws do not match up, put them back and unscrew the right ones!

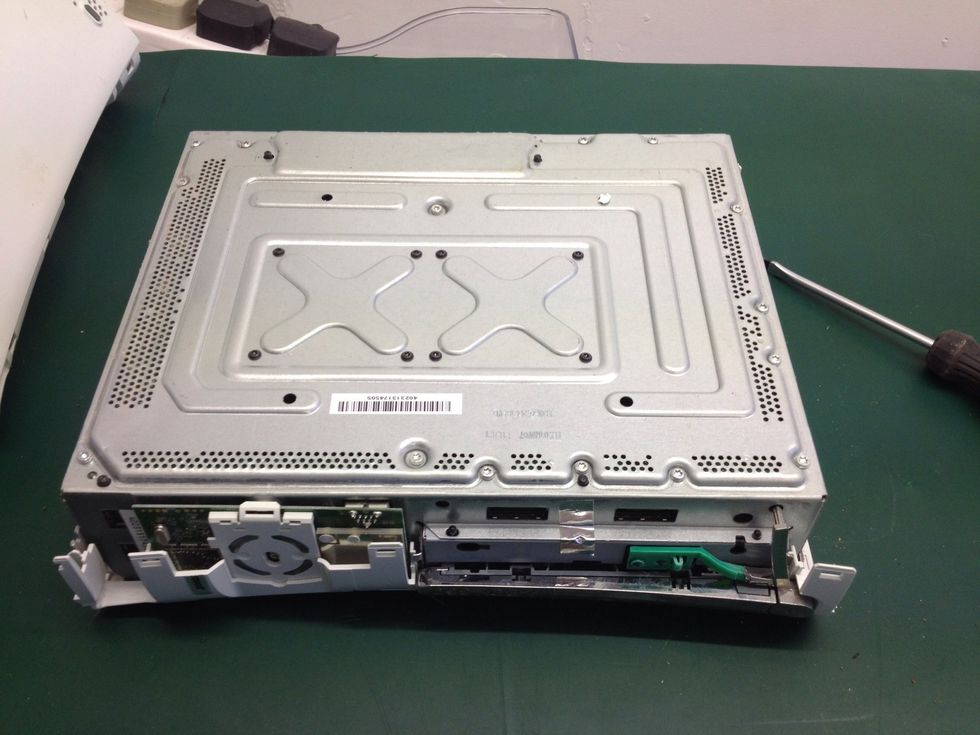
Once all 6 screws are remove flip the 360 over and lift the remaining part of the case.
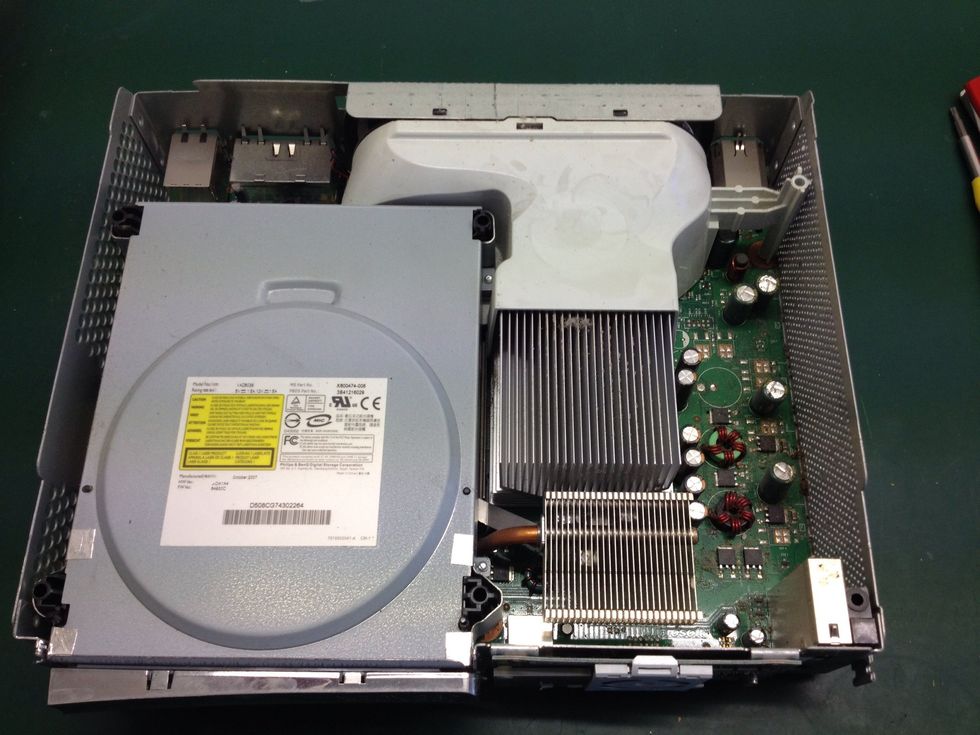
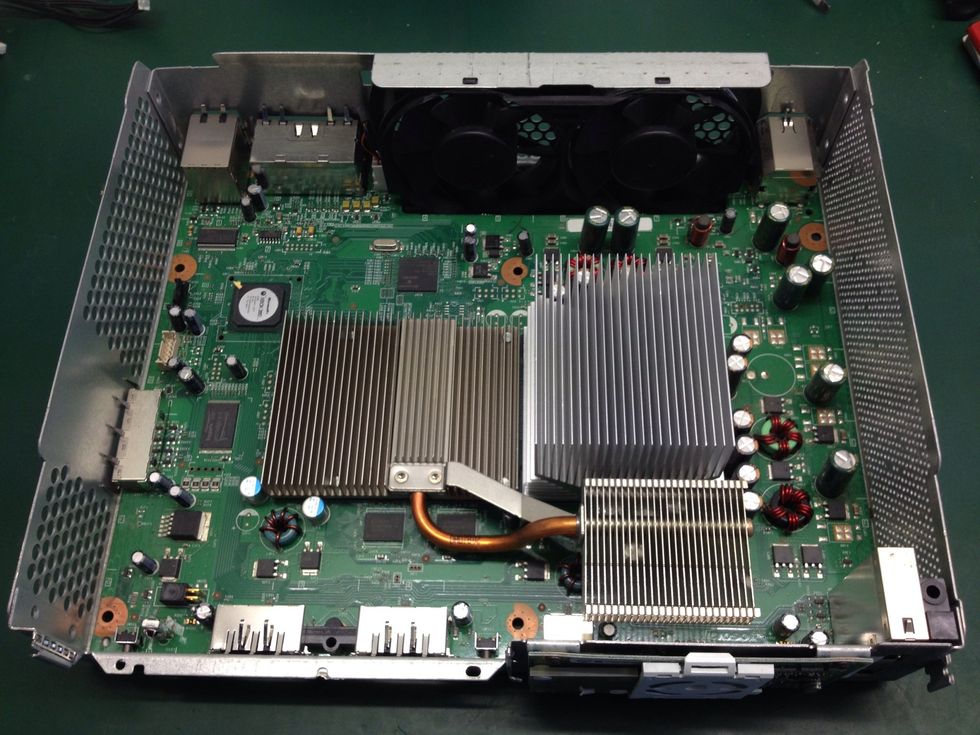
Inside you can see the motherboard, DVD drive and fan shroud. These all need to come out.
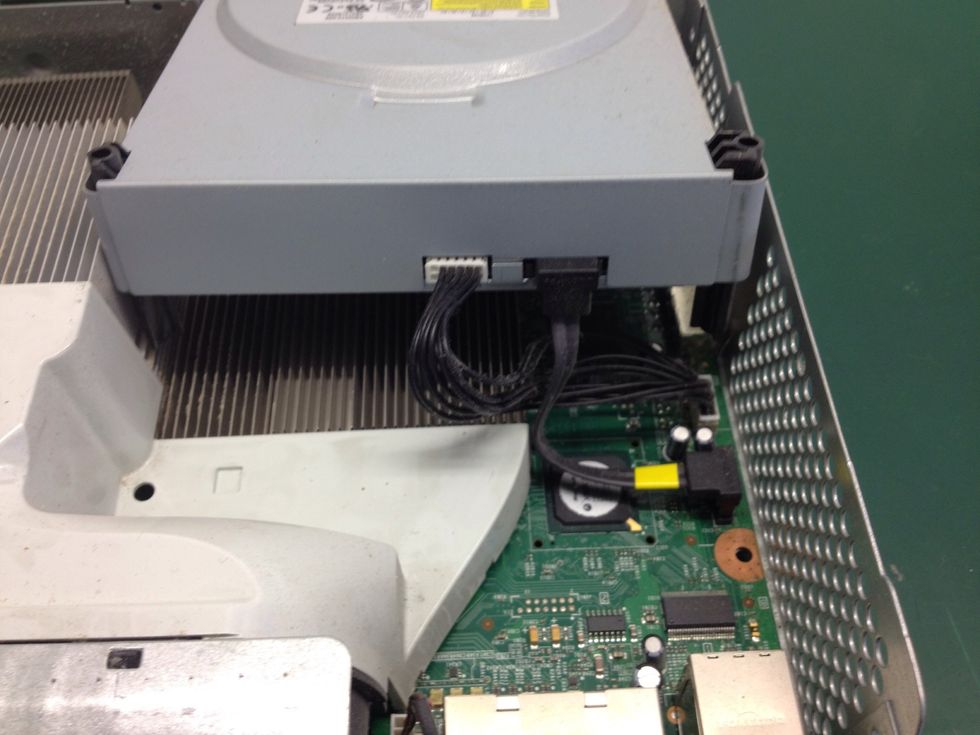
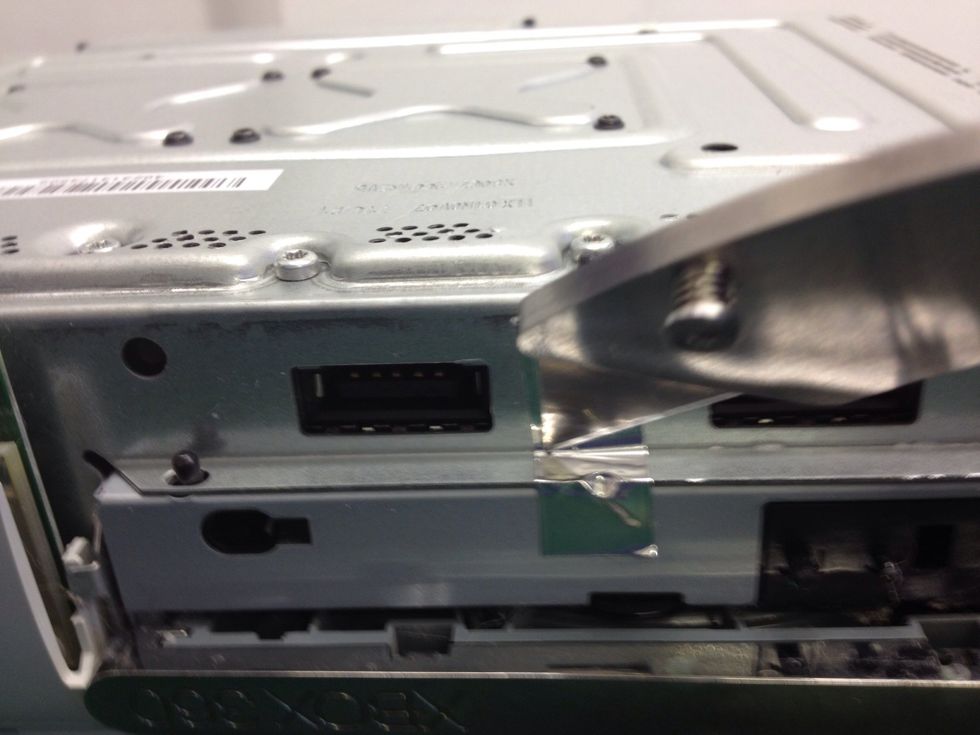
Start by lifting the DVD drive up and toward the front of the case to provide access to the cables. Pull them out and set the drive aside.
I have added another guide on DVD drive disassembly for cleaning. Click on my username to find it.
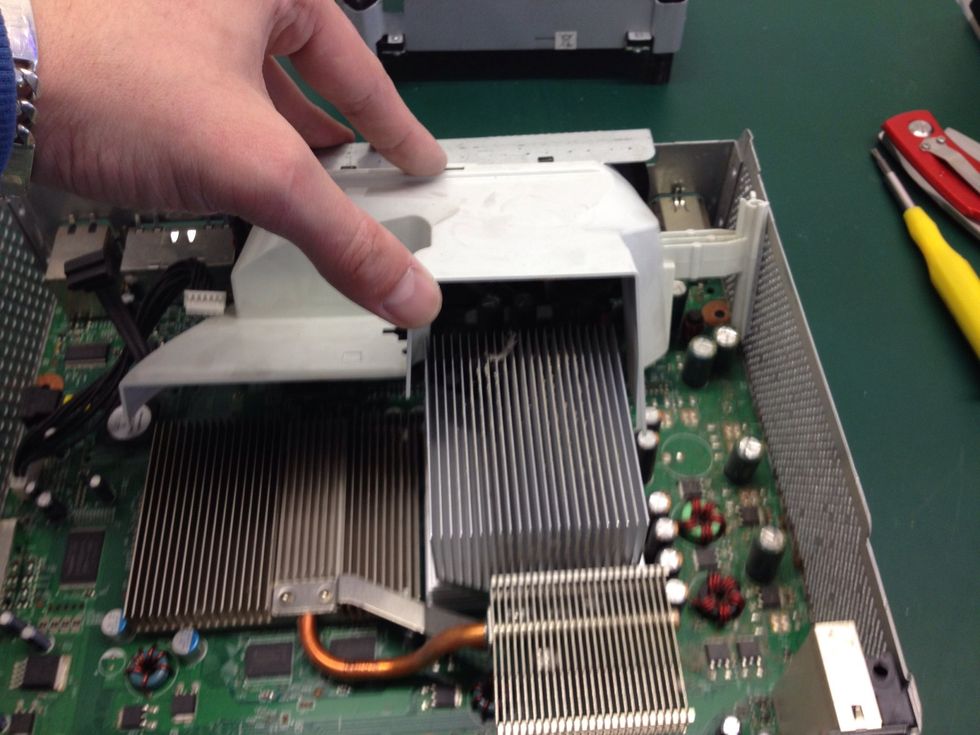
Now lift the fan shroud. It is clipped in place. Be careful!

Pull the power plug for the fans UP!
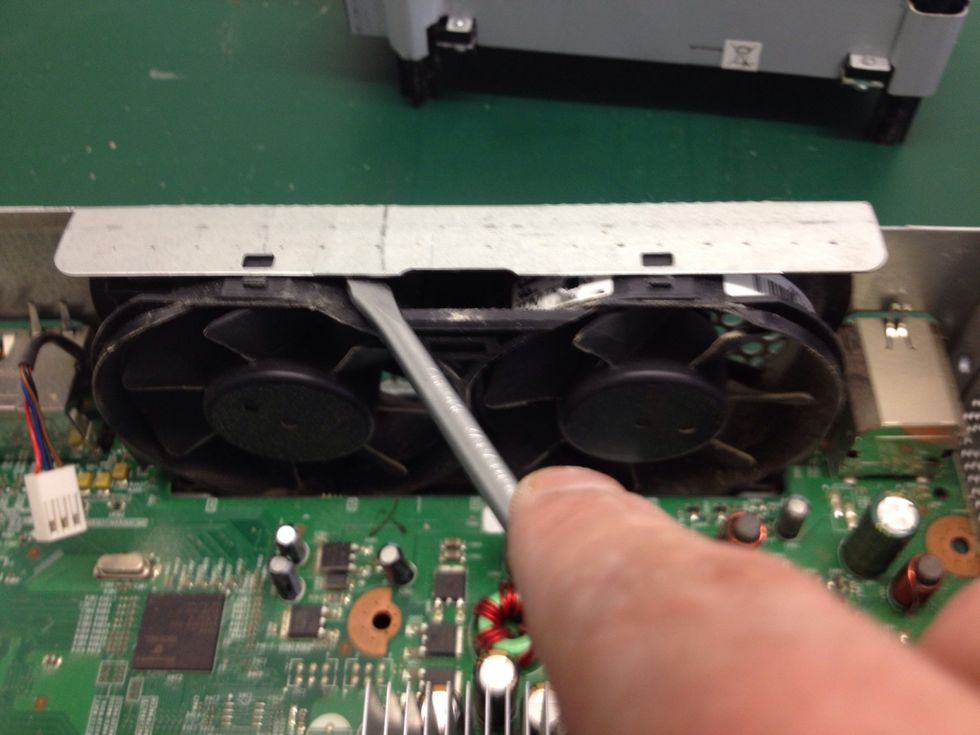
Using a screwdriver lever the fans out from under the case.
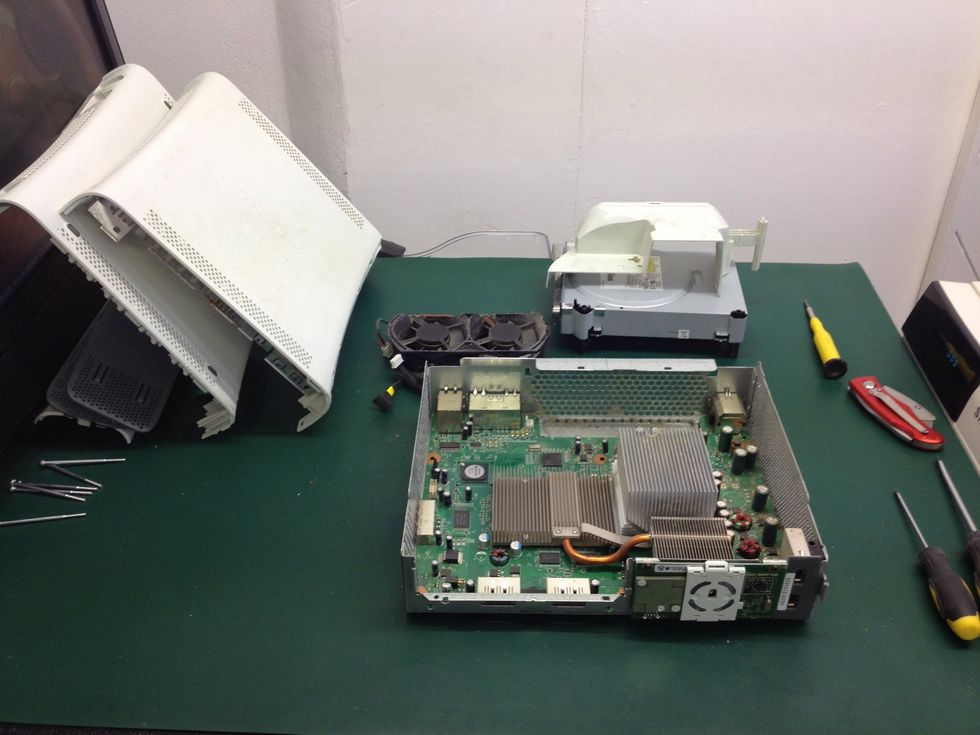
Here we have the Xbox 360 disassembled and ready for cleaning.

Use the 1" paint brush to brush out the heatsinks, then tilt the Xbox up on one side and work top to bottom, gently brushing the dust toward the bottom edge of the motherboard and out through the mesh
I advise against the use of compressed (canned) air since it tends to just blow dust around rather than fully remove it, however if after brushing the majority of dust away you wish to use it go ahead
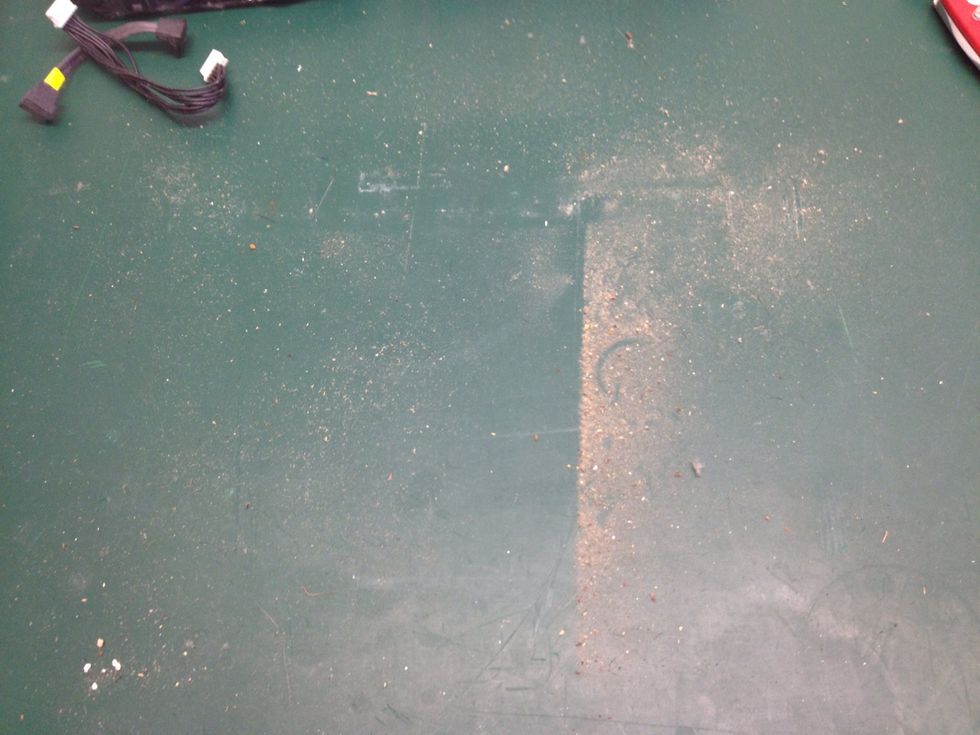
The efforts of your labour should be pretty obvious!
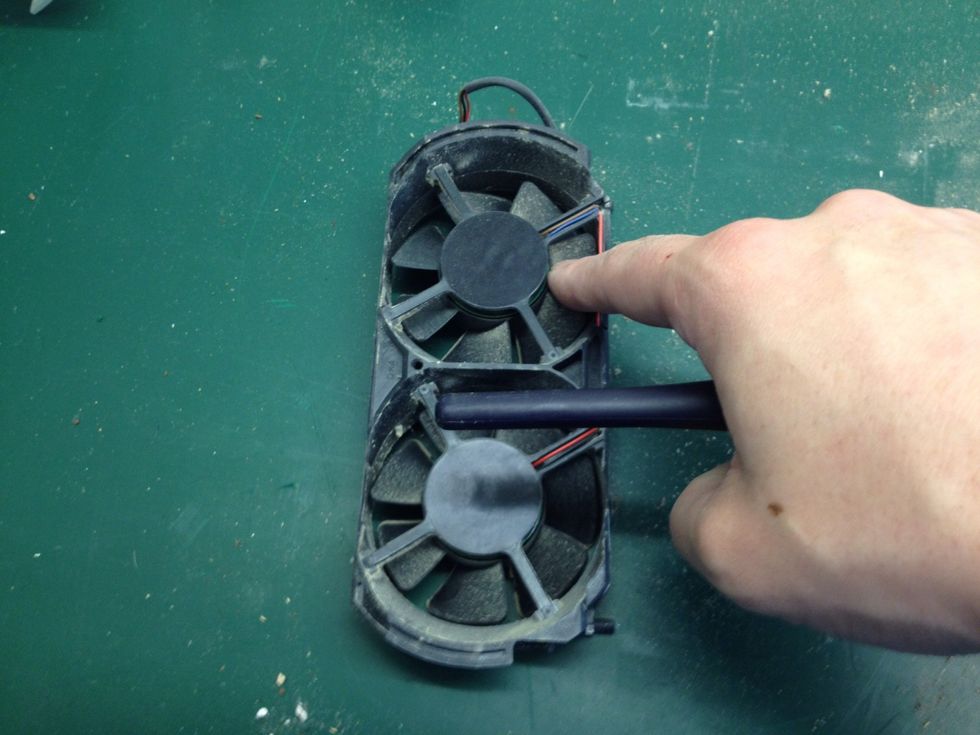
Hold each fan still and brush off the fan blades, flip over and repeat.
Here we have the Xbox 360 all clean with the fans back in place.
Reverse the disassembly steps to put it all back together! Job done
If you have enjoyed this guide Fave it! Also, please contact me in the comments or on twitter @danielrmitchell