The Conversation (0)
Sign Up
If you have followed my previous guide on Xbox 360 Disassembly you may also want to know how to disassemble the DVD drive for cleaning which is generally required when the 360 will not read discs.
If need be, look up my previous guide on Xbox 360 Disassembly by selecting my username then browsing my guides.
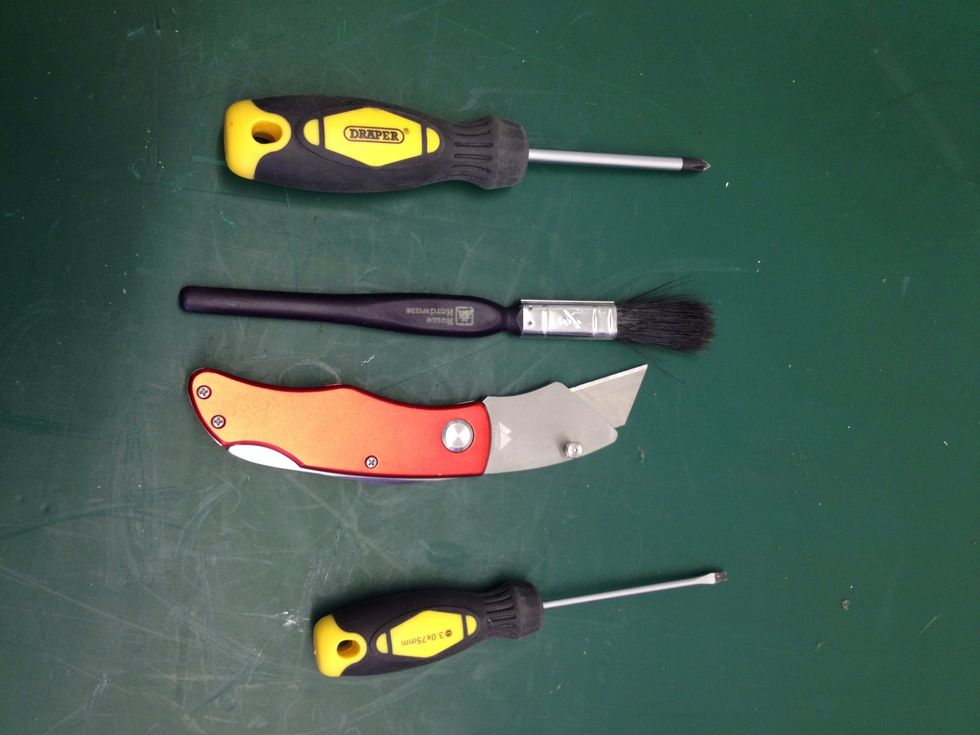
Here are the tools required. Check out the supplies tab for more details.
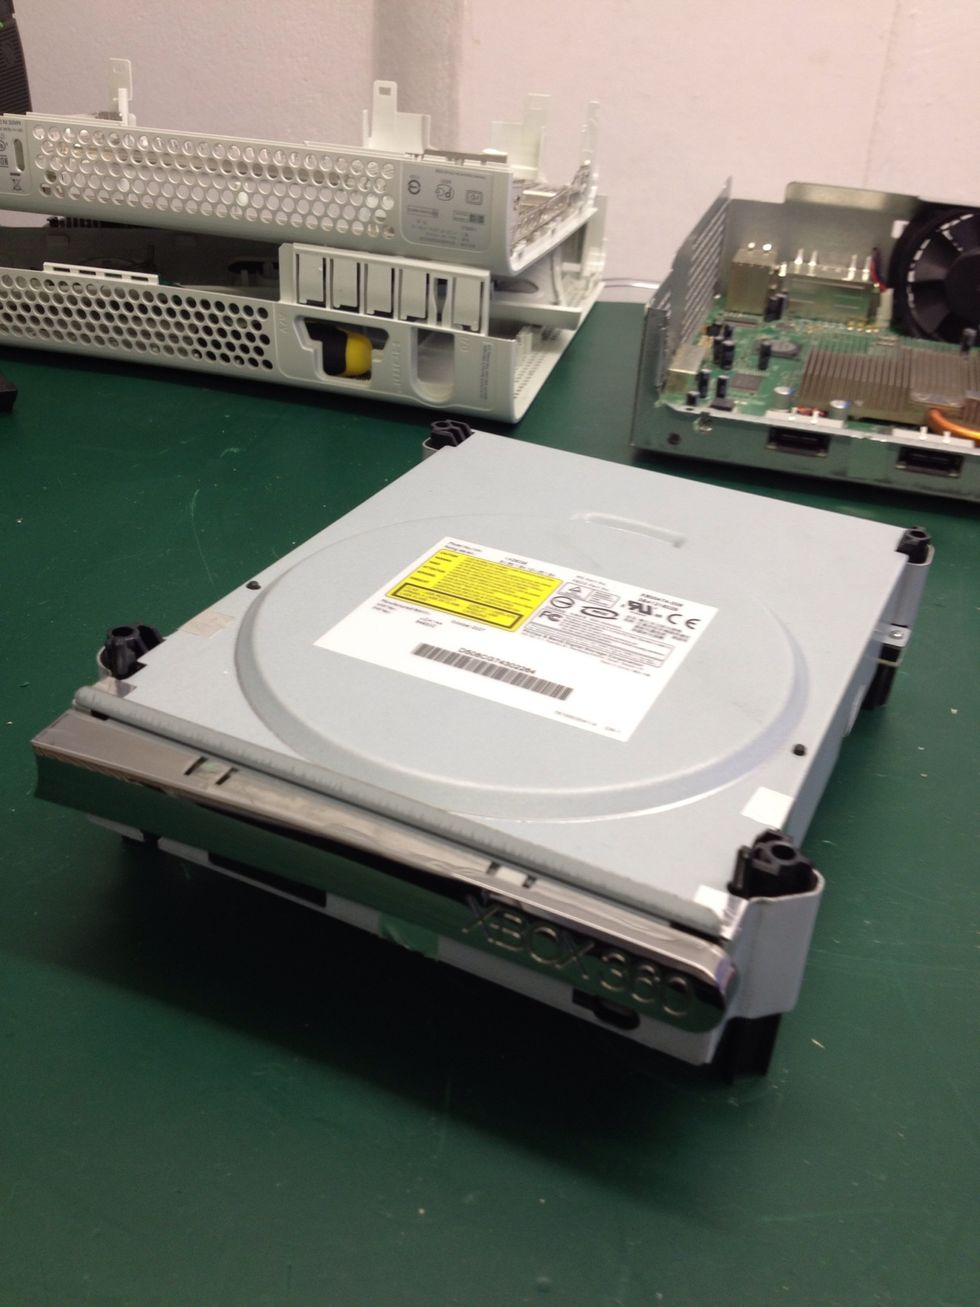
Here is a typical Xbox 360 DVD drive already removed from the Xbox chassis
Your Drive may differ slightly from the one shown since Microsoft use different makes and models. Essentially though, they are all the same.
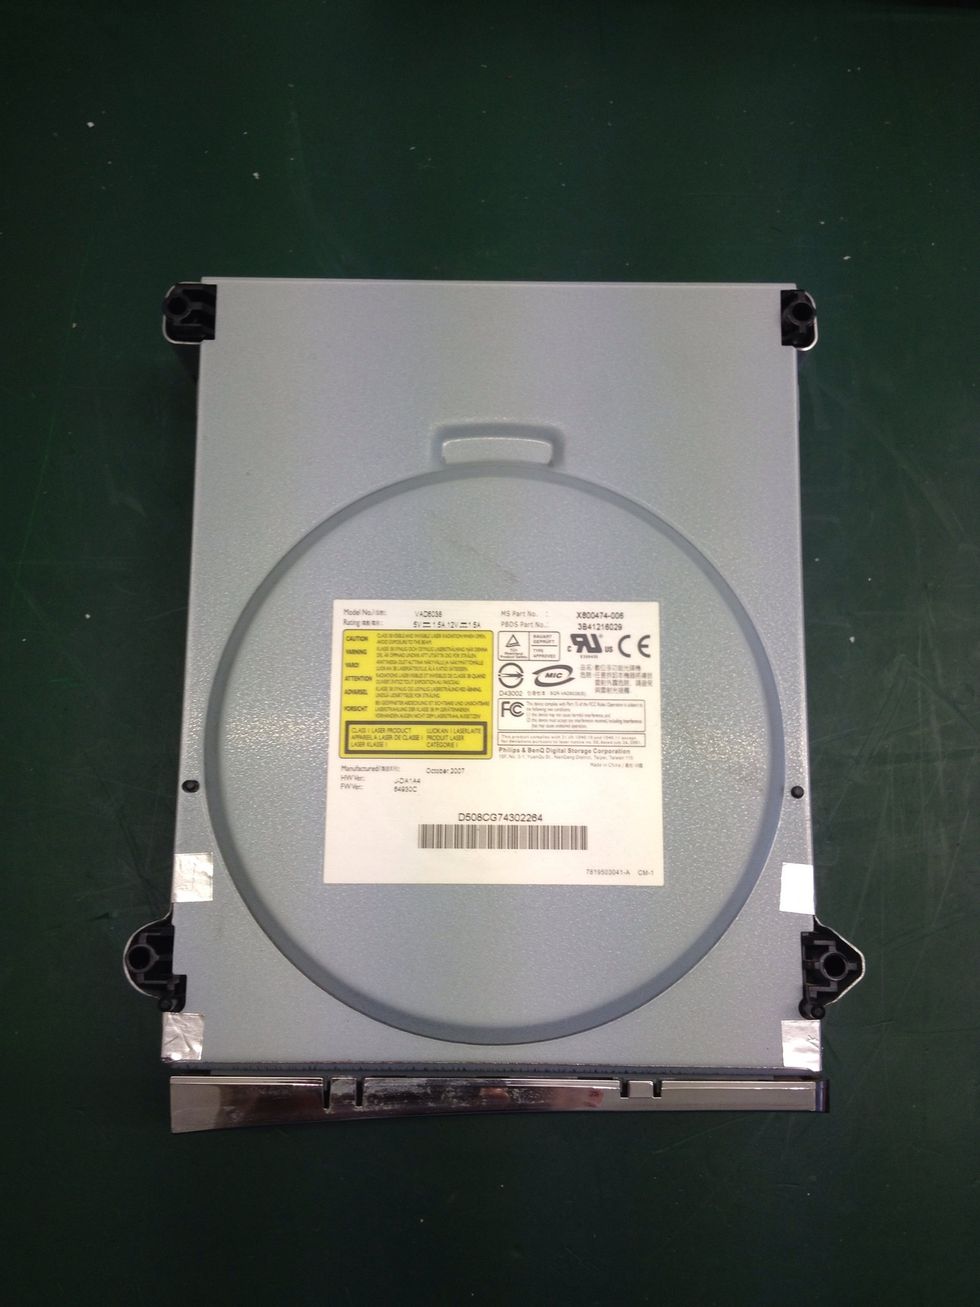
Flip the drive to show its belly and take note of the four screws located near each black plastic post and the warranty void sticker on the side.
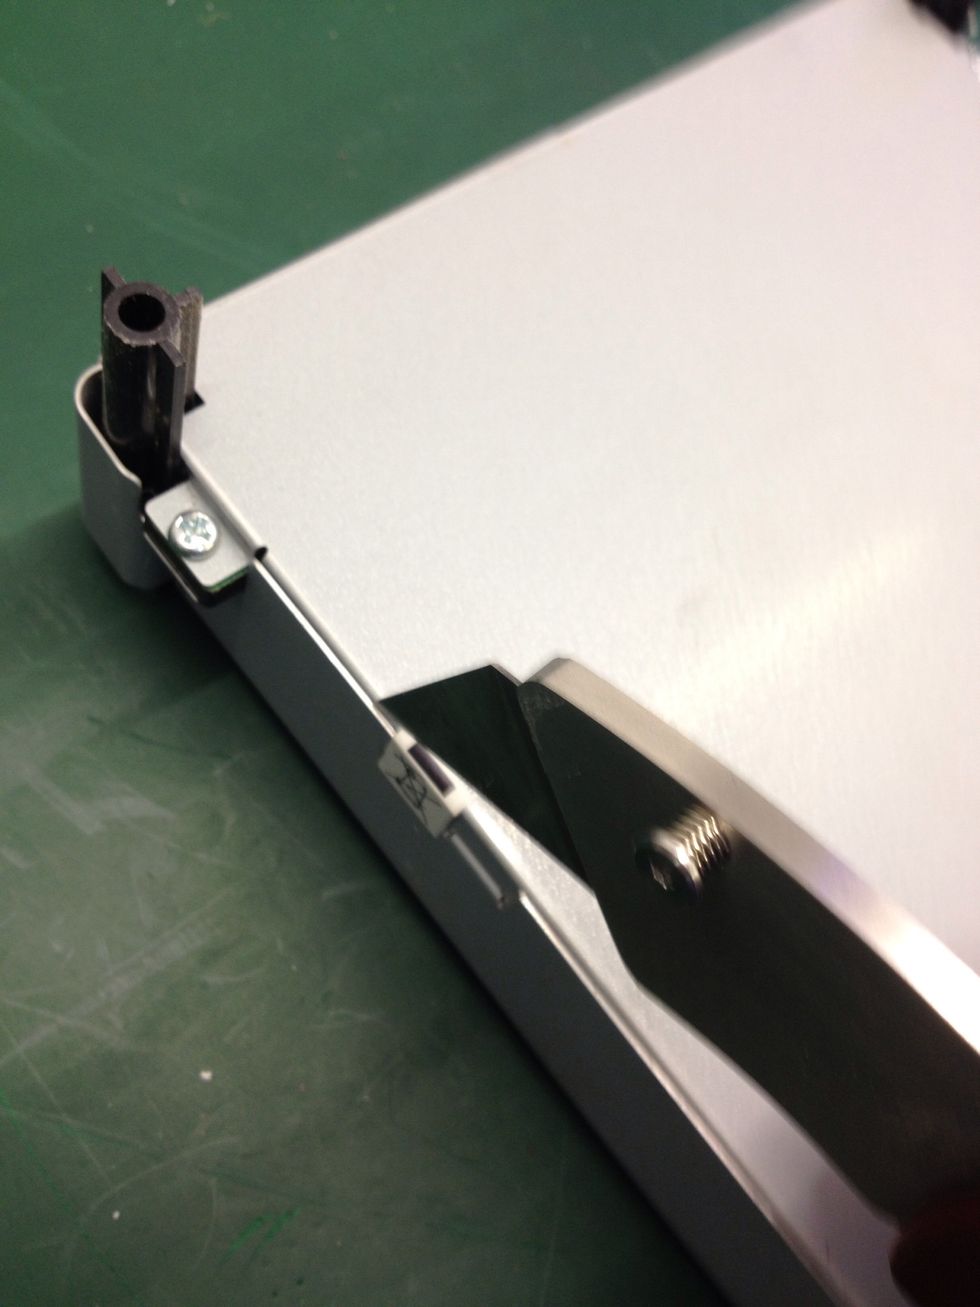
Start by cutting along the seam through the warranty void label.
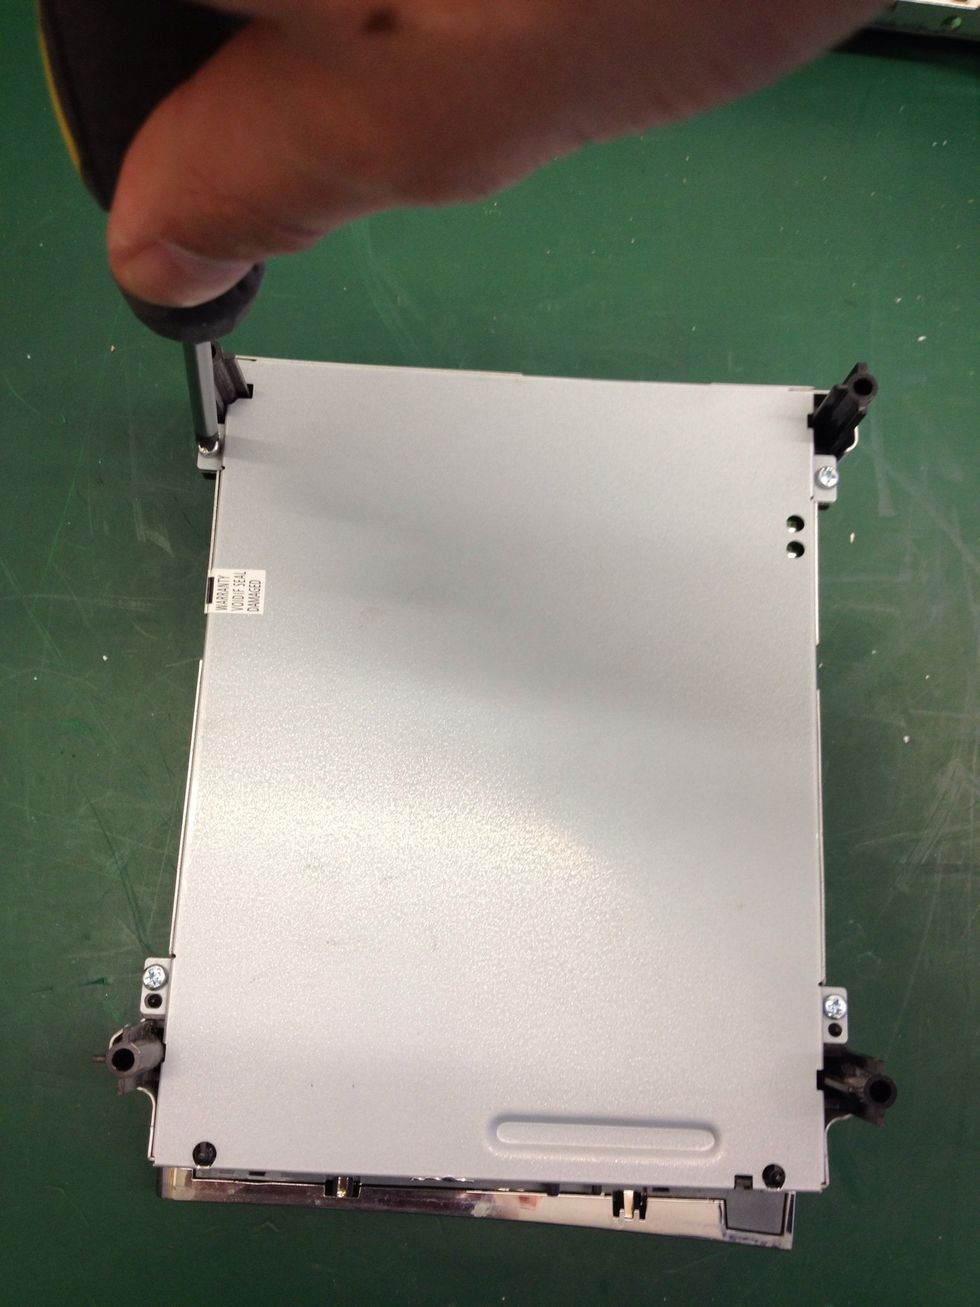
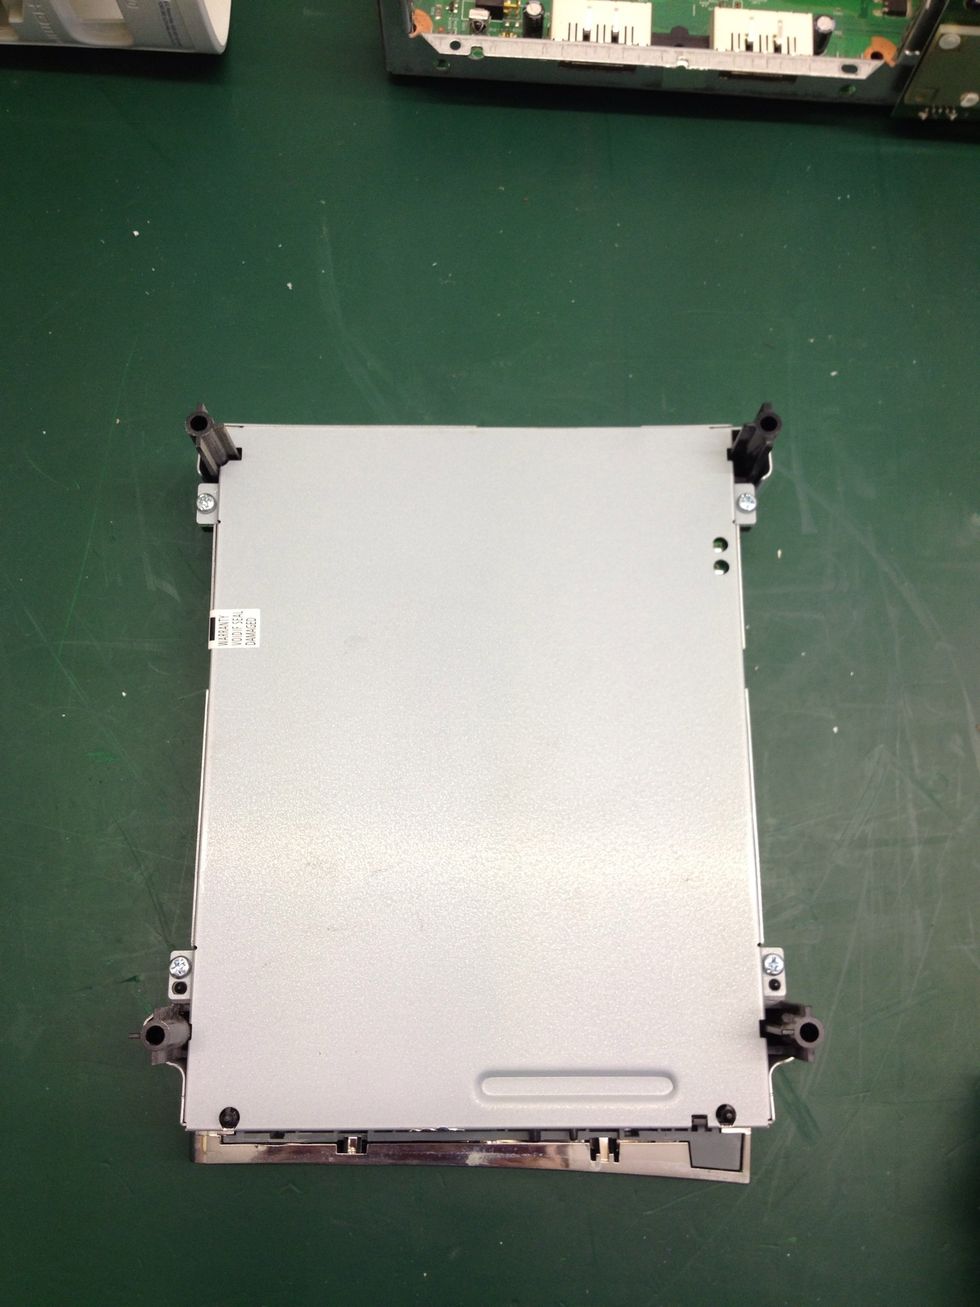
Now unscrew each of the four screws with your crosshead screwdriver.

Set the screws safely aside.
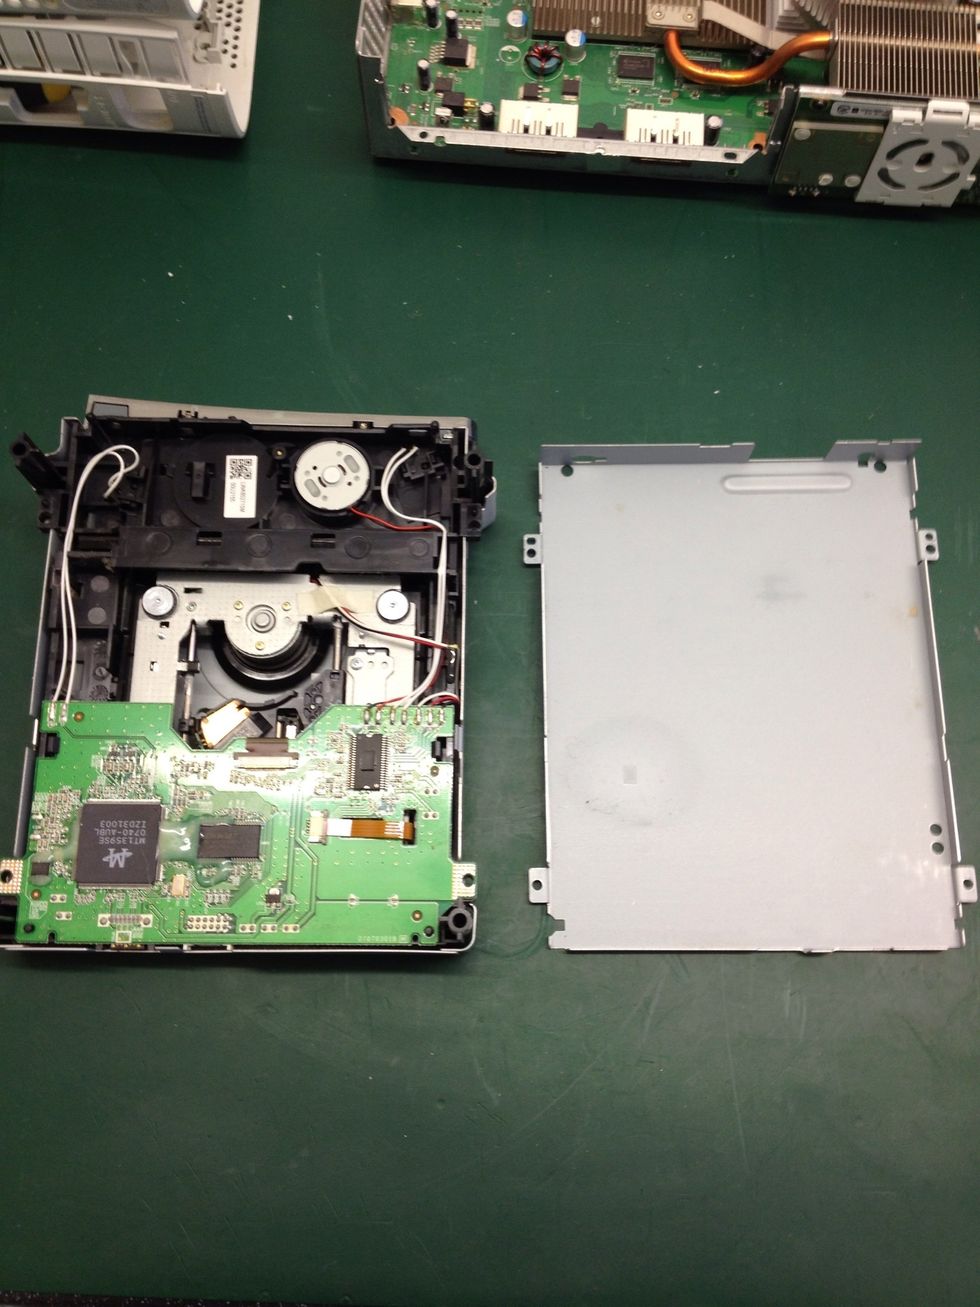
Gently pull the bottom case off the drive, revealing the PCB.
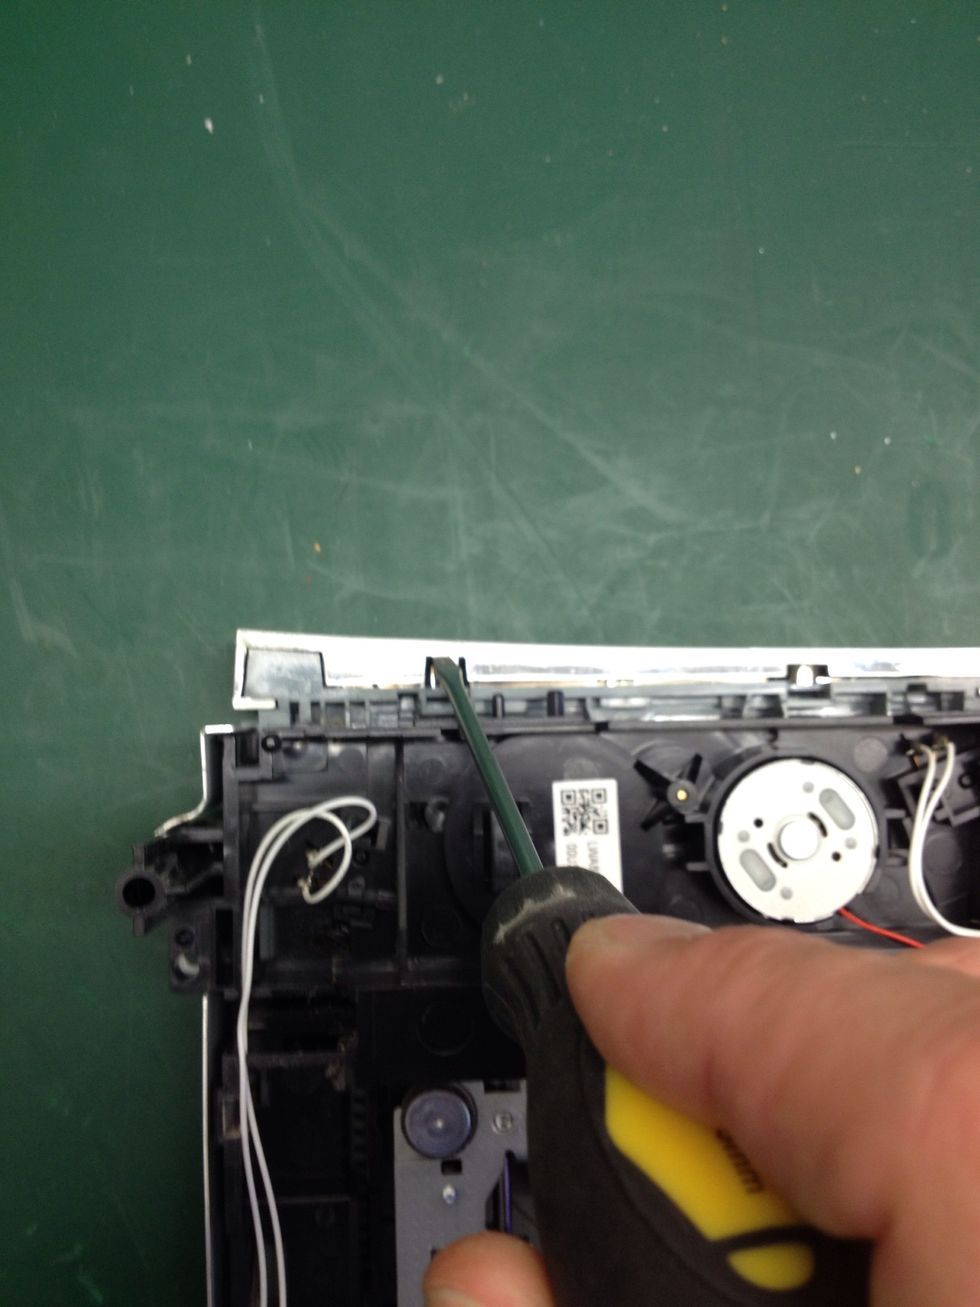
Remove the drawer bezel using the small flathead screwdriver to push down gently on the tabs shown.

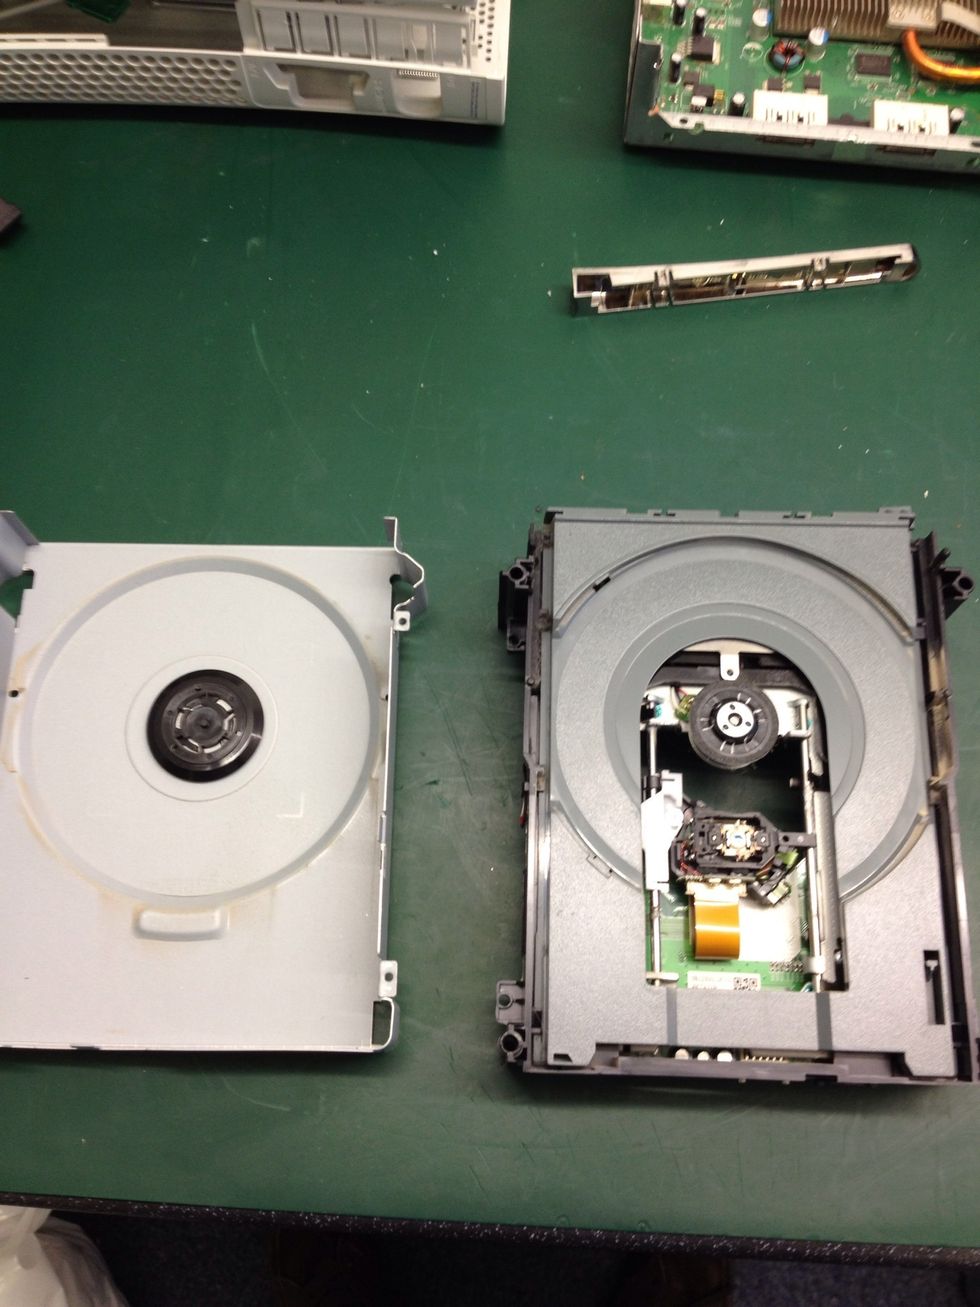
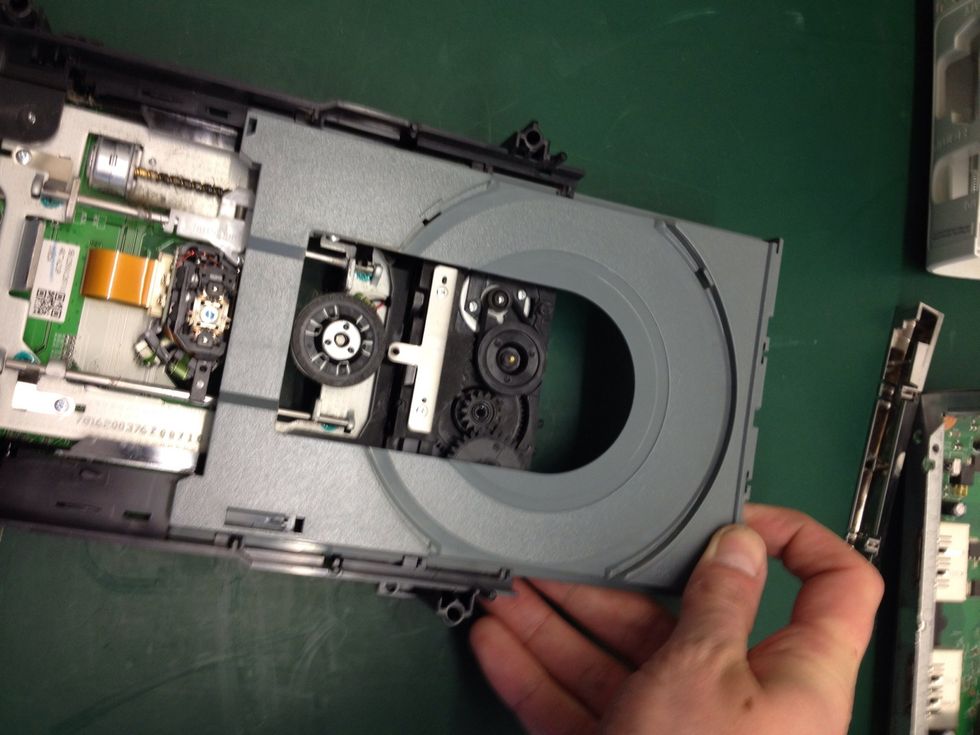
Now turn the drive back over and remove the too case, revealing the laser and drawer. NOTE!! Do not touch the laser with ANYTHING!
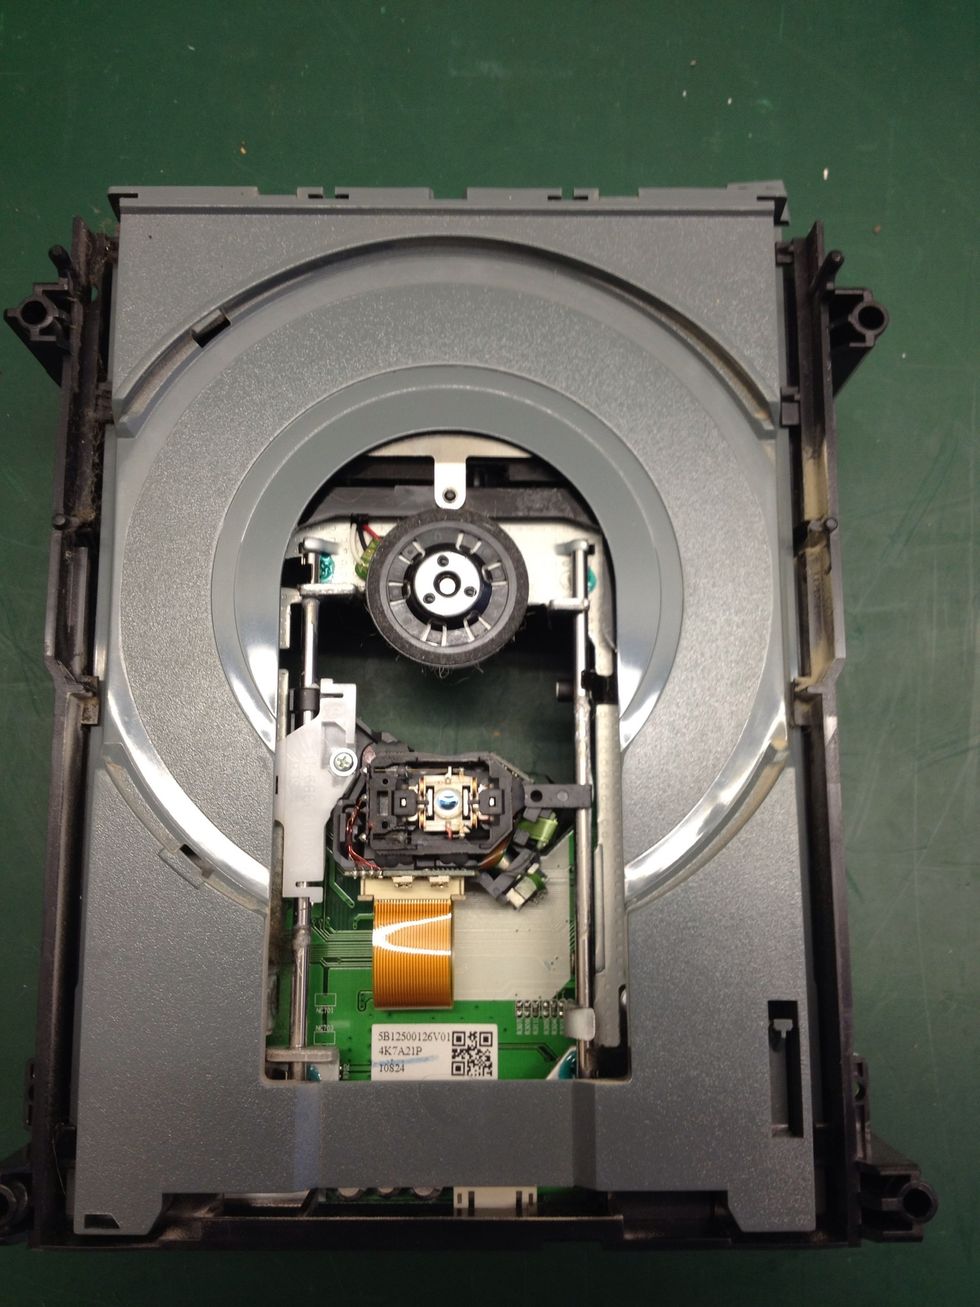
A closer shot of the laser. I cannot stress how important it is not to touch this.
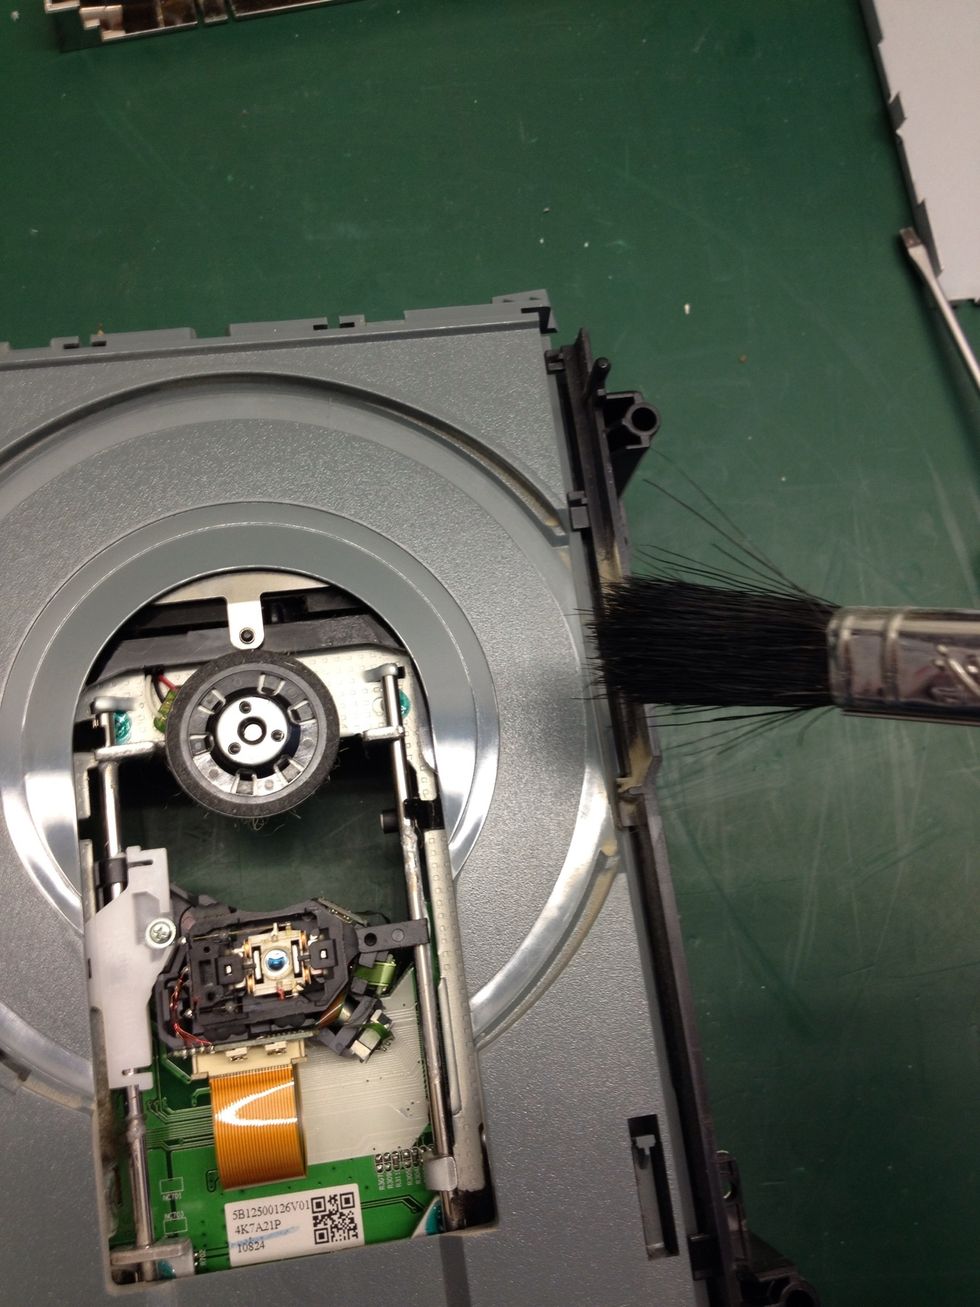
Locate dust and brush it AWAY from the laser. Do not brush the laser itself.
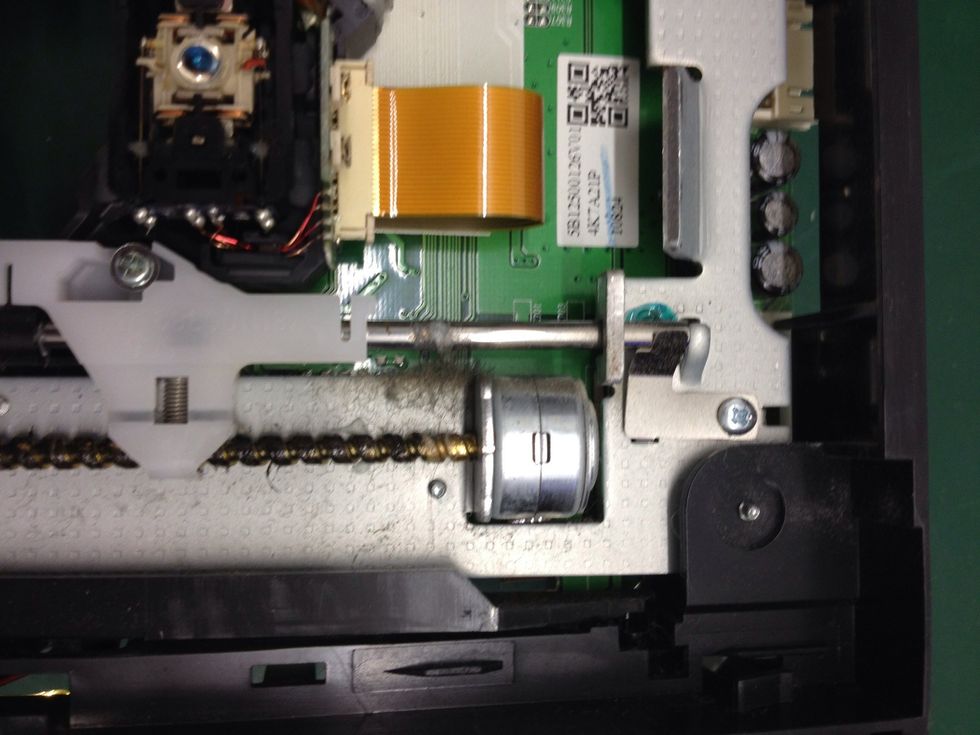
With the drive turn back over take notice of this area under the black plastic. It has some ridges in it. We will use these ridges to open the drawer.
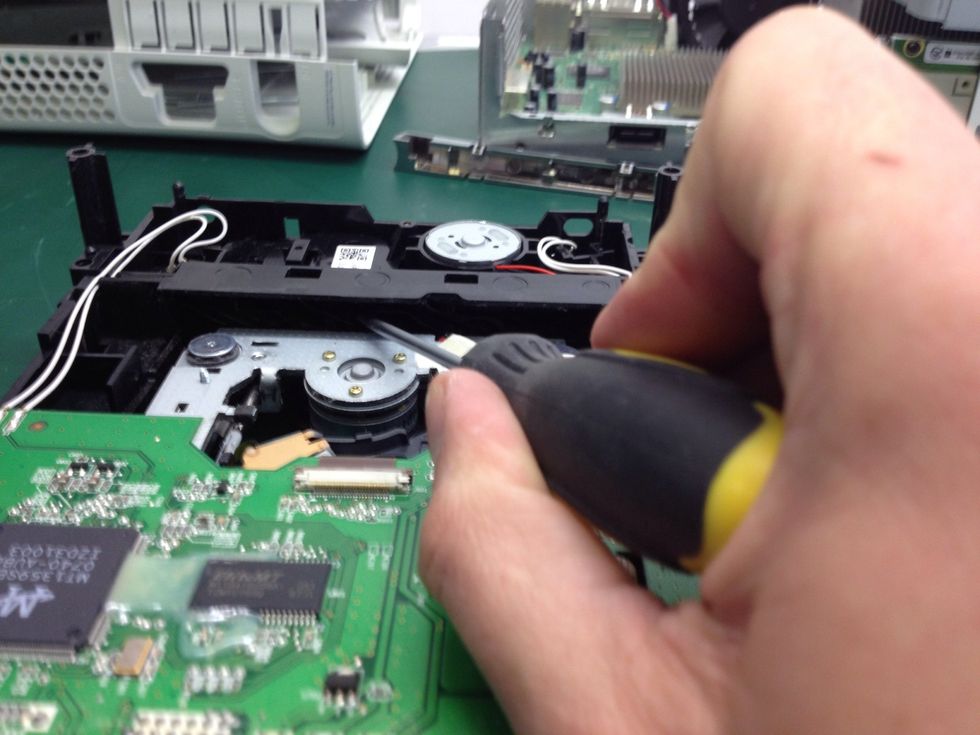
Locate your flathead screwdriver against a ridge and push it to the side. Do not use a lot of force. Movement will be minimal. You will notice the grey metal move up toward you hand. At this point...
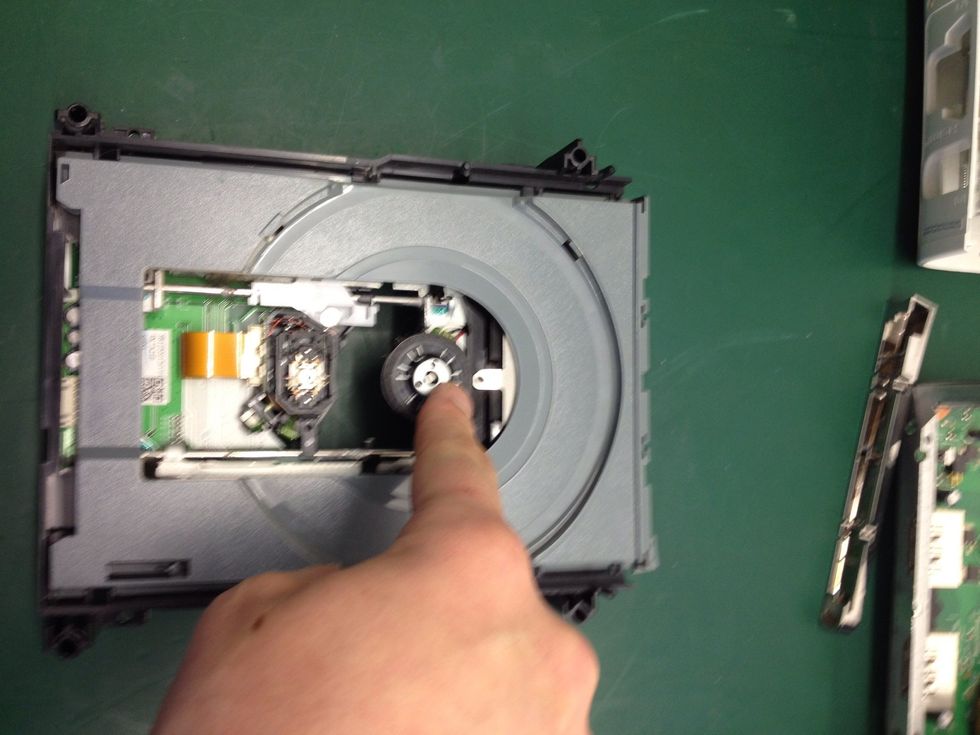
Turn the drive over again and gently push down as indicated in the photo. The drawer will move slightly.
You can now slowly pull the drawer out.
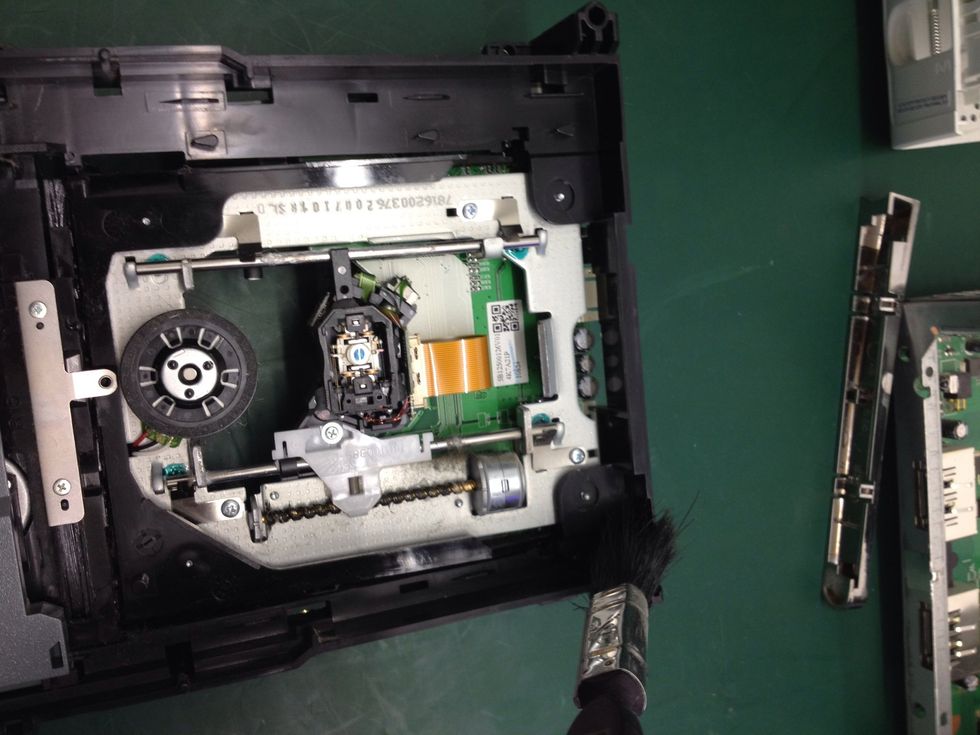
Now locate any more dust and brush it away.
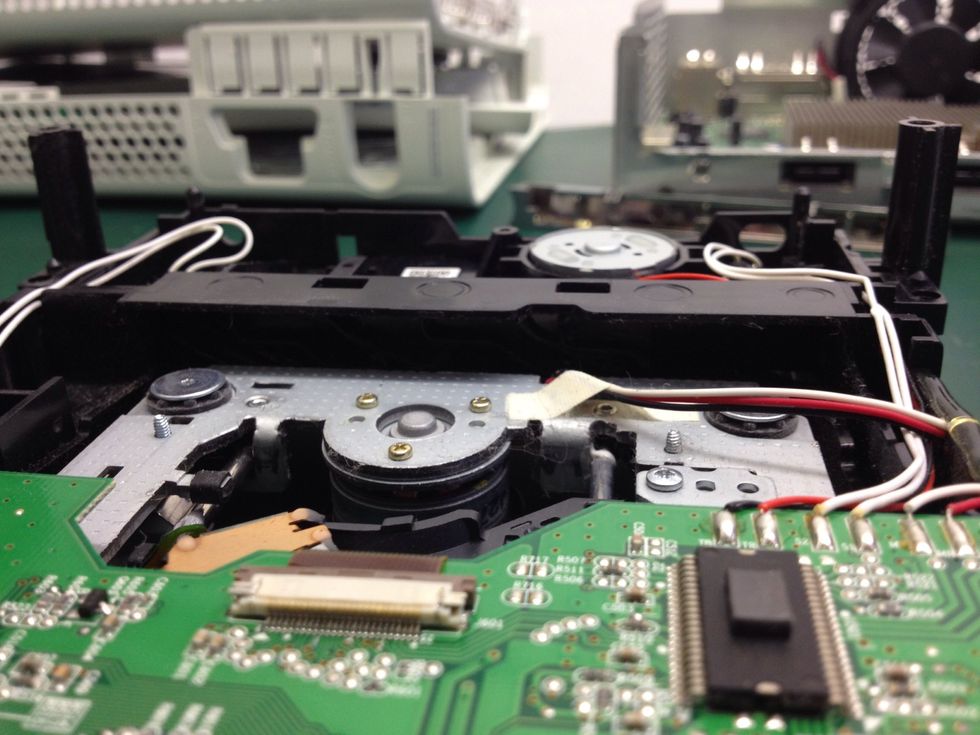
The mechanics of the drive are greasy and dust collects here too. DAB at the dust collected in the grease to remove only the worst of it.
You are done! Now put it all back together, back into your Xbox 360 chassis and rebuild the rest of the console. Switch it on and run a cleaning disc in the drive to clean the laser. Happy gaming!
If you have enjoyed this guide or found it useful please Fave it. If you have any questions please leave them in the comments. You can also follow me on Twitter @danielrmitchell