The Conversation (0)
Sign Up
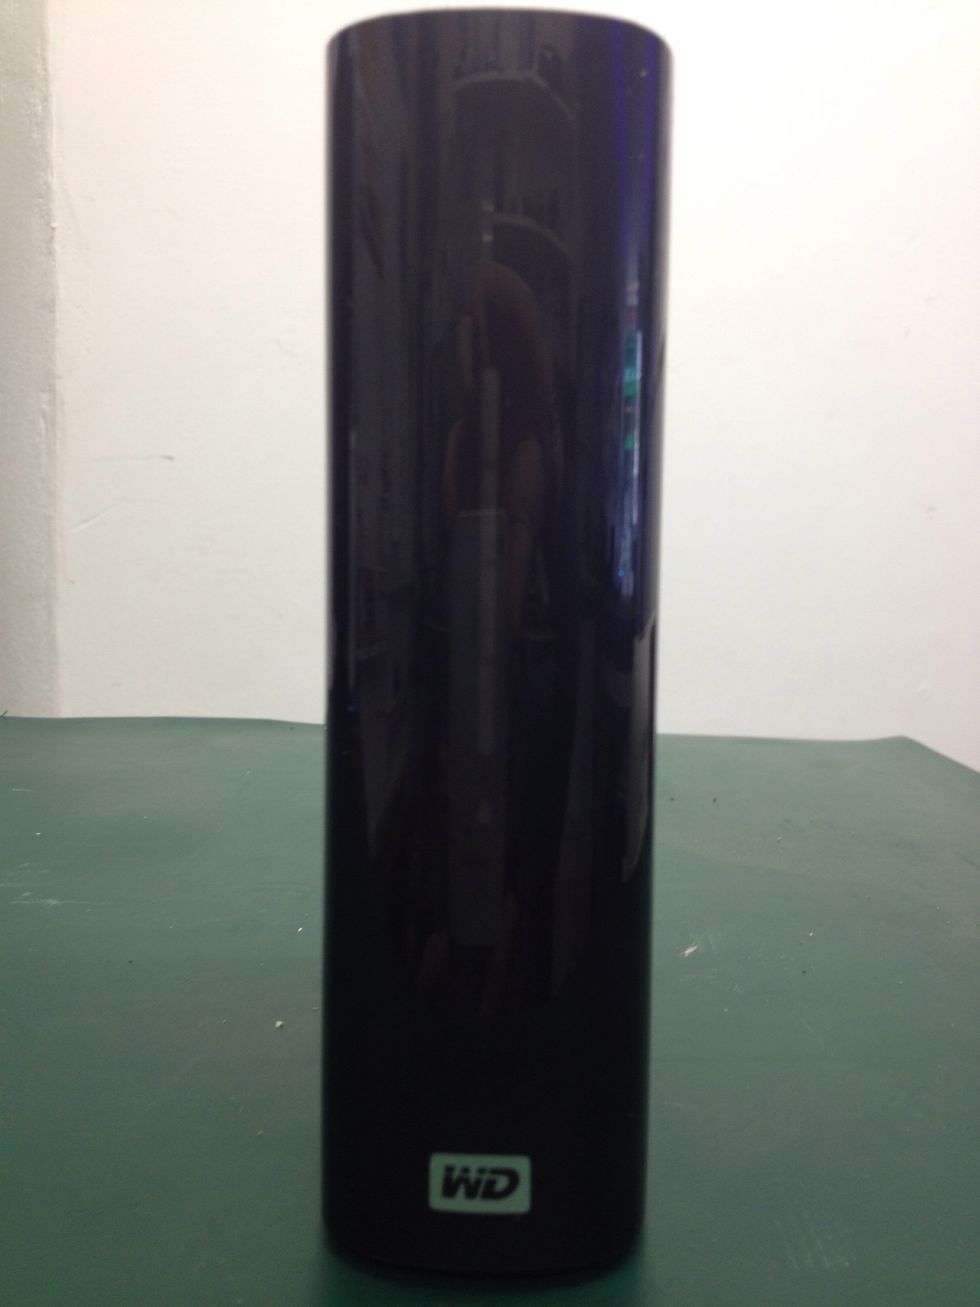
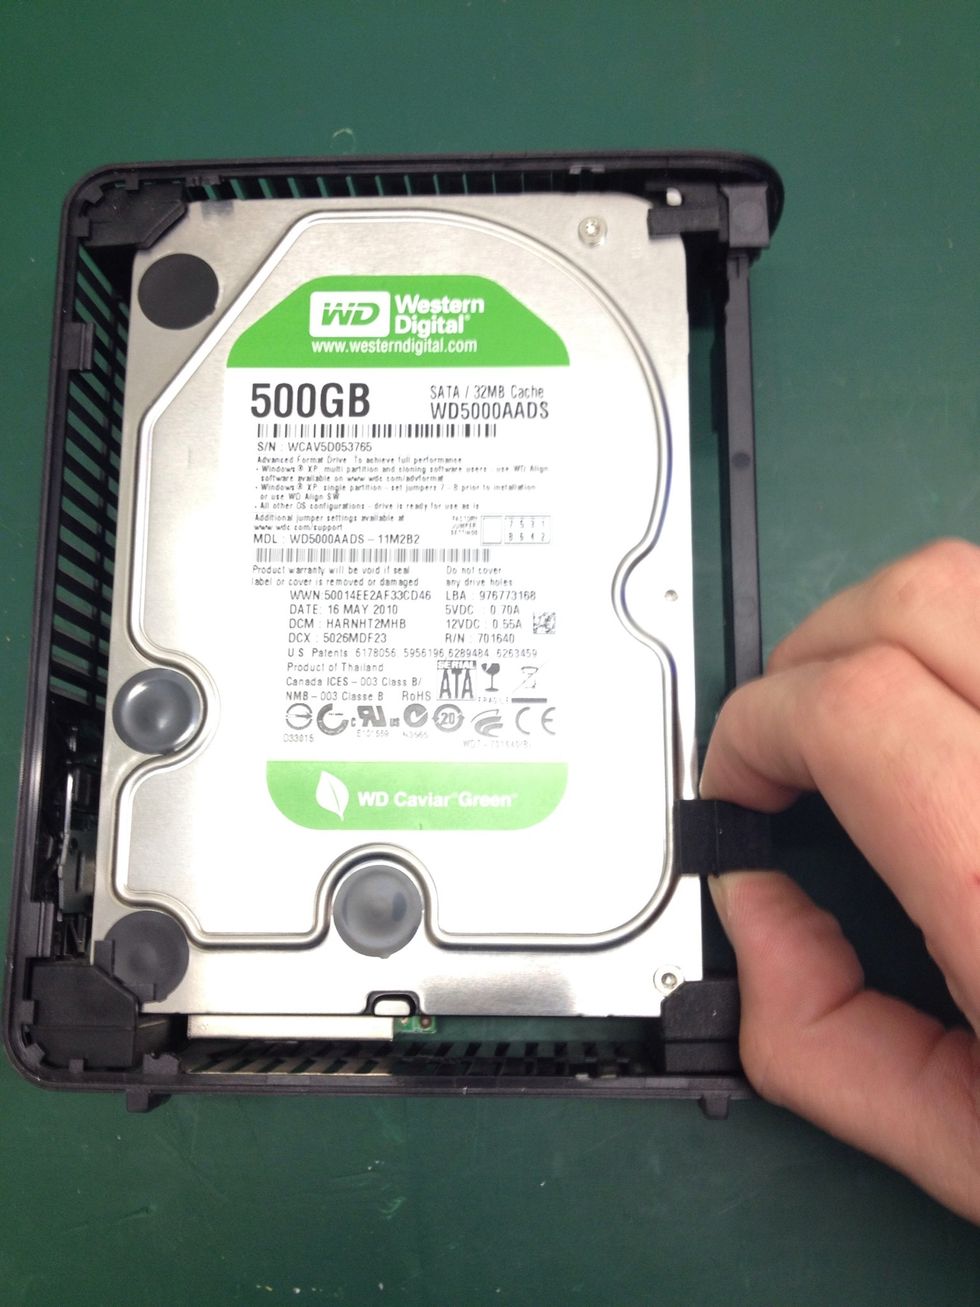
This is a dead (no longer functioning) Western Digital MyBook USB External Hard Disk Drive. It is the 500GB model. I am going to replace the drive with an identical spare (that works).
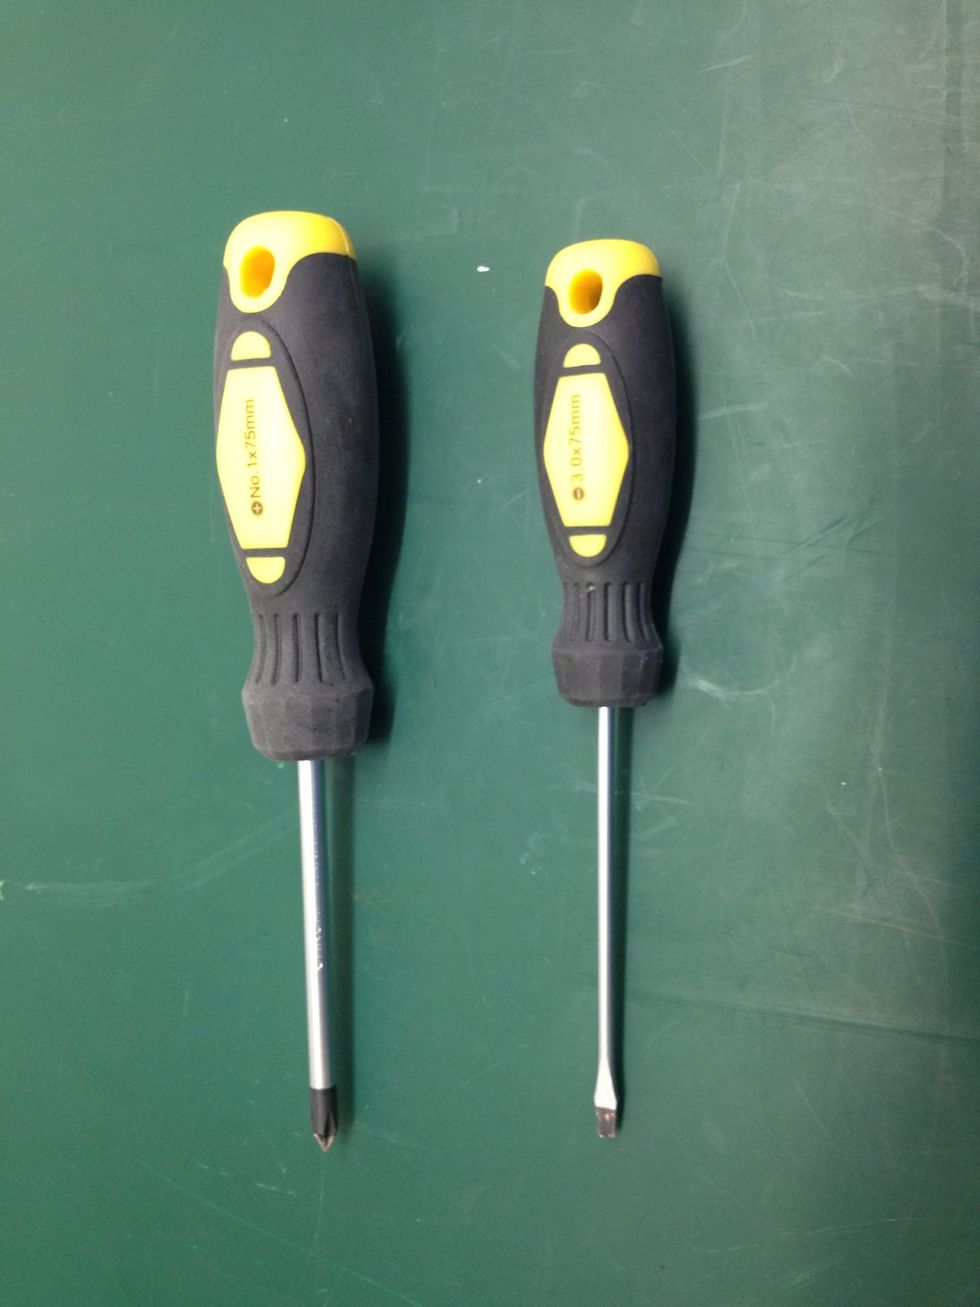
You will need two screwdrivers for this (check the Supplies tab for more info)
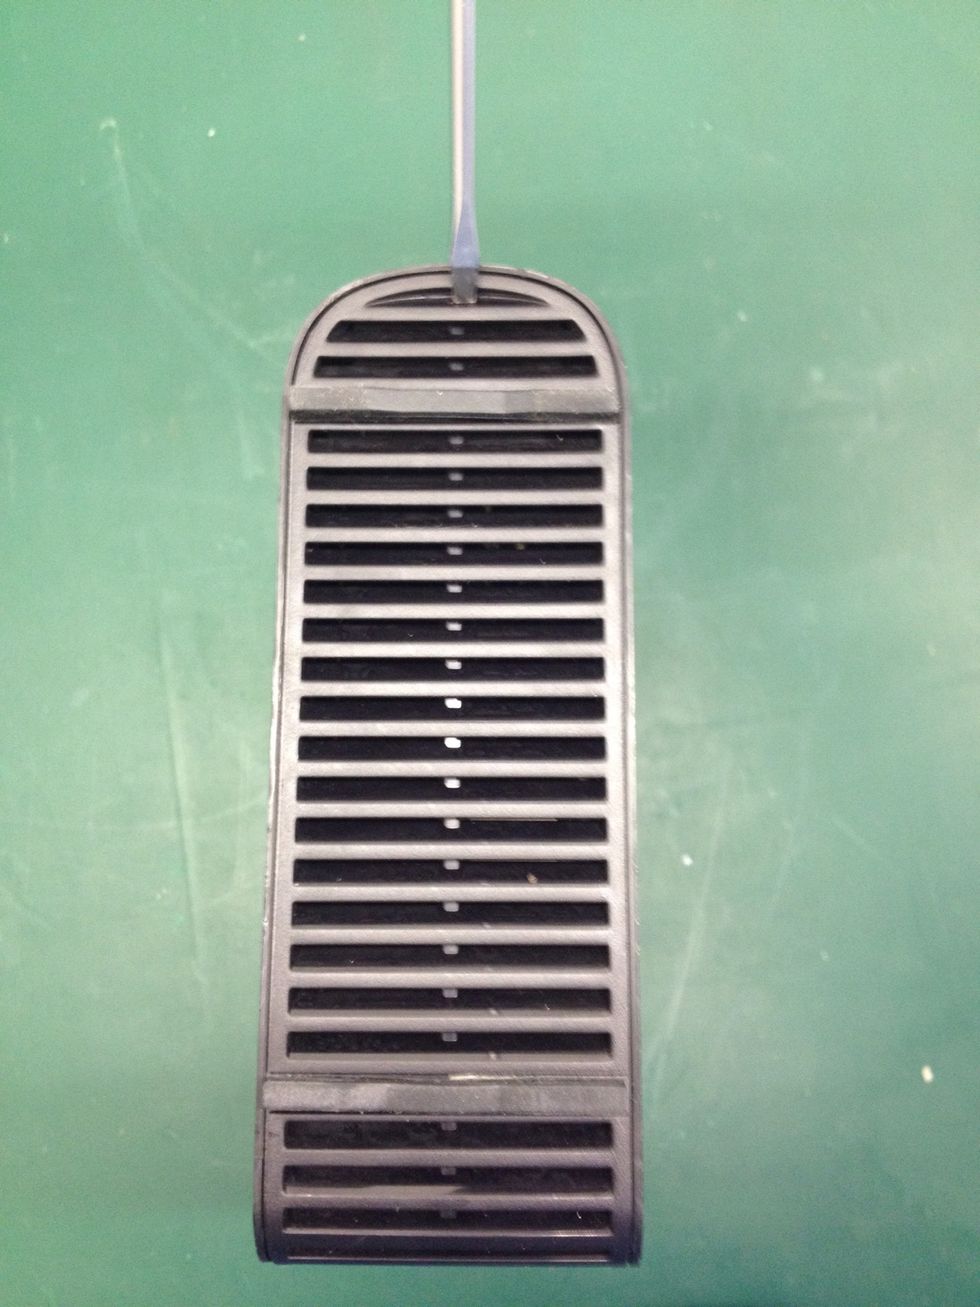
Starting with the bottom of the drive (where the rubber feet are) use the small flat head screwdriver to gently nudge the first vent piece, moving the chassis along the outer sleeve just a little.
Repeat the last step at the top of the drive.
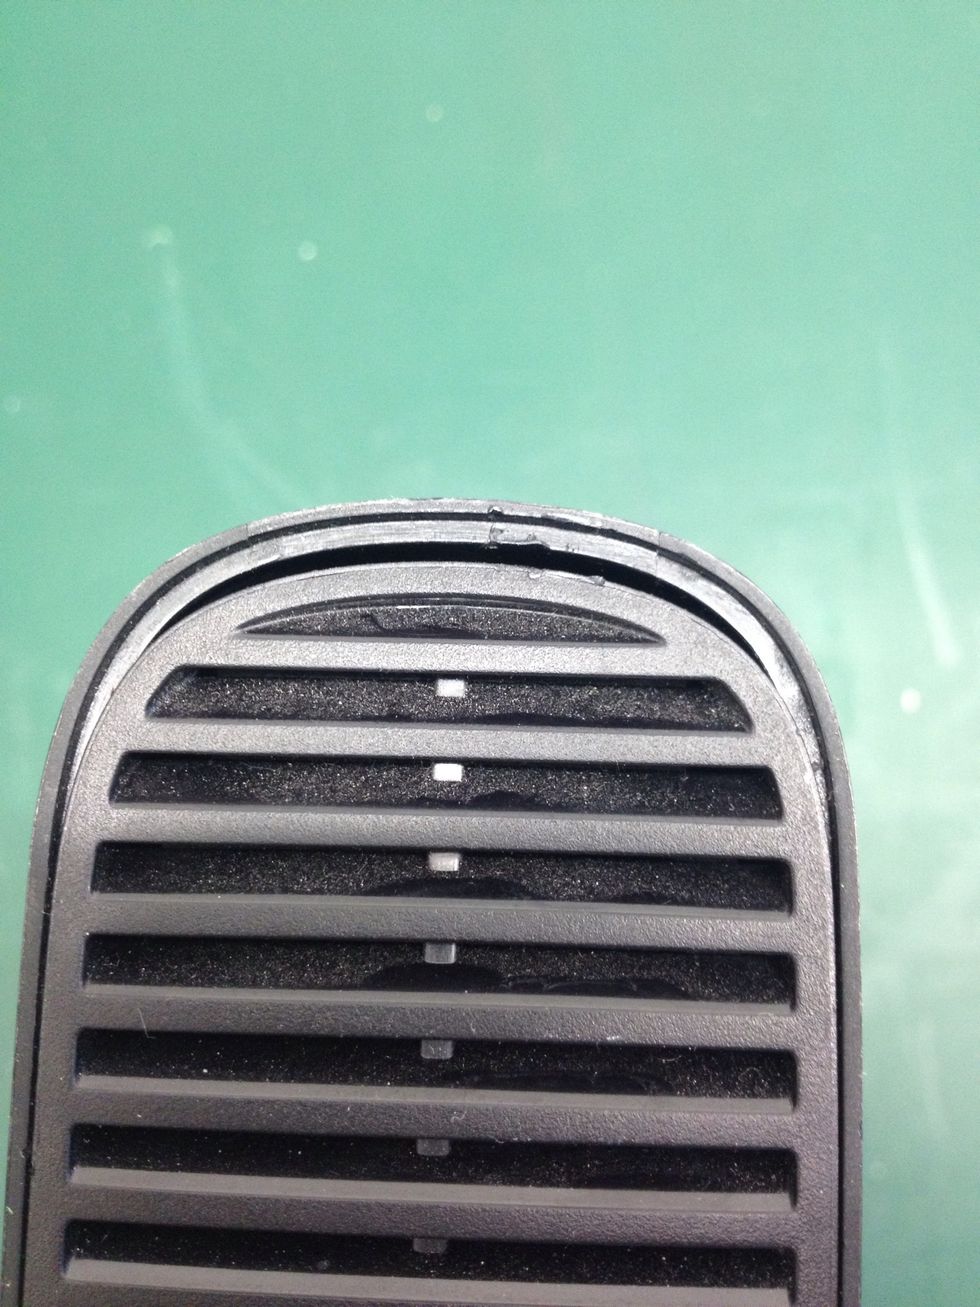
You should now have a small gap, as above, at either end of the drive.
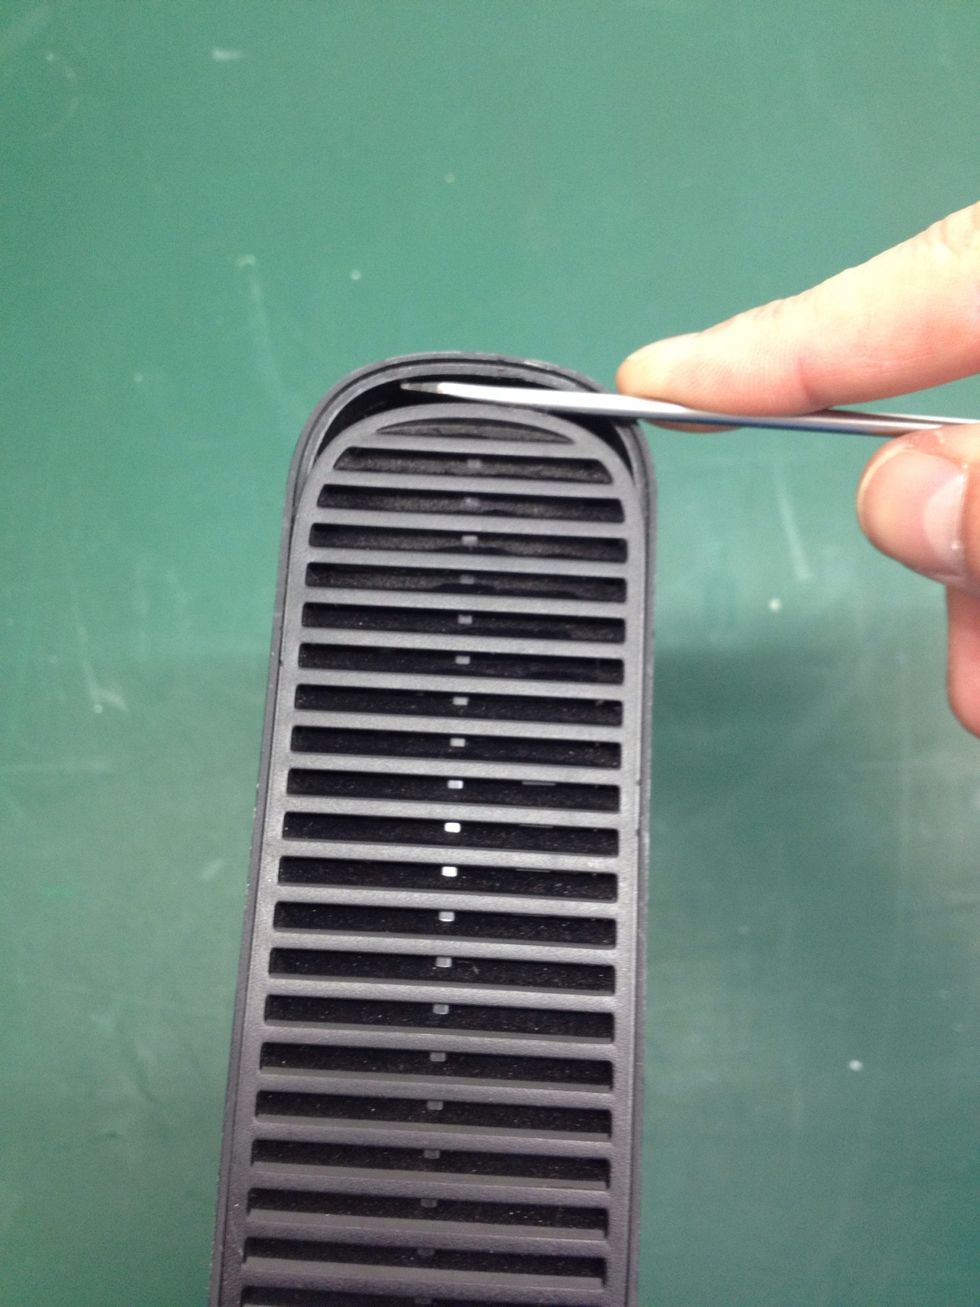
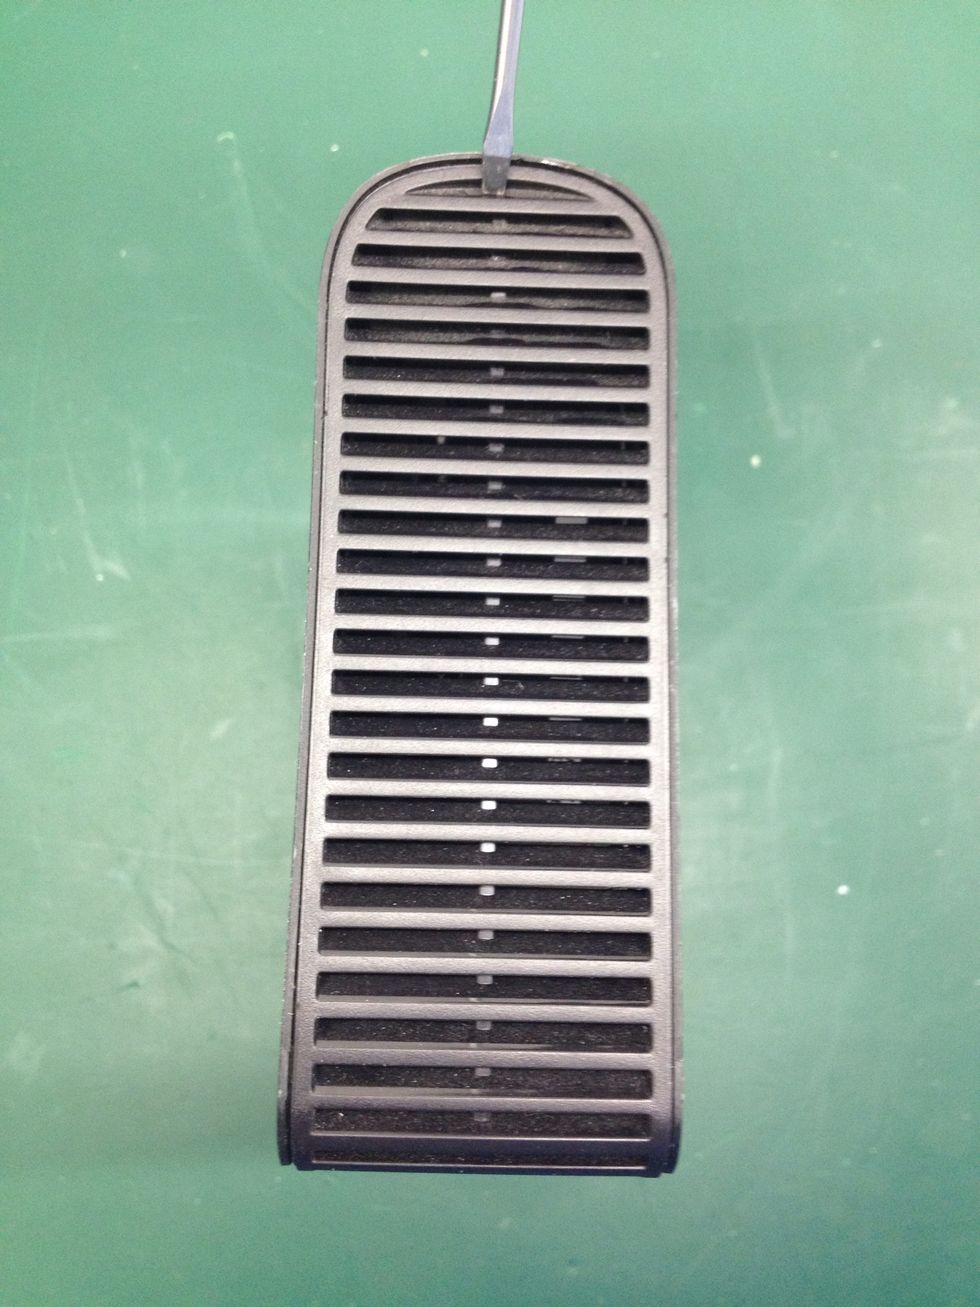
Now insert the screwdriver as shown and gently leaver a slightly large gap at either end if the drive.
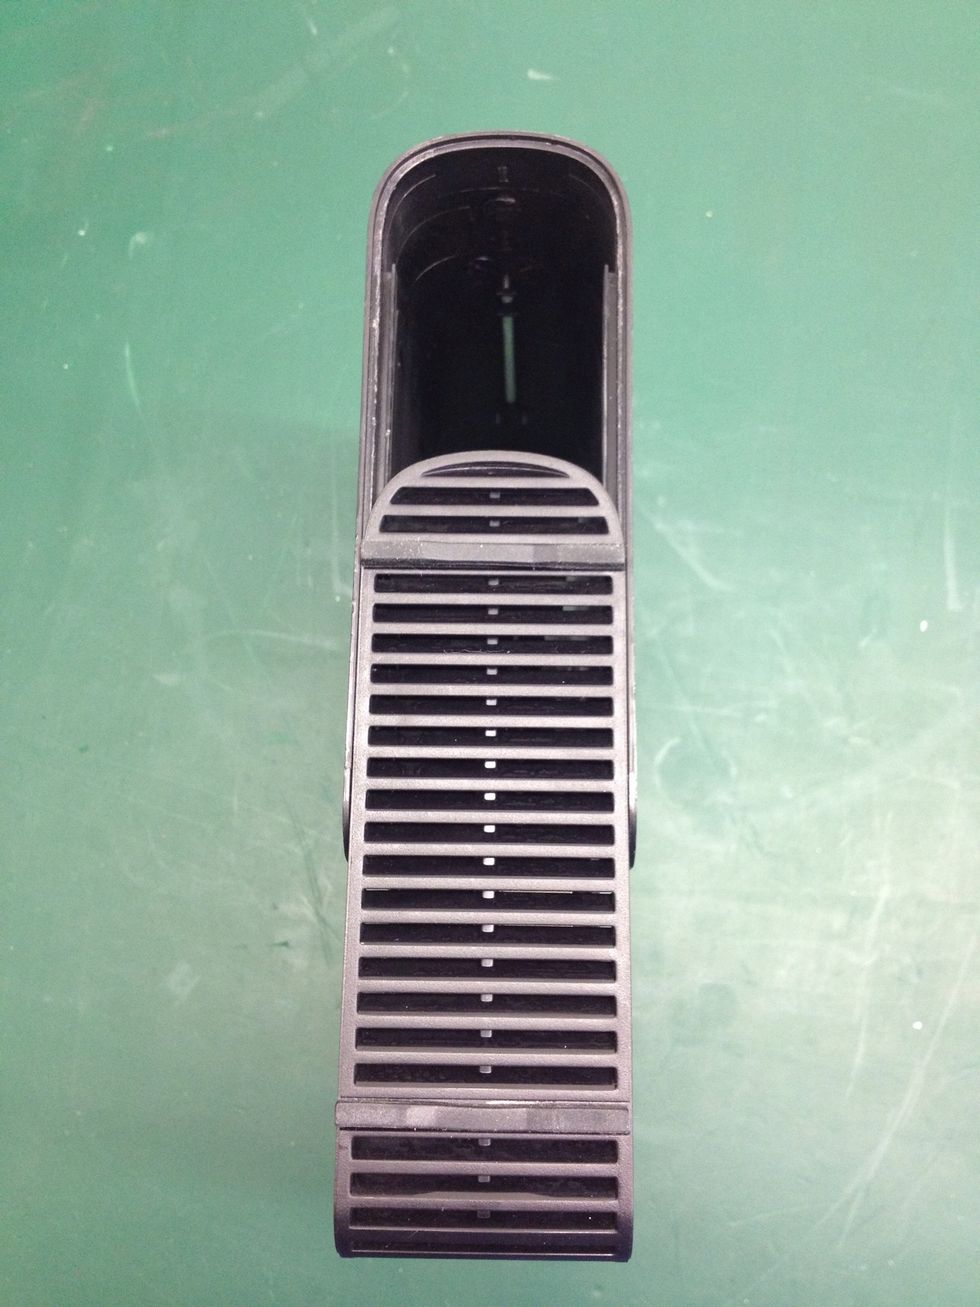
Now with one hand on the front of the outer sleeve and the other on the rear of the chassis pull the two parts away from one another.
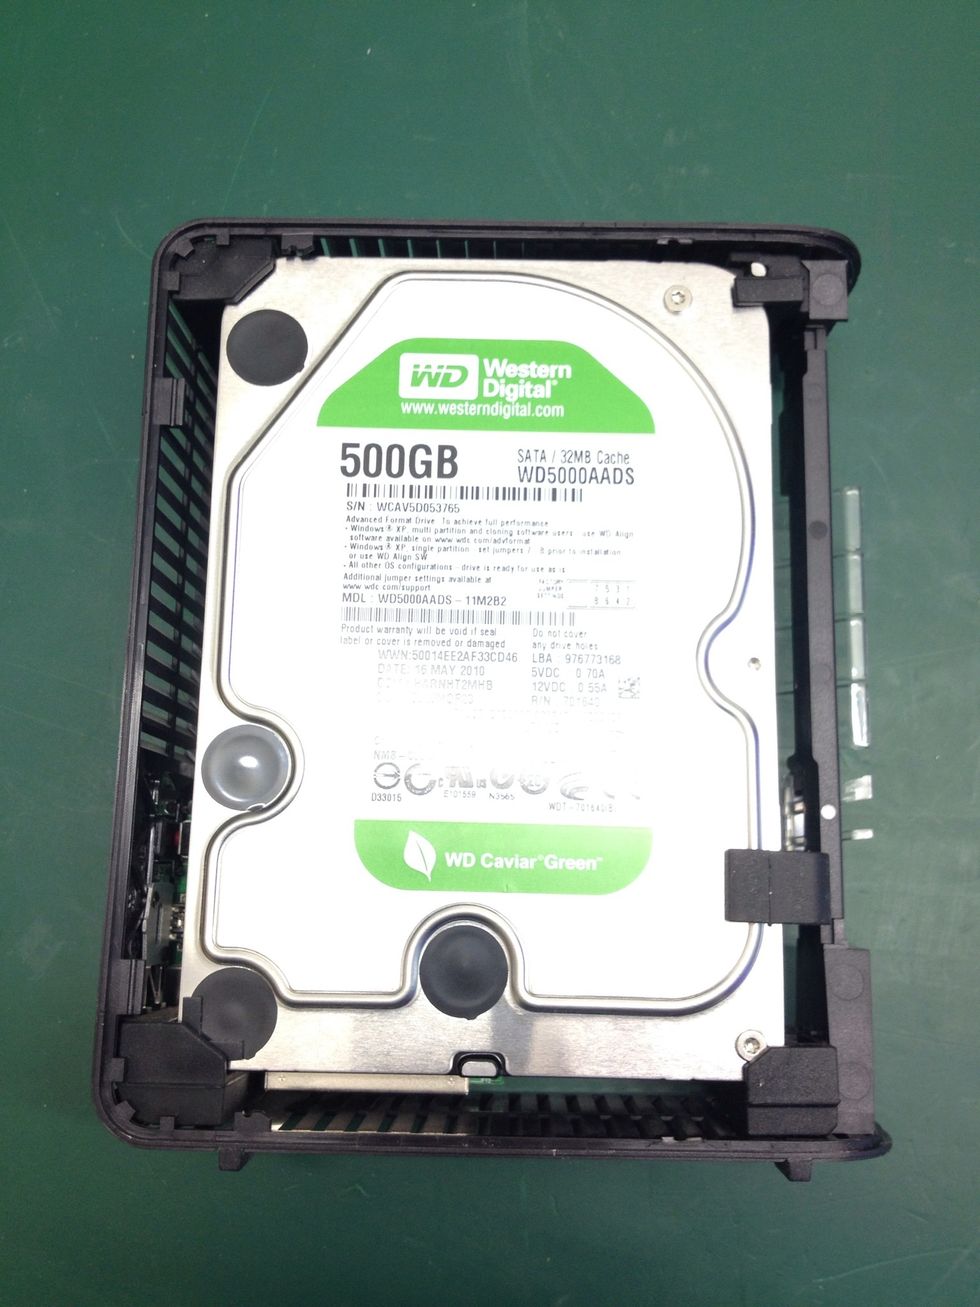
You should now be able to see the hard disk drive as in this photo.
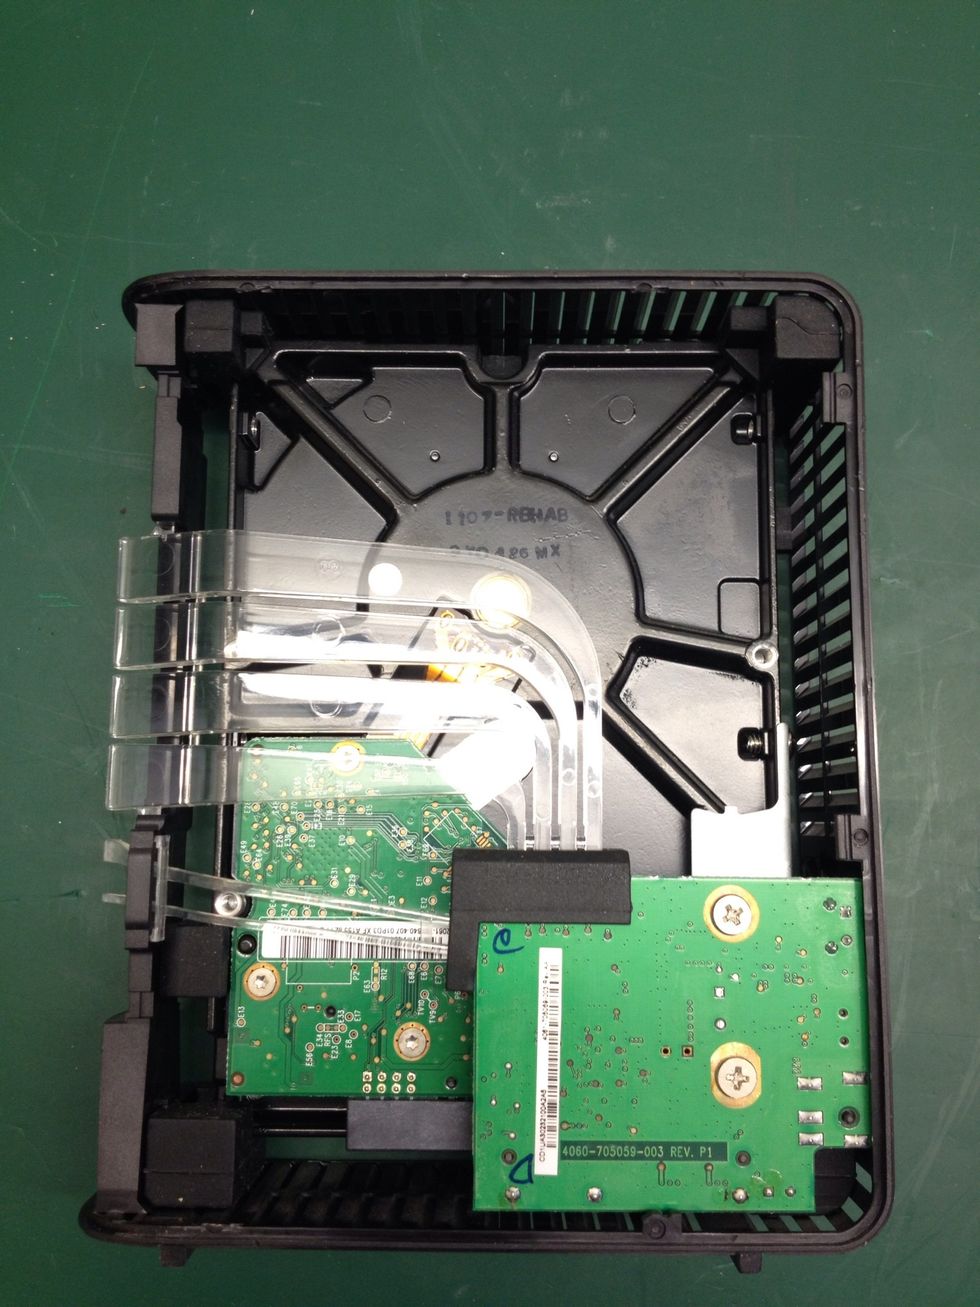
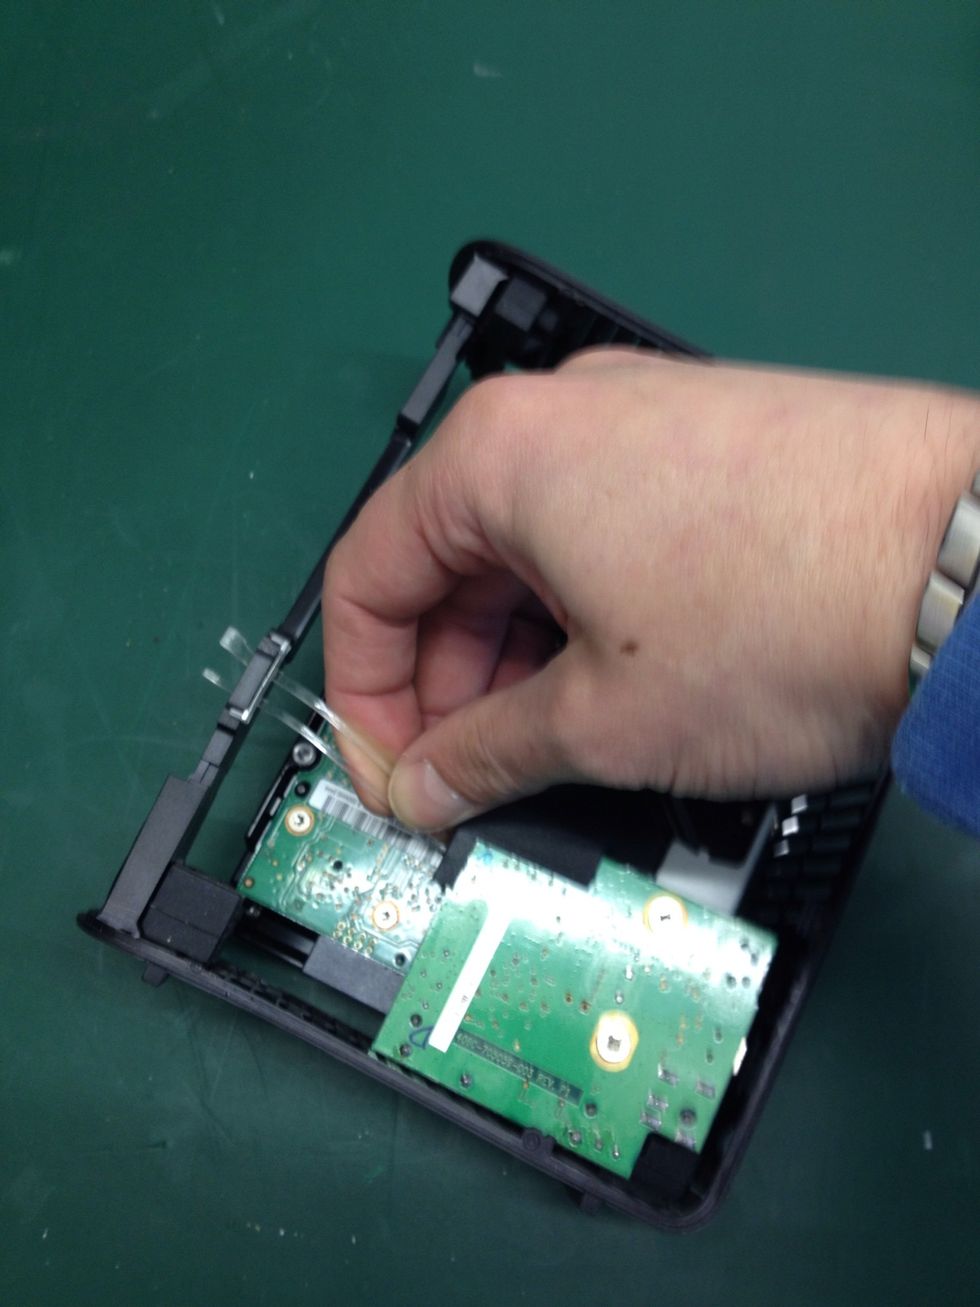
Turn it over where you will see the PCB's (Printed Circuit Boards).
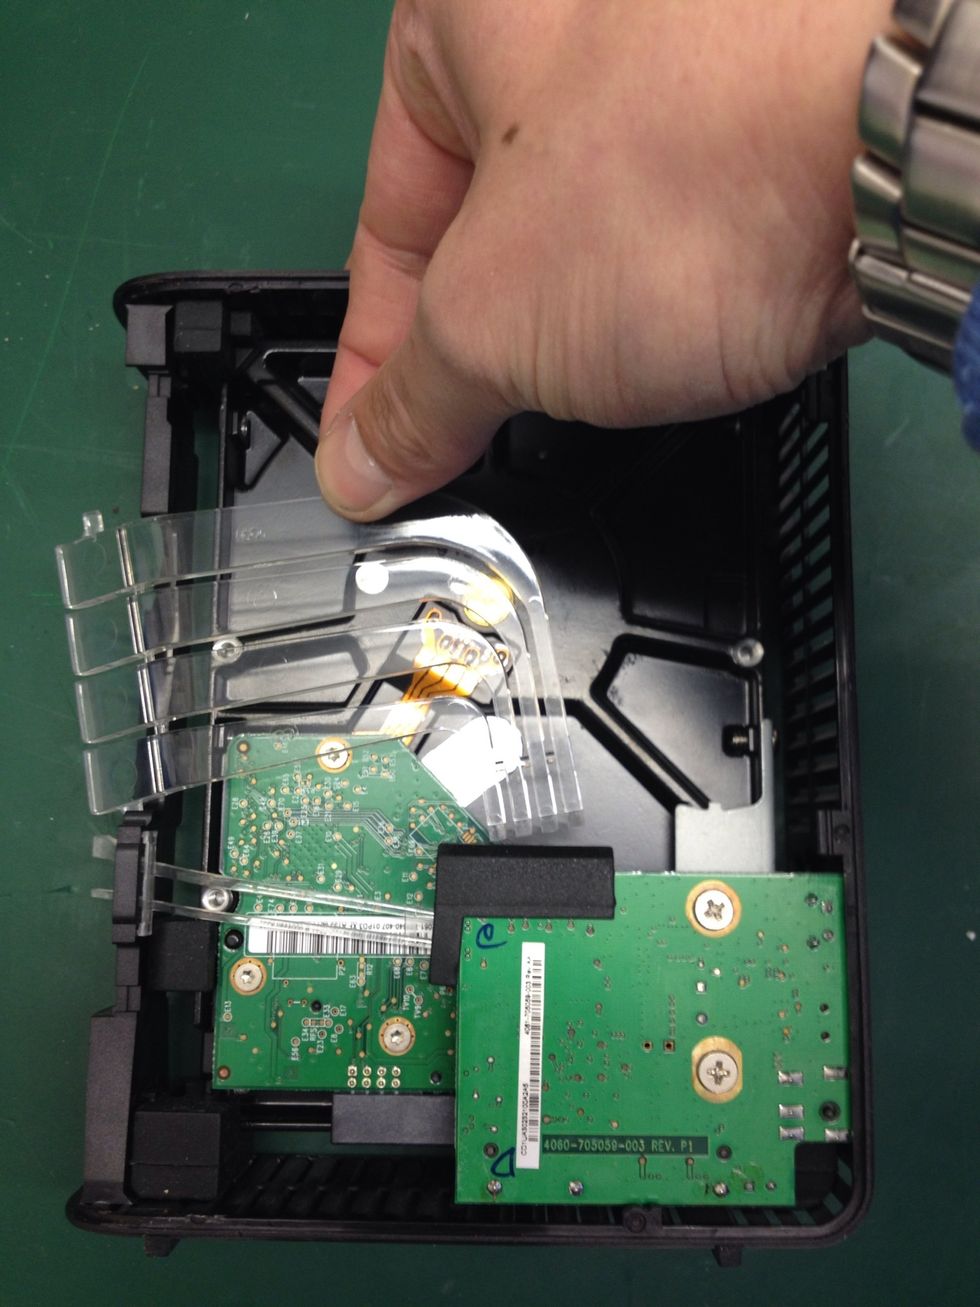
Pull this piece of transparent plastic away as show, releasing it from the rubber mount in the small raised PCB.
Slide it then to the left to release it from the chassis and set it aside.
Turn the chassis back over and locate this piece of rubber, pull it up and away and...
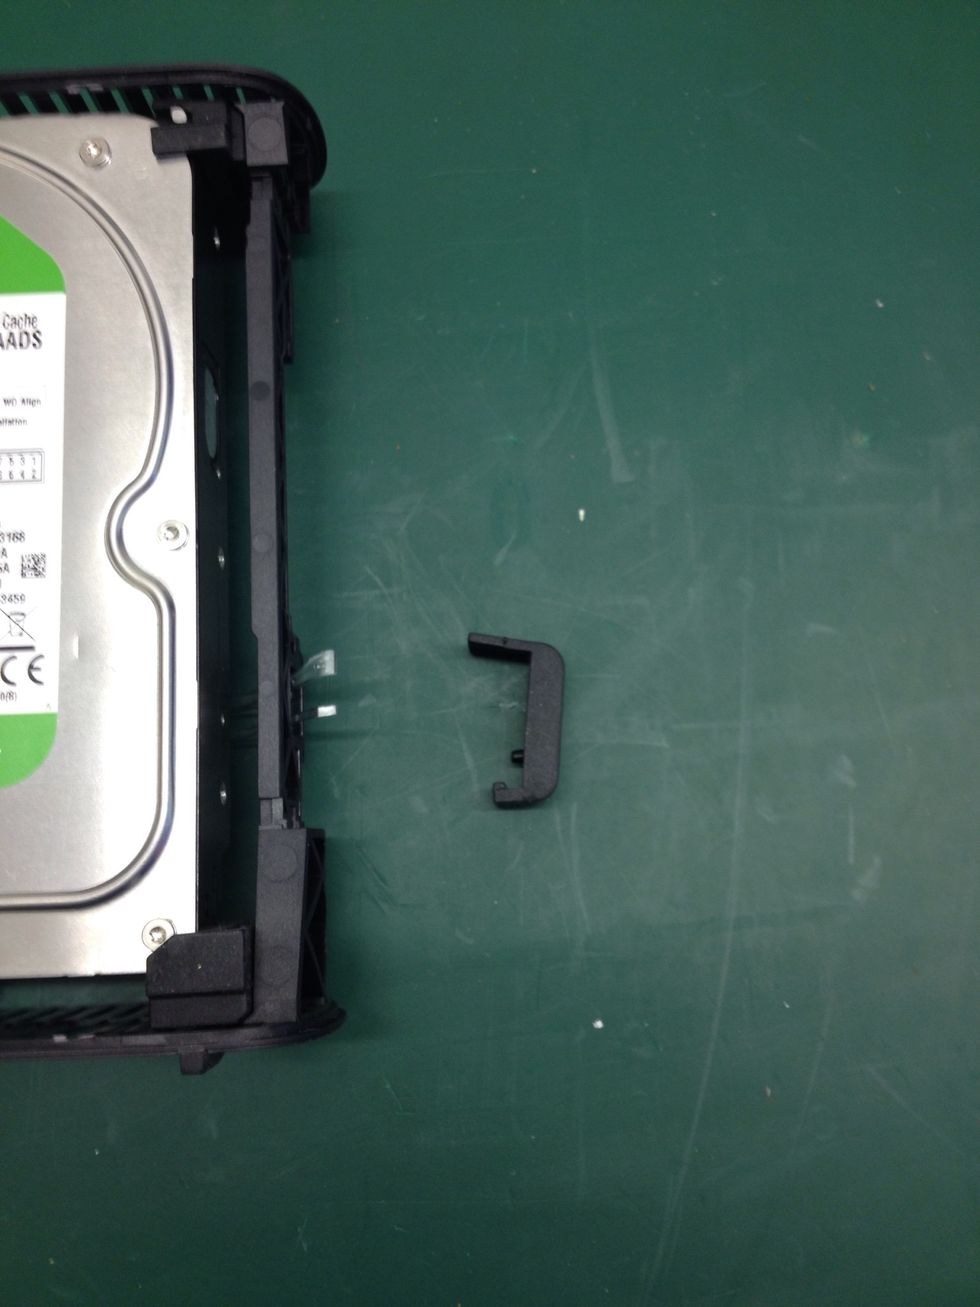
Set it aside.
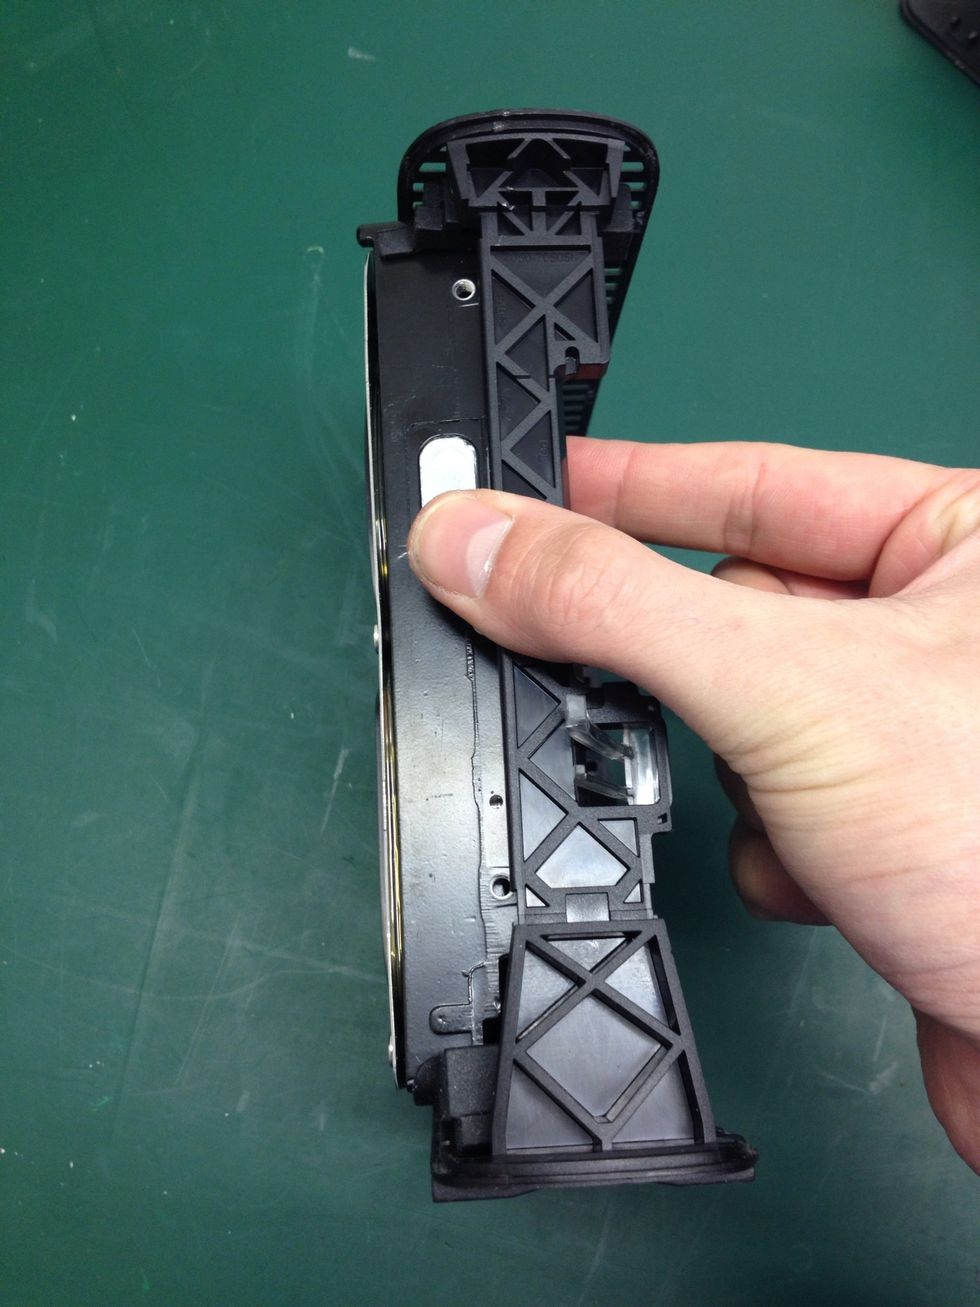
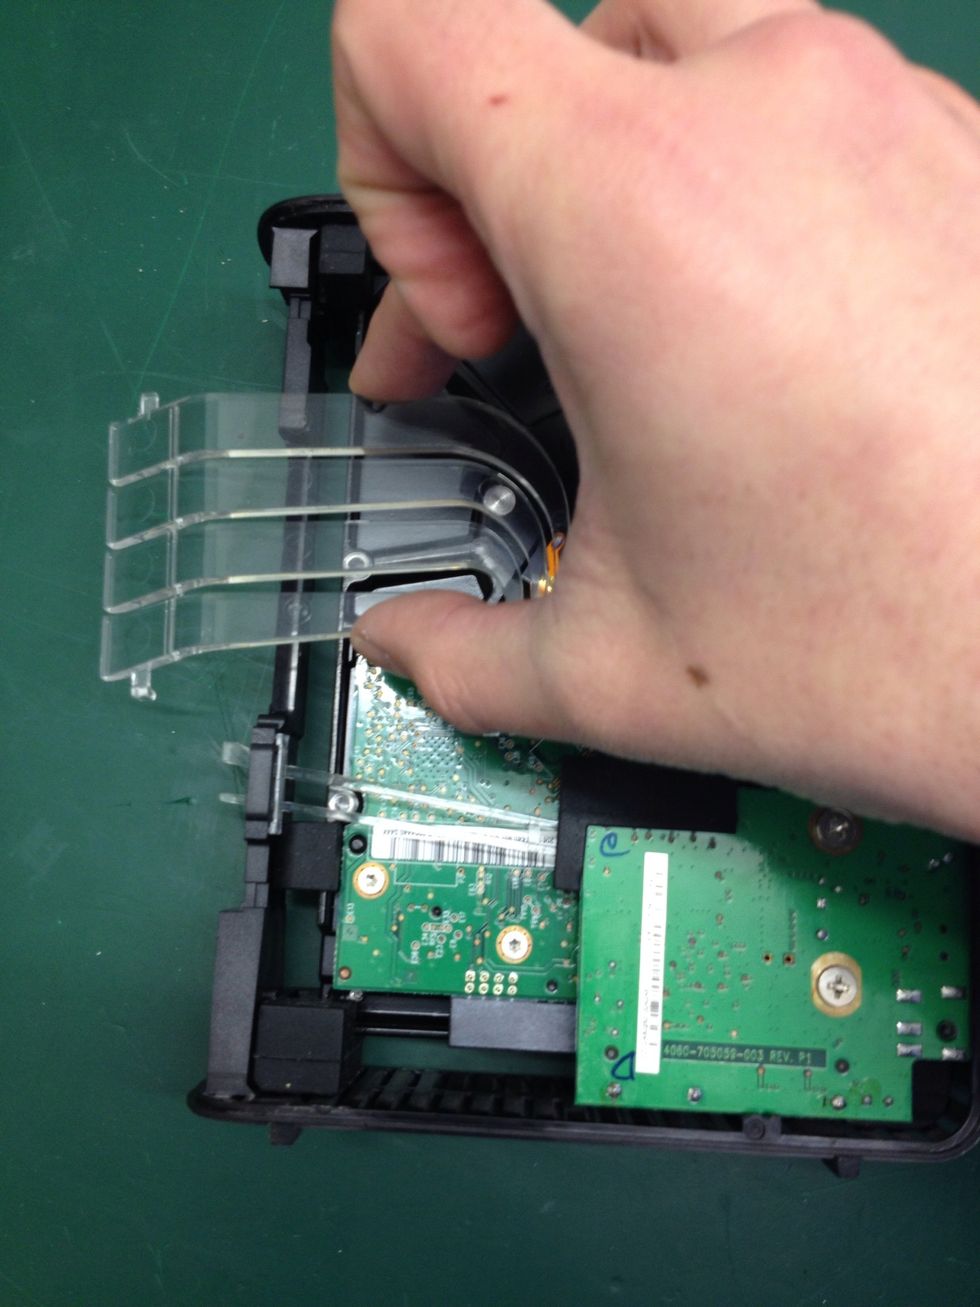
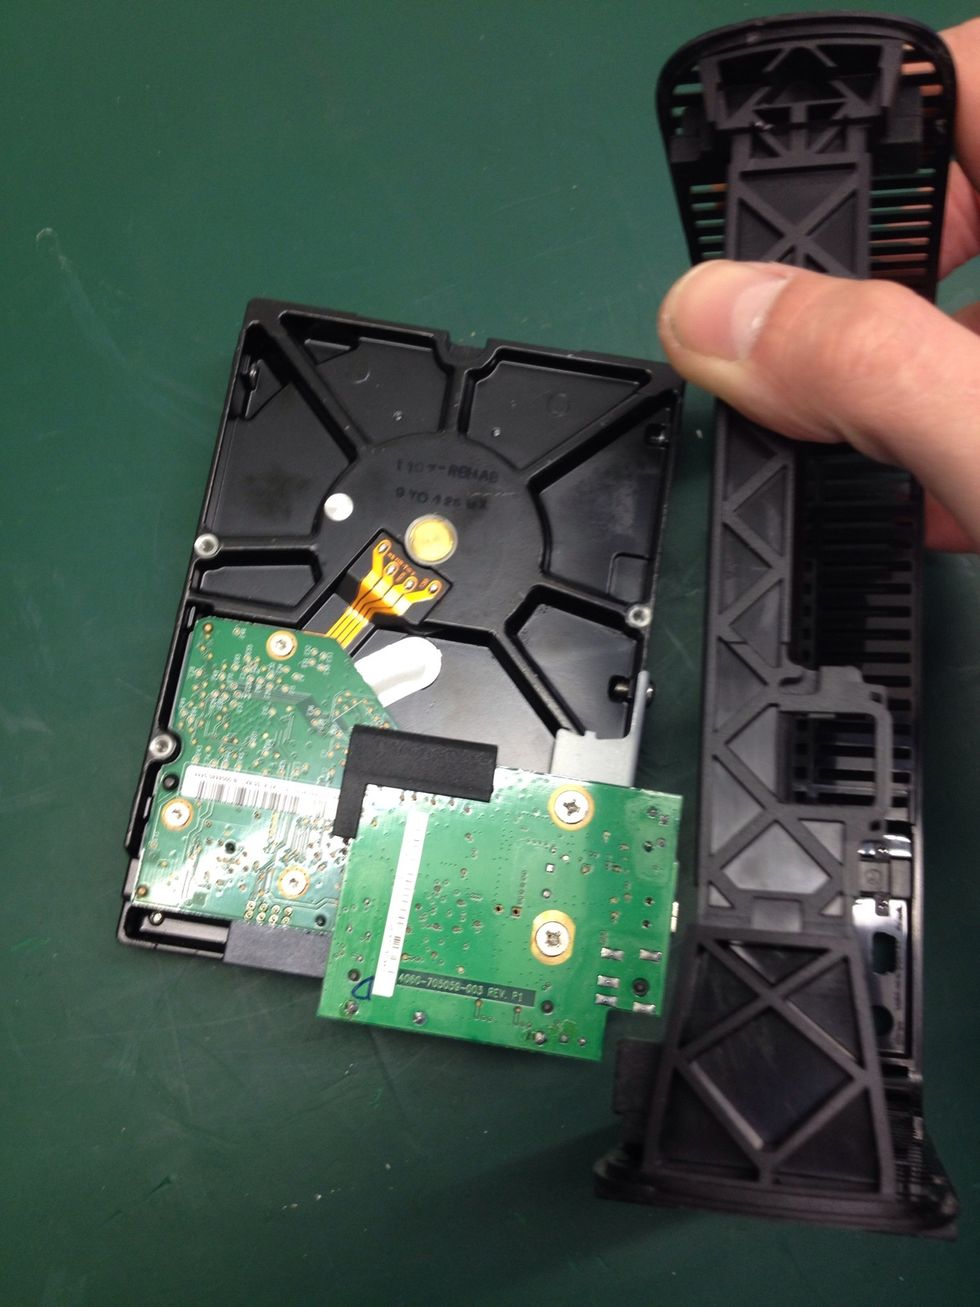
Now put the chassis up on its left edge and carefully push the drive out of the chassis from it underside, but not all the way!
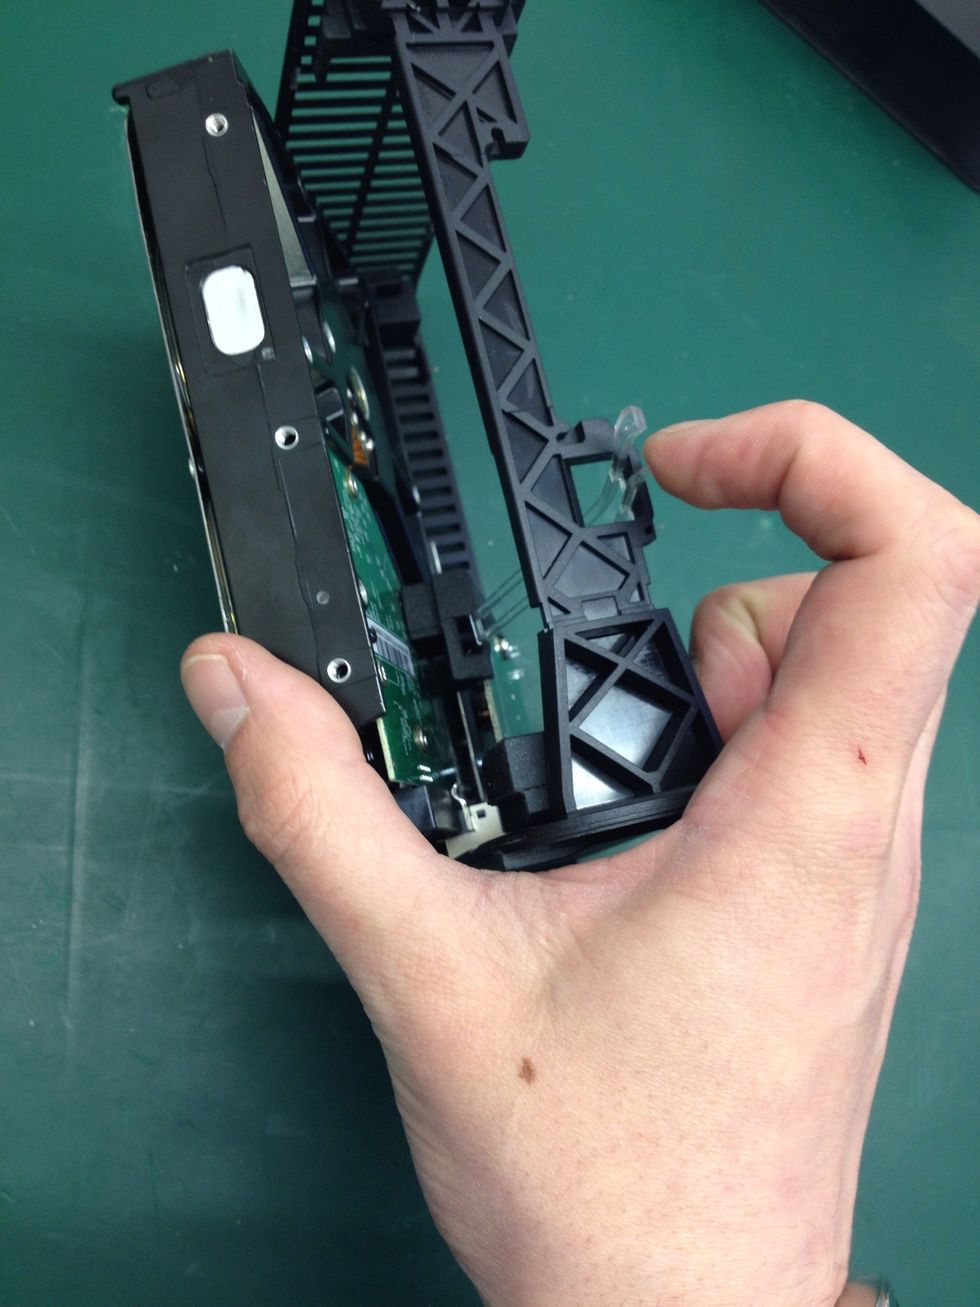
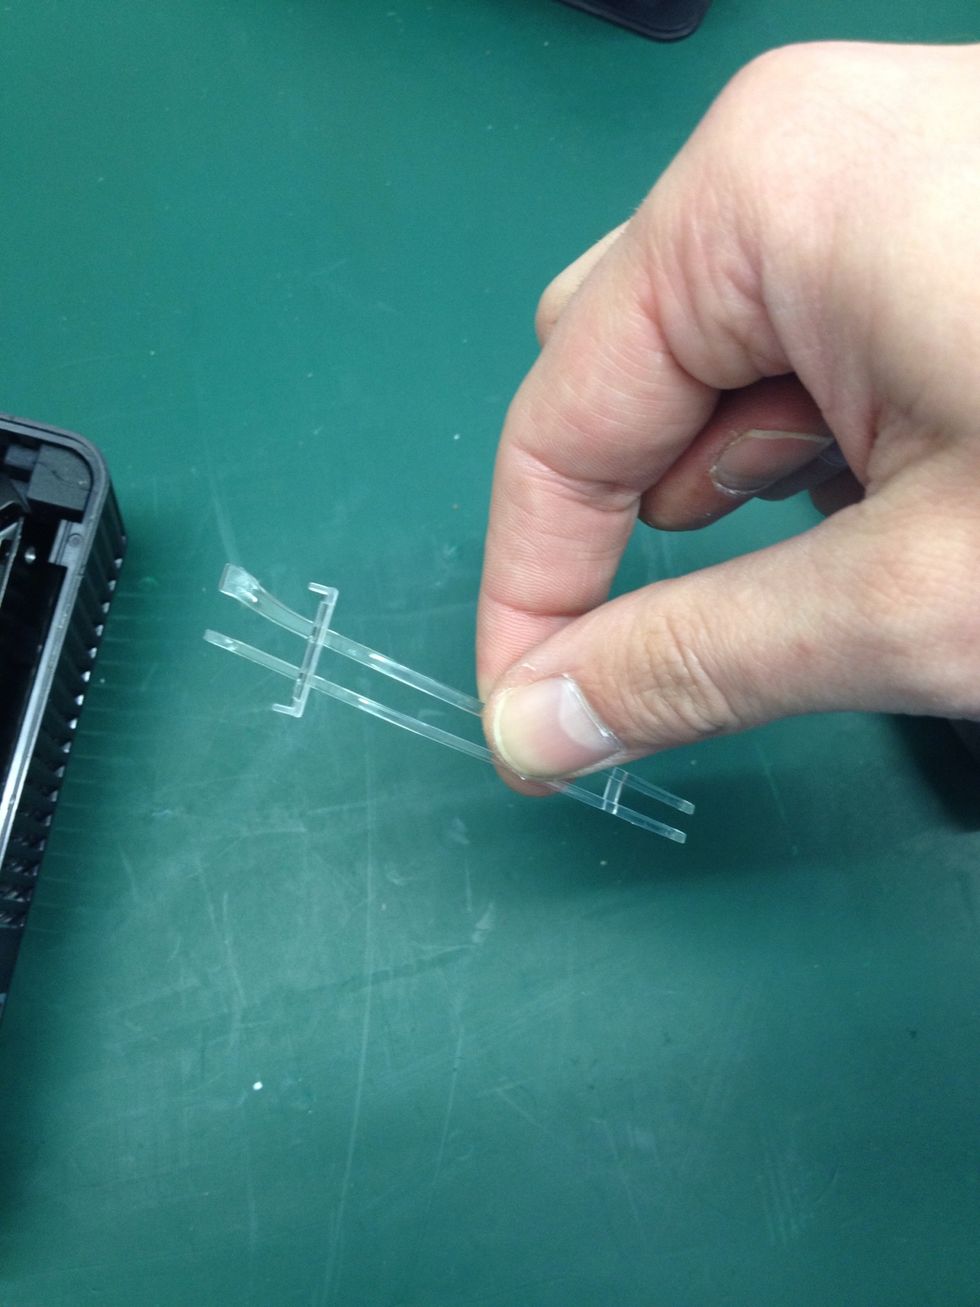
When in this position take note of the second piece of transparent plastic (by my finger in the photo).
Pull this out of place and again, set it aside. Be careful not to snap it!!
Now you can fully remove the drive from the chassis.
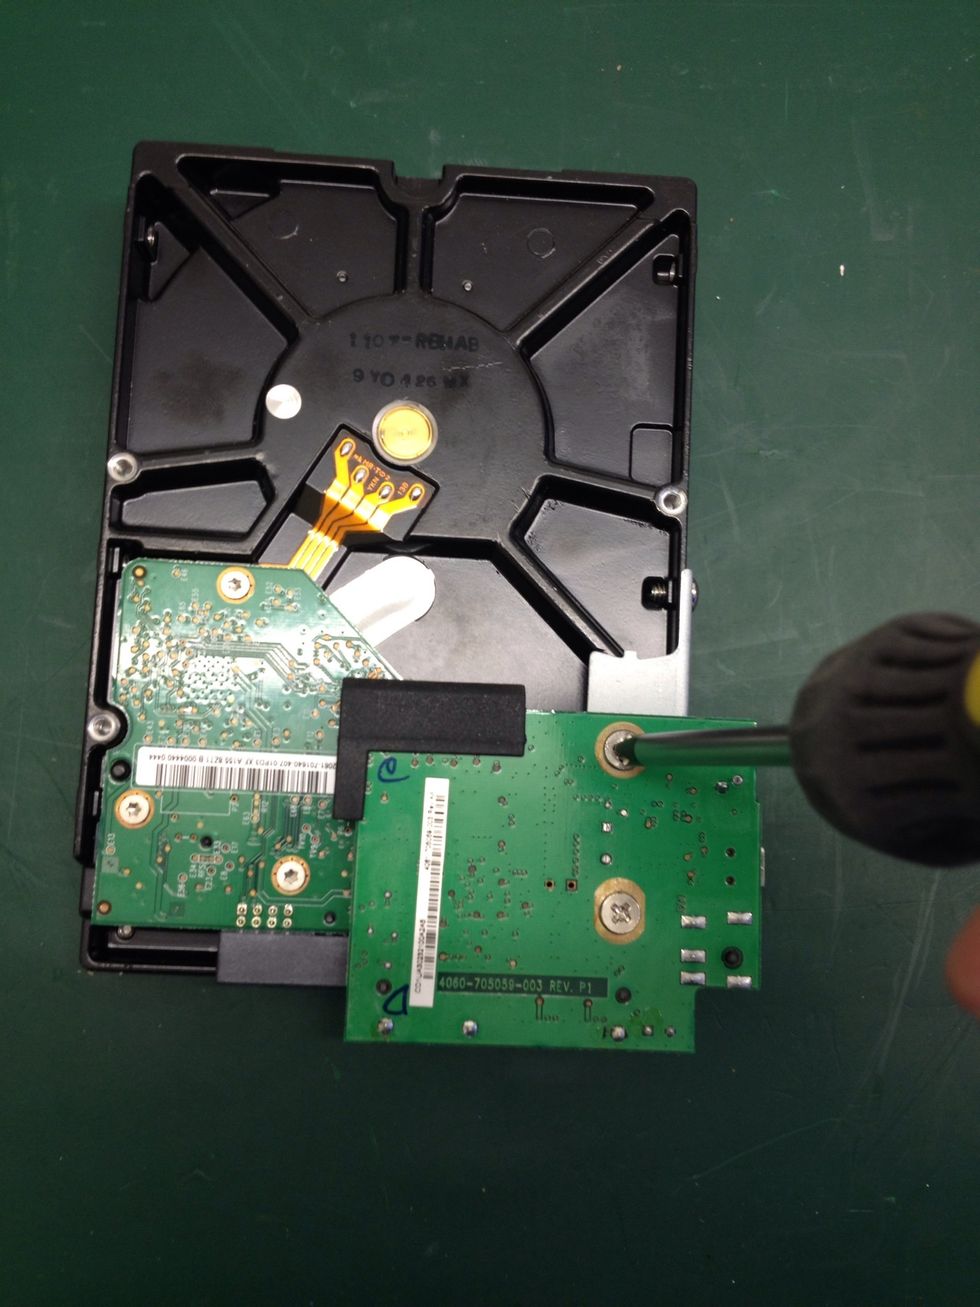
Using the cross-head screwdriver remove these two screws.

Pull the PCB away from the drive, sliding it NOT lifting!
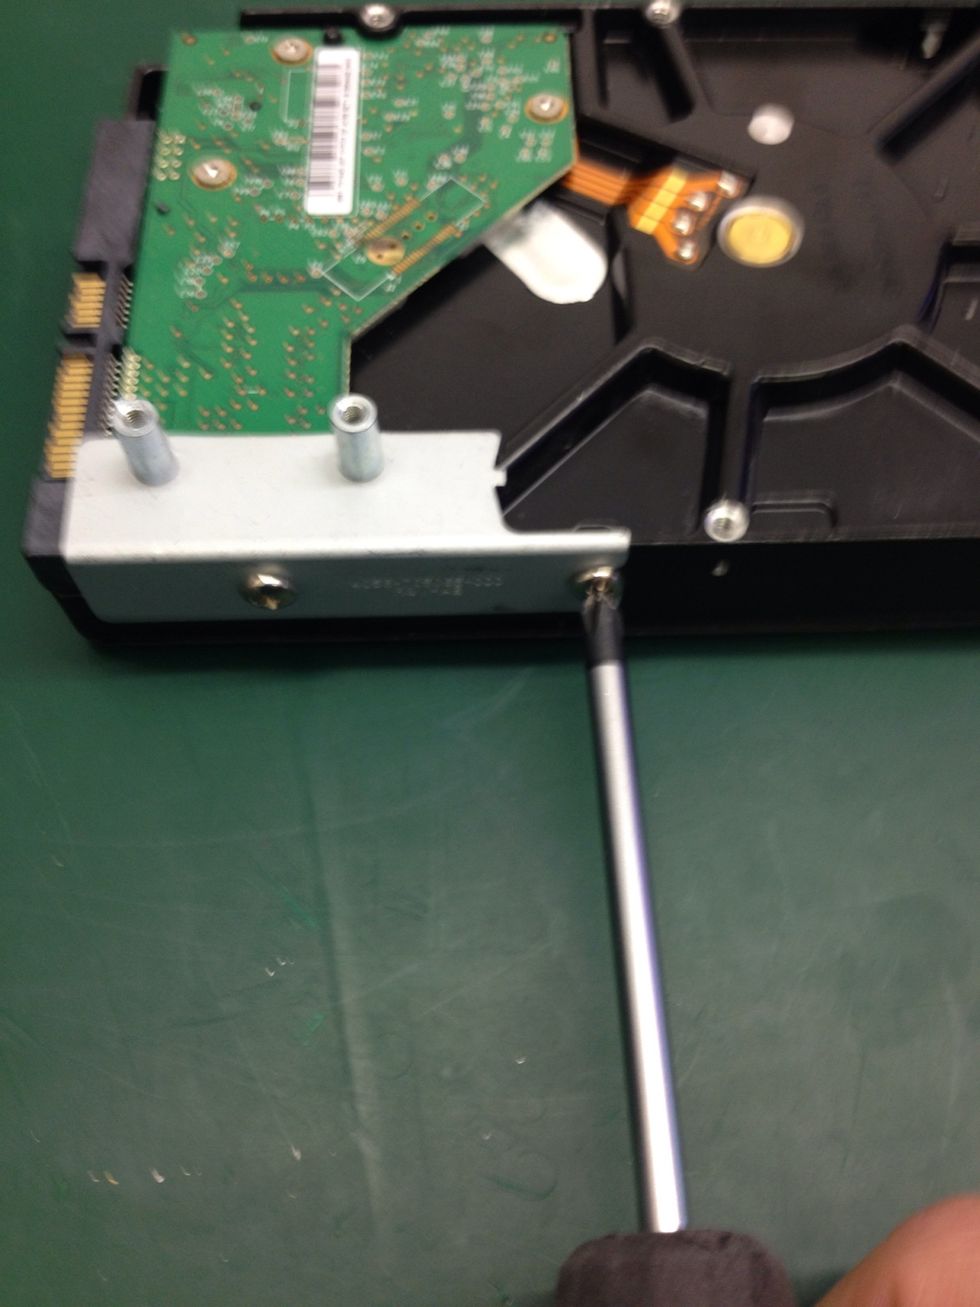
Last two screws in the side of the drive need to be removed. Keep them separated from the previous two as they are different.
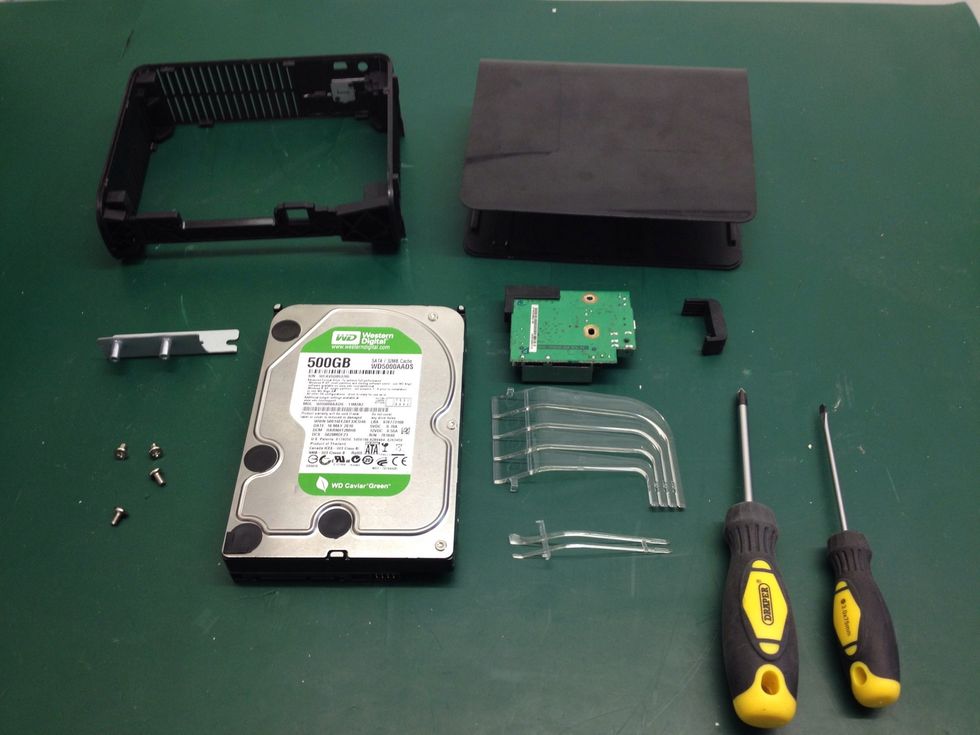
Here is the enclosure fully disassembled for your viewing pleasure. To put it back together follow the previous steps in reverse.
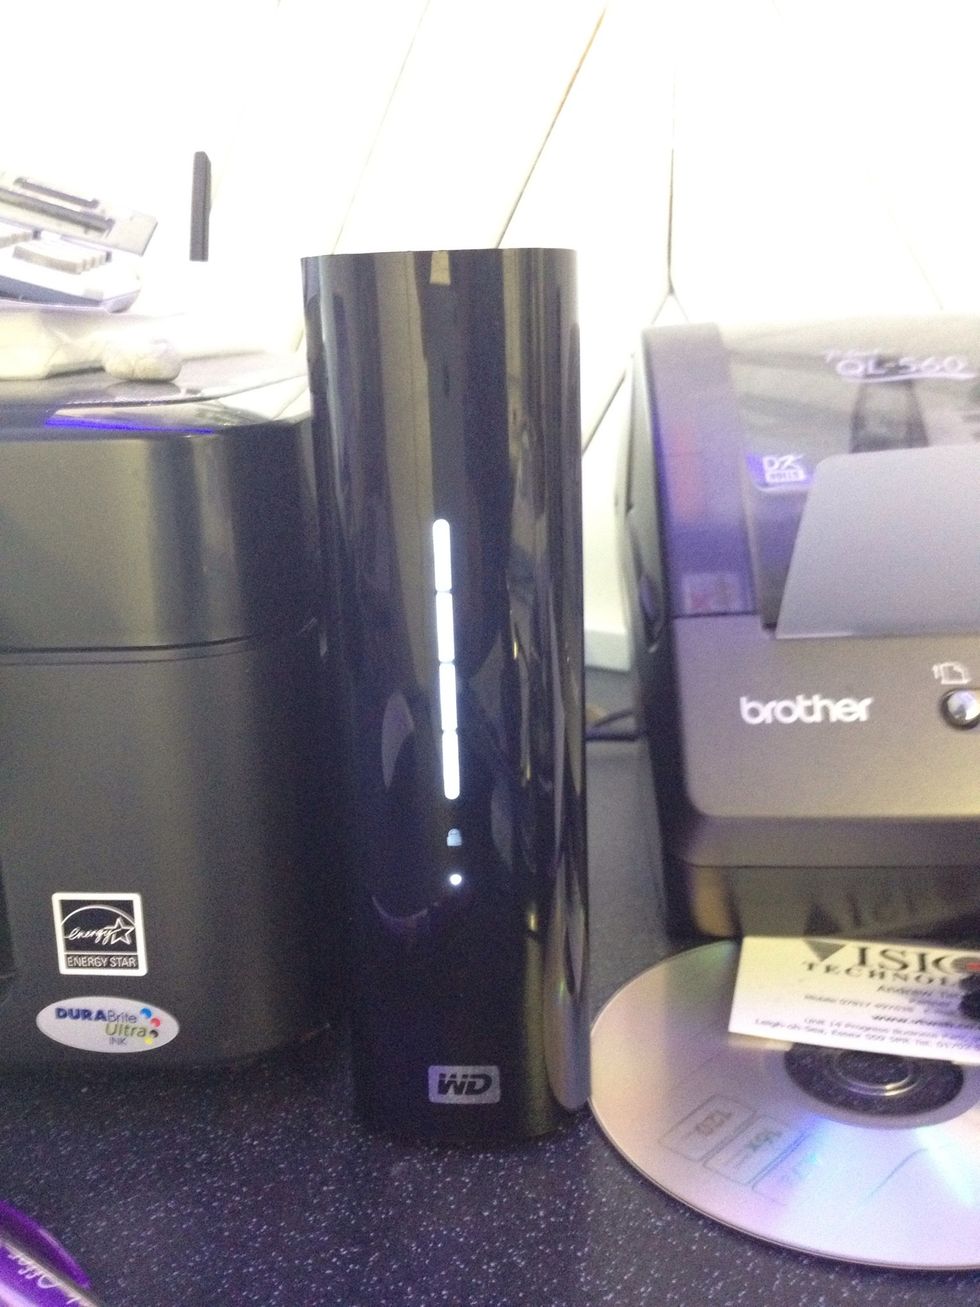
Here is the same drive put back together and running.
If you have enjoyed this guide or found it useful please Fave it and/or comment. Follow me too and chat with me on Twitter @danielrmitchell