The Conversation (0)
Sign Up
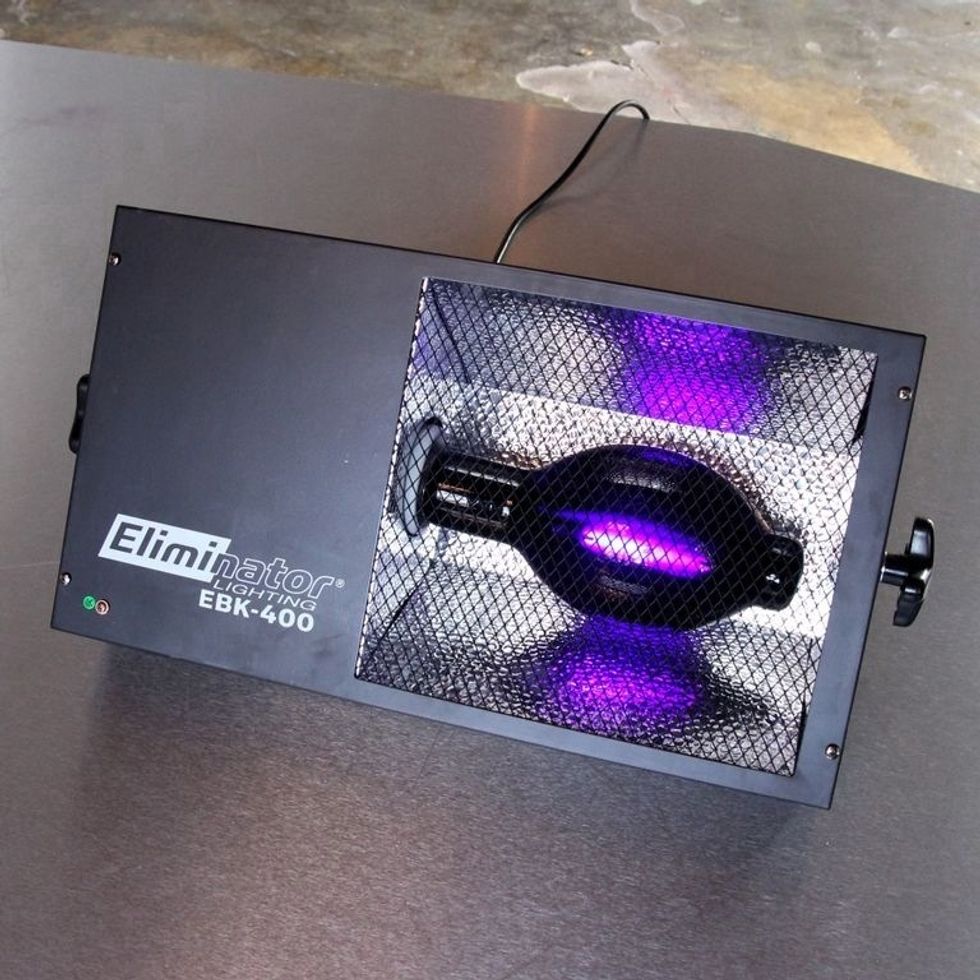
Instead of the sun, we will be using a strong UV black light to develop the Inkodye. We found this light on Amazon.com for $160. In our experience, fluorescent tube lights are not bright enough.
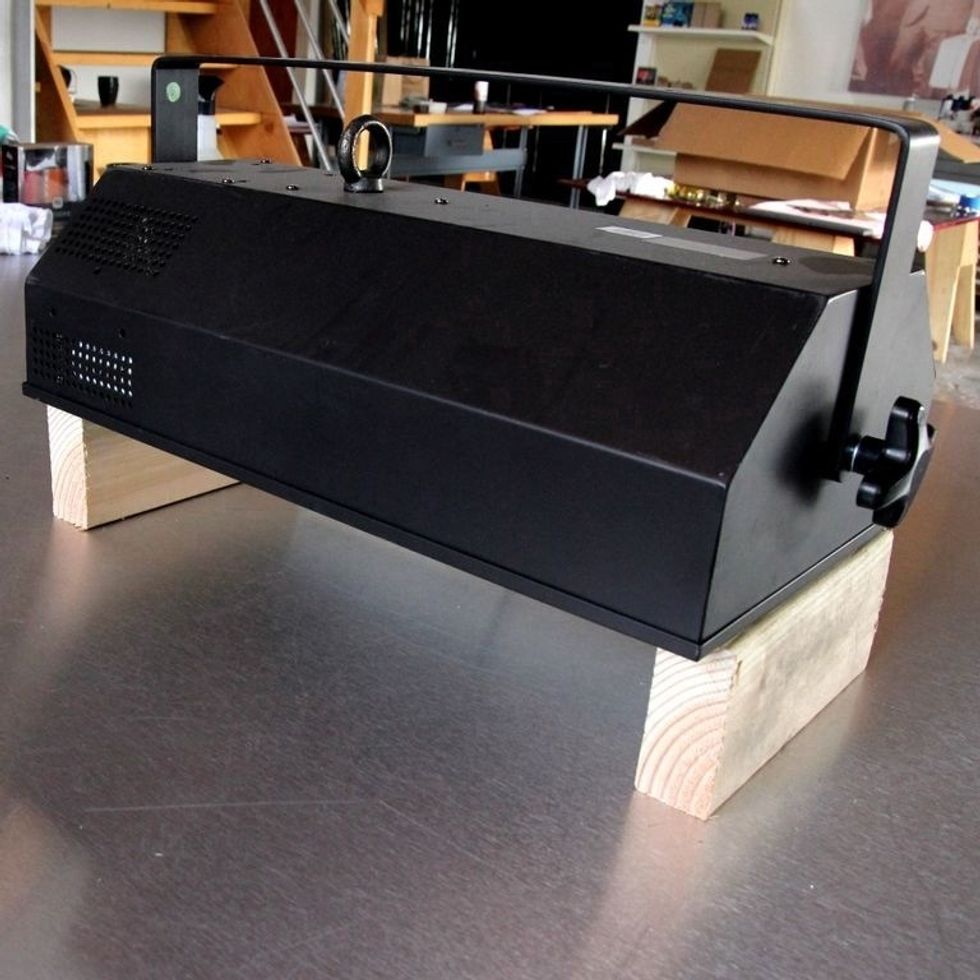
Prop up the light so you can place your project below. It doesn't need to be fancy- we used wood blocks we had on hand. Be sure that you work on a surface that can withstand the heat of the light!
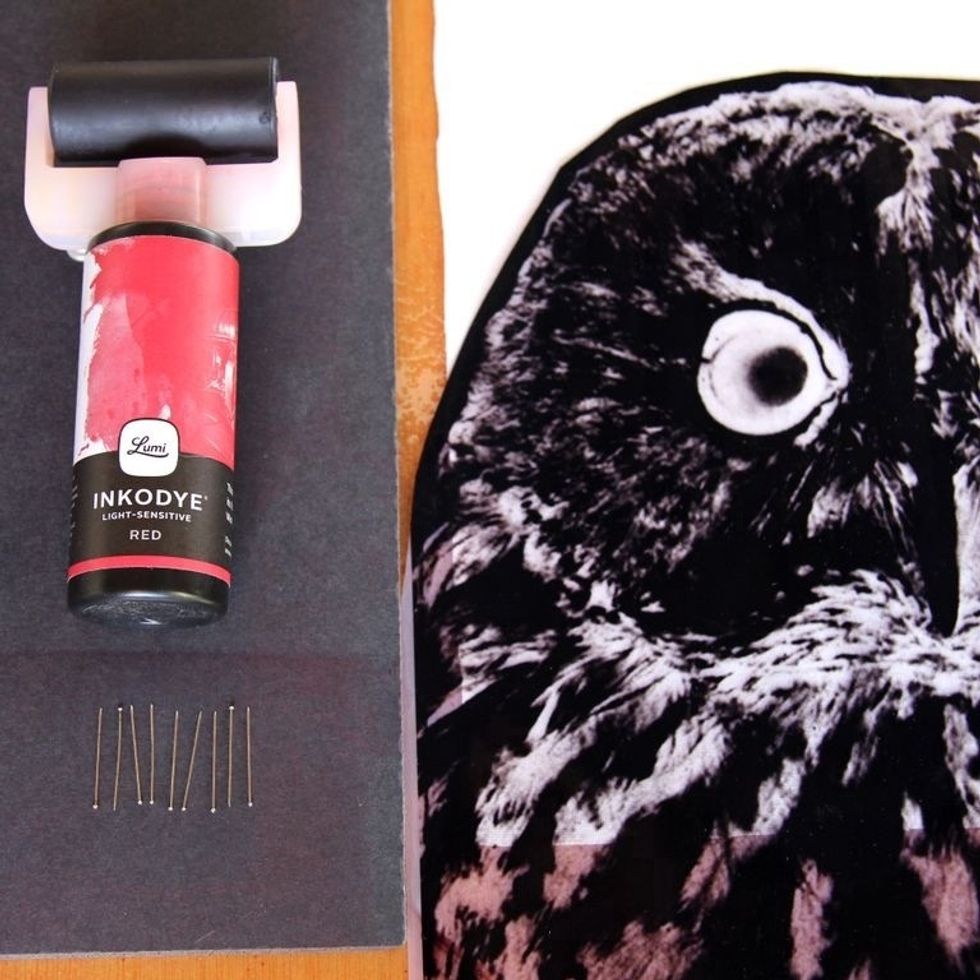
Gather your materials. For this technique, you will need Inkodye, a negative, fabric for printing, straight pins, and cardboard or a foam board to work on.
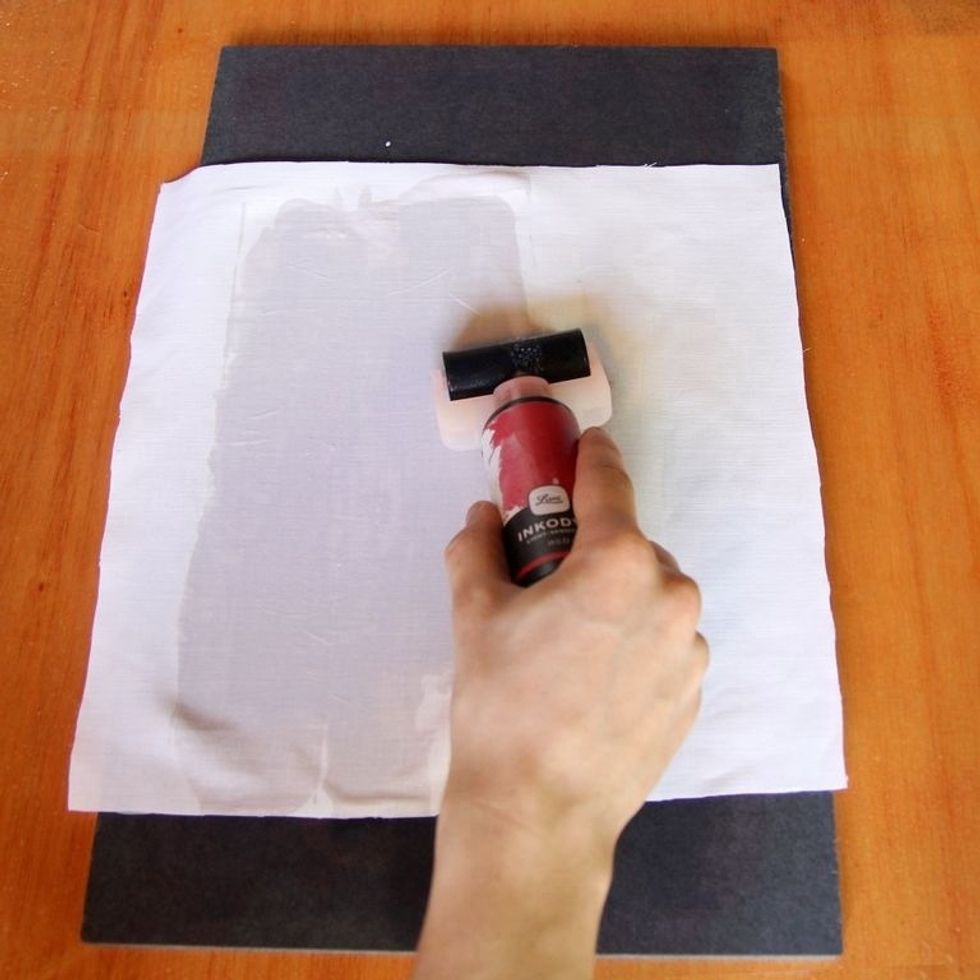
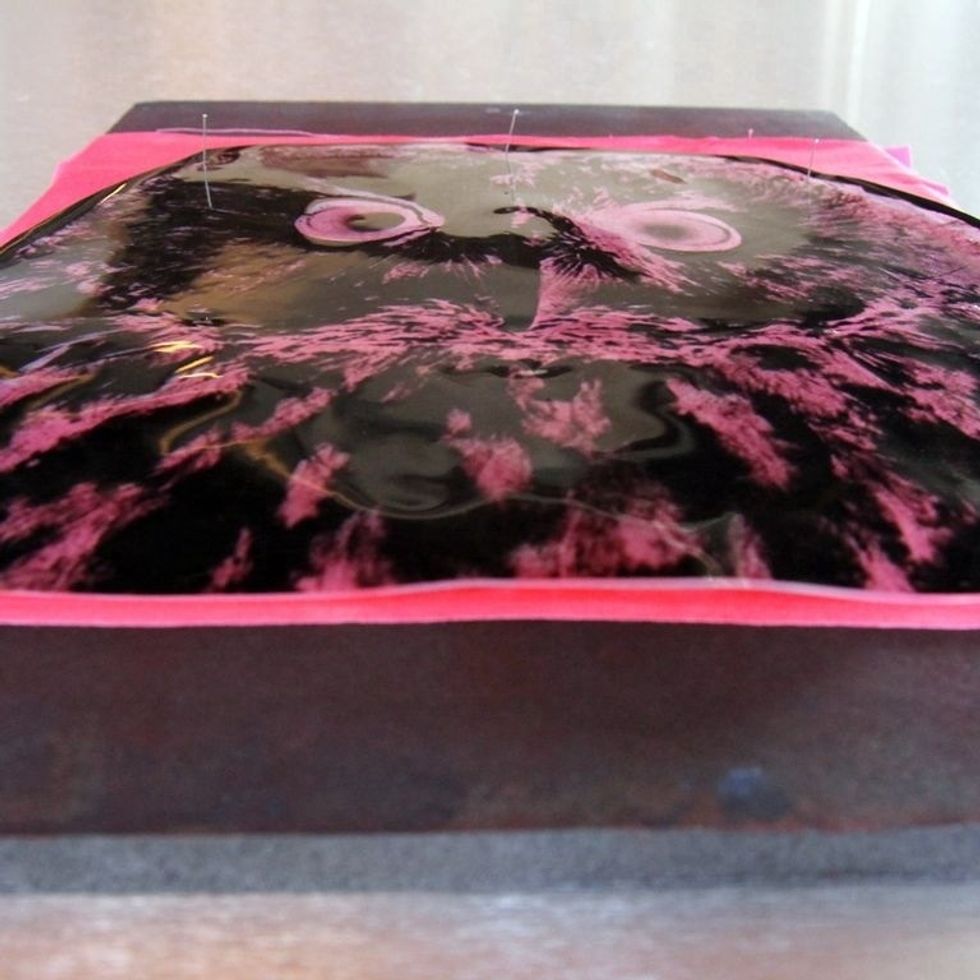
Place your fabric on the backing board and thoroughly coat with Inkodye. Be sure to blot away any excess dye with a paper towel.
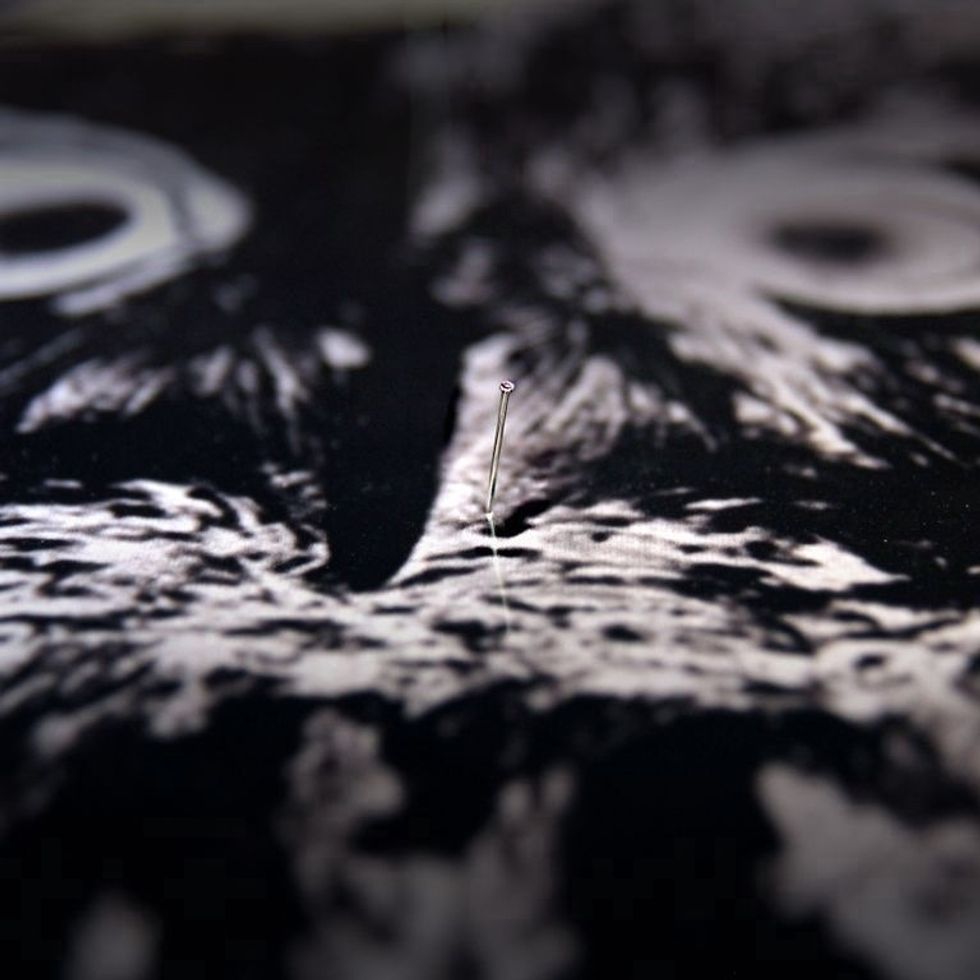
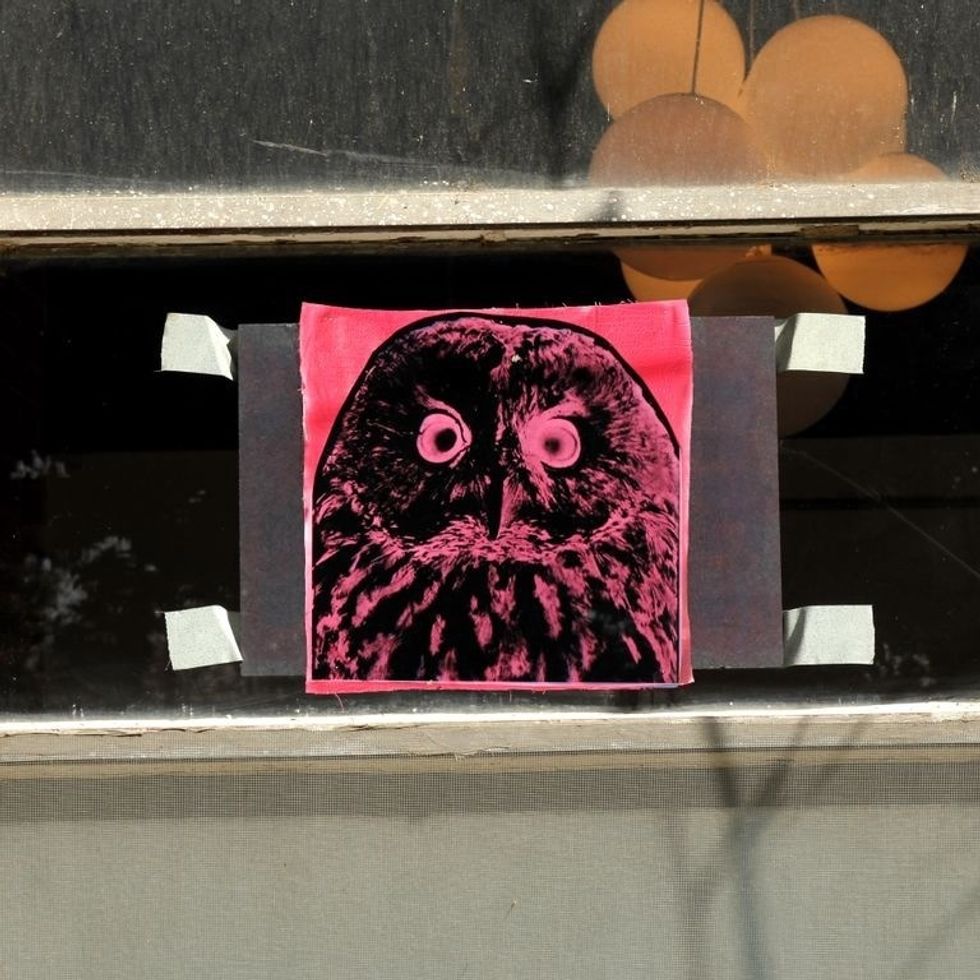
Lay the negative on top of the coated material, and secure in place with straight pins. Without pins, the heat from the light can cause your negative to curl.
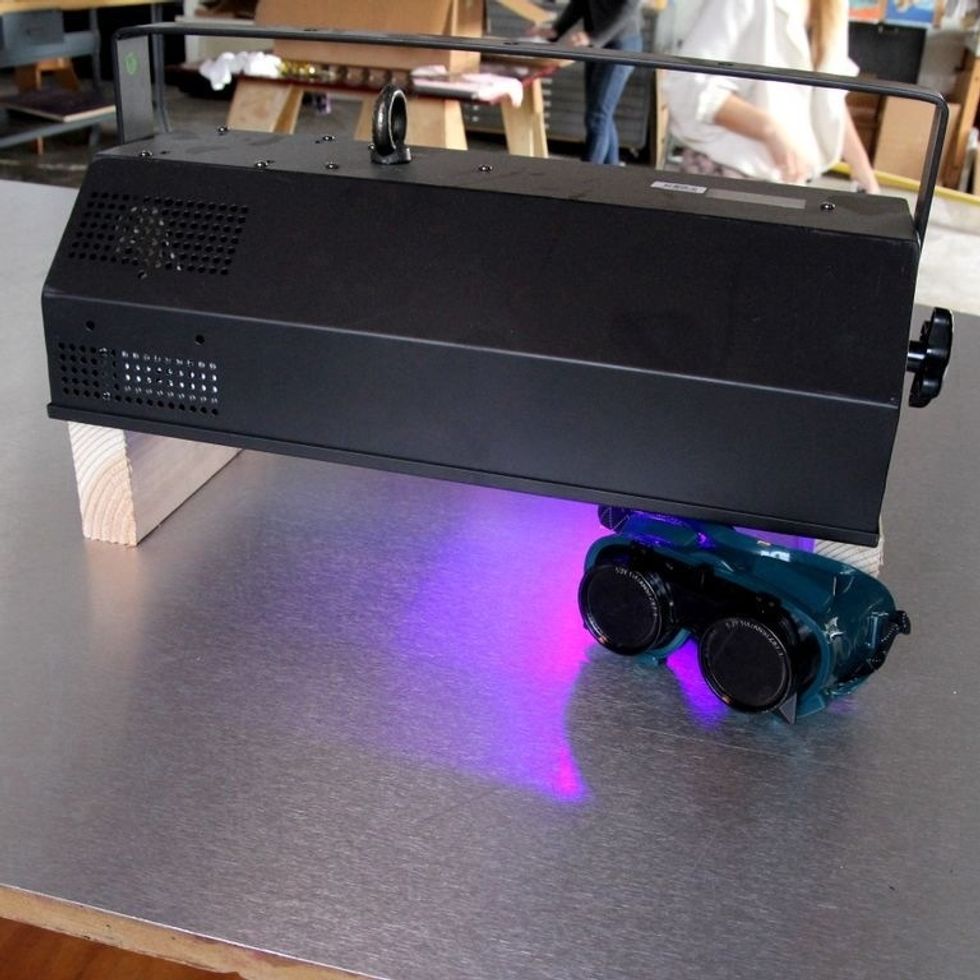
Let the light warm up. Be smart! Protect your eyes, and be cautious of burning yourself on the light. This unit gets very hot.
Take care not to let the light burn your project. Heat from big lights can damage fabric or negatives.
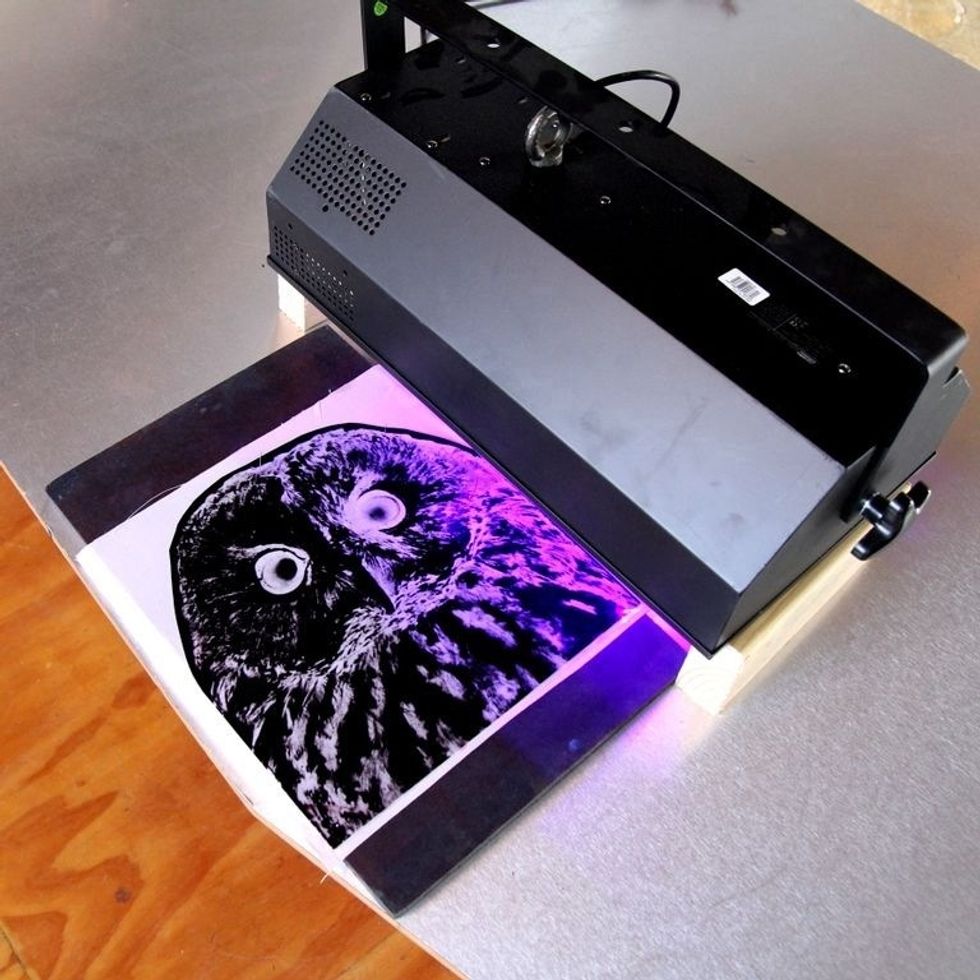
Place your project beneath the light. Ideal height for the light is 5 - 8 inches above the print.
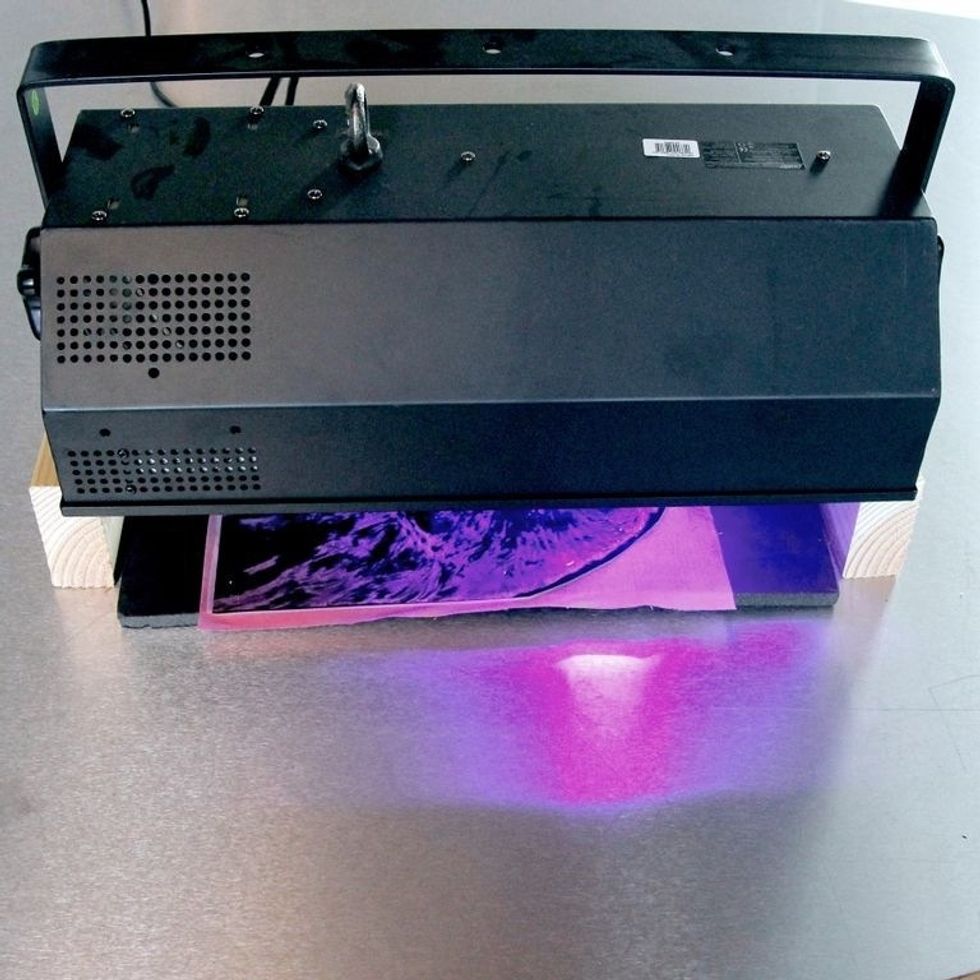
Our print took 8 minutes to develop, but timing will depend on strength and height of the light. Be sure to rotate the print halfway through developing to ensure evenly developed color.
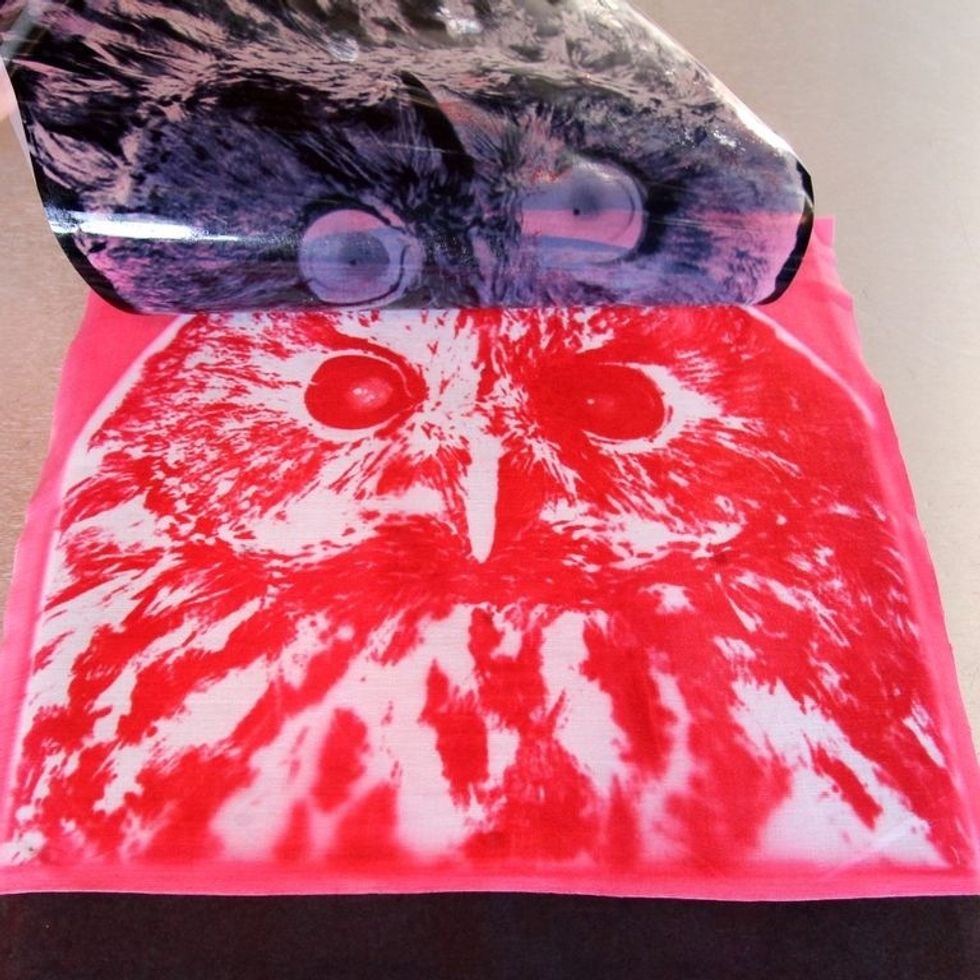
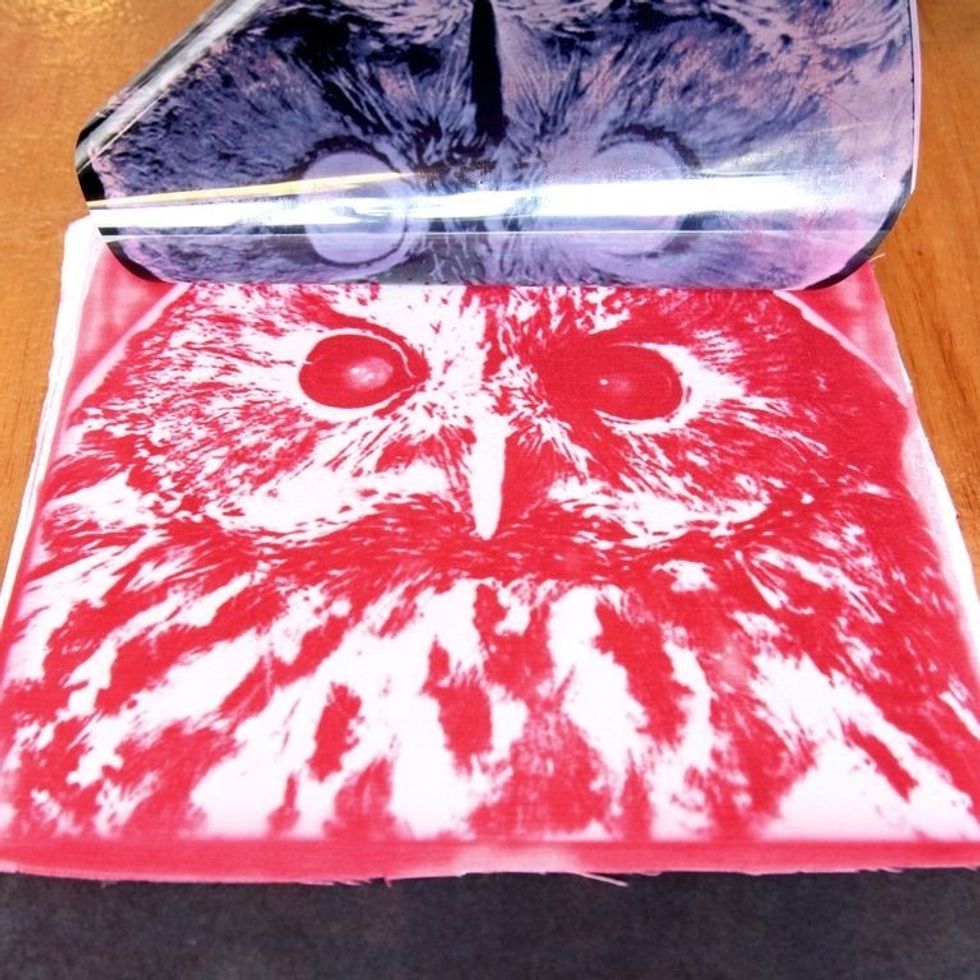
Remove the pins and peel back your negative. Hello Mr. Owl! All that's left to do is thoroughly wash your print.
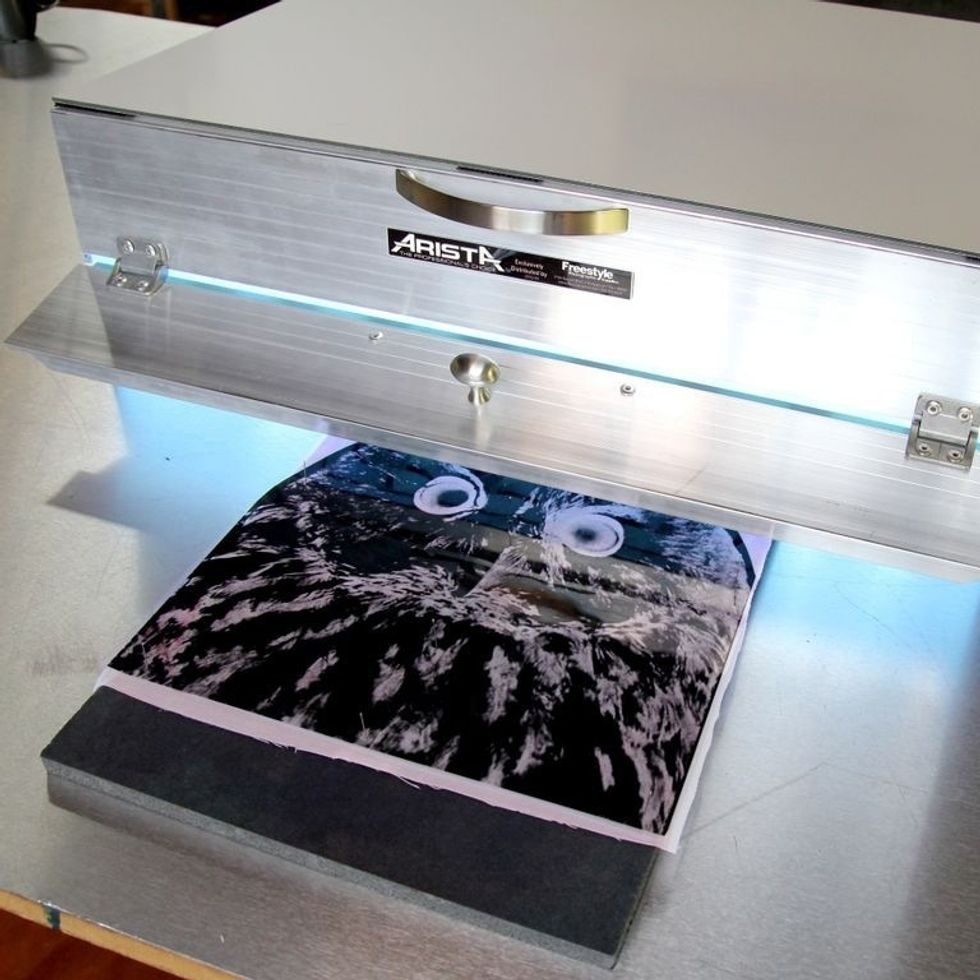
If you have access to more expensive equipment, a UV exposure unit can be used to make great prints as well. We purchased this unit from Freestyle Photographic.
Professional units like these generate less heat and provide more even exposure than large black lights. Our unit took 10 minutes to develop this print.
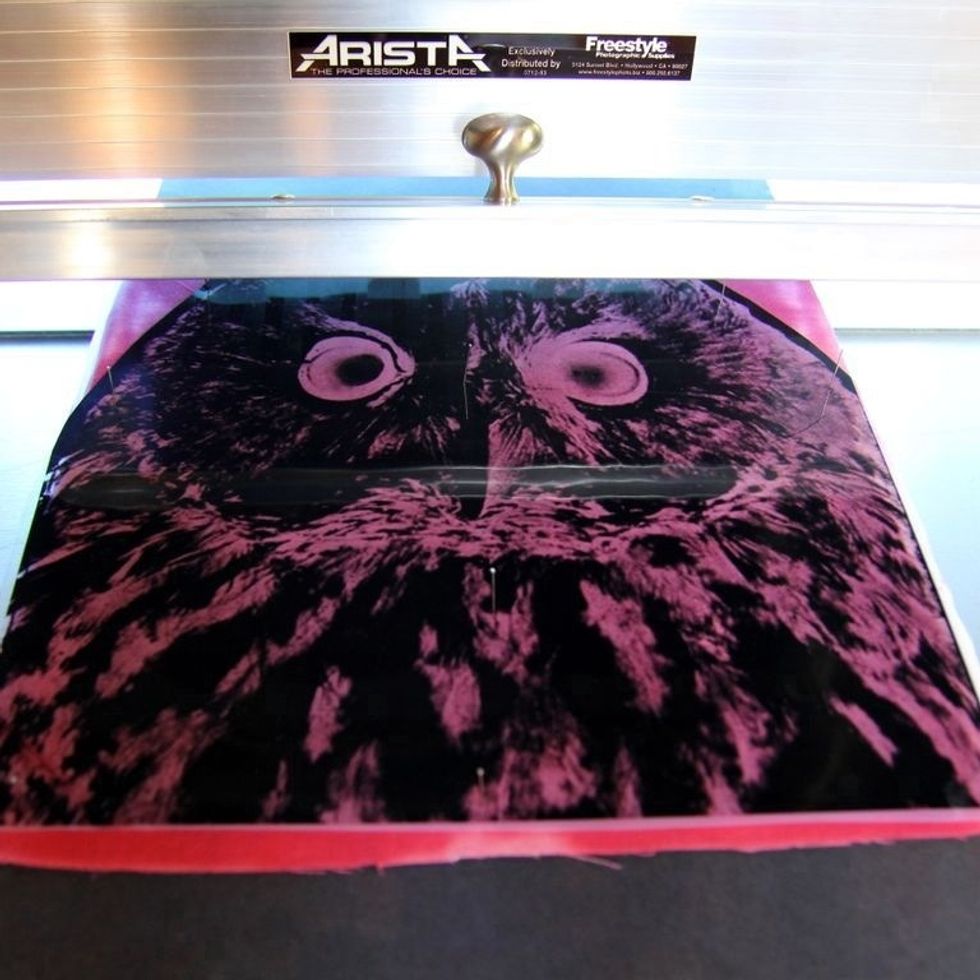
Hello again Mr. Owl! If you're new to Inkodye, our "Print a Photo on Cotton with Inkodye" guide has detailed step-by-step instructions on how to make a great print.
Are you interested in making Inkodye prints indoors, without investing in extra equipment? Our "Make Indoor Prints with Inkodye" guide has everything you need.