The Conversation (0)
Sign Up
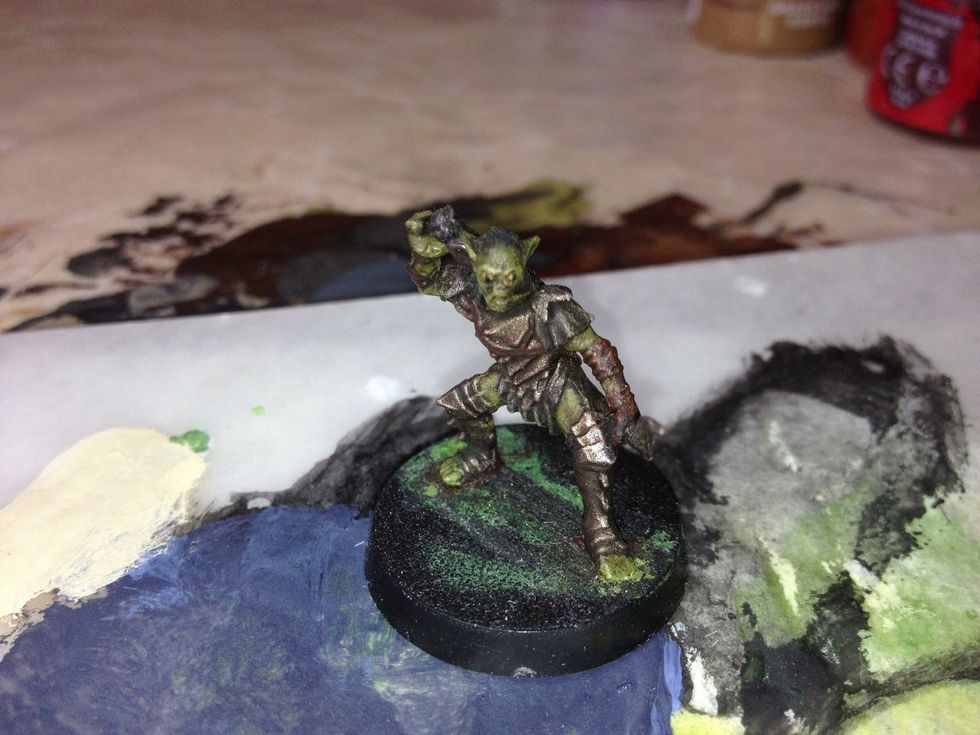
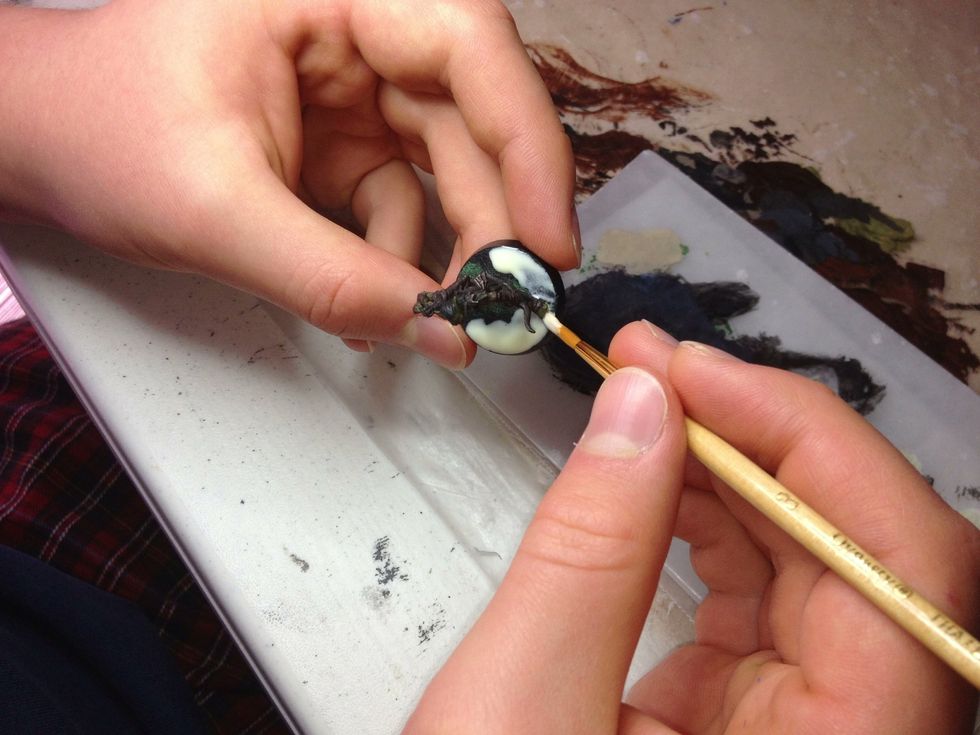
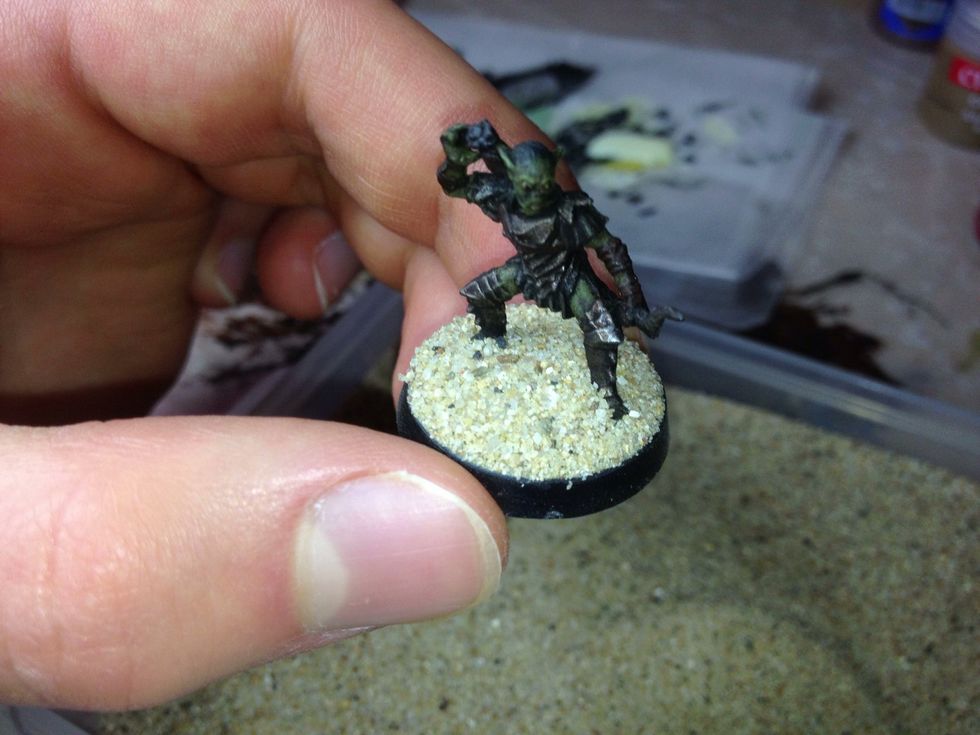
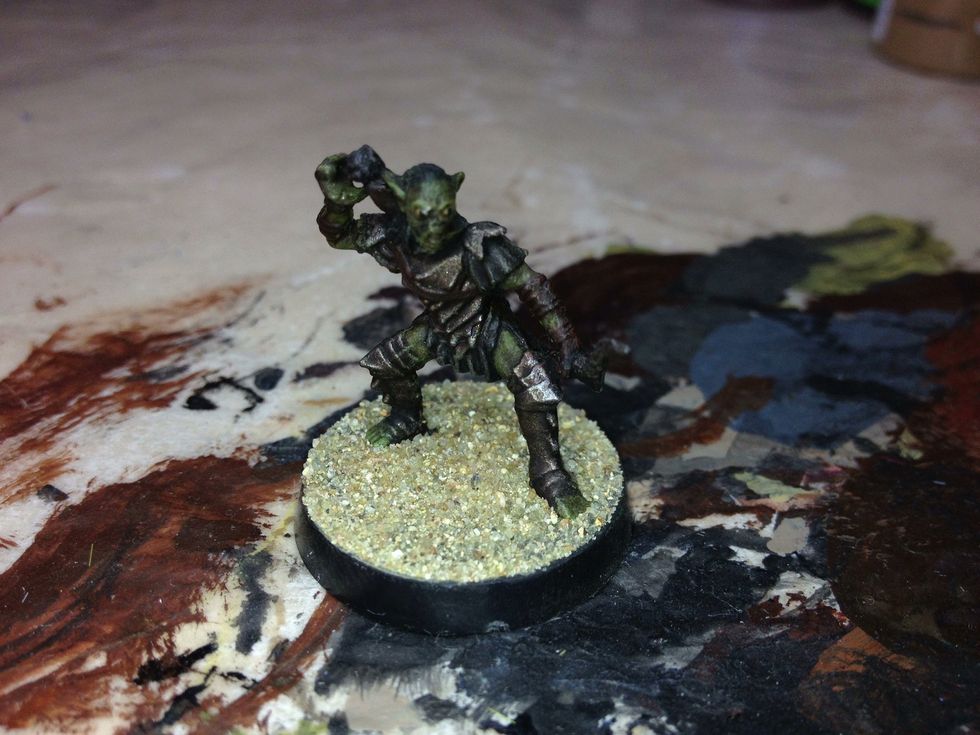
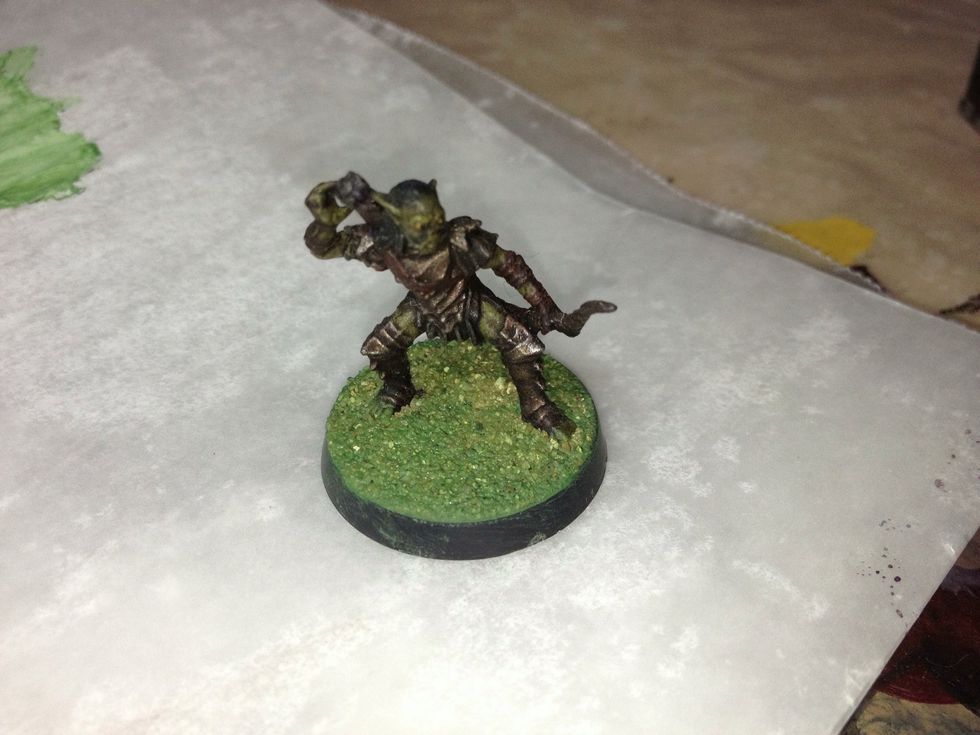
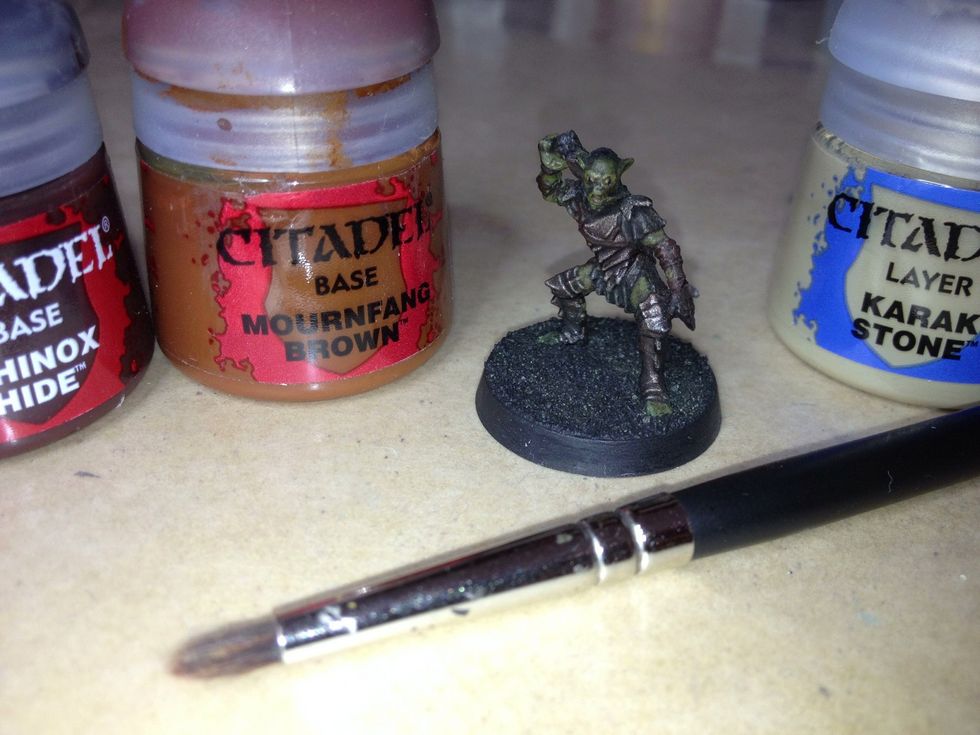
Here I have a fully painted Citadel miniature. For this tutorial, I'll be using a Moria Orc.
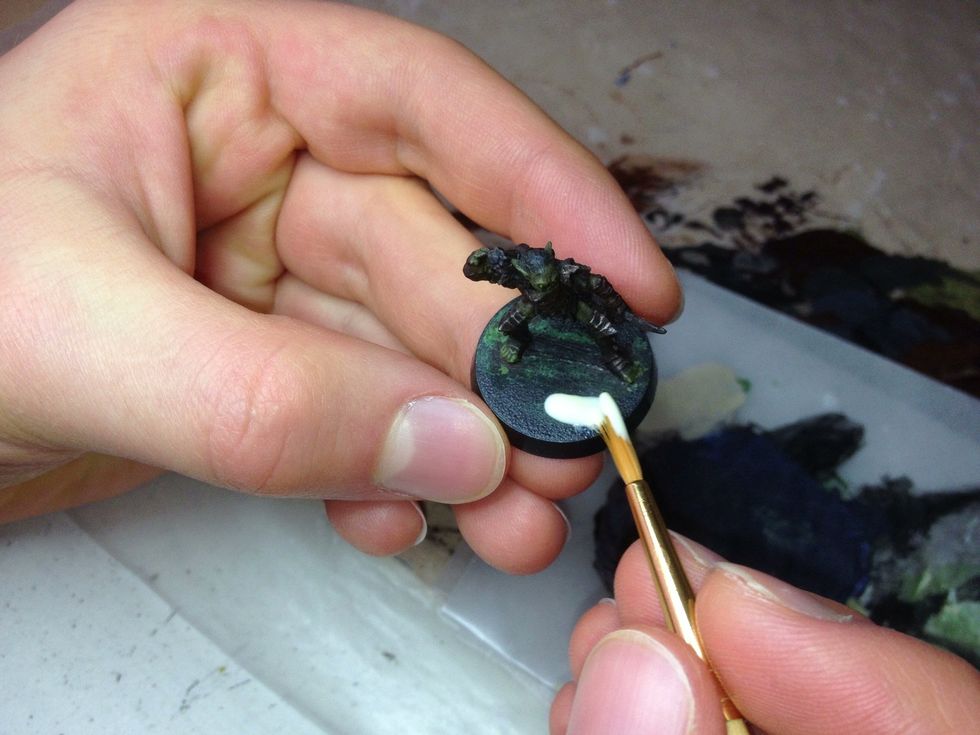
To begin detailing the base, we need to glue sand onto it. Start by covering the base with carpenter's glue.
Make sure you don't get any on the rim of the base. Only the top.
Work quickly. Otherwise, the glue might dry before you're done.
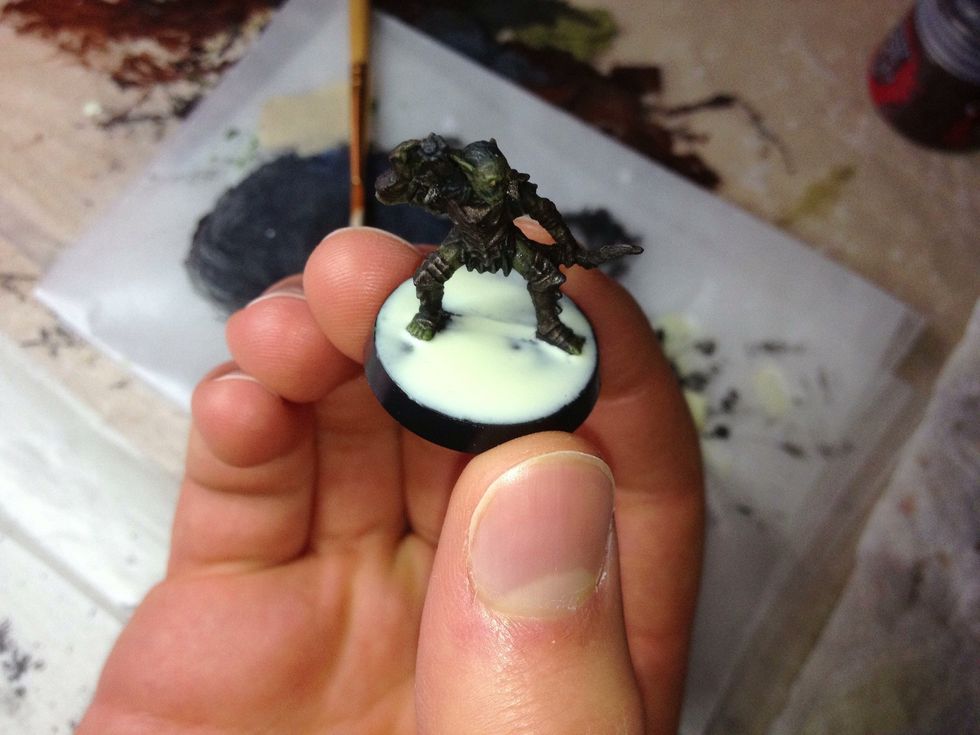
Try not to get any on the miniature. When you apply the sand it will stick to anywhere the glue has been applied.
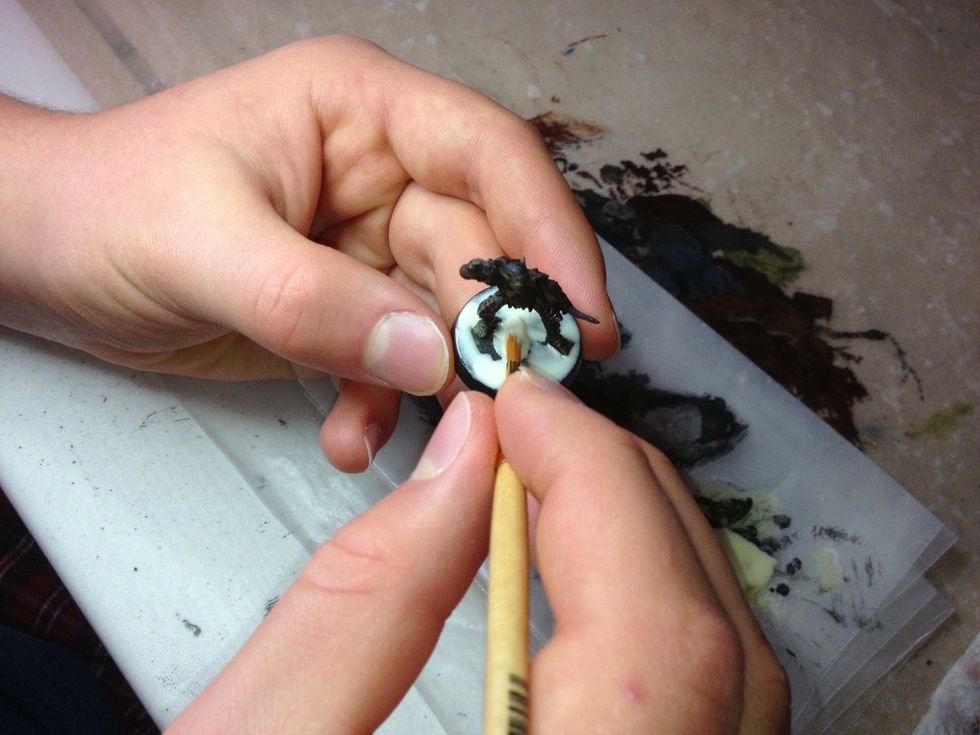
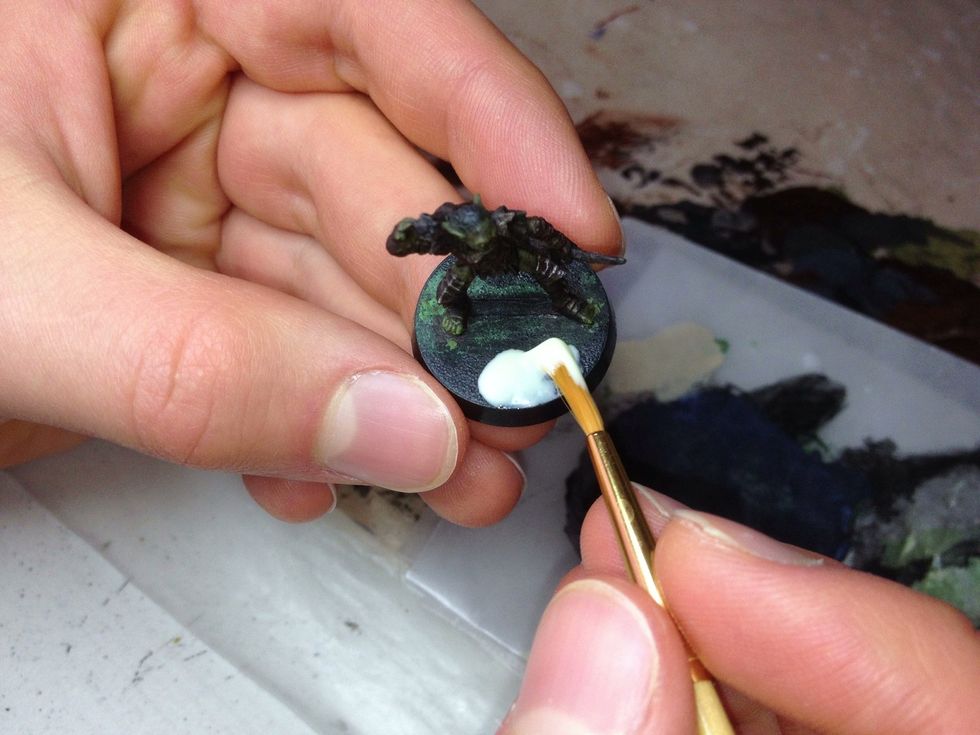
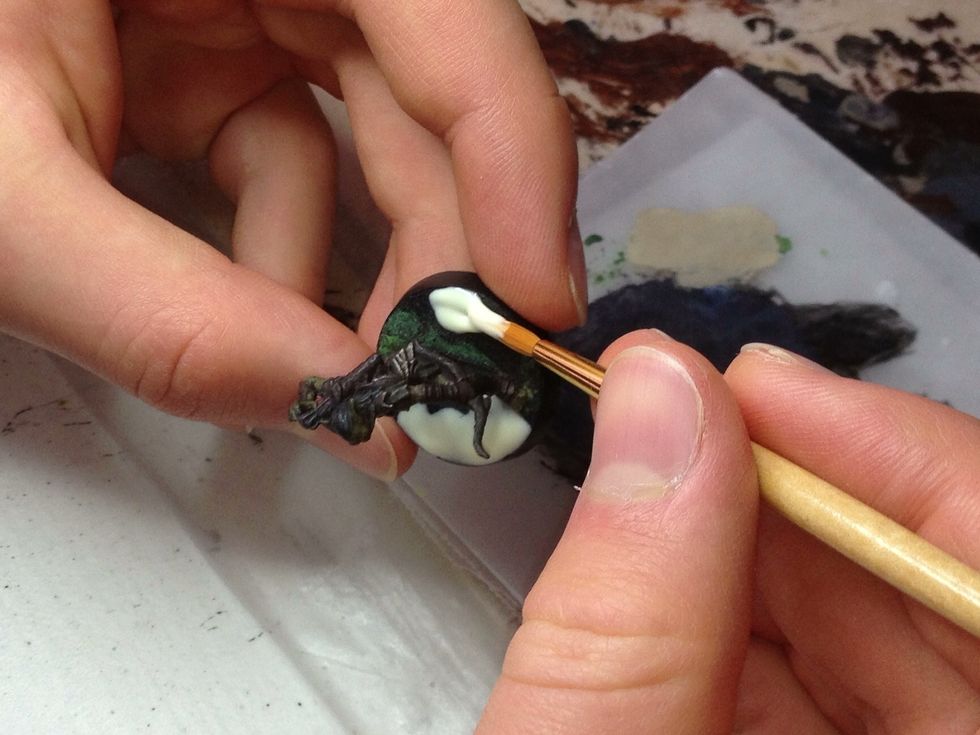
Cover the entire base. It may even help to put a little glue up around the model's feet. This makes it look as though it is not separate from the environment around it.
Once the top of the base is completely covered with wood glue, you're ready to add the sand.
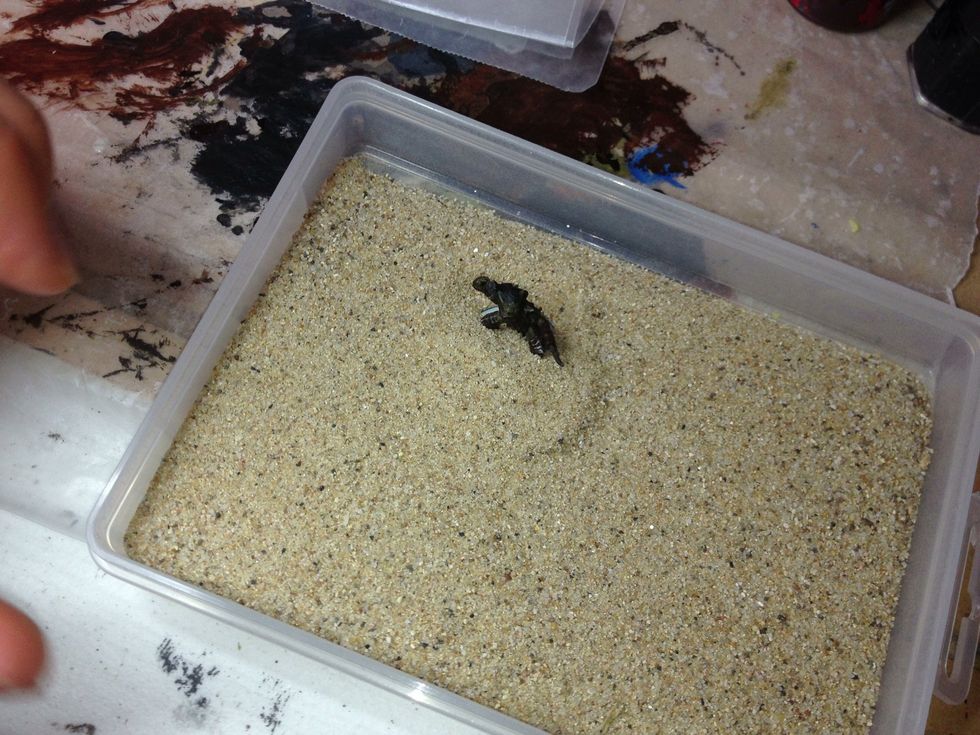
Put the miniature's base into a box of Citadel Sand.

Once you've got sand covering the surface of the base take it out of the sand.
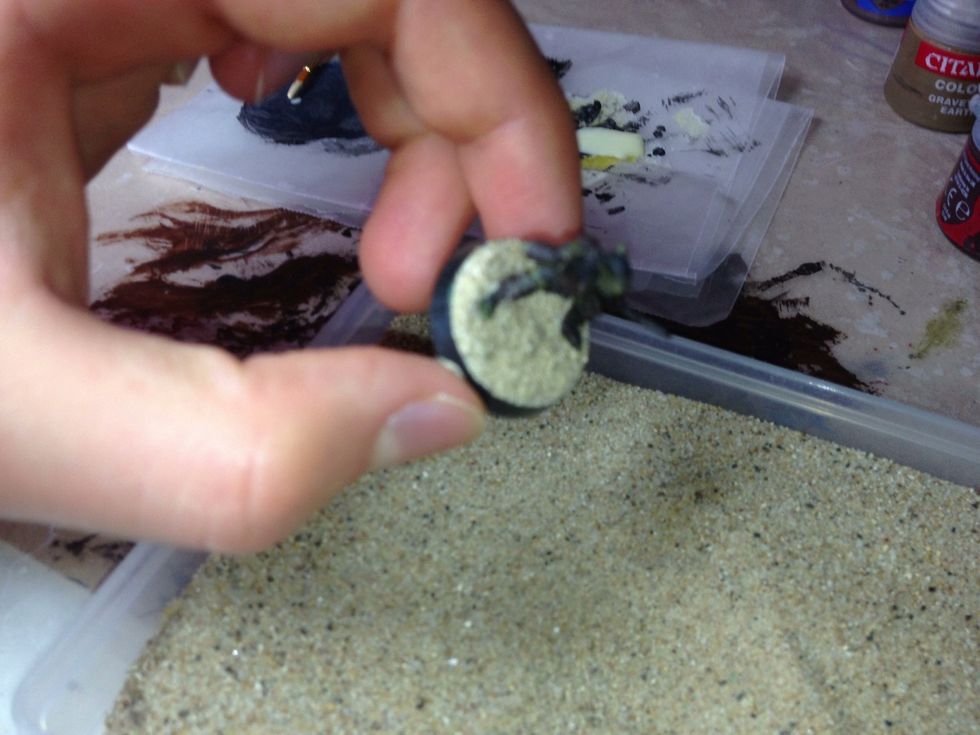
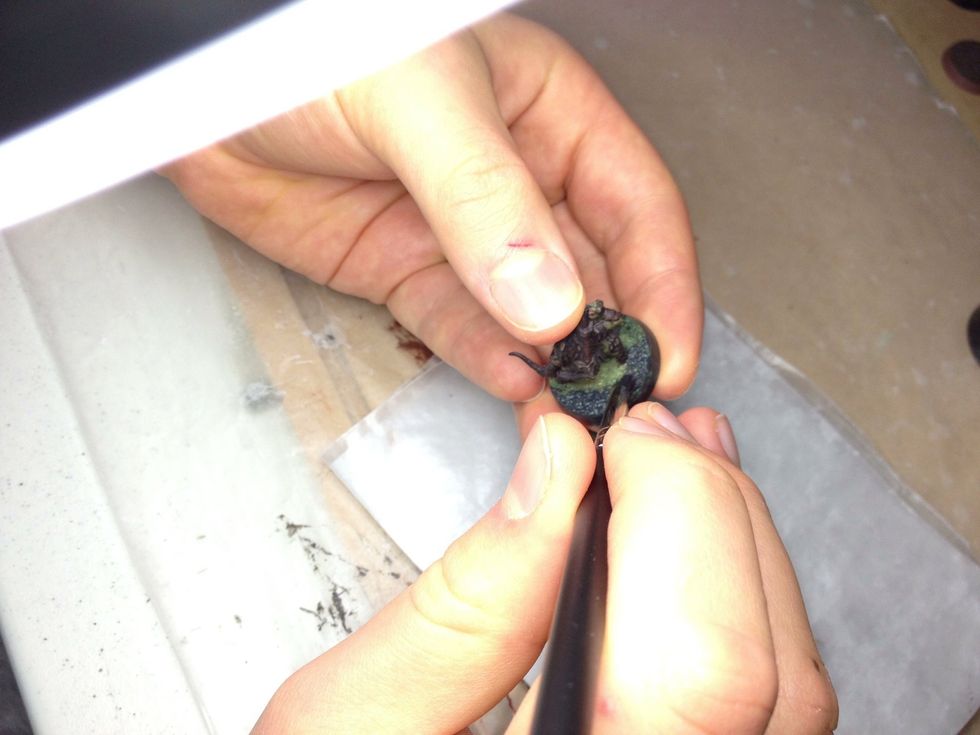
I know this picture is slightly out of focus, but I think it's pretty clear what's happening. Tip the base so some of the sand falls off.
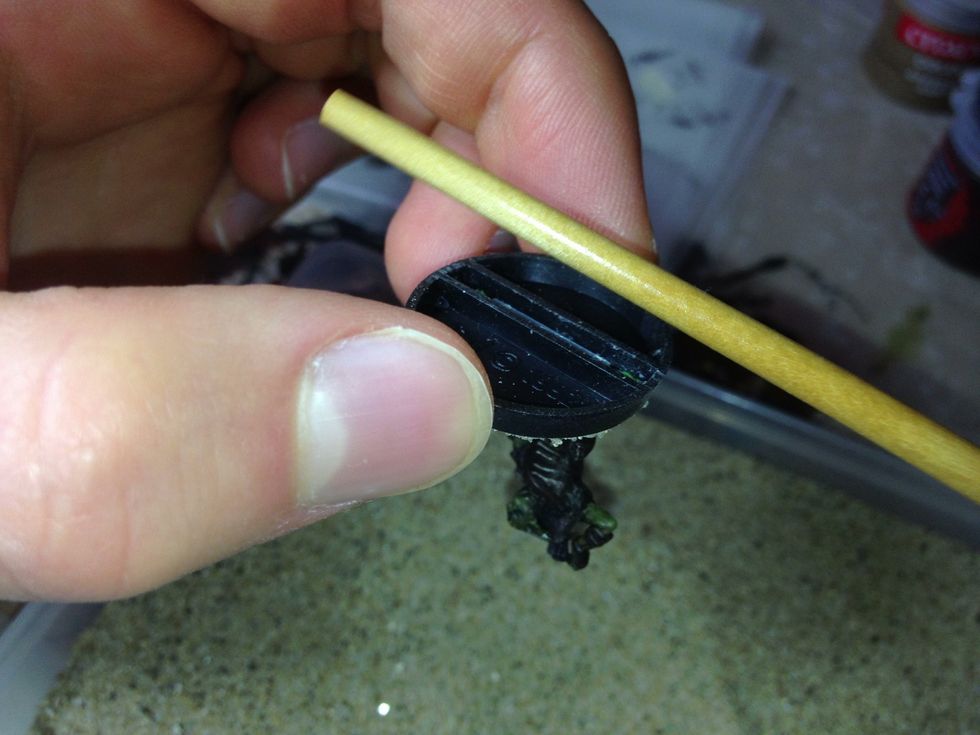
To remove any excess sand from the base, turn it over and tap gently with the end of a paintbrush.
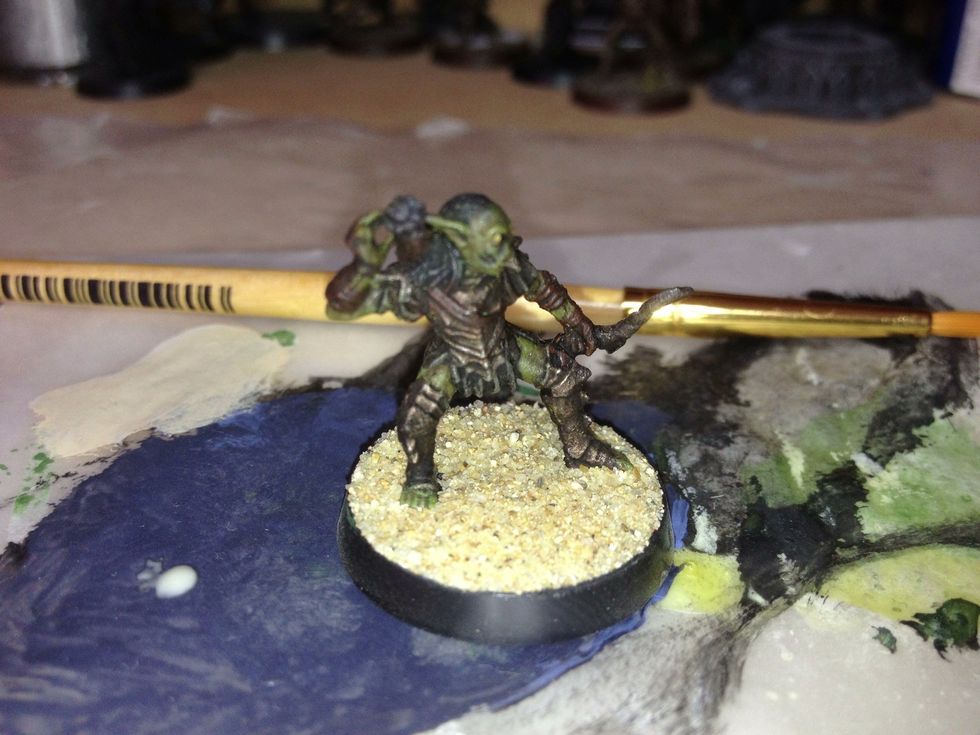
Leave the model to dry for at least four hours. This first gluing will not be enough to stick the sand to the base and we'll take several other steps to secure the texture.
Once the model's dry, you can continue with the procedure.
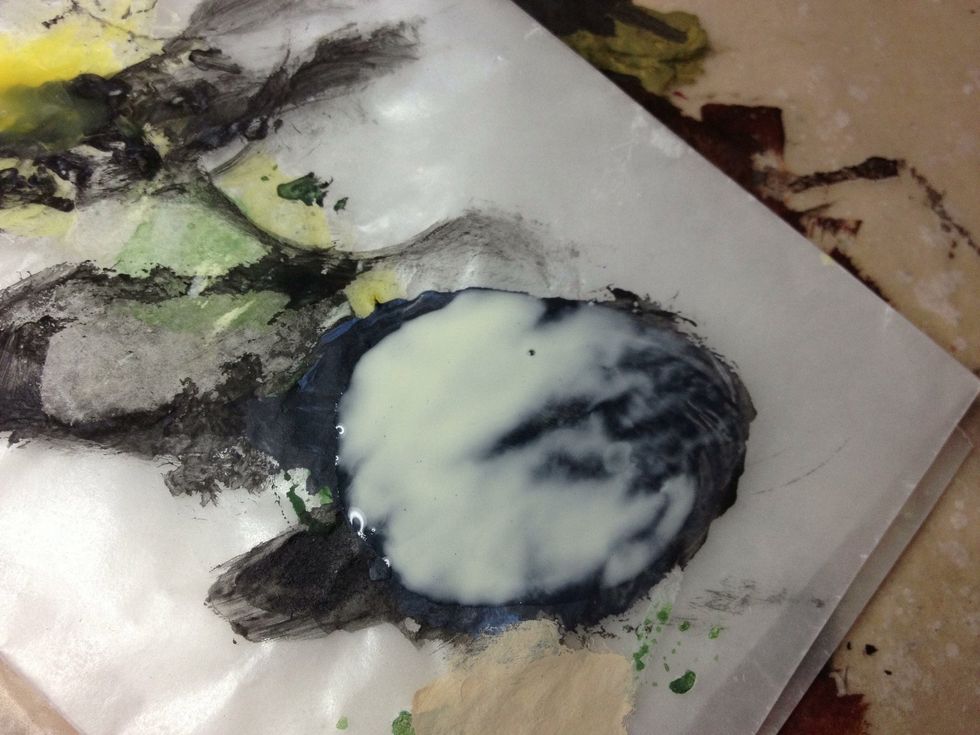
This is a 1:1 mix of carpenter's glue and water. It will moisten the pure glue and allow it to gain a firmer hold on the sand.
Add the mix to the base. Again, work swiftly. If you're still working when the glue starts to soften, the results can be disastrous.
If you happen to get any on the model itself, rinse your brush and while it's damp, use it to remove the glue from the miniature.
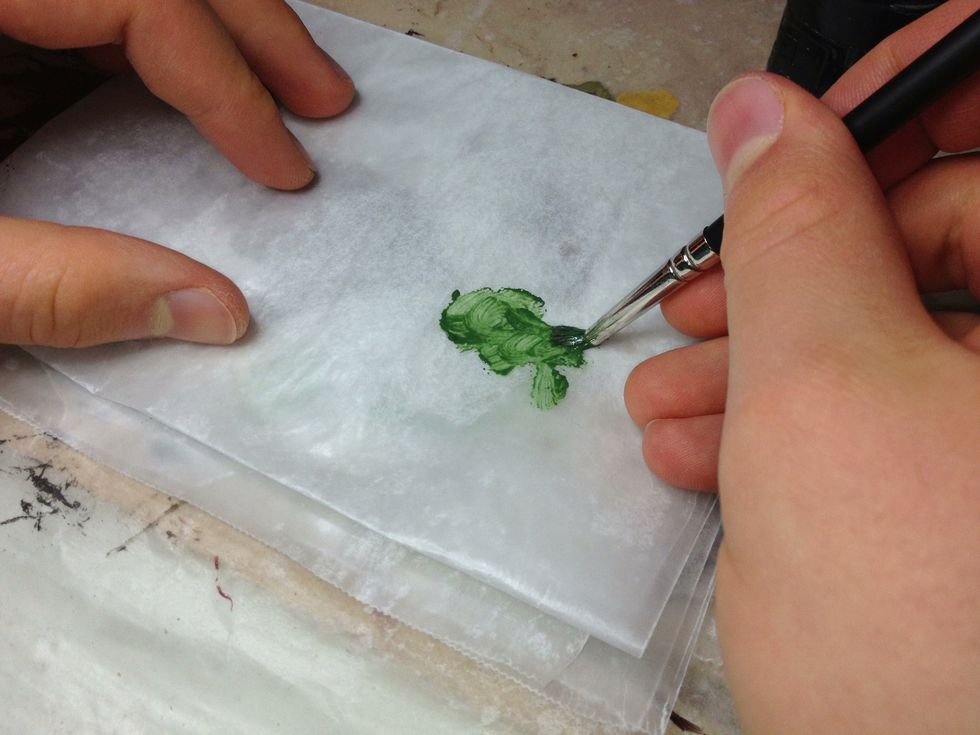
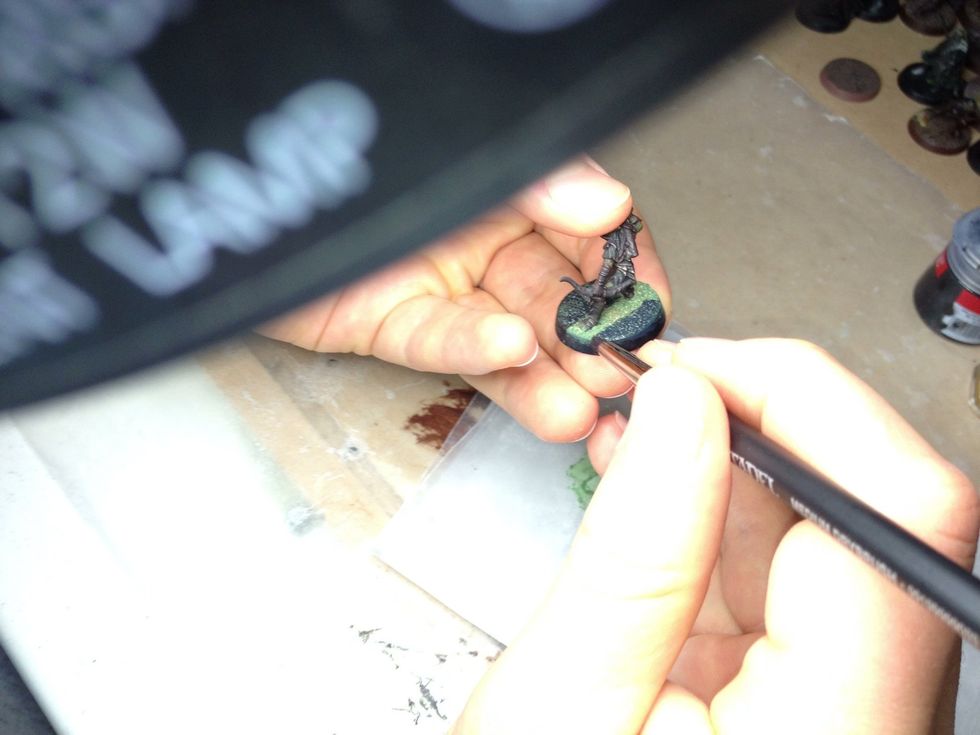
(optional) Get out some Liquid Green Stuff. Put it on either a palette or wax paper and water it down slightly. This may make the sand stick a little better, but it isn't really necessary.
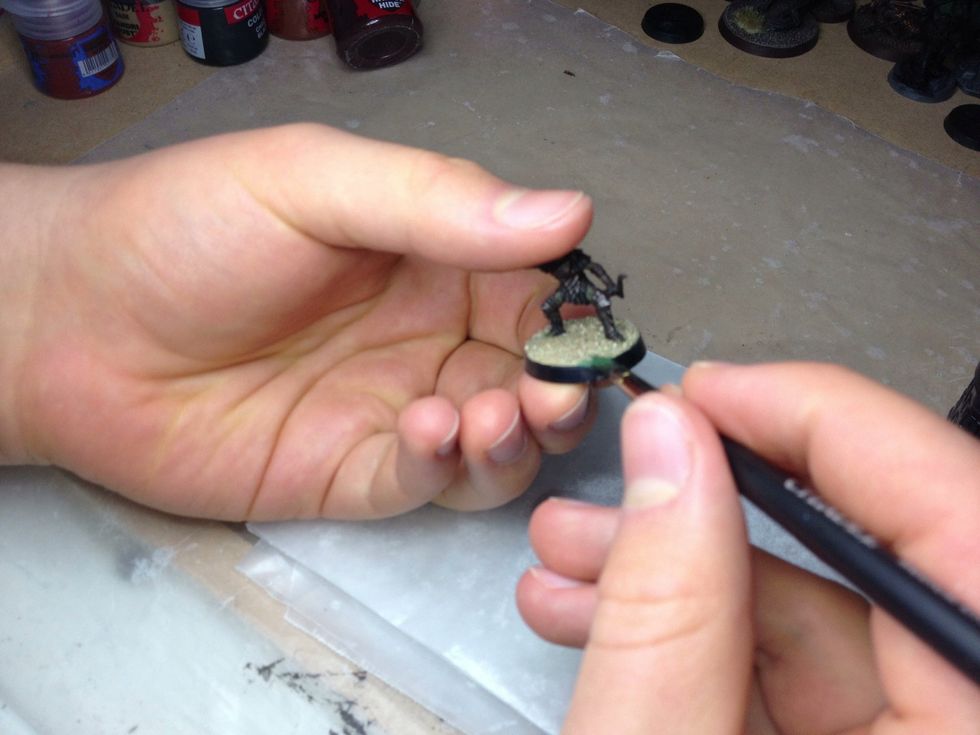
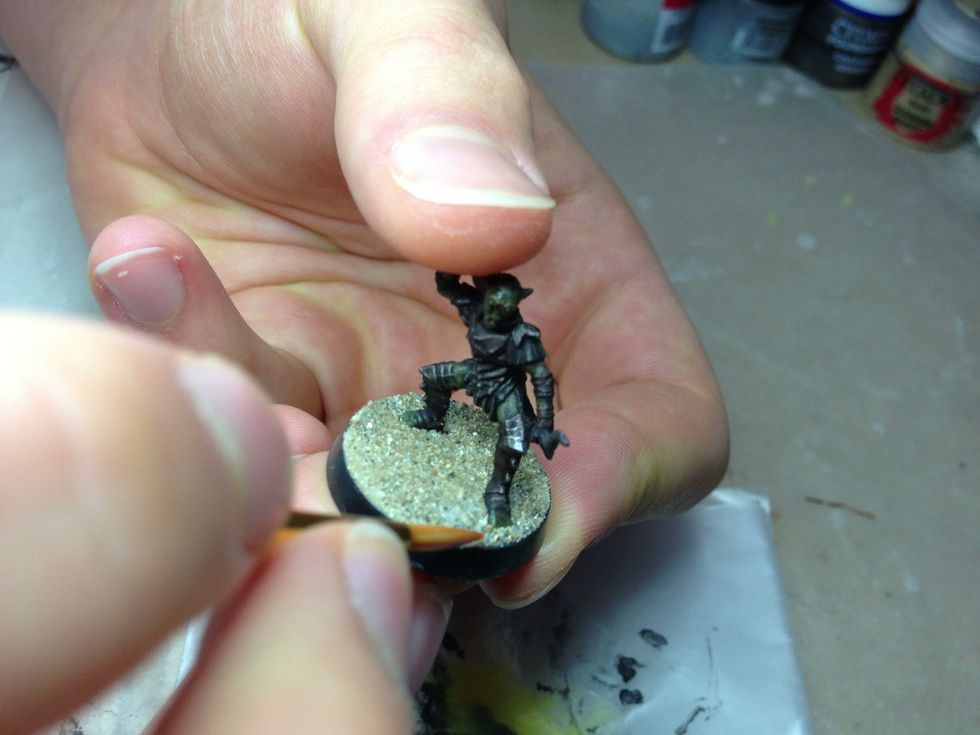
Start applying the mixture to the edge of where you glued the sand. It will start to seep under the terrain. When done right, this will help to keep the sand from peeling.
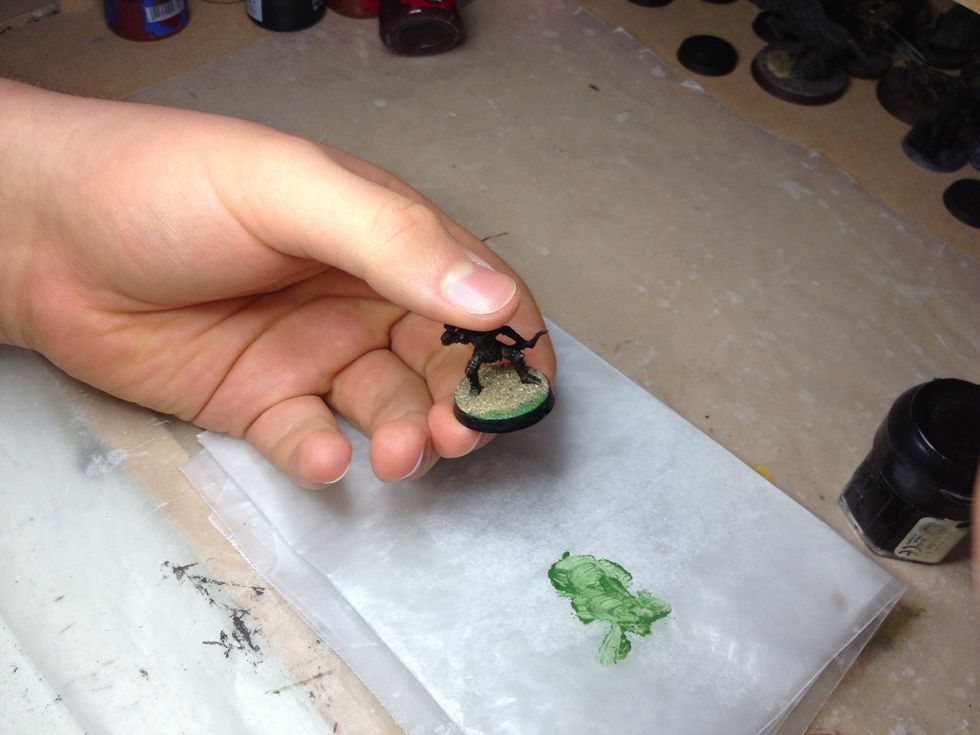
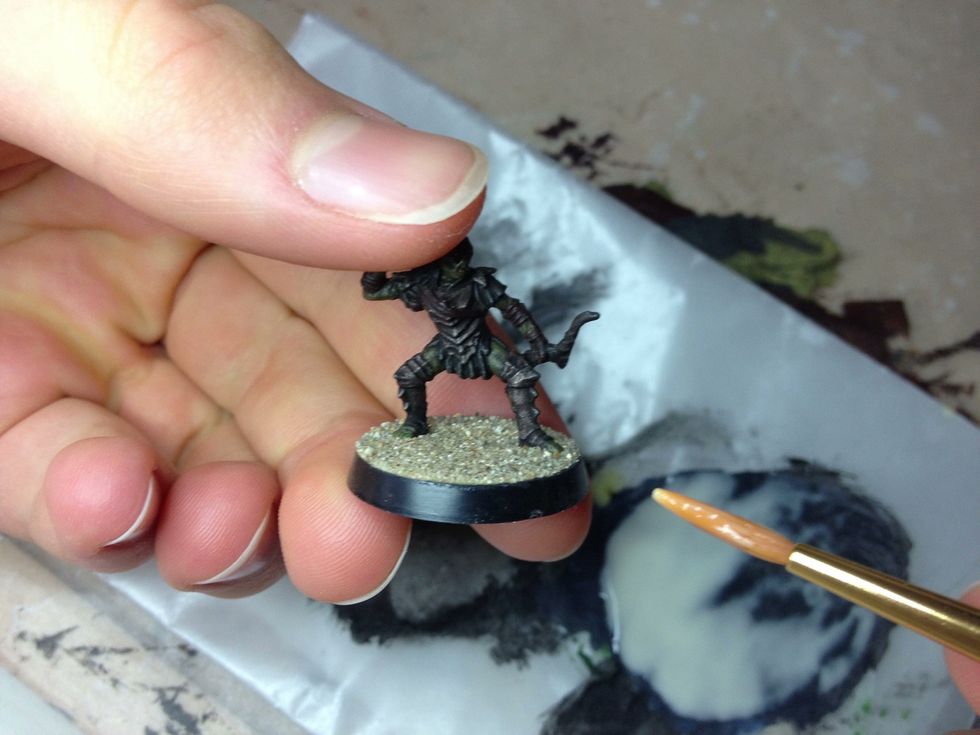
Continue around the rim of the base. The use of this mixture is especially good for larger bases.
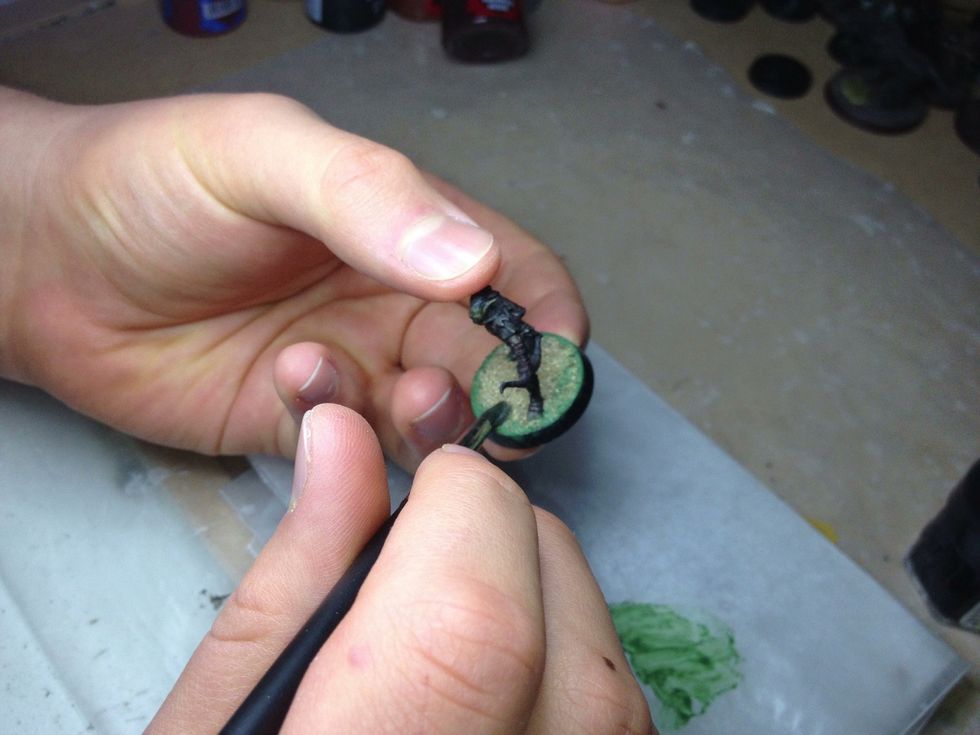
If you want, you can use the stuff on the rest of the sand. Make sure you don't get any on the model itself.
Let it dry overnight. If you apply paint to the base without letting it dry, the Green Stuff will soften and cause all kinds of problems.
Next you'll be priming the base. I use a special primer from a hardware store, but if it's easier you can just use Citadel's "Imperial Primer".
Start painting the base with the primer. This time you don't need to worry so much about working quickly.
Depending on what primer you're using, watering it down slightly may help the primer to get into the recesses of the sand.
Keep priming the base. Try not to get any primer on the model.
Make sure you cover all the sand with the primer. Priming the base is reasonably similar to priming the model.
Let the primer dry for at least four hours, if not overnight. Once that's done, the sand can be painted.
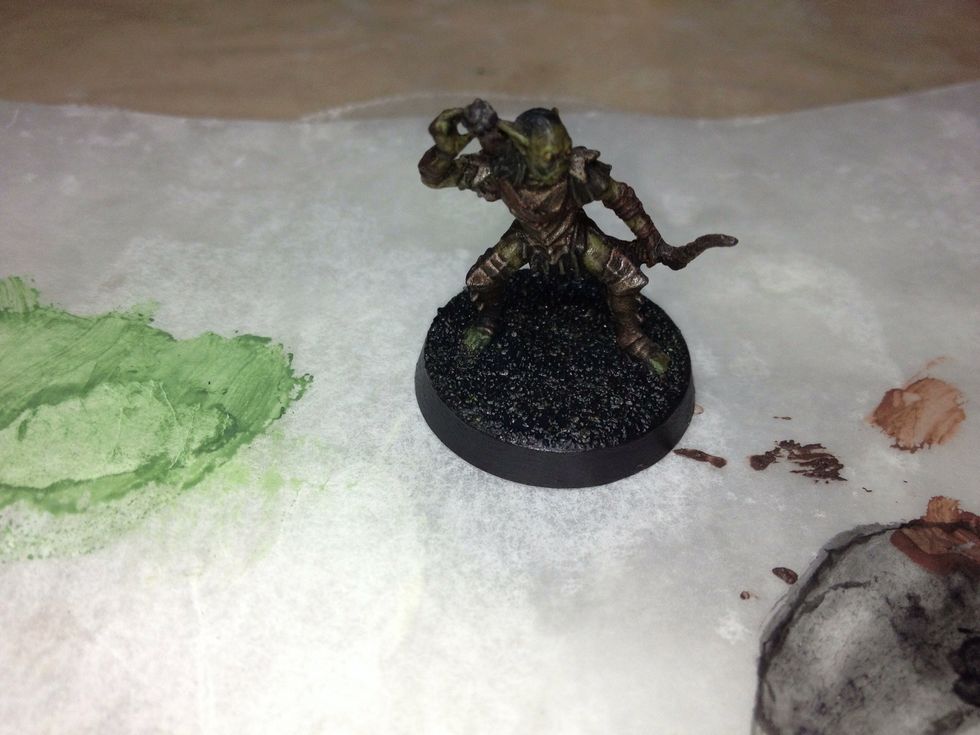
Now that the primer has dried, you may begin painting the base.
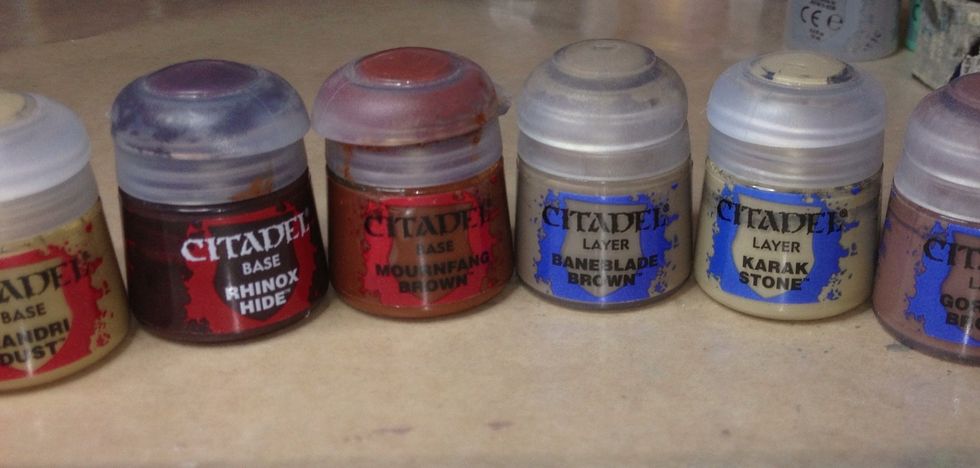
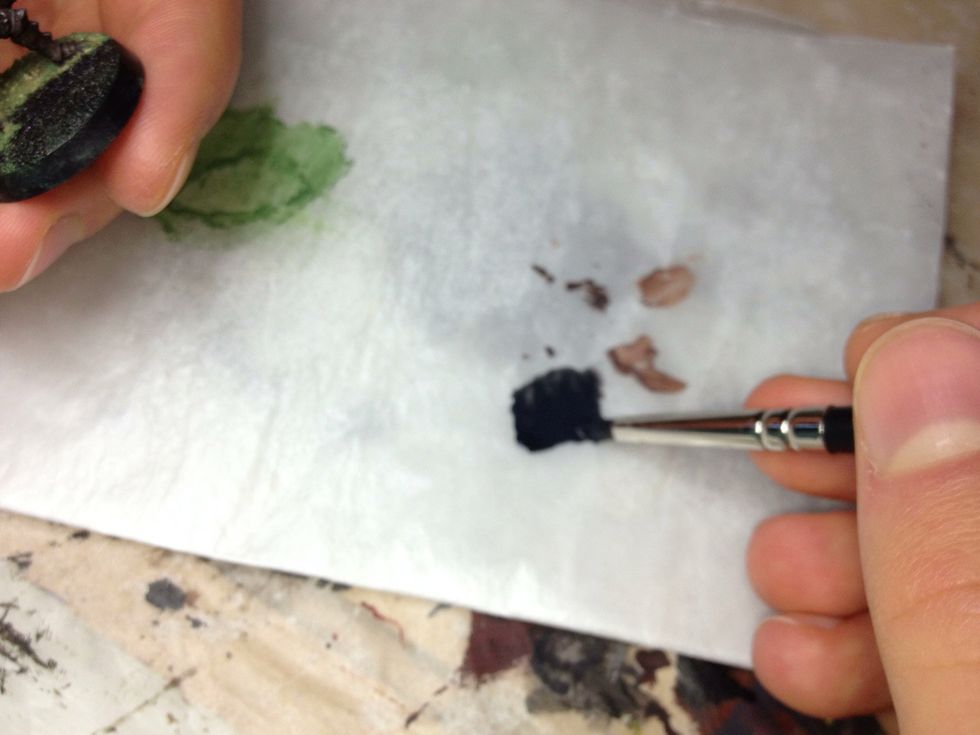
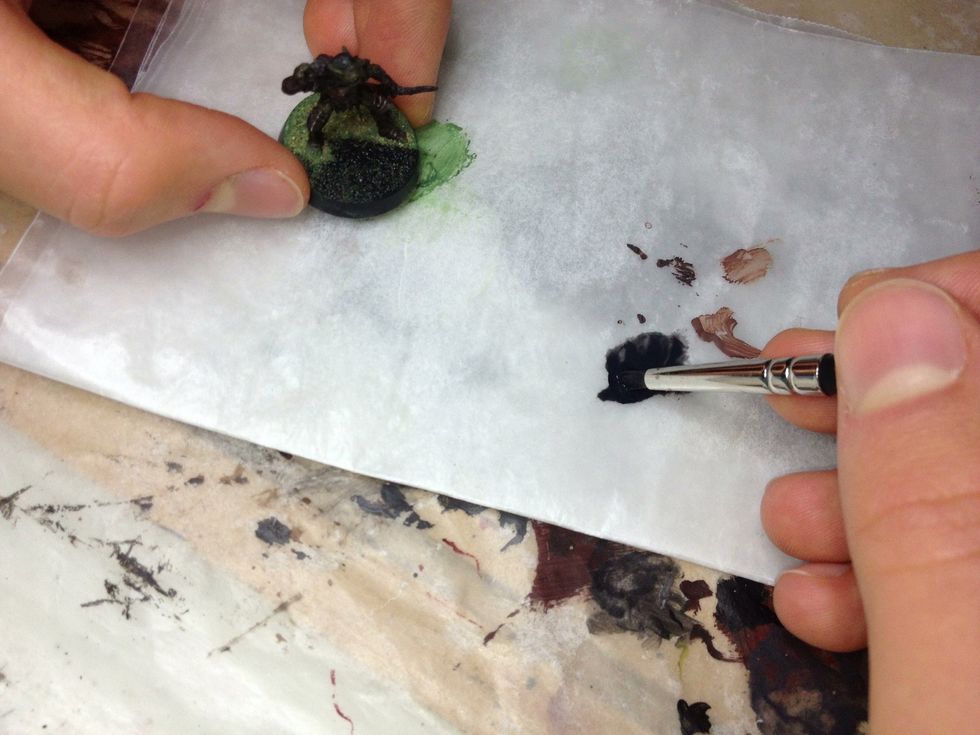
When selecting a palette for the base's terrain, you should try to pick earthy colours, particularly browns. These are just a few of the colours you might find useful.
In this guide, I'll be showing you the colour scheme I use to base my miniatures, but feel free to come up with your own.

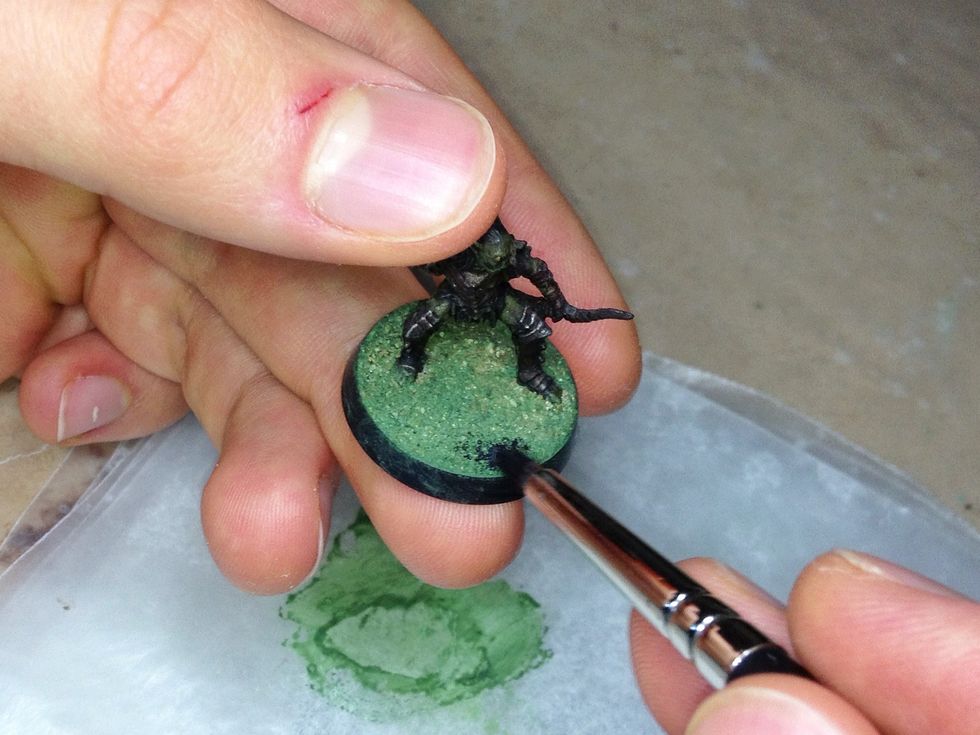
If you're following my painting scheme, start by painting the whole base with a 50/50 mix of Rhinox Hide and Mournfang Brown.

The next step is to heavily drybrush the sand with Zamesi Desert, then more lightly with Tallarn Sand. This creates a contrast so that when you dull the colours, it will still be noticeable.
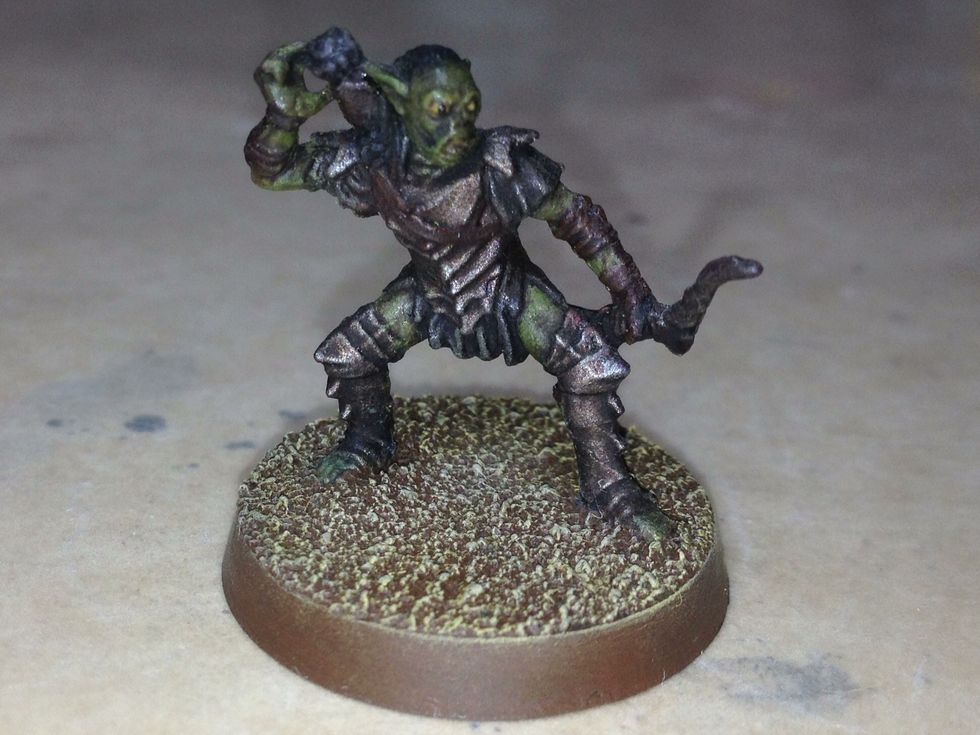
Now drybrush Karak Stone onto the sand of the base. You're almost done.
Lastly, to dull the contrast, drybrush the sand with Administratum Grey.
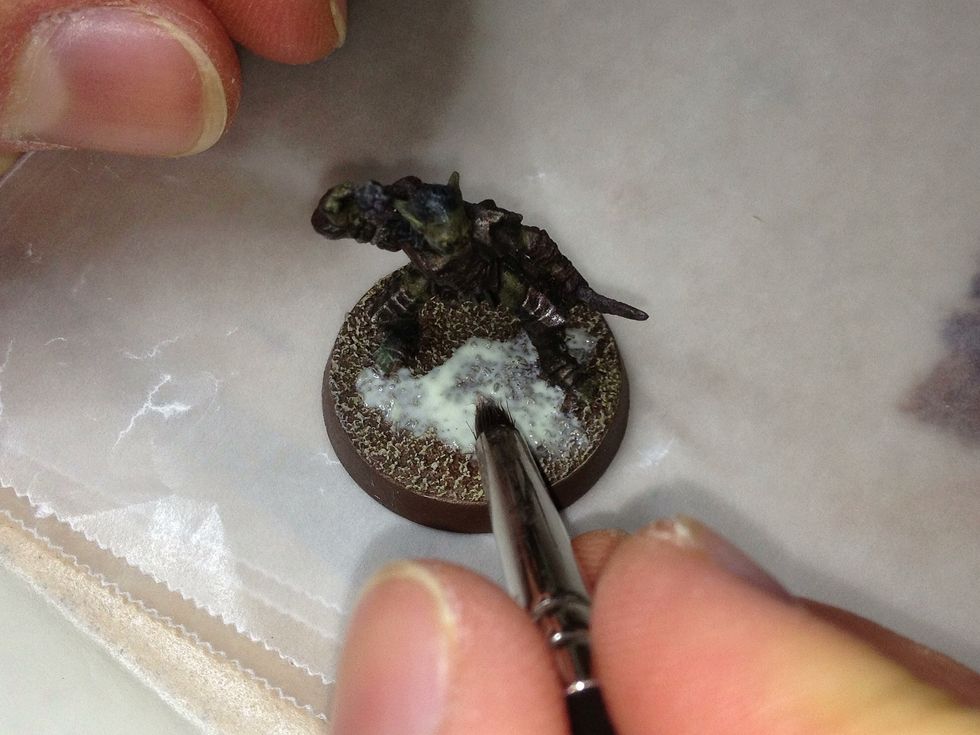
Now to add some detail! Take some carpenter's glue and paint it in one or two patches onto the now painted sand. The size of the patches depends on your personal preference.
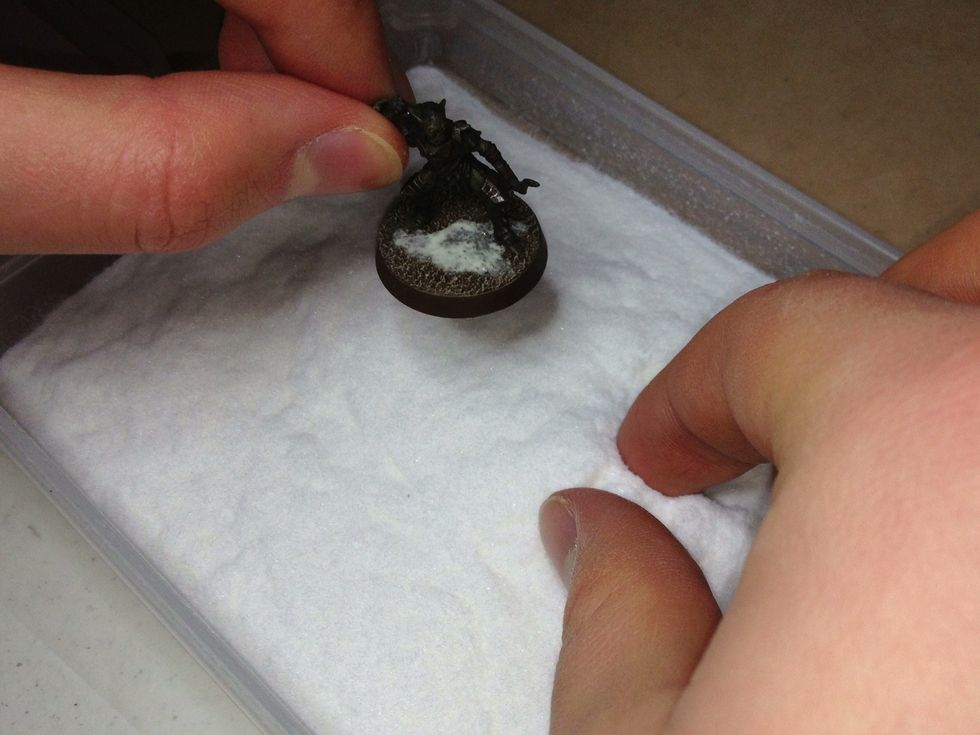
Now take a pinch of either Citadel Snow or Citadel Static Grass. It might be better to start off using grass as snow can be troublesome and hard to control. Don't breathe when handling the snow.
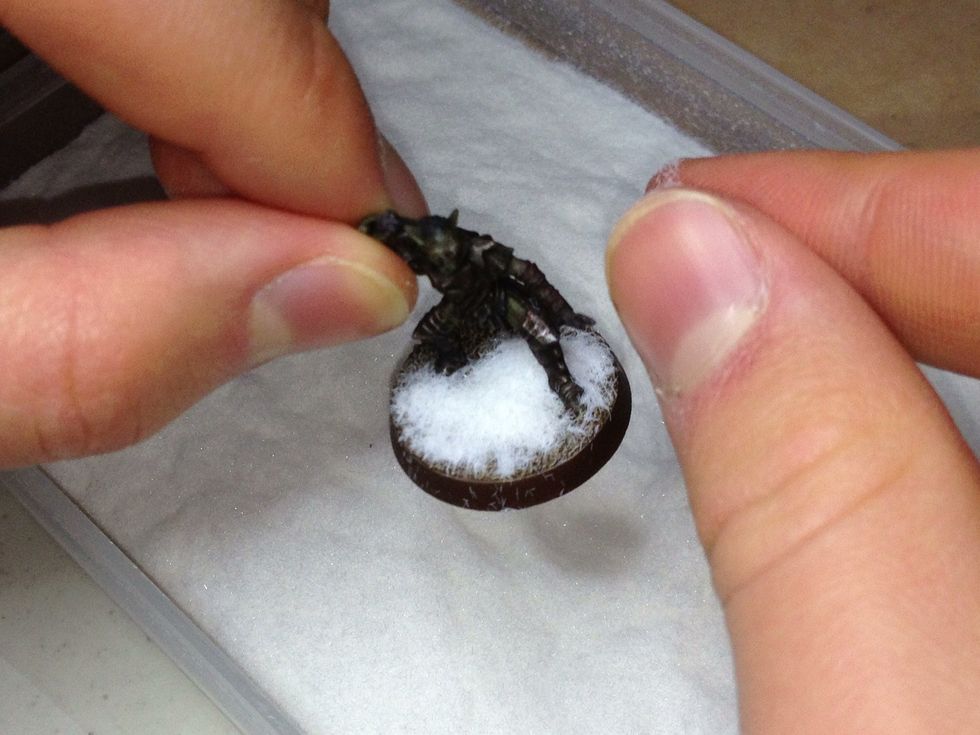
Sprinkle whatever you're using onto the patches of glue. This is referred to as "flocking the base". Make sure it's a heavy sprinkling.
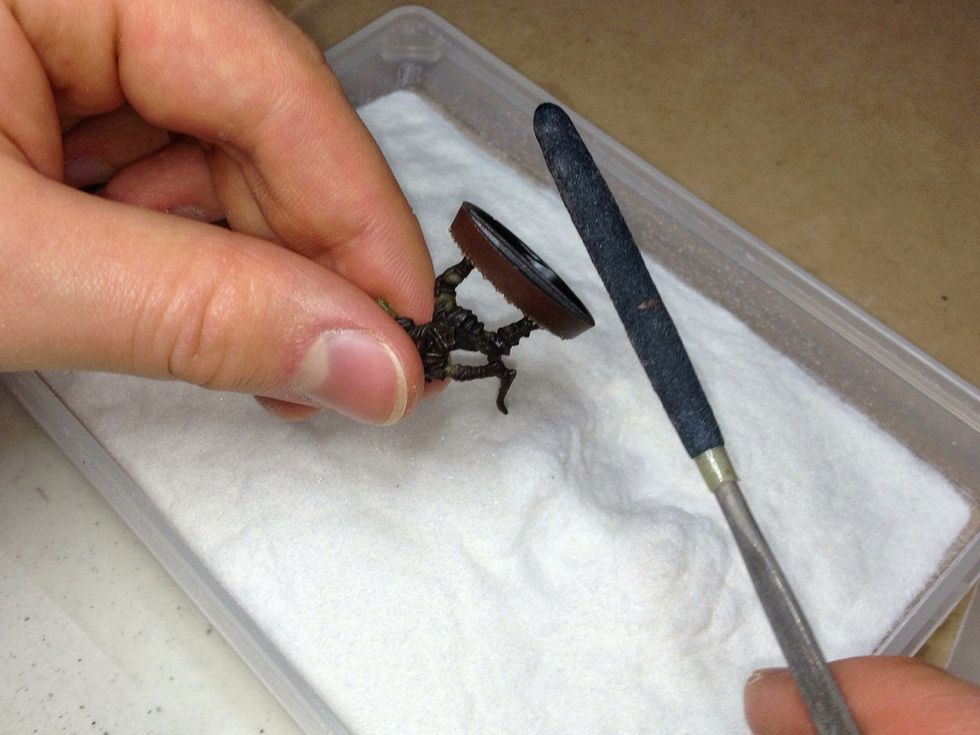
Tap off any excess flock back into the box.

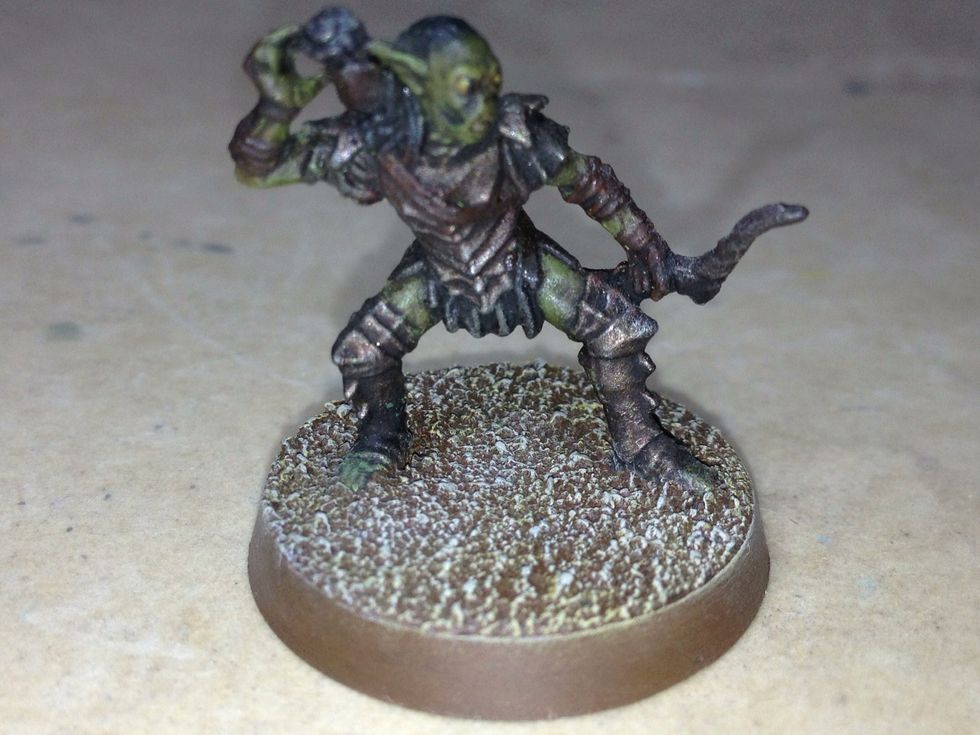
If you want, you can glue a tuft of Mordheim Turf somewhere on the base.
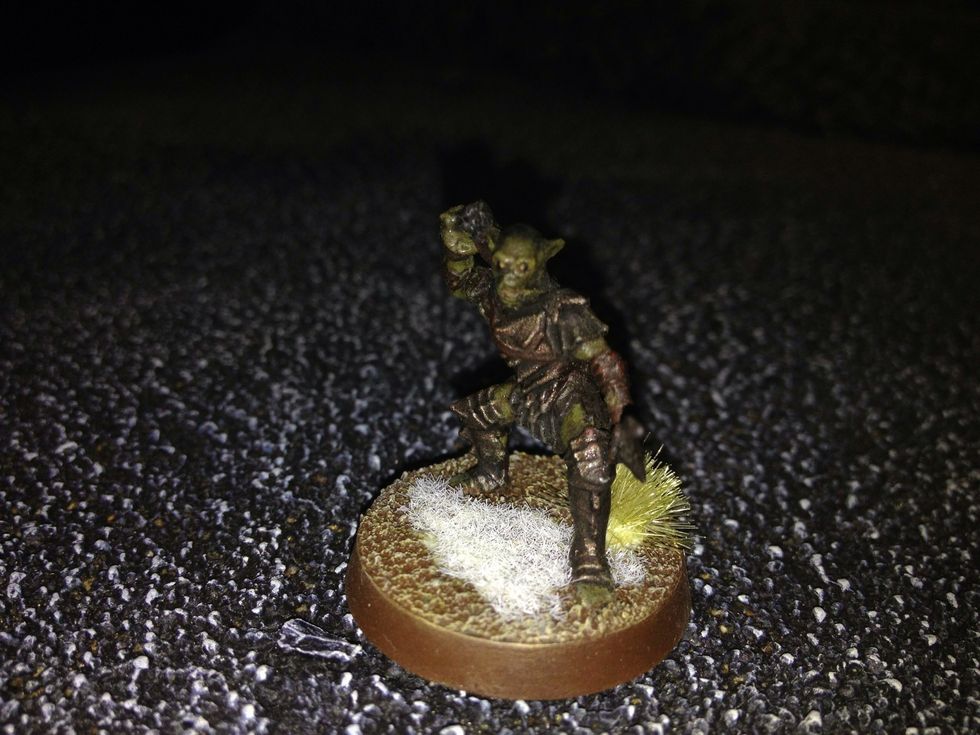
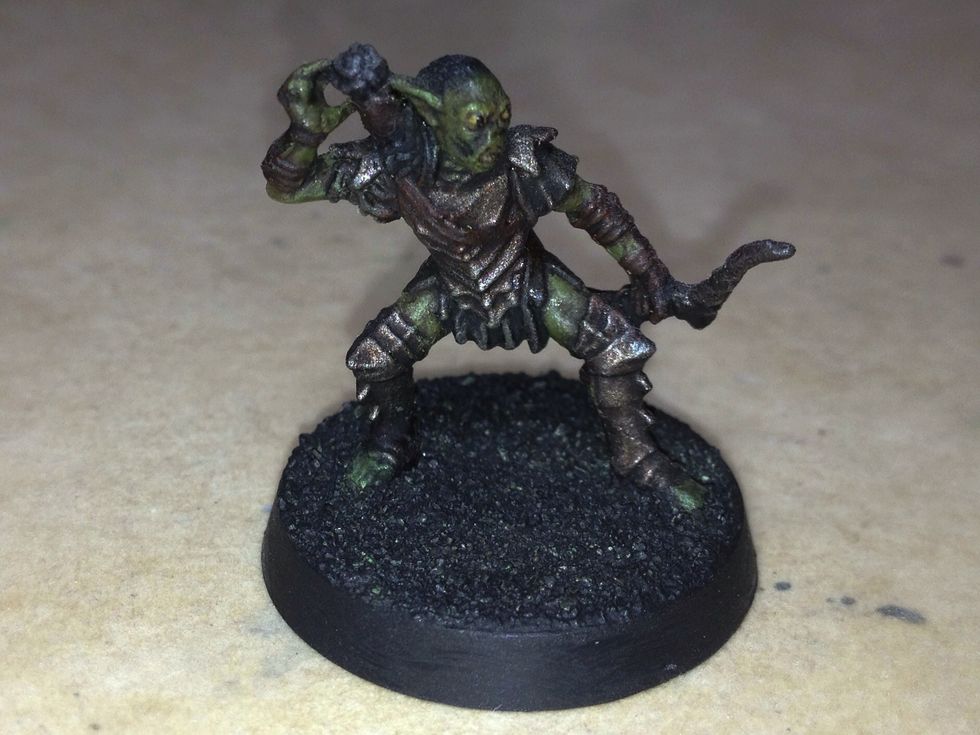
Once you're satisfied, congratulations! Your miniature is finished. Remember, this is just a basic guide. There are lots of ways to make a base unique, setting one model apart from the rest.