The Conversation (0)
Sign Up
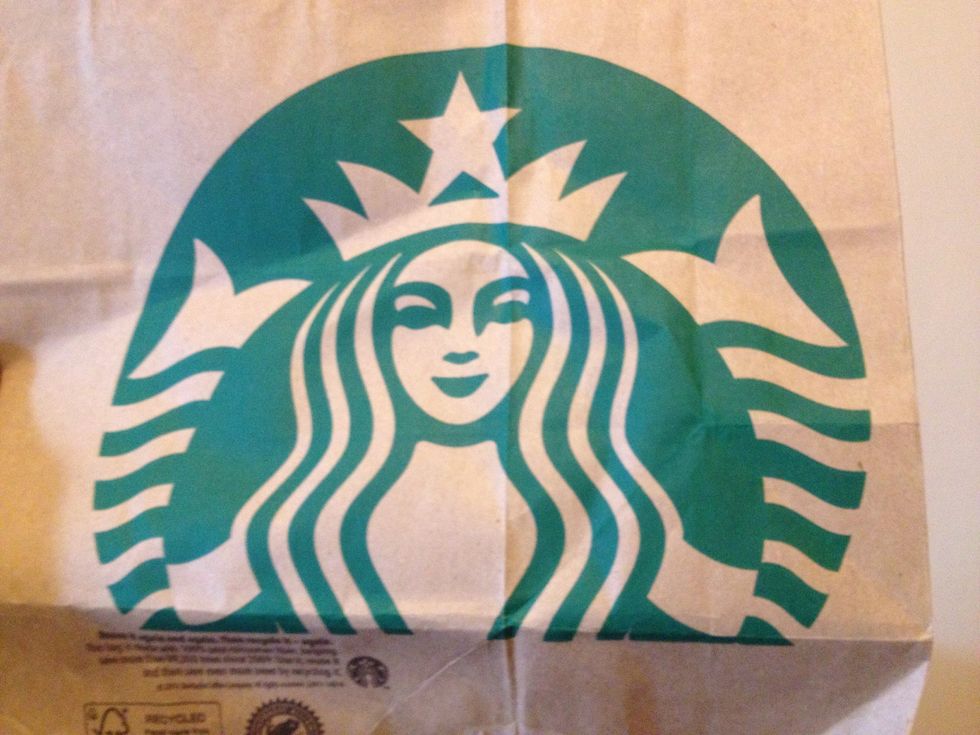
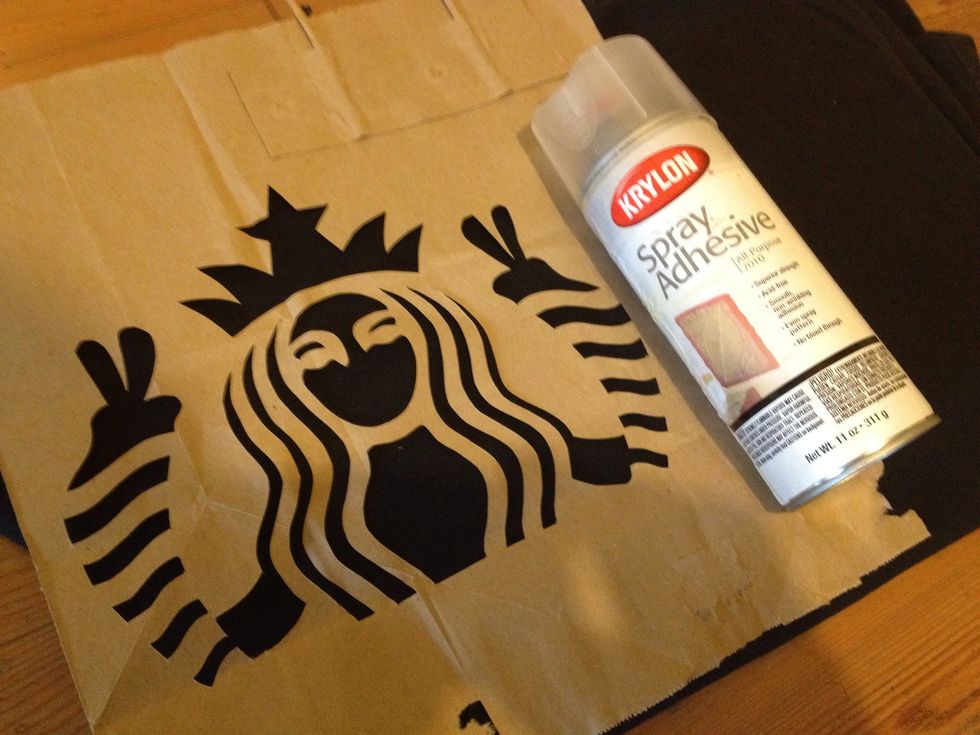
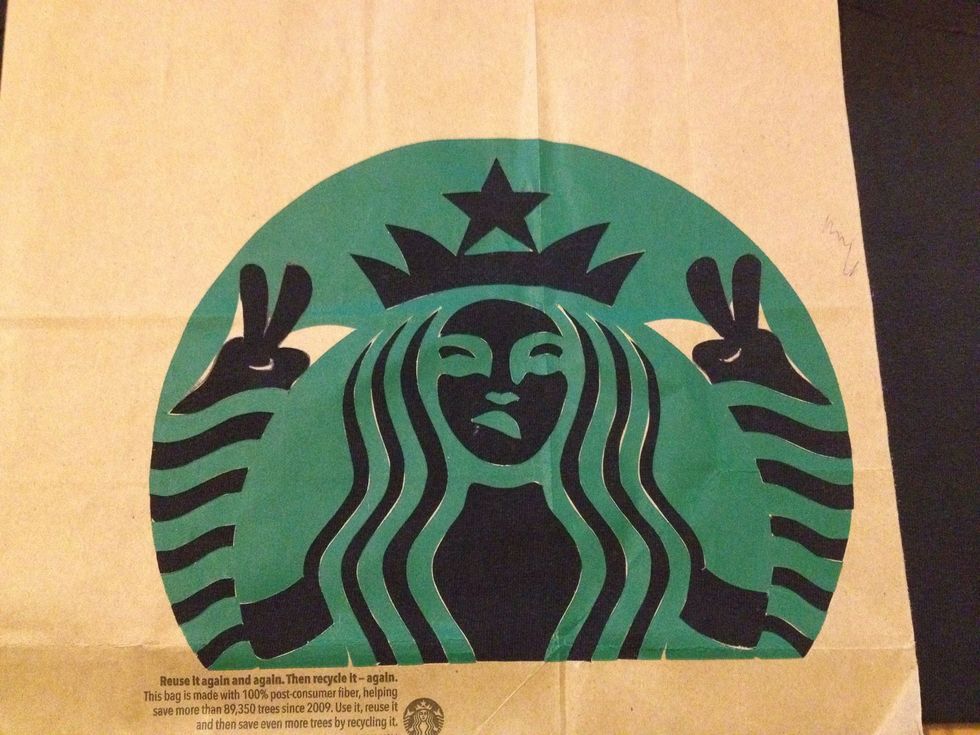
This is what I used. As u can see its ready to cut out stencil.
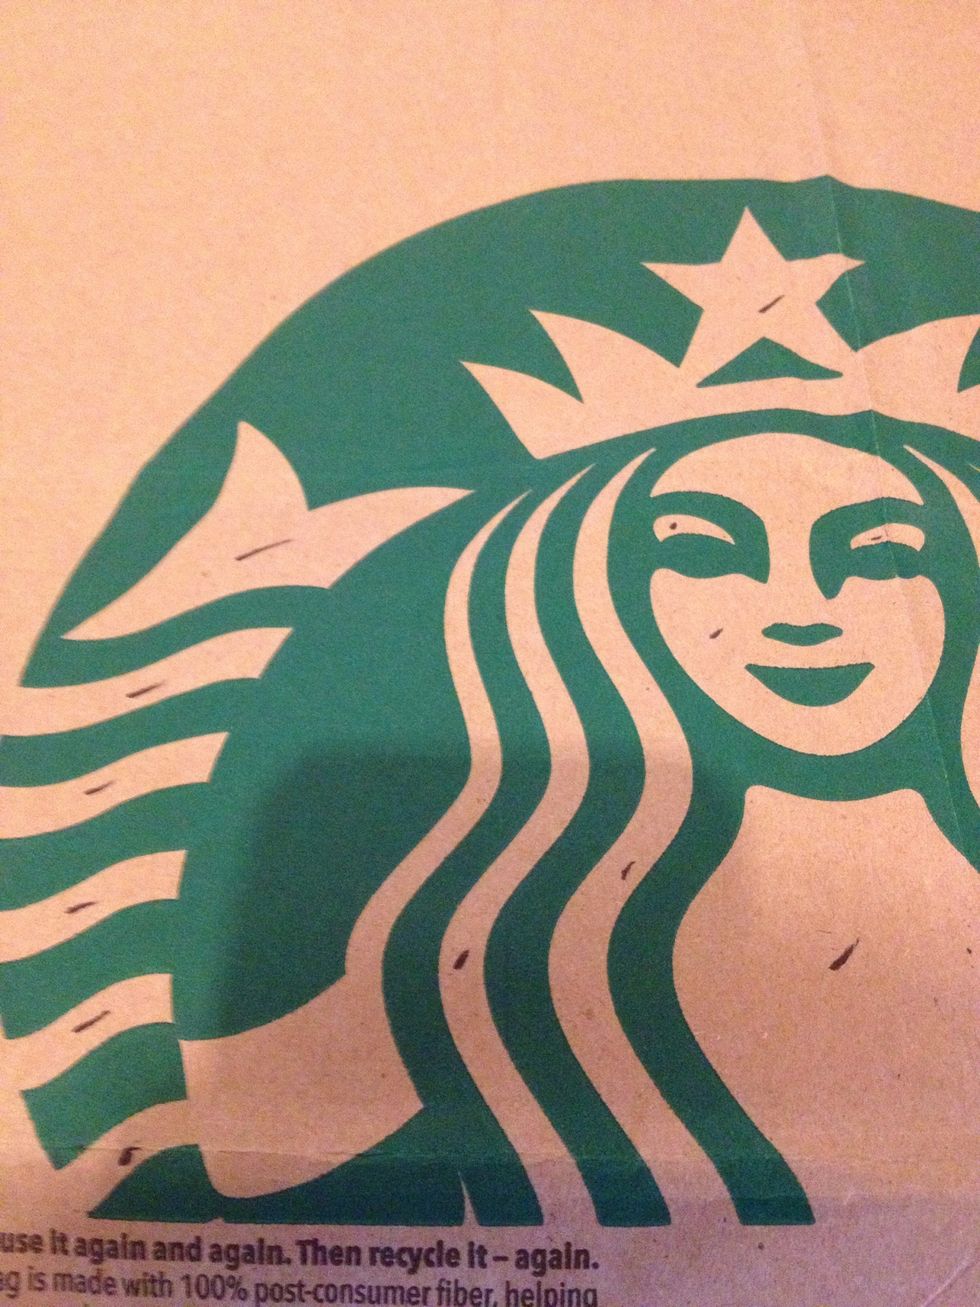
Here I marked the areas to be cut out.
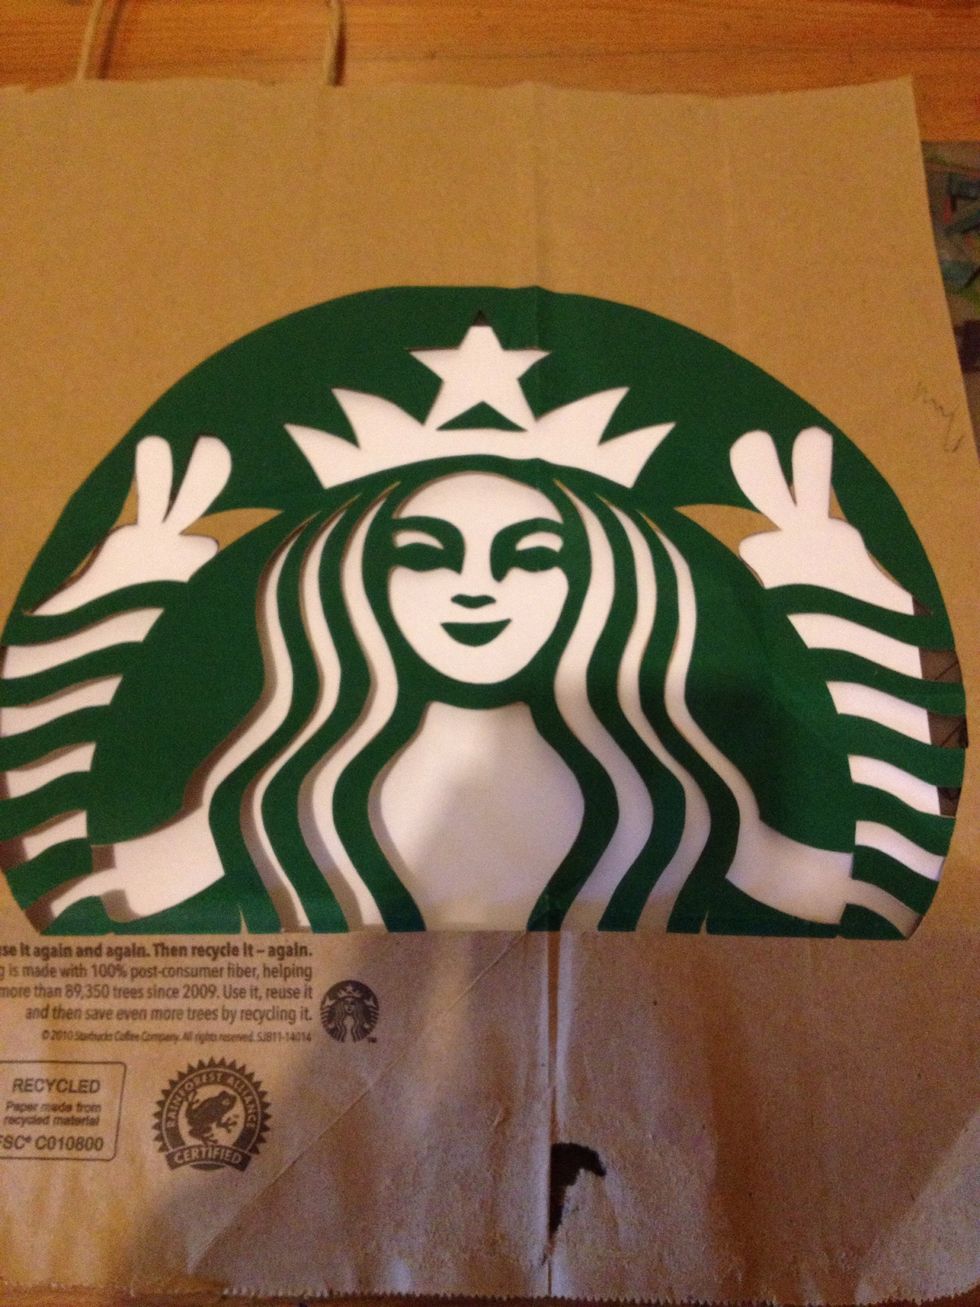
Here I already cut out my stencil n I added a little touch. She's throwing up peace signs.
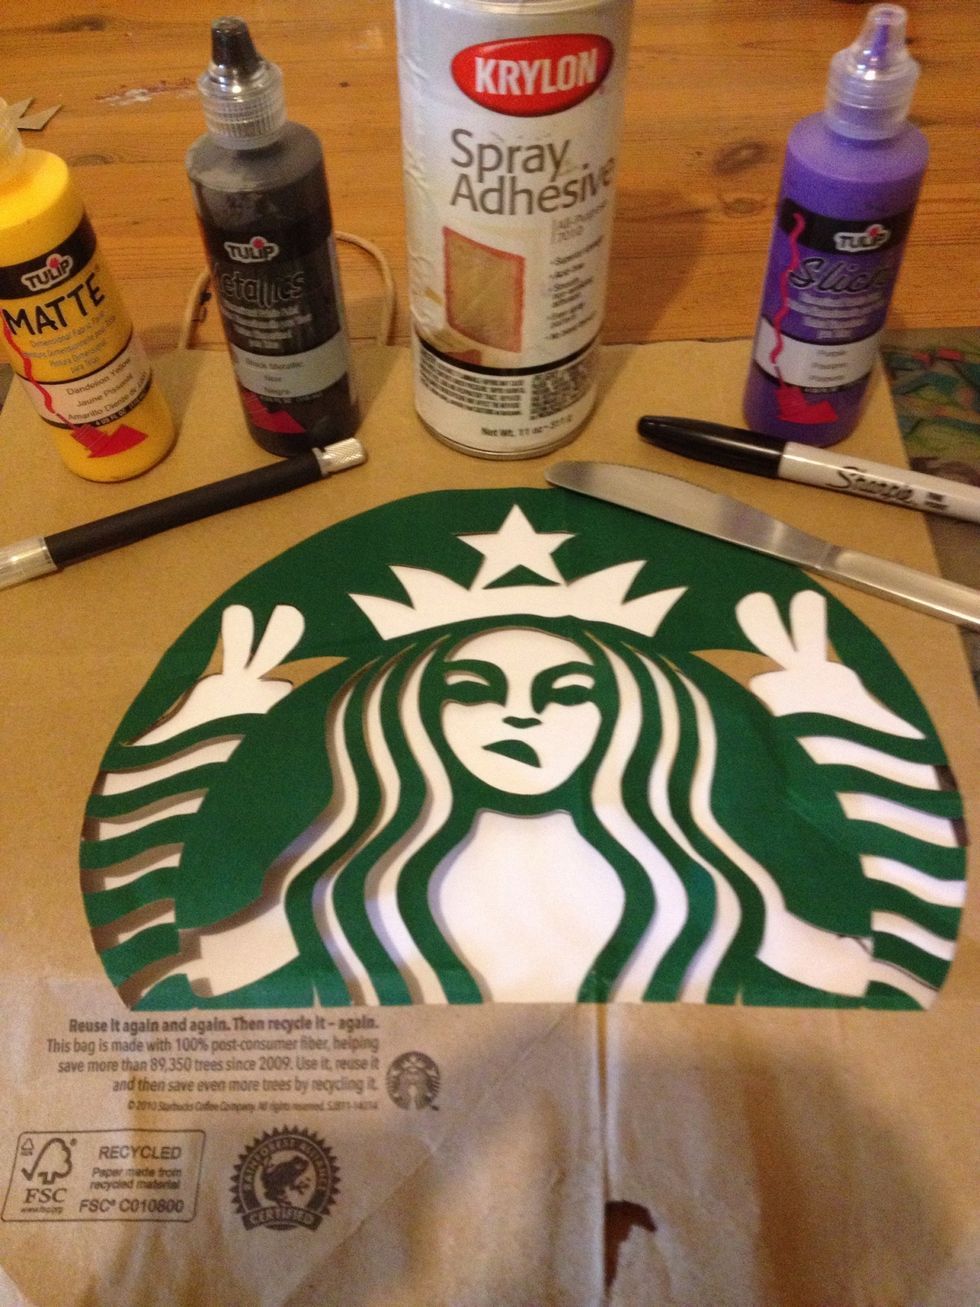
Here's my supplies. I used the yellow on black T. Also will change her face expression :(
Here I will take my adhesive and spray back side of stencil. Just use enough so it can stick to T.
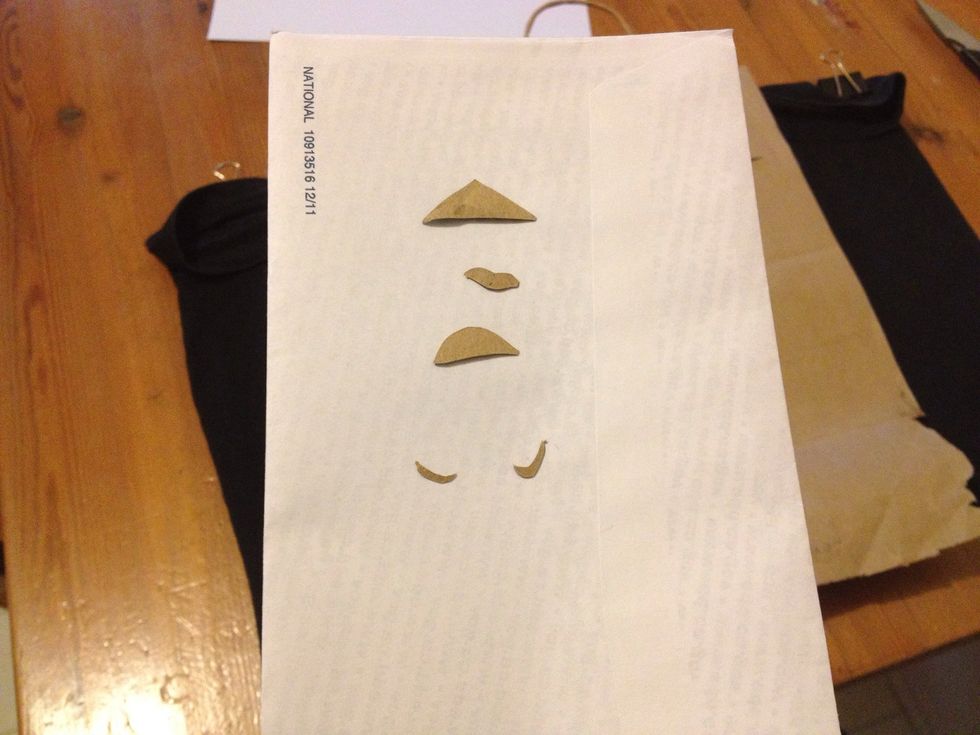
Small pcs to be sprayed. Make sure to place them on another paper/pc of cardboard so u can spray them.

After spraying place stencil on T.
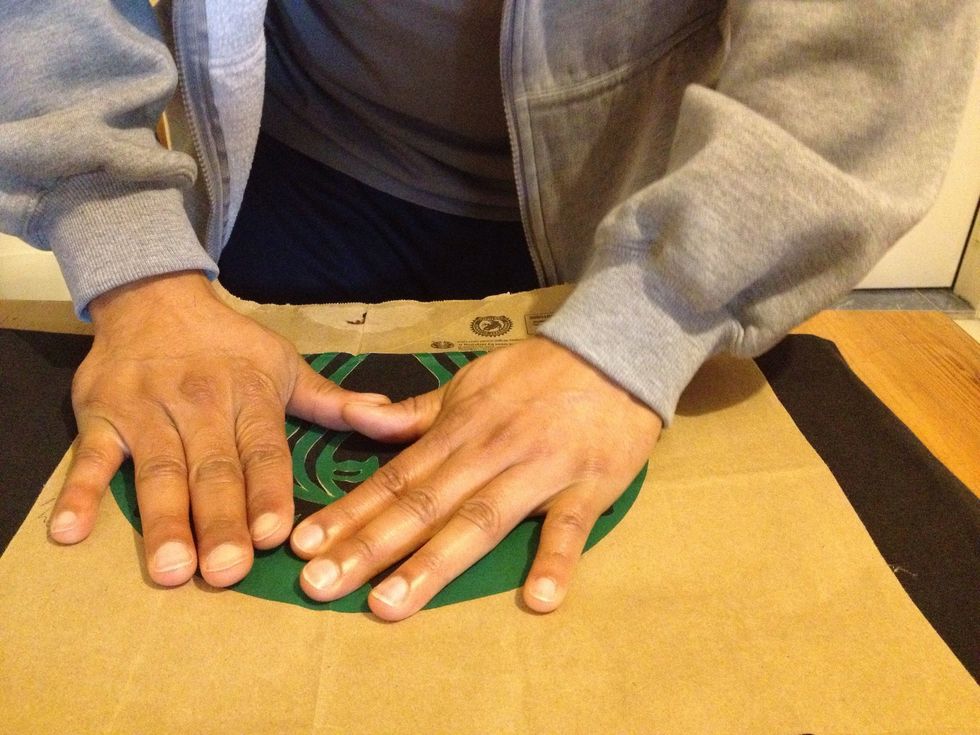
Make sure all edges are well sealed to avoid paint from spreading inside edges.
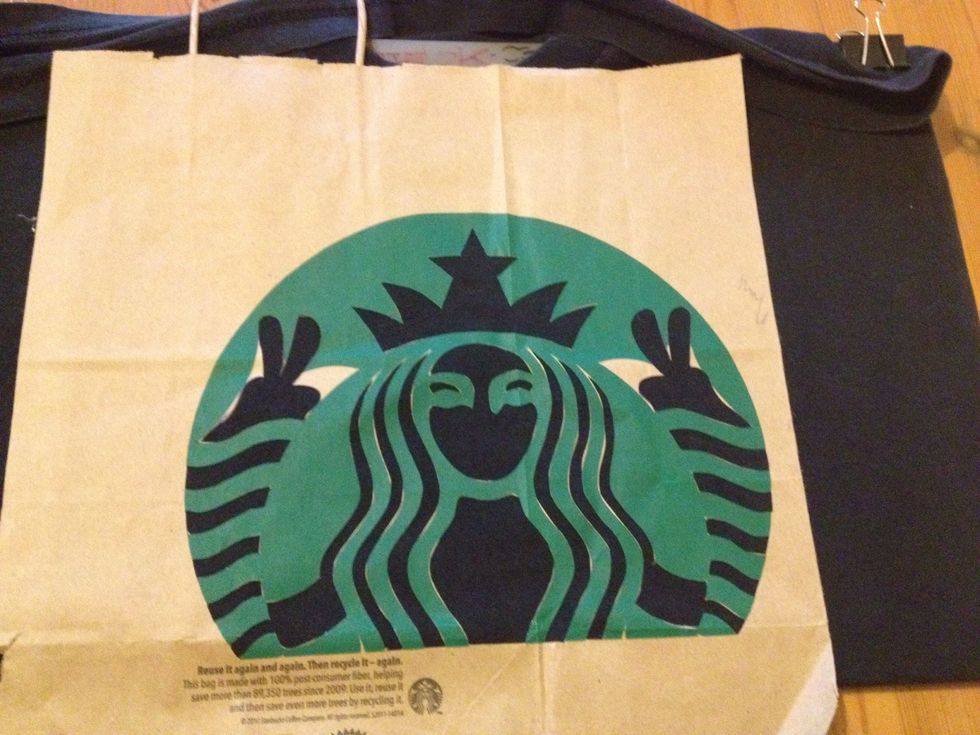
Stencil placed.
Ready to paint.
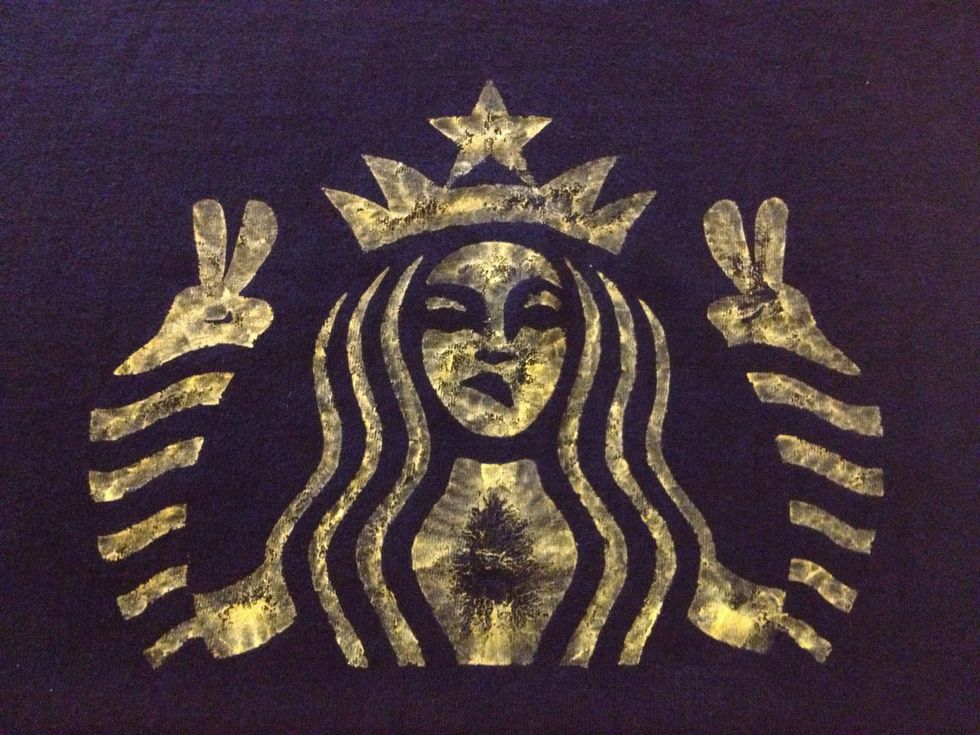
Final product, PEACE!! I don't fully cover the larger areas because I like the effect it creates.
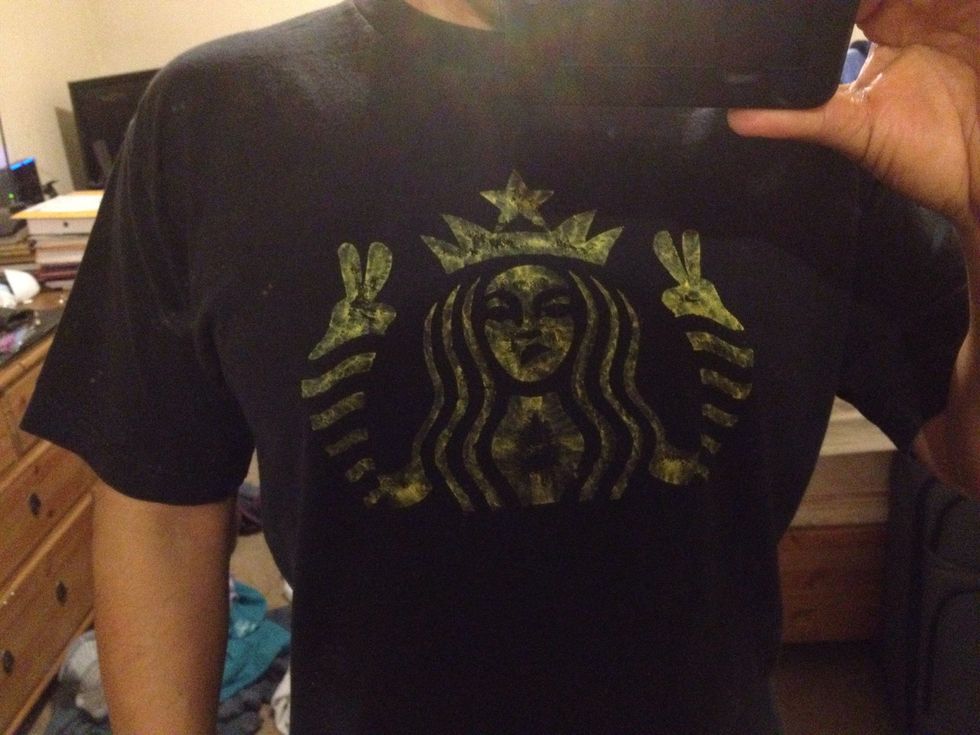
Sporting my work. This paint tends to dry pretty quick. Give it about 15 to 20 mins to fully dry. Soon I will start my own Tshirt brand at better quality of course. Will post vid on that.