The Conversation (0)
Sign Up
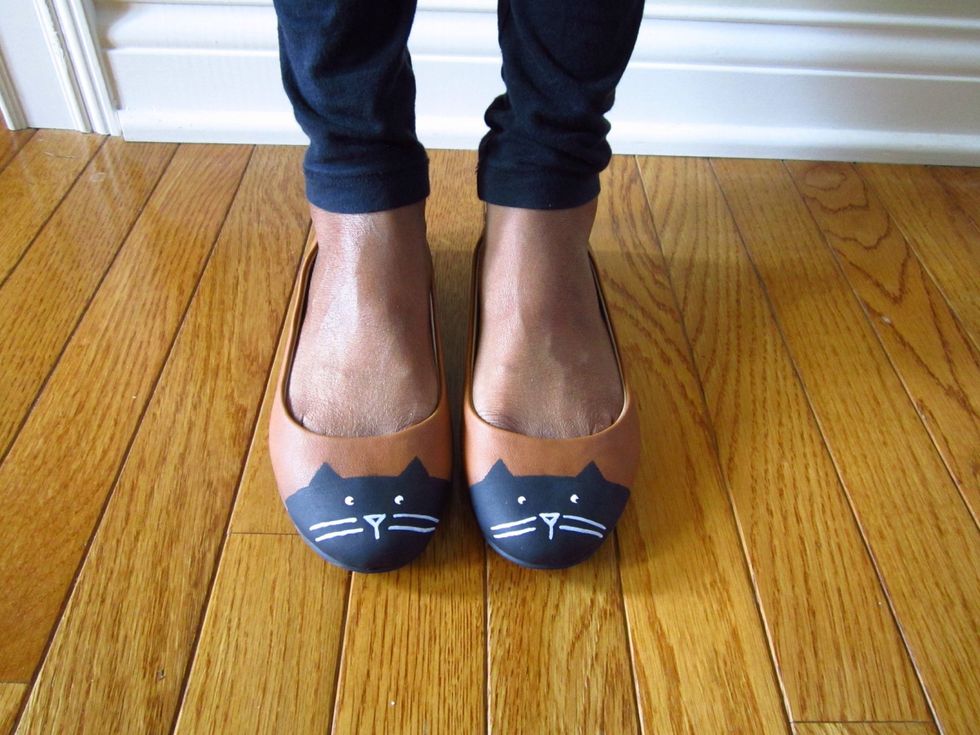
Here is what the final product will look like!

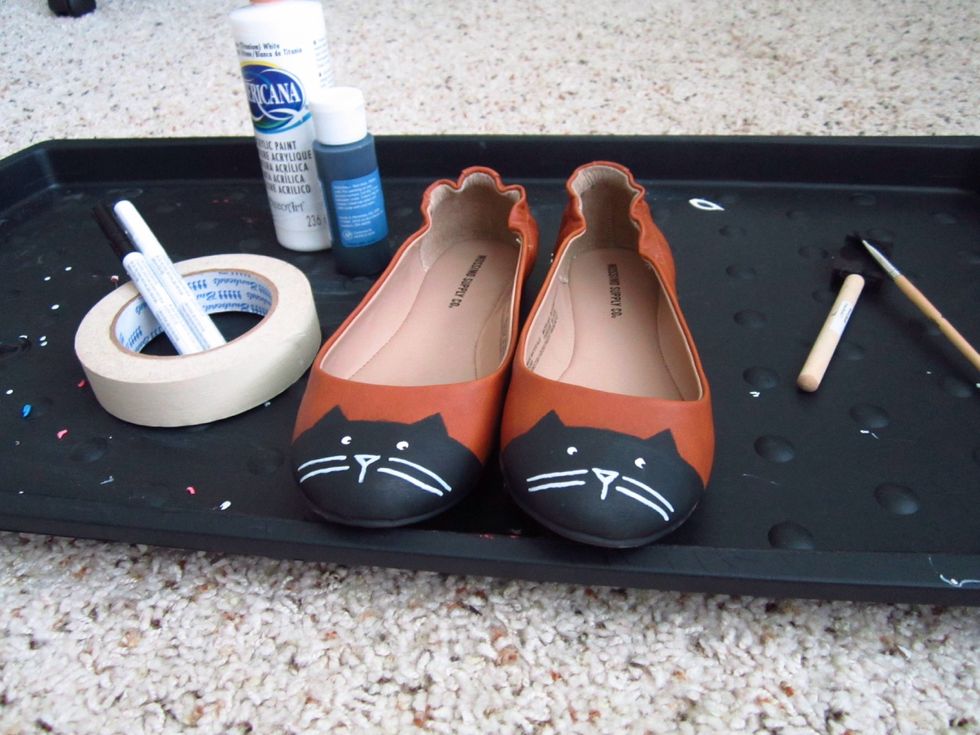
Lay out all of your supplies.

Make sure to apply the tape smoothly, so that there aren't any wrinkles. Next, paint on a nice, thick layer of black paint. Then, remove the tape and wait an hour to dry.
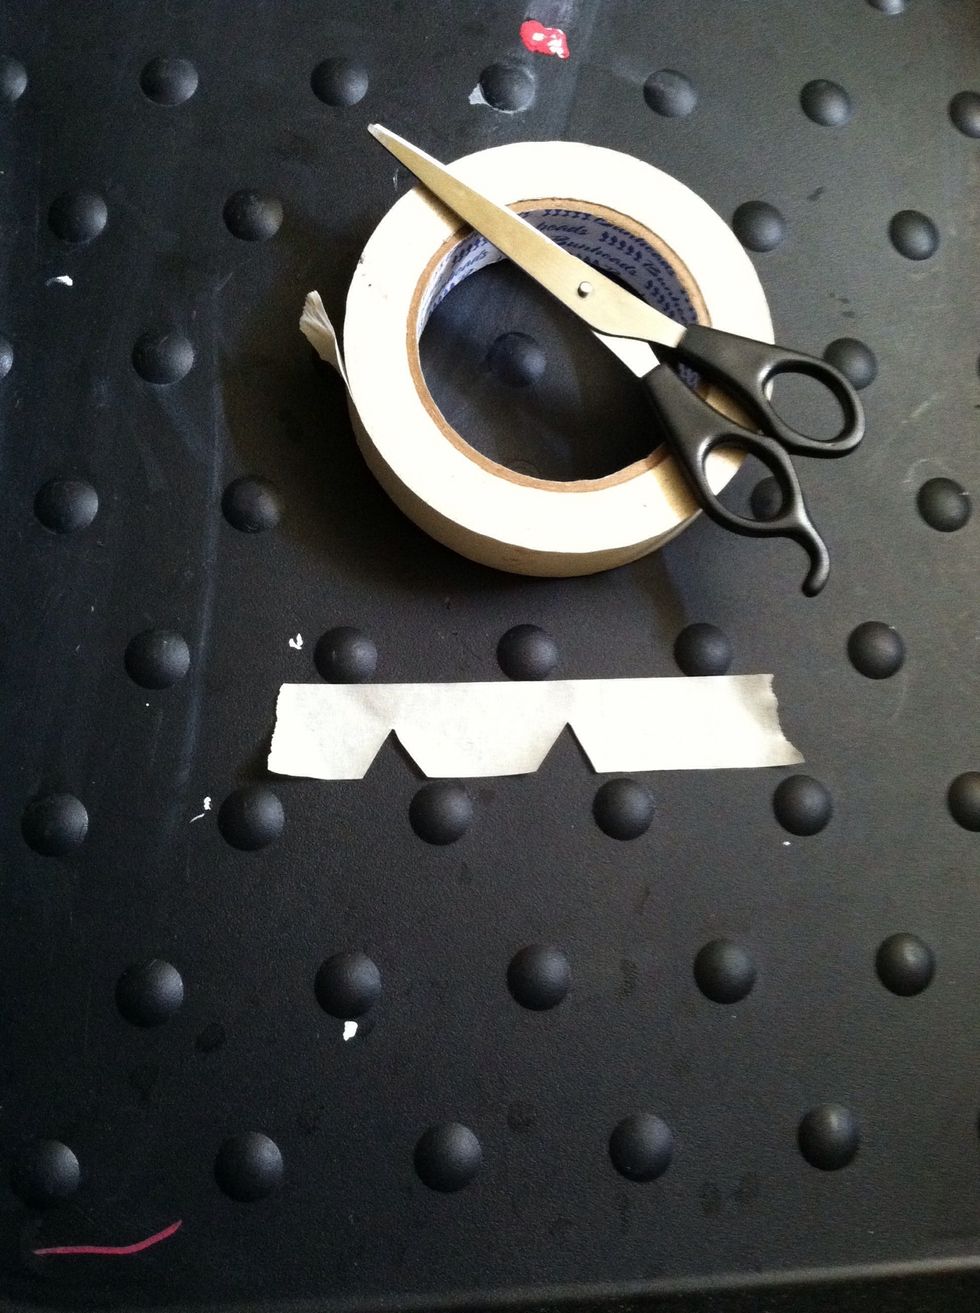
Now you have to paint on the ears. I used tape for a more precise look. To do that, cut out little triangles on the tape and stick it right along the top of the paint. Then paint inside the triangles.

Now, they should look like this.
Once the paint is completely dry, you can give your flats a nose, eyes and whiskers. I would definitely recommend using a paint pen for this part, because it's SO much easier than using a paintbrush.

And now you're finished! If you mess up while drawing on the facial features (which happened to me more than once), just paint over it and start again.