The Conversation (0)
Sign Up

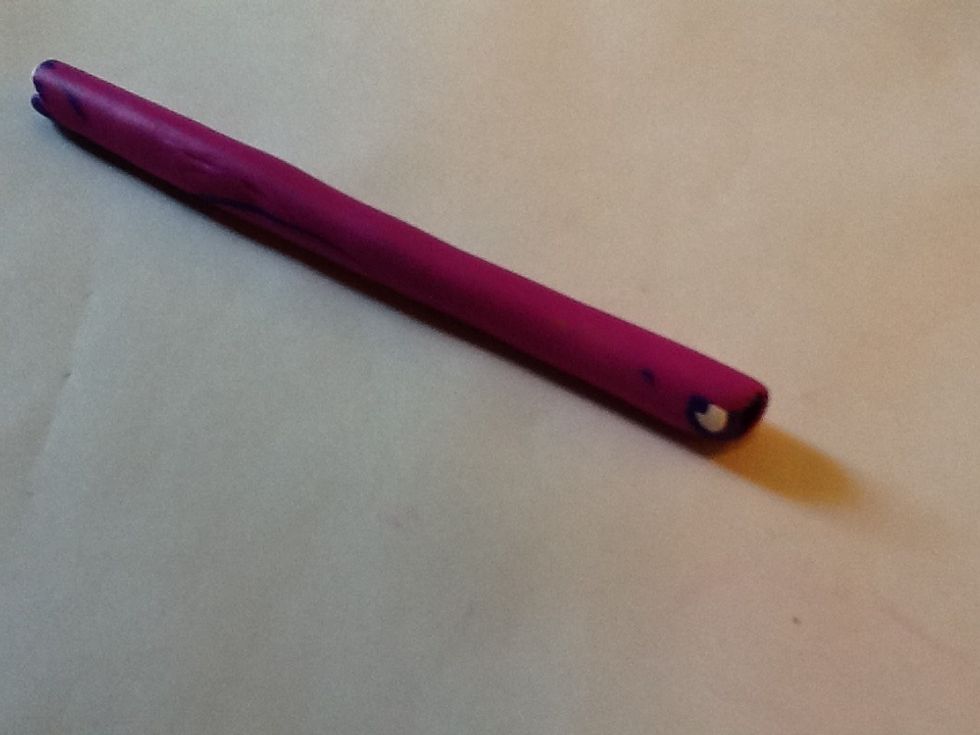
Separate the ink from the barrel; set aside
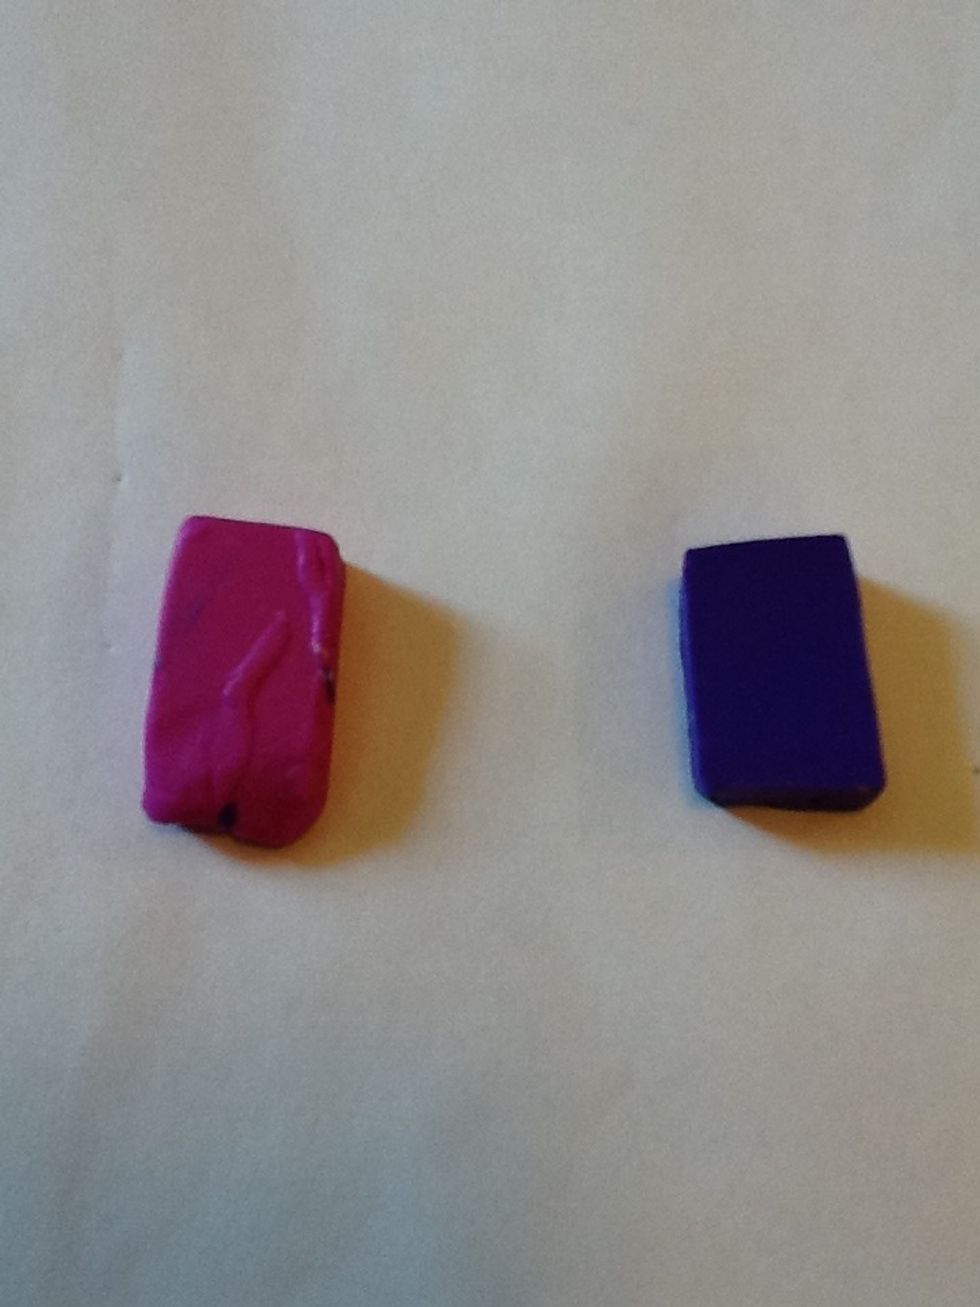
Cut two or more pieces of Sculpey clay

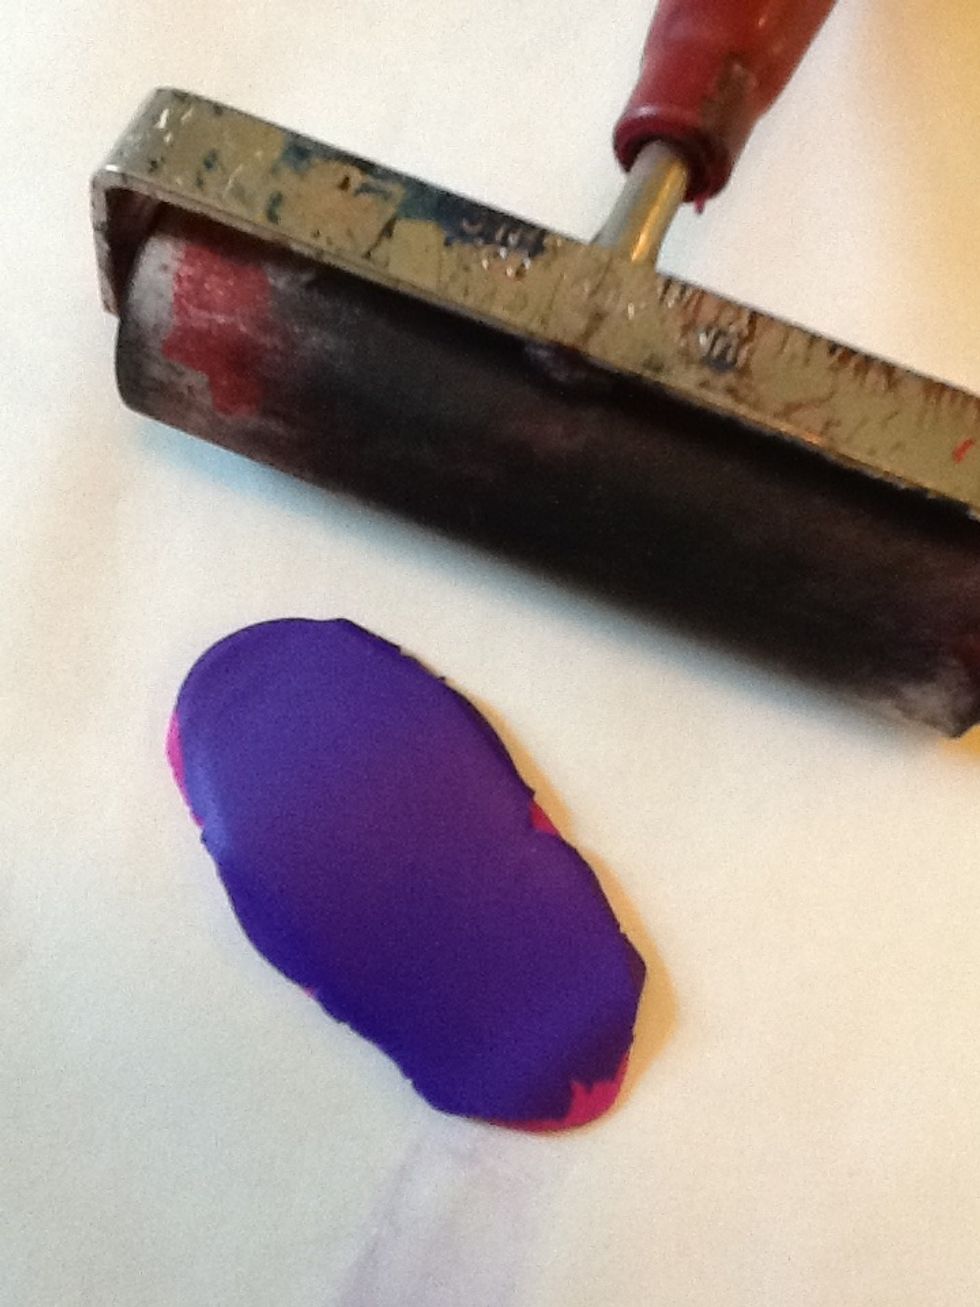
Flatten both pieces of Sculpey clay using brayer or dowel type object
Sandwich Sculpey pieces on top of one another
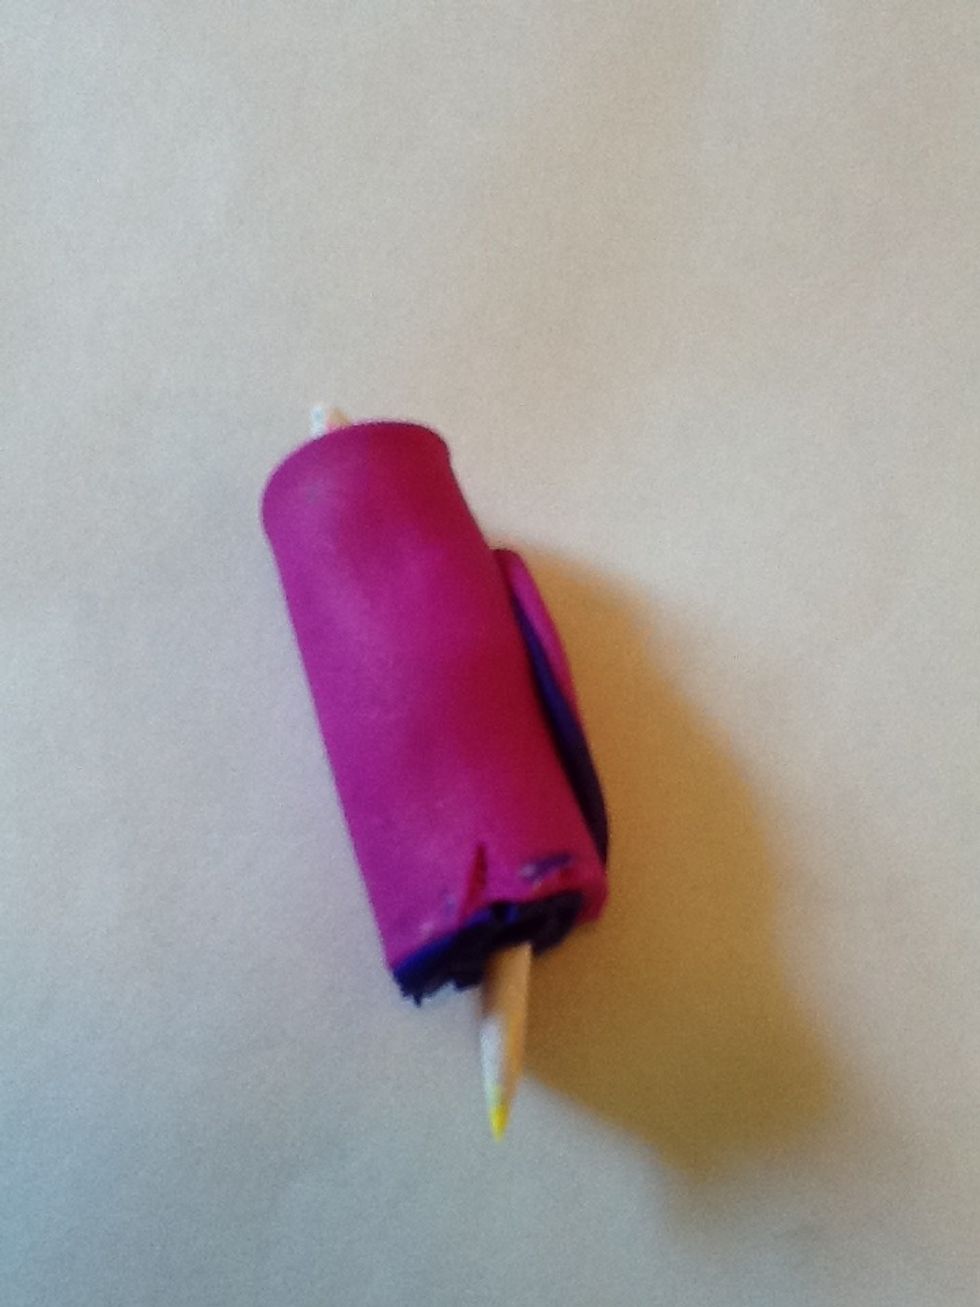
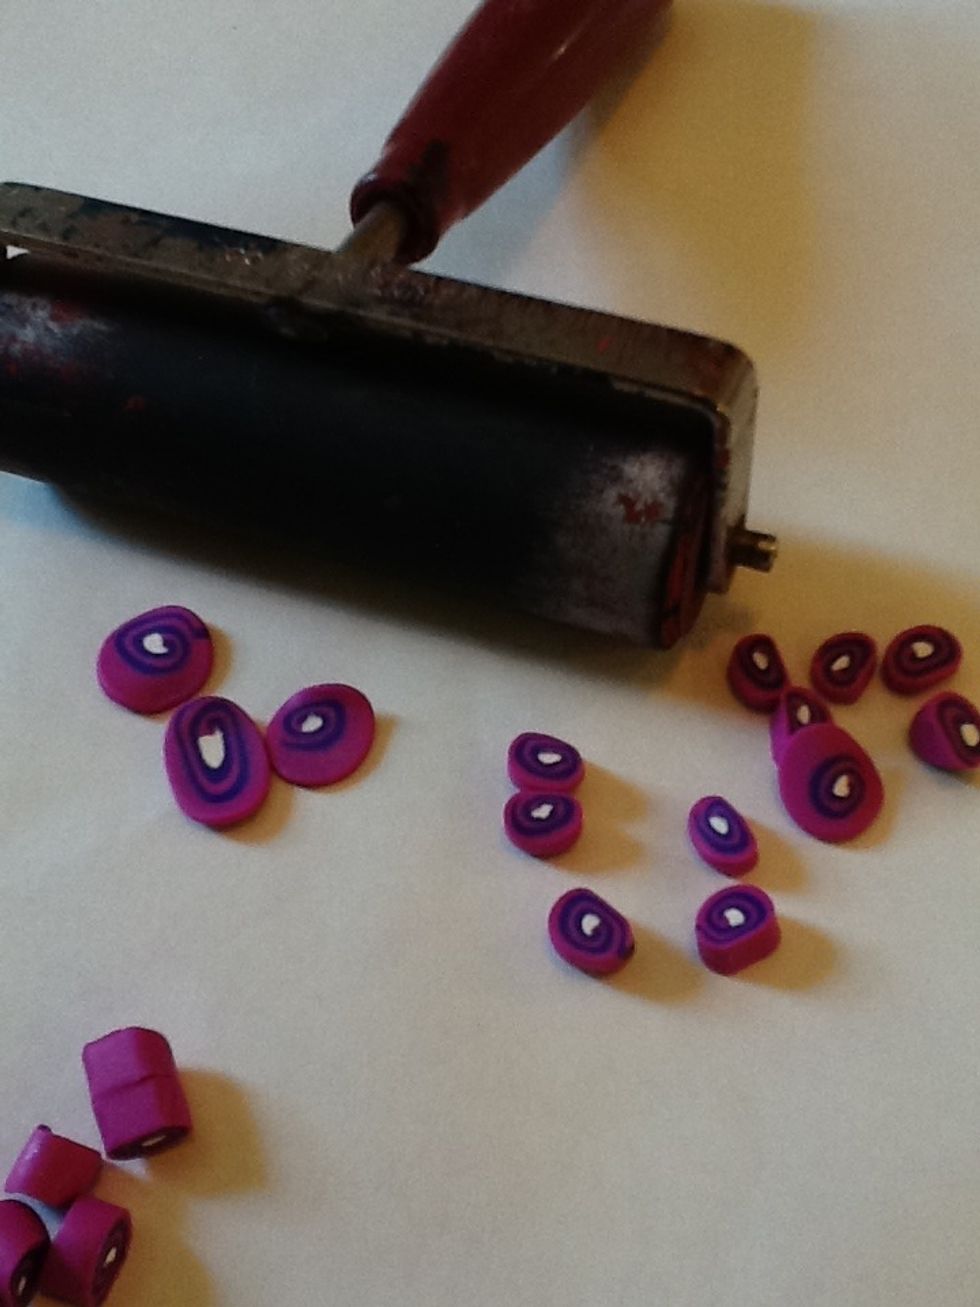
Tightly roll up your Sculpey like a jelly roll; I added a small white coil to the inside before rolling

Roll out the "jelly roll" to further thin it out
Final thinned out roll

Slice your "jelly roll" into even sized pieces
Further flatten pieces with your brayer or finger tips

Add flat pieces of Sculpey to barrel of pen; don't forget the top!
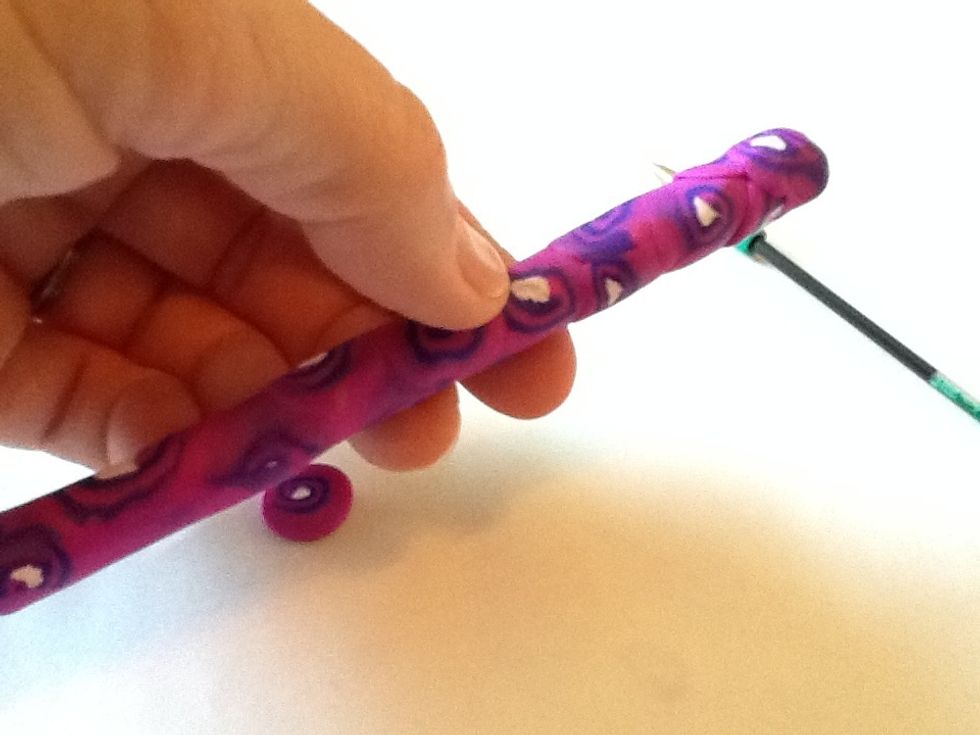
This is what your pen barrel should look like
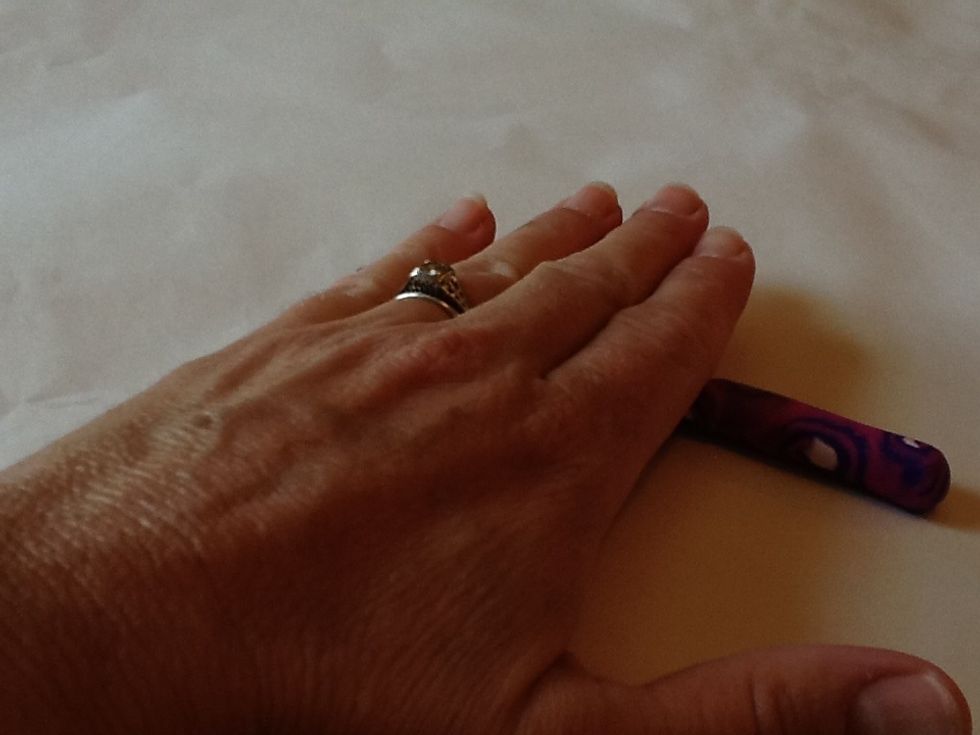
Gently roll to compress and even out pieces of sculpey
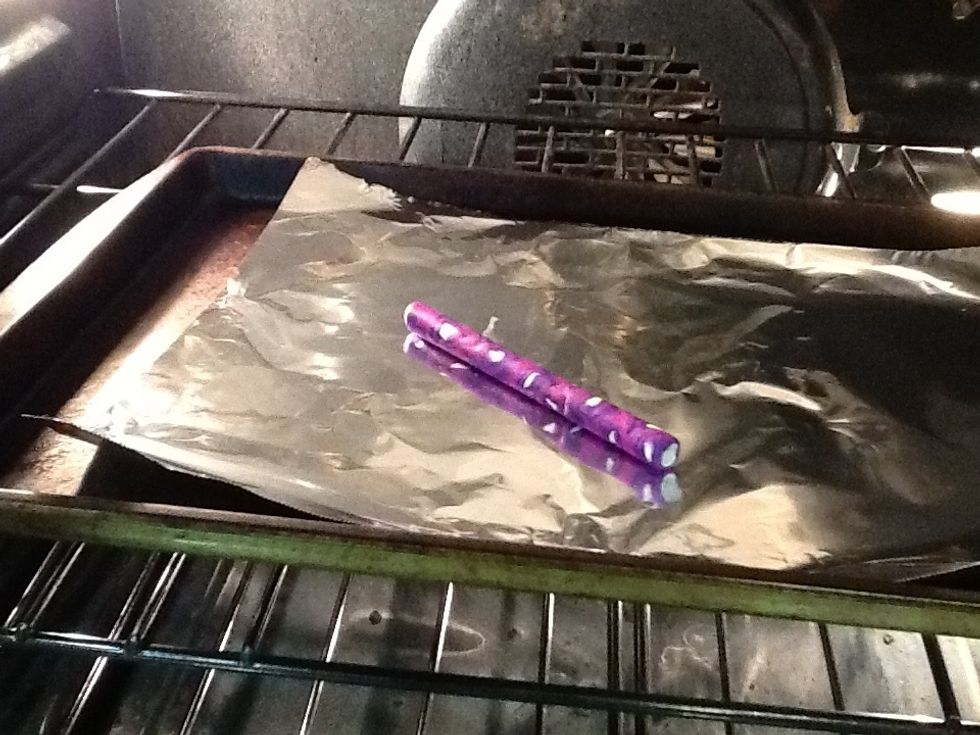
Place on foil lined cookie sheet for 10 mins at 250 degrees
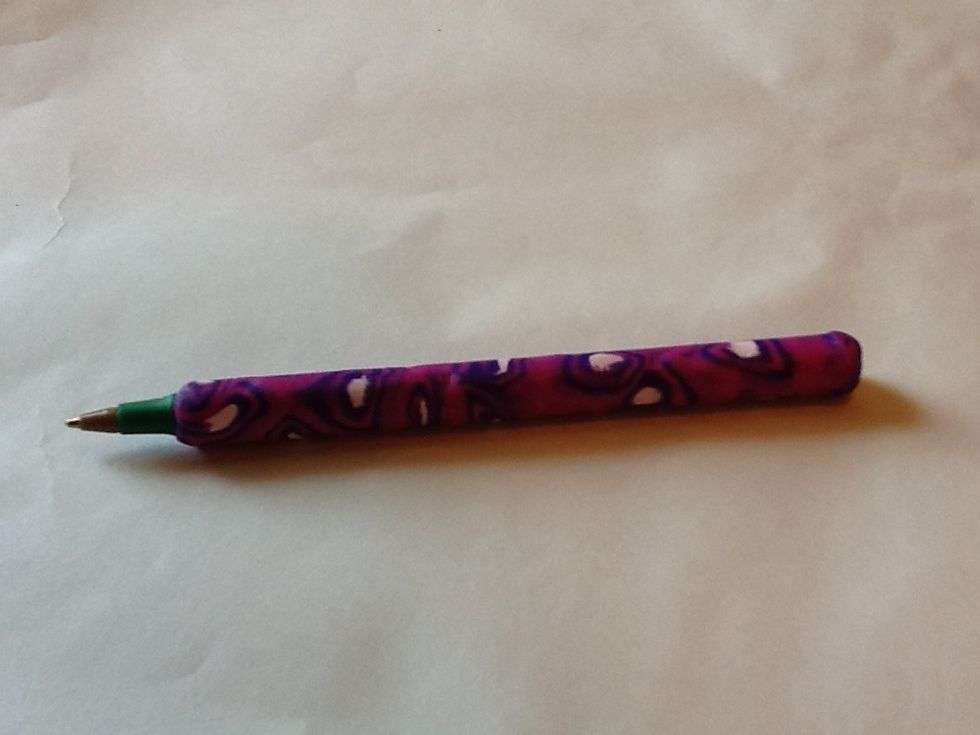
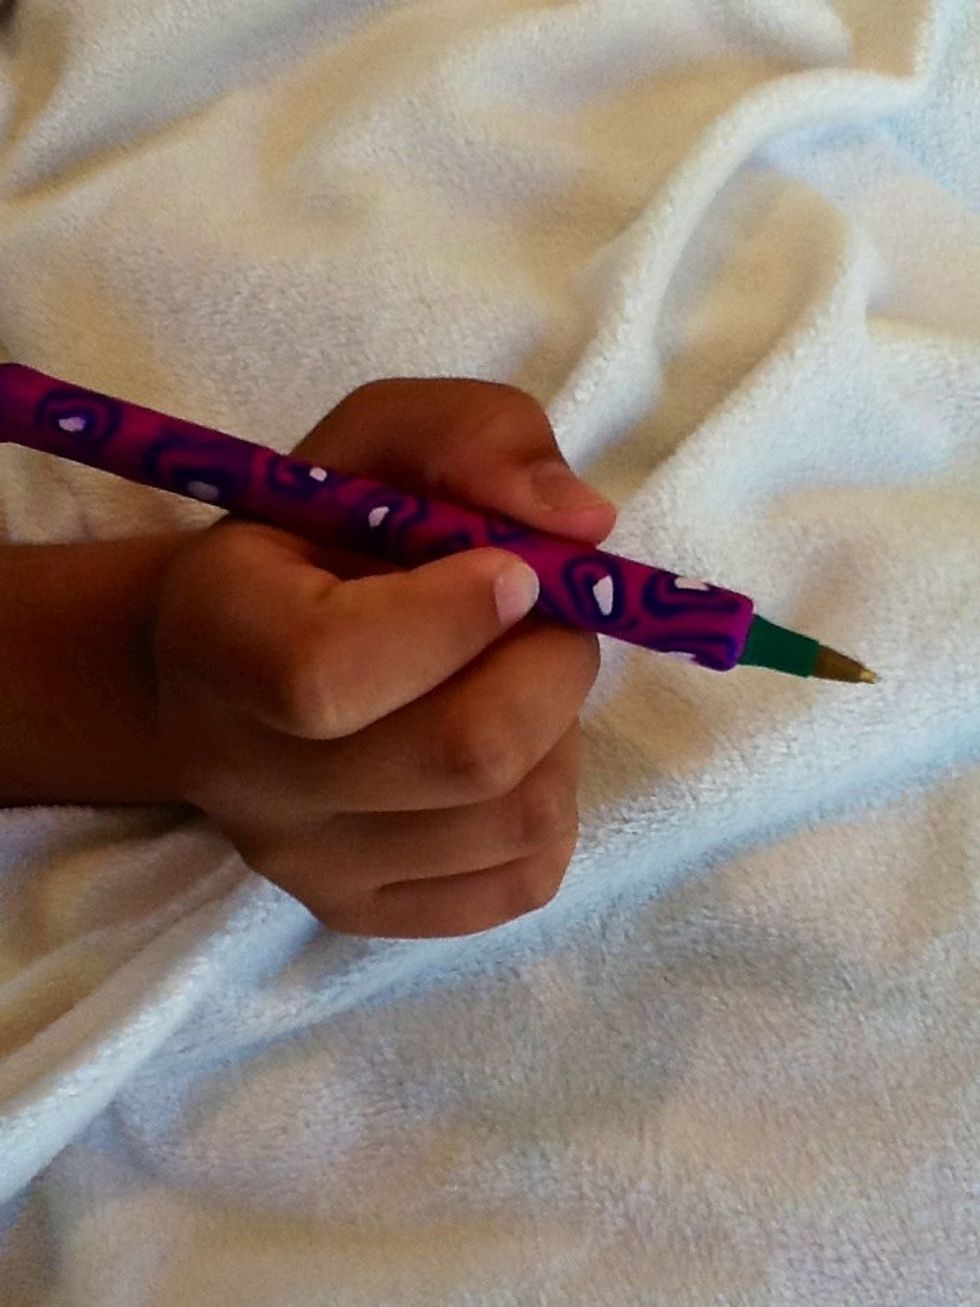
Place ink back in barrel. Here's your Sculpey covered pen! You can replace ink when it runs out. Have fun experimenting with designs!