The Conversation (0)
Sign Up
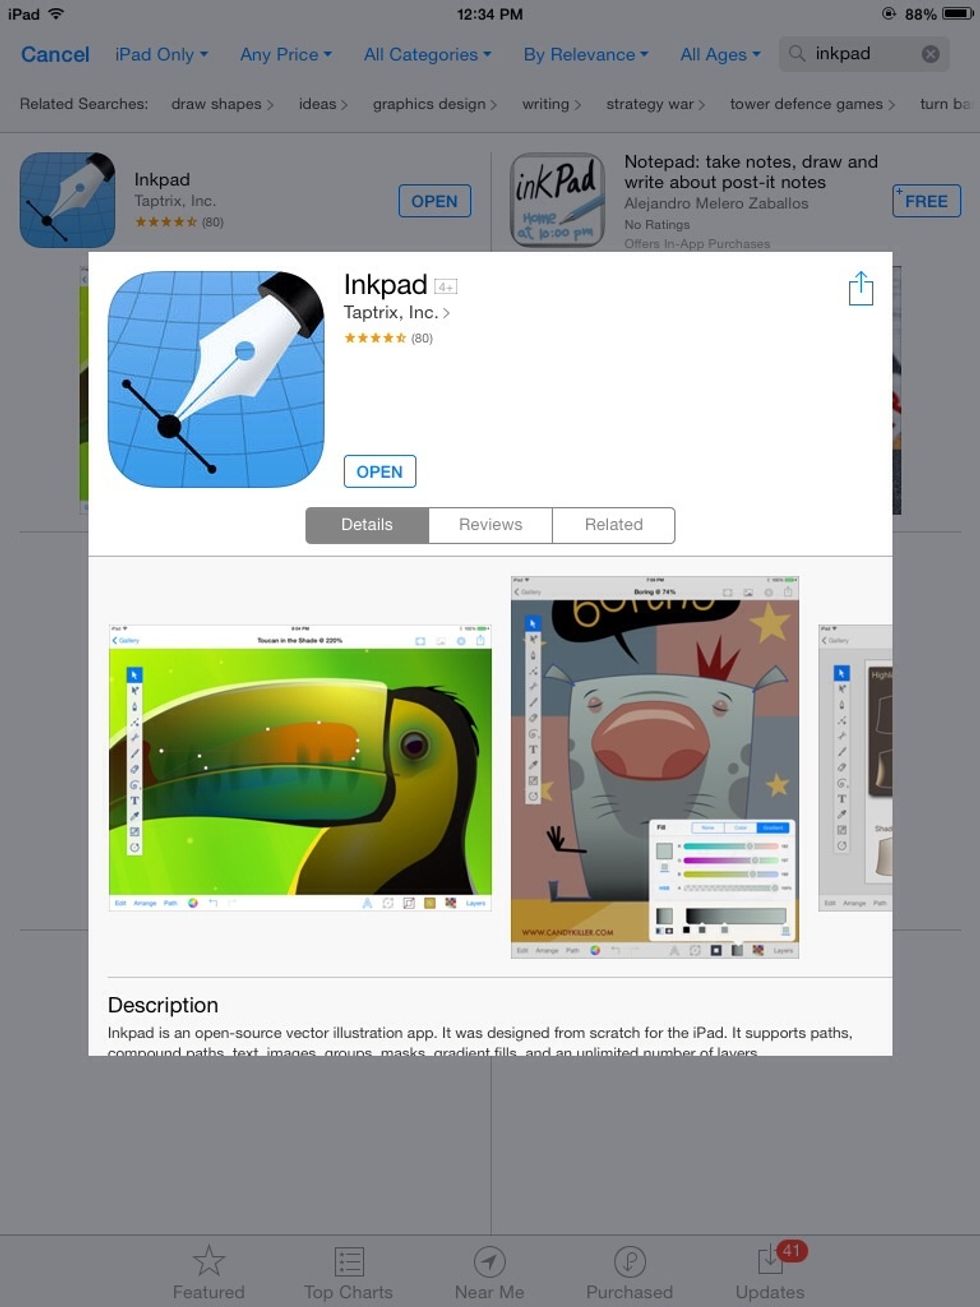
You can use one of two apps to design your mockup. The FREE Inkpad (by Taptrix)...
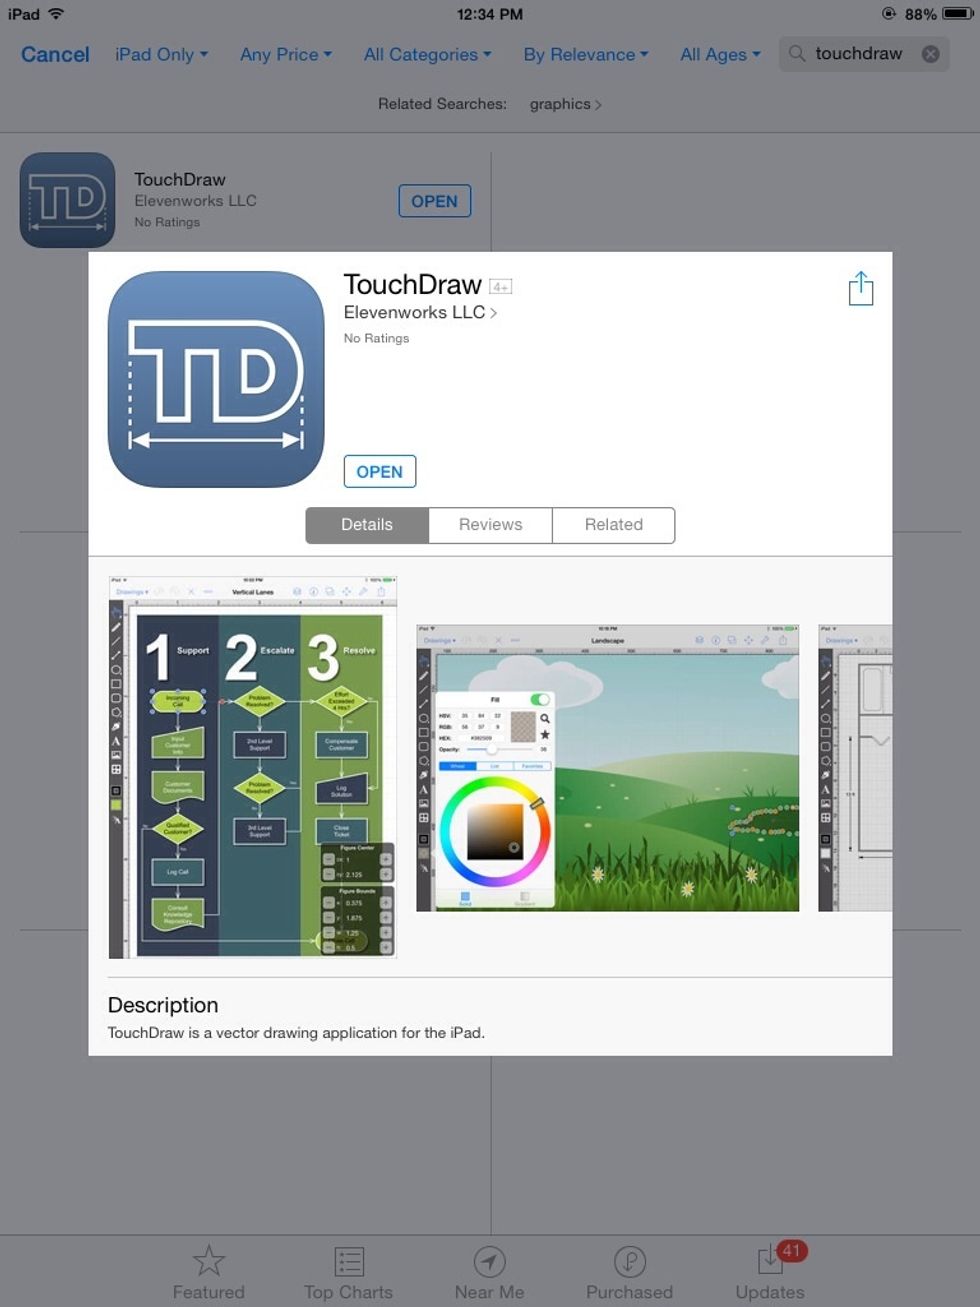
Or TouchDraw (by Eleveroworks). TouchDraw is $9.99, and my preferred app, but we all like free eh? So I will be using Inkpad for this guide.
Setup
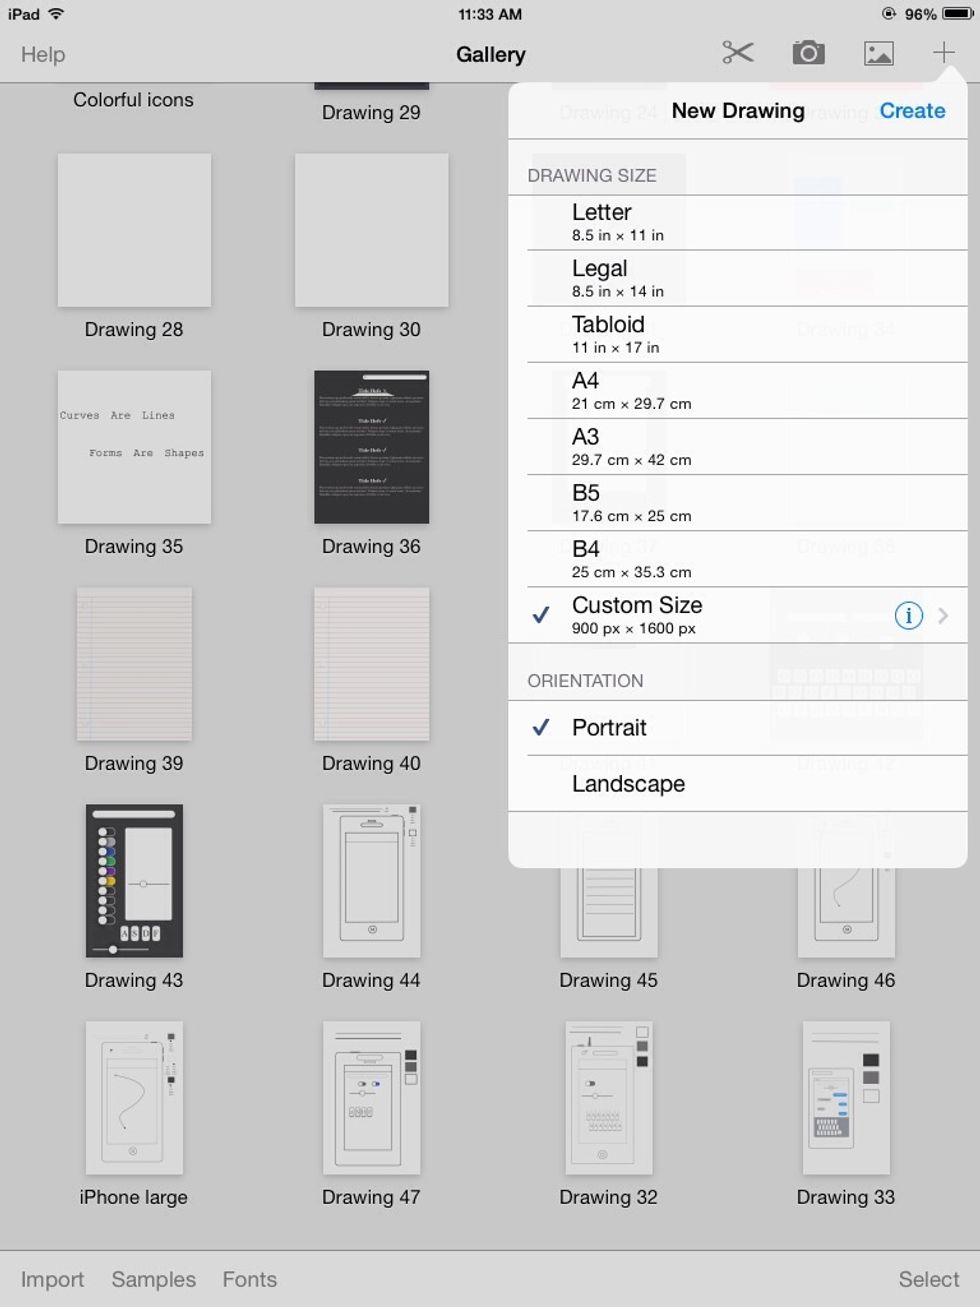
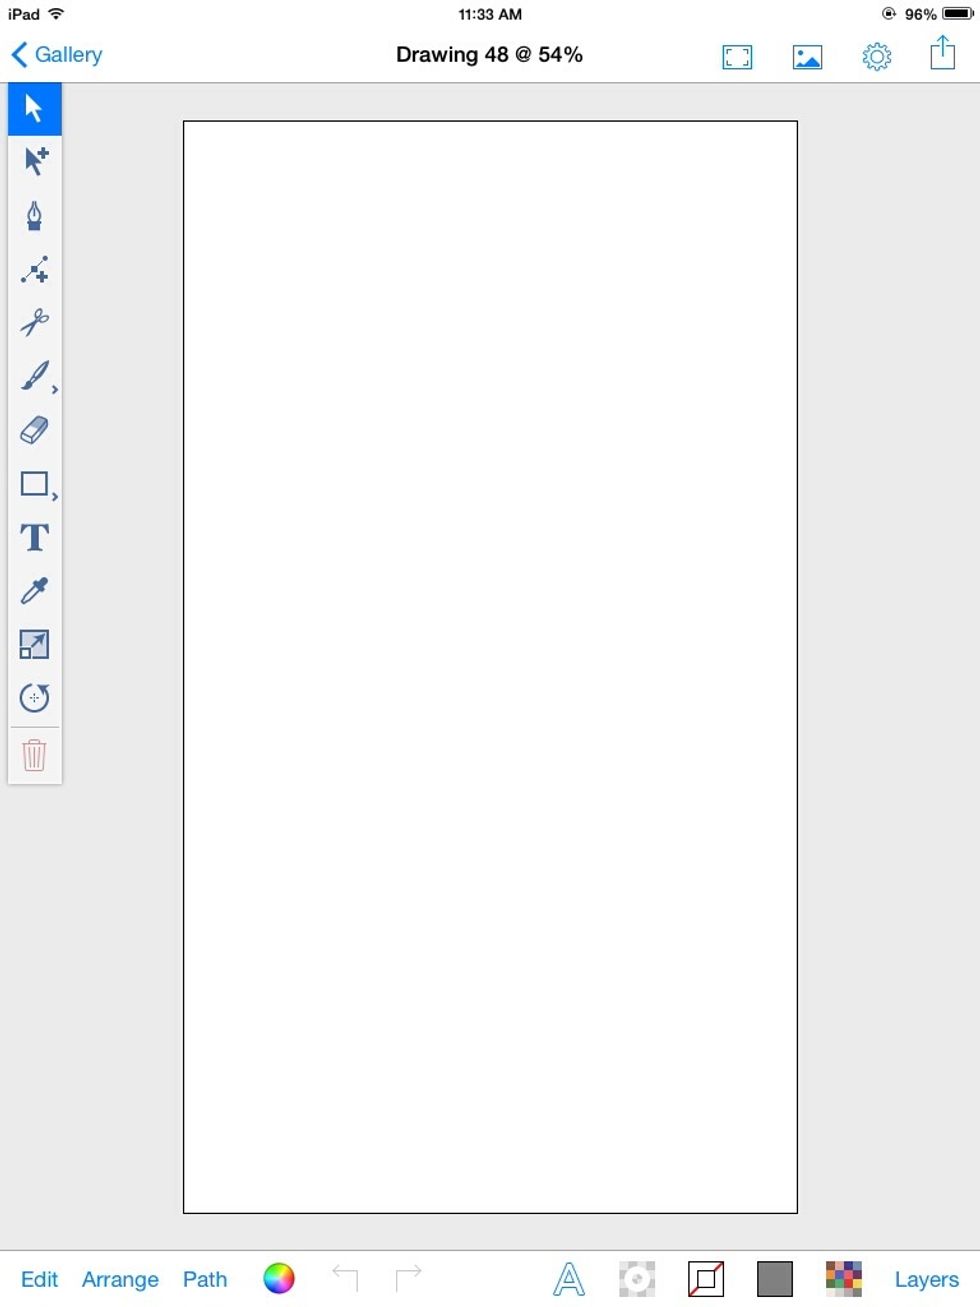
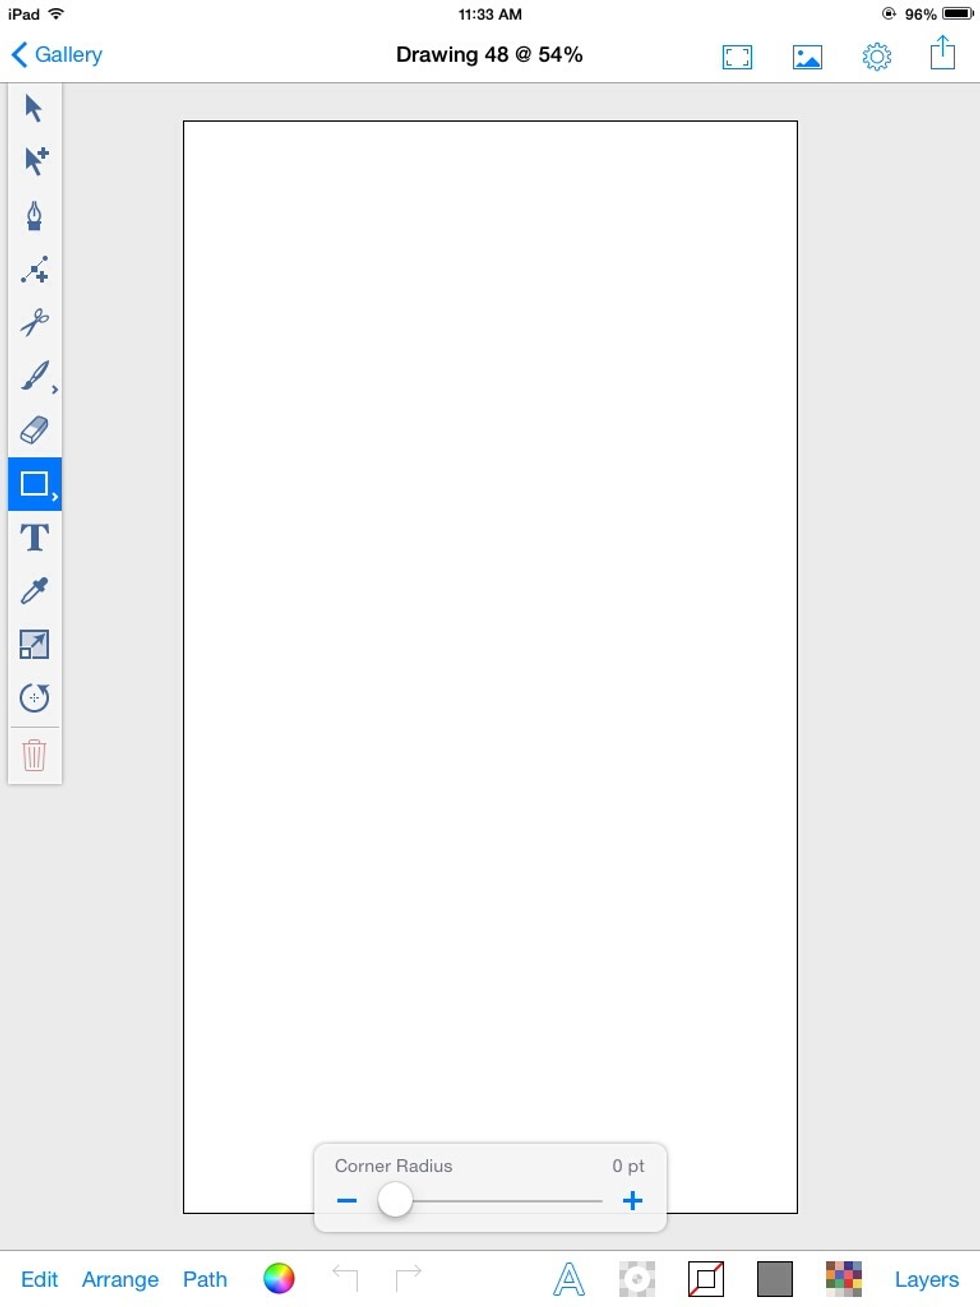
Open Inkpad and Tap the plus to create a new drawing. Set the dimensions to (900 x 1600). Set the orientation to Portrait.
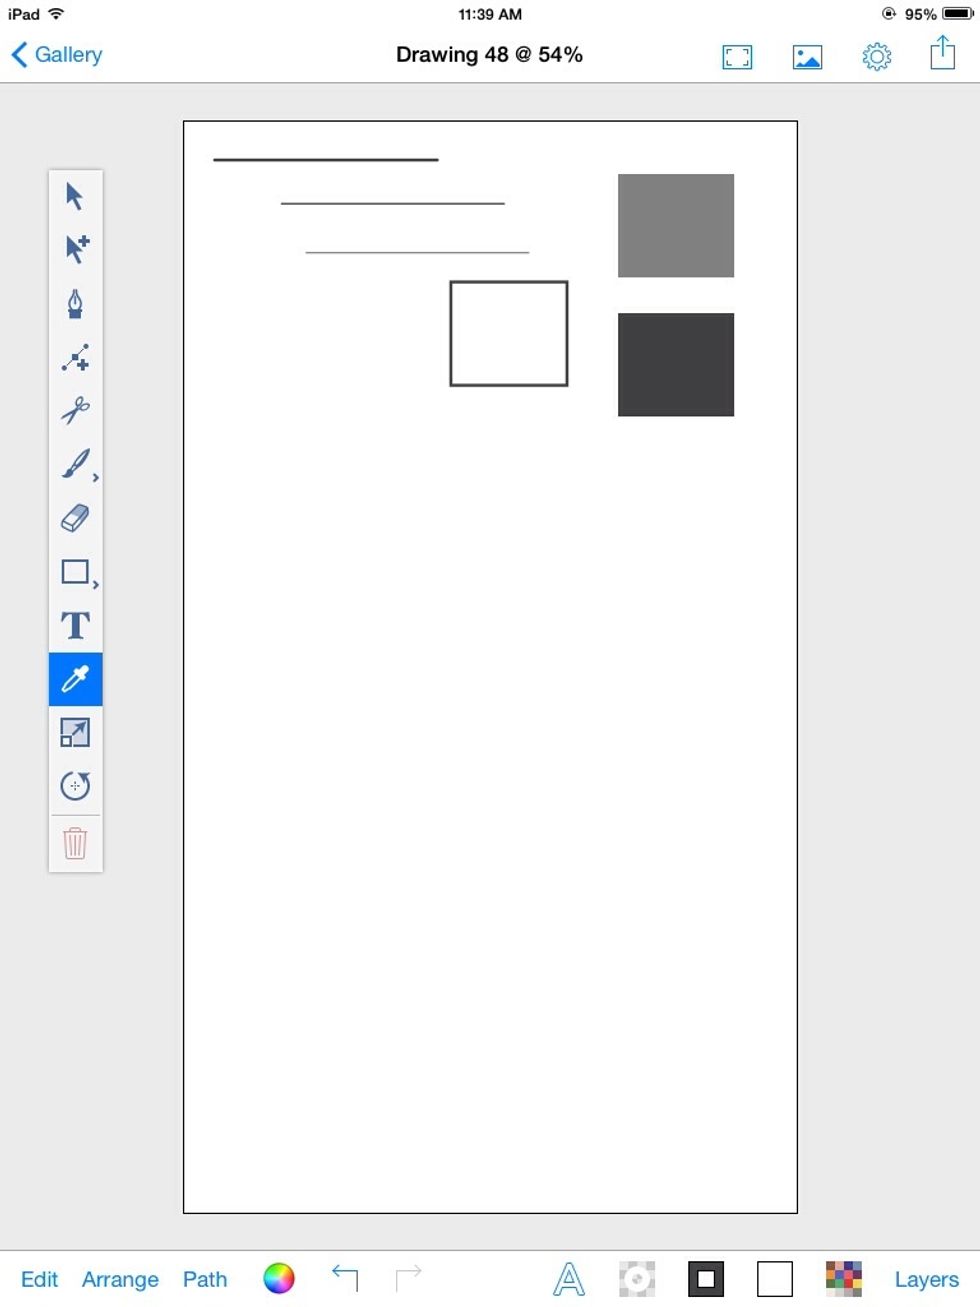
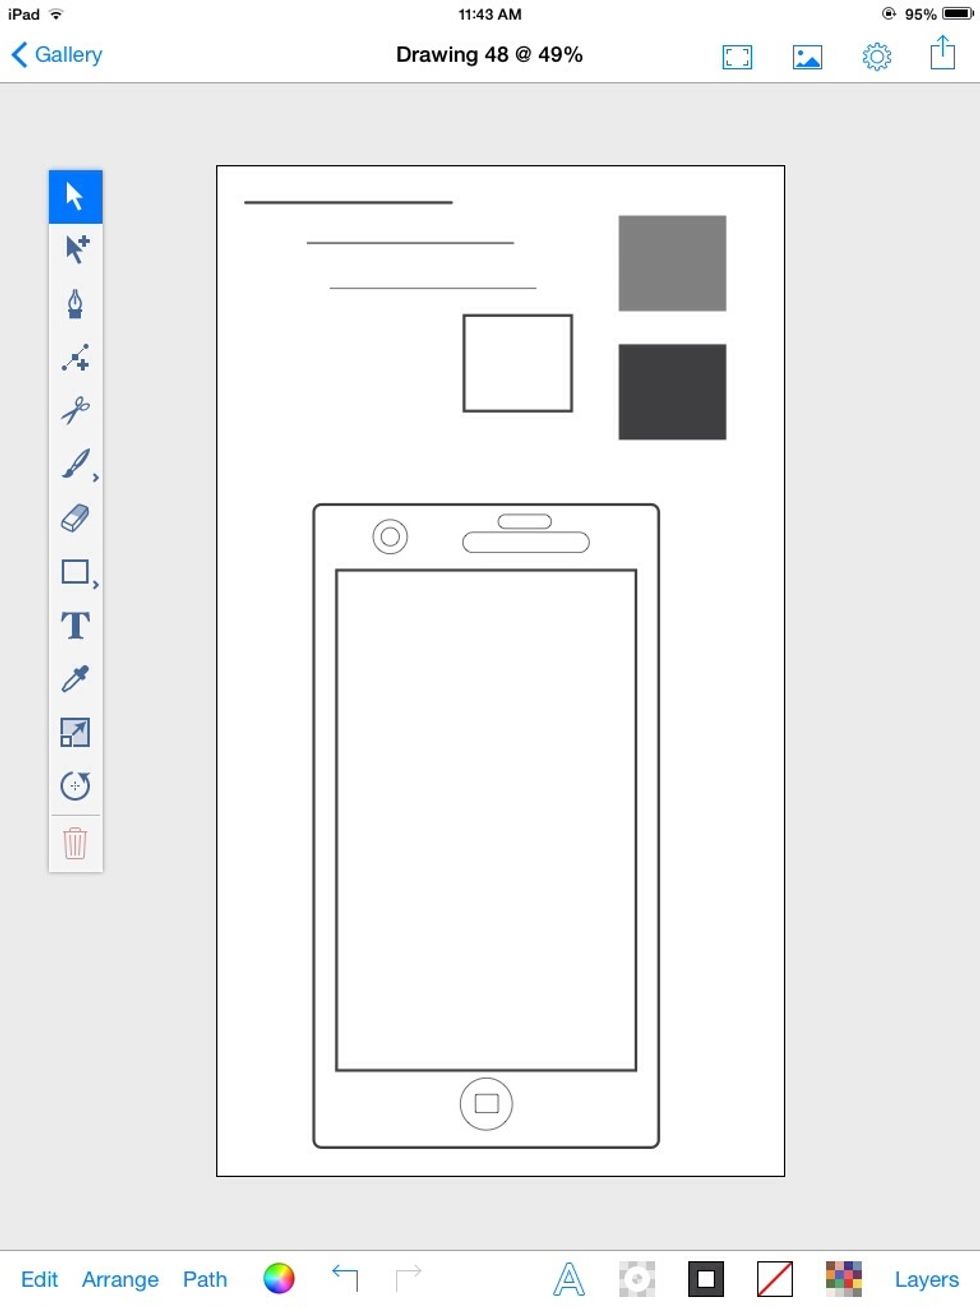
We need some sample objects
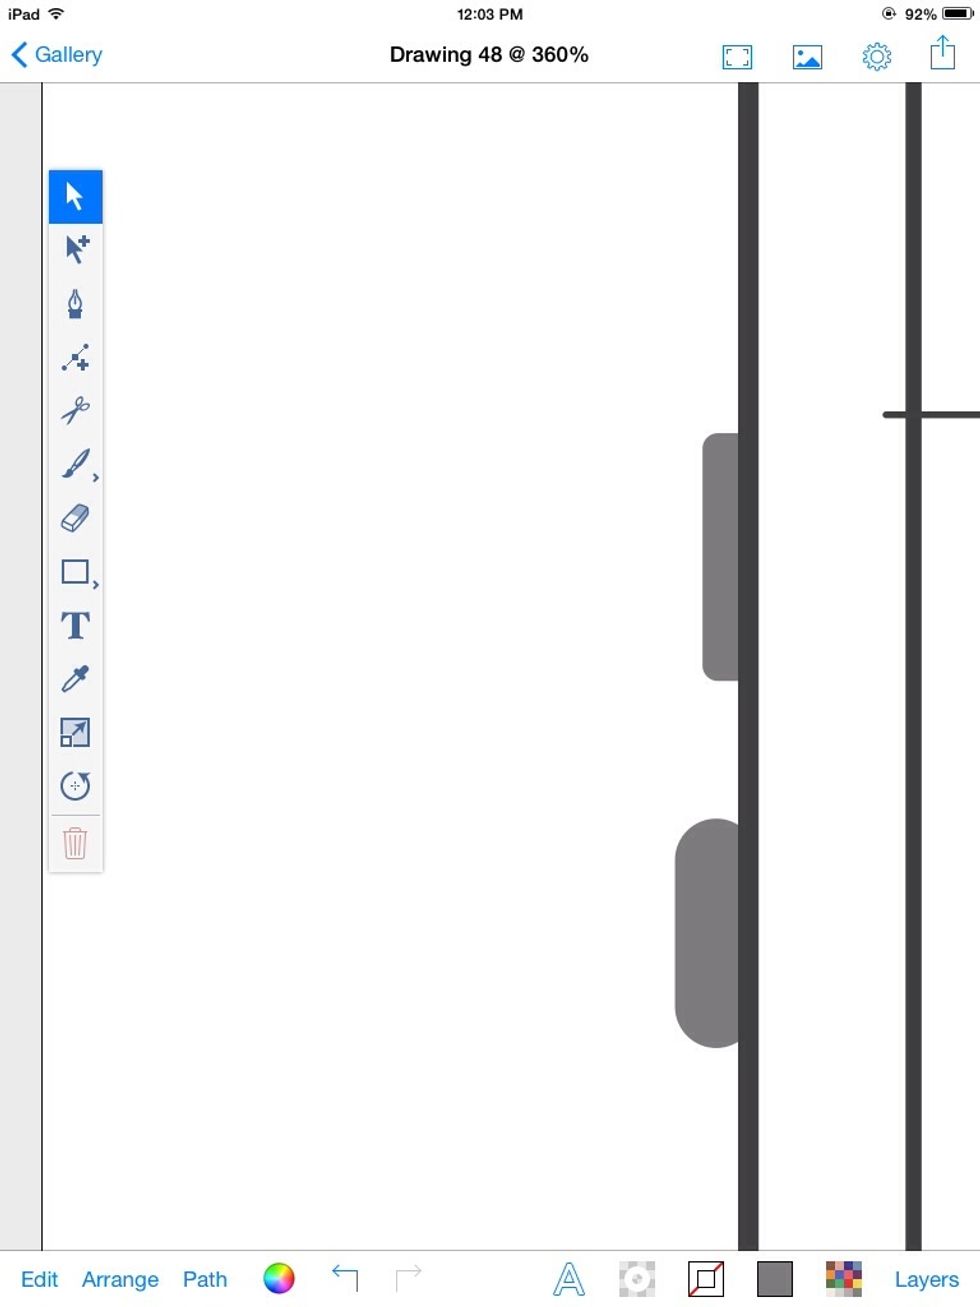
Select the square
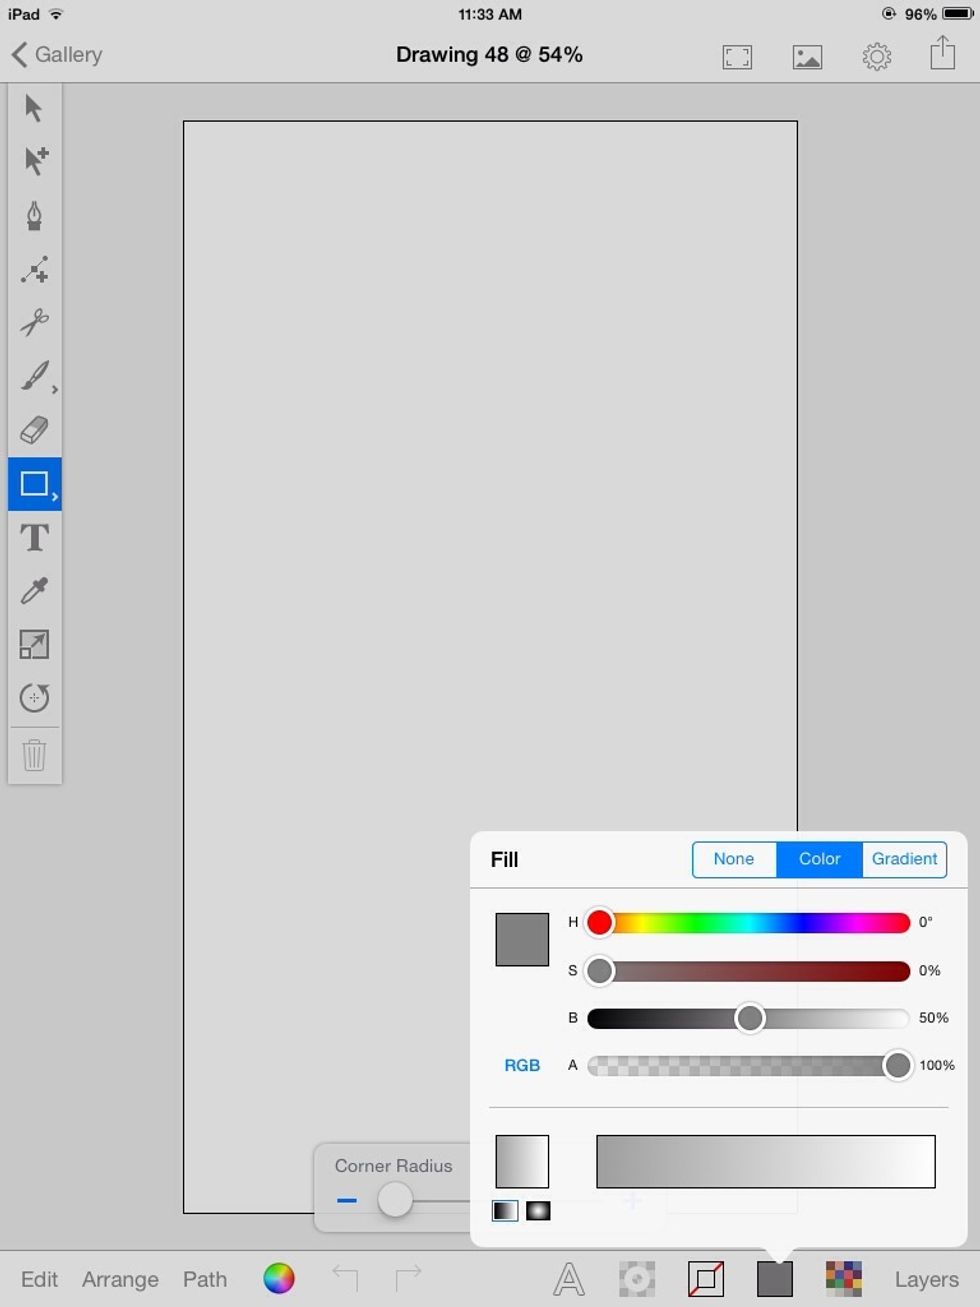
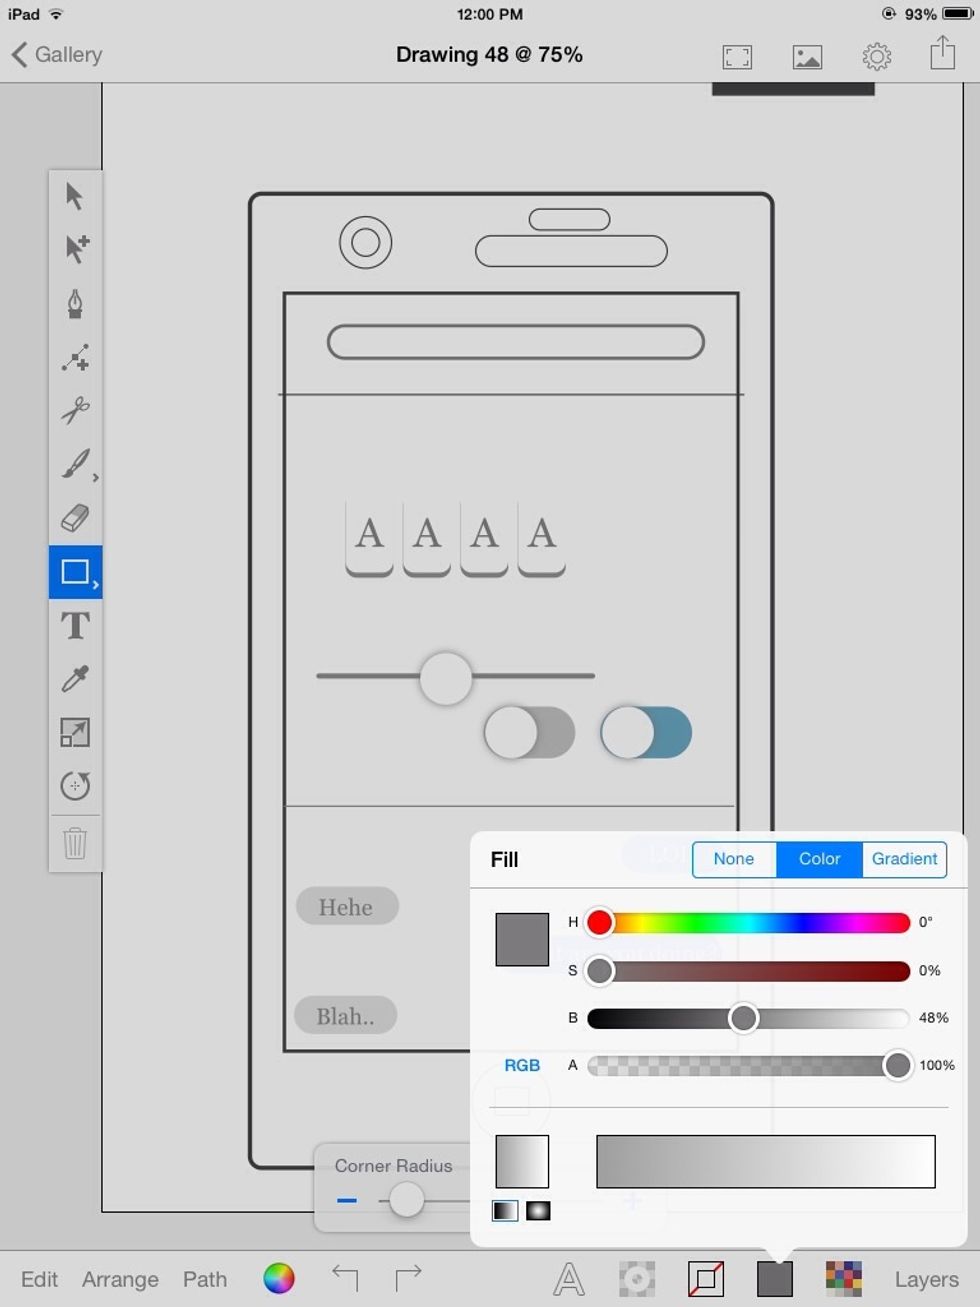
Give it a fill color at 50% brightness. Make sure it has no stroke.
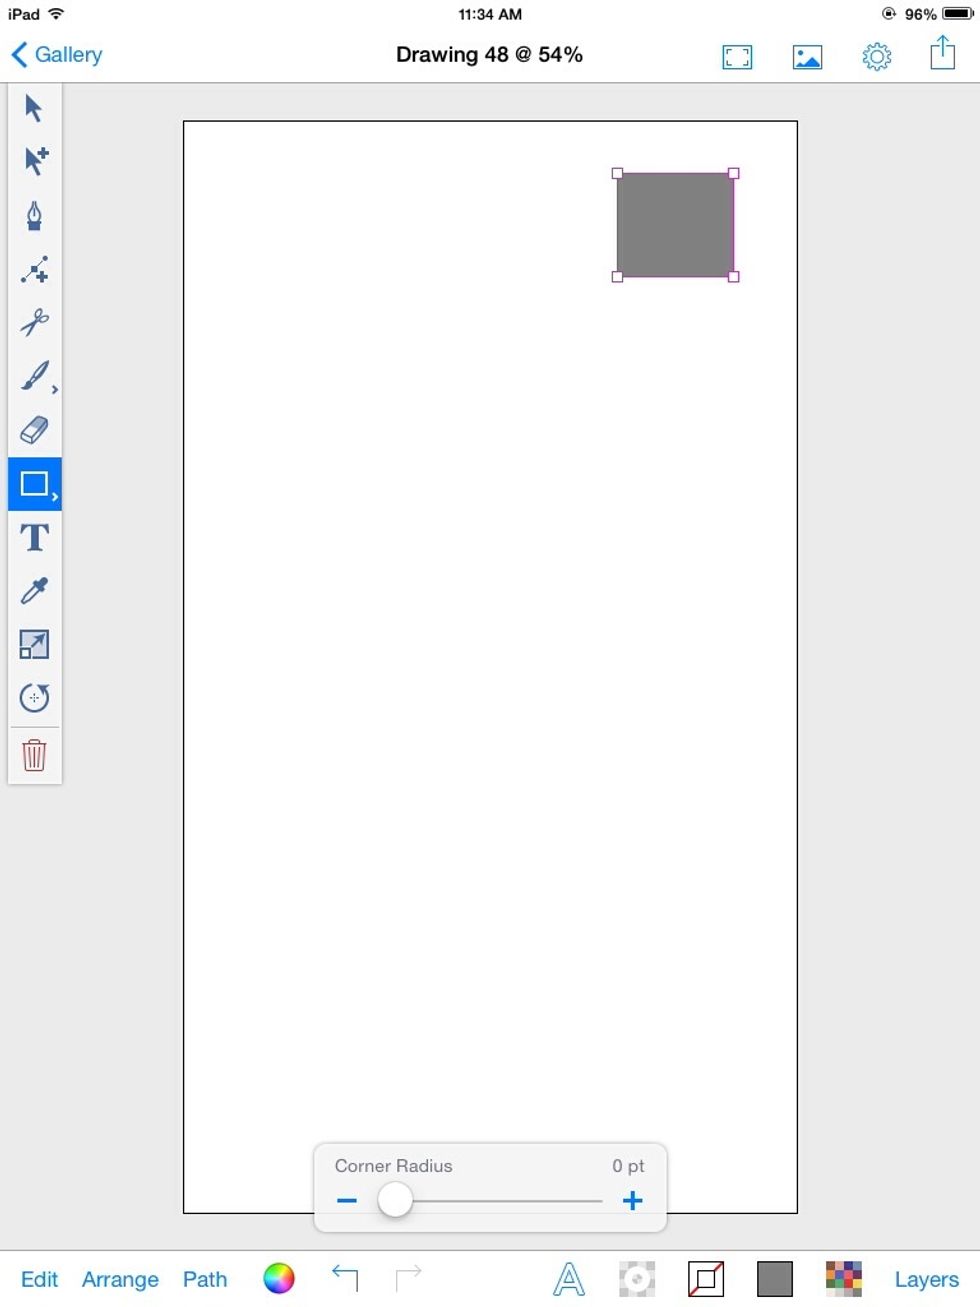
Draw a small square.
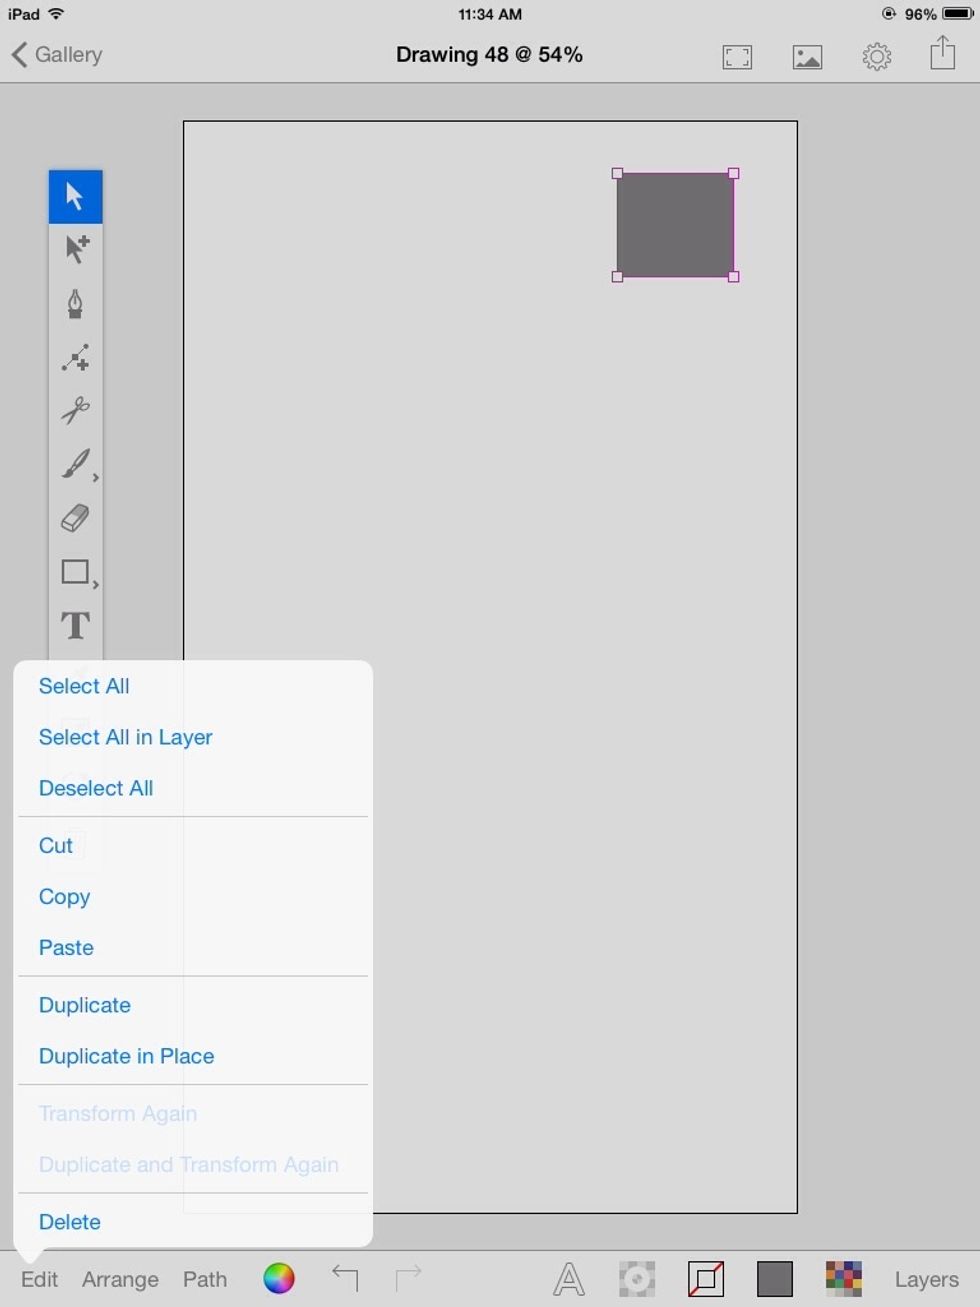
Select the square and duplicate it in place.
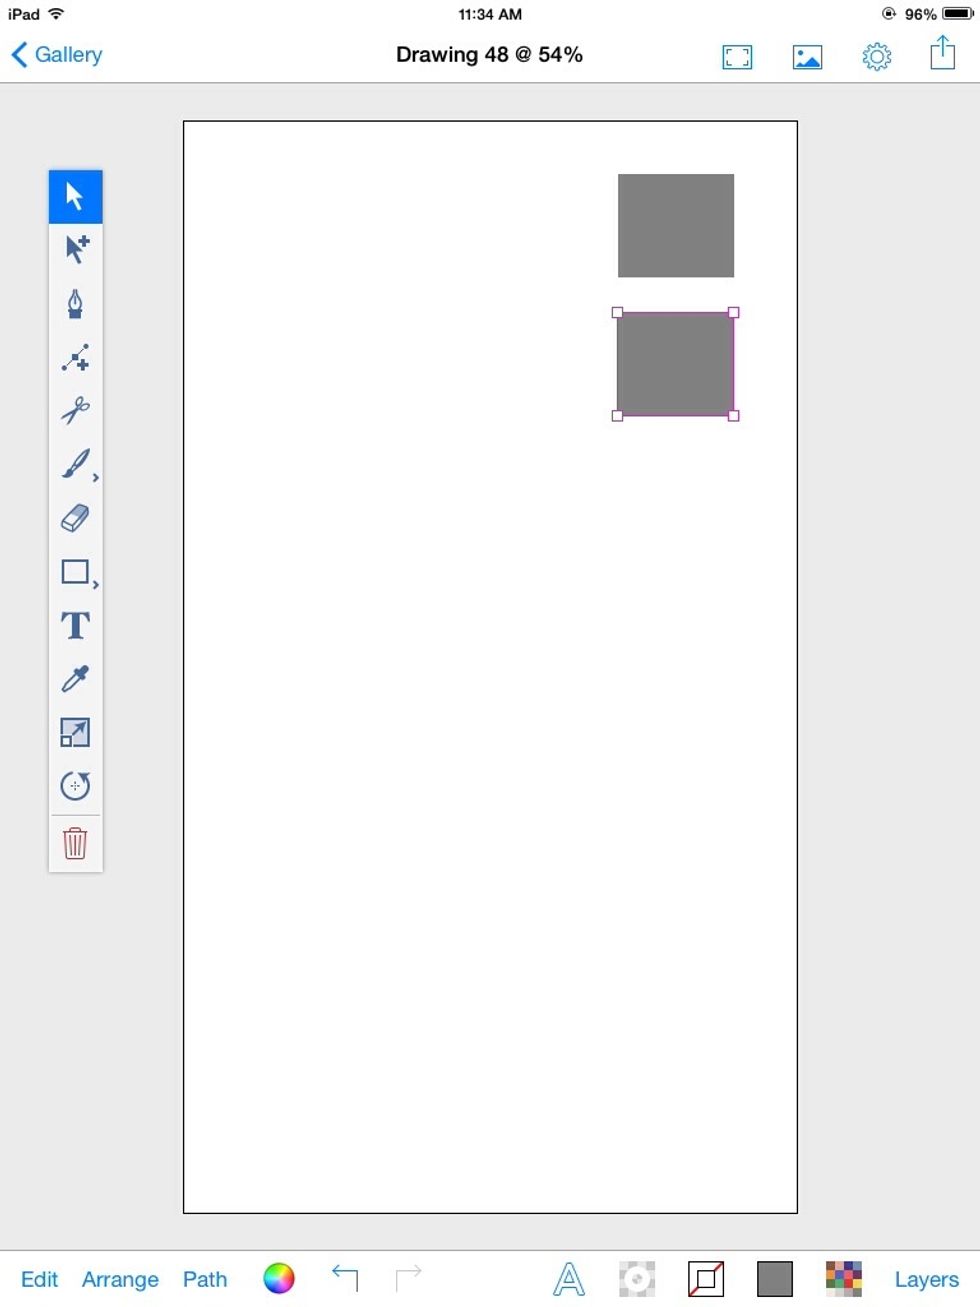
Drag out the duplicate.
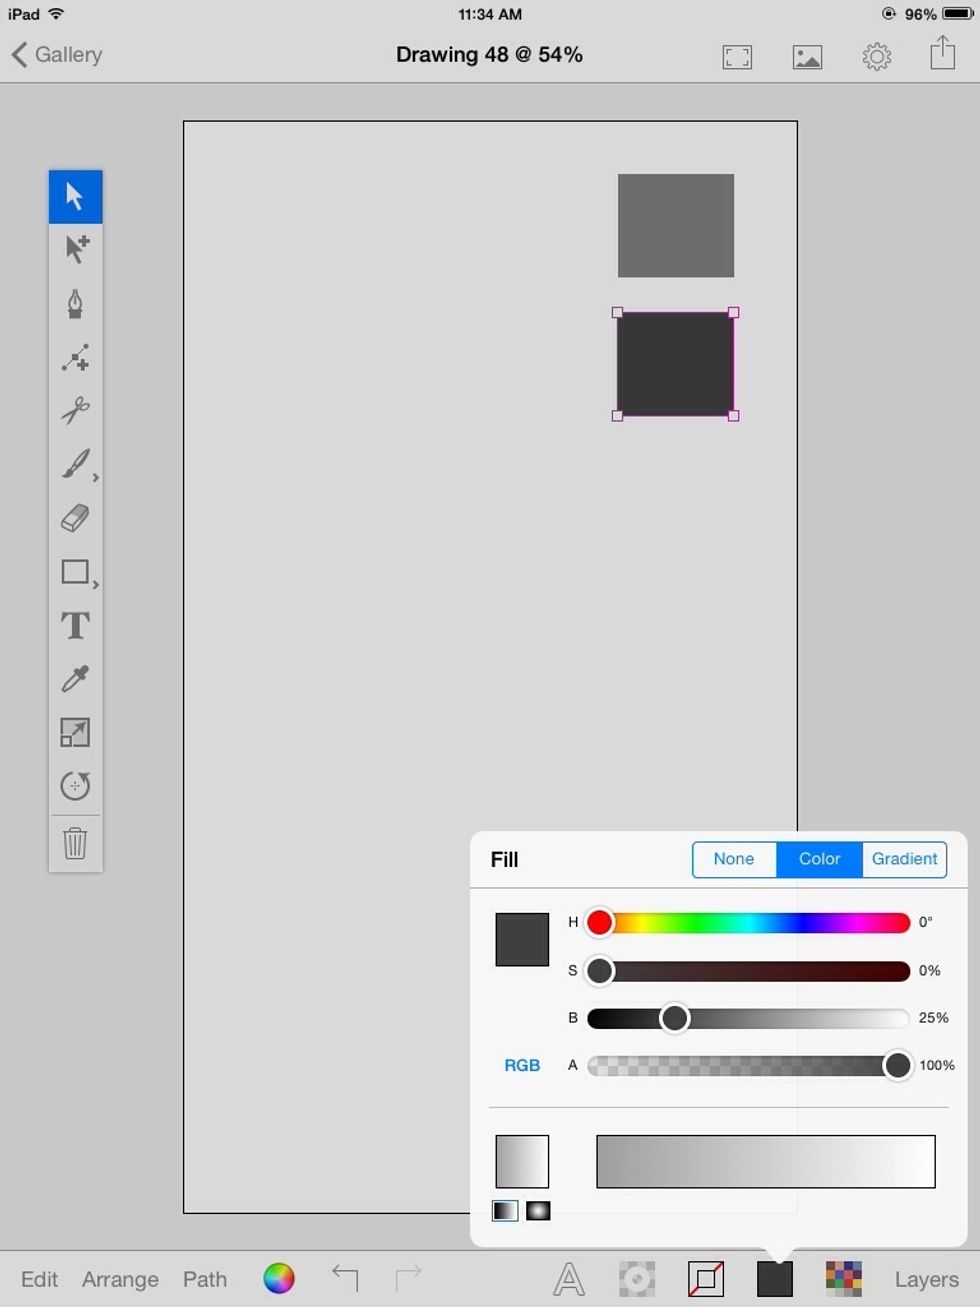
Give it a fill of 25% brightness.
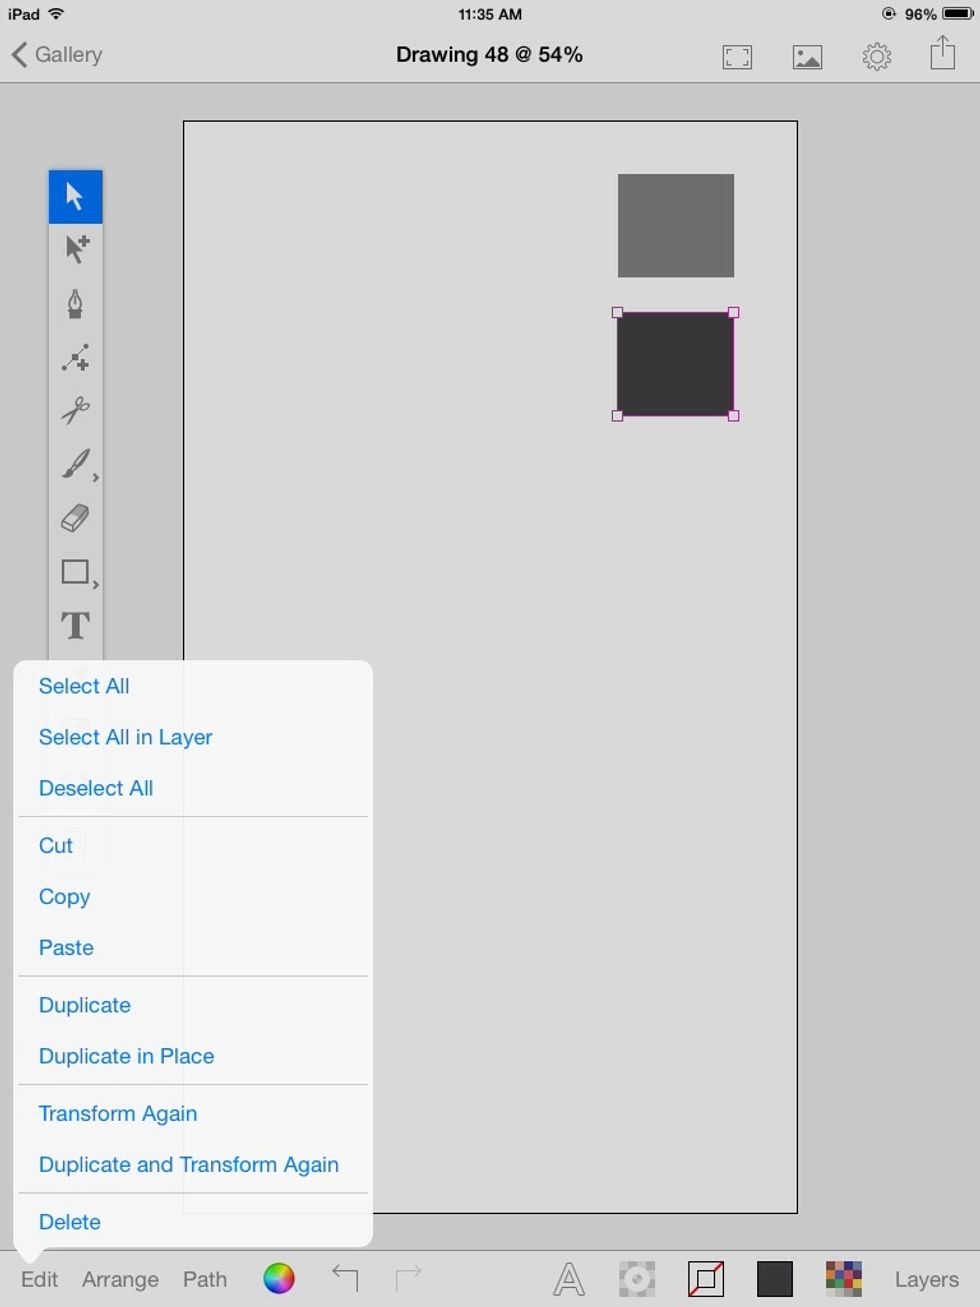
Duplicate it once more. You can use "Duplicate and Transform again" option.
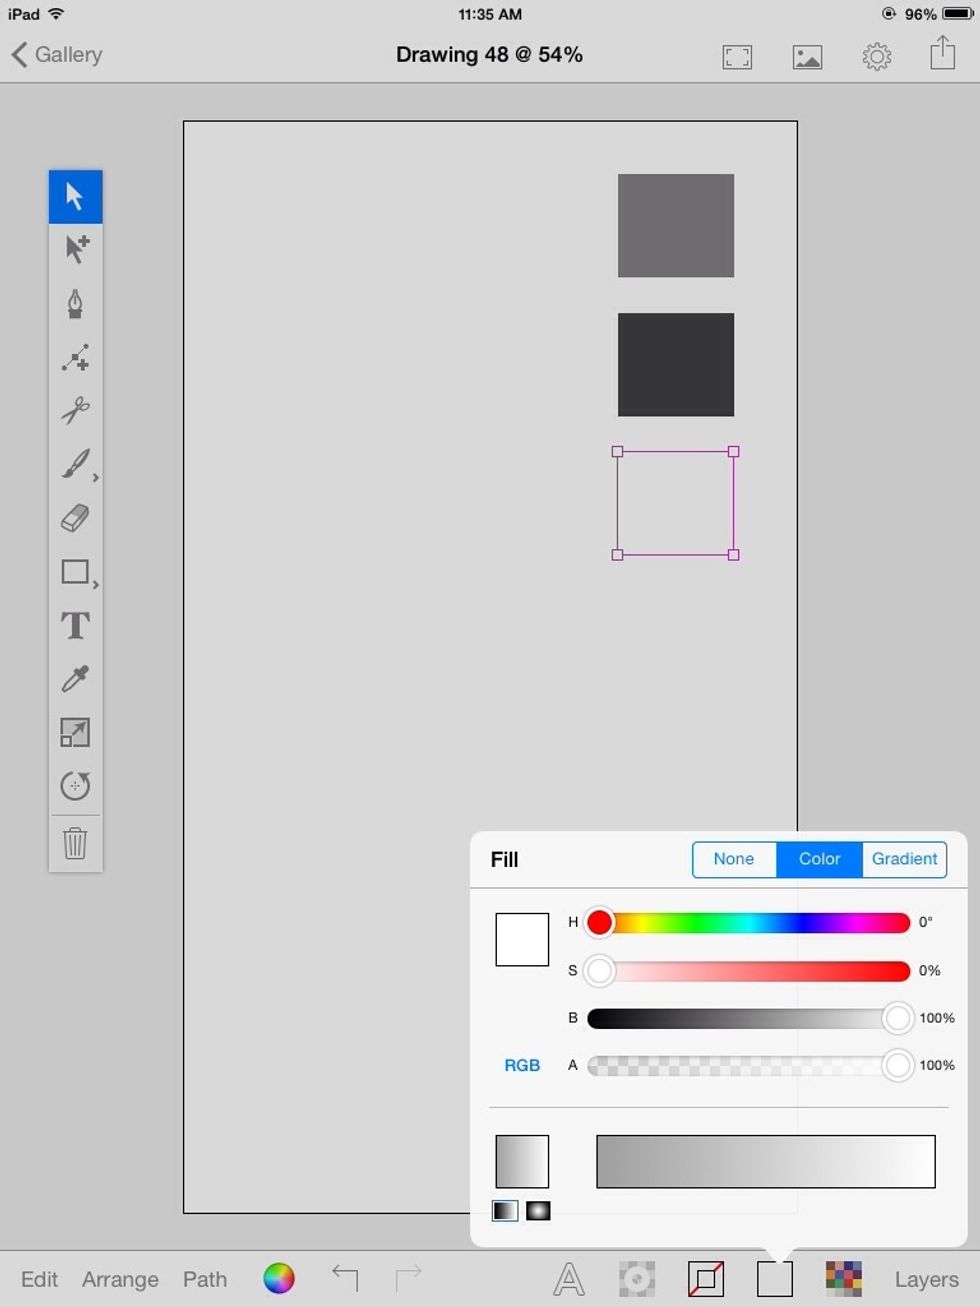
Fill it with 100% brightness
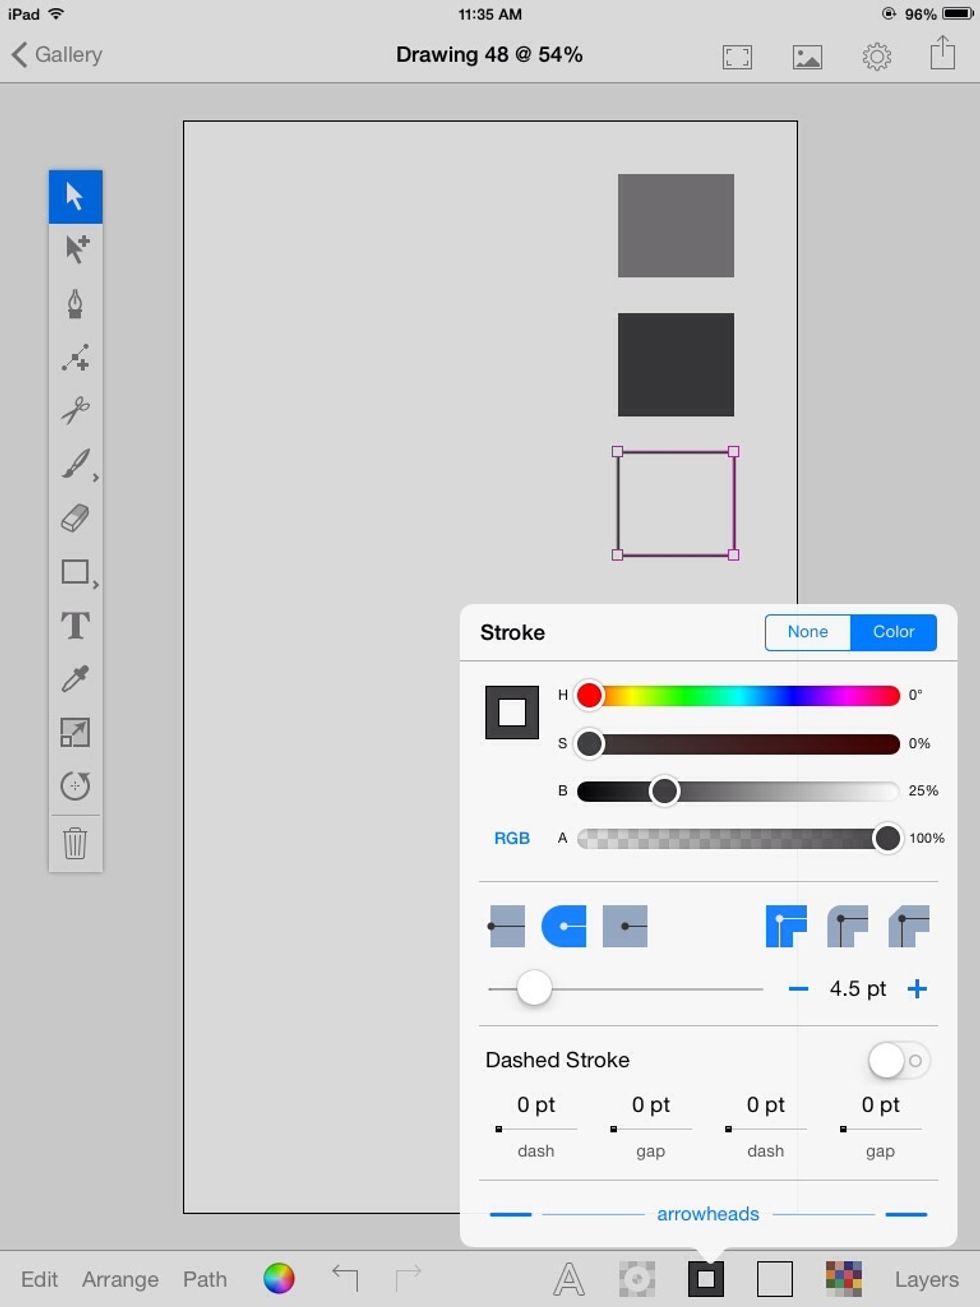
Stroke it with 25% brightness.
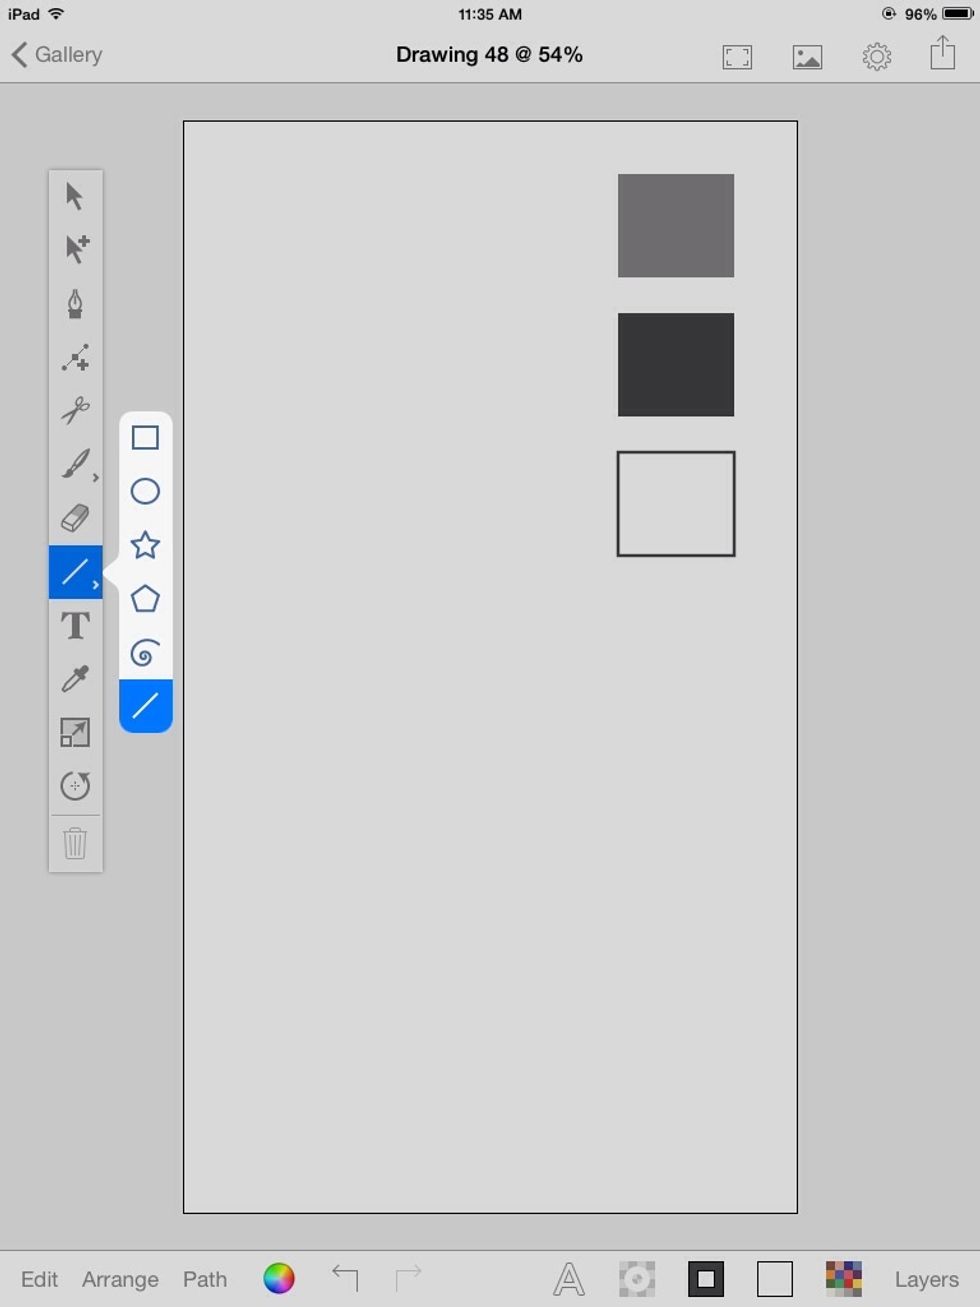
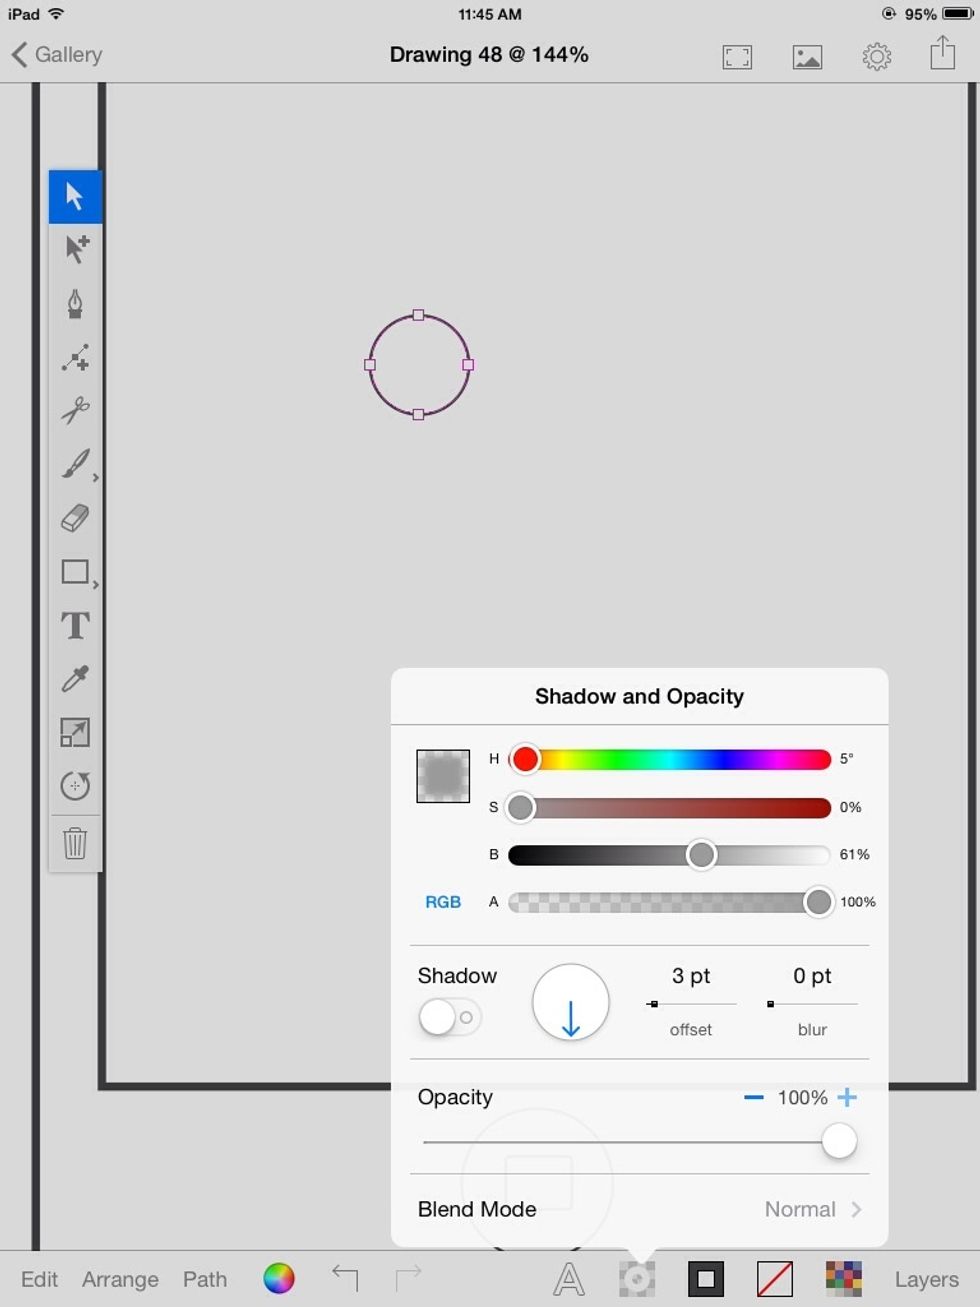
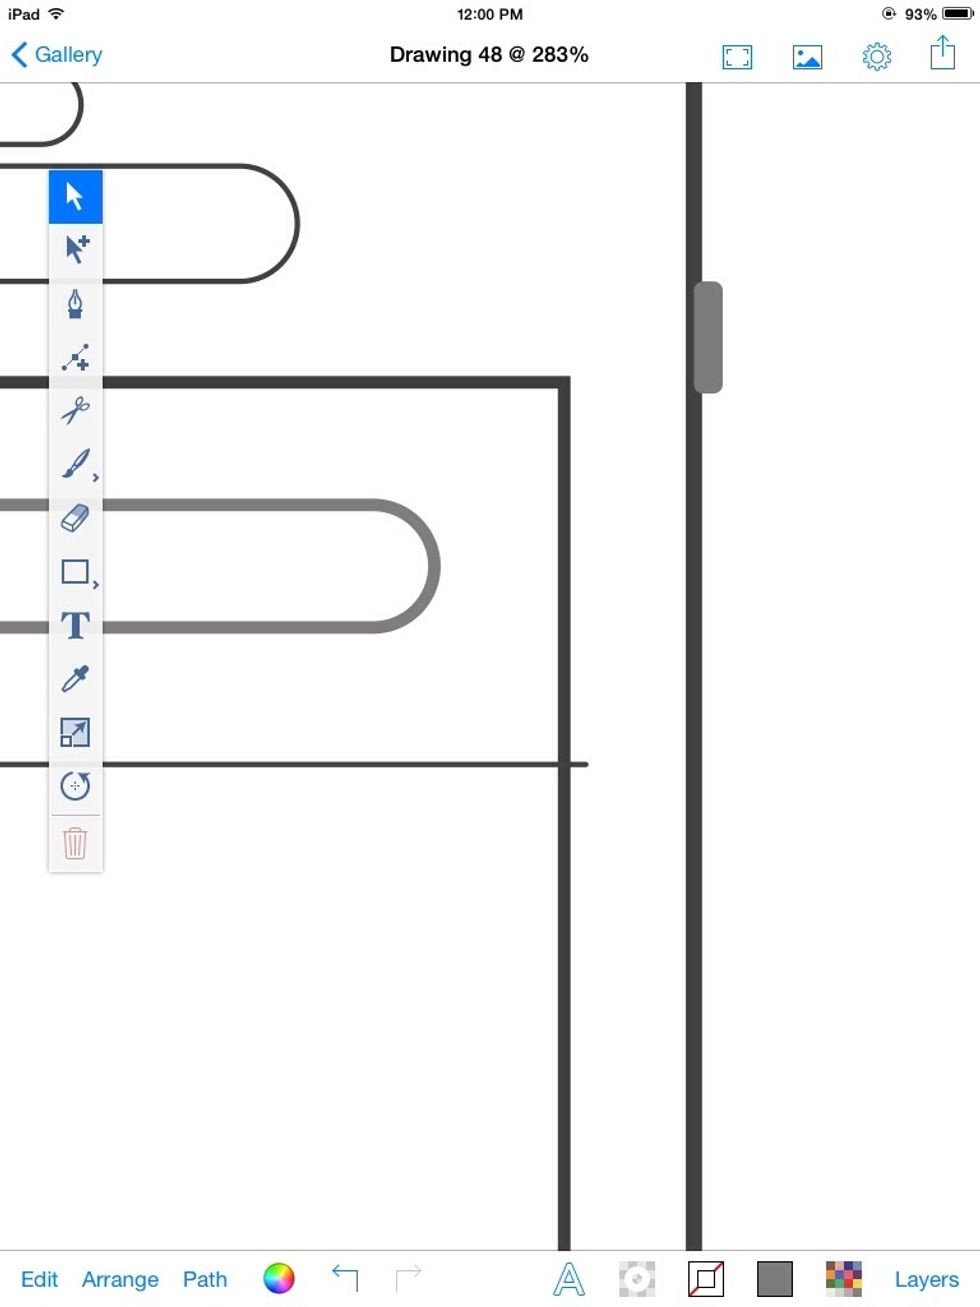
We need some reference lines. Create a line with about 4.5pt thickness.
Create a few more lines, each subsequent line being 1pt smaller than the previous line (3.5, 1.5, 1.5). These values will change based on the size of your drawing.
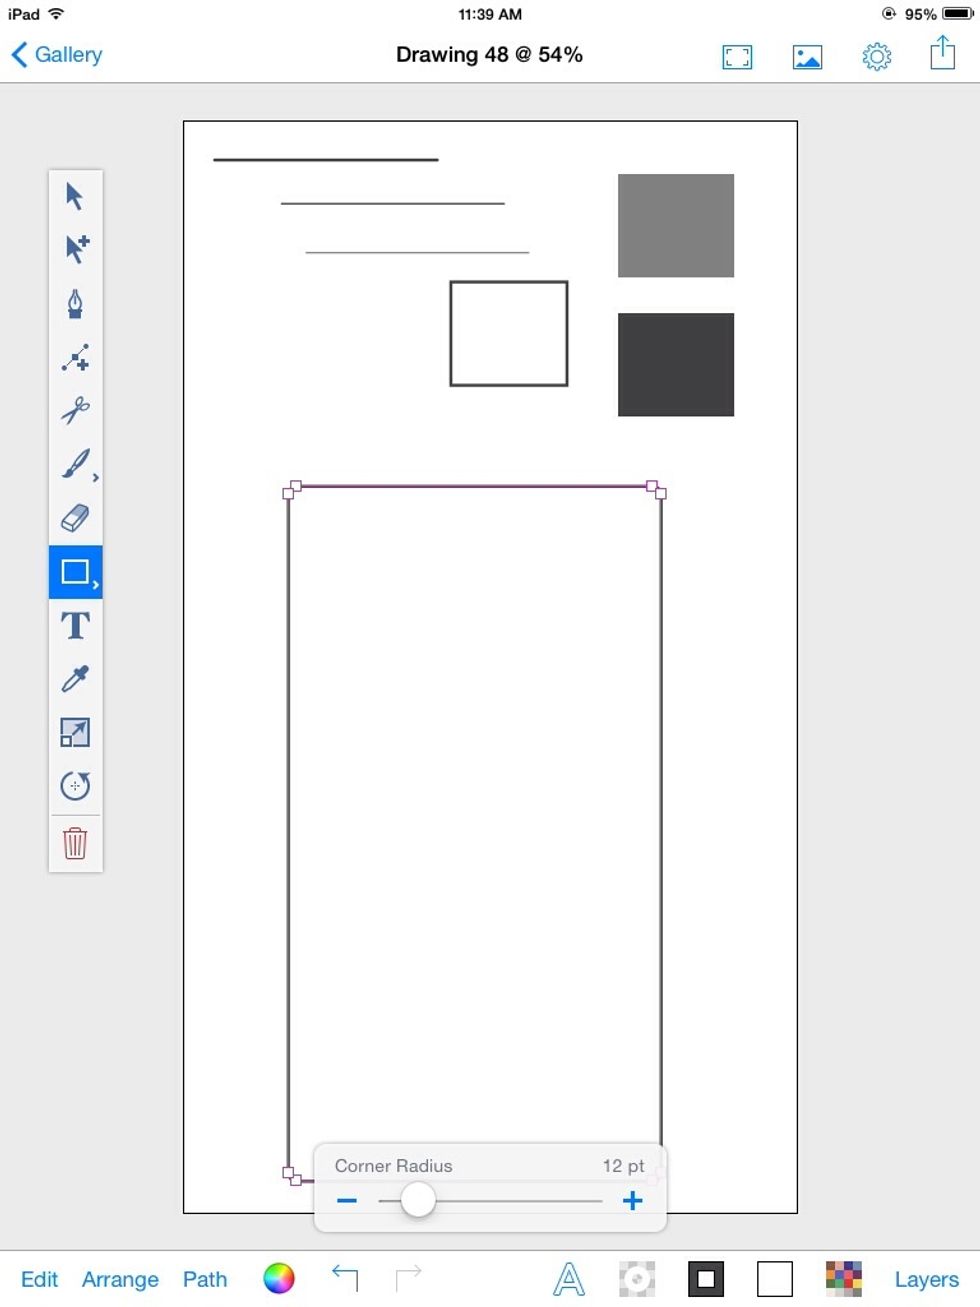
Main
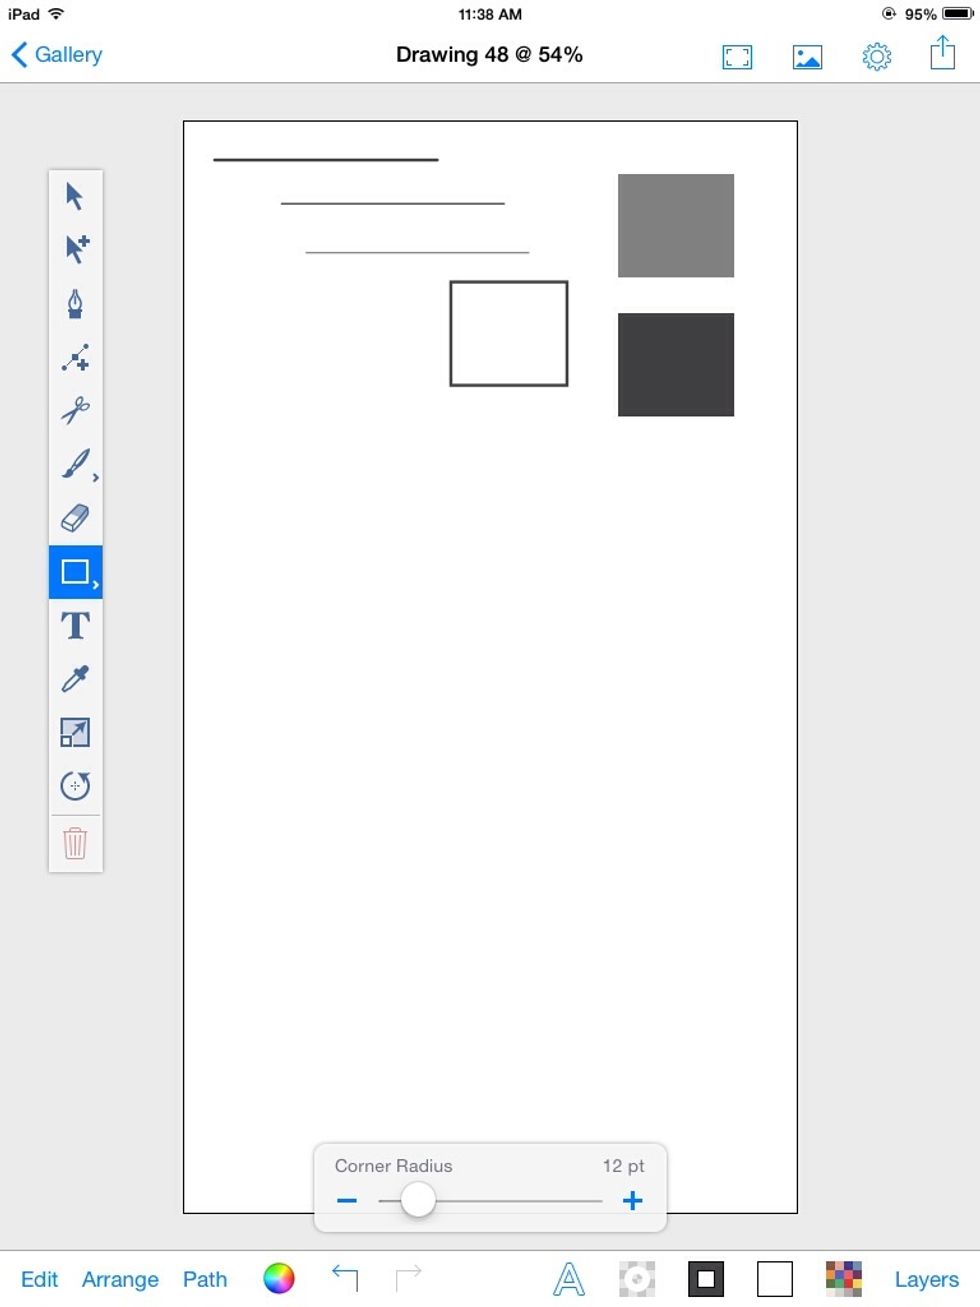
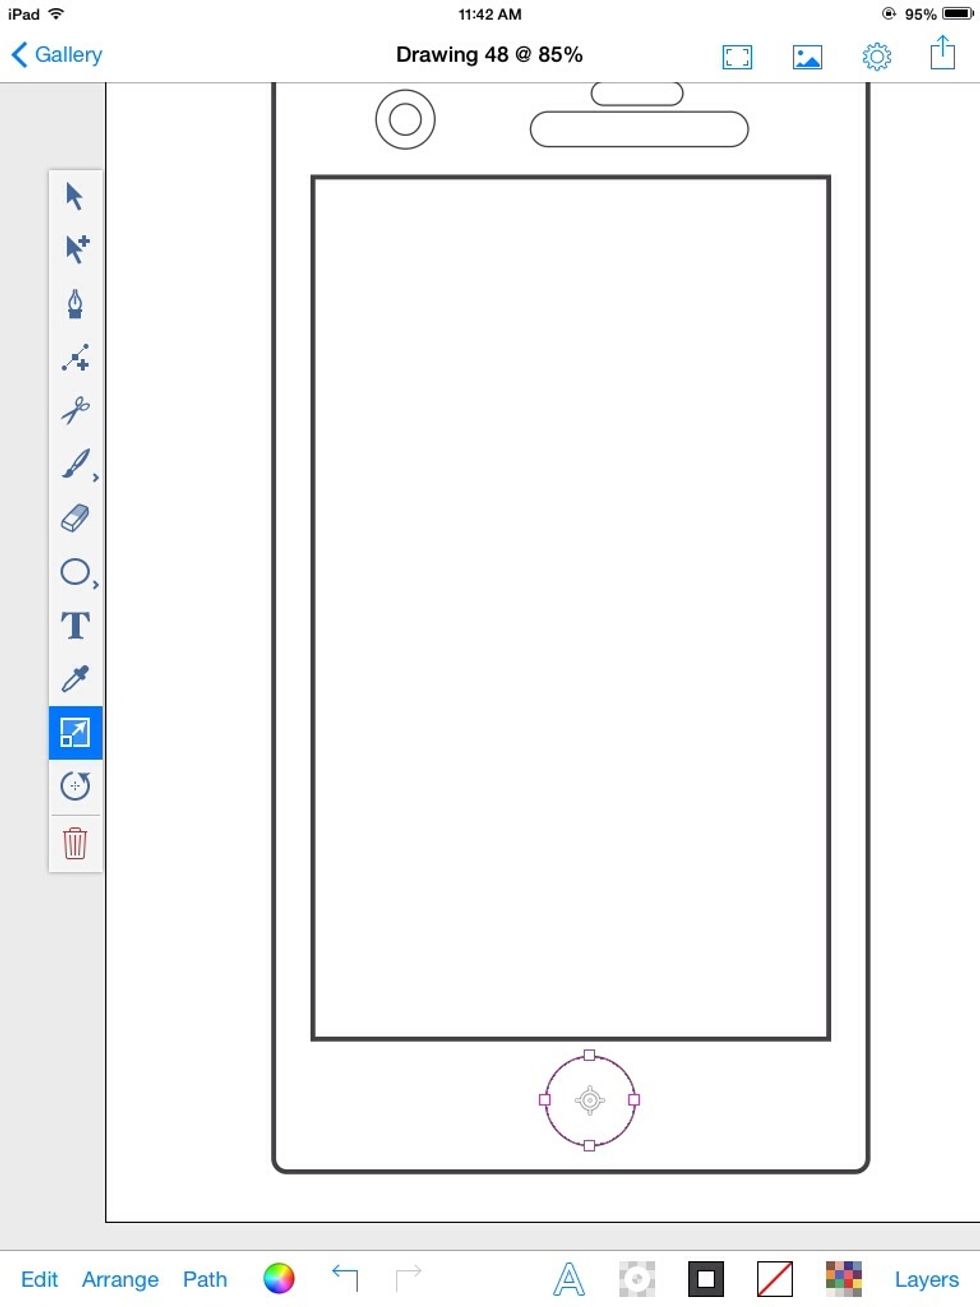
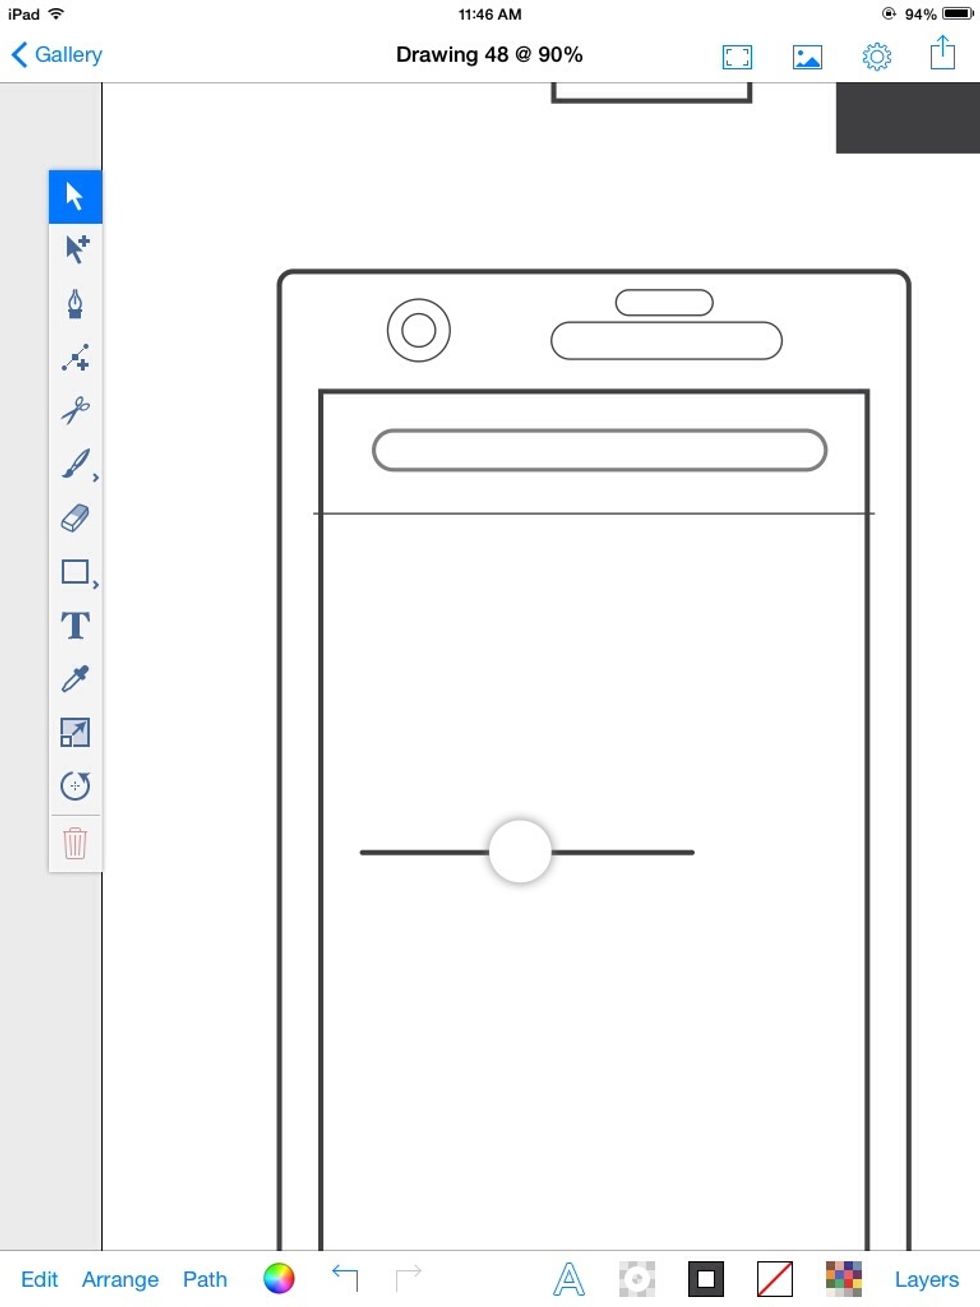
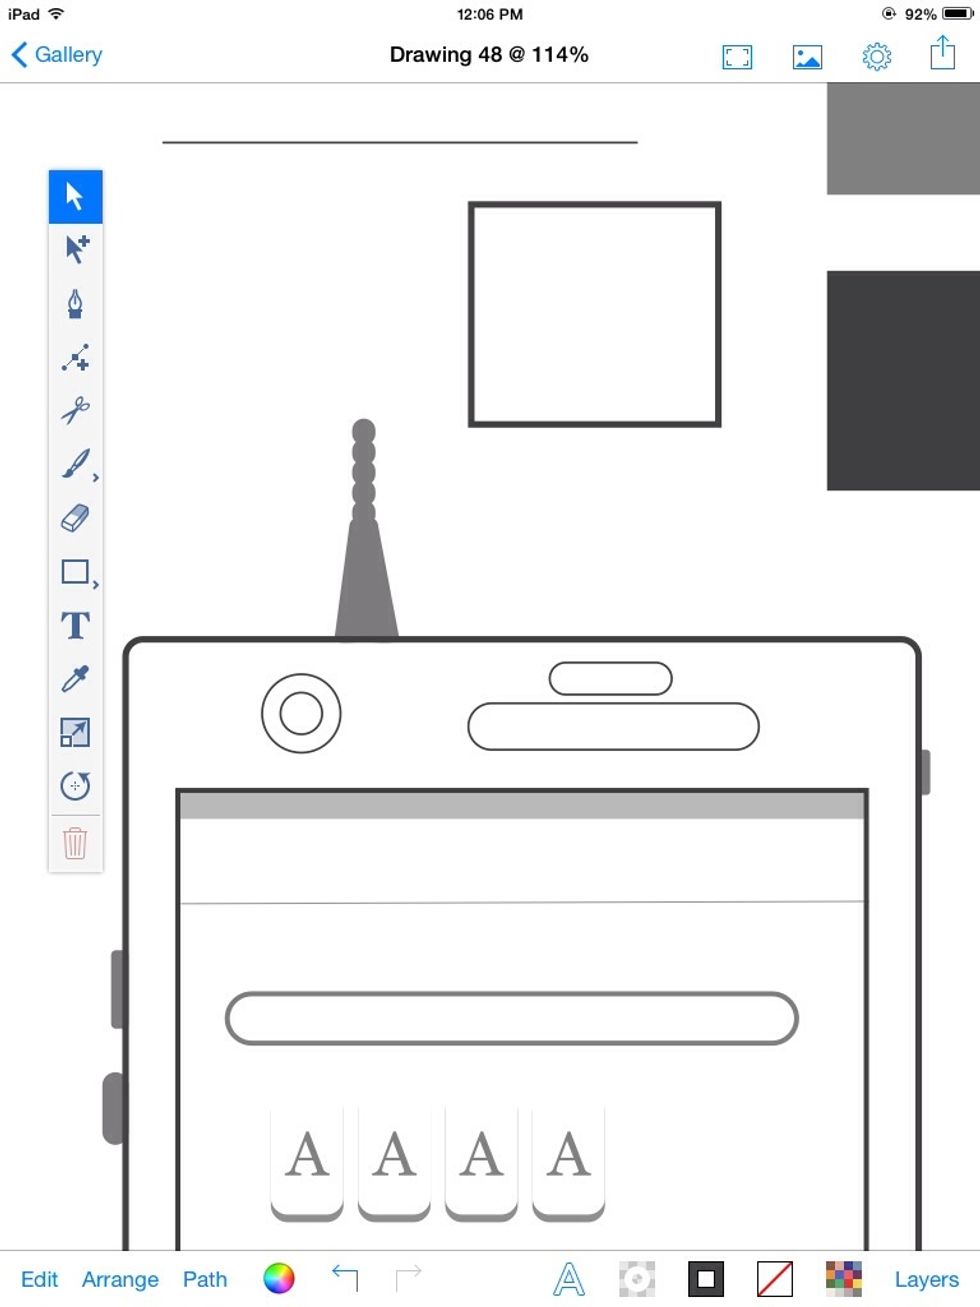
To create the main outline of the device, create a rectangle with a 12pt corner radius.
You can use the Color Picker and sample the box with the white fill.
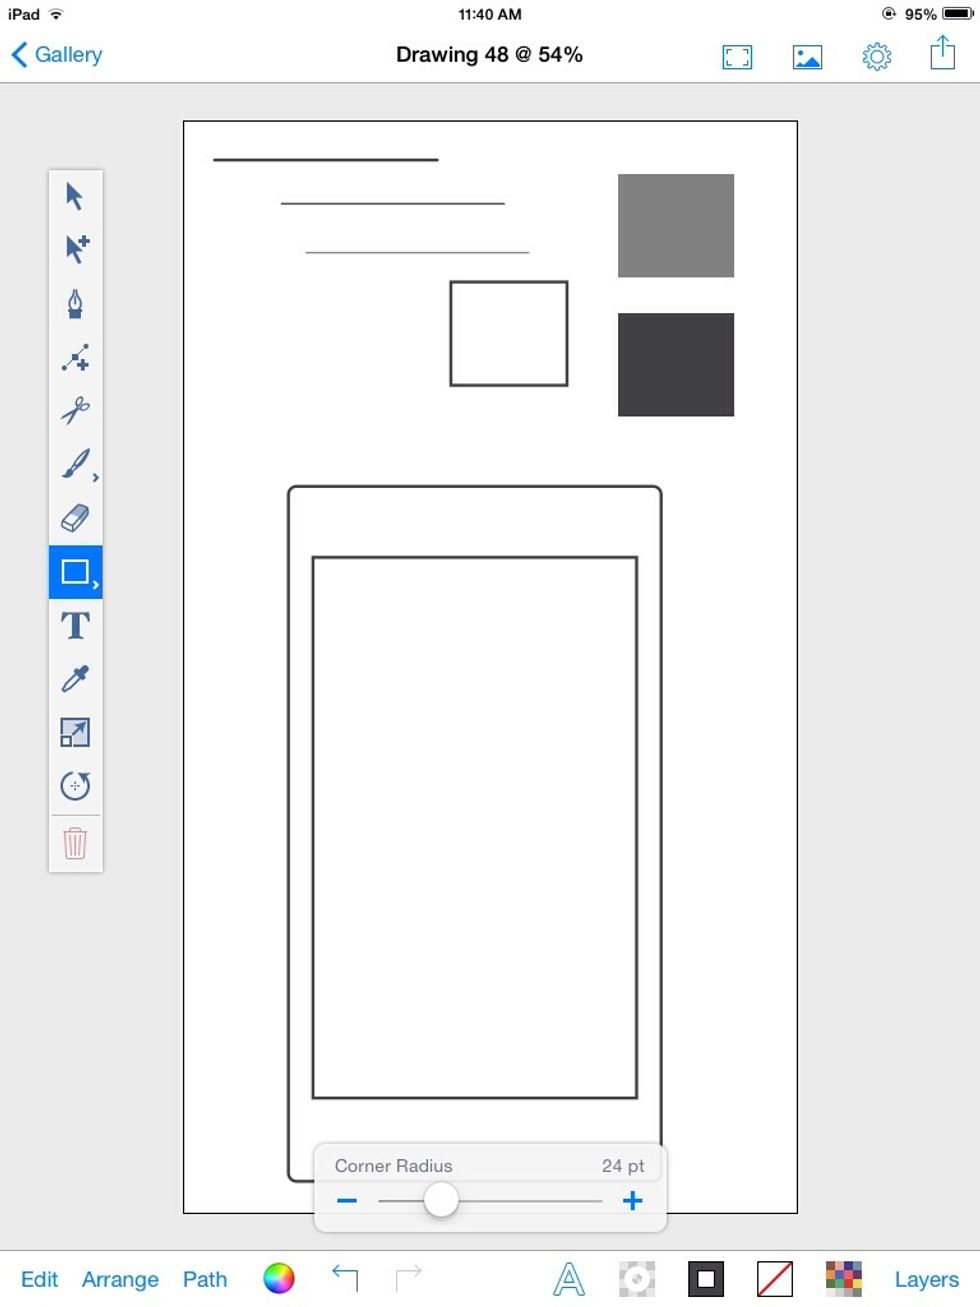
With a 0pt corner radius, draw the internal screen.
Sample the thin line, and draw more shapes for hardware parts. All corner radii should be a multiple of 3.
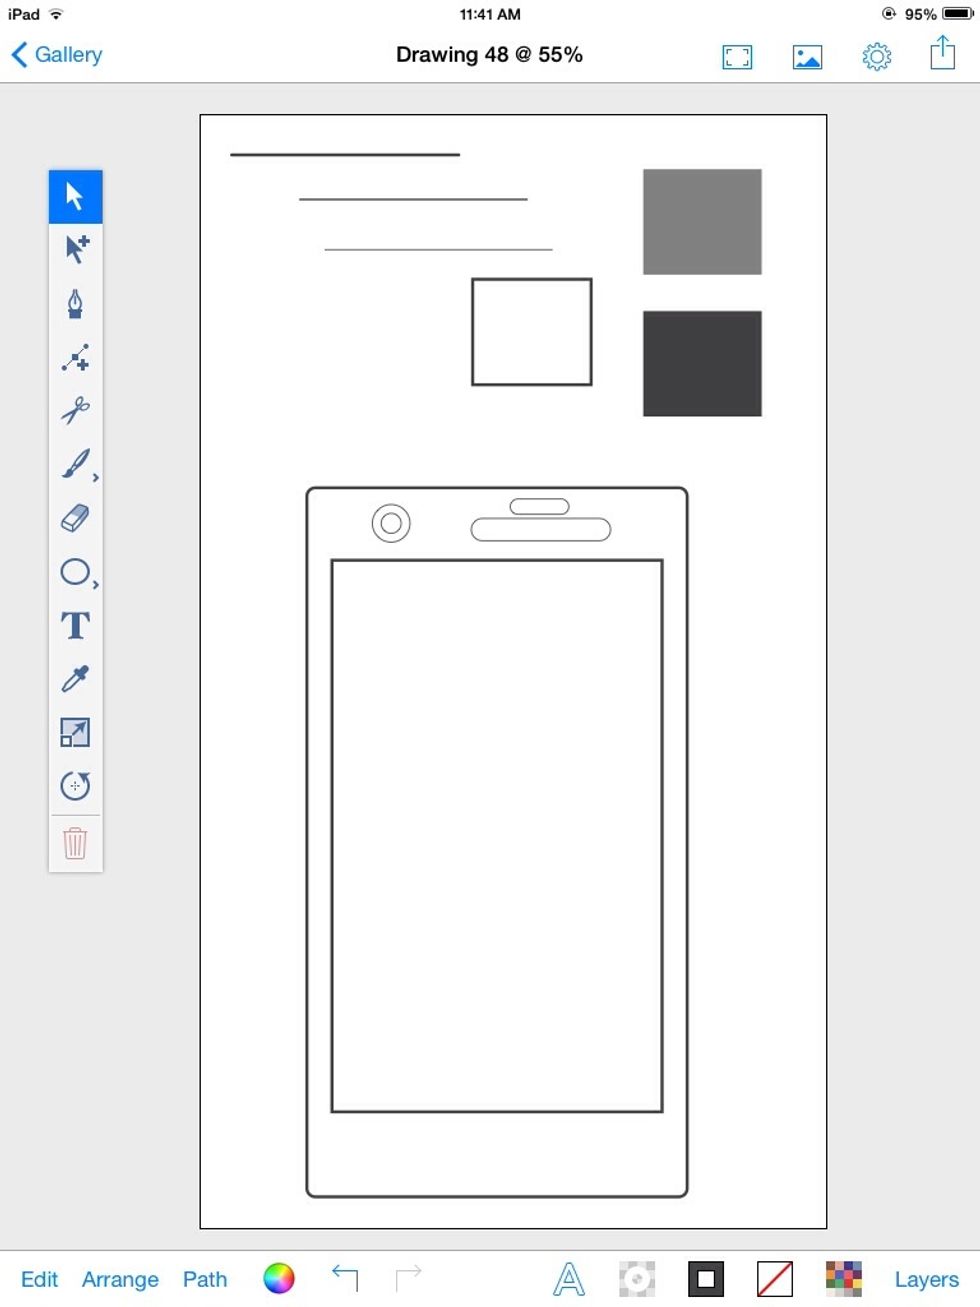
Re-use
Reuse the circle shape by duplicating it and moving it. You can sample the lines with the color picker.
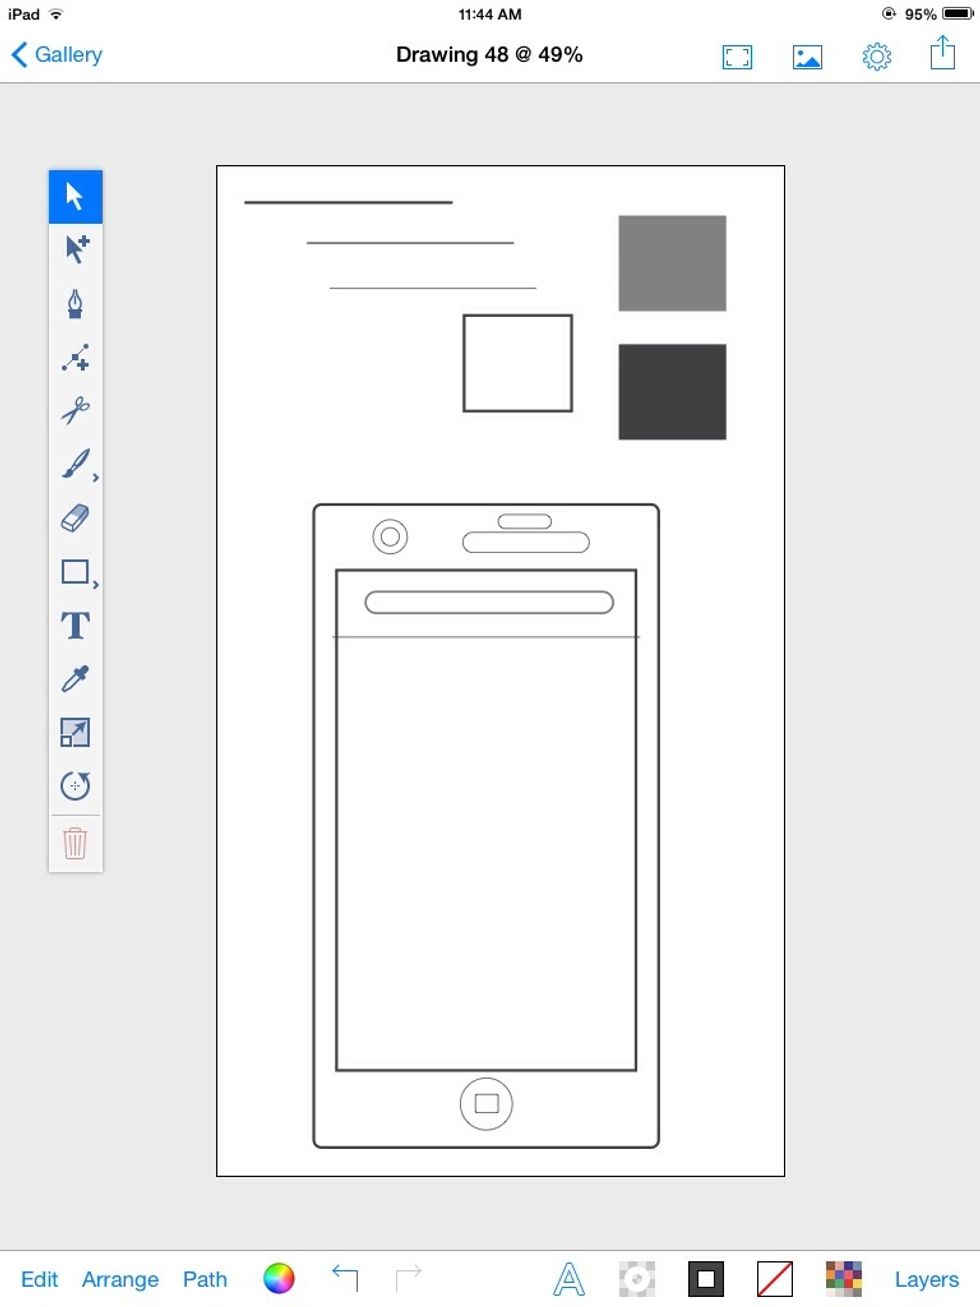
Reuse the lines themselves also for screen divisions.
Slider
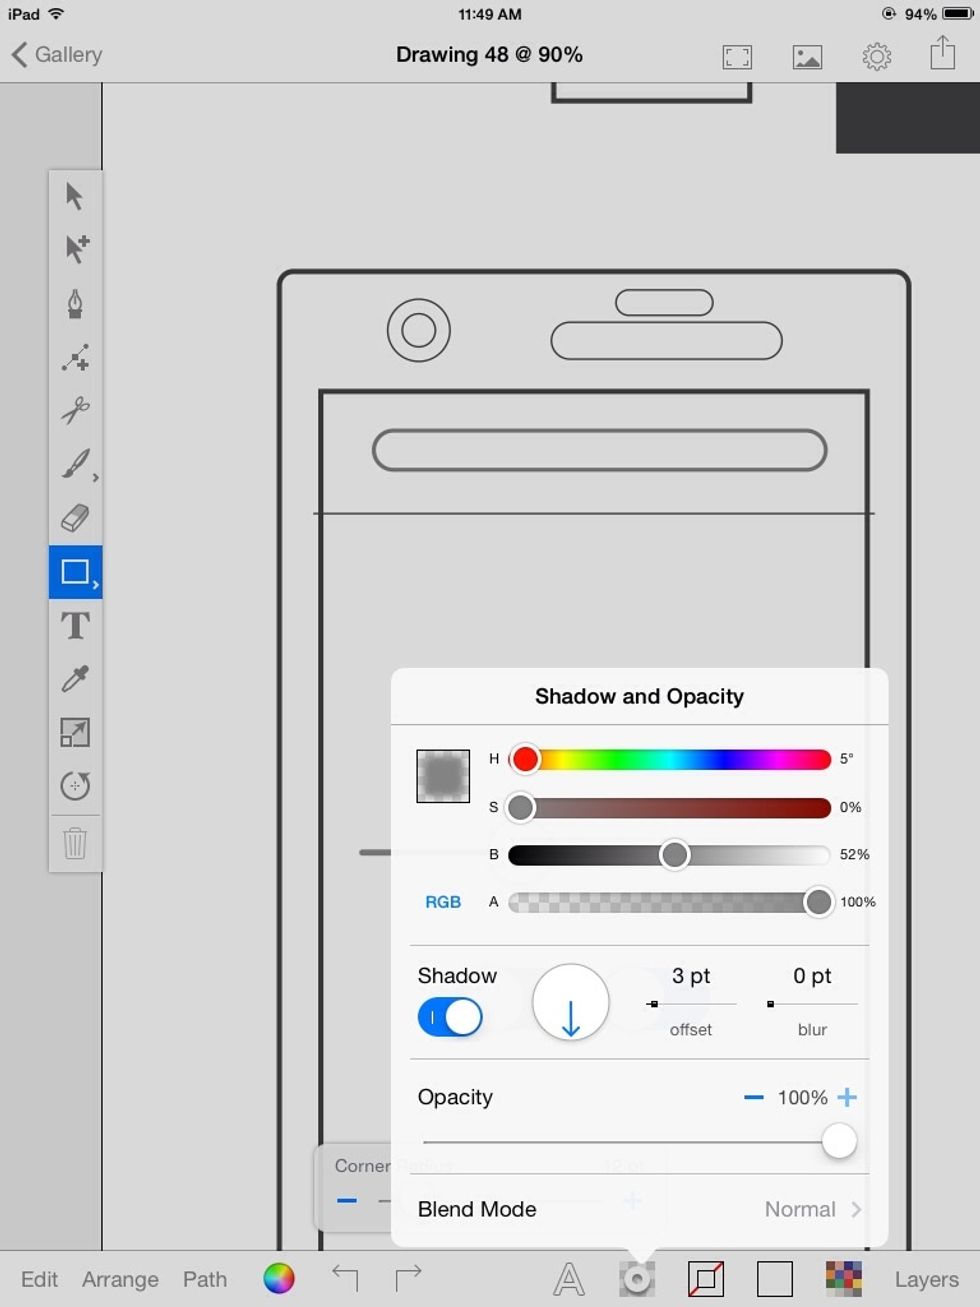
To make a Slider, duplicate a circle.
Open the shadow panel.
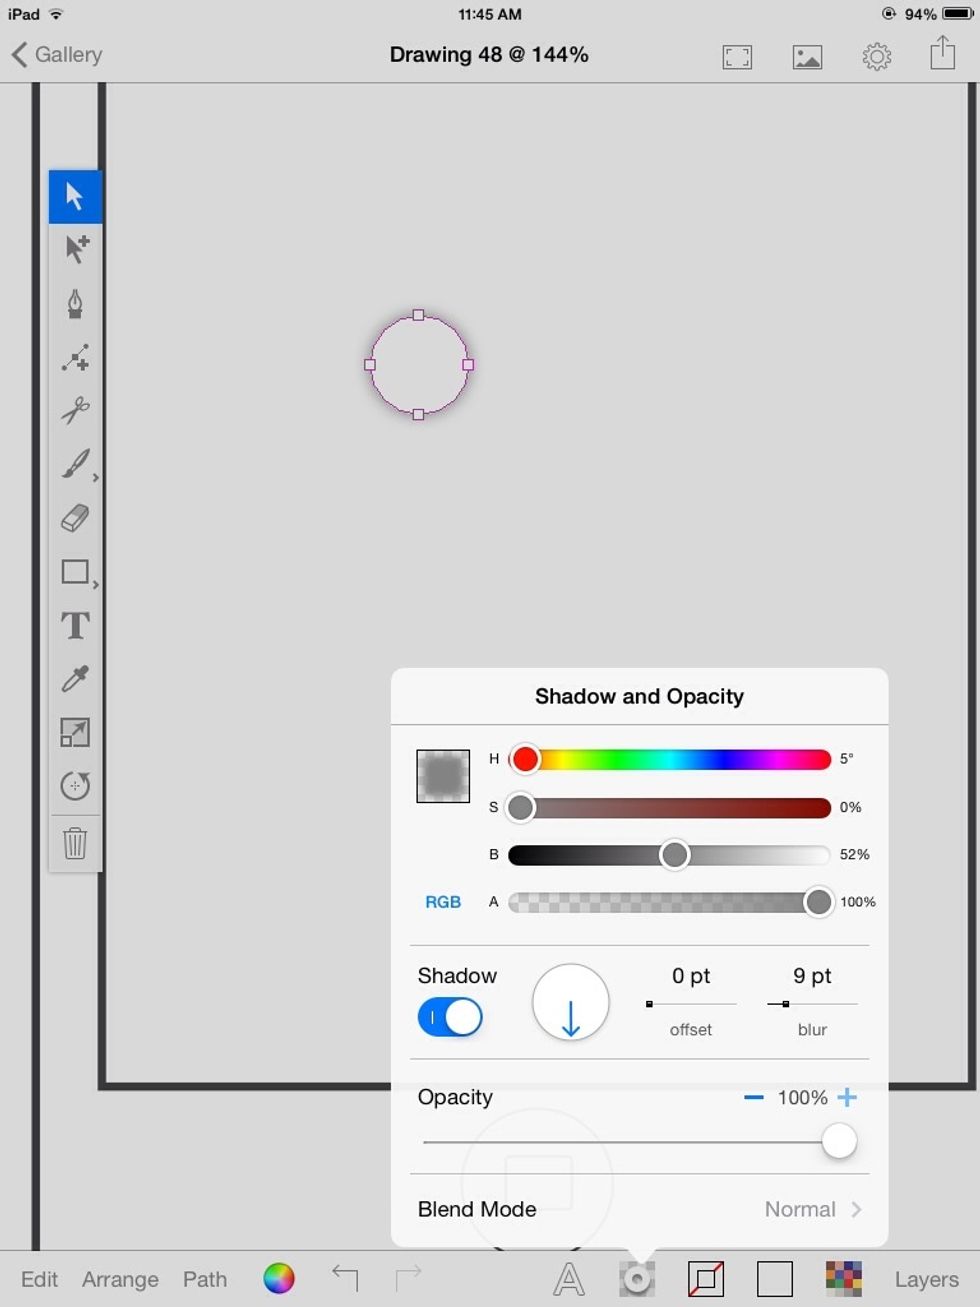
Turn the shadow on, and give it no offset, and a bit of blur. Make the brightness 50% (or close).
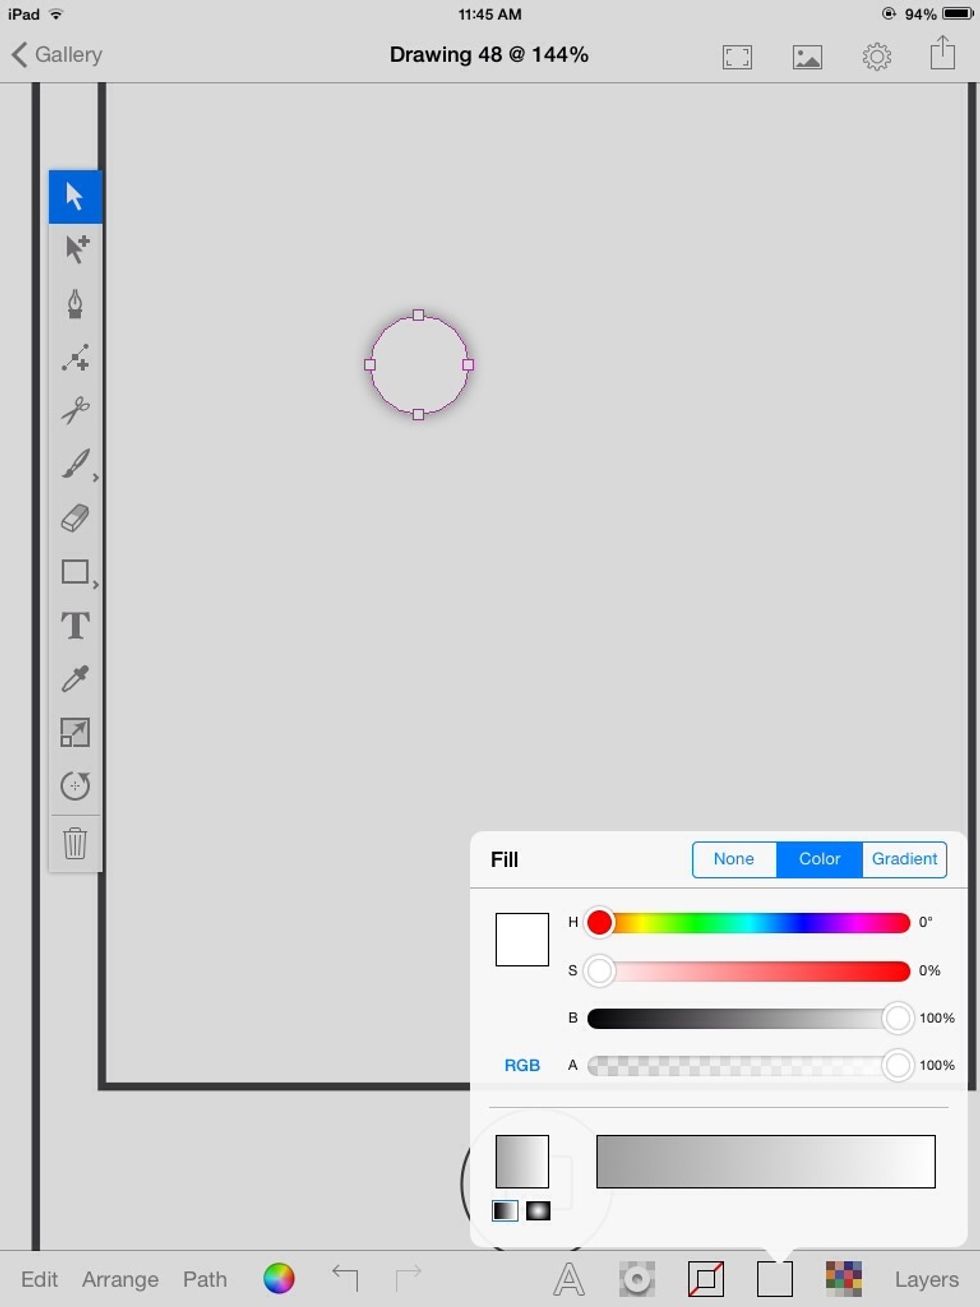
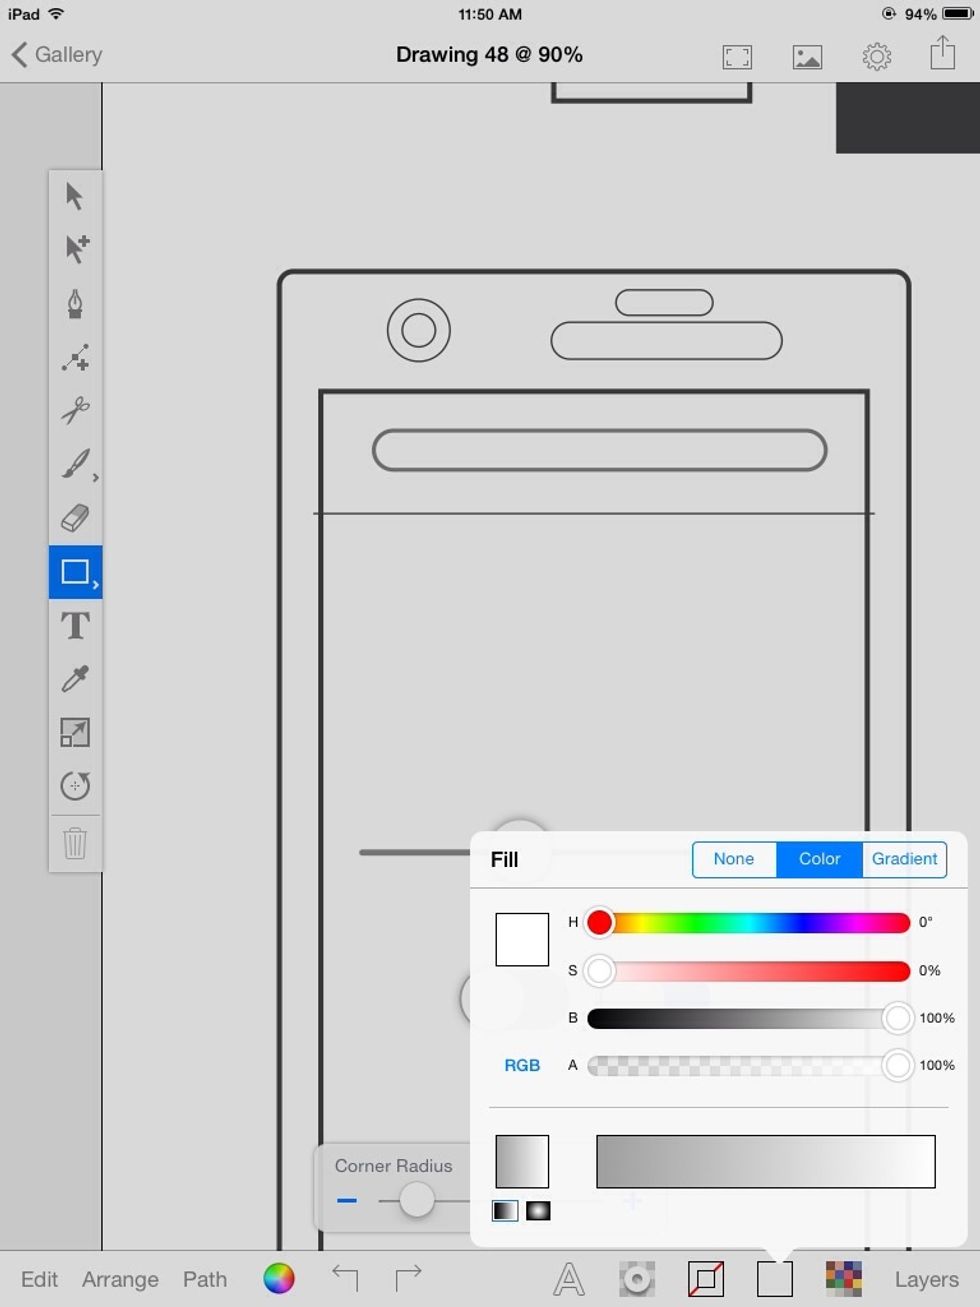
Give it a solid white fill (100% brightness).
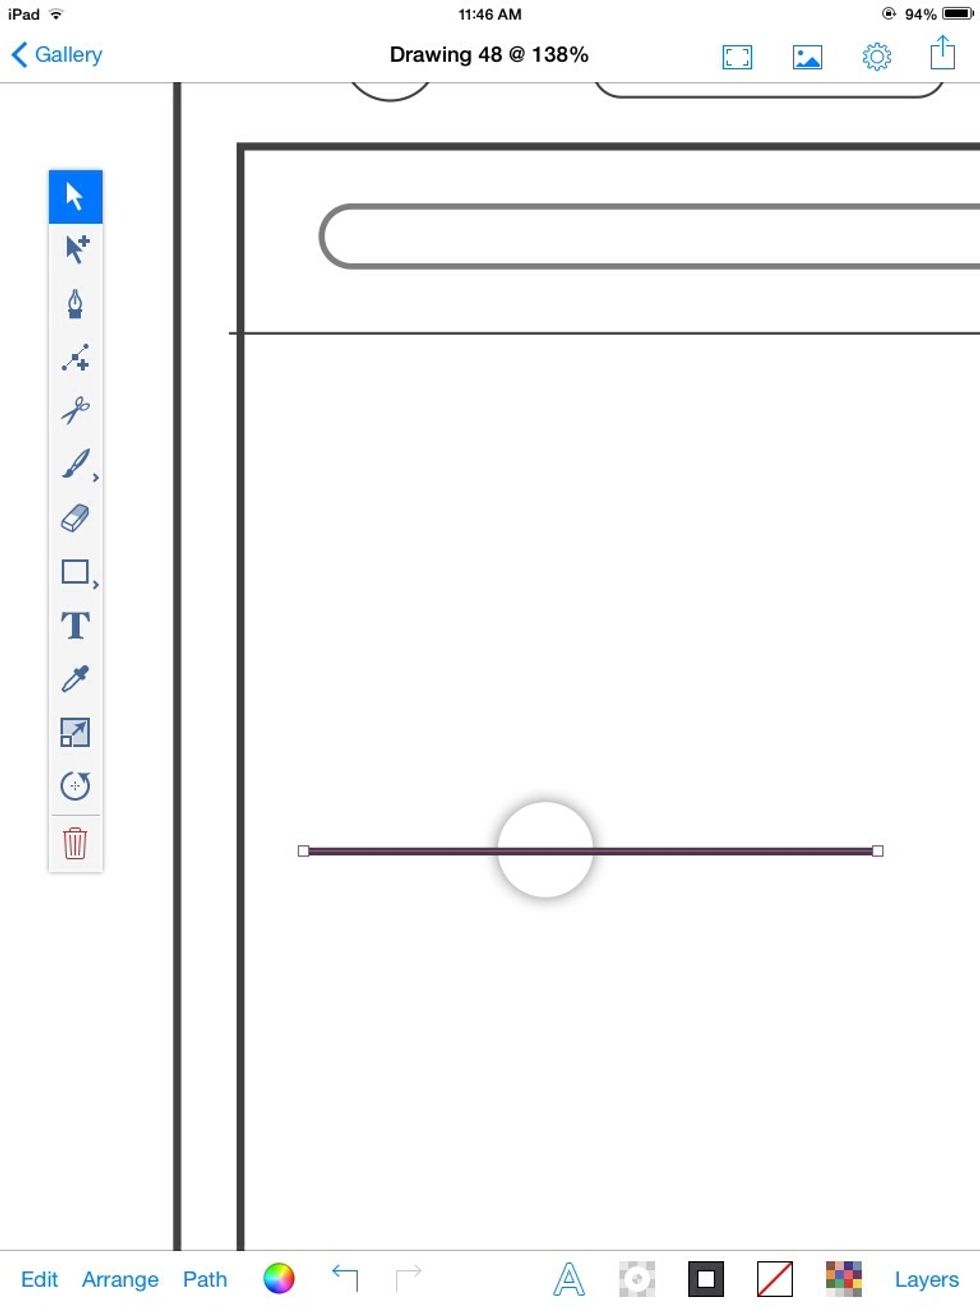
Duplicate a line. And place it over the circle.
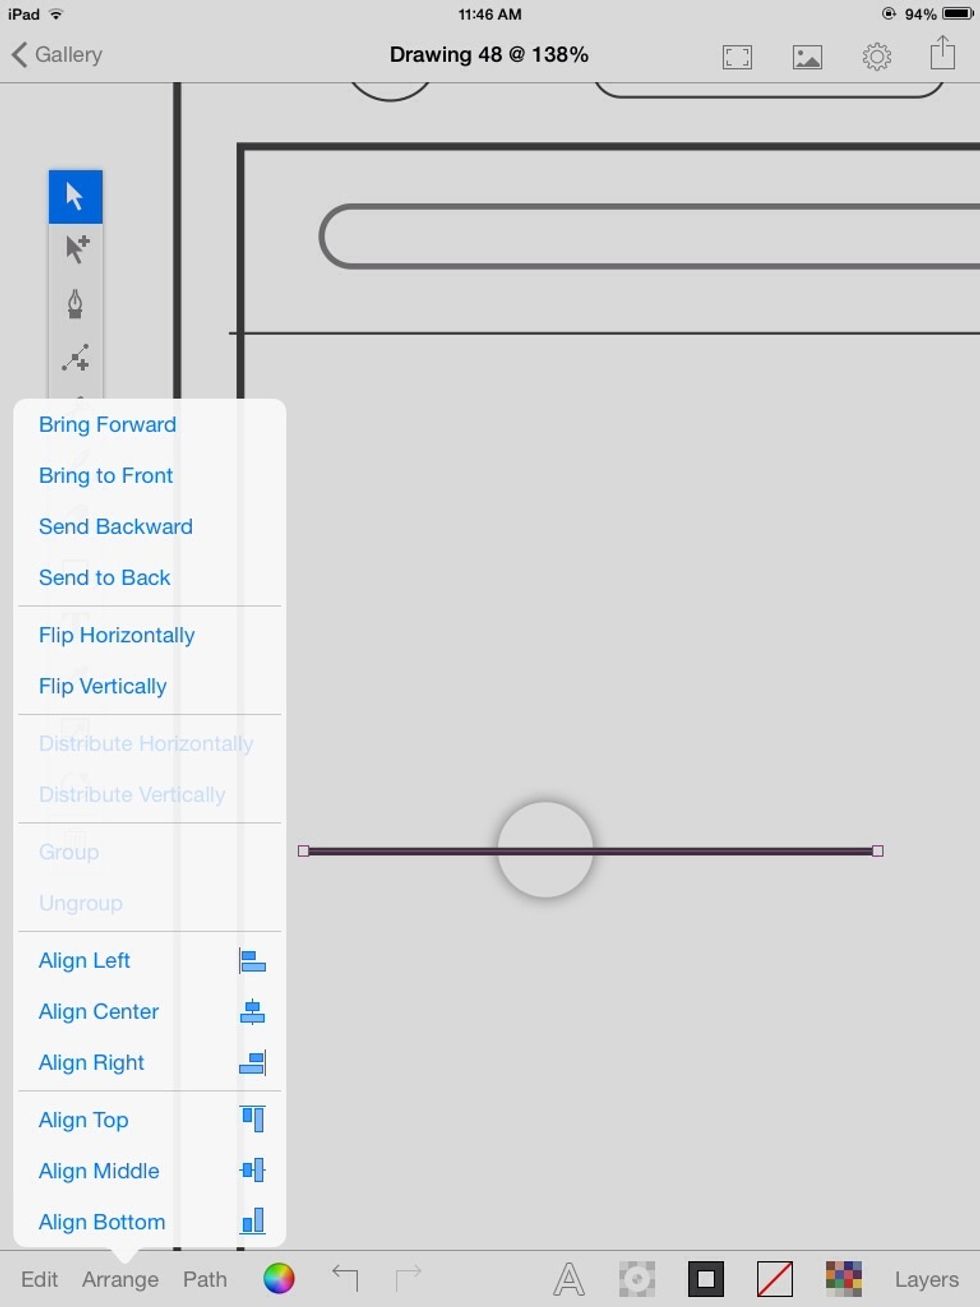
With the line selected, Tap "Arrange" and then "Send Backward" to send the line behind the circle.
That's it for the slider.

I adjusted the stroke to 50% brightness and thickened it a little.
Switch
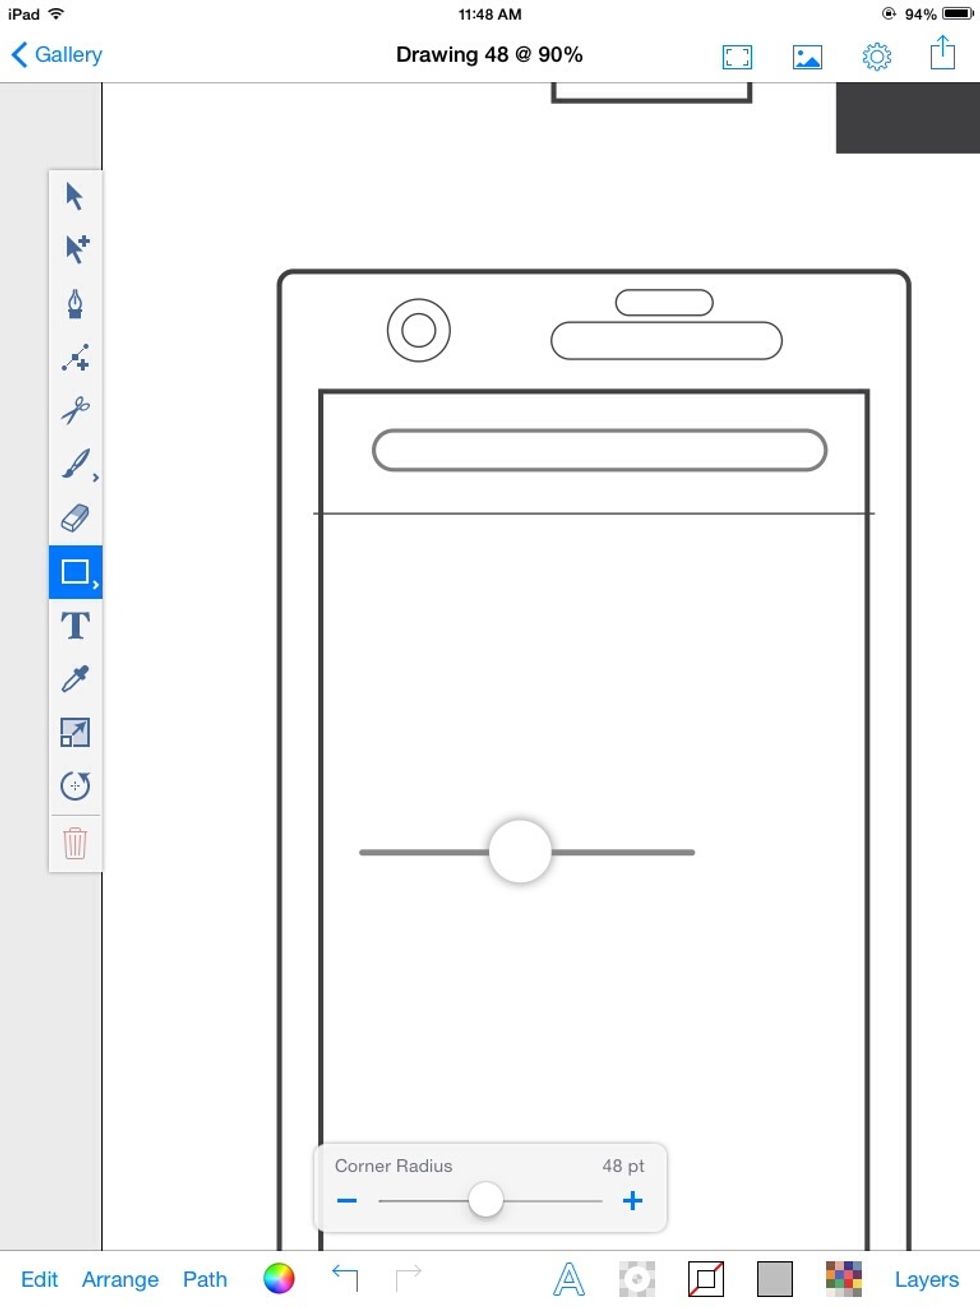
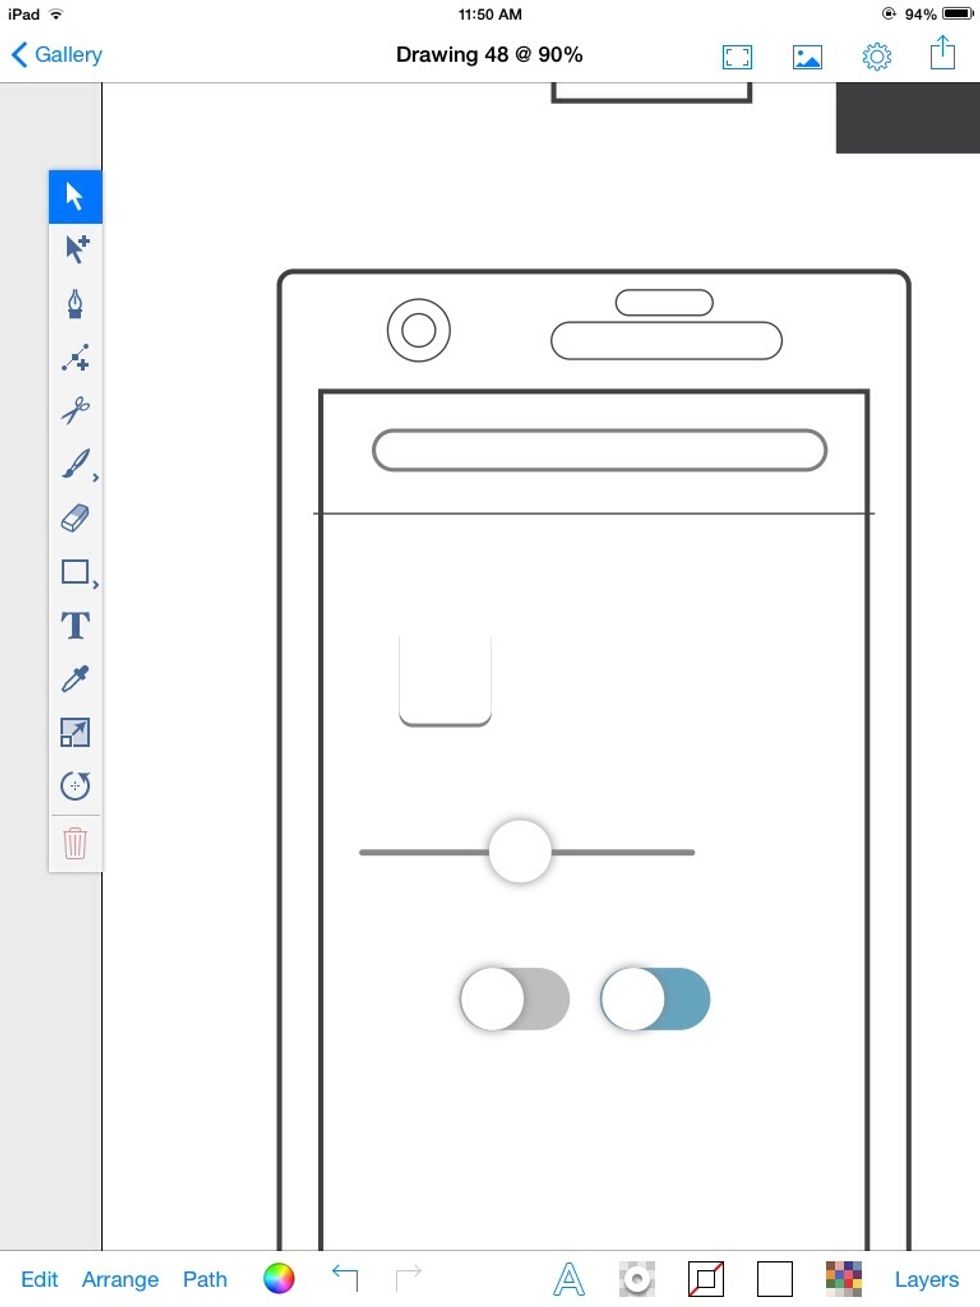
To make a switch, draw a rectangle with a 48pt corner radius.
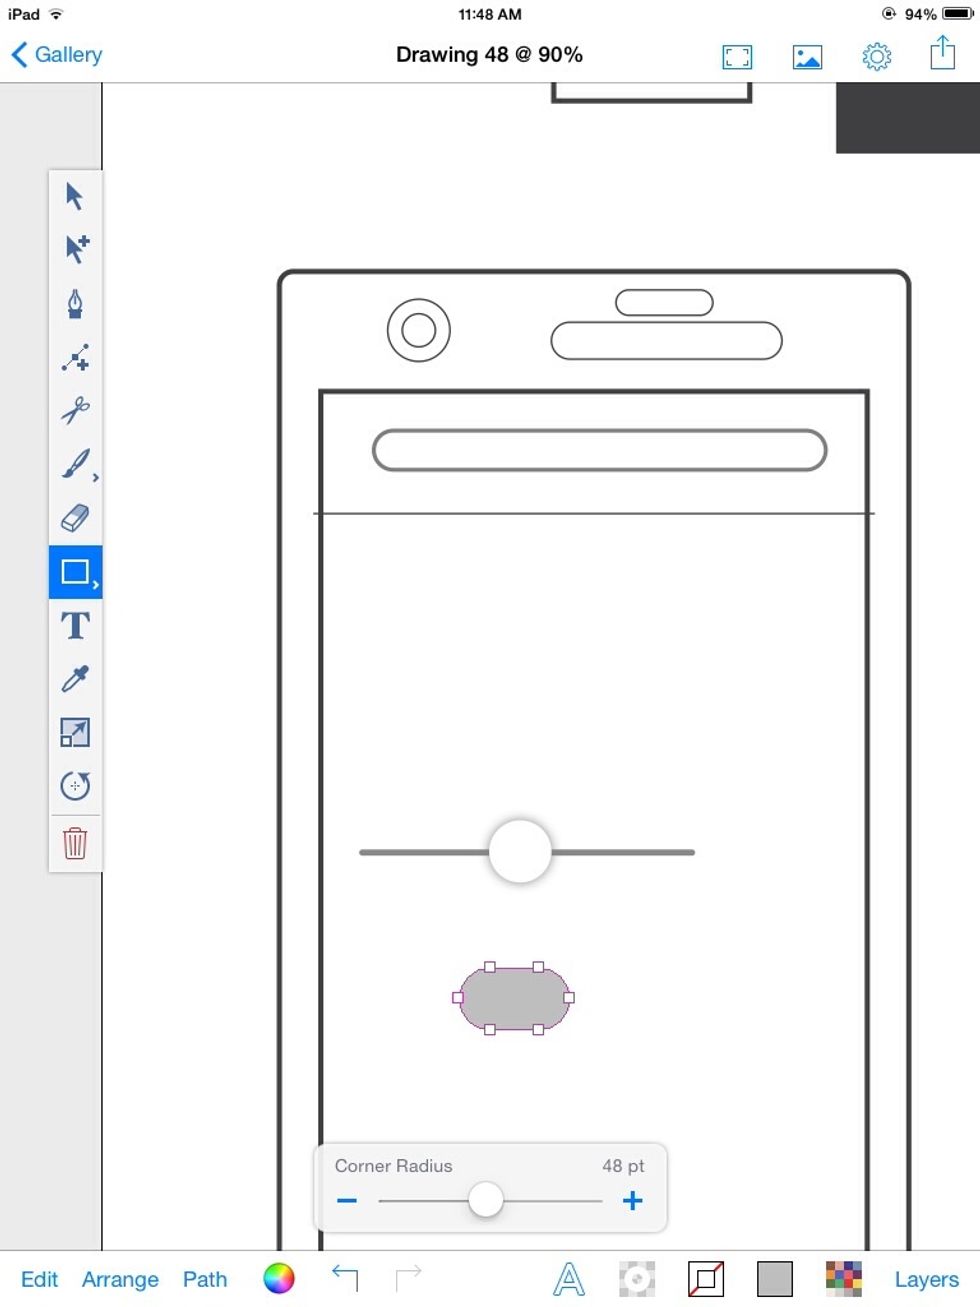
Sample the fill of 50% brightness.
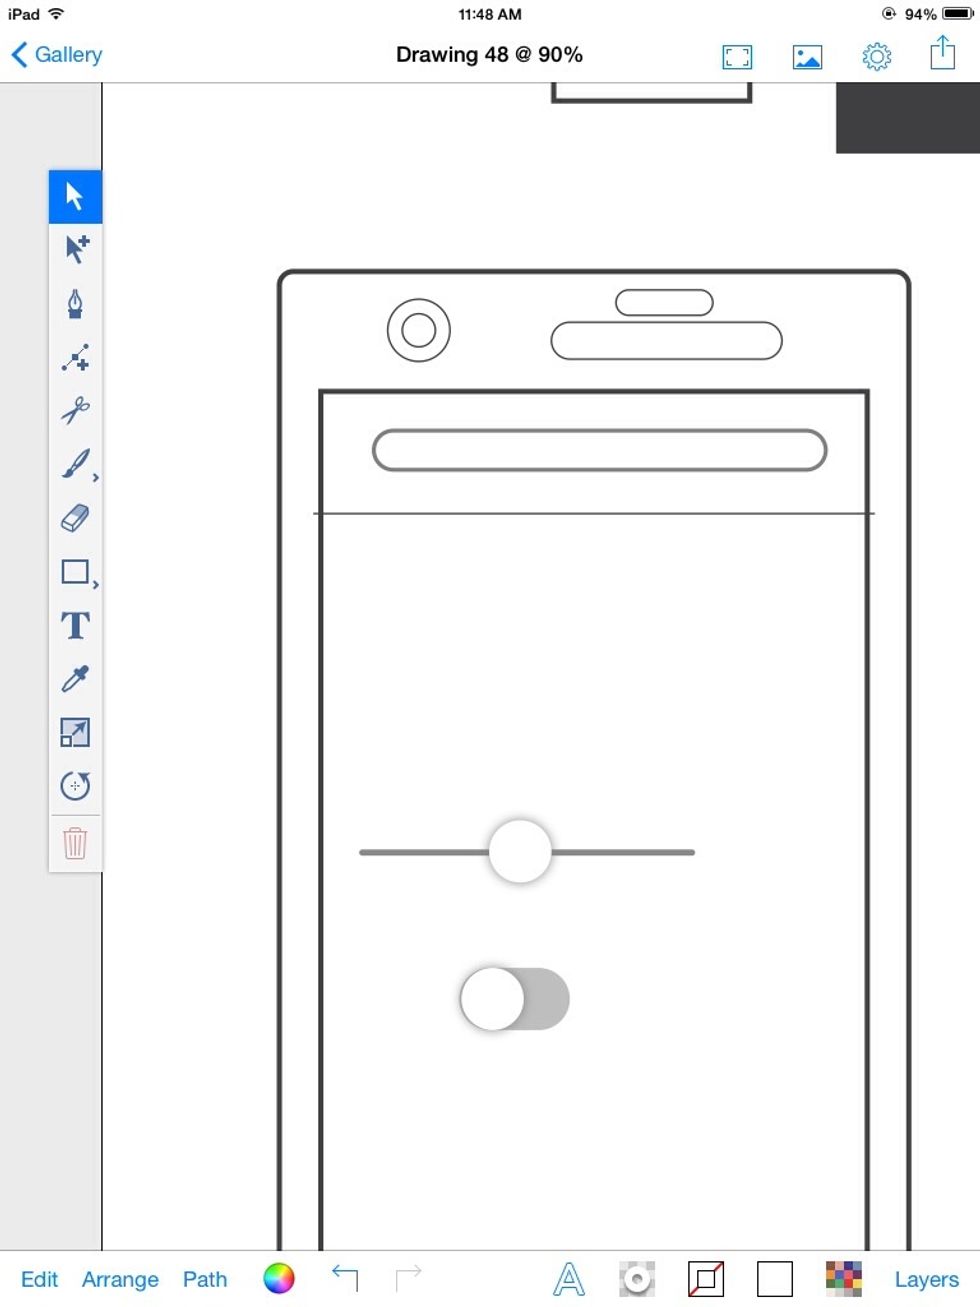
Duplicate the slider knob and place it over the shape. Switch done!

You can vary the color of the shape if you want.
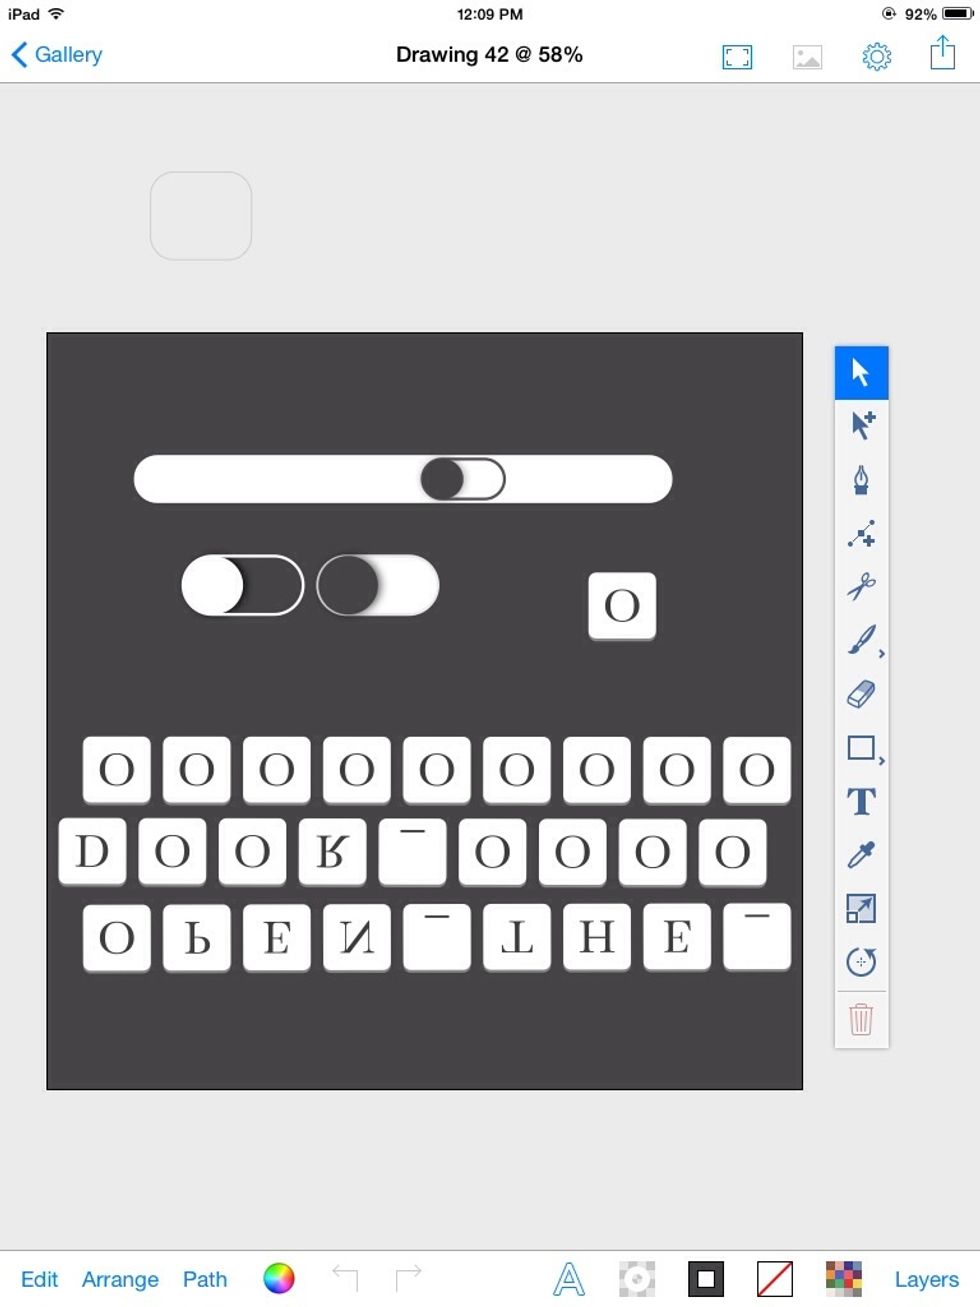
Keyboard keys

To make a keyboard key, Create a rectangle with a 24 pt corner radius.
Give it a shadow facing straight down. Turn the blur to 0, and give it 50% brightness.
Fill it with white, and make sure it has no stroke.

Create a text object. Give the text 50% brightness. Type a letter.
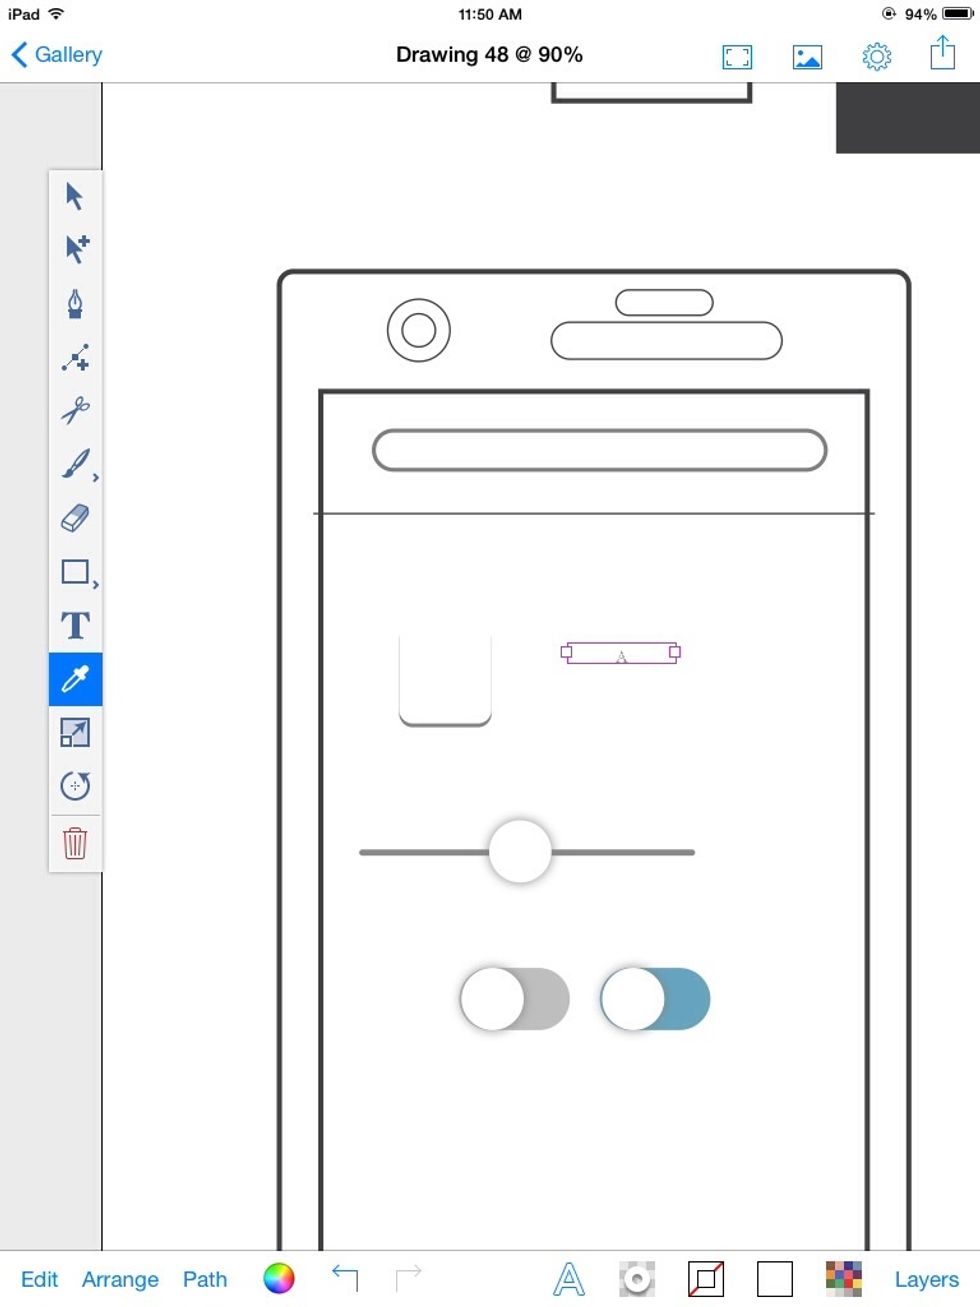
With the text selected, you can sample the 50% grey box with the Color picker.
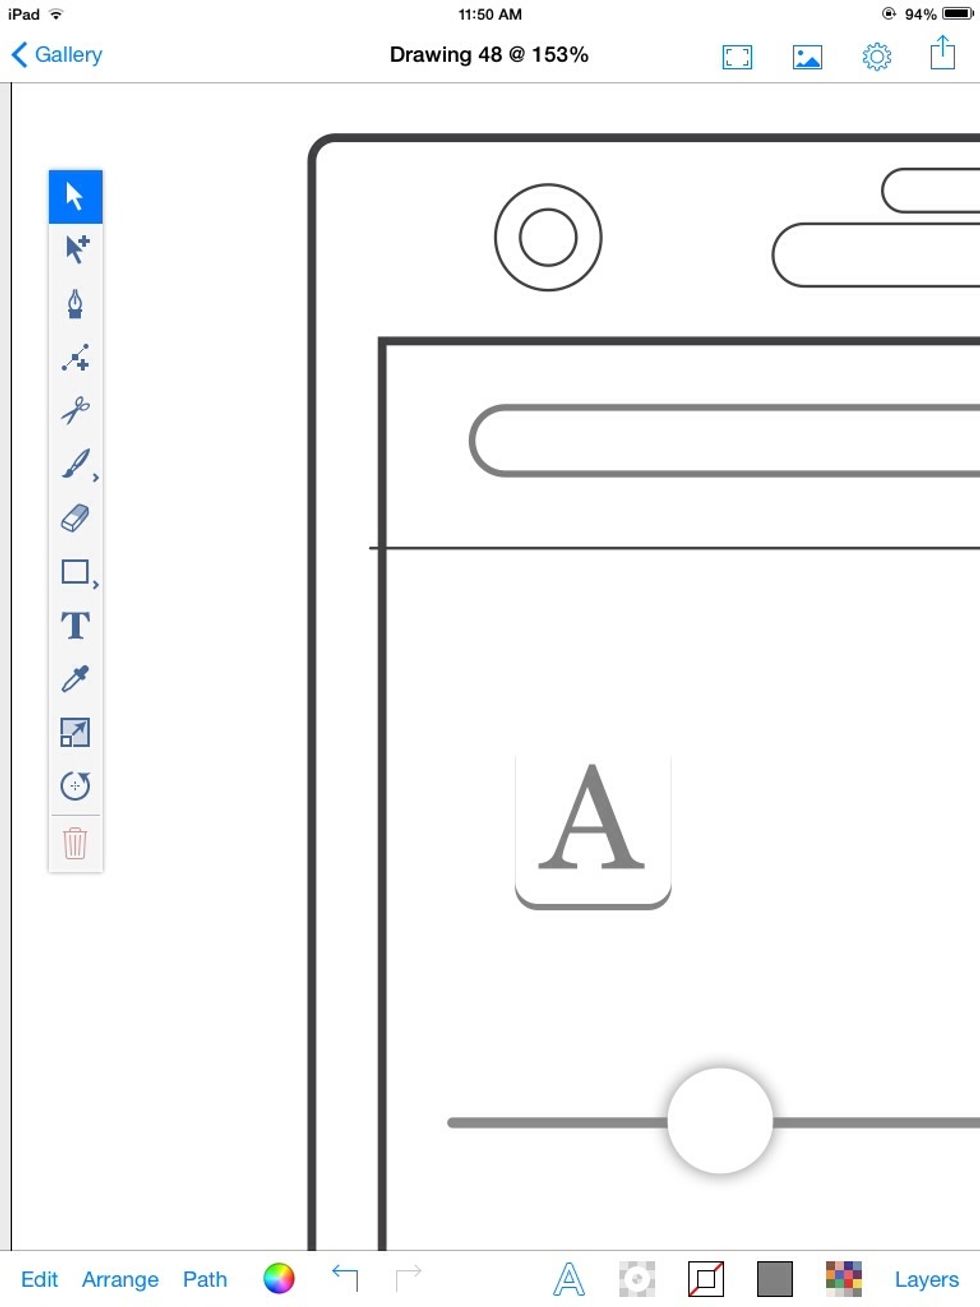
Scale and position the letter.

Note that when placed against a background with a color similar to the shadow, it looks flat.
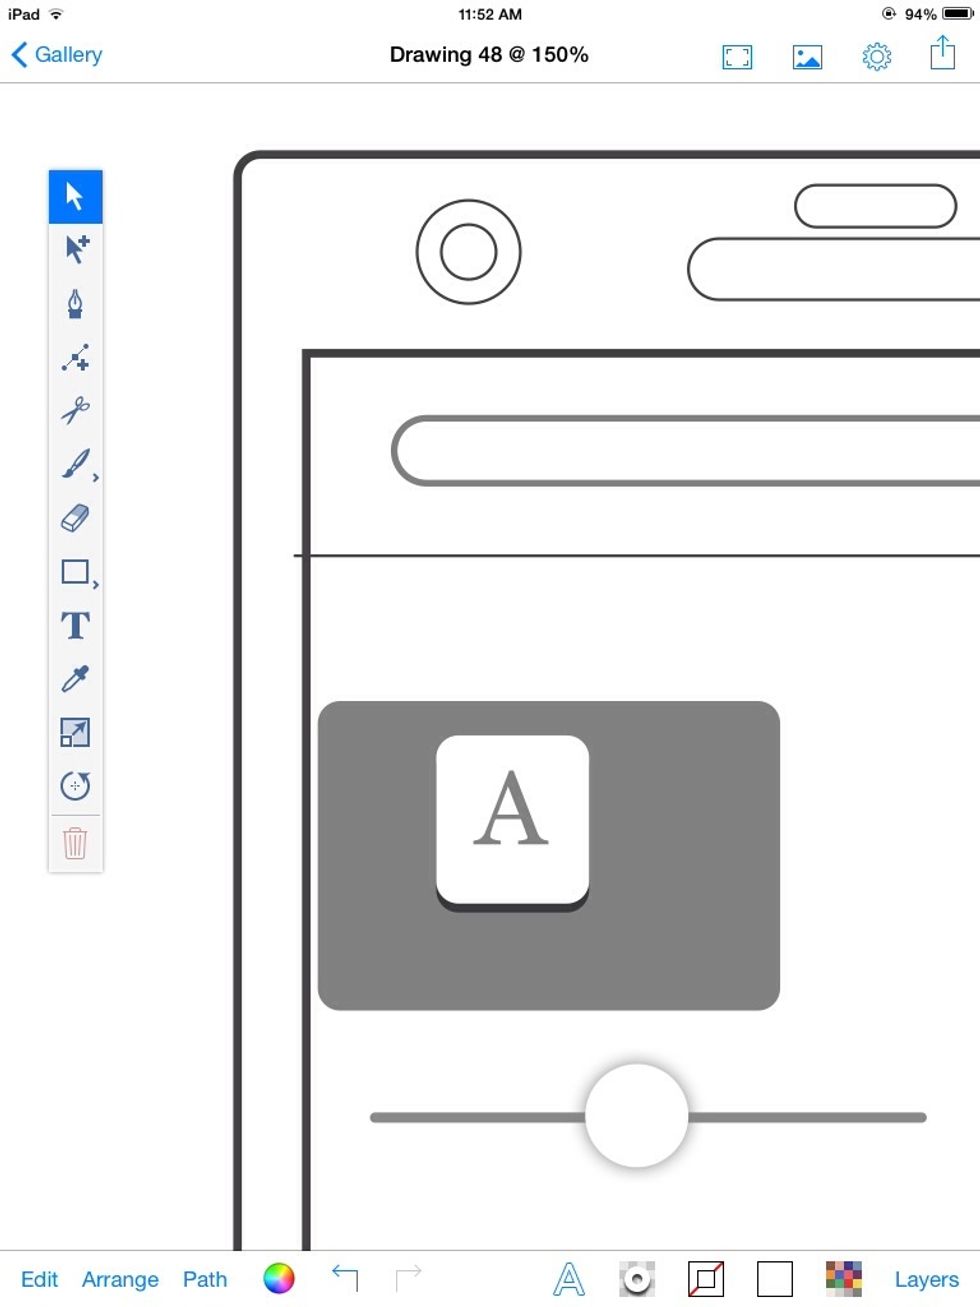
Just darken the shadow.
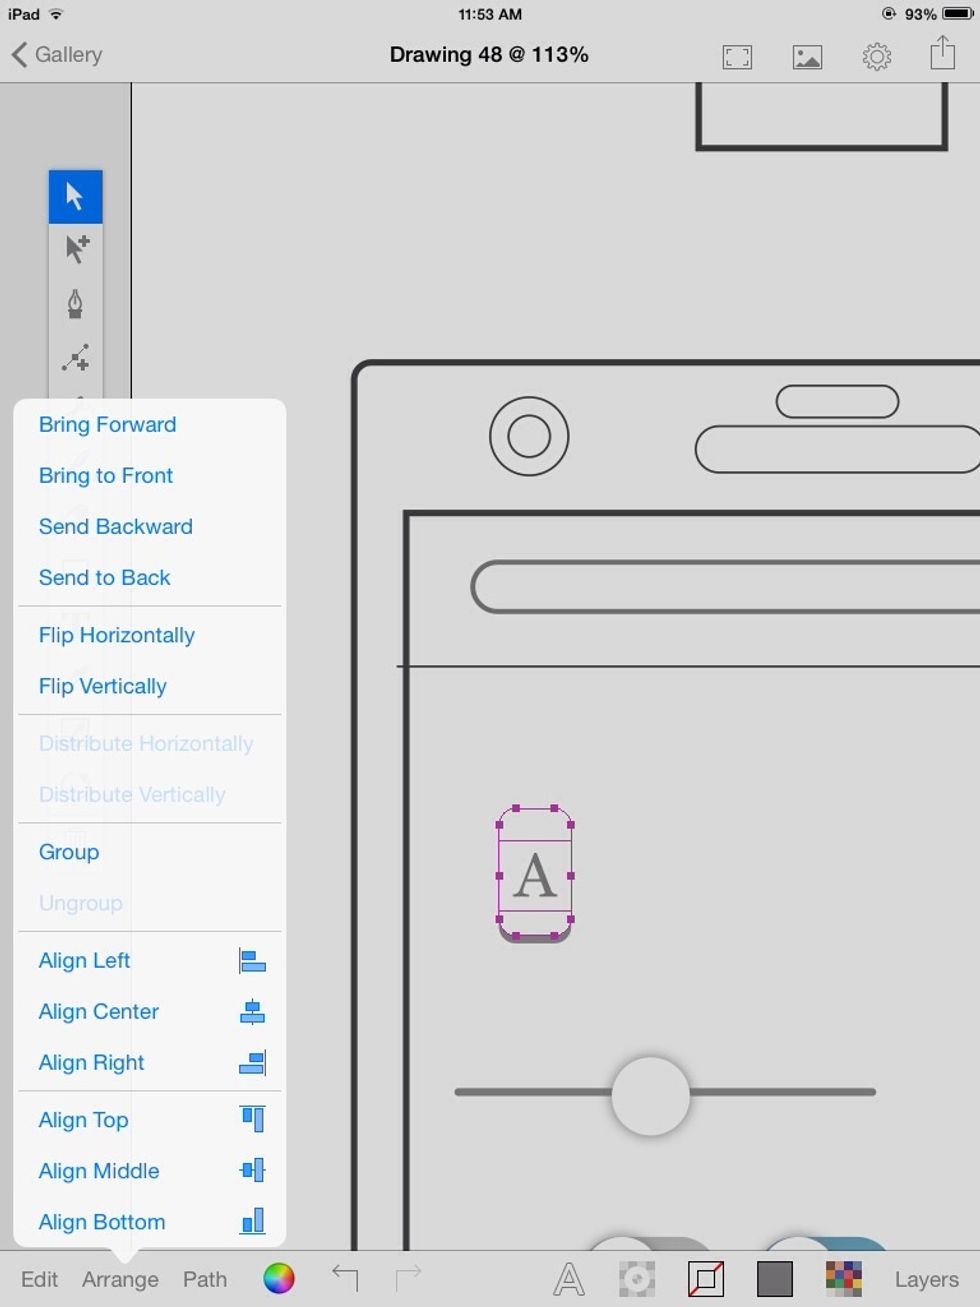
Select both the letter and the rectangle and group them. Found in the "Arrange" menu.

Now you can duplicate and transform as many keys as you want.
There are all sorts of things you can do with these basic techniques.
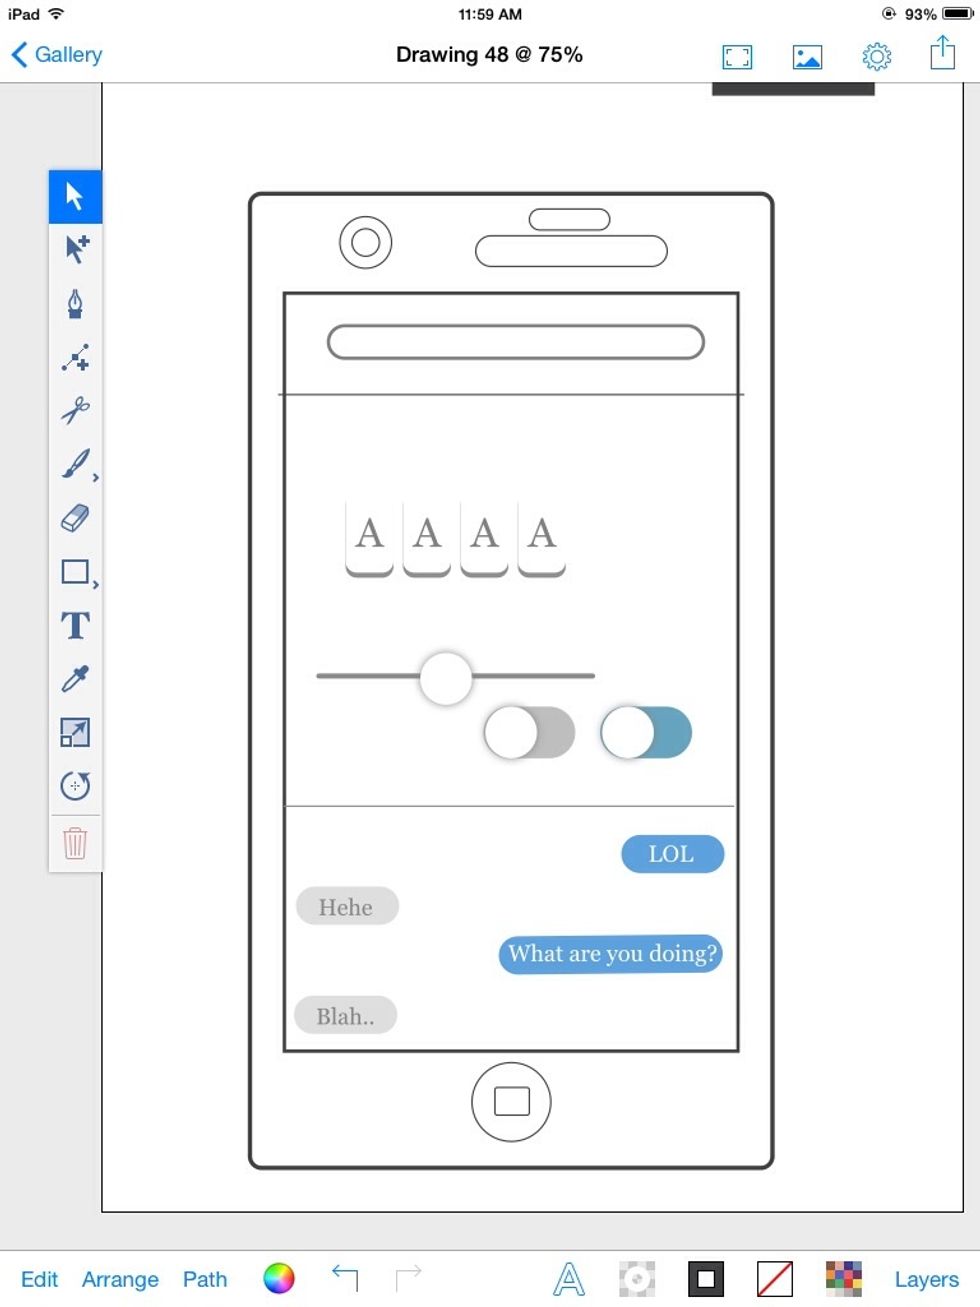
Zoomed out view.
Hardware Buttons

To make a hardware button, create a rectangle with a 6pt corner radius.
Fill it with 50% grey.
Position it alongside the device.
Send it backwards until it is behind the device's lines.
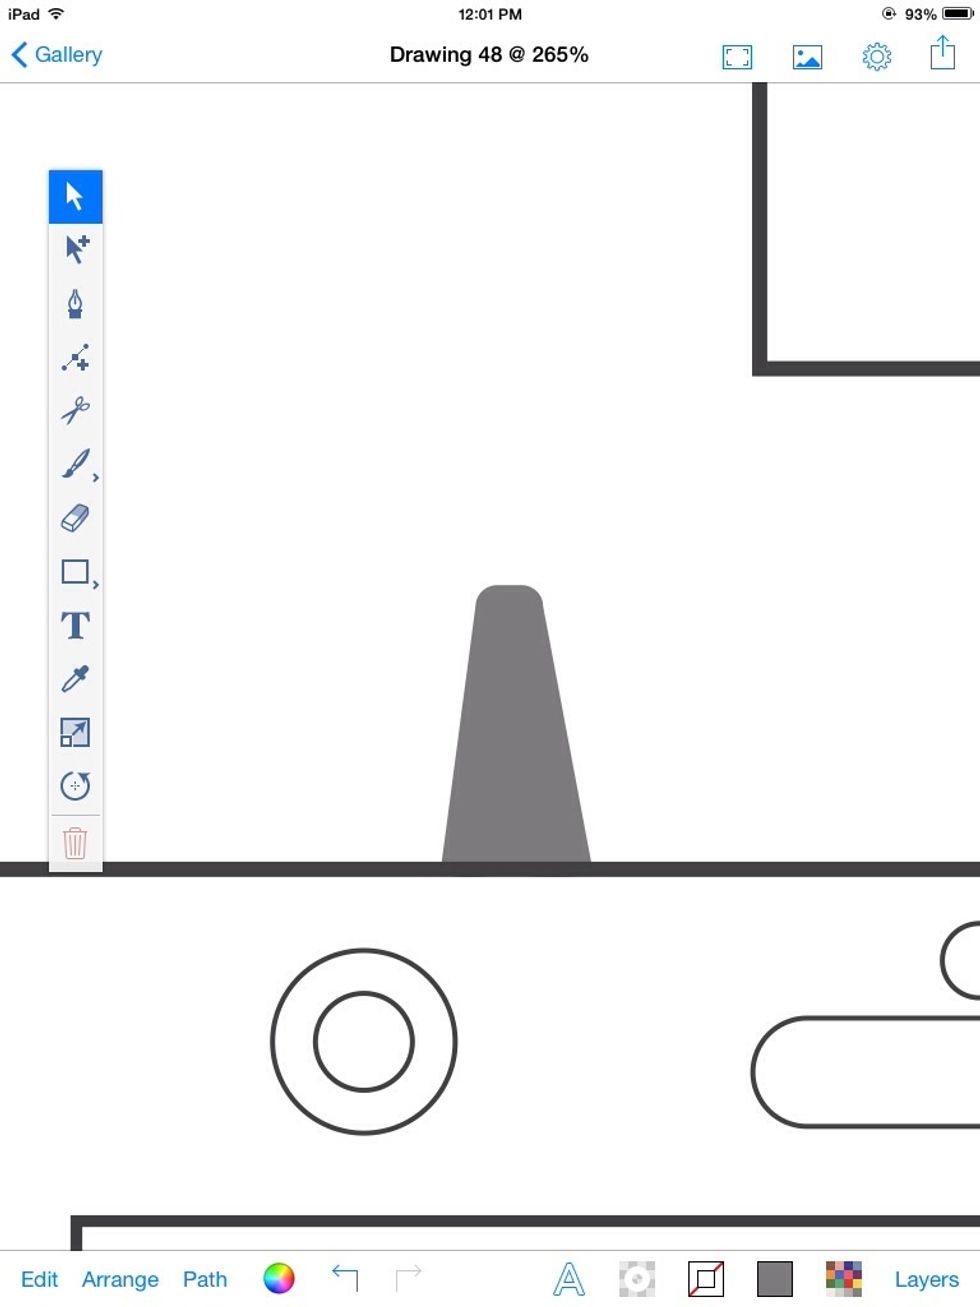
Do this for any additional hardware parts. An antenna?

Now THAT is an antenna!
The smaller the corner radius, the more like a button if looks.
Larger corner radii look like knobs.
Just uses stroke-less 50% grey rectangle with a 0pt corner radius for a Status Bar, or any content area on the screen.
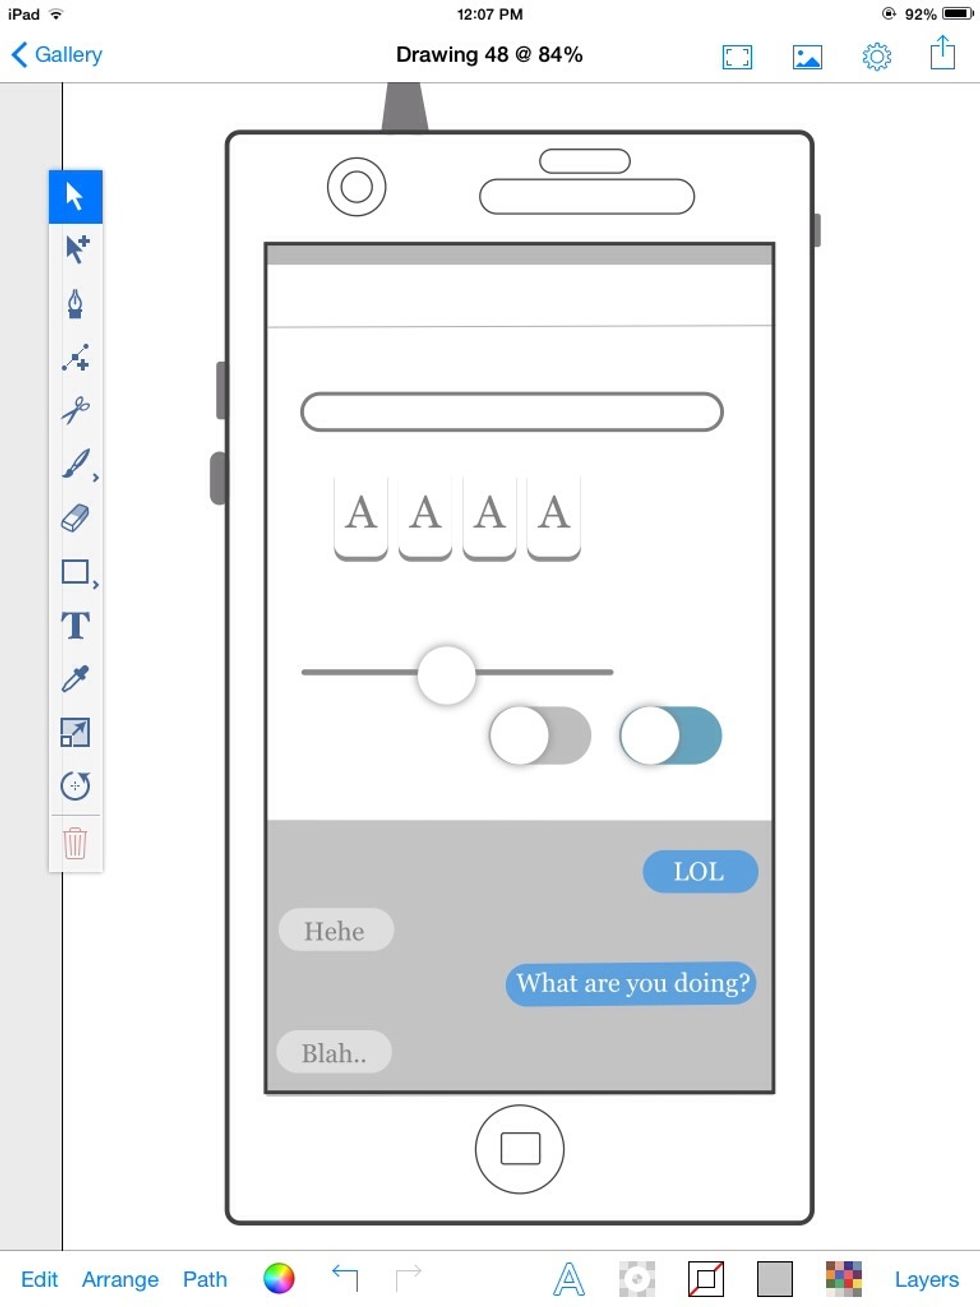
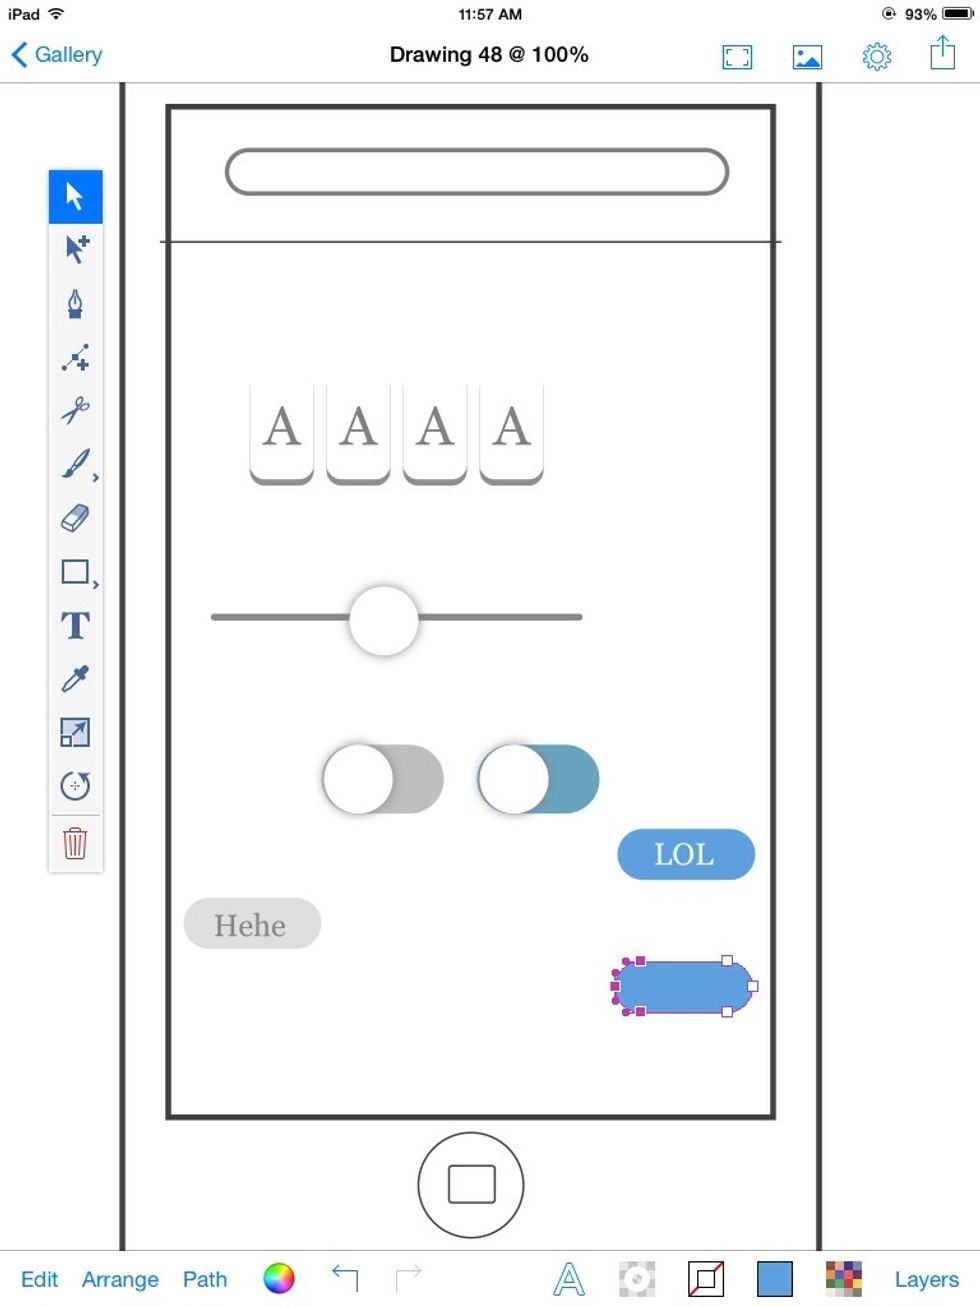
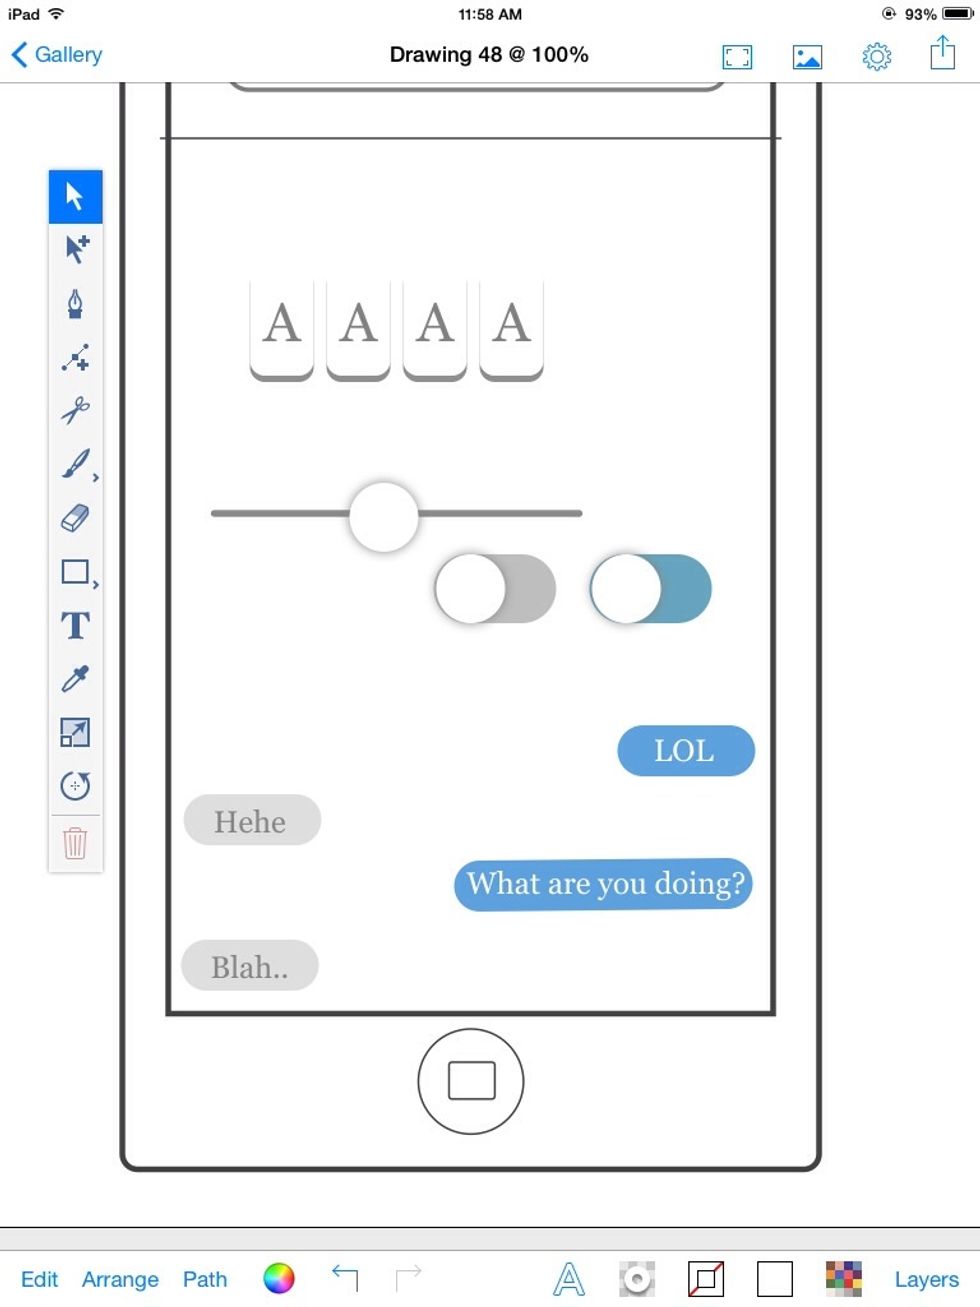
Content area for the messages.
You can view your mockup as an outline from the settings menu. From here, you also turn on Snapping.
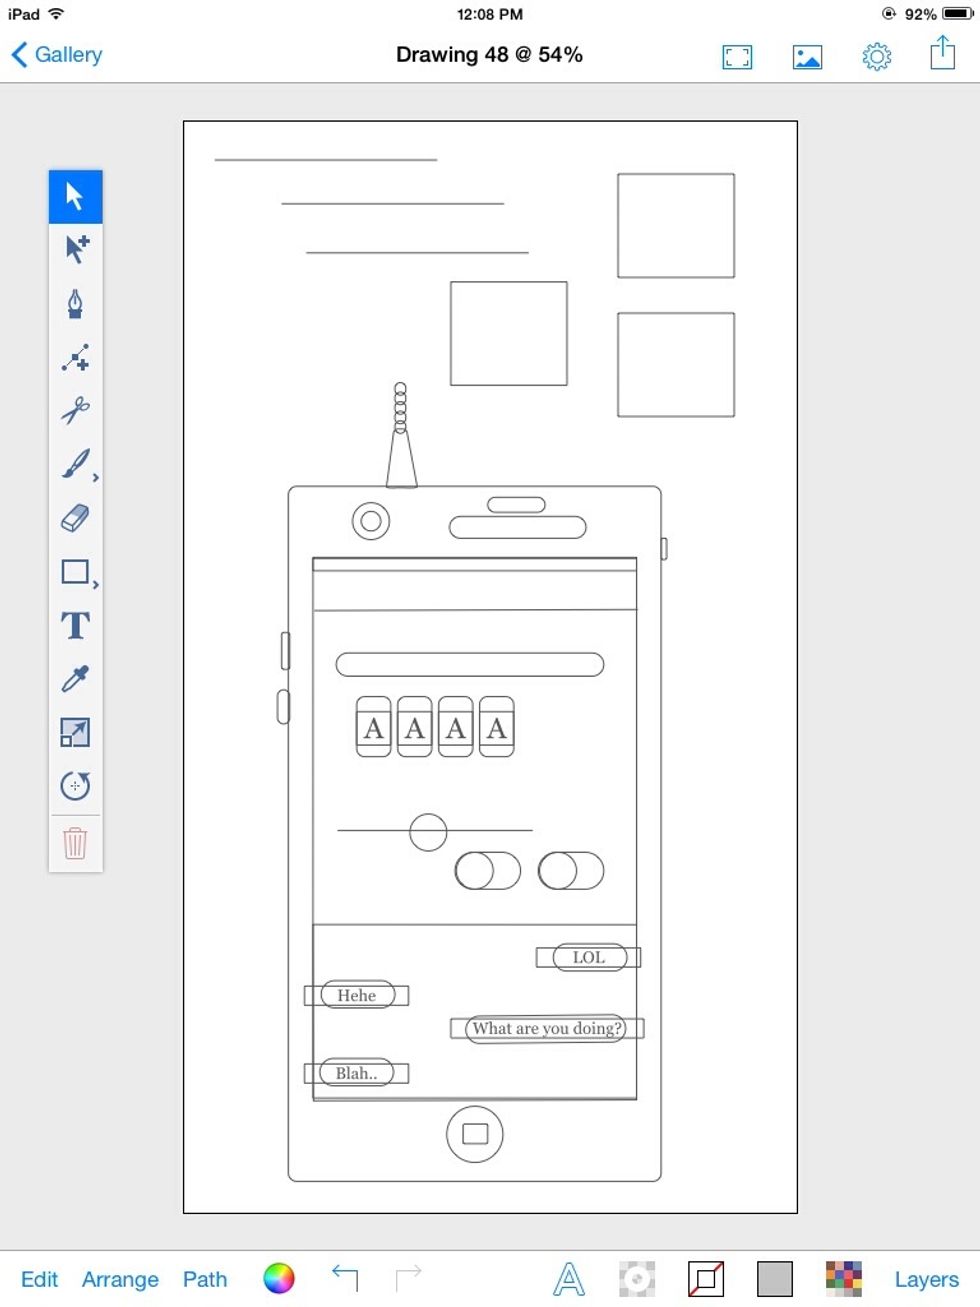
This is the outline.
Examples

Tweak it a little!

I added a translucent rectangle with an "Overlay" blending mode over the screen to make it look darker. Then sent it behind this popup I made. I "United" two shapes under the "Path" menu to make this.
A keyboard?
Nice!
This is touchdraw. Same concept. TouchDraw gives you much more control and precision.
This is what you could potentially do!

This was made with TouchDraw, on the Mac. It is also available on Android devices. Not available for Windows.
End