The Conversation (0)
Sign Up
Note: I didn't go in to full detail on how to draw my design. I'm not much of a "drawing" expert myself so I just want to show what u can create with some imagination n creativity. My apologies!
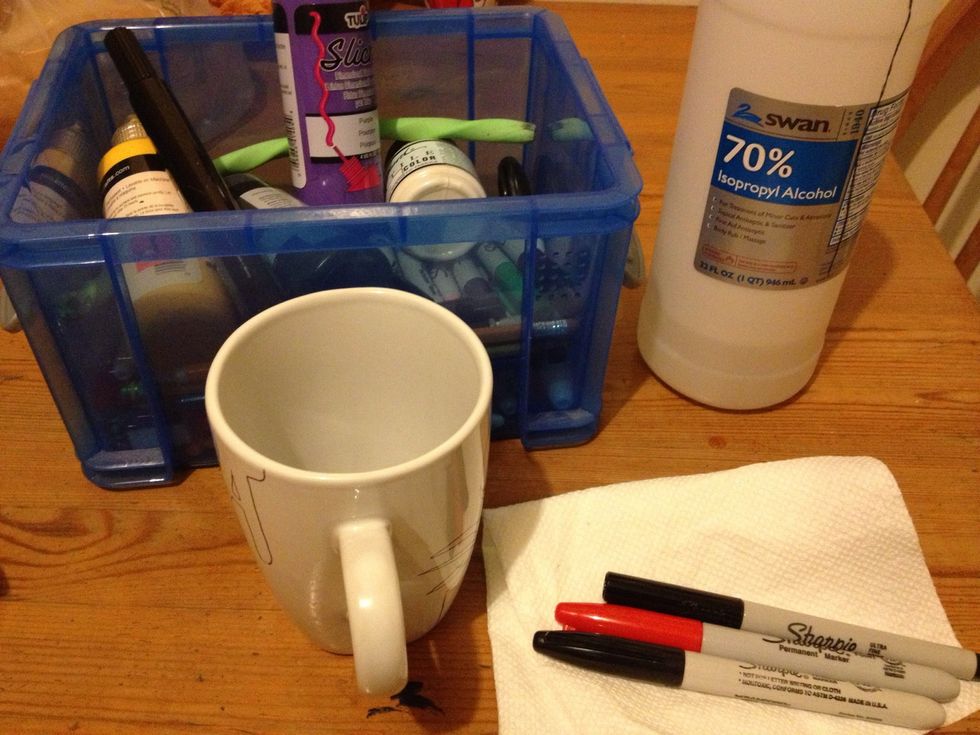
These are my tools. I used the alcohol (many times) to wipe off the marker when it dried. You can use water too.
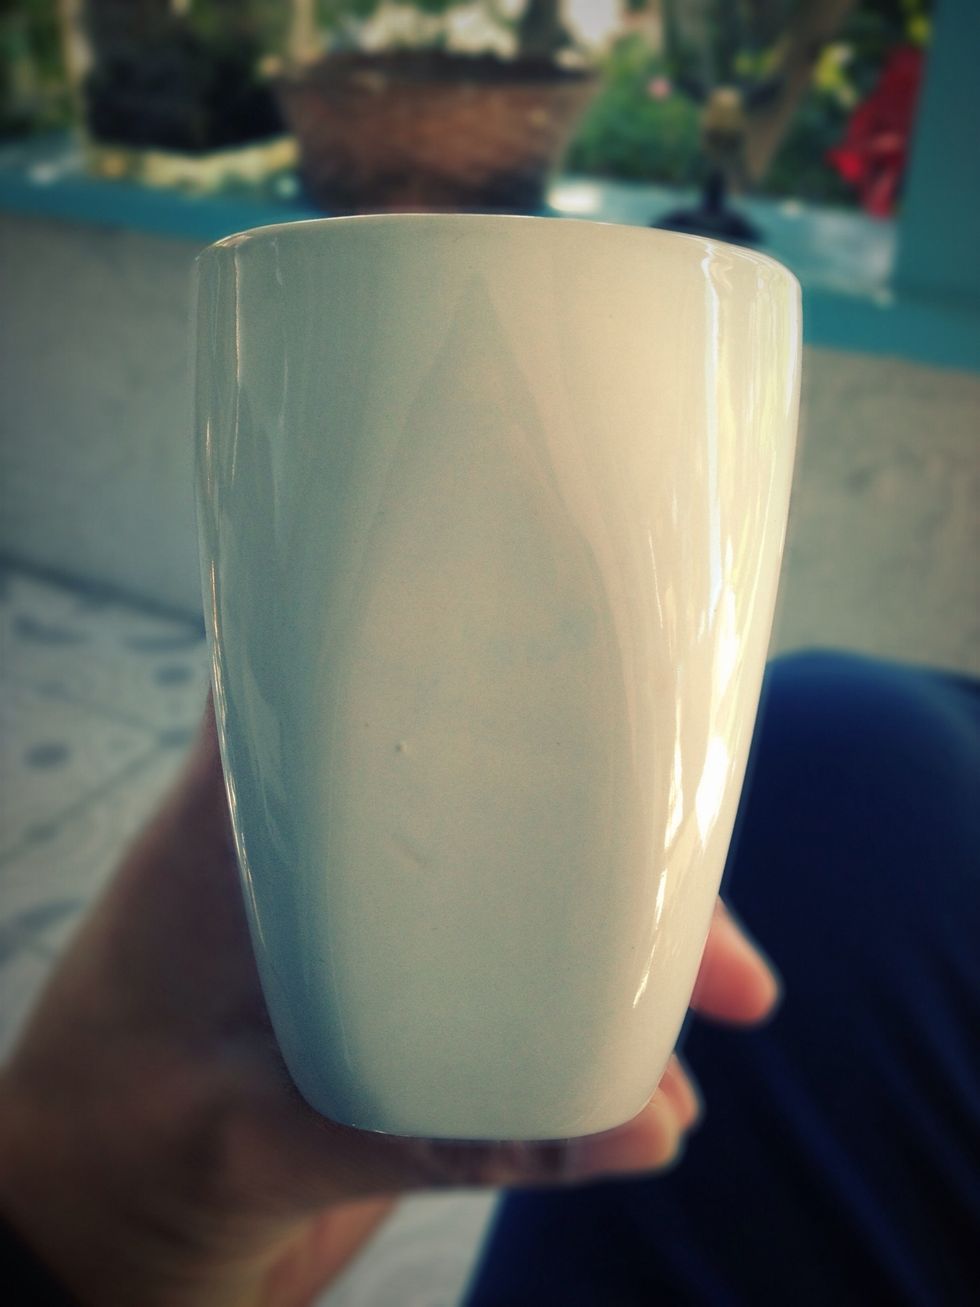
Cup/mug used
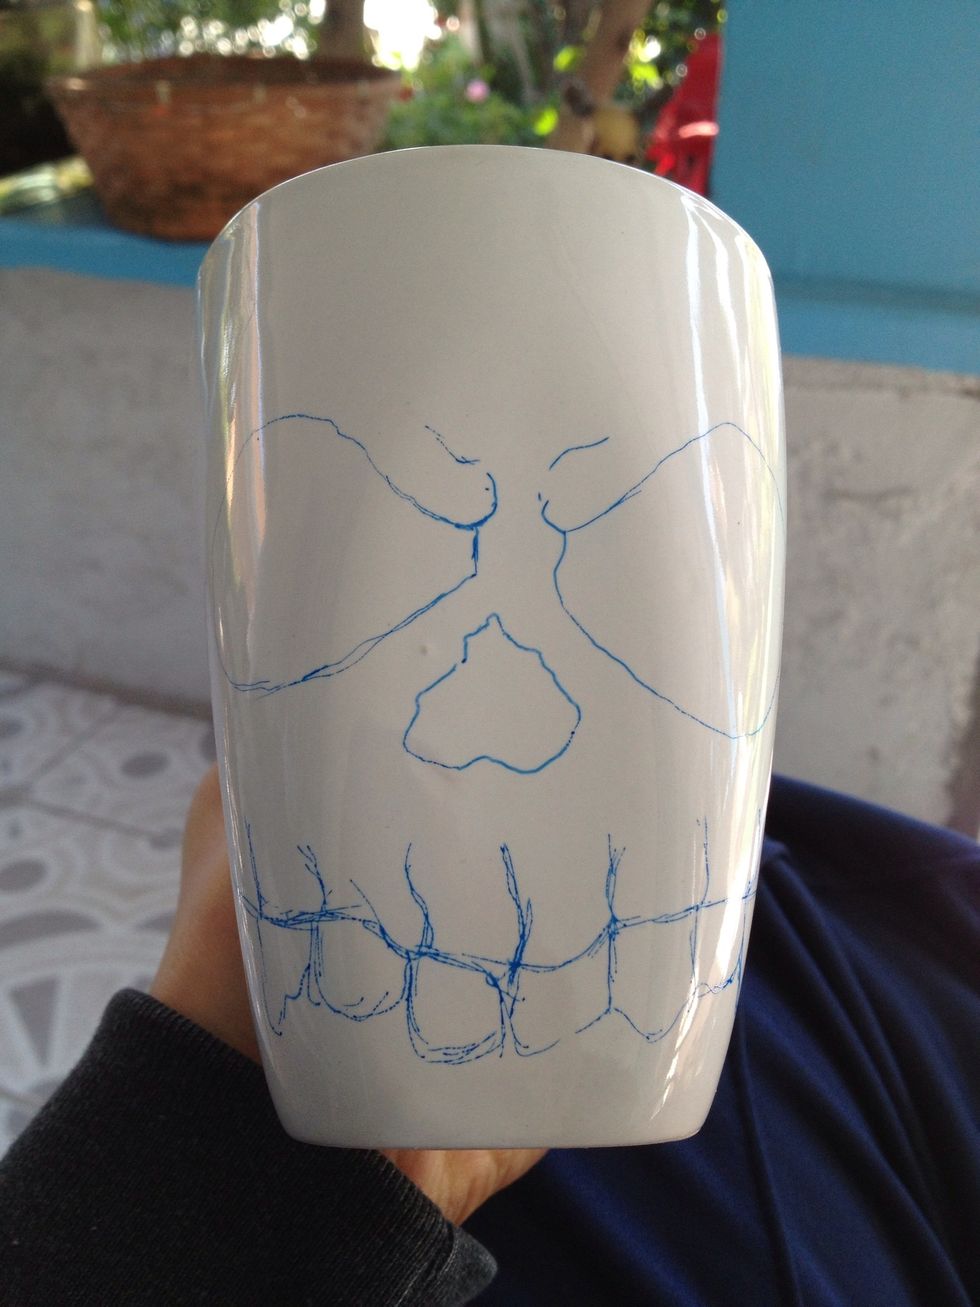
With the fine tip marker I sketched my design. Careful when handling because even though permanent it tends to smear. My daughter asked for 💀 and 🌹🌹, my reaction 😧
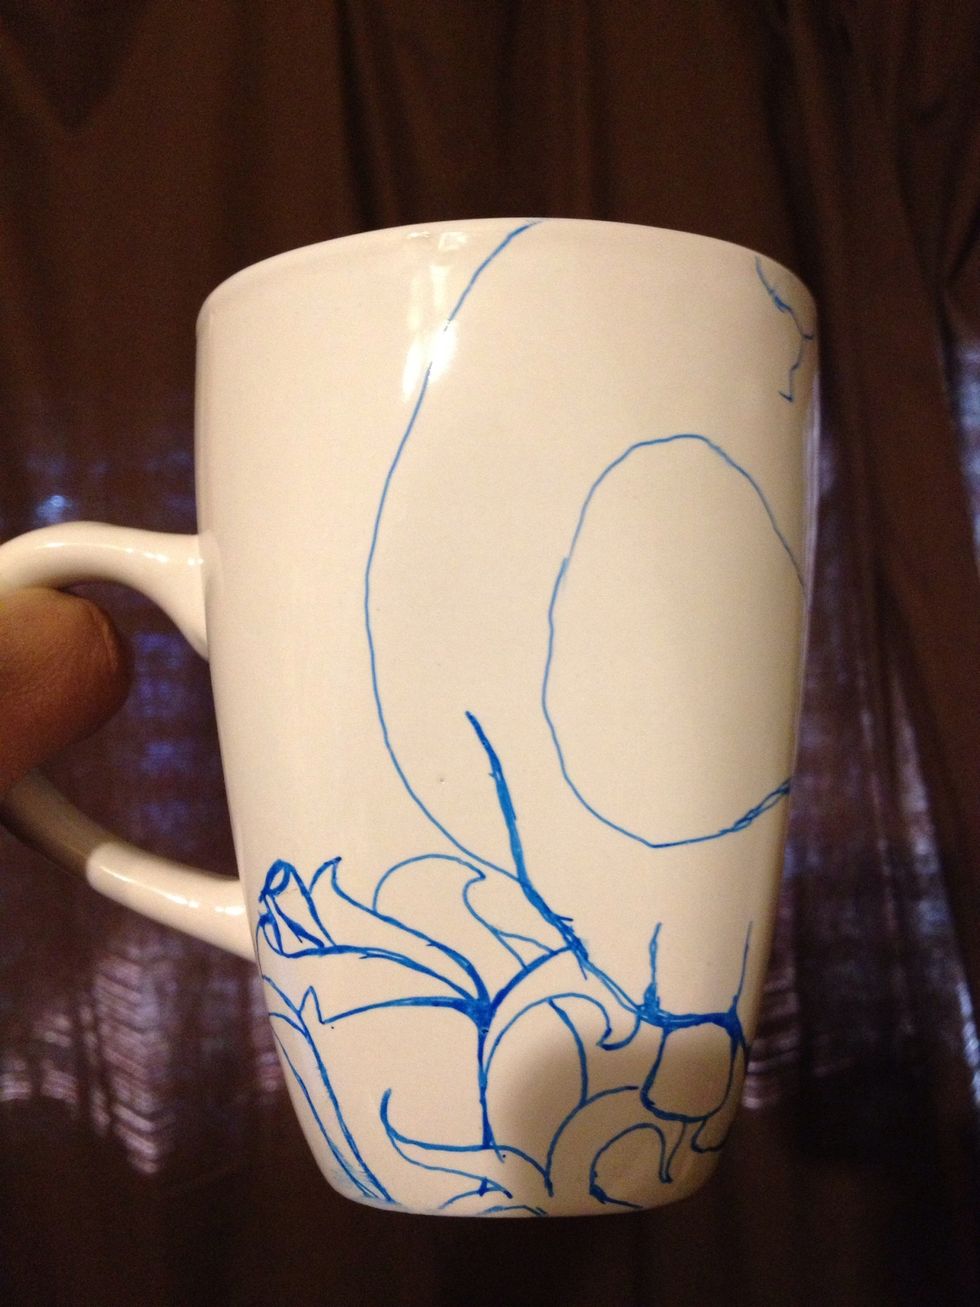
Added rose to one side
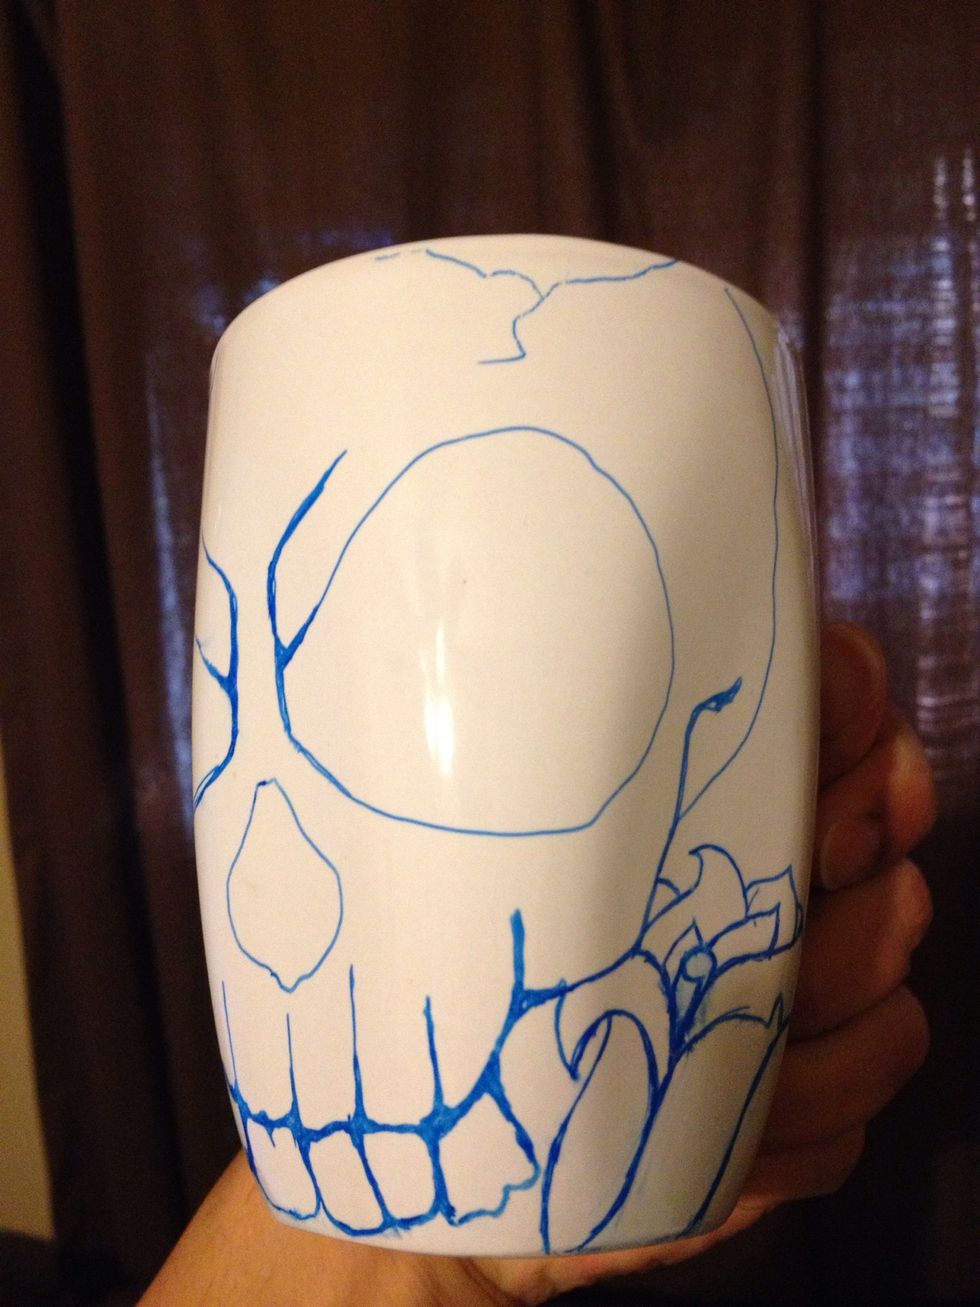
And the other. Here you can see how it smears.
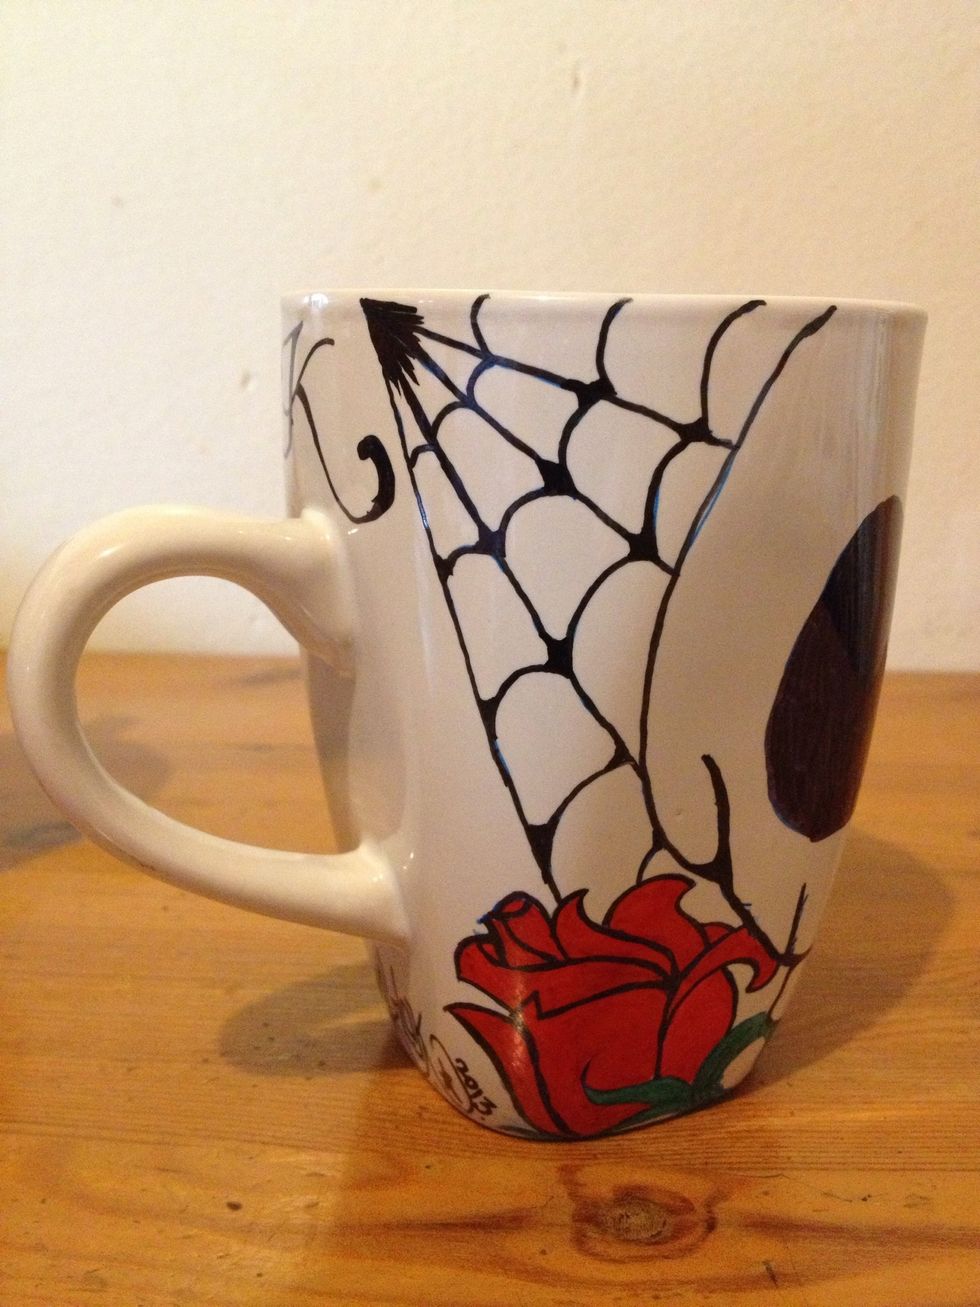
Used red, green and black markers to color in and outline. The spiderwebs were my idea 👍 and her initial "K"
Front view
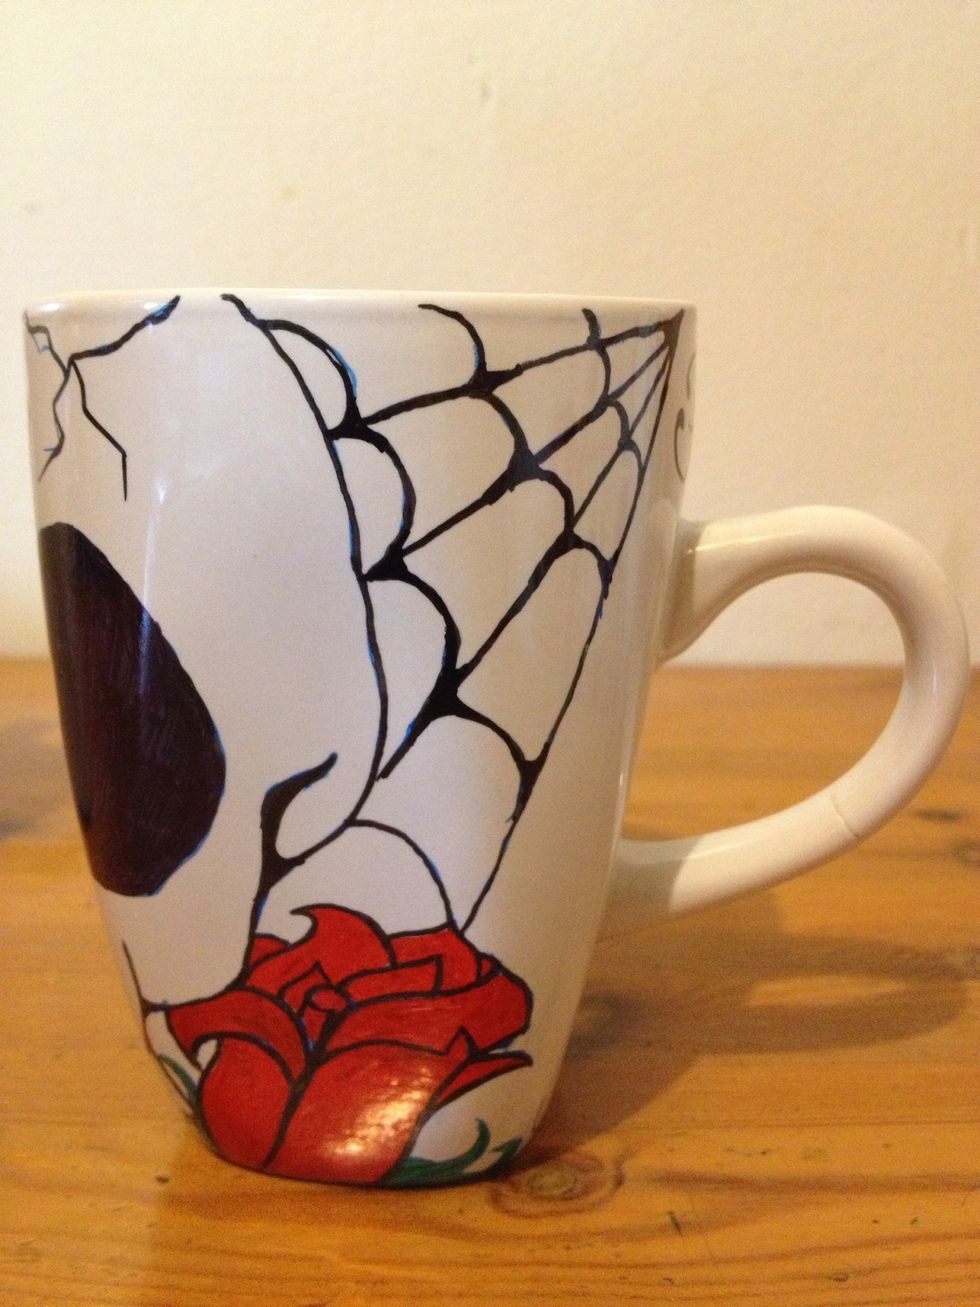
Other side
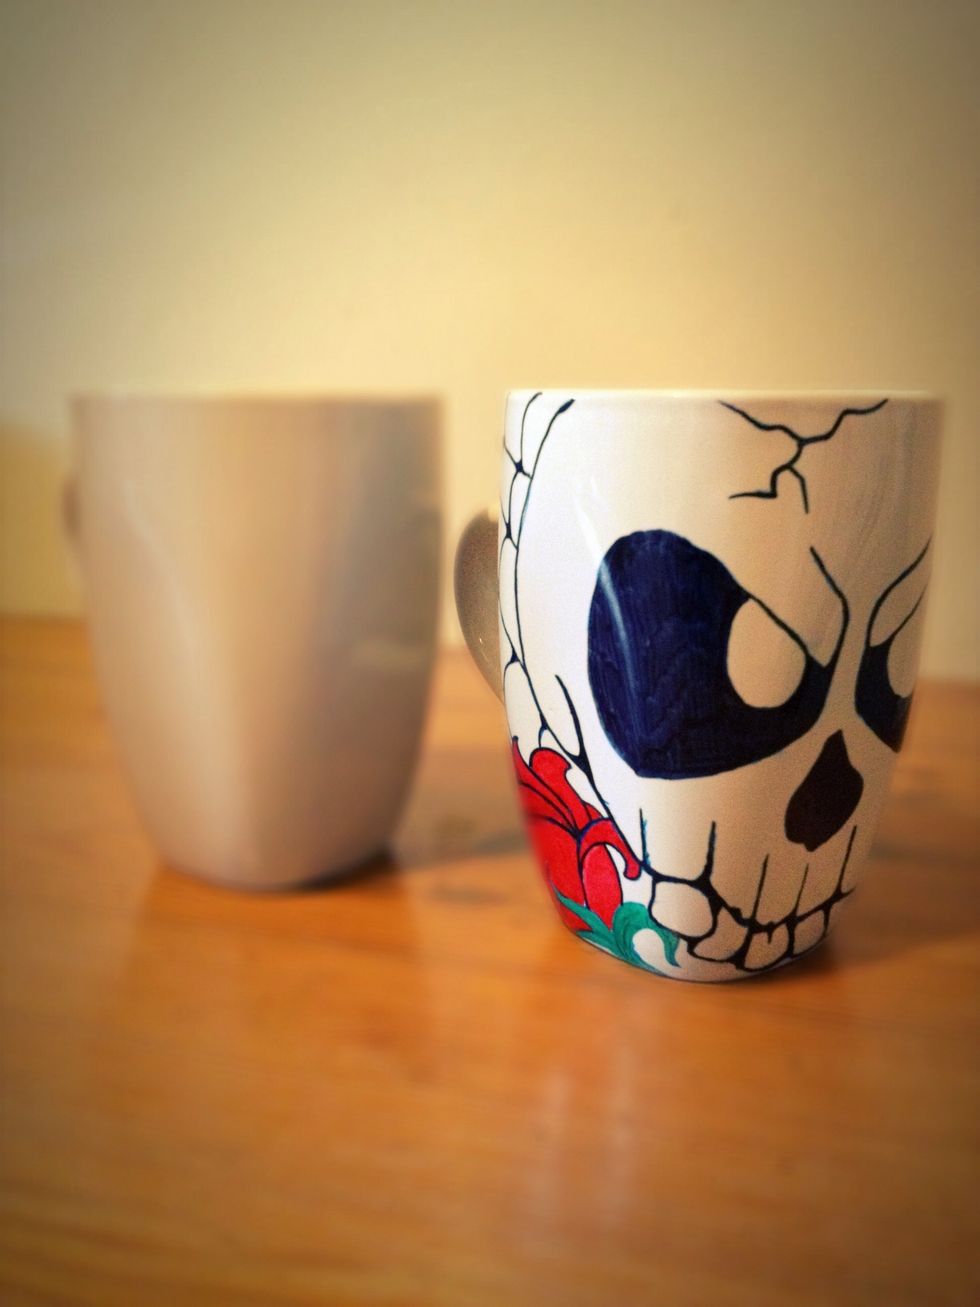
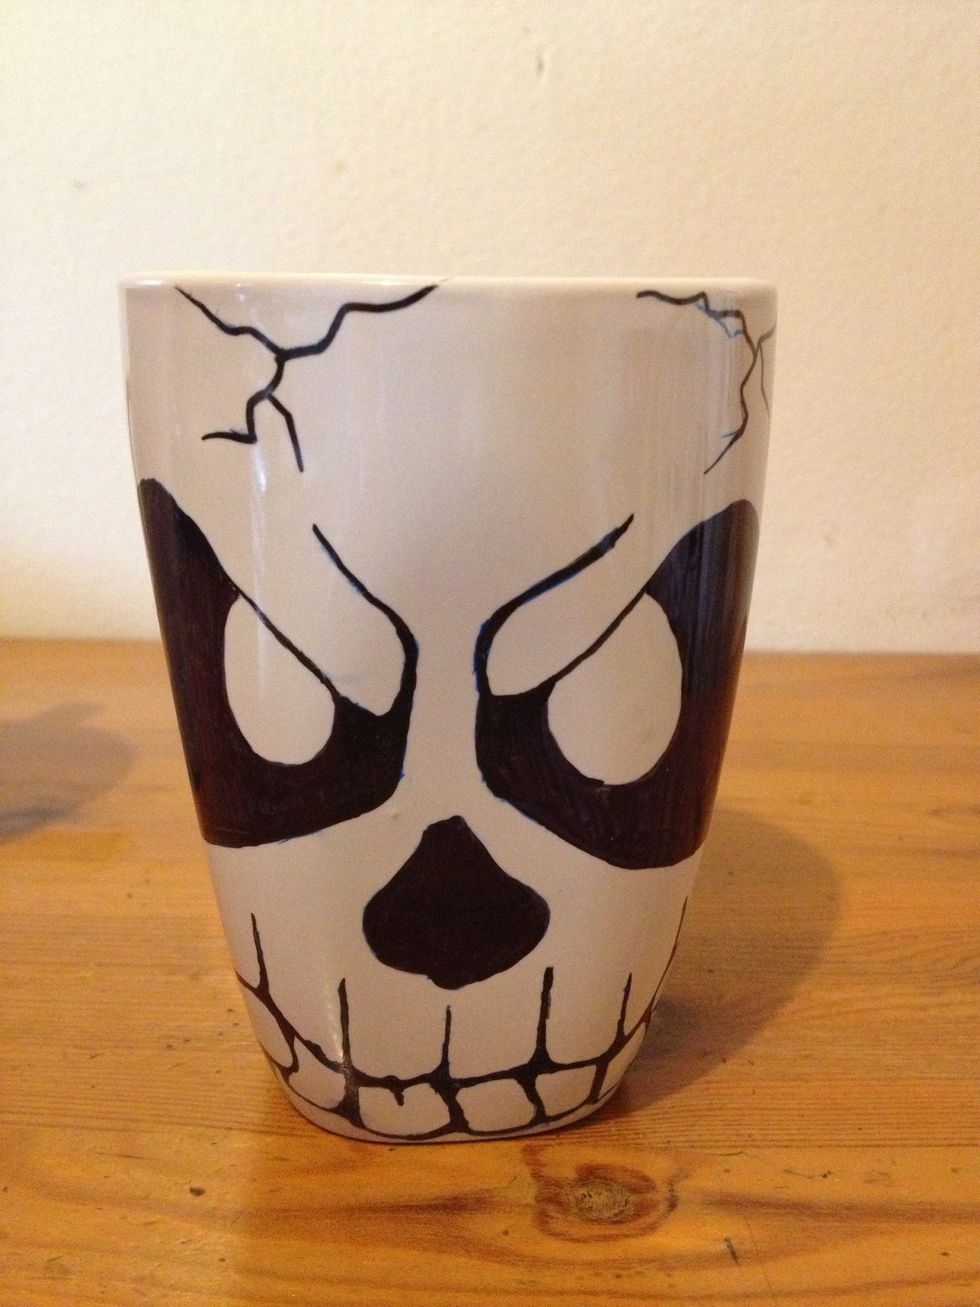
Finished design. Now per the other guides the next step is to place in oven @ 450deg for 30 mins. Haven't done that part since I'm working on the other cup. Doing this should make it permanent.
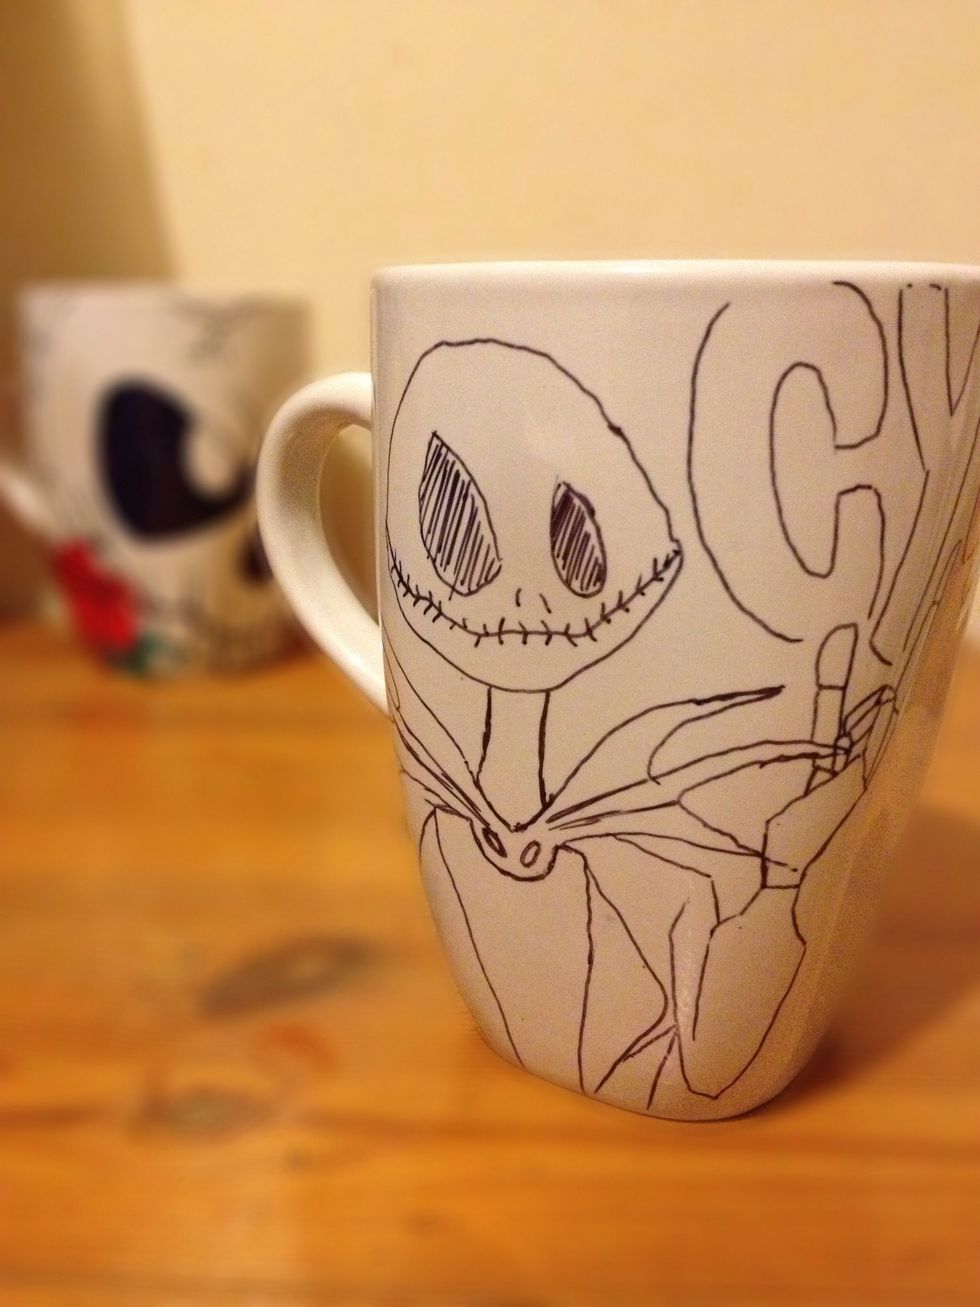
Other design I'm working on for a friend. Again, sorry for not being so detailed on this since I was only able to capture a few of the steps n kids pls make sure to work on this with an adult 👴