The Conversation (0)
Sign Up
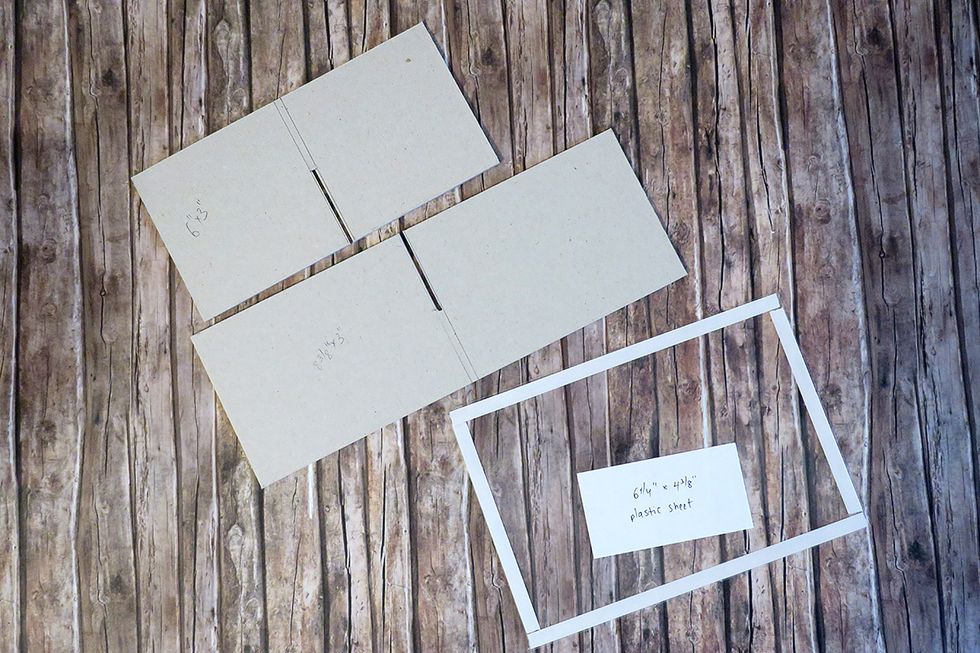
Start with 2 pieces of chipboard measuring 6X3' and 8 3/8" X 3". Find the middle on the long side of each one of them and cut an opening 1.5" long and 1/16" wide.
Prepare a piece of acrylic sheet measuring 6 1/4" X 4 3/8". Apply 1/4" scor tape along the perimeter of the sheet.
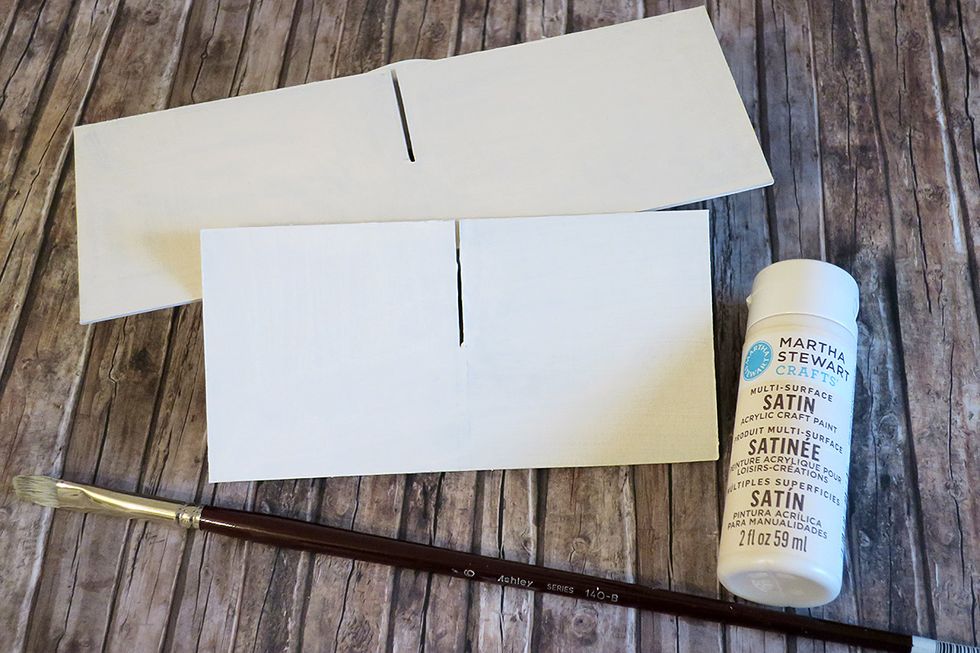
Color the chipboard pieces with an acrylic paint.
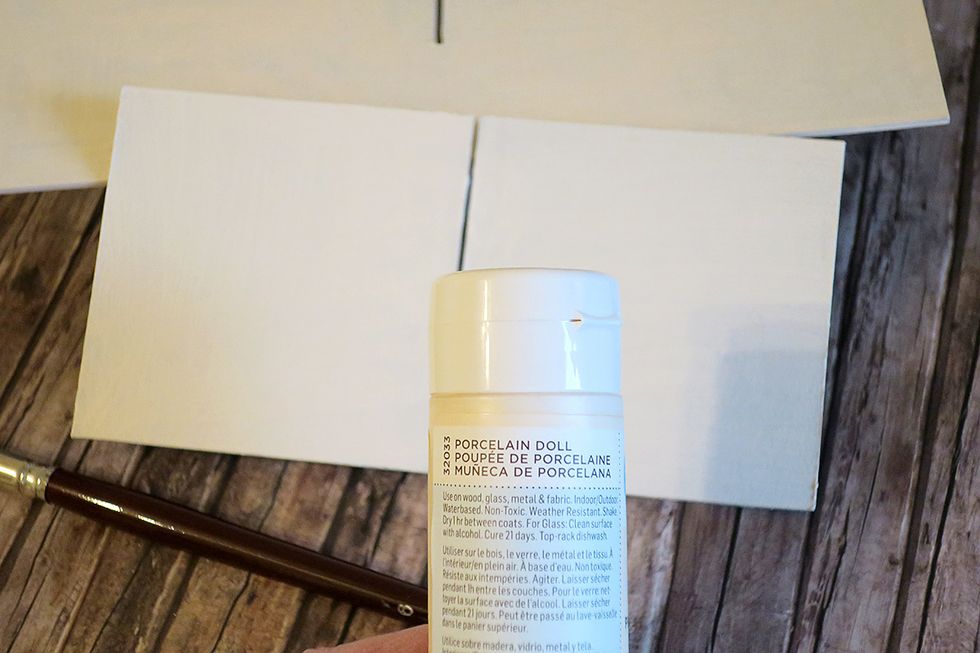
As I will be using an ivory box, I colored my pieces with the "Porcelain Doll" paint from Martha Stewart.
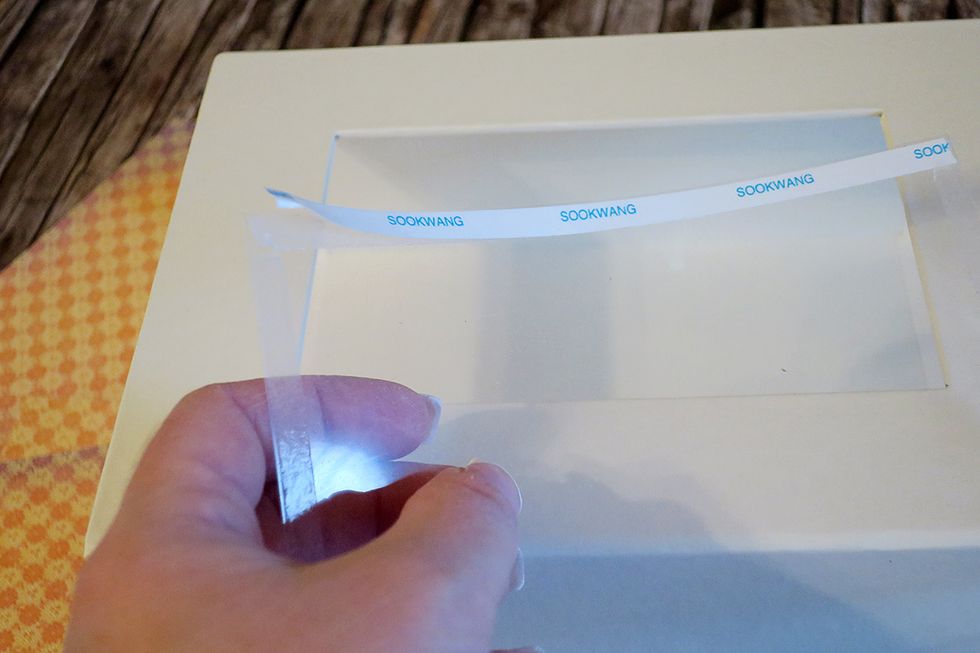
Remove the backing off the scor-tape on the acrylic sheet
Center and glue it down to the window on the matchbook lid cover
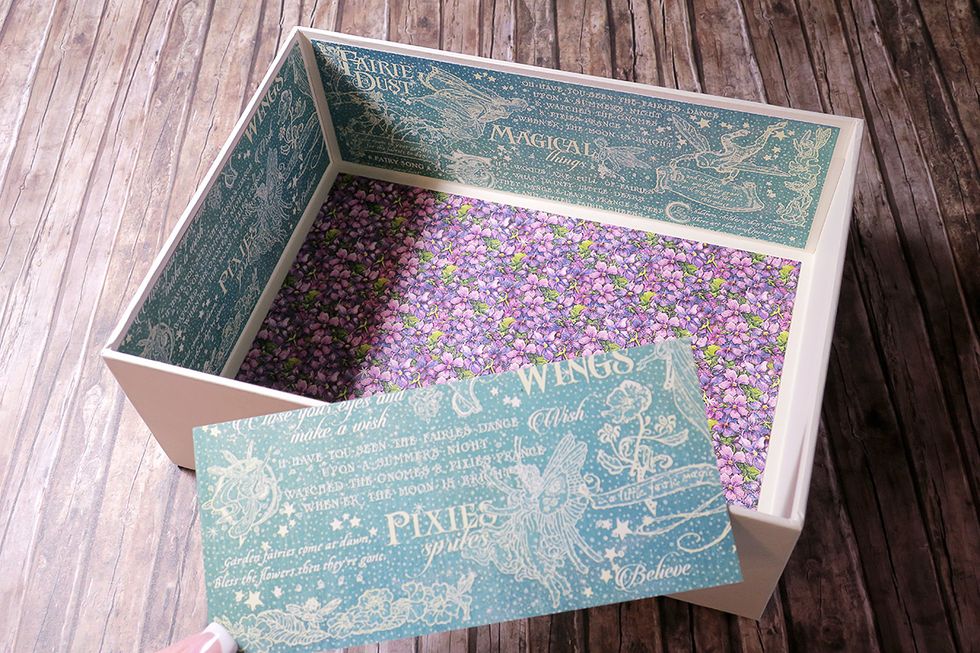
Now it's time to embellish your box with the designer paper of your choice.
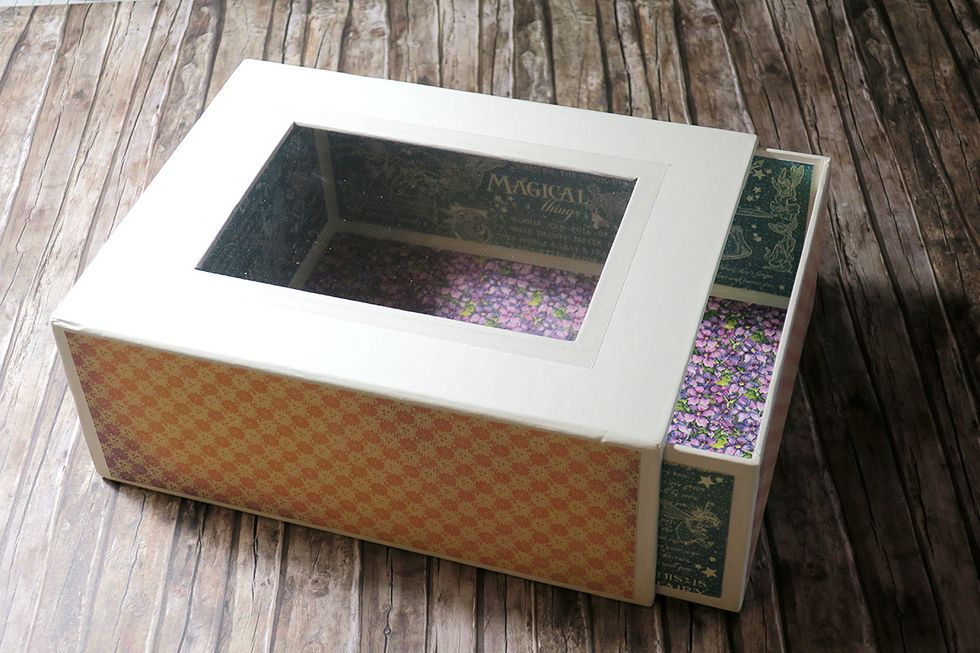
Measure the walls of the drawer, cut the paper down to the needed size and glue it to the drawer panels. You can choose whether to cover the outside of the drawer with paper or not.
I think it looks better with paper on the outside too. Embellish with paper the matchbook "shell" as well.
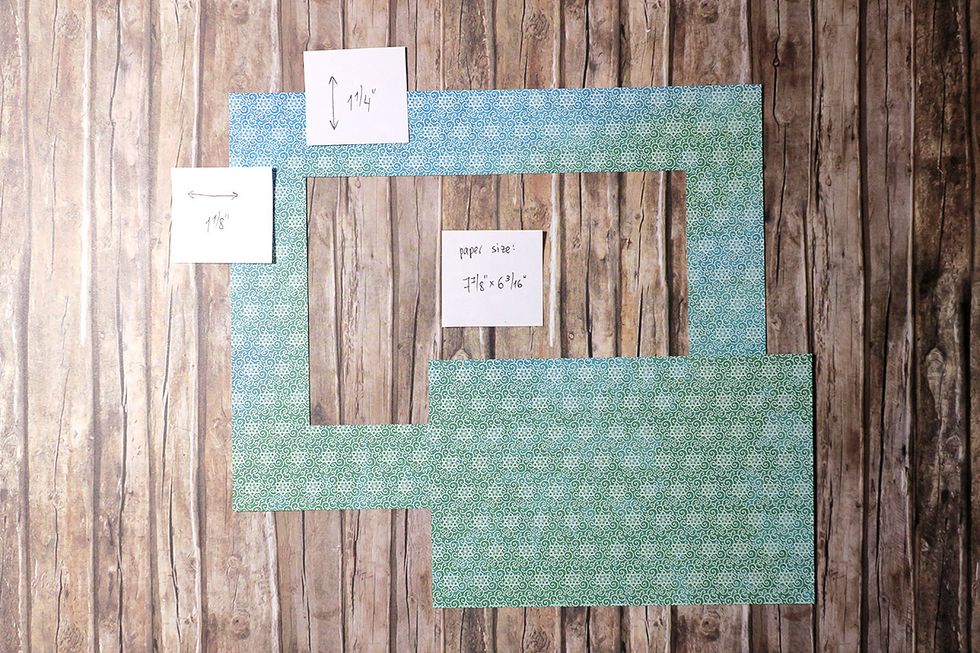
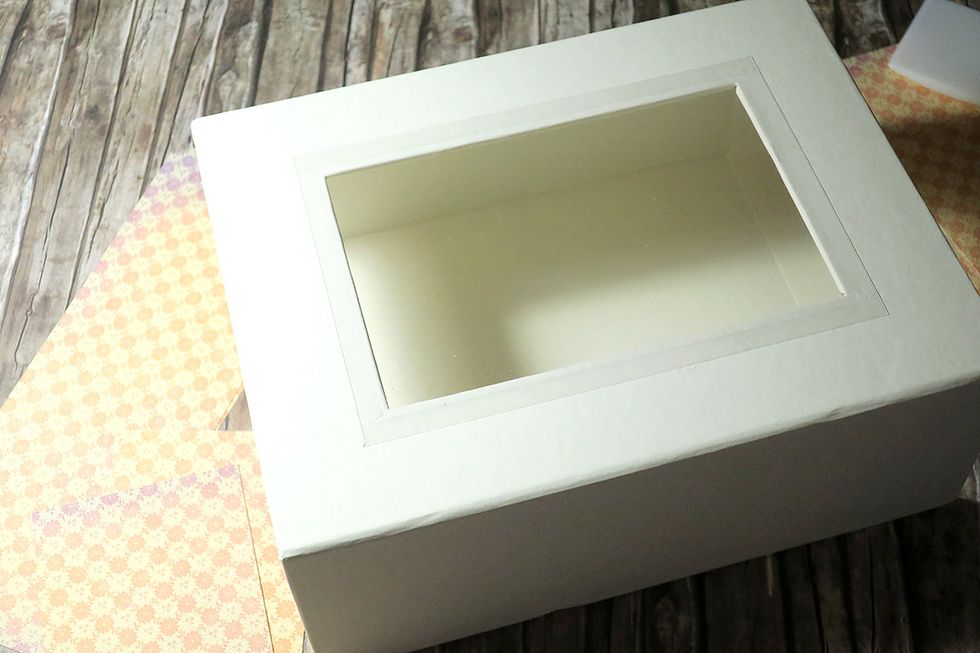
For matting the top of the box, you will need a piece of paper measuring 7 7/8" X 6 3/16". Draw 2 vertical guidelines 1 1/8" away from the edges, and 2 horizontal ones 1 1/4" away from the edges.
Cut out a window in the paper piece using the lines that you drew as your guides.
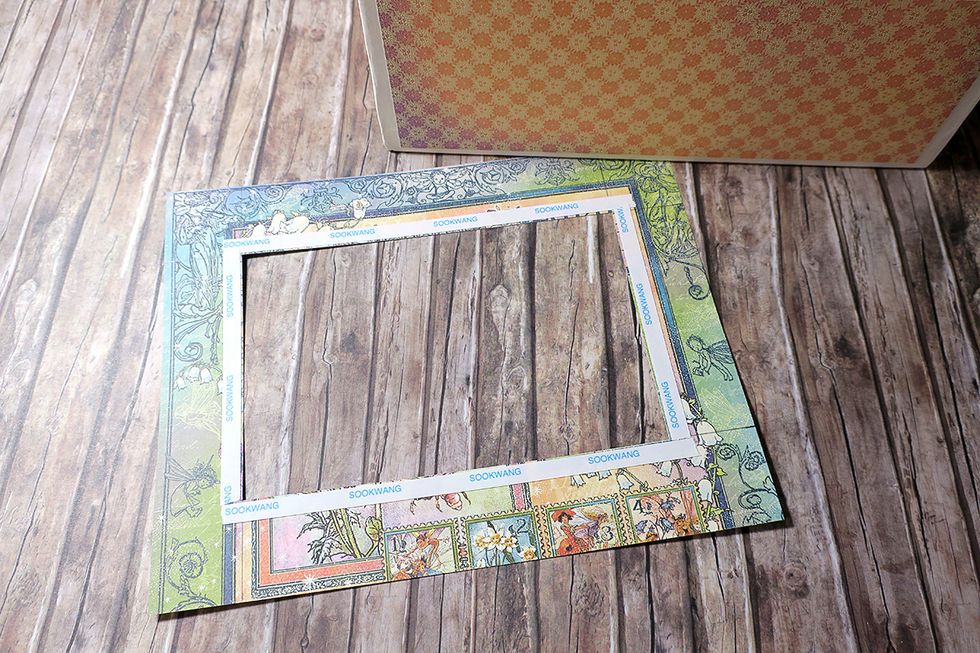
Apply scor tape to the back of the window frame, close to the cut out opening.
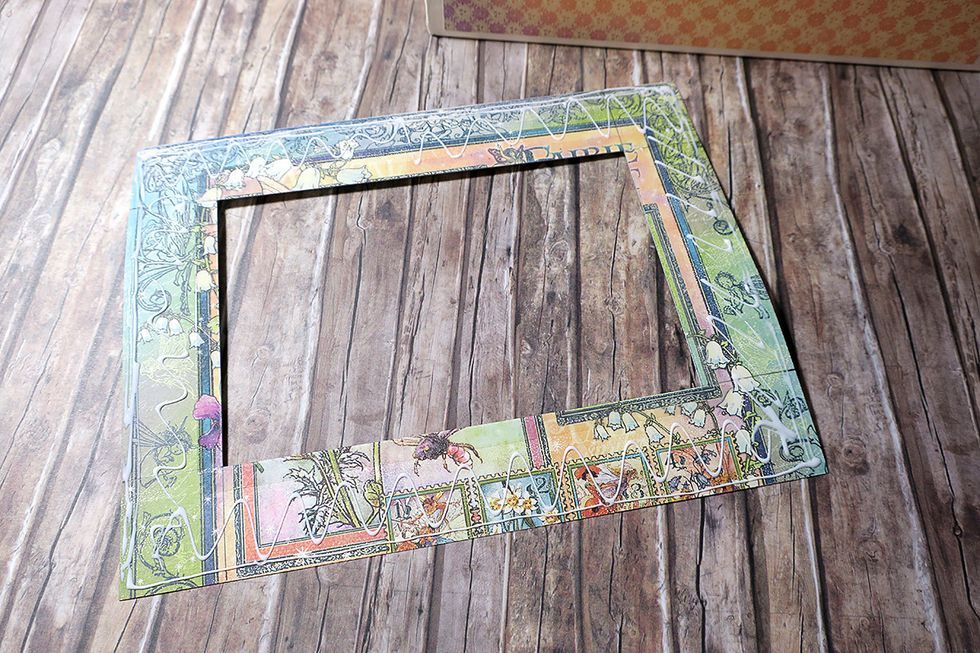
Then, remove the backing off the tape and add liquid glue to the rest of the areas. Then glue the whole piece down to the the top of the box's lid.

This is what you should get so far. You can add thin strips of designer paper to the left and the right side of the lid, if you feel like the window frame is too small.
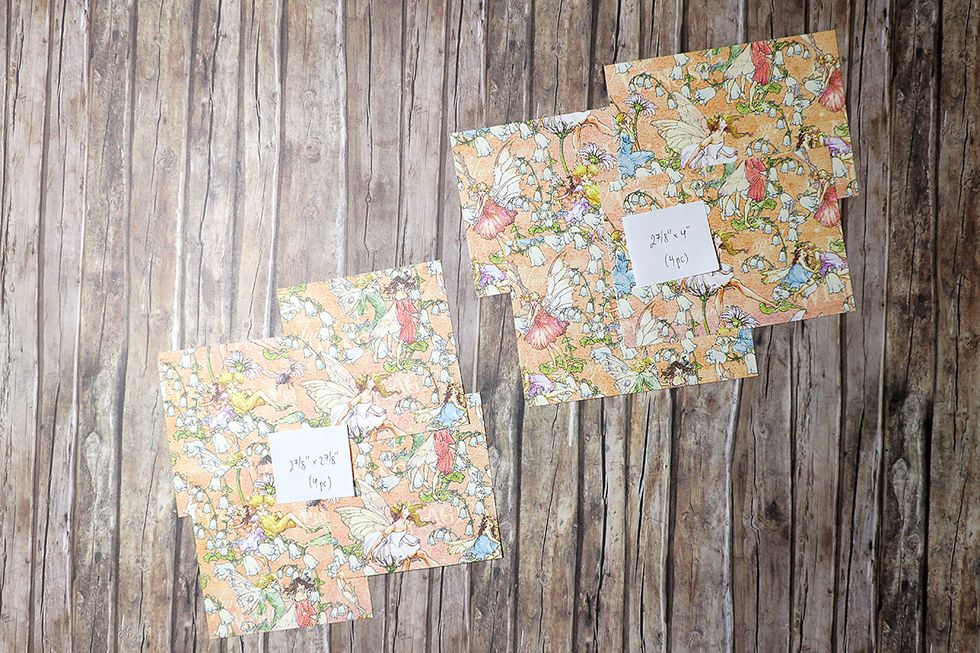
Cut 4 pc of paper measuring 2 7/8" X 2 7/8", and 4 more measuring 2 7/8" X 4".
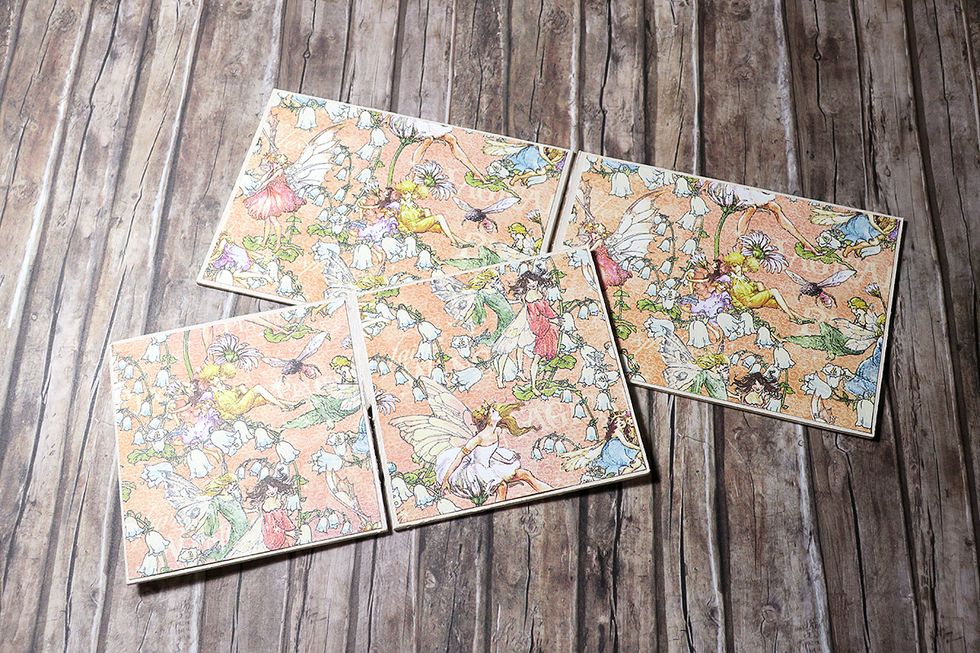
Glue them down to the chipboard separators that we've prepared earlier and painted with the acrylic paint. Mind the direction of the paper.
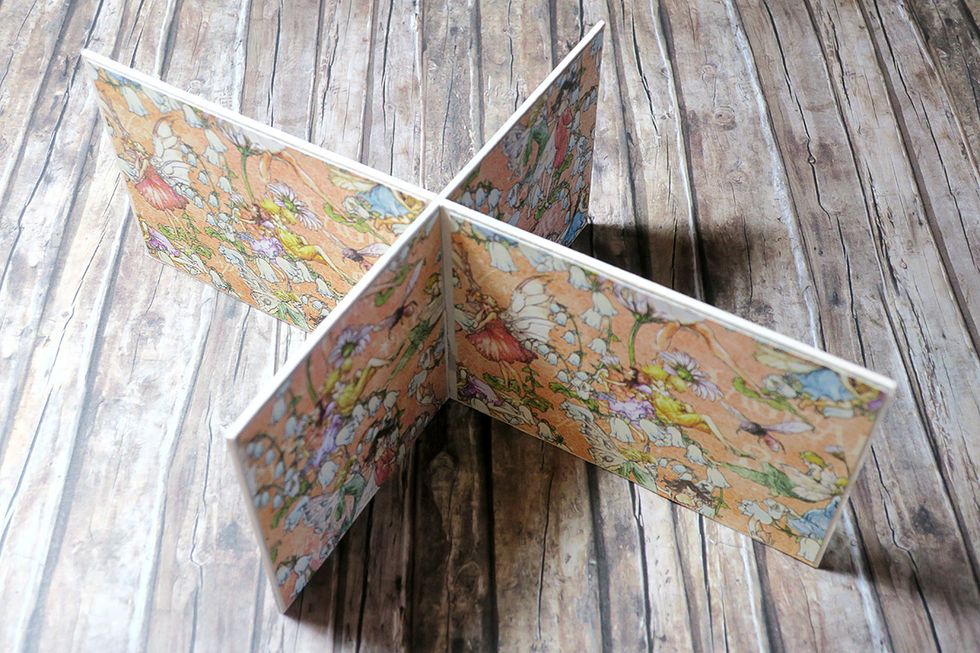
Once you assemble the separator, this is how it should look like.
***You might need to trim both of the chipboard parts of the separator down along the long side, to allow a better sliding of the lid on top of the drawer with the separator being inside of it.
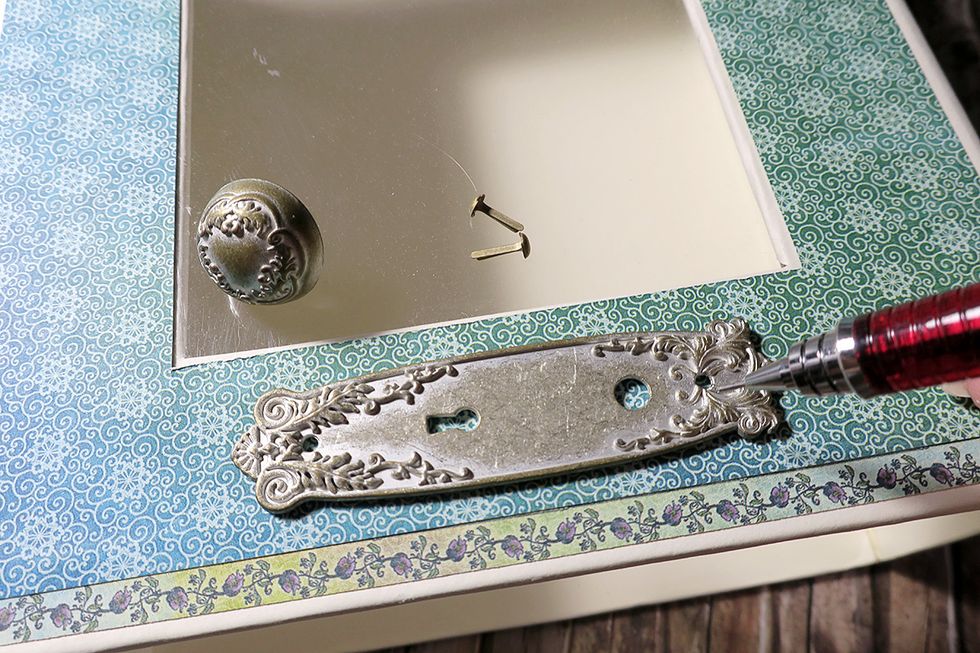
Take a metal door plate. Use your pencil for marking the places for the brads.
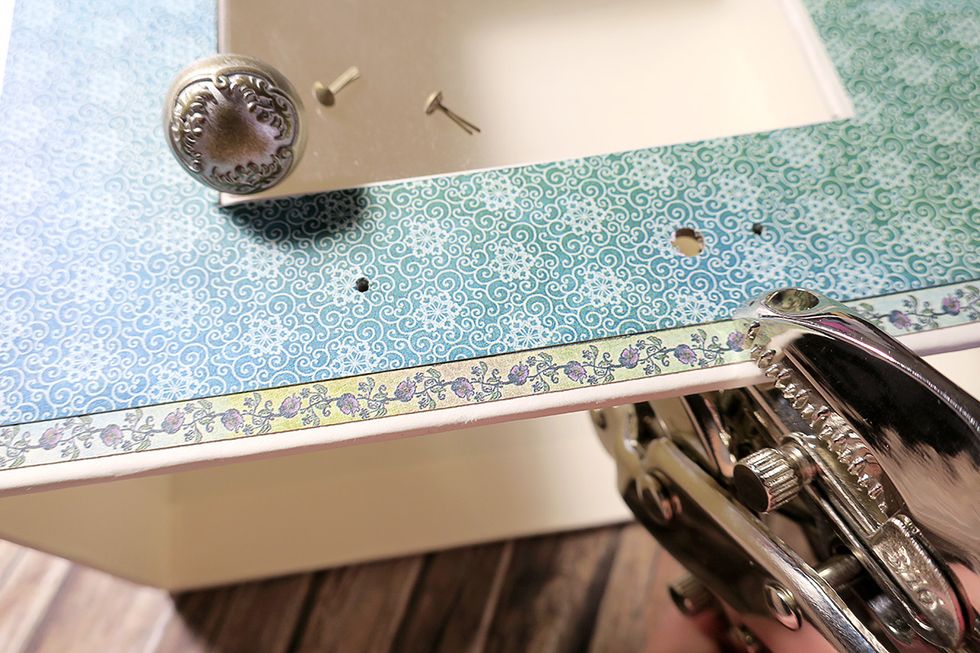
Poke the holes with an awl, and use a Crop-A-Dile for punching a larger hole for a knob.
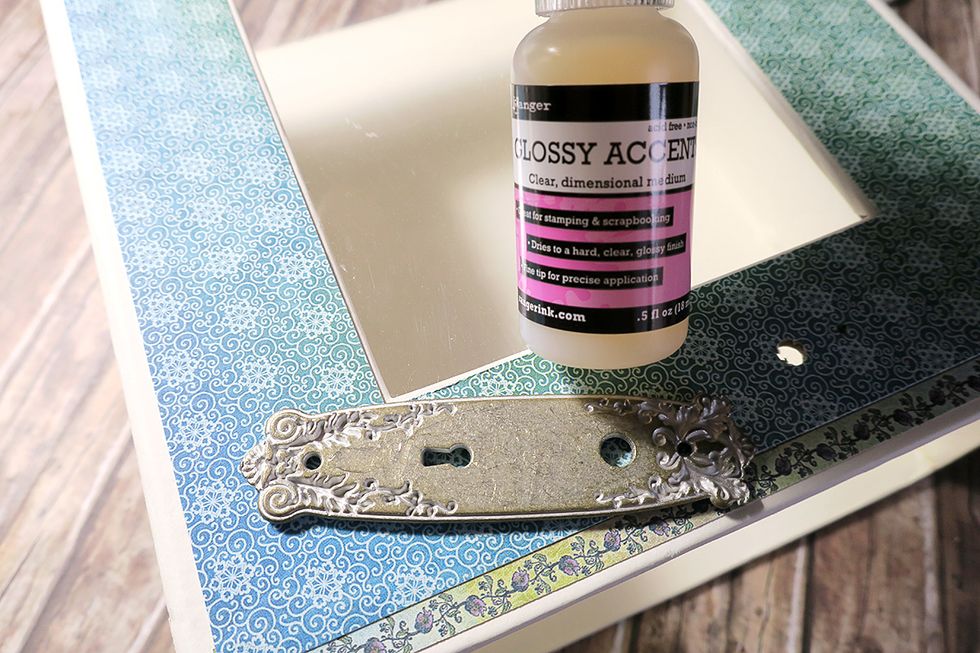
Before attaching the door plate to the box, add a bit of glossy accents to the back side of it. The glue will keep it securely in place, once fully dry.
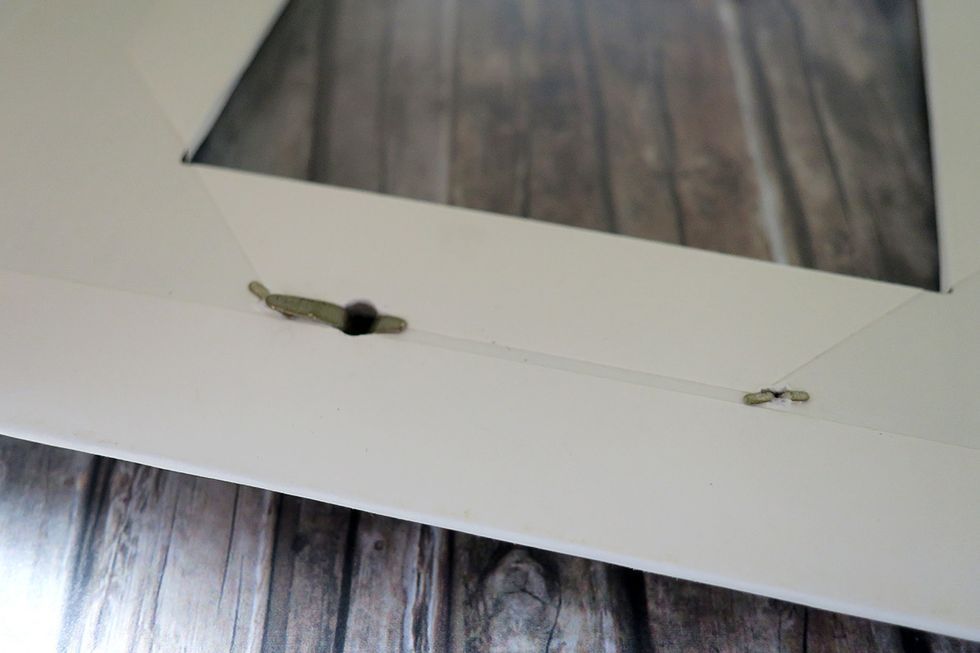
This is how everything will look like on the back side. The tales of the brads and the knob will not be completely flat.
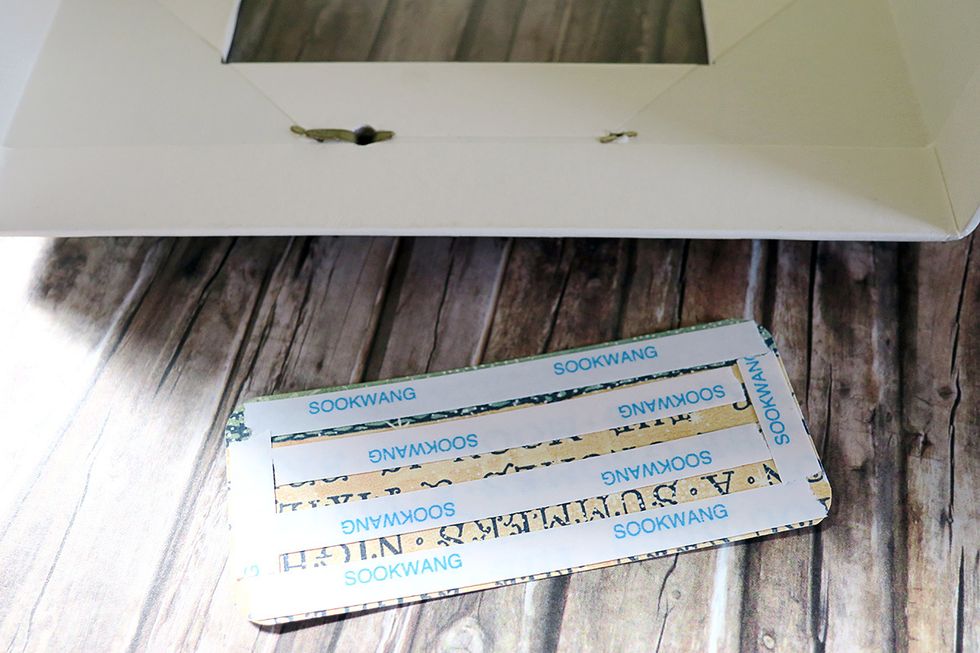
I suggest to cut another piece of the designer paper, to cover it with scor tape and glue it down, to cover the brads up.
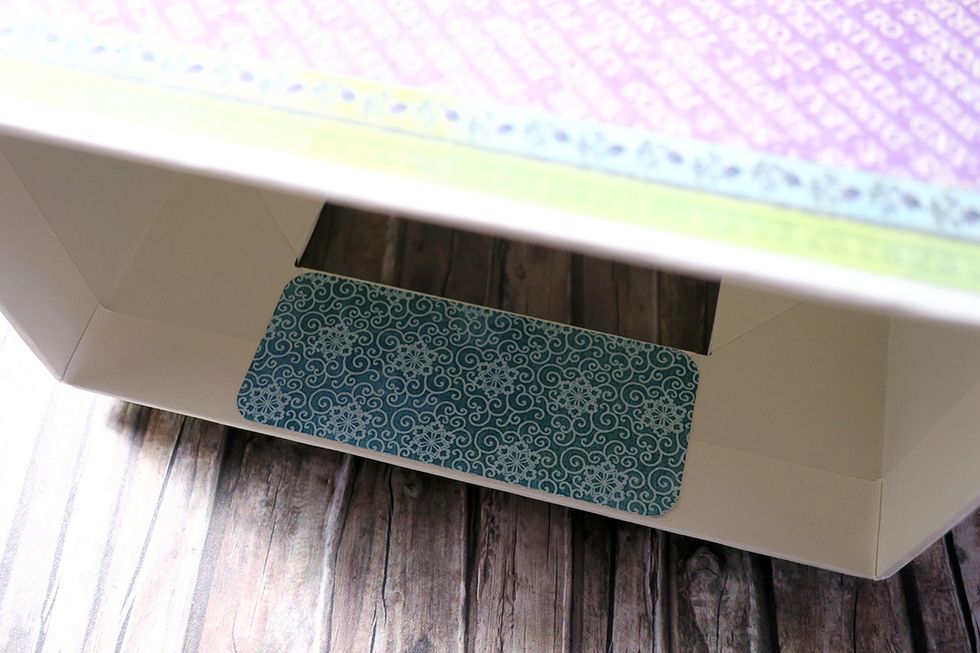
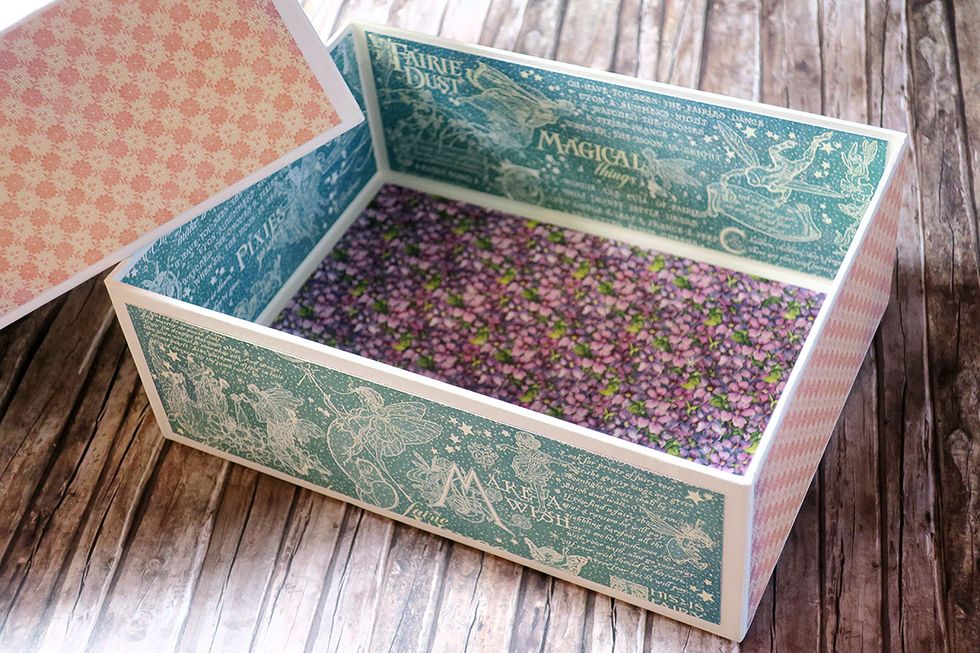
Like this :) Looks better and the lid is sliding more easily on top on the drawer.
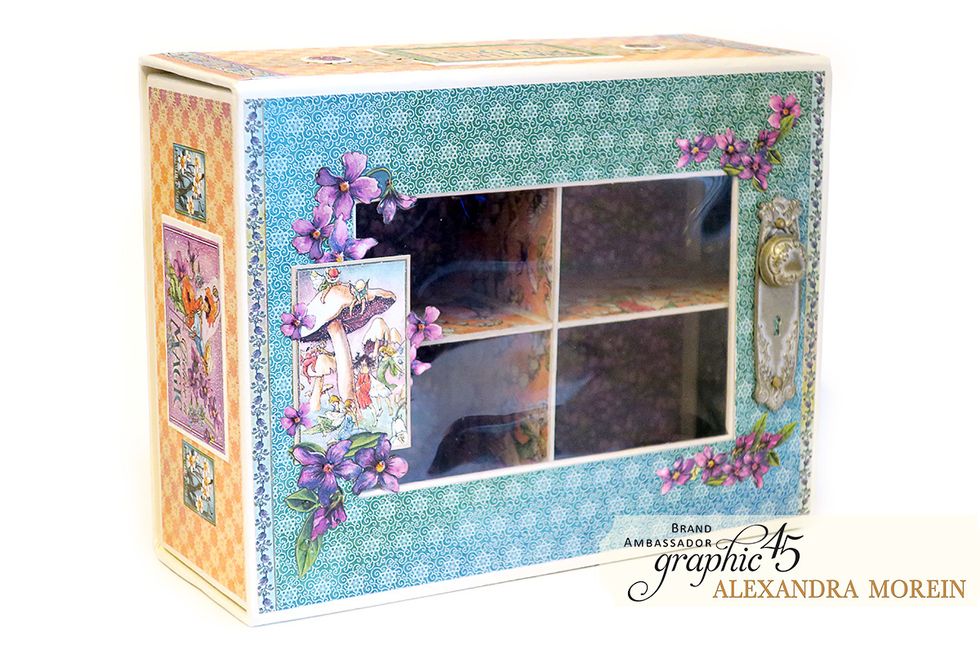
Embellish the top of the lid to your liking. You are done! Fun and easy!
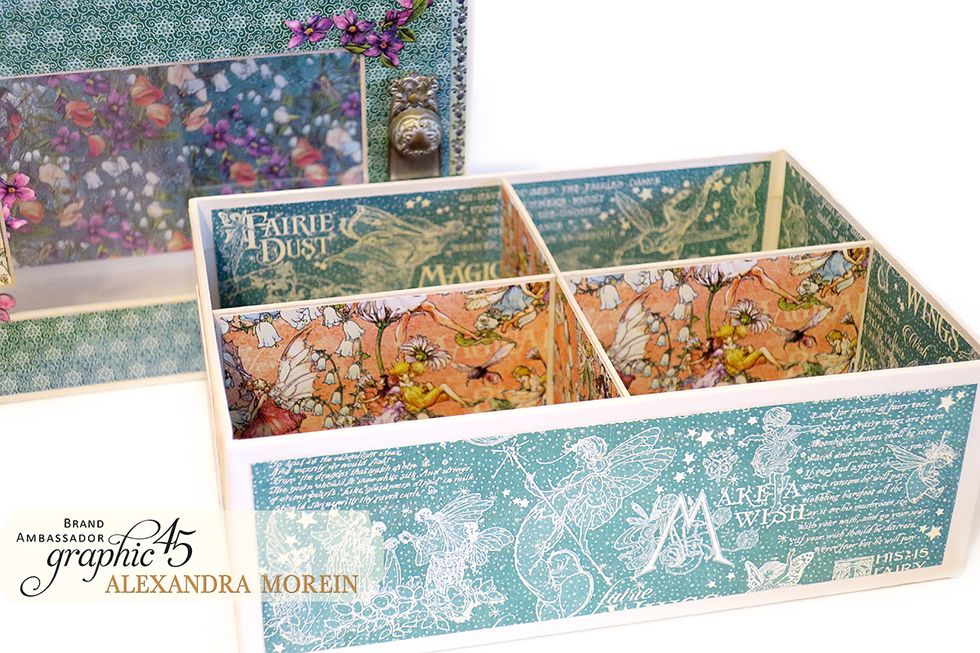
You can store anything you want inside this box. But! Did you know that it can hold now 48 bottles of Ranger Stickles or Liquid Pearls? You should try putting them in :)