The Conversation (0)
Sign Up
Before you begin, make sure you have enough free time to dedicate to cleaning your makeup brushes. Approximate time required for setup and to clean 10 brushes = 30 minutes. More brushes? More time.
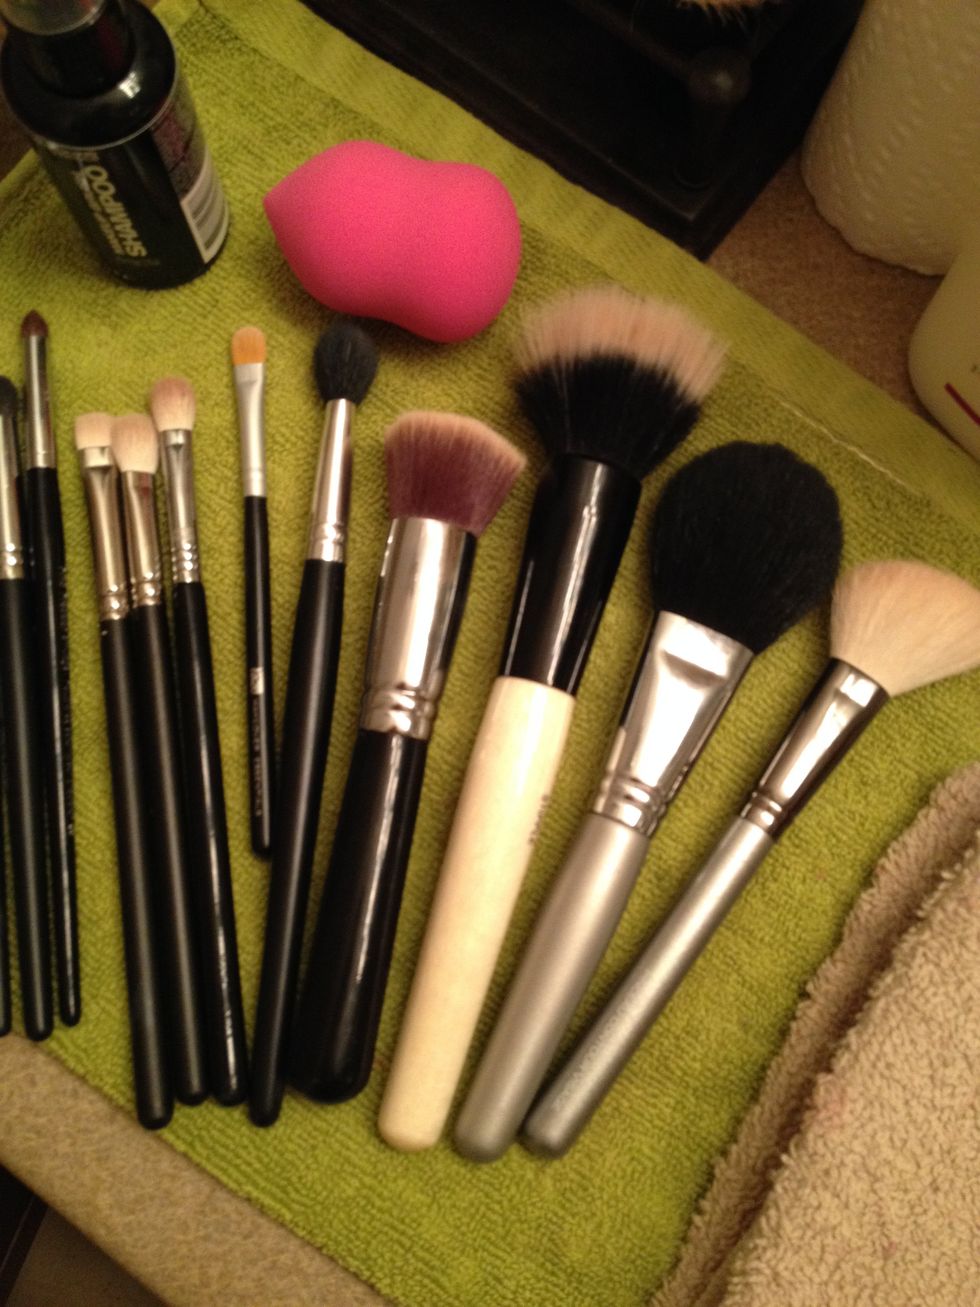
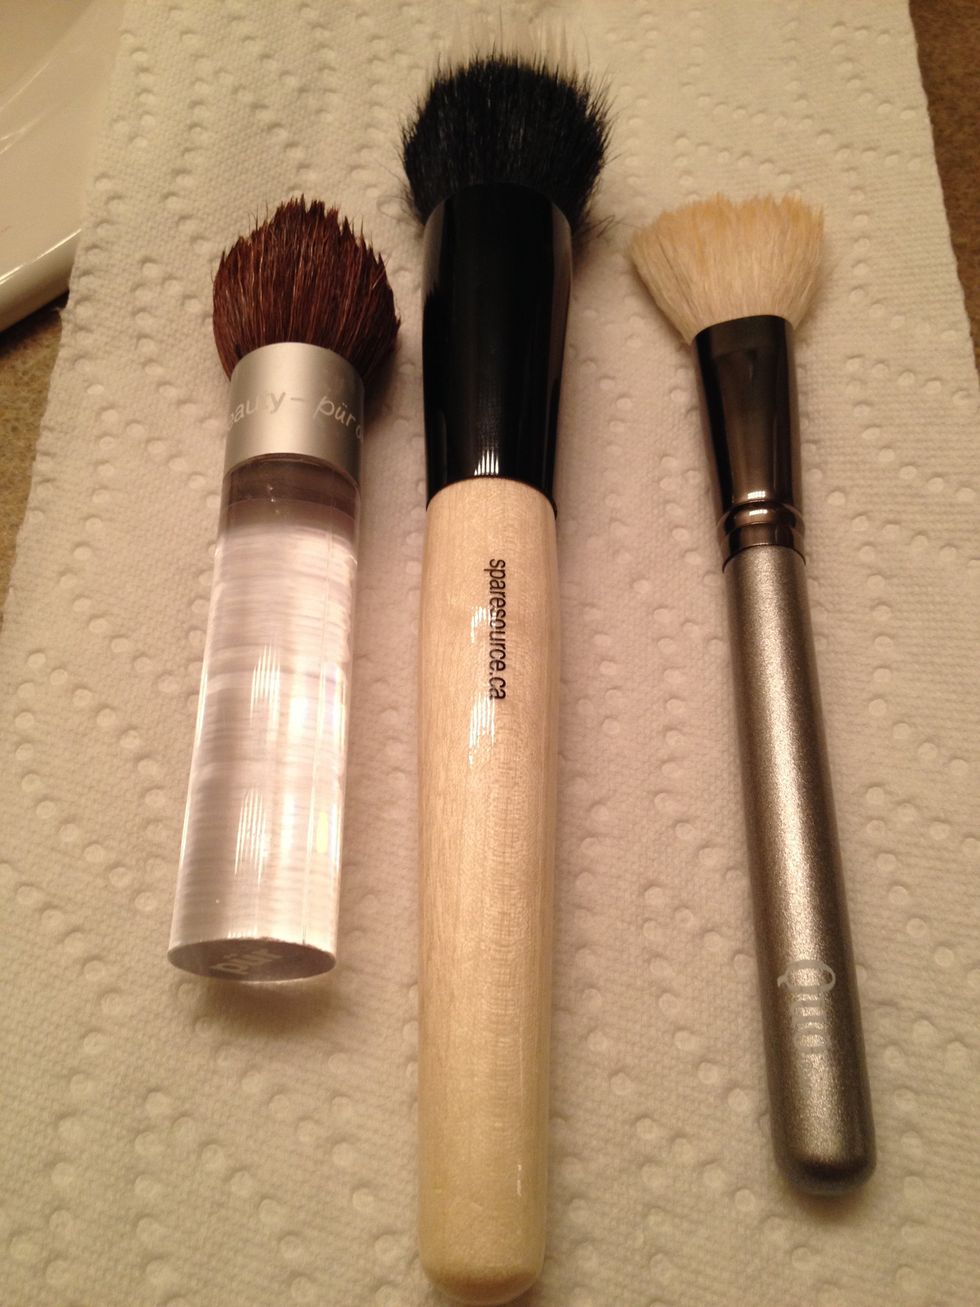
Gather all of the makeup brushes that require a deep cleaning. Don't forget that your spoolies and beauty blenders also require cleaning on a regular basis.
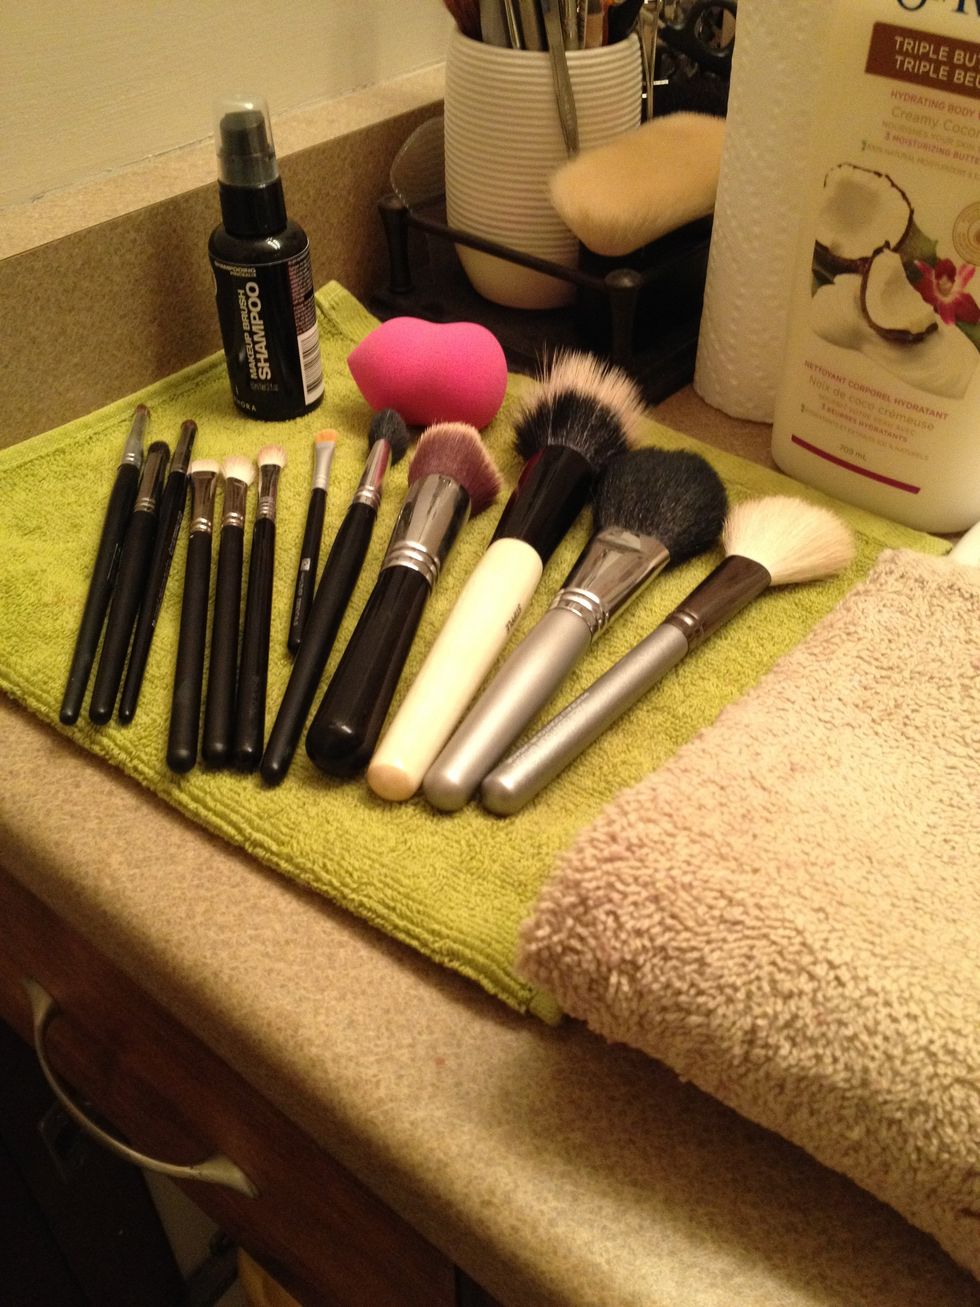
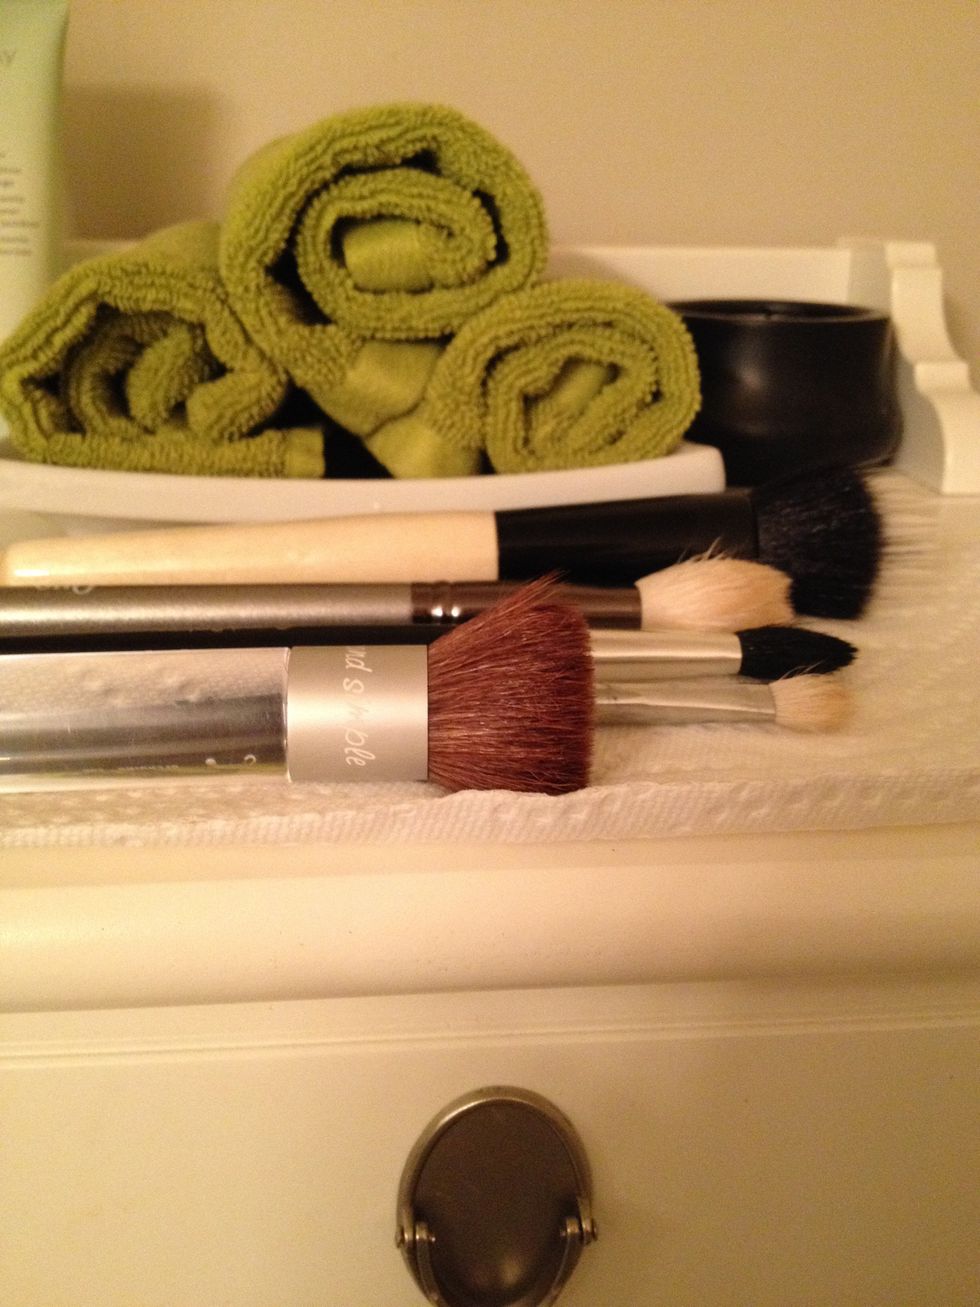
Set up your workspace next to your sink. {Products used in this tutorial: Sephora Makeup Brush Shampoo and St. Ives Triple Butters Creamy Coconut Body Wash}
LET'S GET STARTED, SHALL WE?

Aside from the obvious pigment, your makeup brushes also pick up bacteria, oil, dead skin cells & dirt with regular use.

To avoid redepositing these nasties back to your beautiful skin (may cause irritation & breakouts), it is essential that you are deep cleaning your brushes on a regular basis to remove the build up.
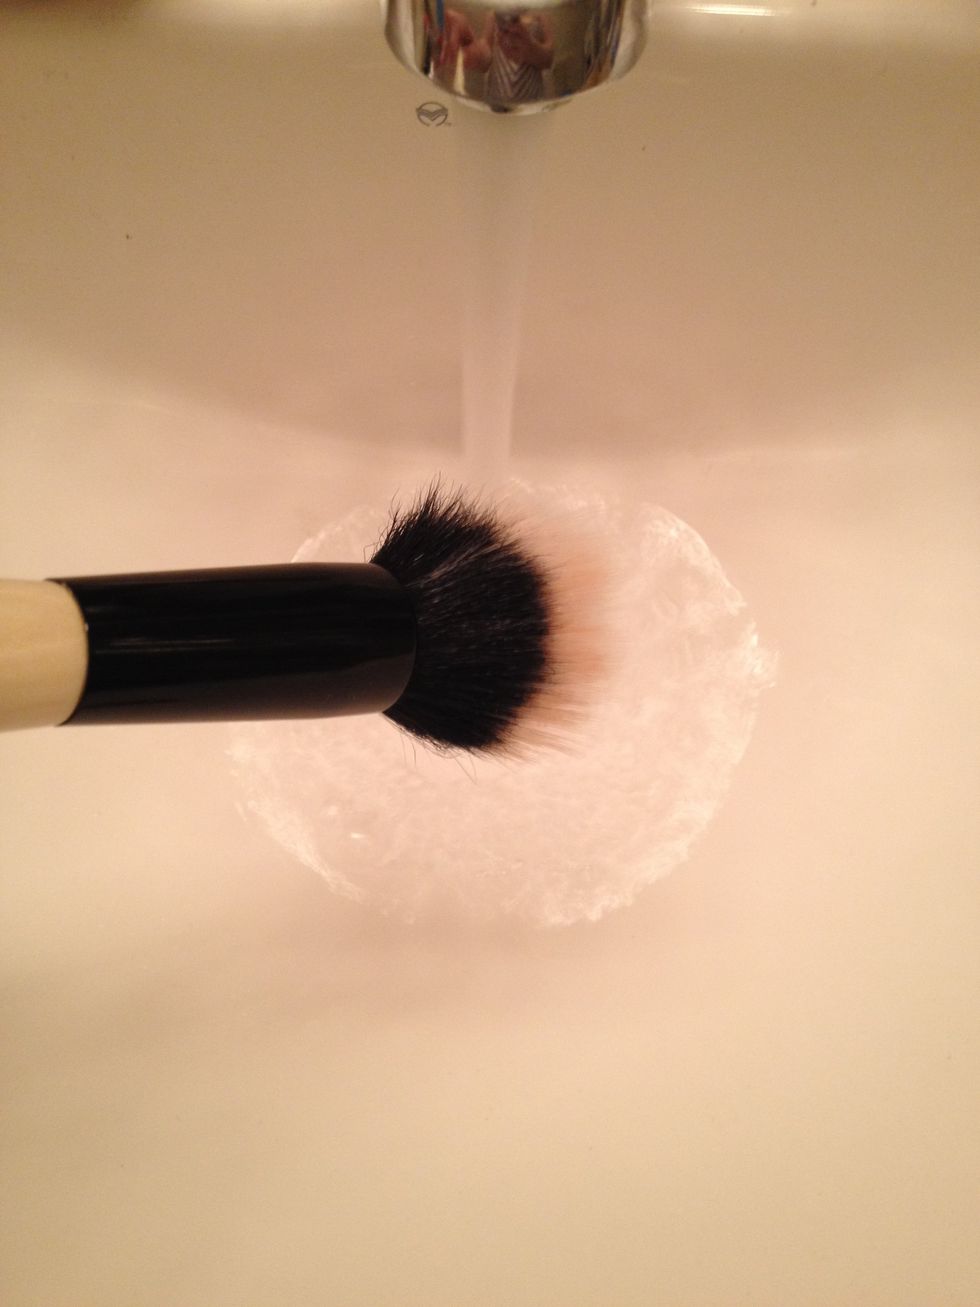
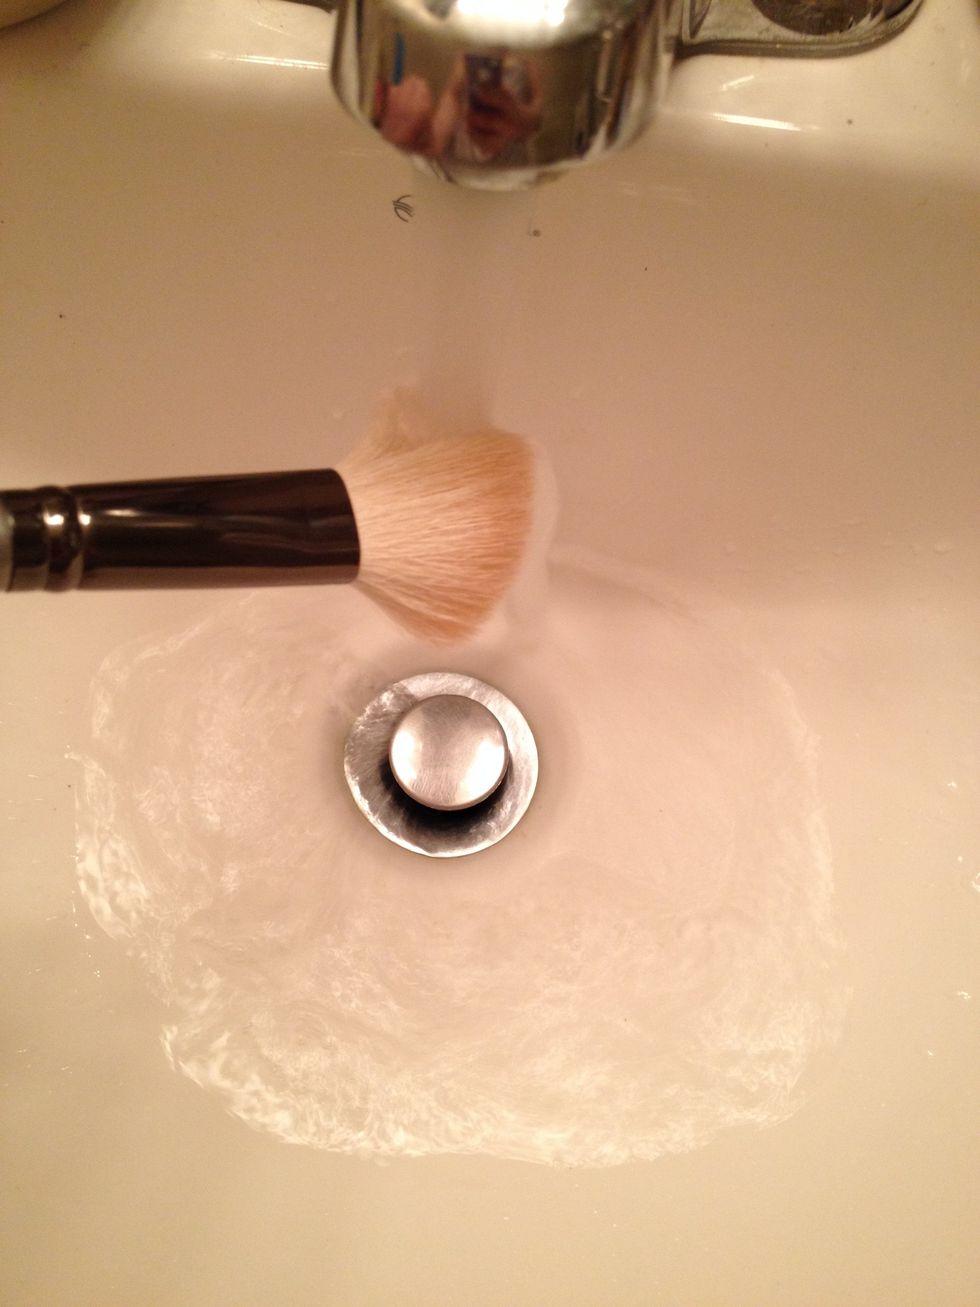
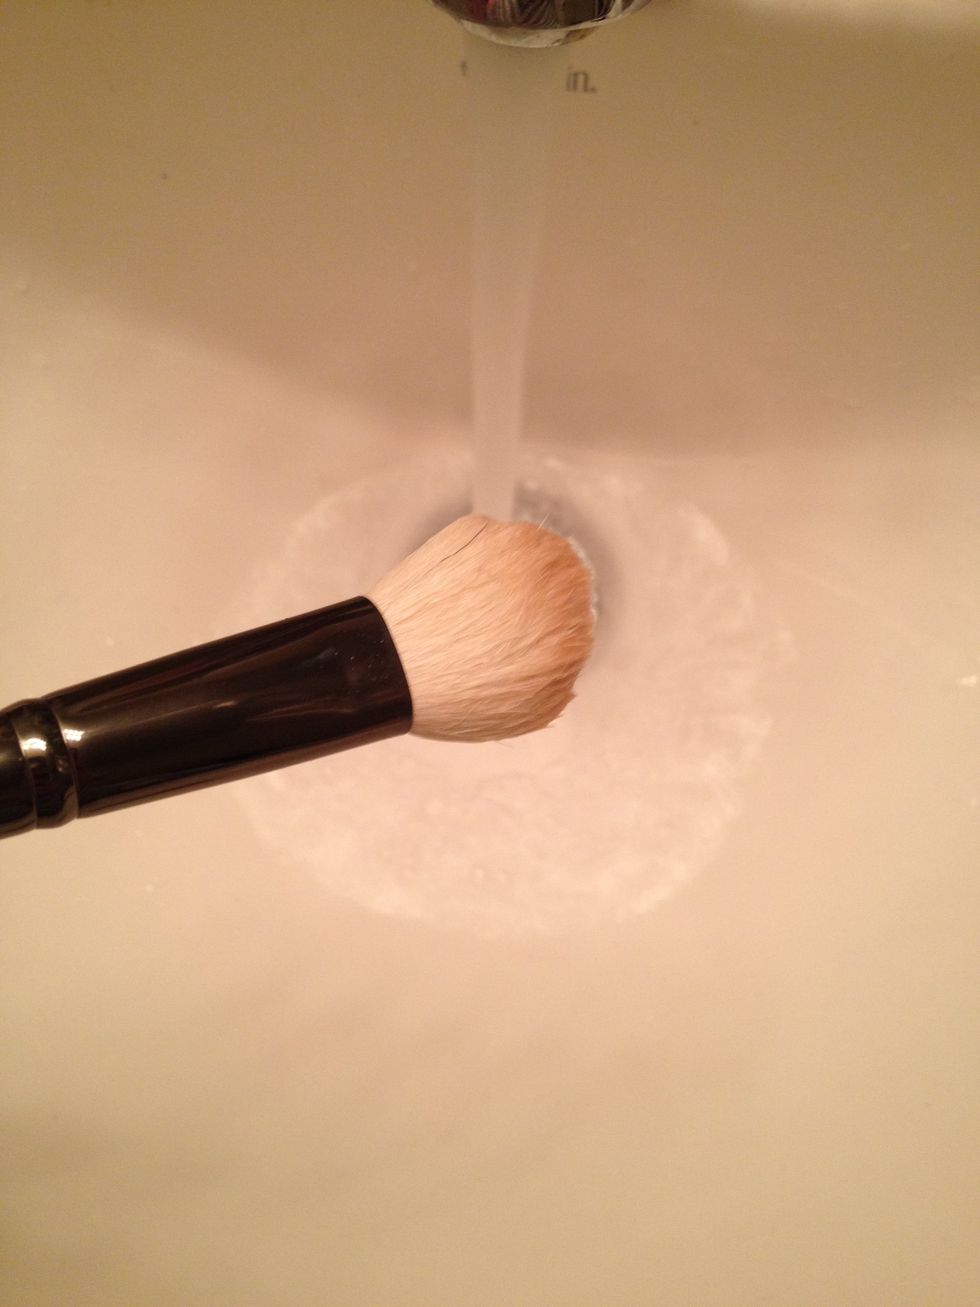
Angle your makeup brush DOWNWARD into a stream of LUKEWARM water. This prevents water from seeping into the barrel, which will over time, loosen the glue and ruin your makeup brush.
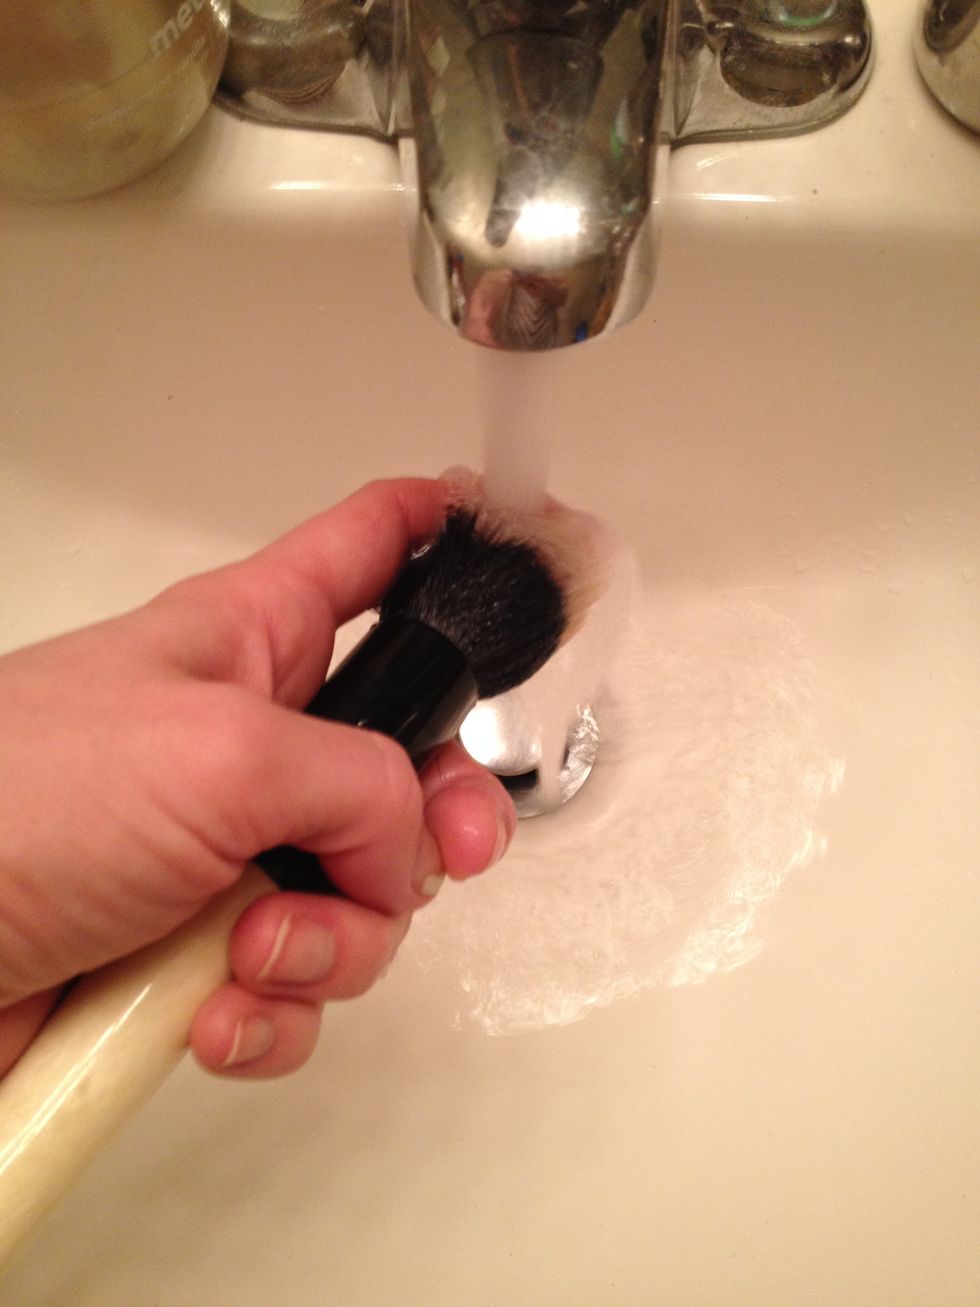
Gently use a finger to rub the brush hair to help loosen any stubborn build up. Remember to keep the brush angled downward as much as possible.
DO NOT apply cleaner to the brush directly, or to the side of the brush.
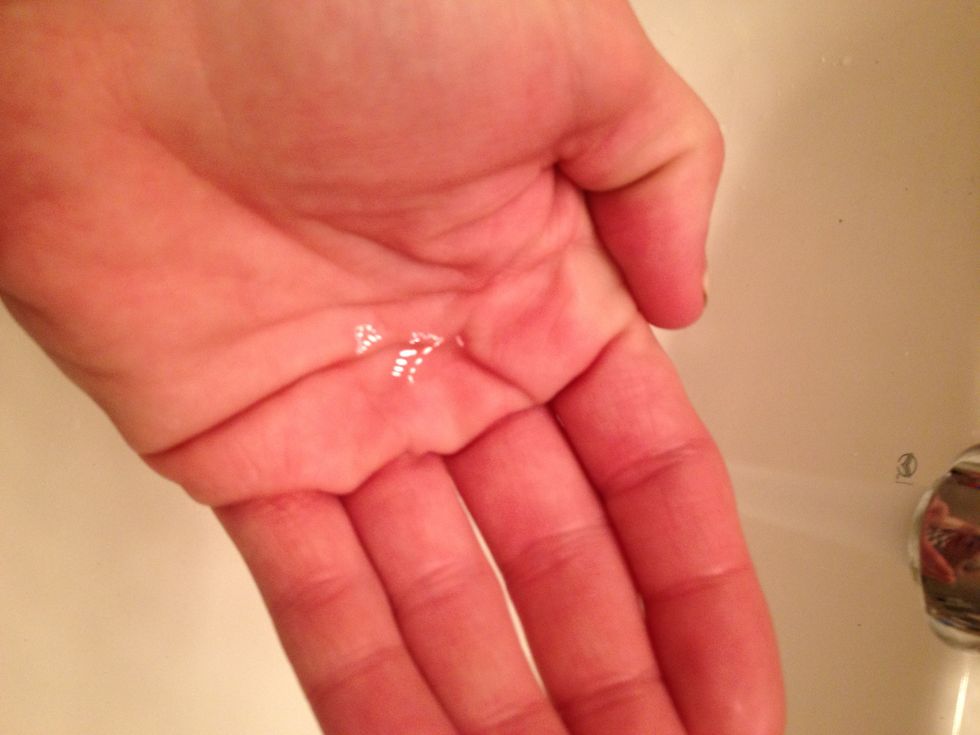
Instead, add a few drops of brush soap directly to the palm of your hand. You can also use a small plate, but you will need to rinse it off after every few brushes to add more (clean) soap.
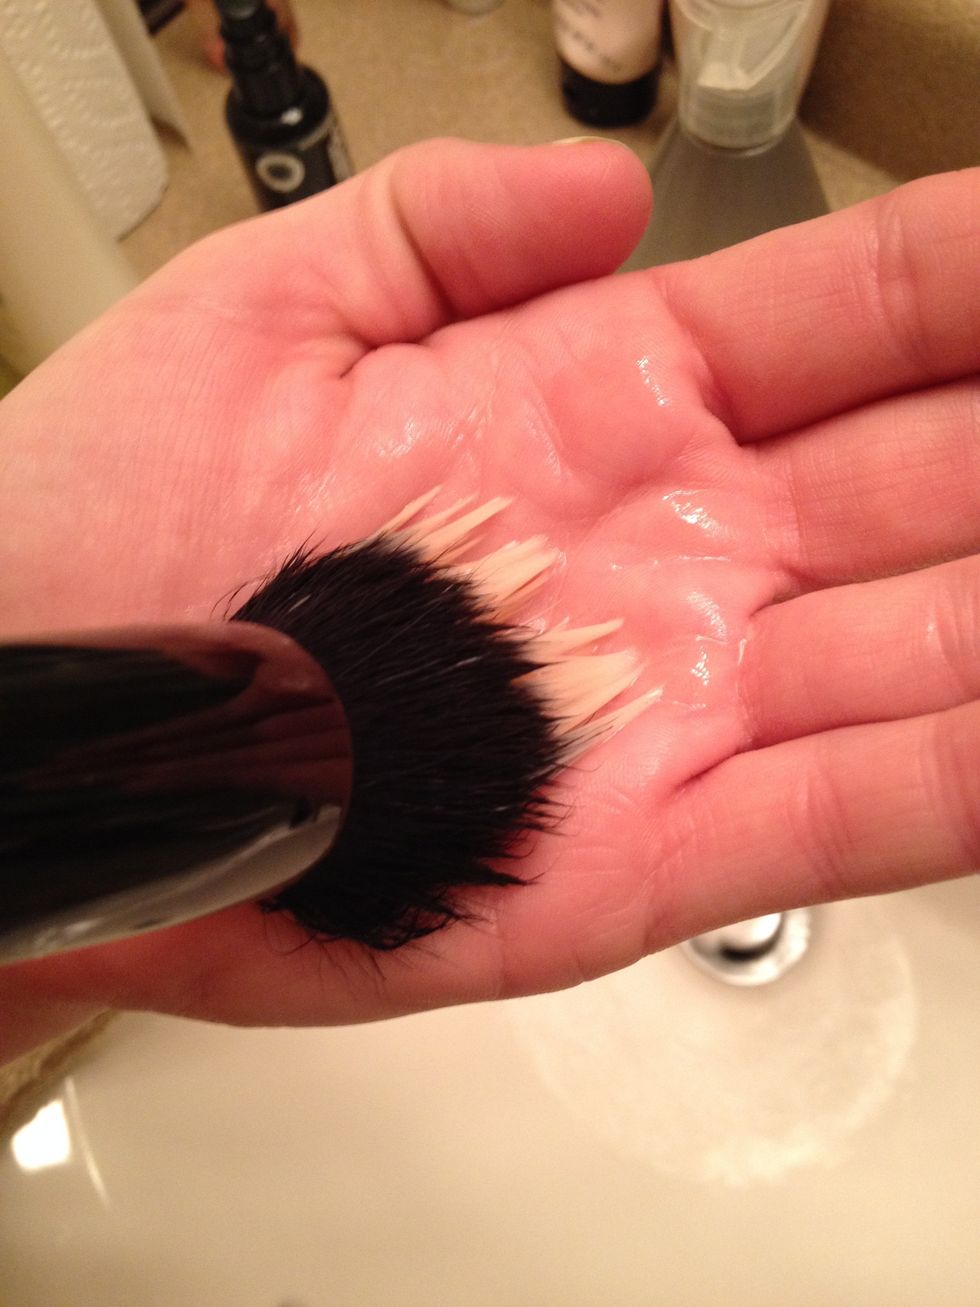
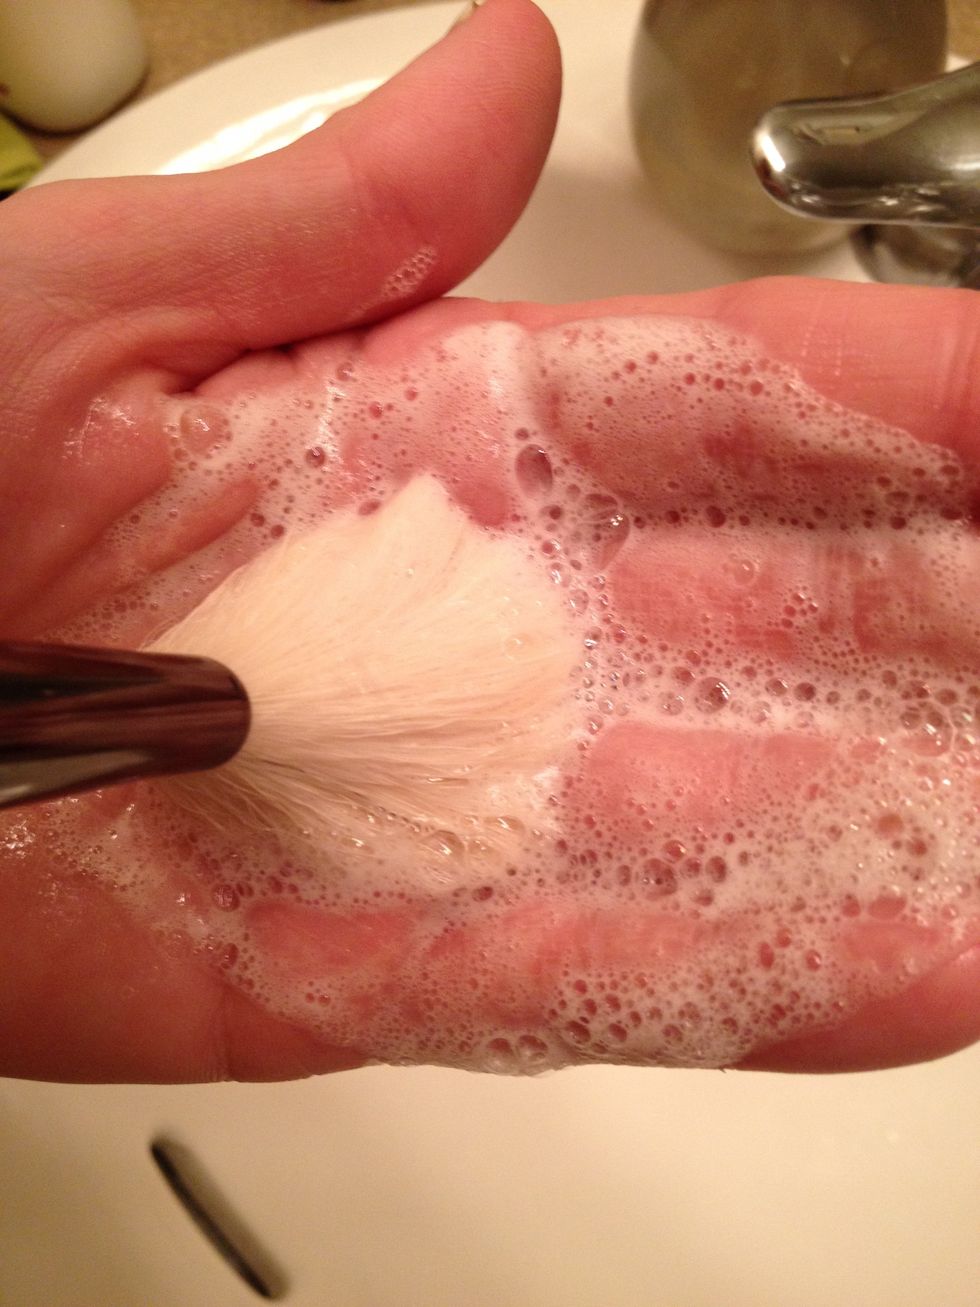
Angle the brush downward into the soap in your hand (or plate), making sure to saturate the head of the makeup brush with your cleaning product.
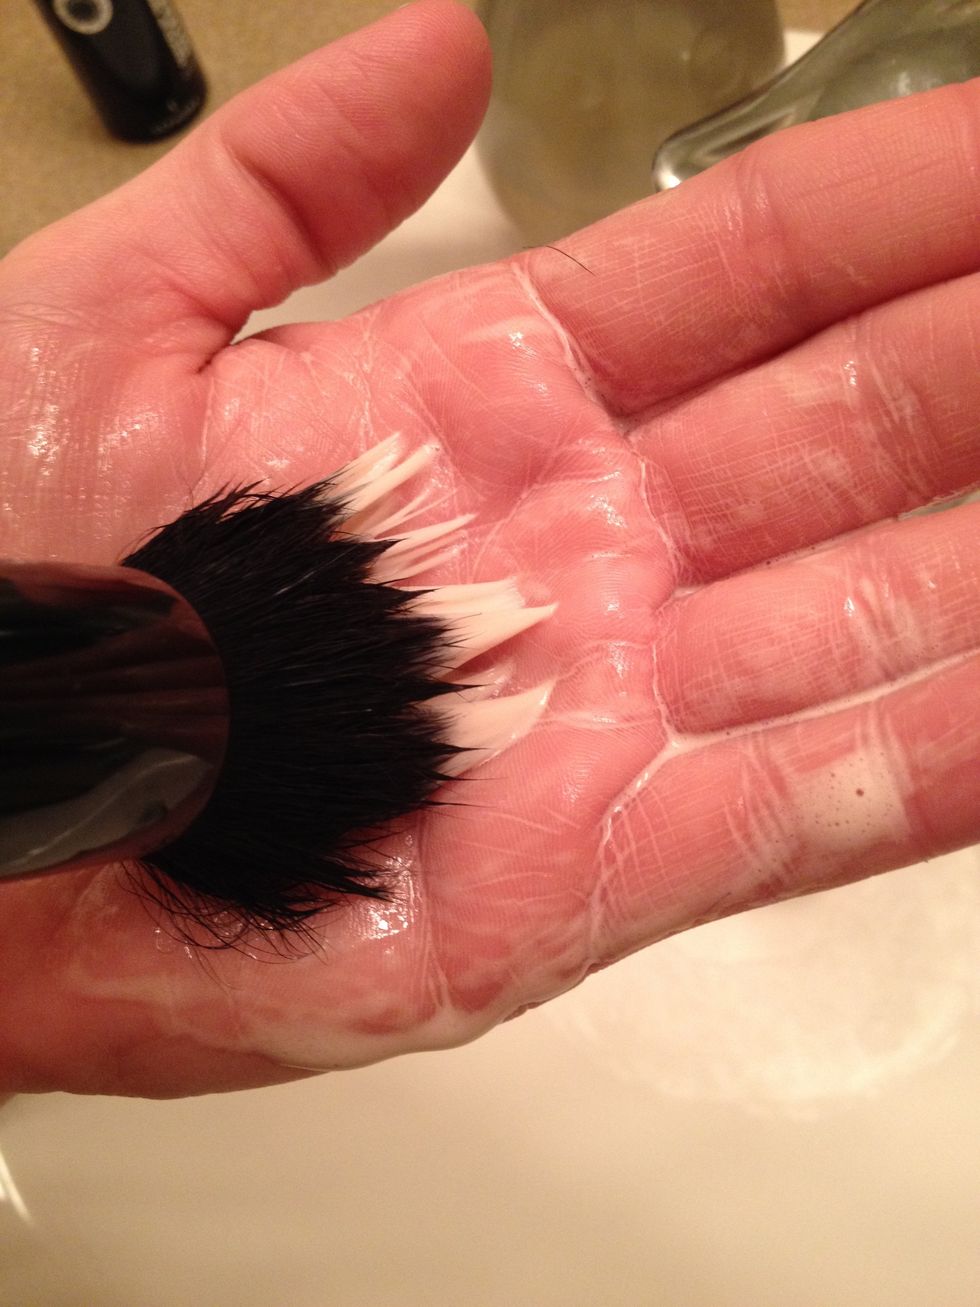
Use gentle circular or swirling motions to create a lather. You will see the pigment being lifted from the brush and deposited into the lather in your hand.
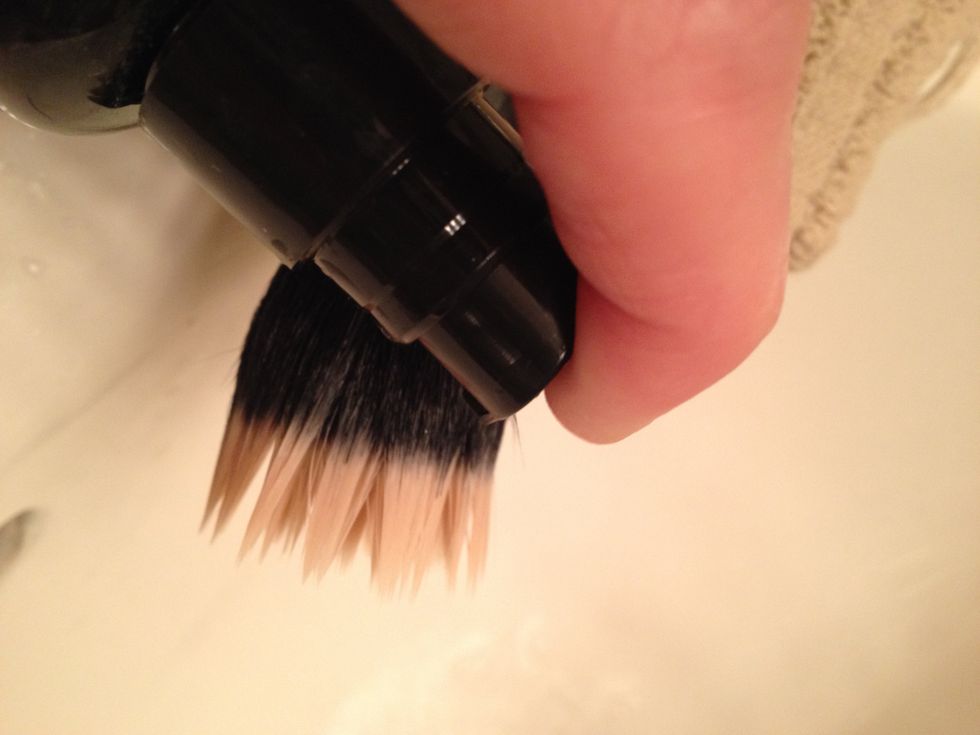
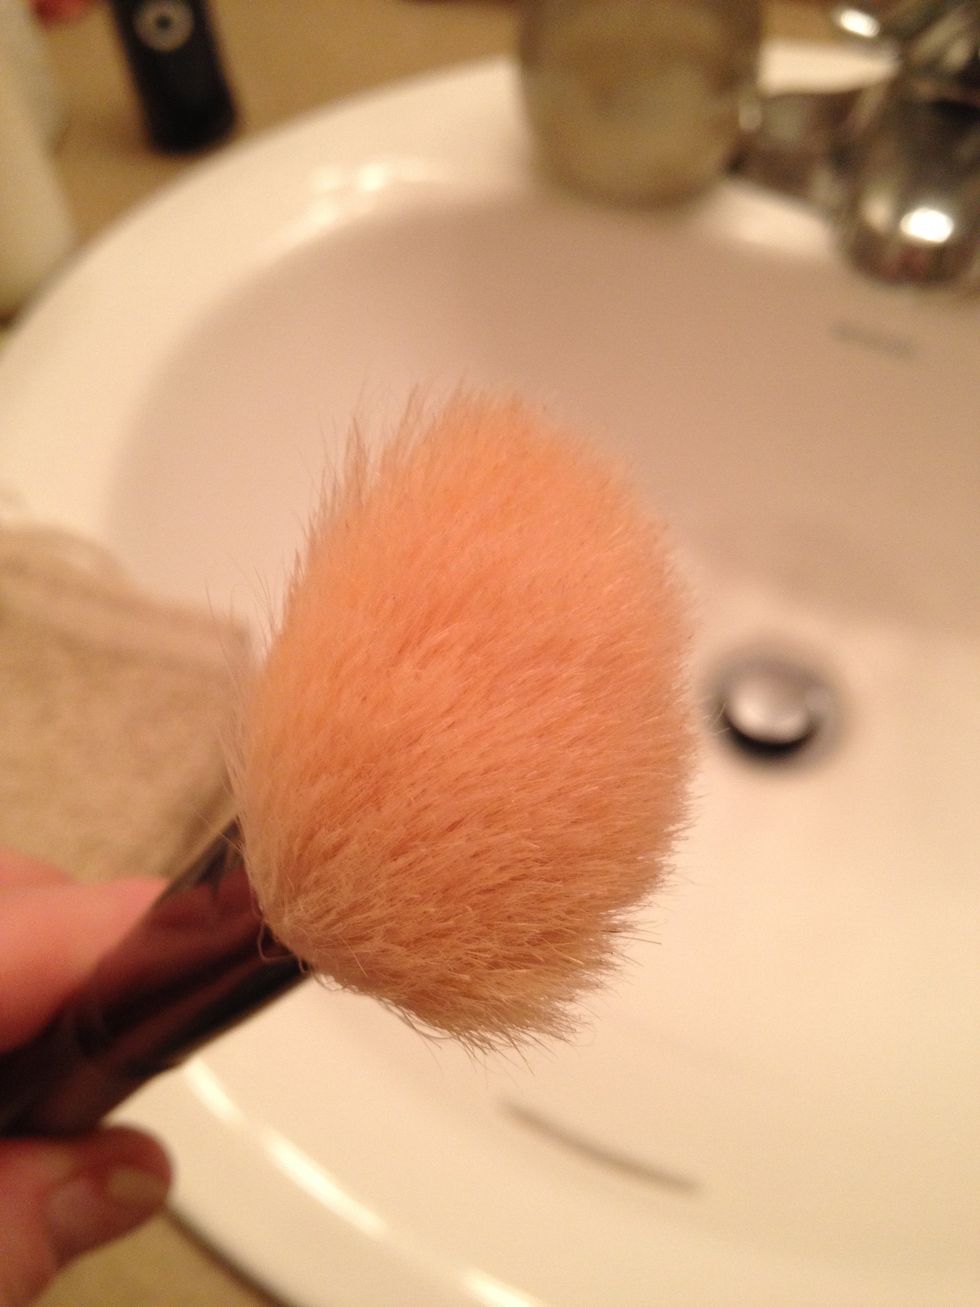
A reminder of what my stippling brush looked like BEFORE cleaning. Yuck.
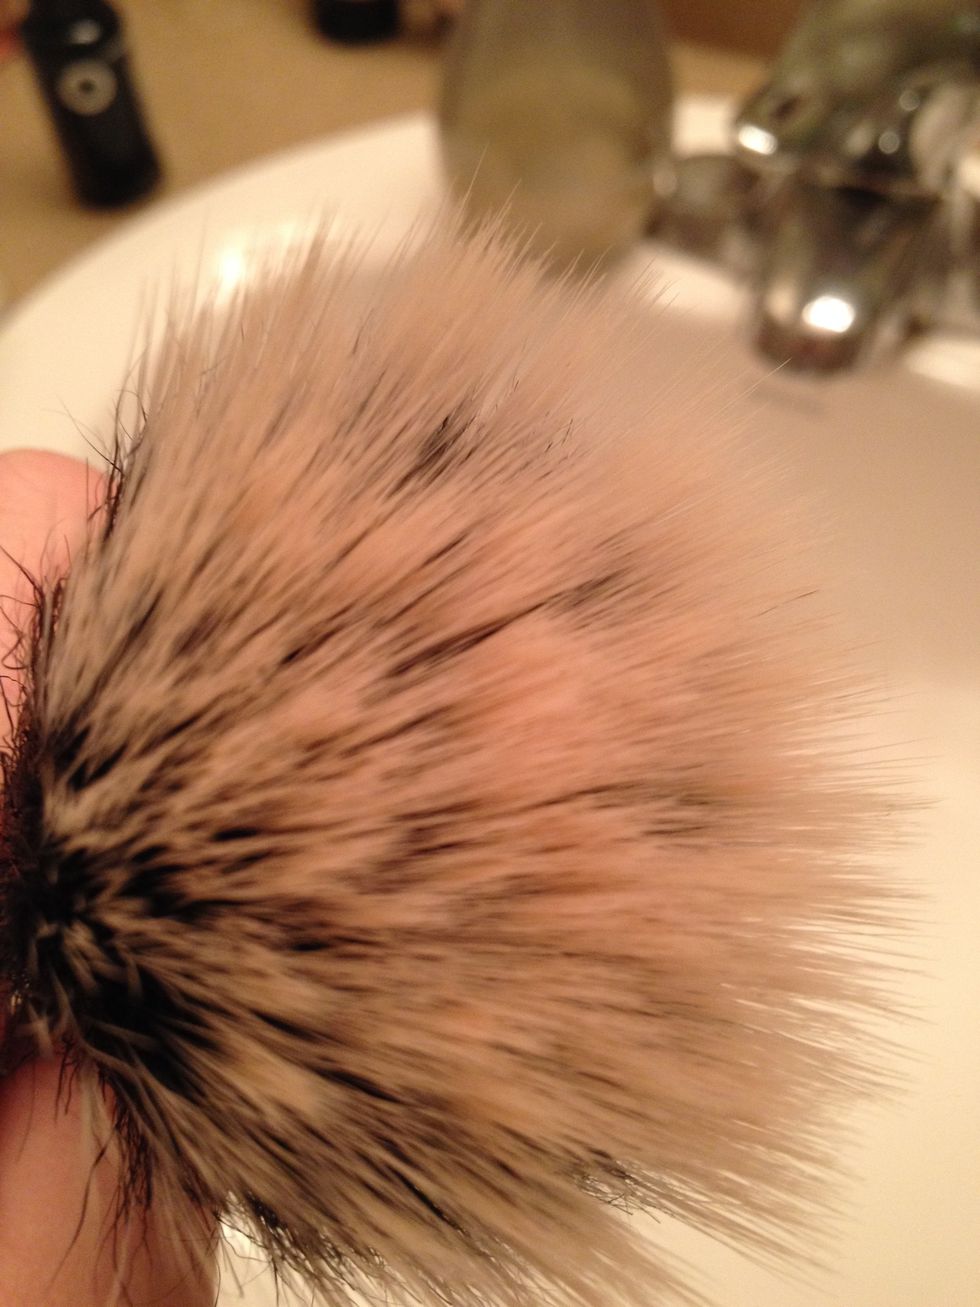
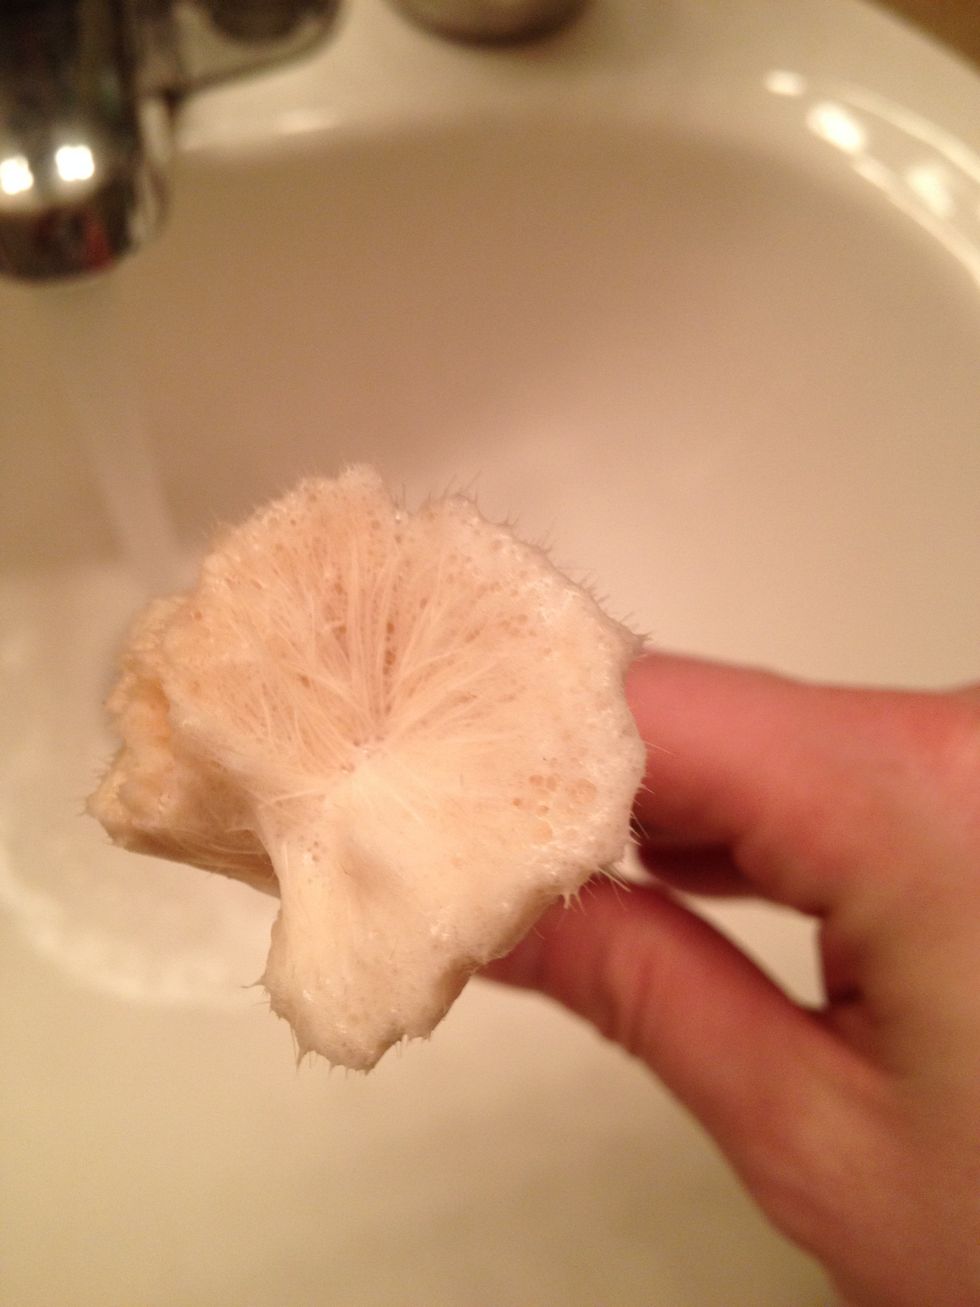
After cleaning. See the difference? There is no longer any pigment on the brush, and if you are using a good anti-bacterial brush soap you can rest assured all the "invisible" garbage is gone too.
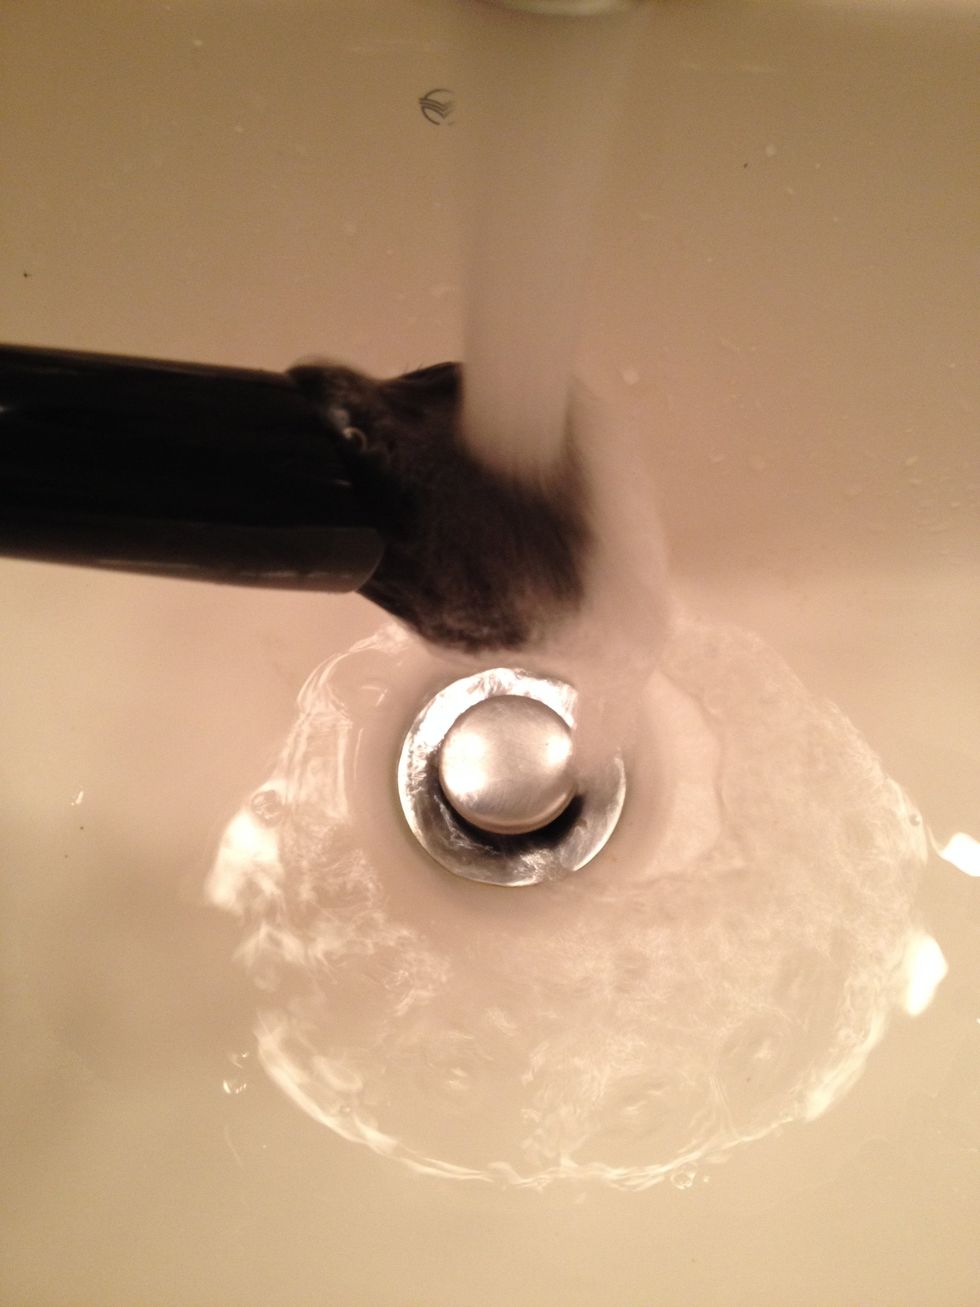
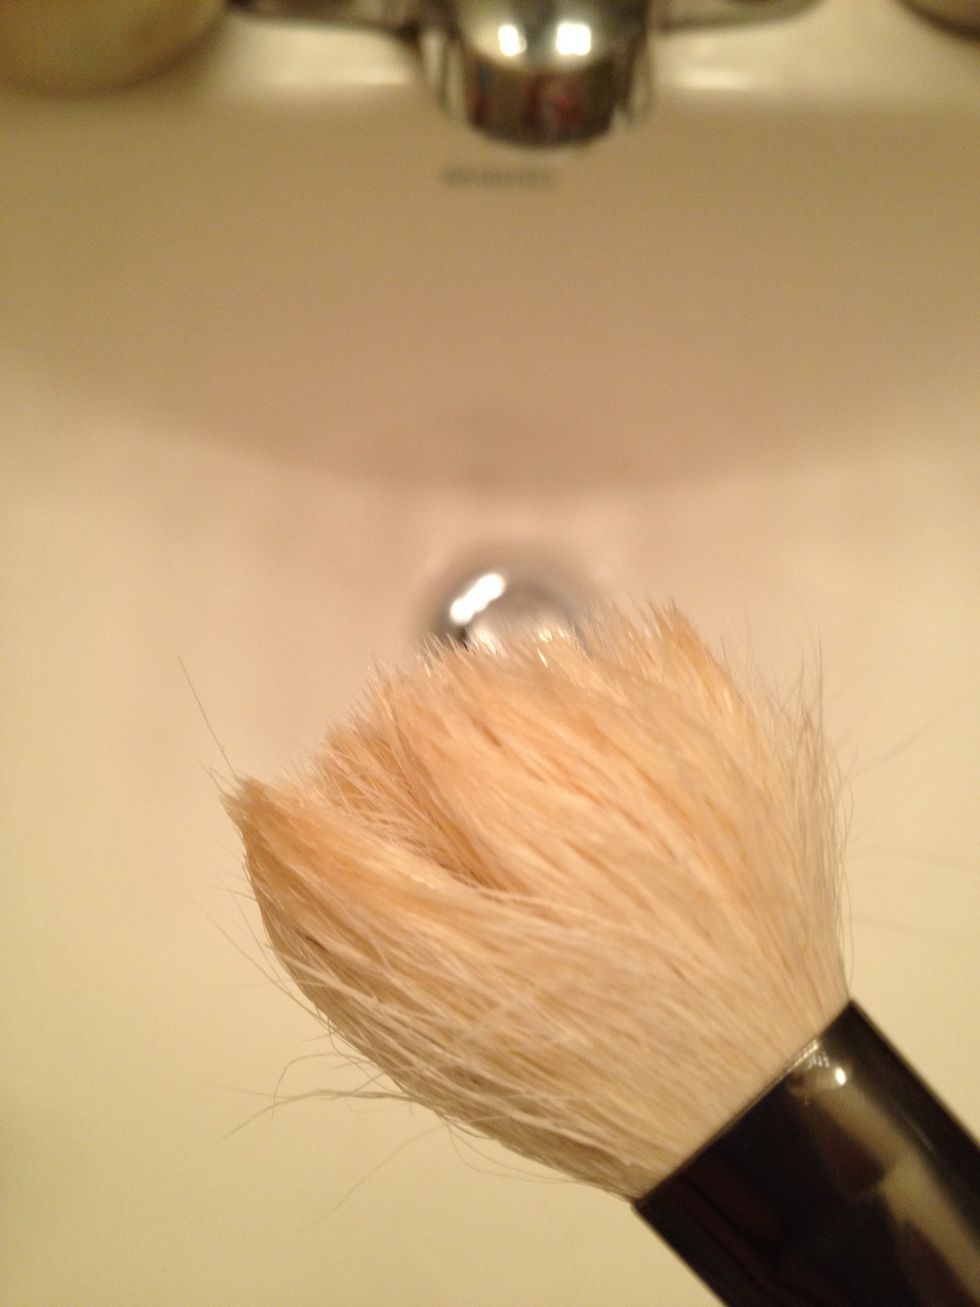
Once you are satisfied with the cleanliness of your brush, angle it DOWNWARD into a stream of LUKEWARM water. Slowly rotate the brush to saturate with clean water and rinse out the soap completely.
Let's review. Dirty brush = old pigment, oil, bacteria, dead skin cells and dirt.
Rinse using lukewarm water, keeping brush at a downward angle. Gently use your fingers to help loosen any build up, if necessary.
Apply a small amount of brush soap to your hand. Use swirling circular motions to gently remove build up from the head of the makeup brush.
See the difference?
Rinse the makeup brush using lukewarm water. Keep brush angled downward & rotate, making sure to saturate the brush hairs with clean water until all of the soap has been rinsed out.
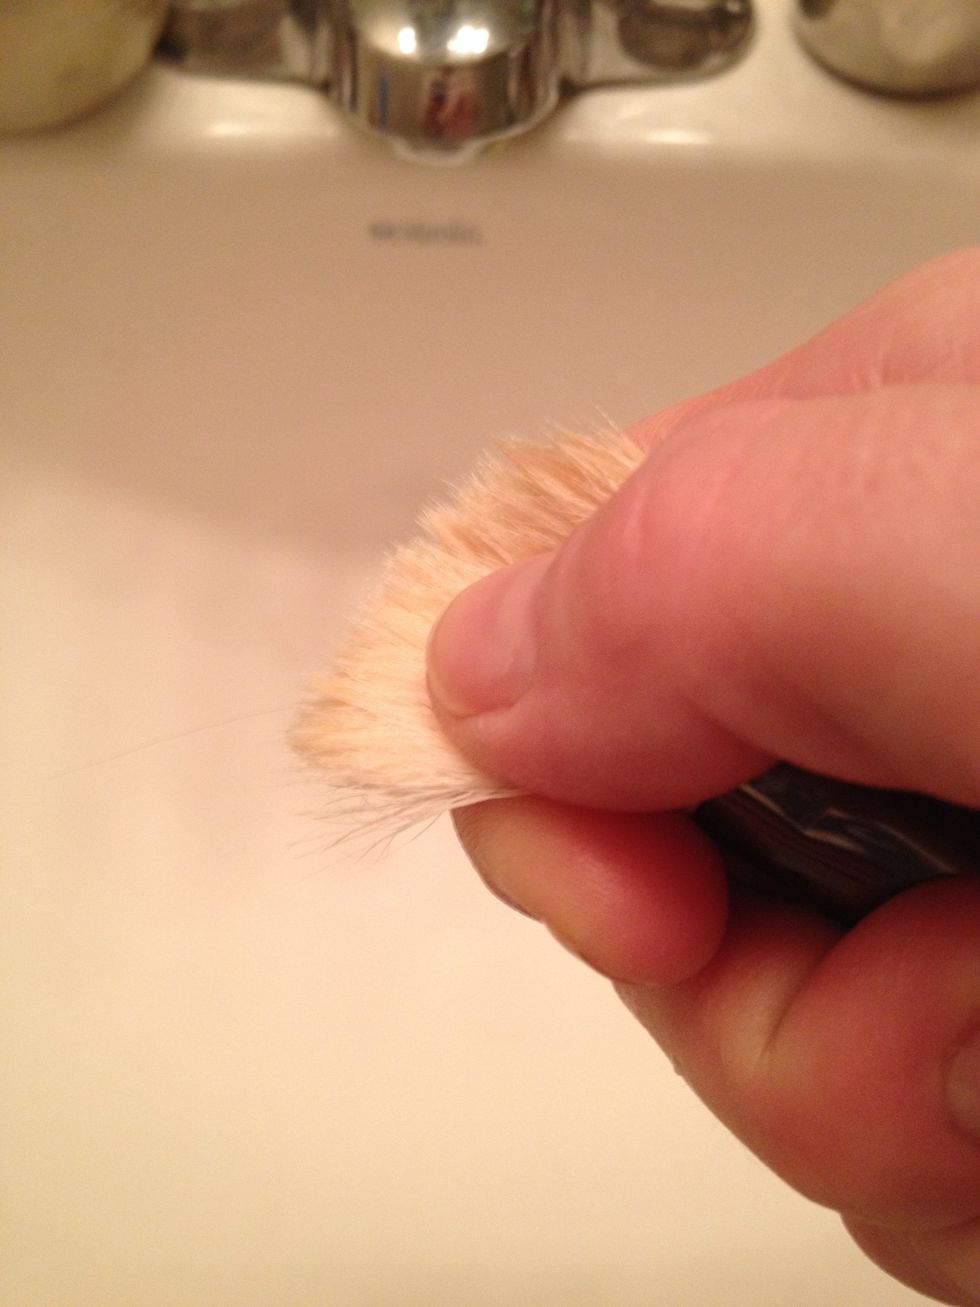
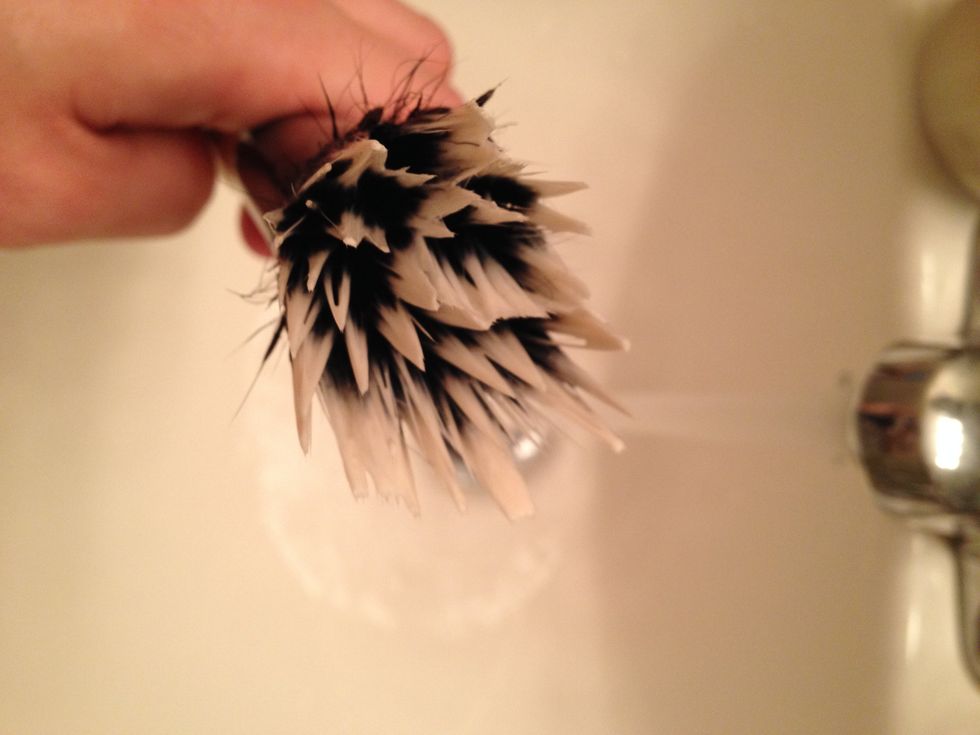
After rinsing, GENTLY squeeze out any excess water from the makeup brush.
Notice how the brush hair is all askew? Using your fingers, GENTLY re-form and smooth the hairs back to their original shape.
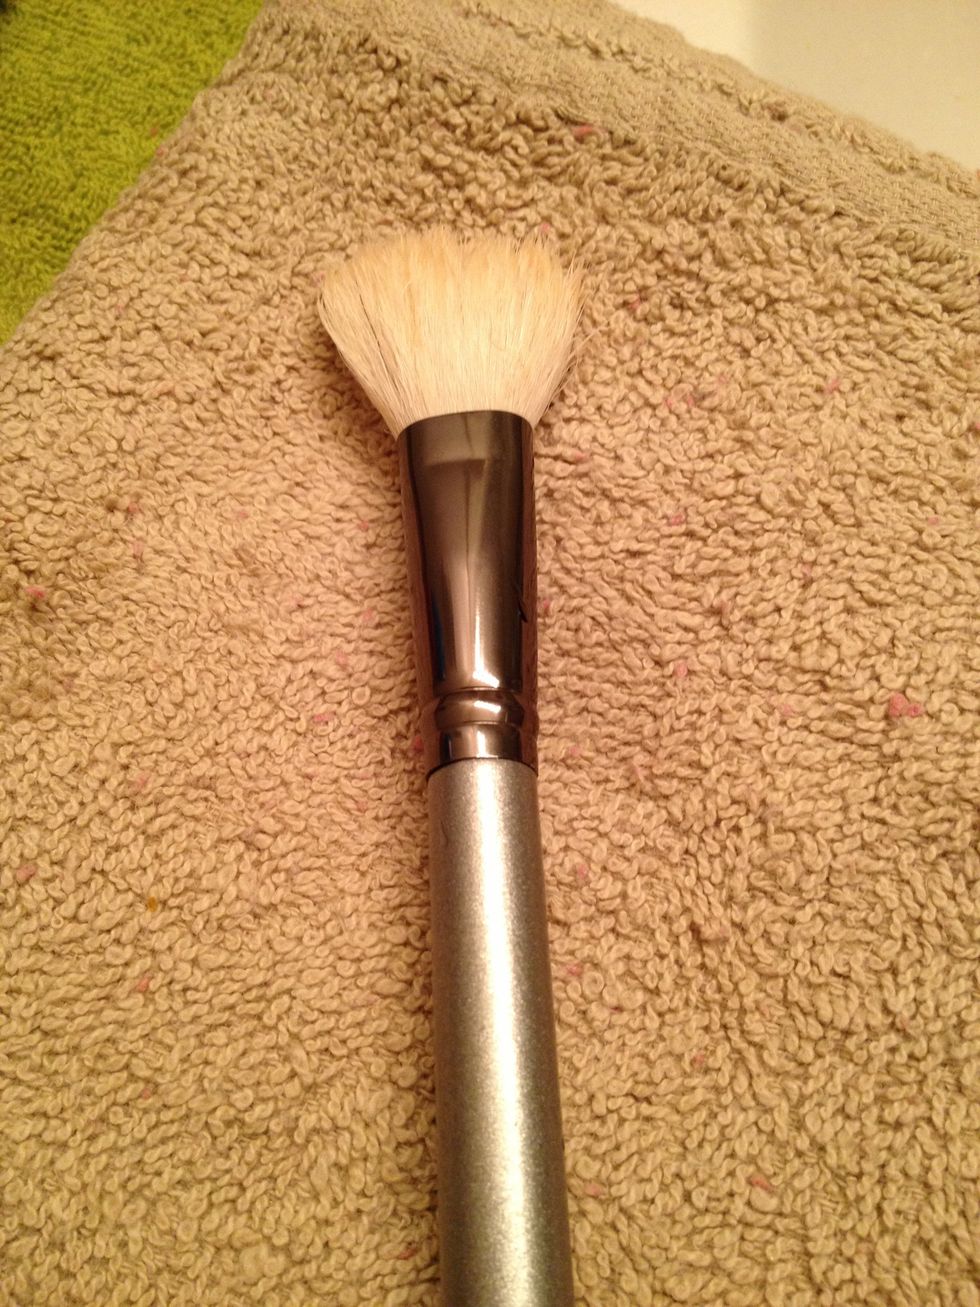
Lay the makeup brush FLAT on a small clean hand towel on the opposite side of the sink. Continue cleaning the rest of your makeup brushes.
If you would prefer to use paper towel to flat dry your makeup brushes... that's perfectly fine!
Once you have deep cleaned & reshaped all of your makeup brushes, move your newly rejuvenated beauty arsenal to a drying space with good air circulation. Preferably, not in the washroom.
It will take approximately 3 to 4 hours before your makeup brushes will be properly dried and ready to use again.
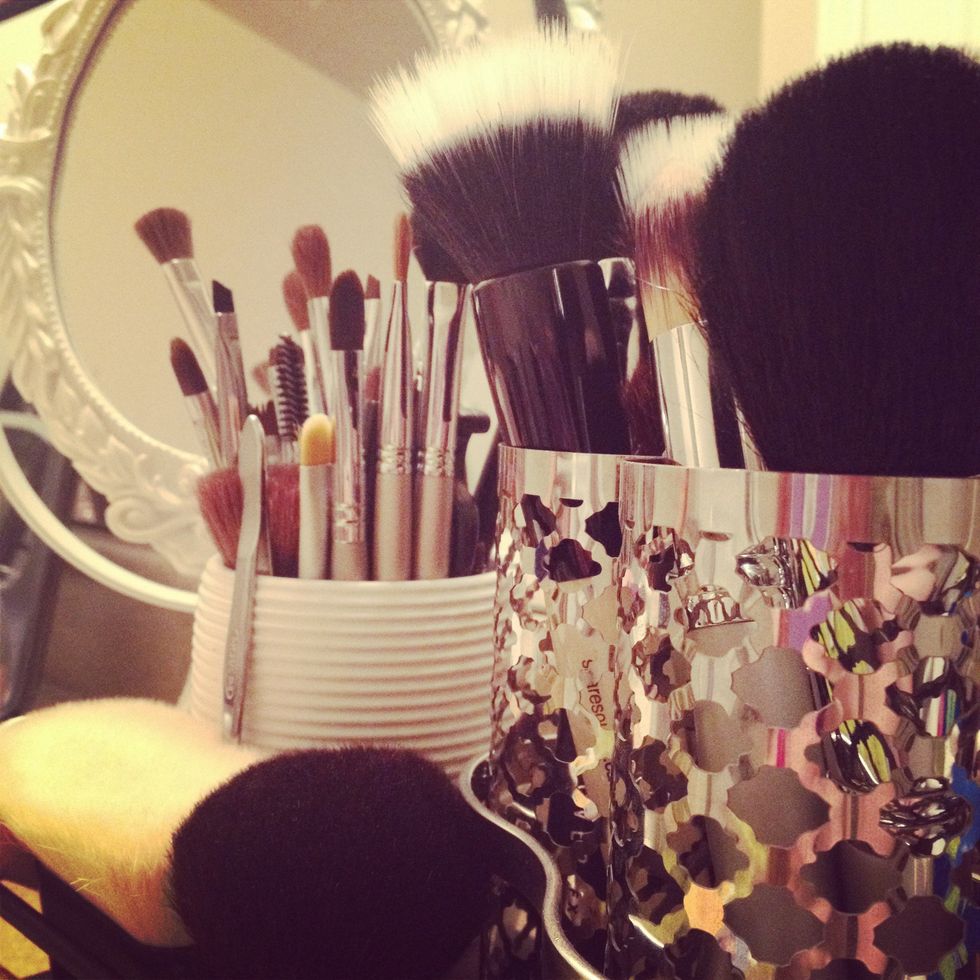
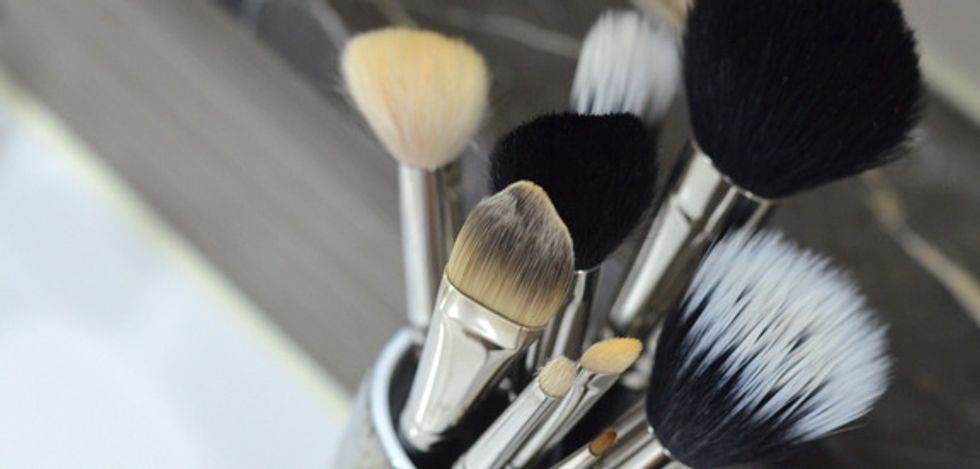
Once COMPLETELY dry, store your clean makeup brushes in either a brush binder or kit, or upright in containers.
...and that, folks, is how to properly deep clean your makeup brushes.
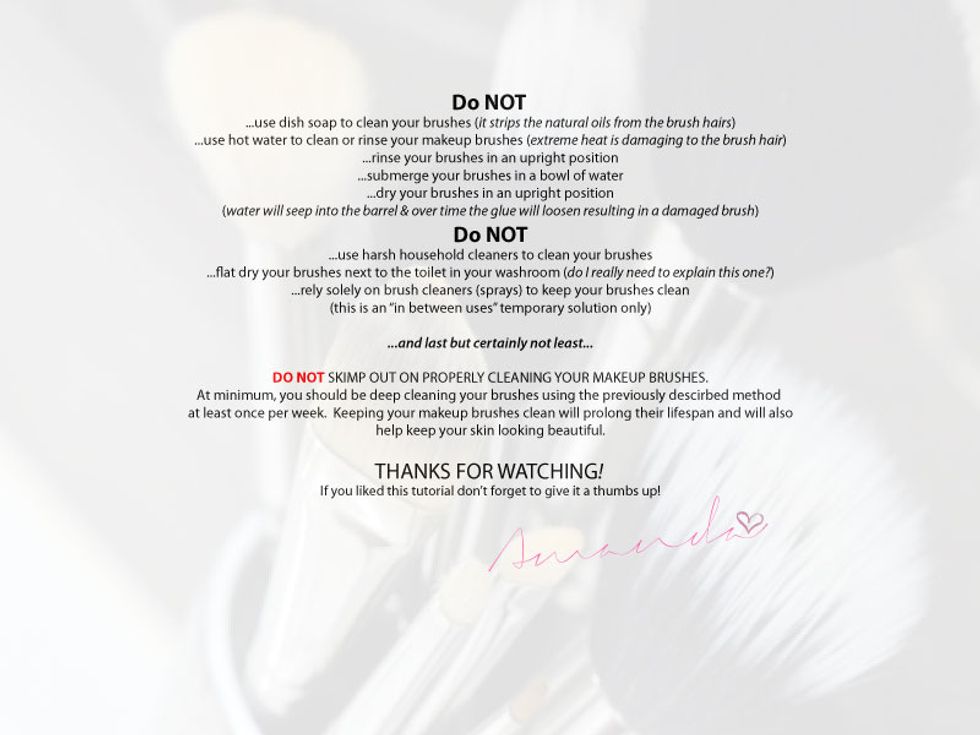
This tutorial just wouldn't be complete without a token "Do Not Do" List... so here you go!

If you would like to submit a tutorial suggestion, I'd love to hear from you! Email info@beautybytes.ca with "BB Tutorial Request" in the subject line.