How to decoupage a wooden tray with decorative paper
This is a great DIY project for anyone who doesn't have an entire day to dedicate to a DIY project and also people who love breakfast in bed.
468
STEPS
TOOLS
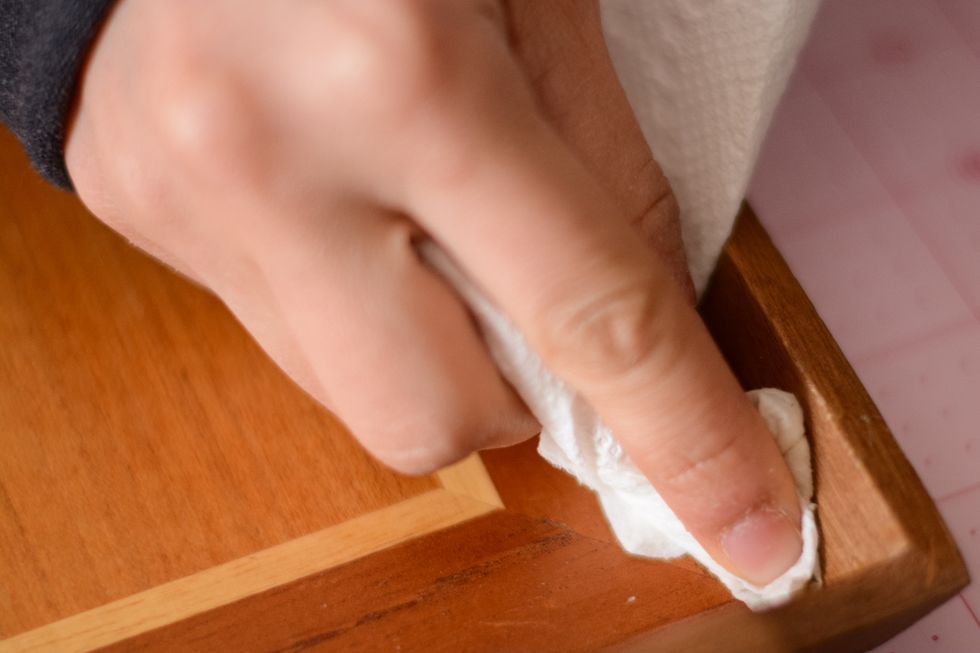
Clean your wooden tray. If there is dust in the corners be sure to remove it as best as you can. We want the paper to adhere to the tray without any dirt getting in the way!
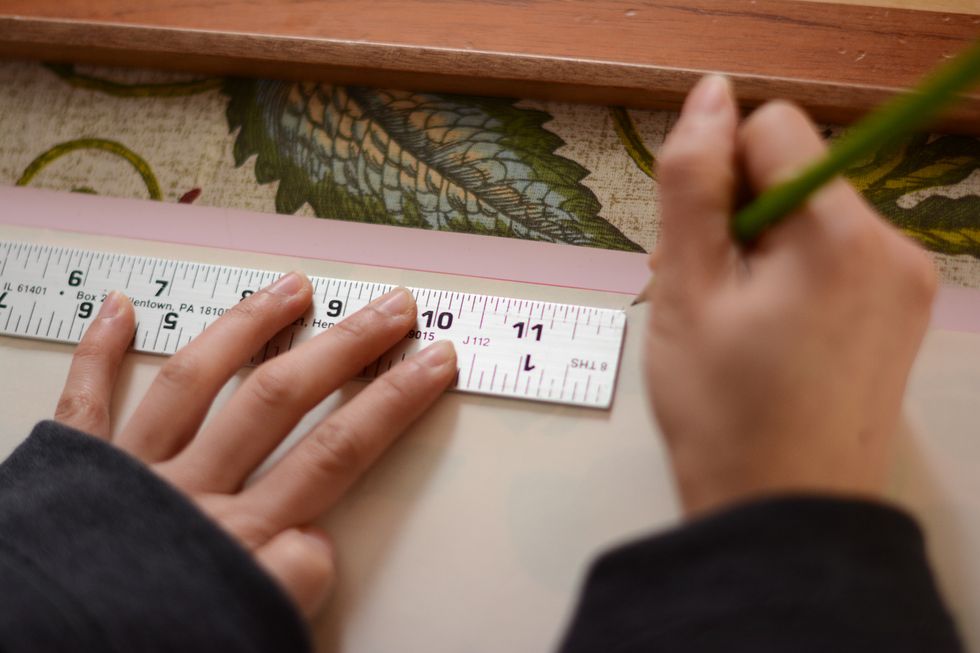
Measure the area you will be decoupaging.
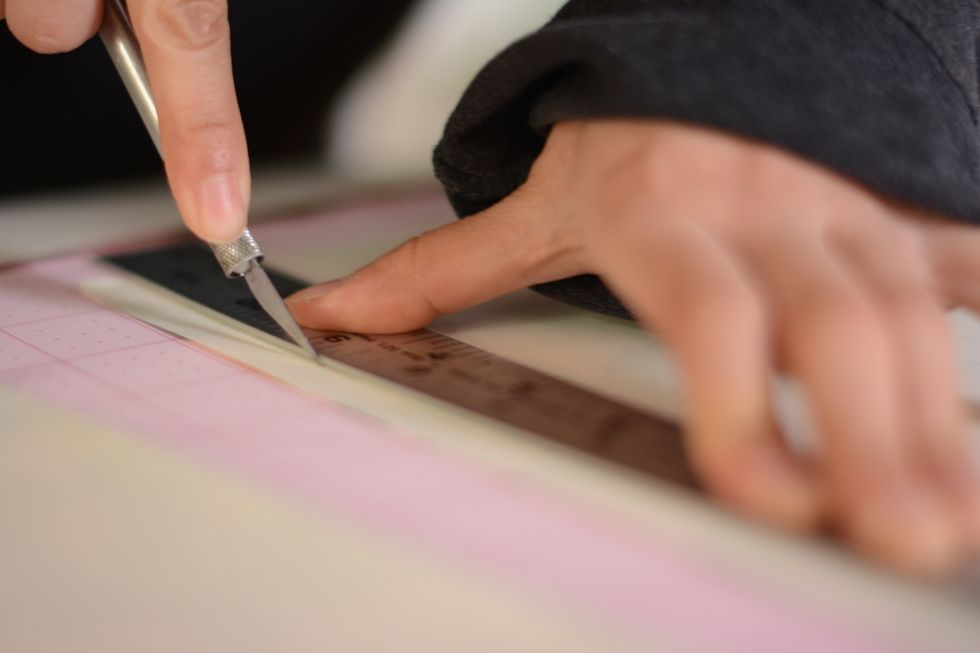
Using your measurements, cut or slice your decorative paper to the appropriate size. Make sure you see that it fits after you have your paper cut to size.
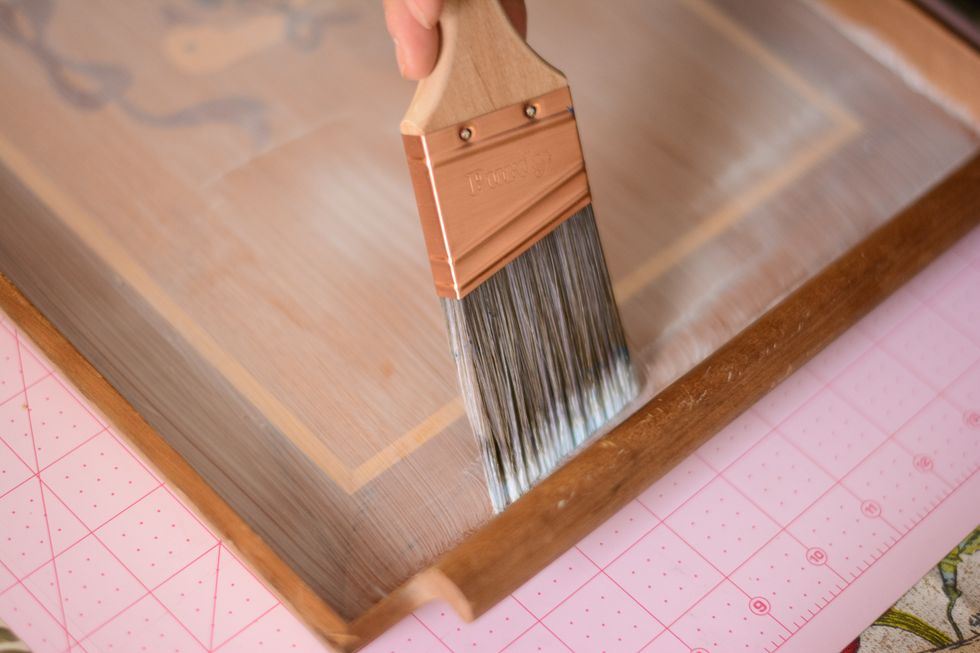
Using your paint brush, start applying the Mod Podge to your tray. Layer it on fairly thin (we want to avoid bubbles!). Try to keep your brush stokes going in one direction.
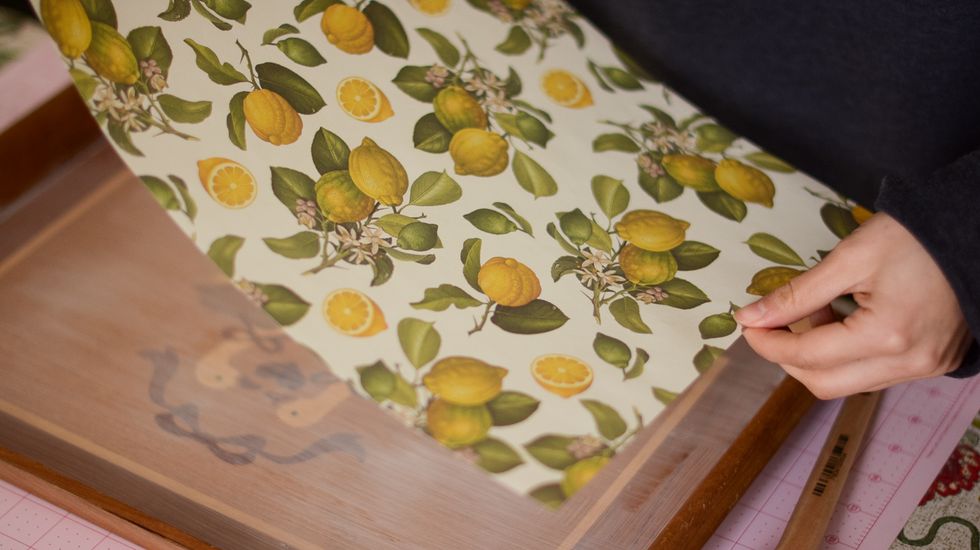
Let the Mod Podge dry for only minute or two, then carefully lay your paper on the tray and smooth it out with your fingers (paying extra attention to the edges). Let dry for 30 minutes.
Once dry, you're ready to apply Mod Podge to the top of your tray. Using same-direction brush strokes. My technique: www.beholden.me/blog/2014/2/15/when-life-gives-you-lemons-make-something-of-it
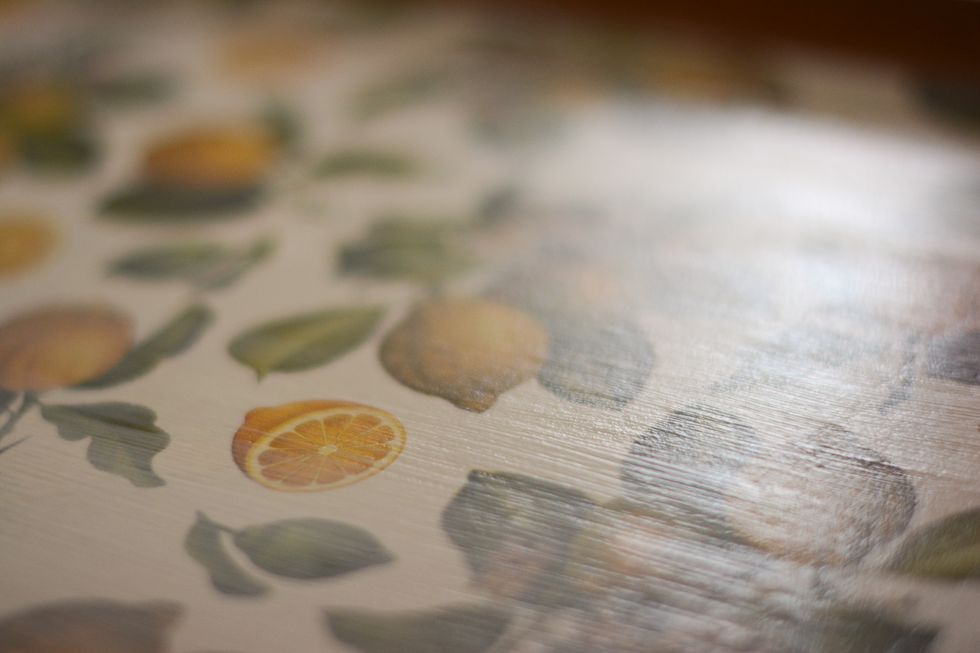
Once the first application dries apply a second coat. Just keep in mind if you want this to be fully waterproof you may have apply an outdoor acrylic or enamel sealer after the Mod Podge dries.

And there you have it folks. I hope you enjoy! It even doubles as a nice backdrop as well when not in use.
- Wooden Tray
- Xacto Knife or Scissors
- Metal Ruler or Straight Edge
- Cutting mat
- Decorative Paper (enough to cover your tray)
- Mod Podge
- Good quality paint brush (I use Purdy 1.5in)