The Conversation (0)
Sign Up
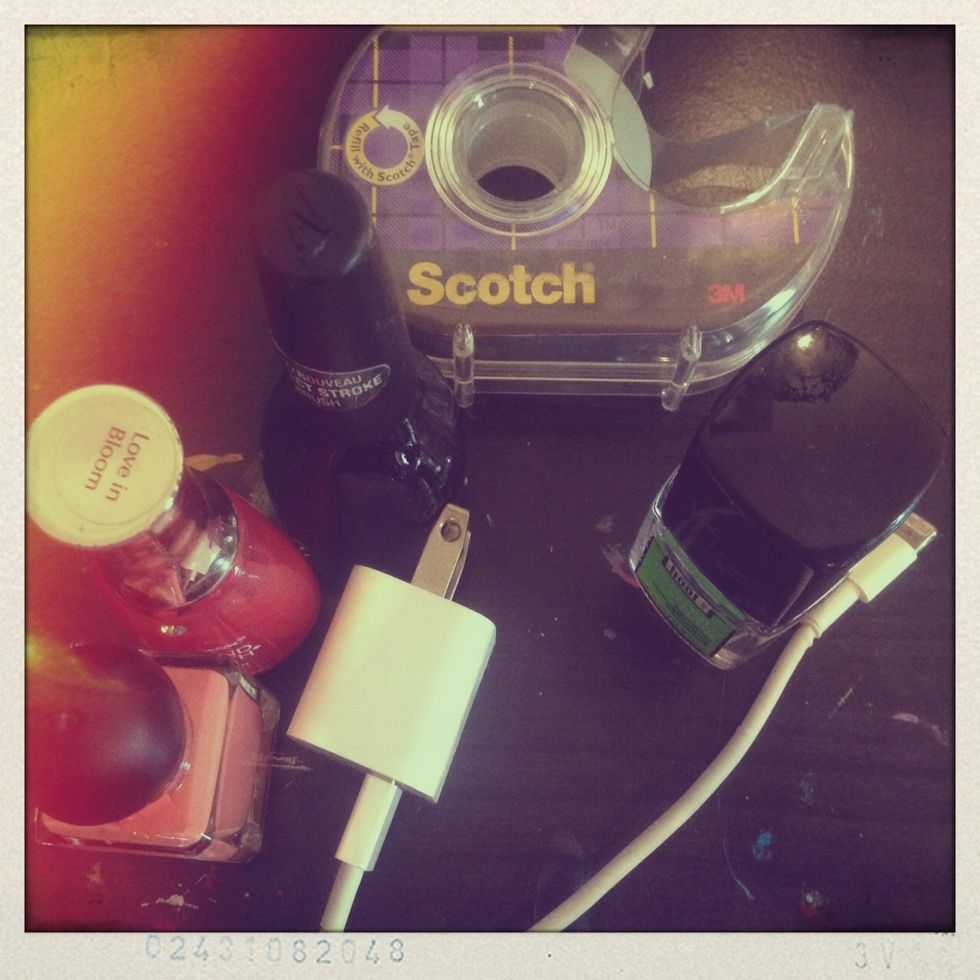
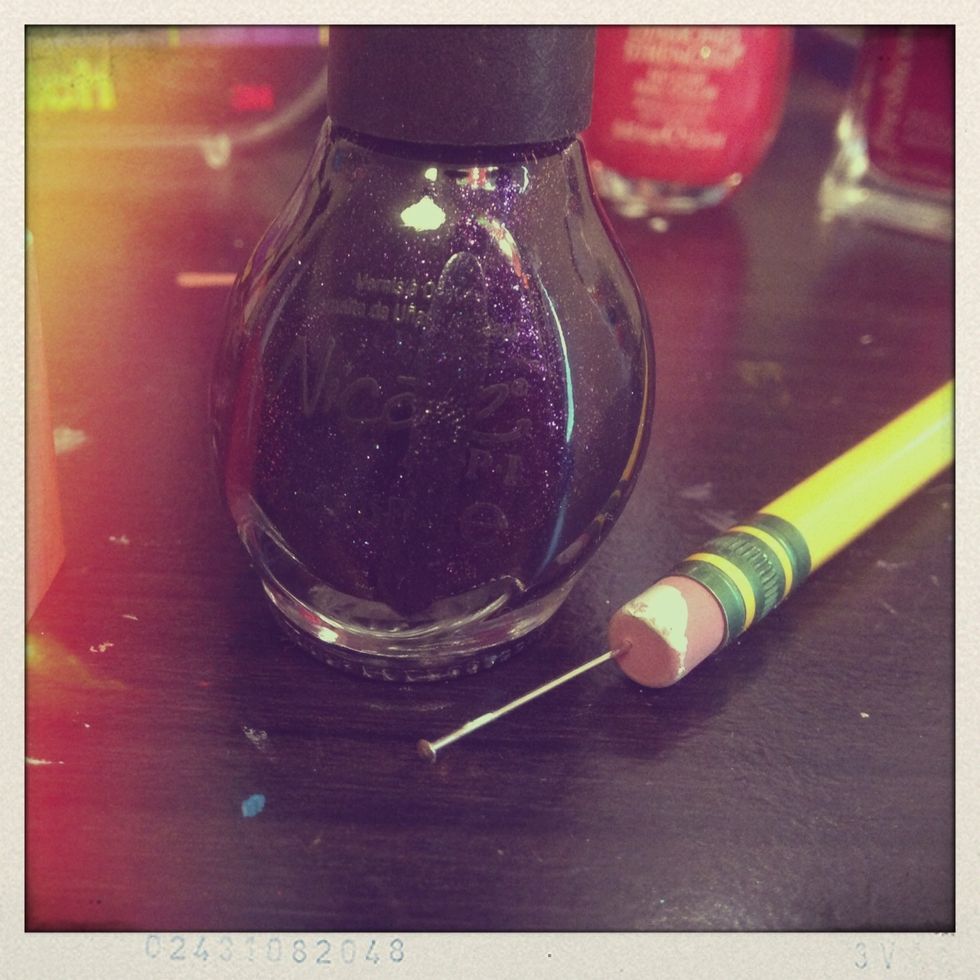
First step-gather supplies. (I used a different top coat, because the one in this picture was l out)
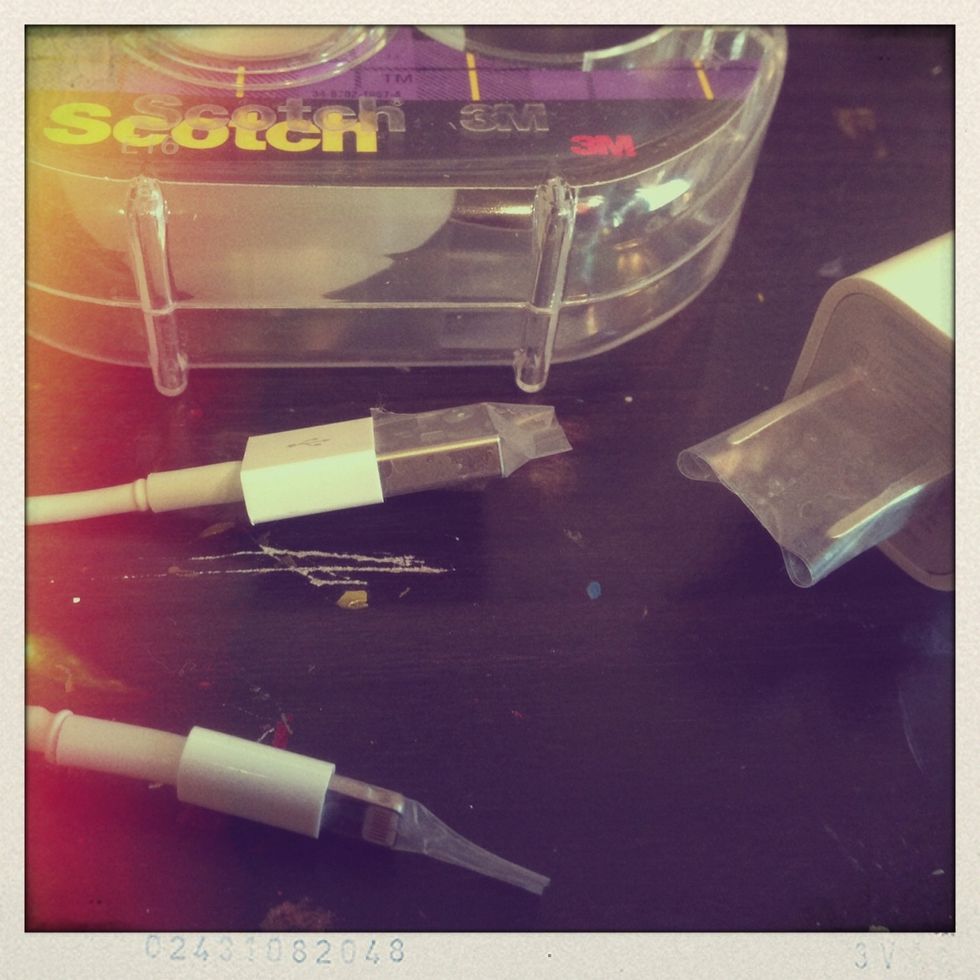
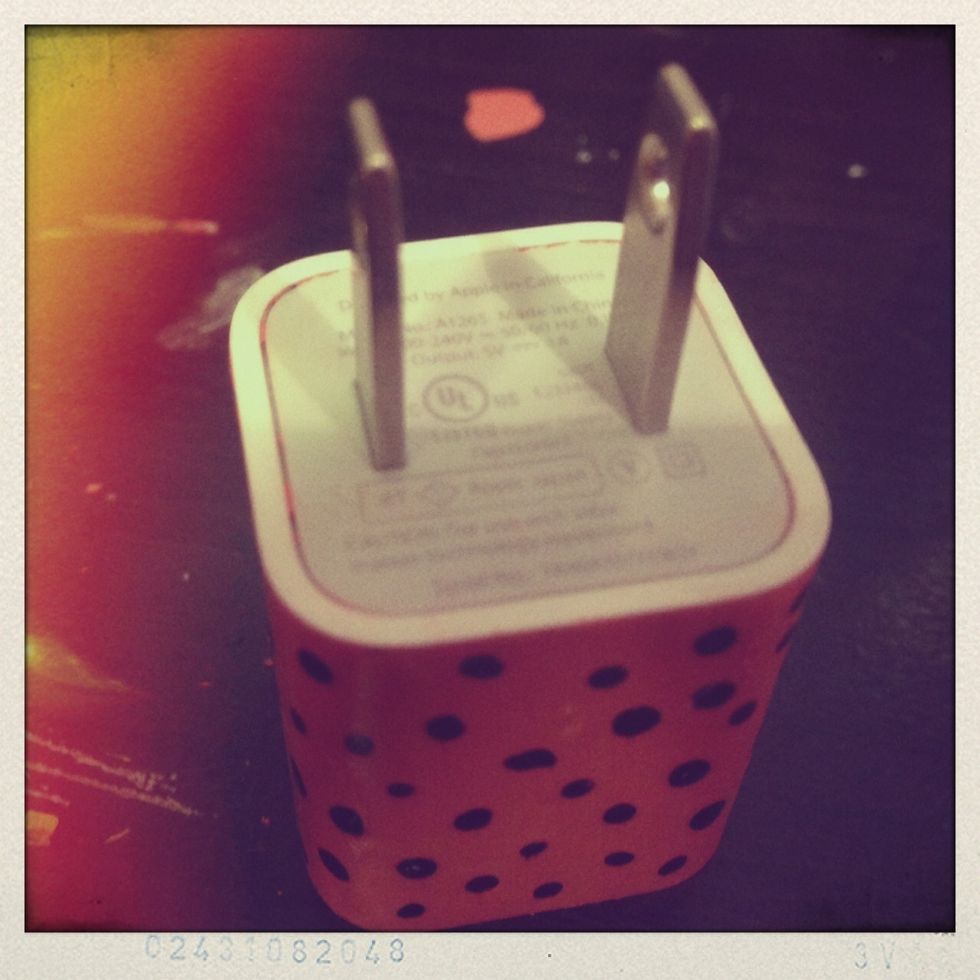
Now, put tape over the silver parts of your charger, so you don't get nail polish on them! 😜
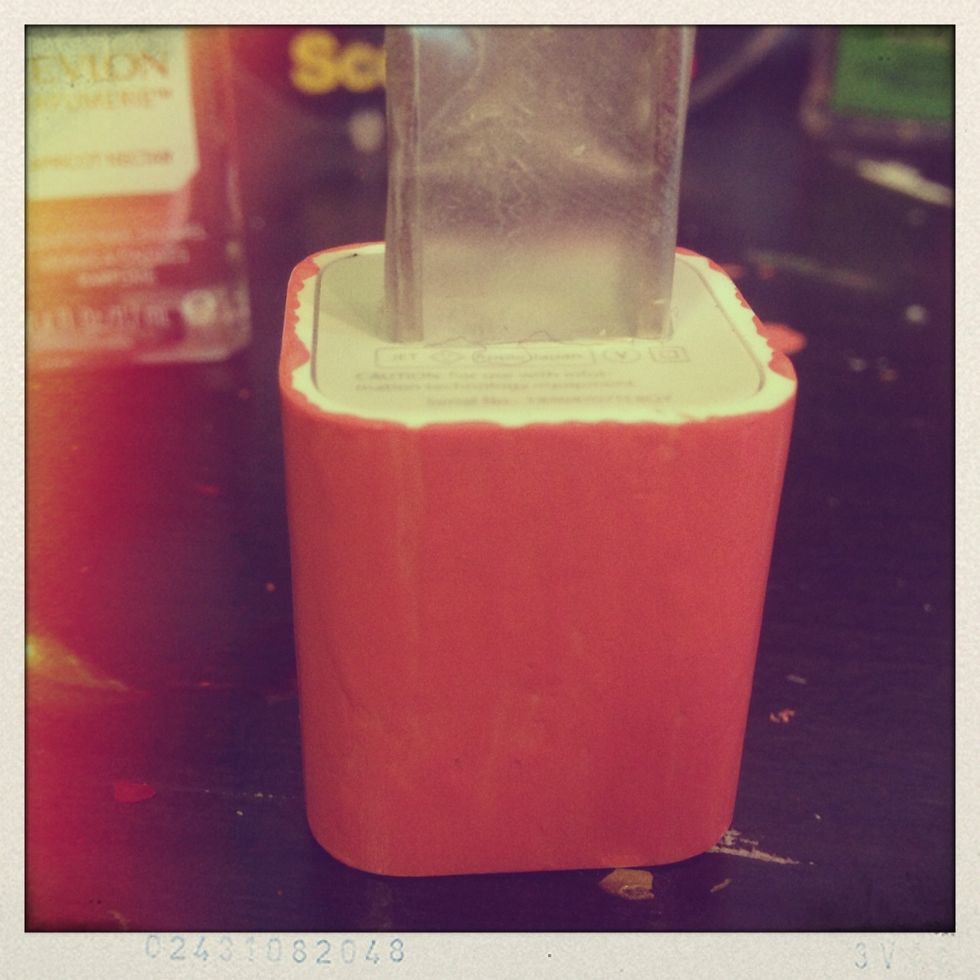
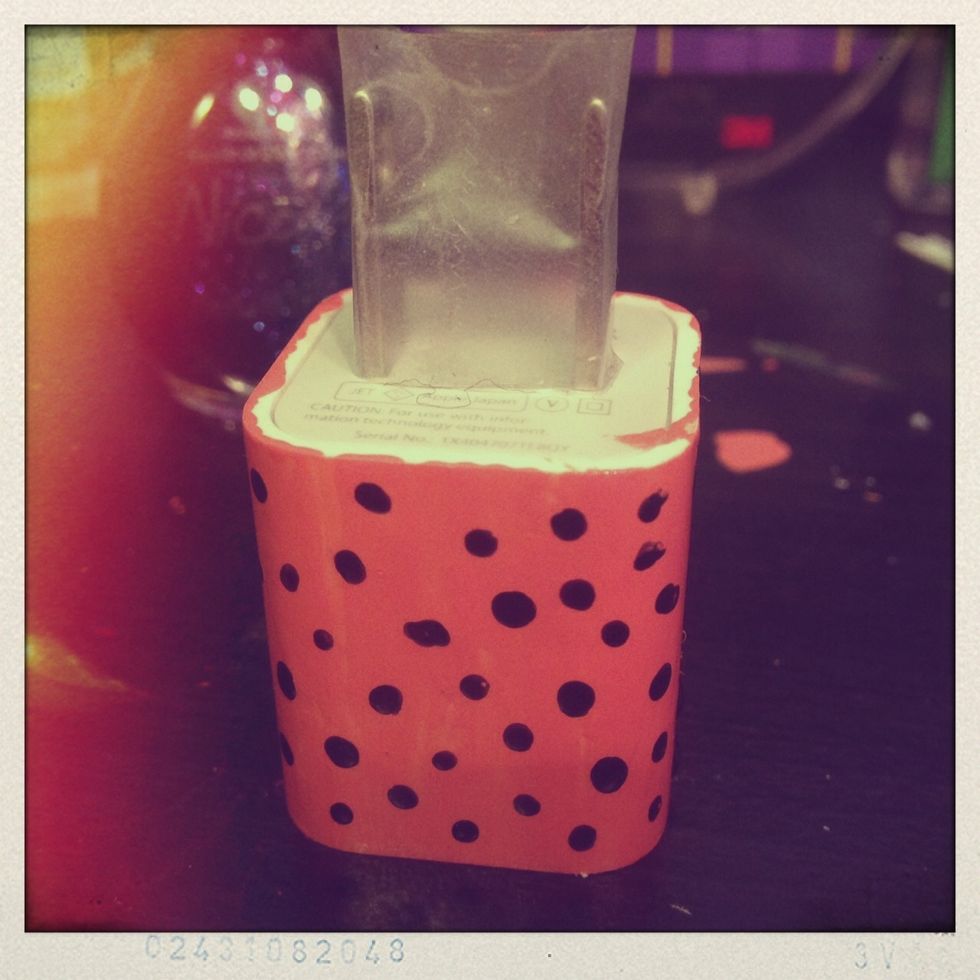
Next, take your nail polish and paint your charger as if it were your nail! ☺️I did two coats, then set it up like this to dry. Do whatever pattern you want, I'm doing polka dots.
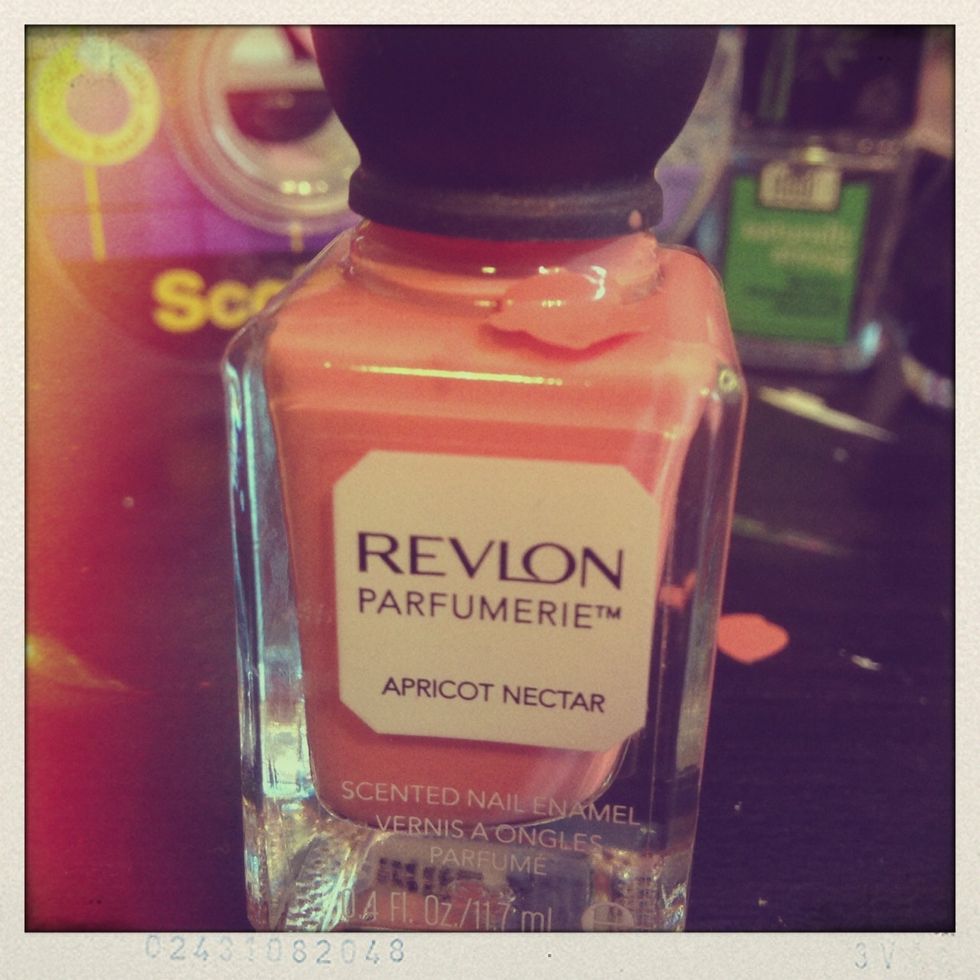
This is the nail polish I used as the base.
Just continue with your patterns until you like the way it looks. I'm taking this dark purple color and the dotting tool I made at home to add polkas dots.
Done! 😄
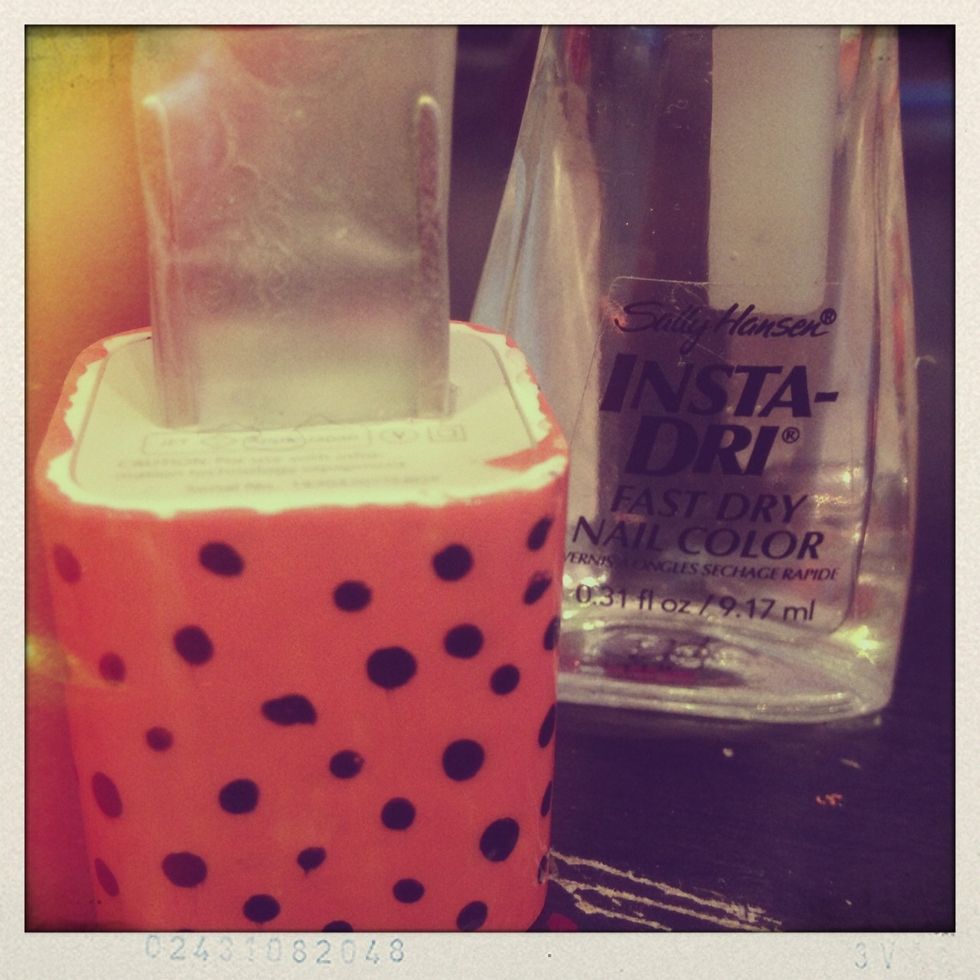
Now, add a top coat to give it a glossy finish.
Peel the tape off. This step was a little tricky, so make sure everything is 100% dry before doing this step, so nothing gets smudged.
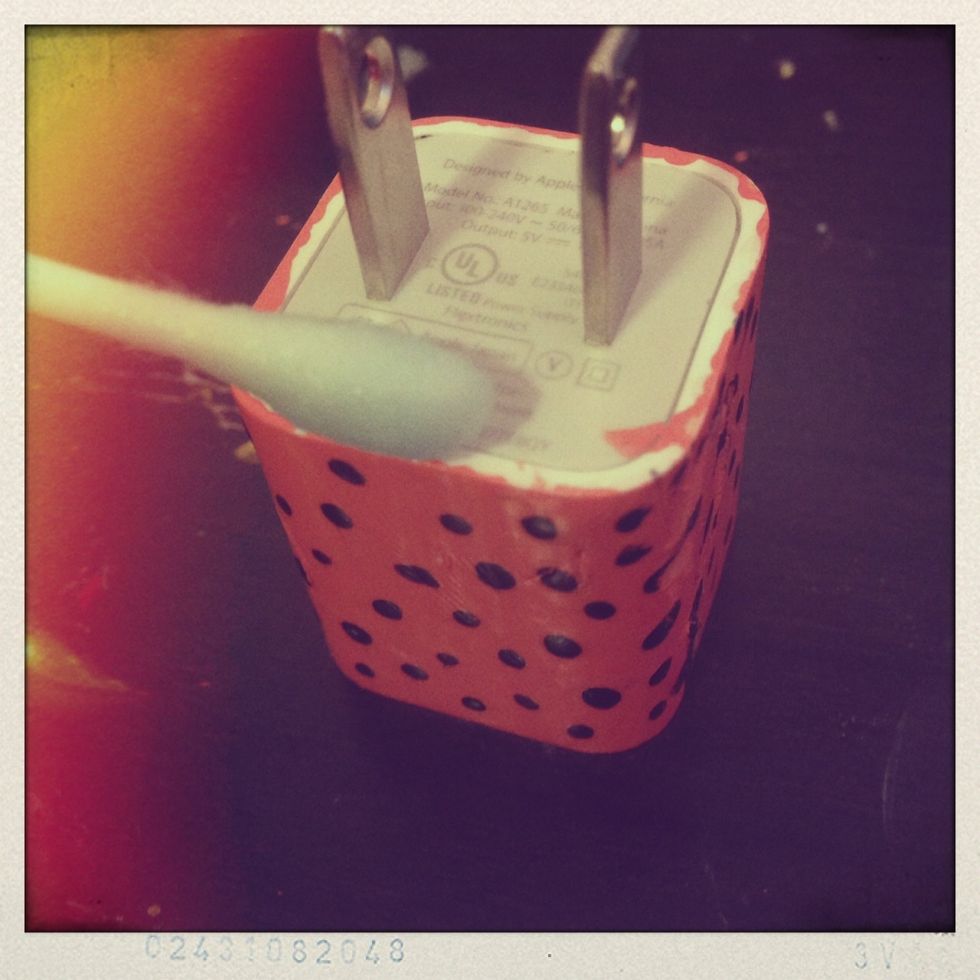
This step is optional, but I took a Q-tip with nail polish remover on it to clean up the edges.
Doesn't that look so much better?
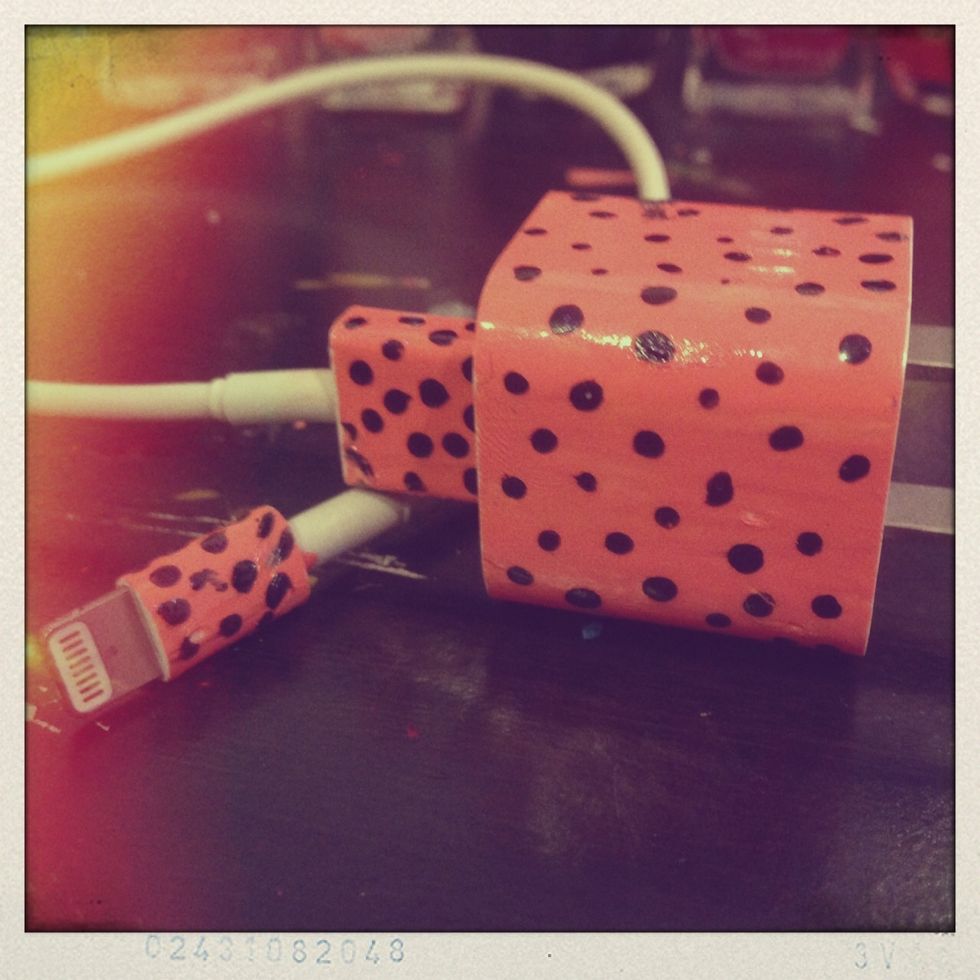
Now, just paint the rest of your charger & your done! 😄 Enjoy you're beautiful, one-of-a-kind, DIY charger that everyone will be jealous about.

Here's a tip-while the small white part of my charger were drying, I rested them in the tape dispenser as shown in the picture. That way, I could work on the big white part while those dried.
Thanks for viewing my guide! ❤️ Please like and follow me and leave any requests or questions in the comments below. Bye! 😘